A clear guide on how to find the ten journals scattered throughout Sailor’s Grotto and how to open the treasure room in the first Pirate’s Life Tall Tale.
A Lay of the Land
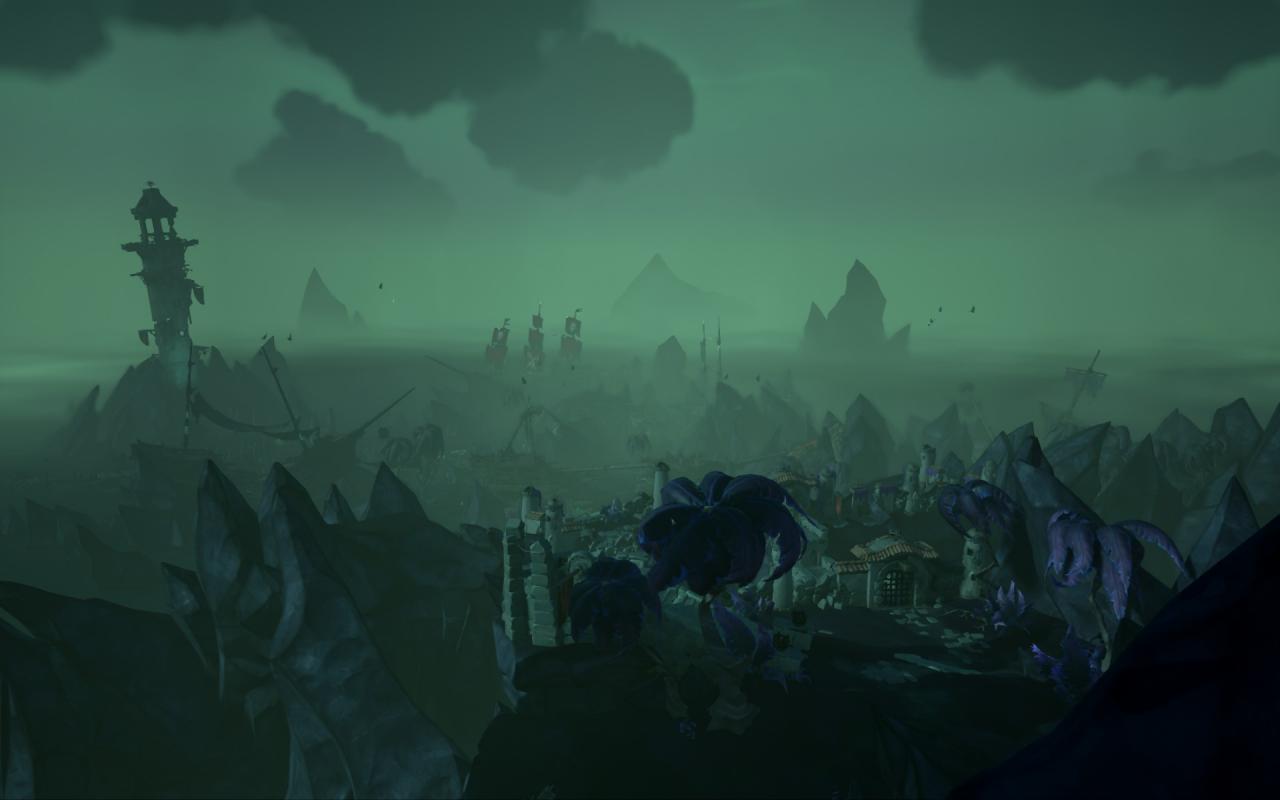
Sailor’s Grave is a big place, so it is easy to get turned around. The best way to keep track of direction is by the landmarks that make up the area.
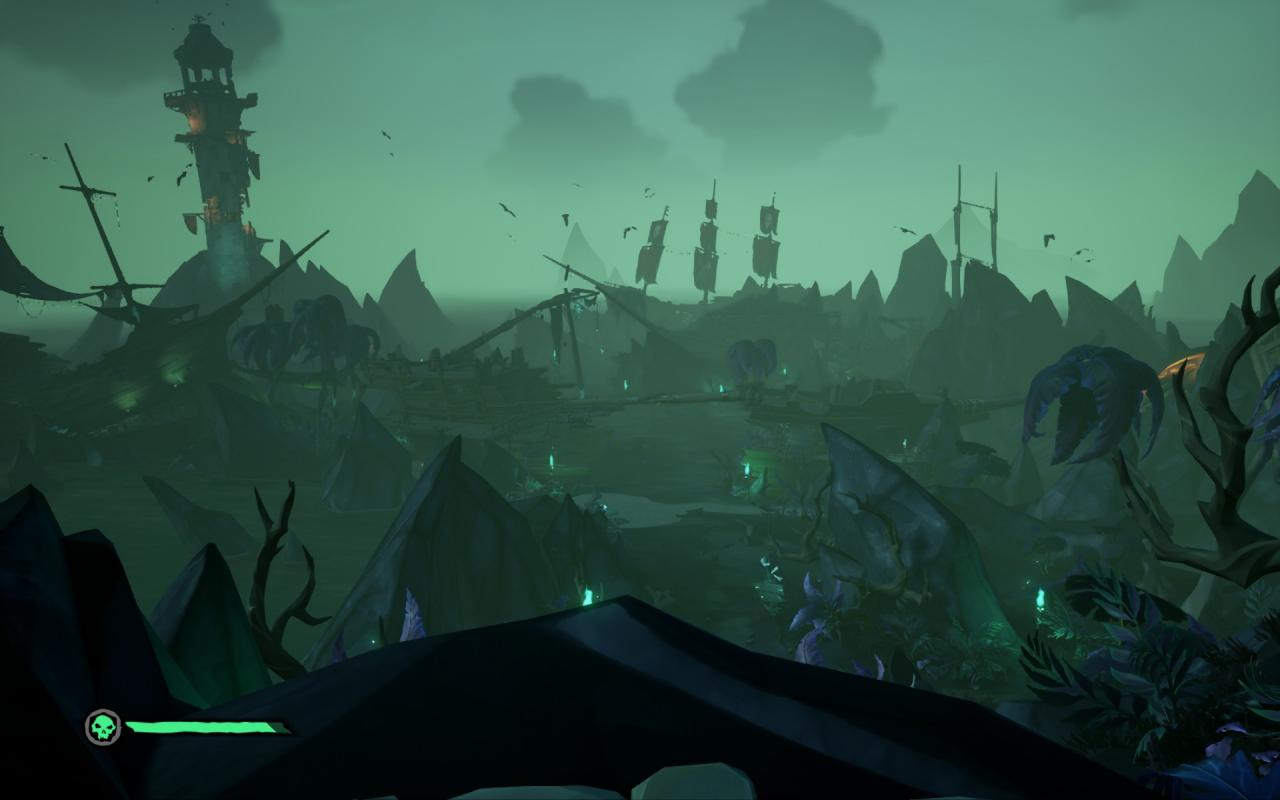
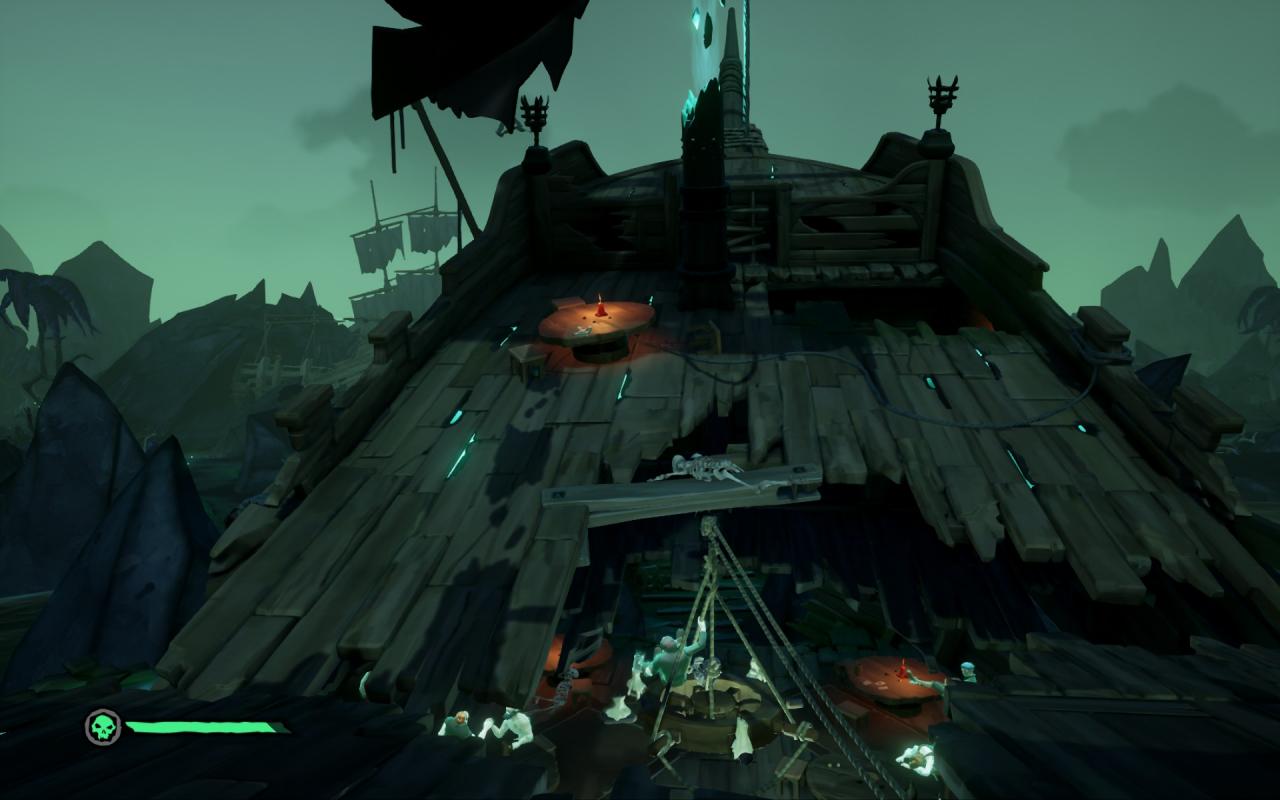
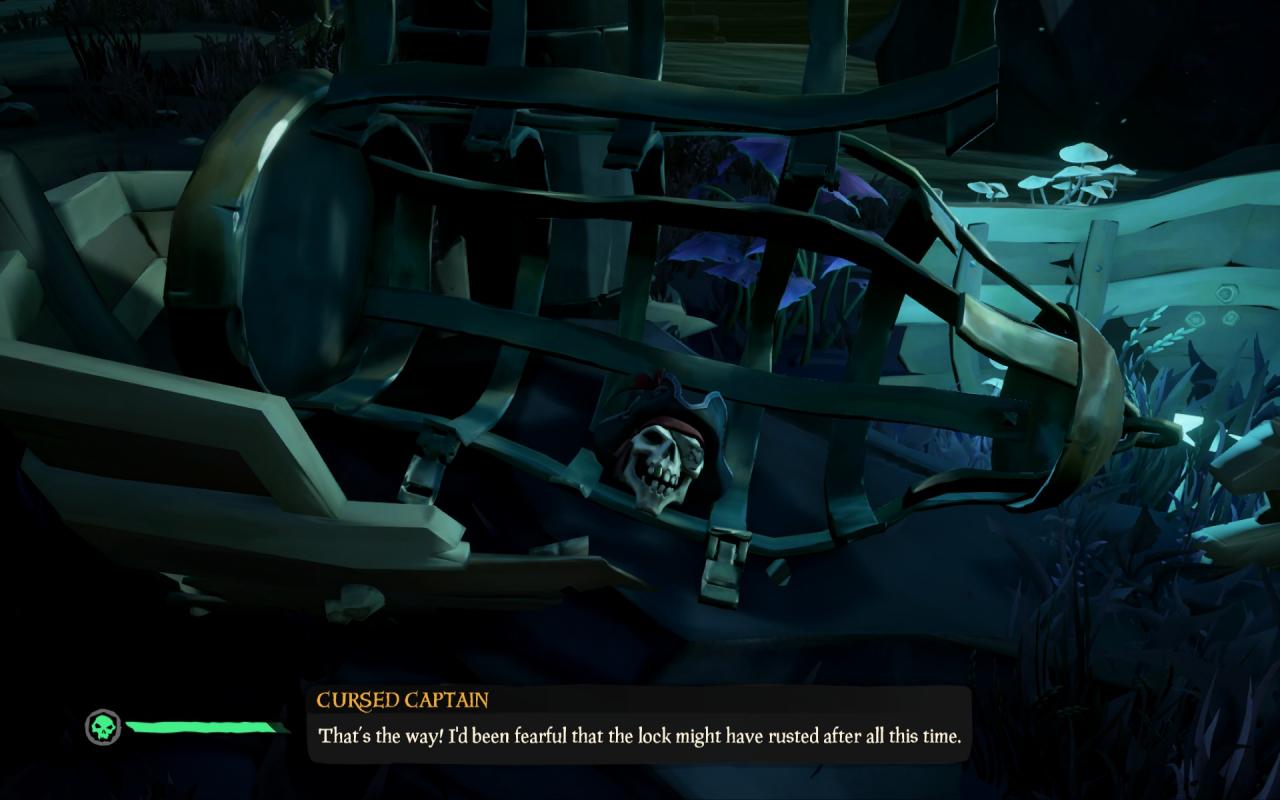
- At the center is the Cursed Captain’s cage, set between two wrecked ships which we’ll have to go to find journals and clues.
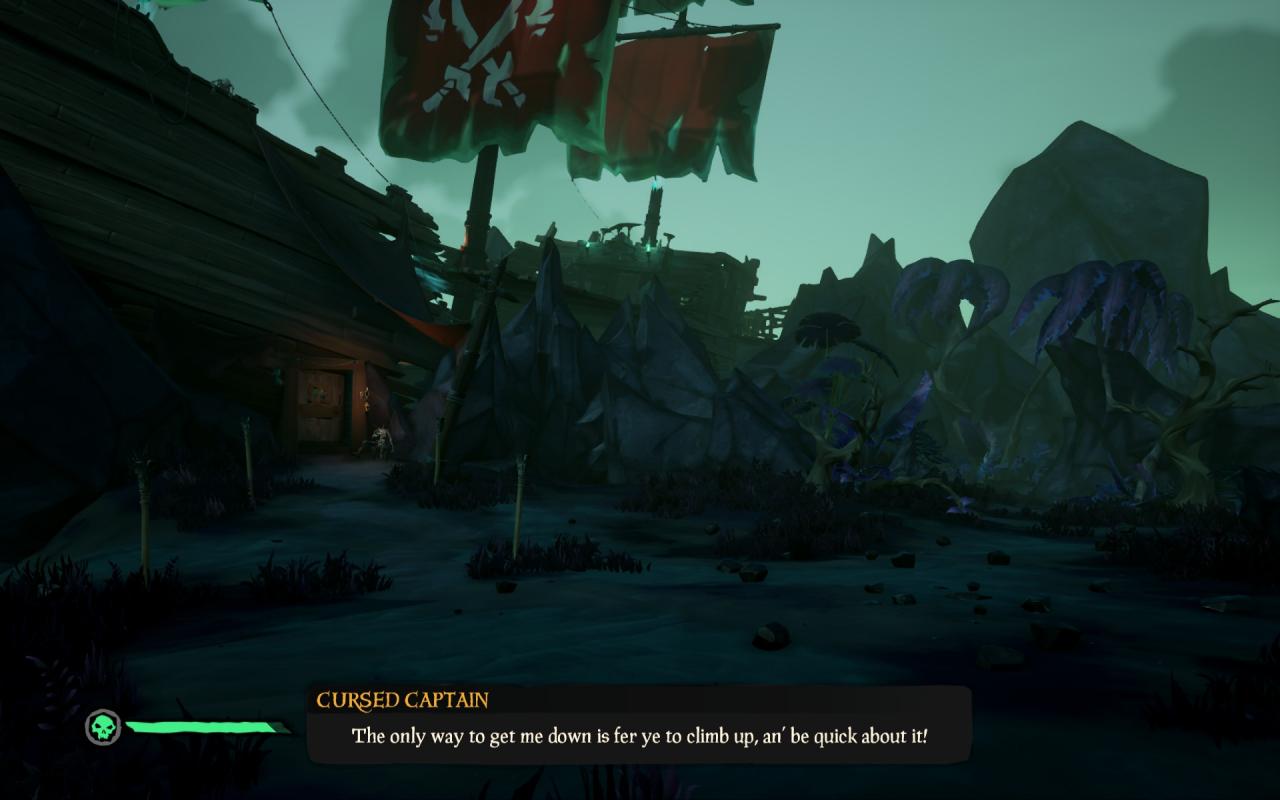
- To the north is Golden Hare, the Captain’s ship…well what is left of it.
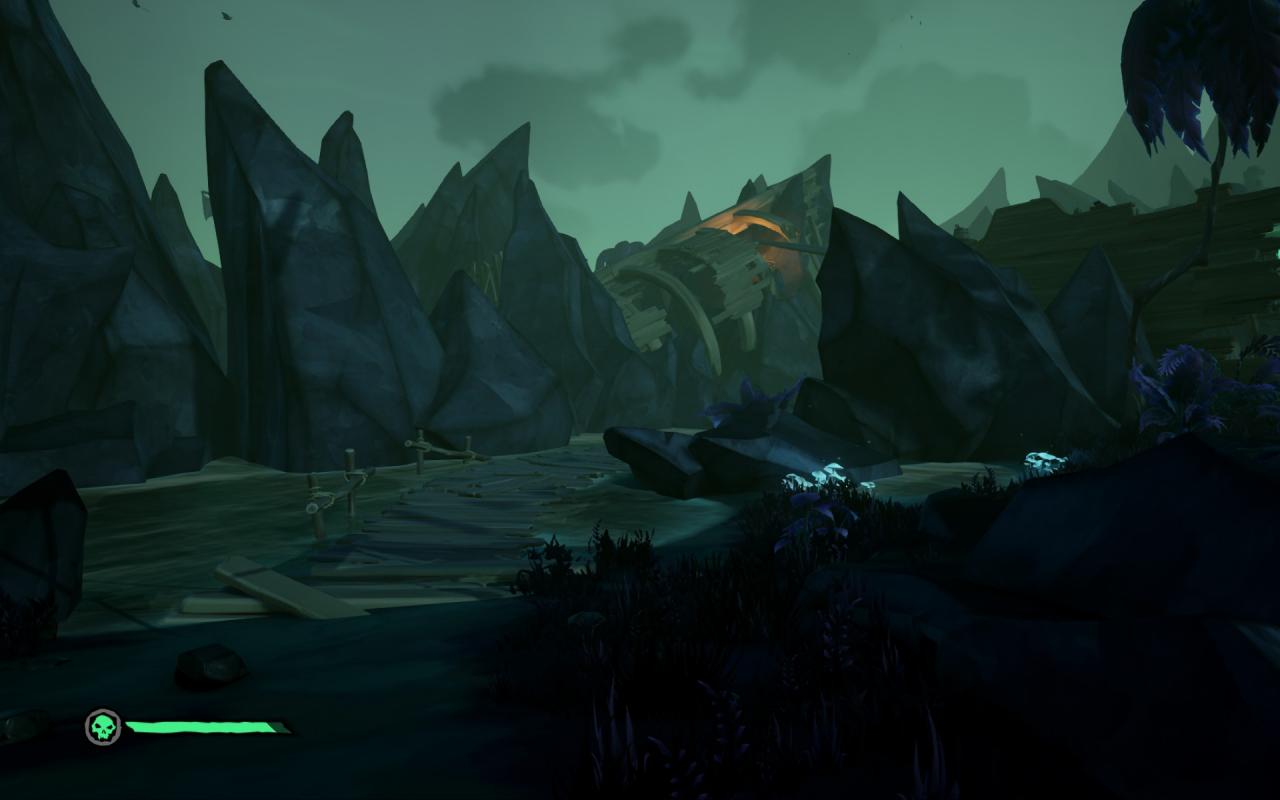
- Southwest is the lighthouse which is important to reaching the Headless Monkey journals.
- More to the west is the bar.
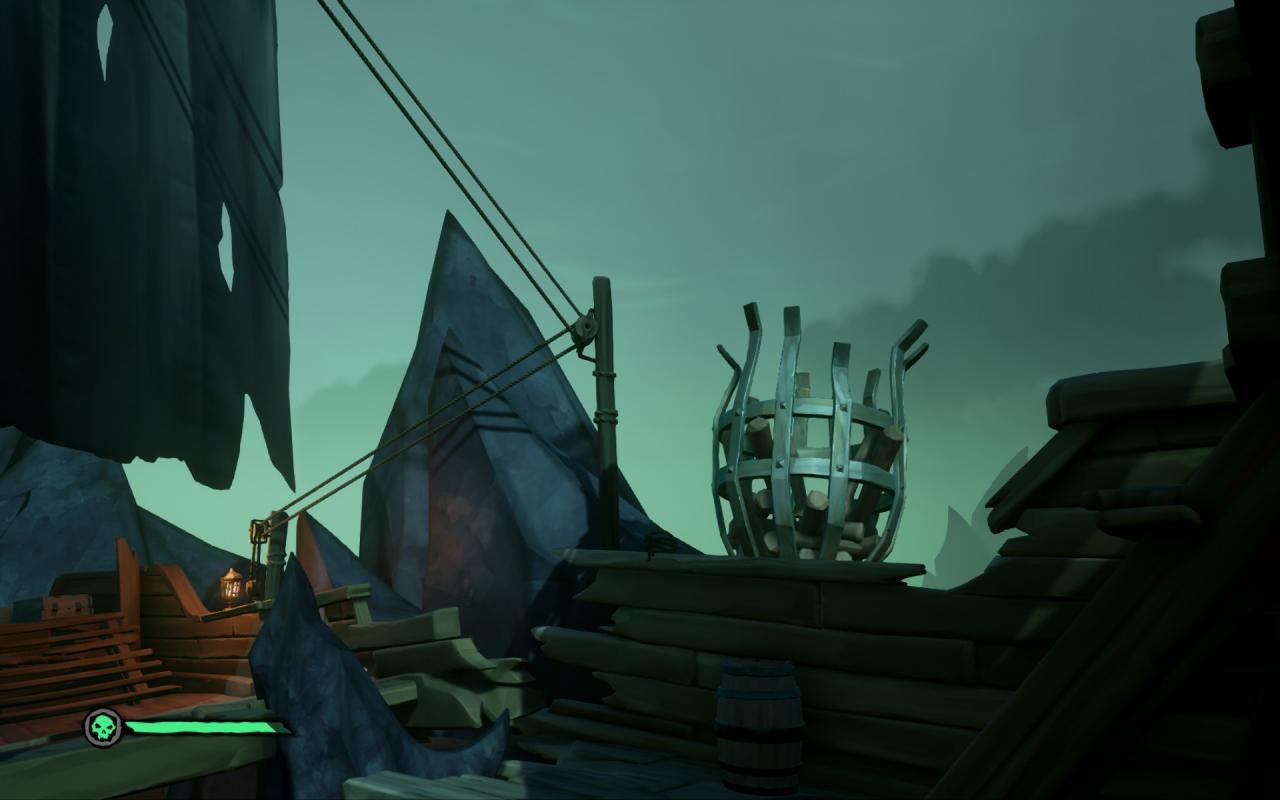
- On the east side is cluttered wreckage that has a little climbing and rope pulling to be done.
Now onto the next steps.
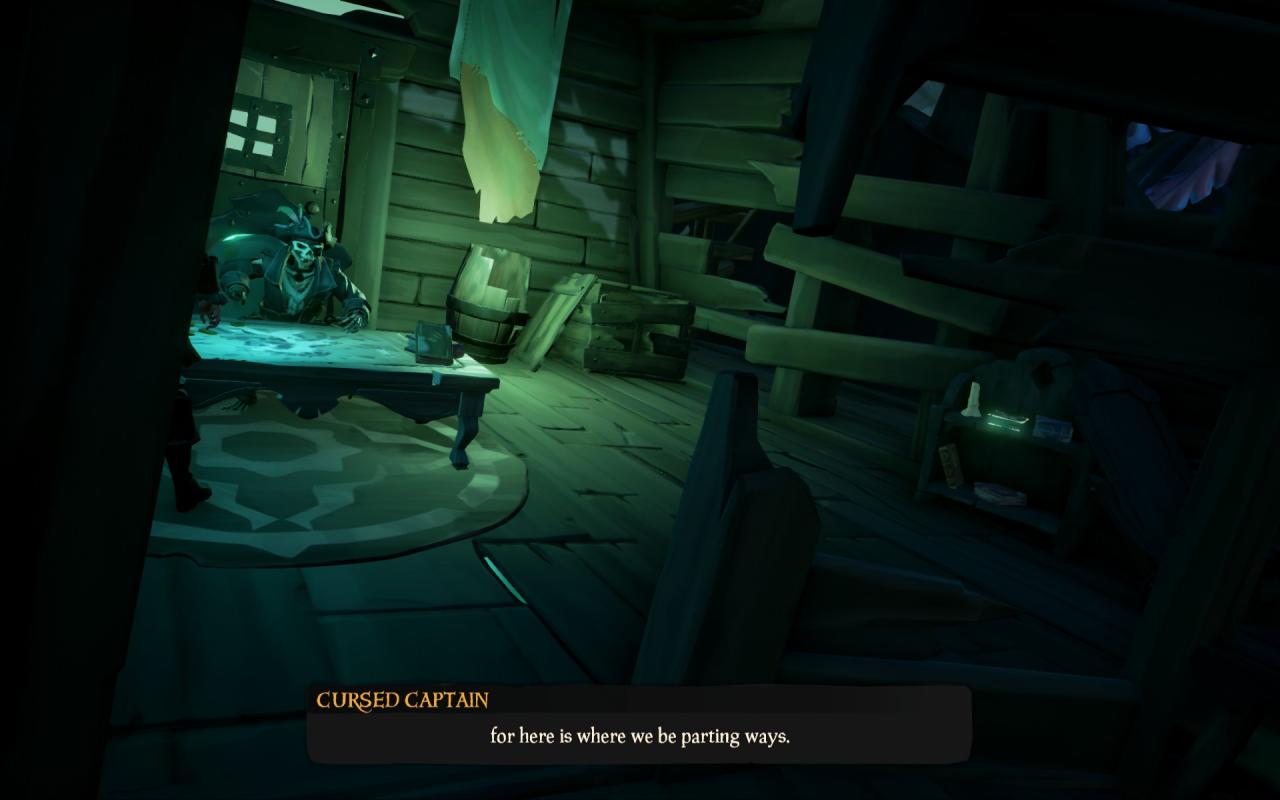
The Cursed Captain Journals
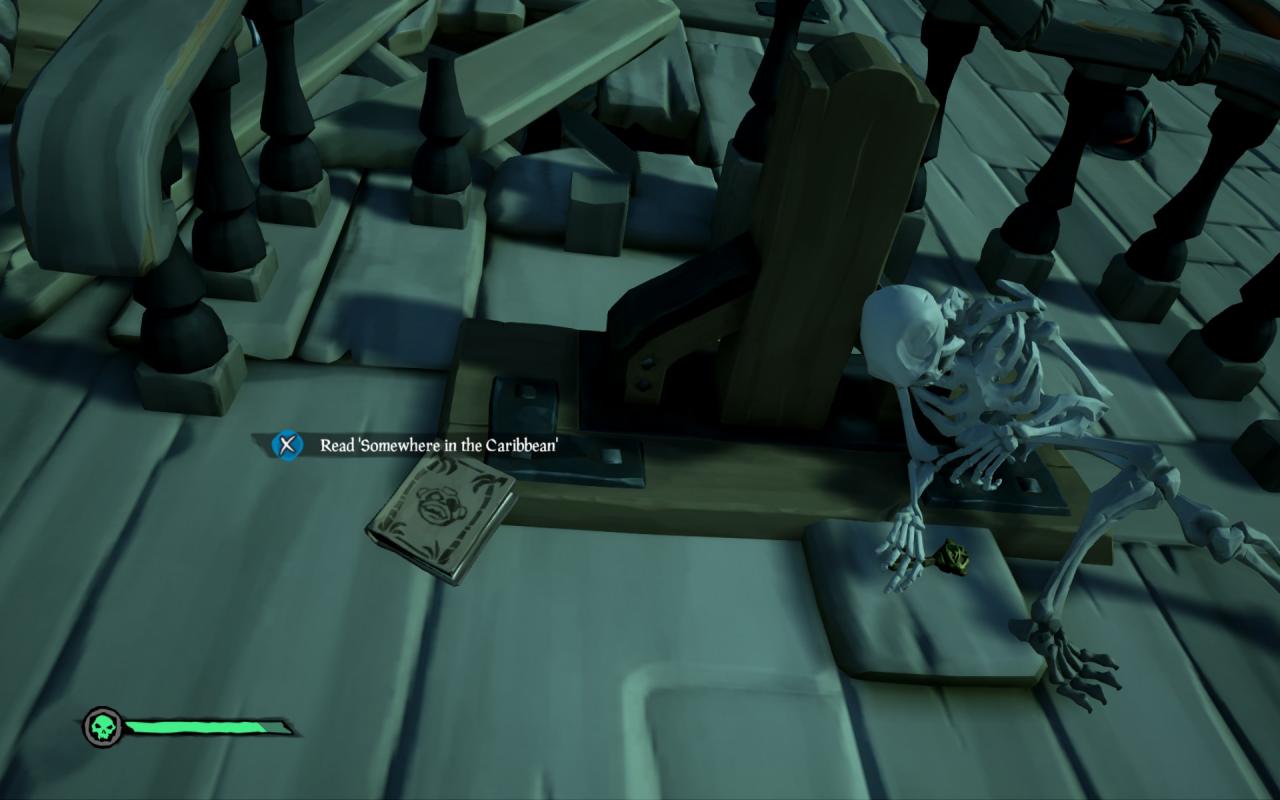
Captain Journal One:
Just outside the pub ship there is a wreck ship with the back opened up. Here you will find two
chess playing skeletons that are needed for reaching the cabin of treasure. To the left of them in the corner is a table with the first Captain Journal.
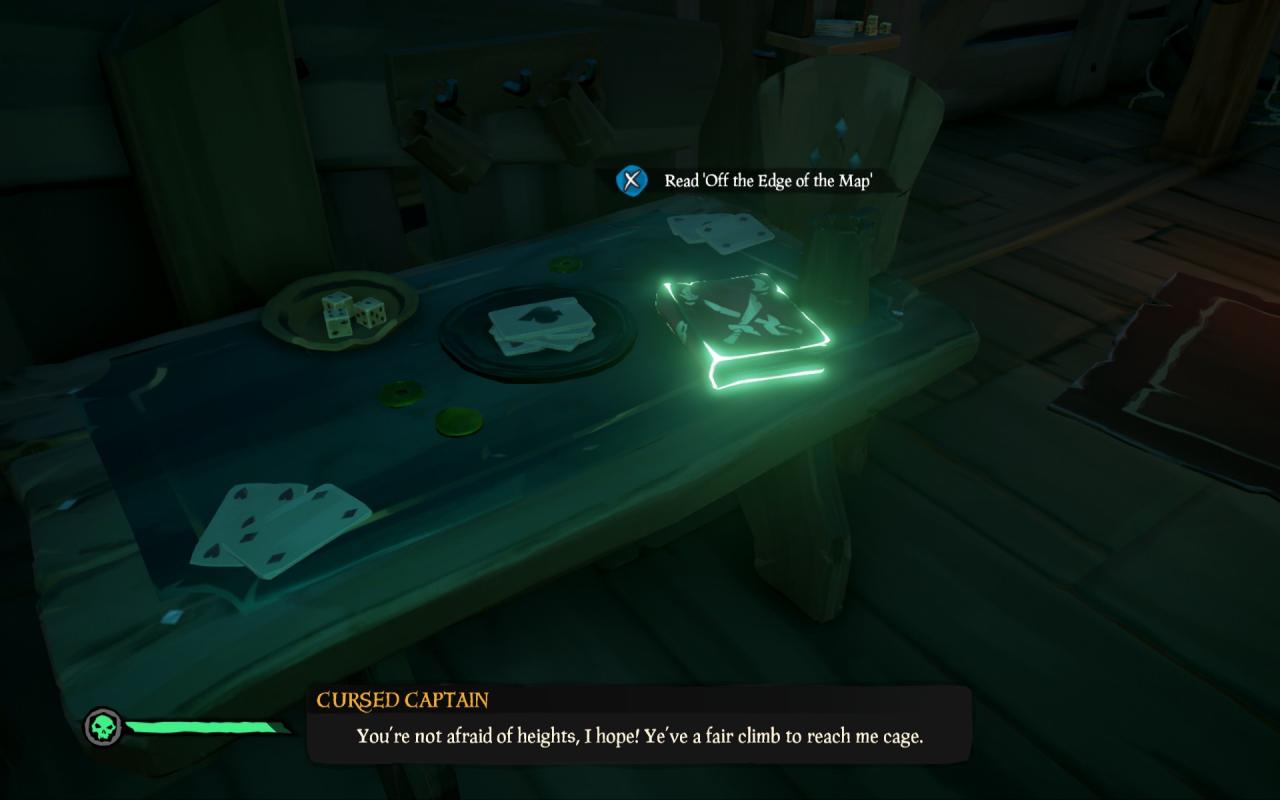
Captain Journal Two:
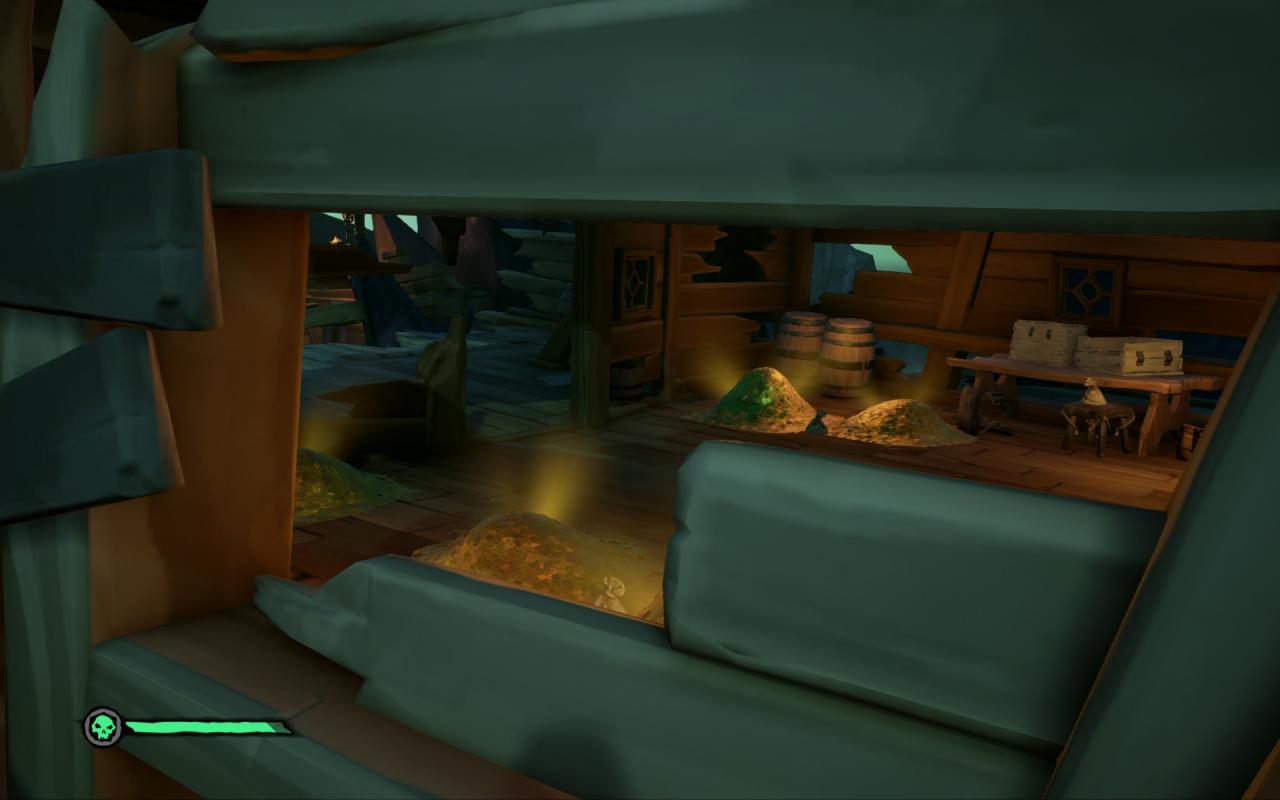
Head to the pub just across from chess skeleton ship and head inside.
Head up to the very top floor and jump over to the other side of the gap. On the round table will be the next Captain journal.
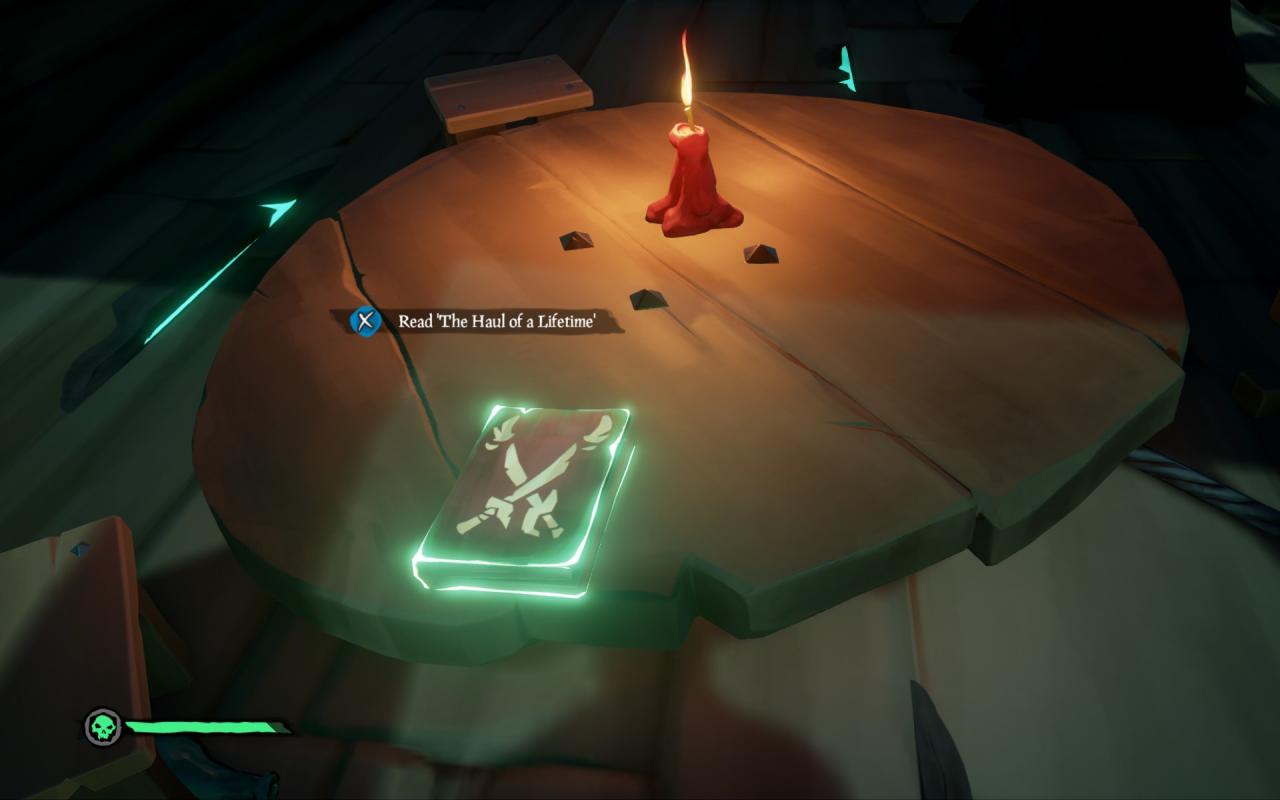
Captain Journal Three:
At the central area, make a right at the intersection and follow a wooden walkway to the rear of the eastern ruined ship. If you are coming from the pub, simply follow the road.
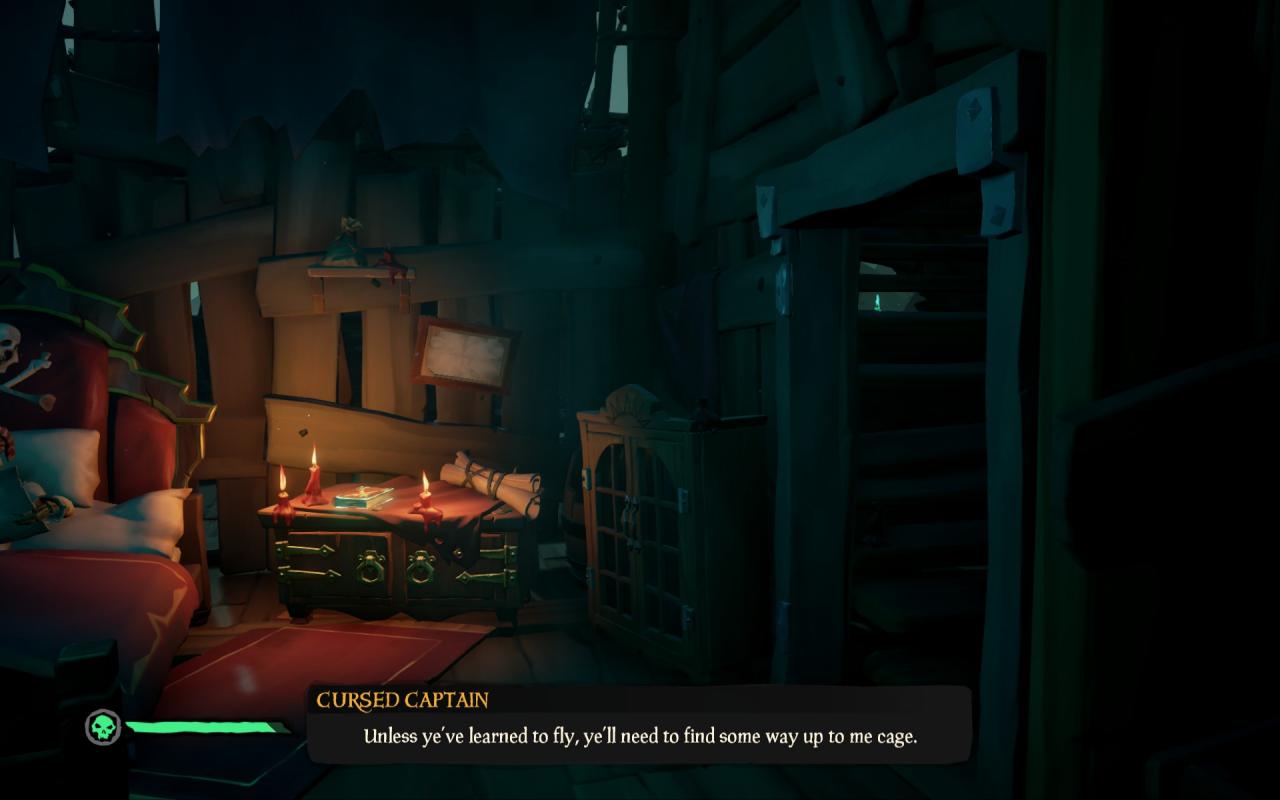
There will be a doorway at the rear of the ruined ship with a classic Pirates rider scene which is involved in another clue for the treasure cabin key. Focus though on the Captain journal set on in the back of the room at the right side of the bed.
Captain Journal Four:
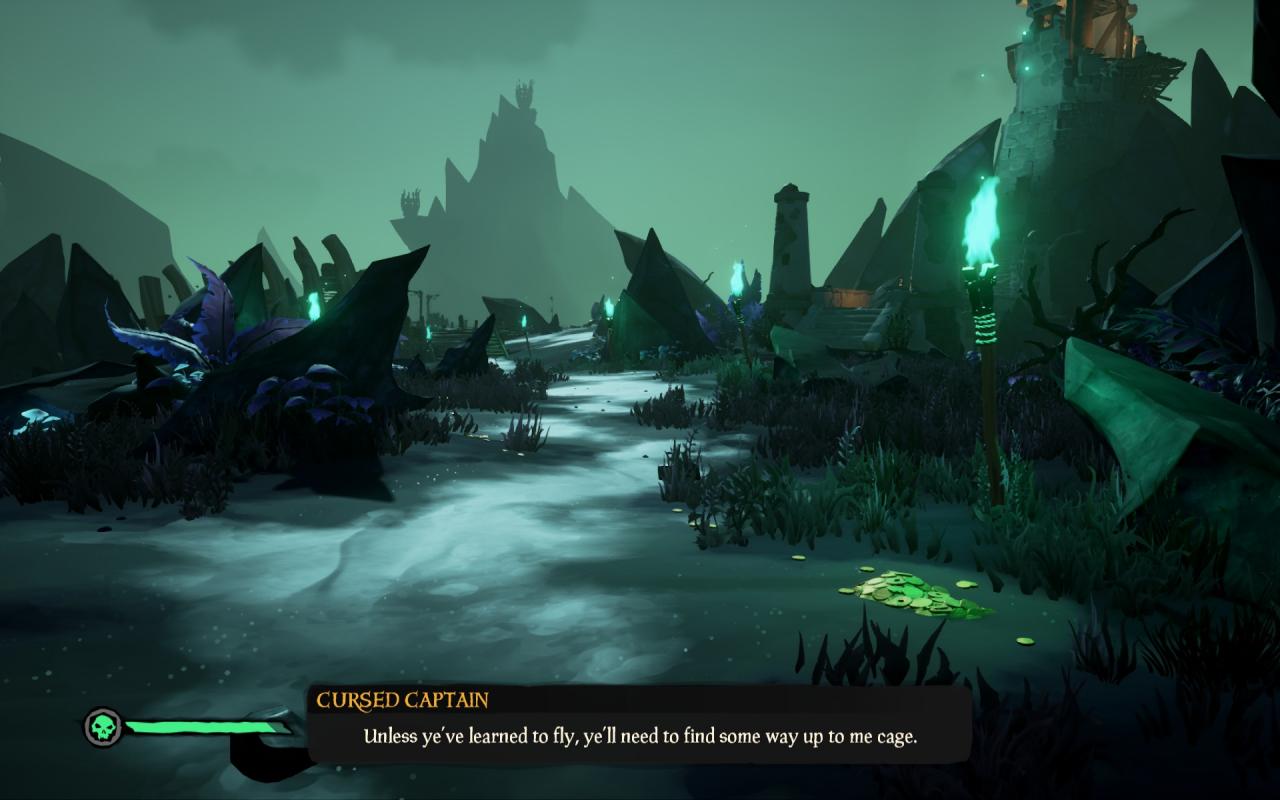
The next journal requires you to progress through the Tall Tale by freeing the Captain’s skull from the cage. Once its in your hands, follow his directions to the lighthouse which he will open the way to.
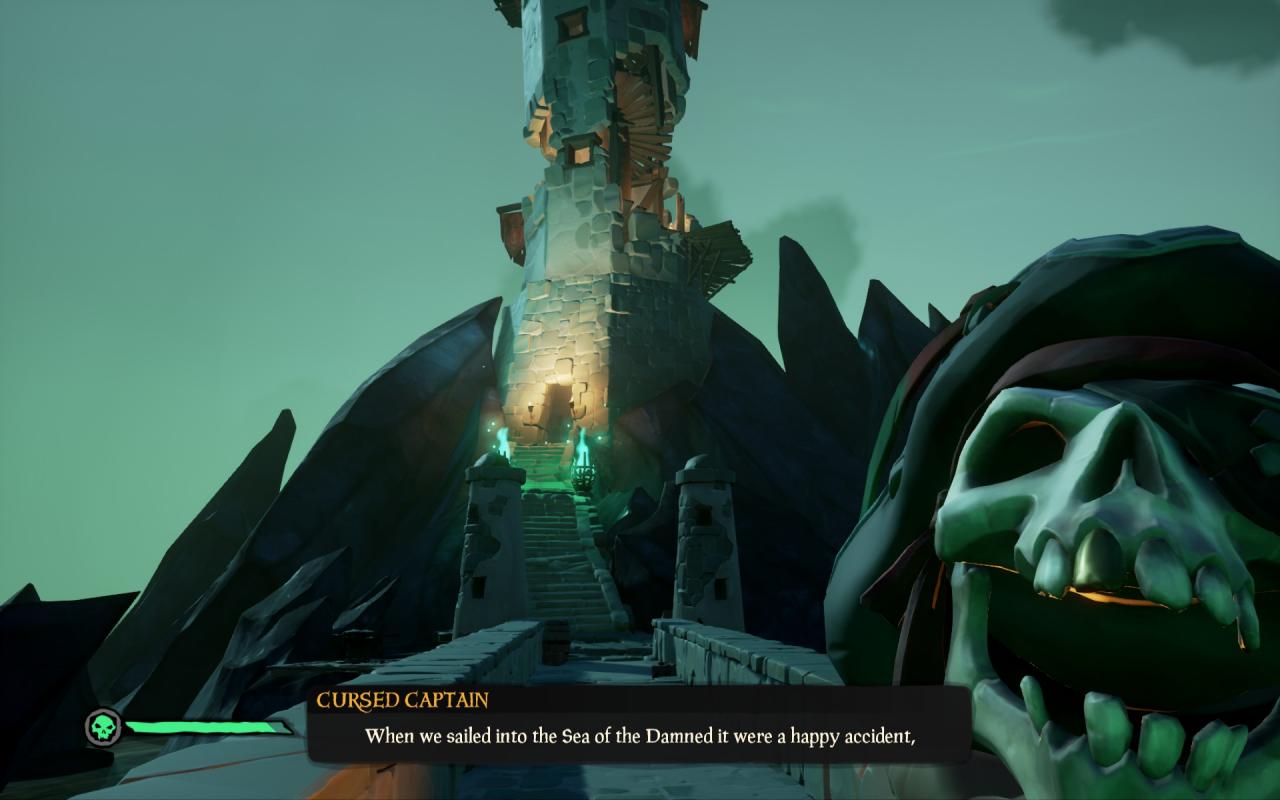
Head up the lighthouse until you nearly reach the top. On the floor where the Captain tells you to put his head on a skeleton, the journal will be on a stand nearby. Nearly impossible to miss.

Captain Journal Five:
WARNING! IF YOU PUT THE CAPTAIN’S SKULL BACK ONTO HIS ORIGINAL BODY YOU WILL NOT BE ABLE TO FINISH THE TREASURE CABIN SIDEQUEST! YOU NEED HIS SKULL TO FINISH IT!
With the key now with the Captain and any other tasks finished, head to the Golden Hare. Its impossible to miss since it’s the red sailed ship to the north. Once there the Captain will let you into the ship. Make you way up and into his cabin. Off to the right on a stand will be the last journal, earning you the commendation. Like the lighthouse, its very hard to miss this one.
The Treasure Cabin Side Quest Part 1
The Cabin Door and Reaching the Booze
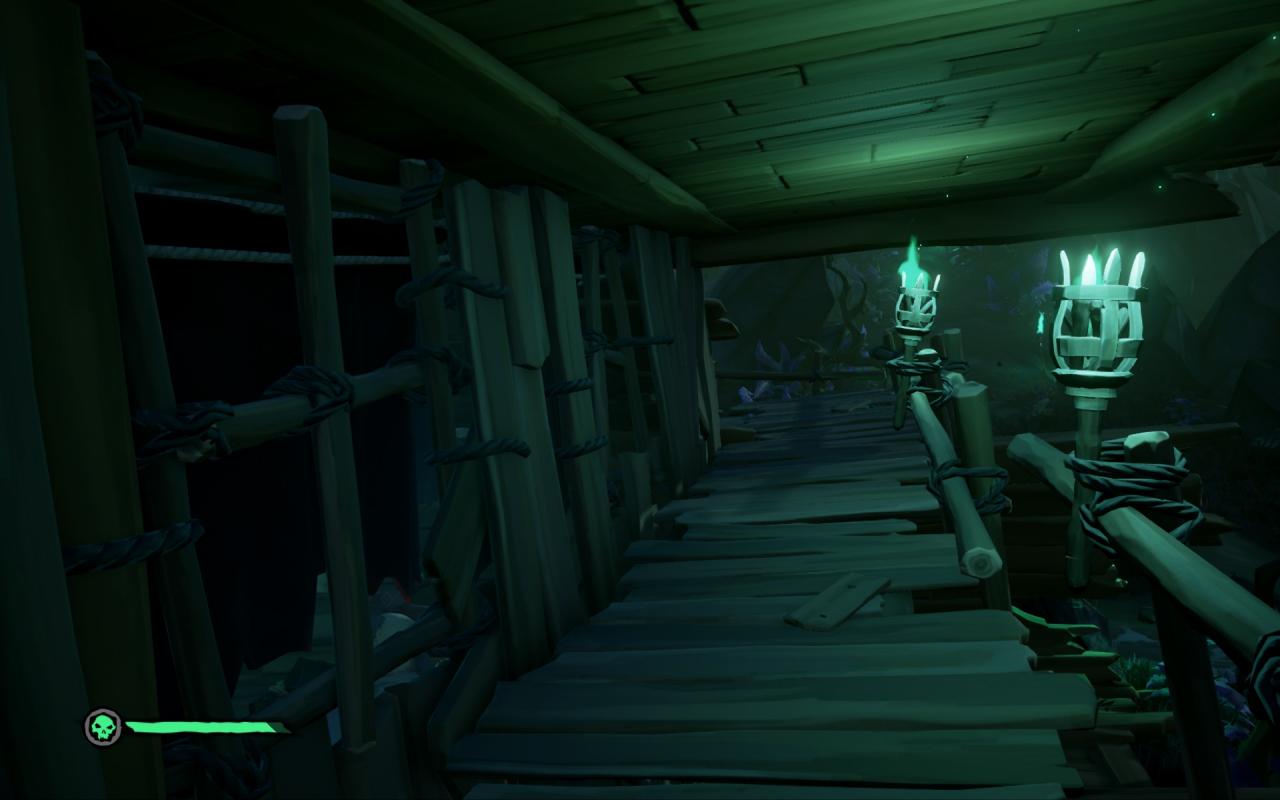
- When your going up to free the Captain from his cage, you will no doubt notice a locked cabin door after taking the hand elevator up some wrecked ships.
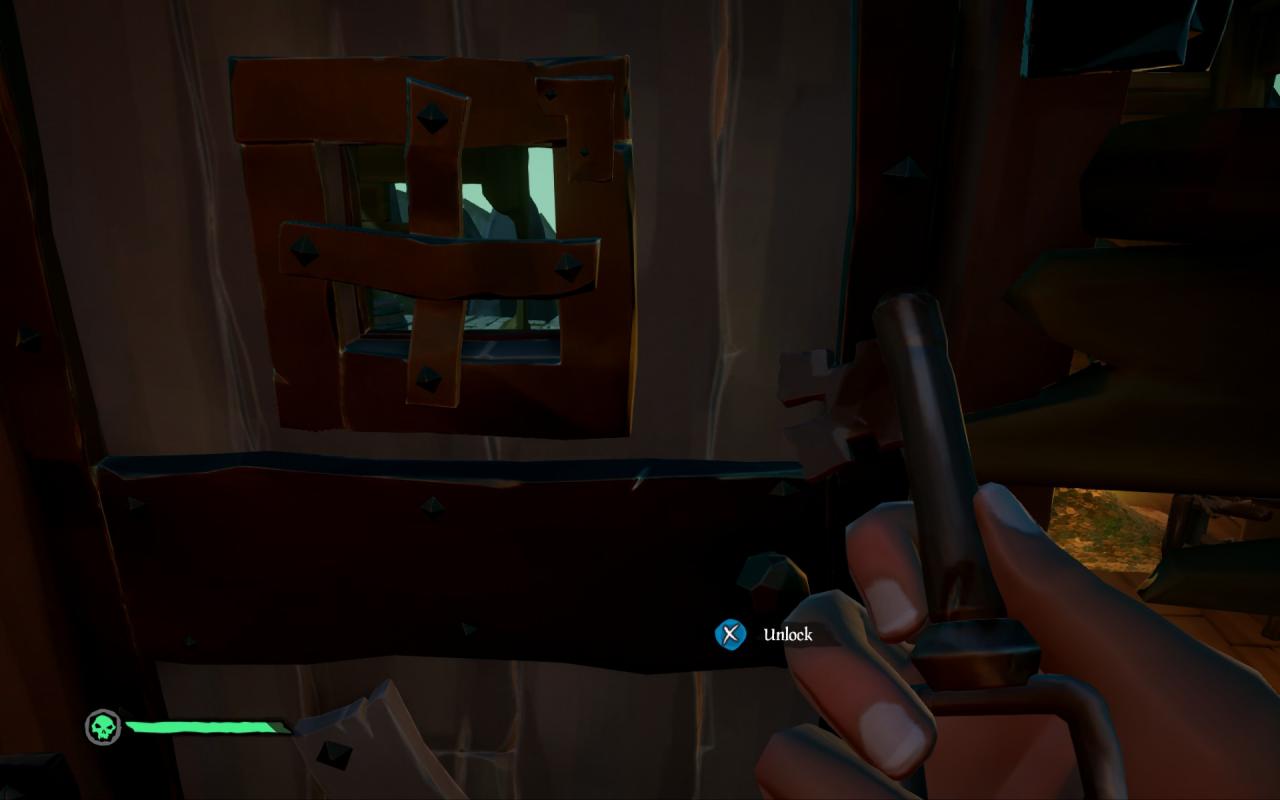
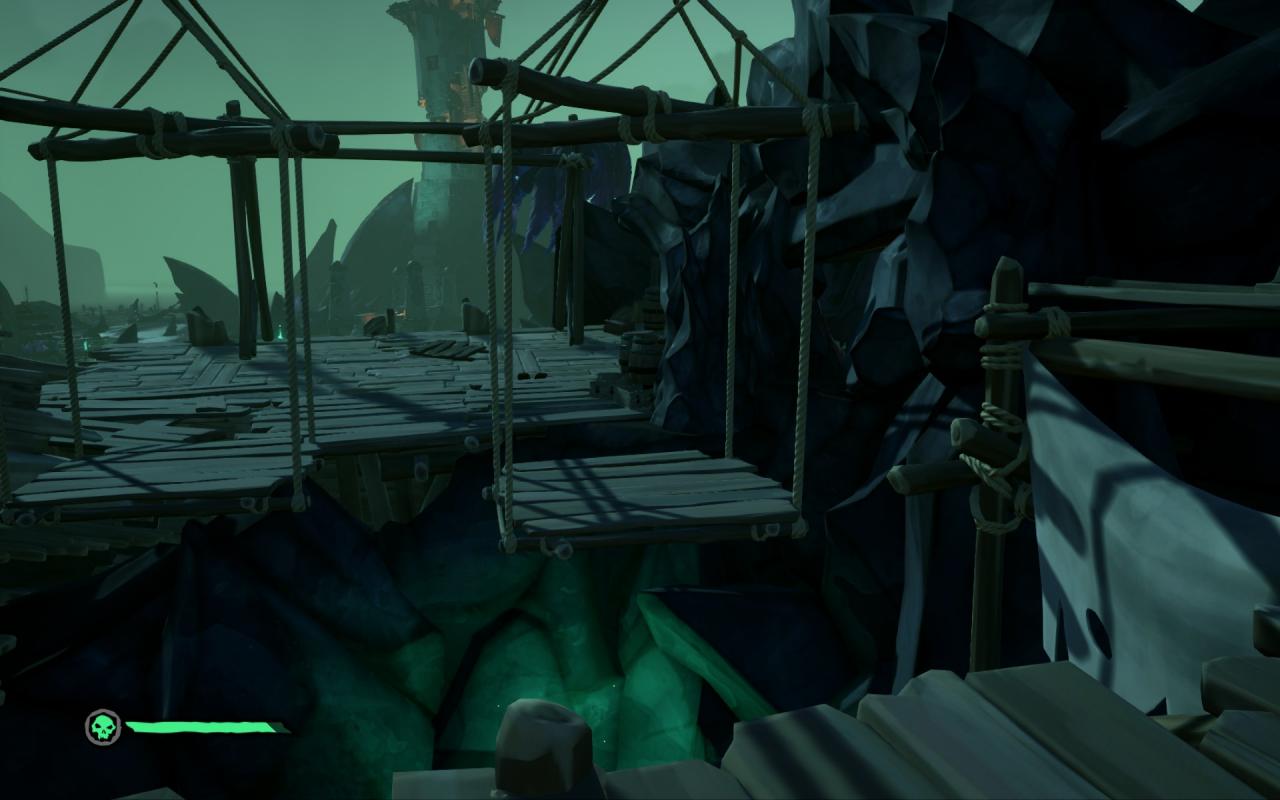
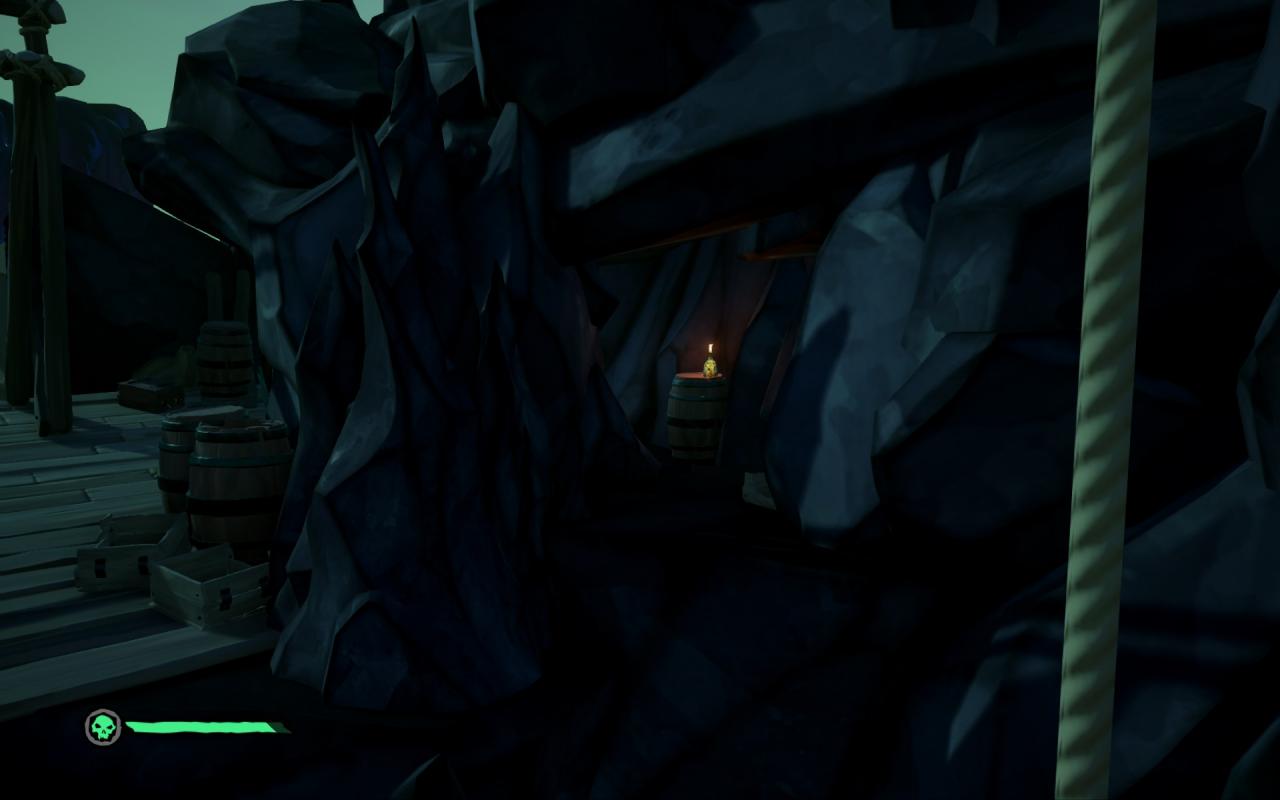
- Said door, though minus the key in hand for the moment. You will have to dome some side tasks to earn the key and reach the gold inside, along with the means to reach the other five journals of the Headless Monkey. From the cabin door, continue across the wrecked ships until you reach a platform section. Going across will show a cage with some rum inside.
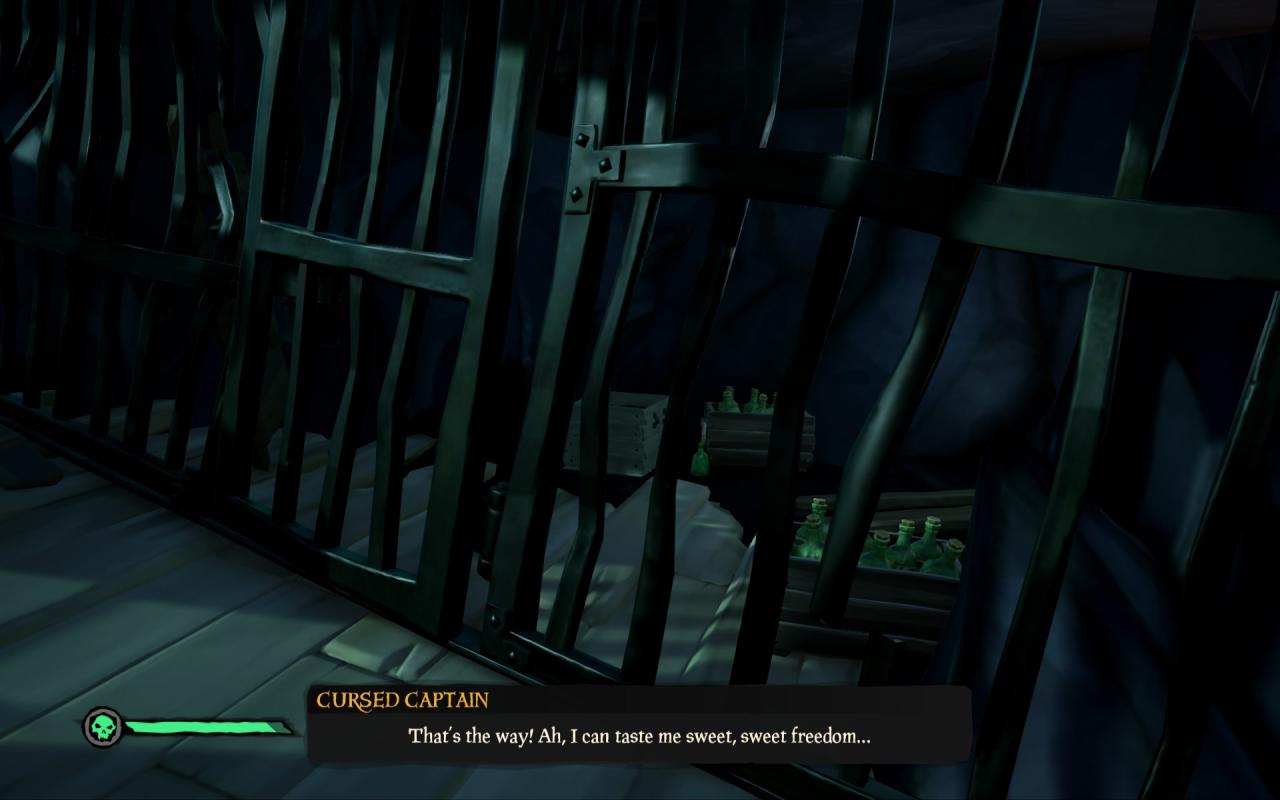
- The bottle is needed for the chess skeletons where the first journal was found. To reach the booze, go back slightly to those platforms and look to the rock facing to your right. There you will see a opening you can jump to, reaching the booze.
Losing a Head
- With booze in hand, go to the two chess playing skeletons. To wake them up, use your lantern to light up the candle on the table. Then, put the booze down and watch the quite…explosive results.

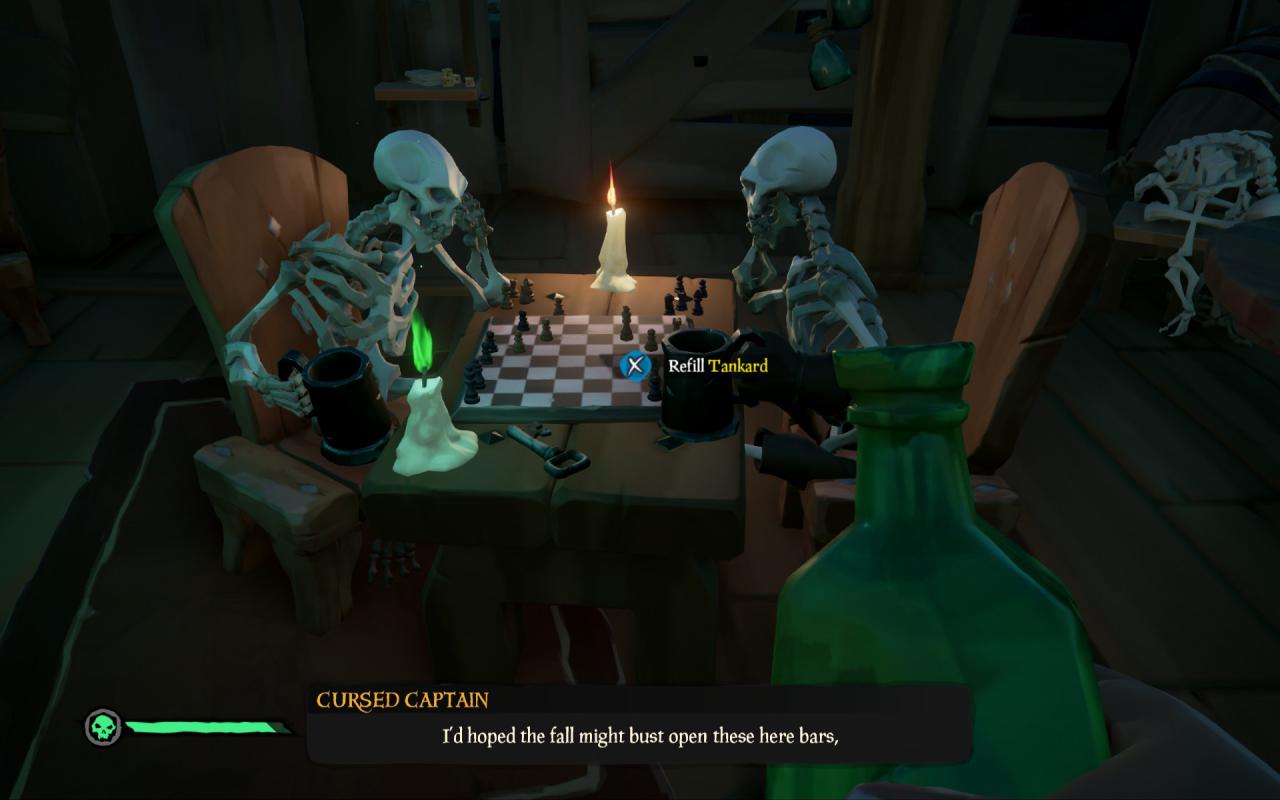
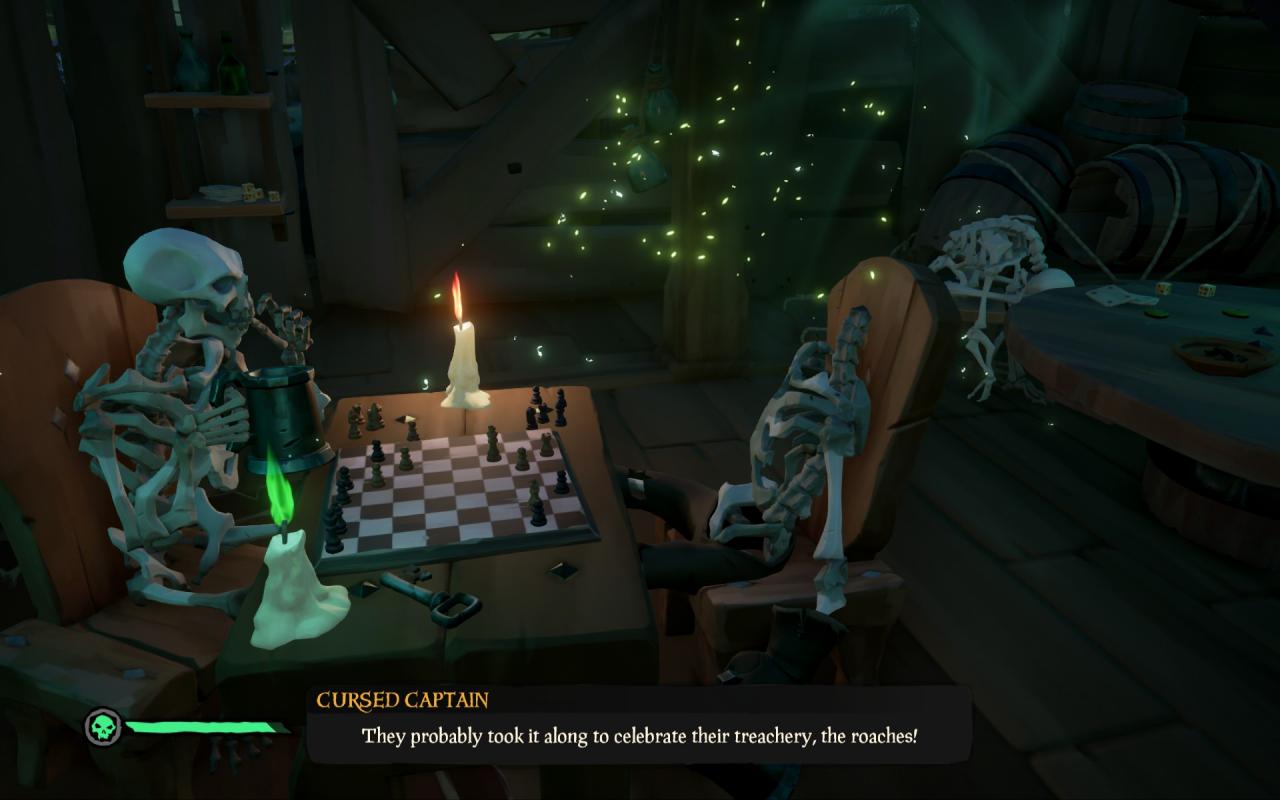
- With one skeleton a head short, its time to get the Captain. Simply snag him from his fallen cage if you haven’t picked him up already.
- Take him to the room and he’ll remark on being able to win the chess game, but that you require a entry fee. For now set him down there as we search for something valuable to bet on.
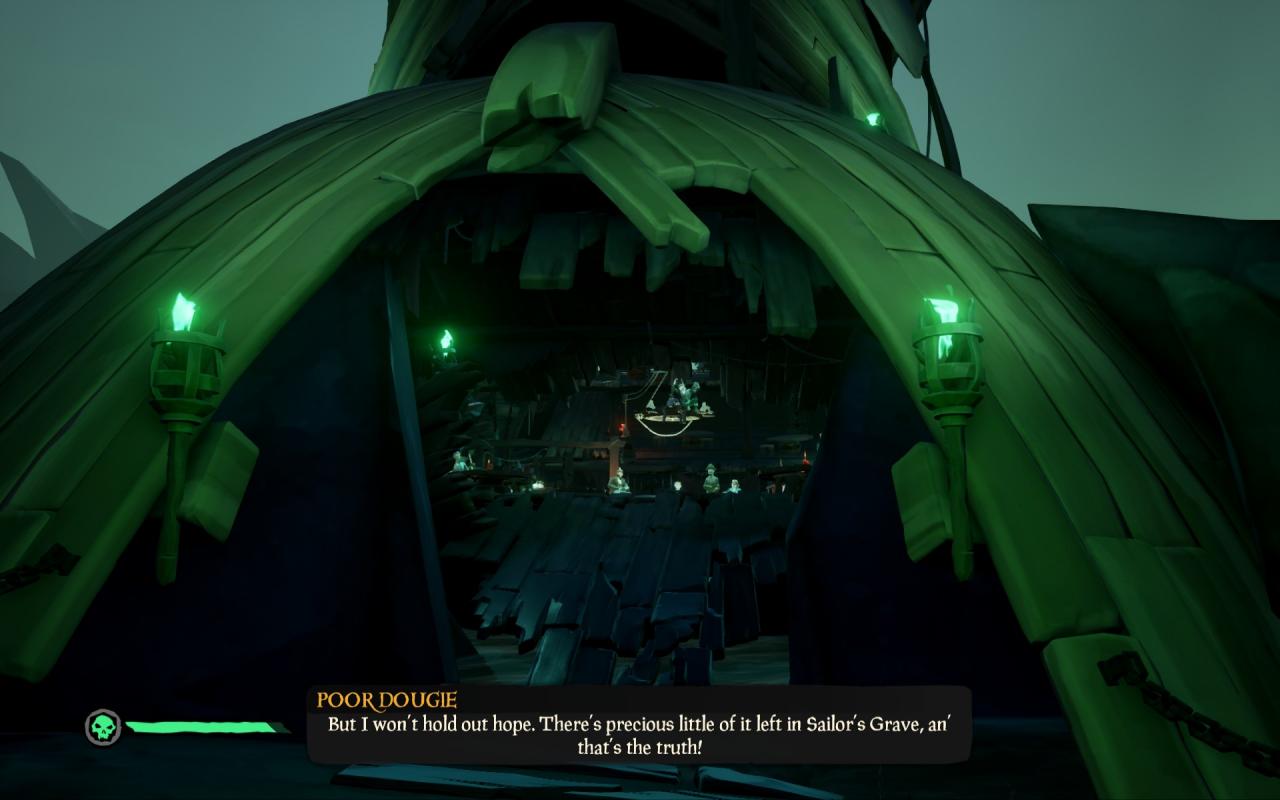
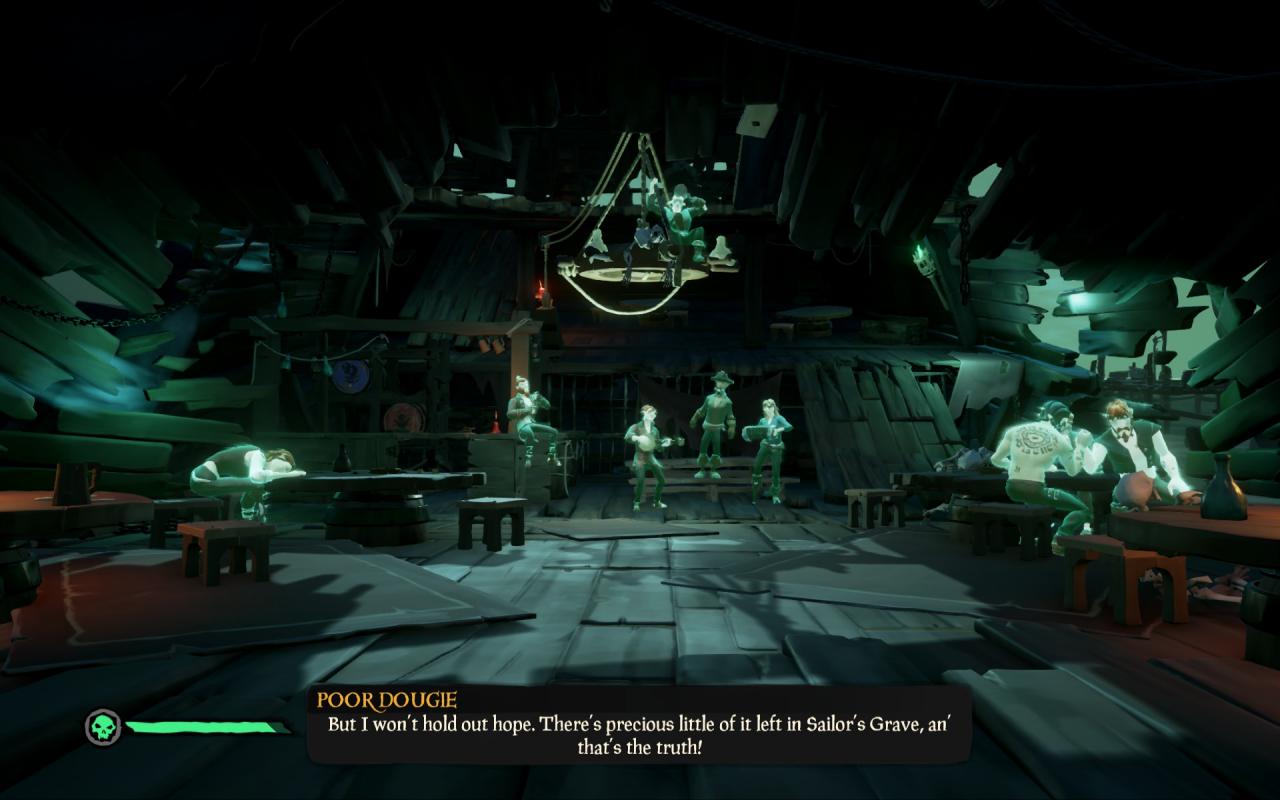
Finding Poor Dougie
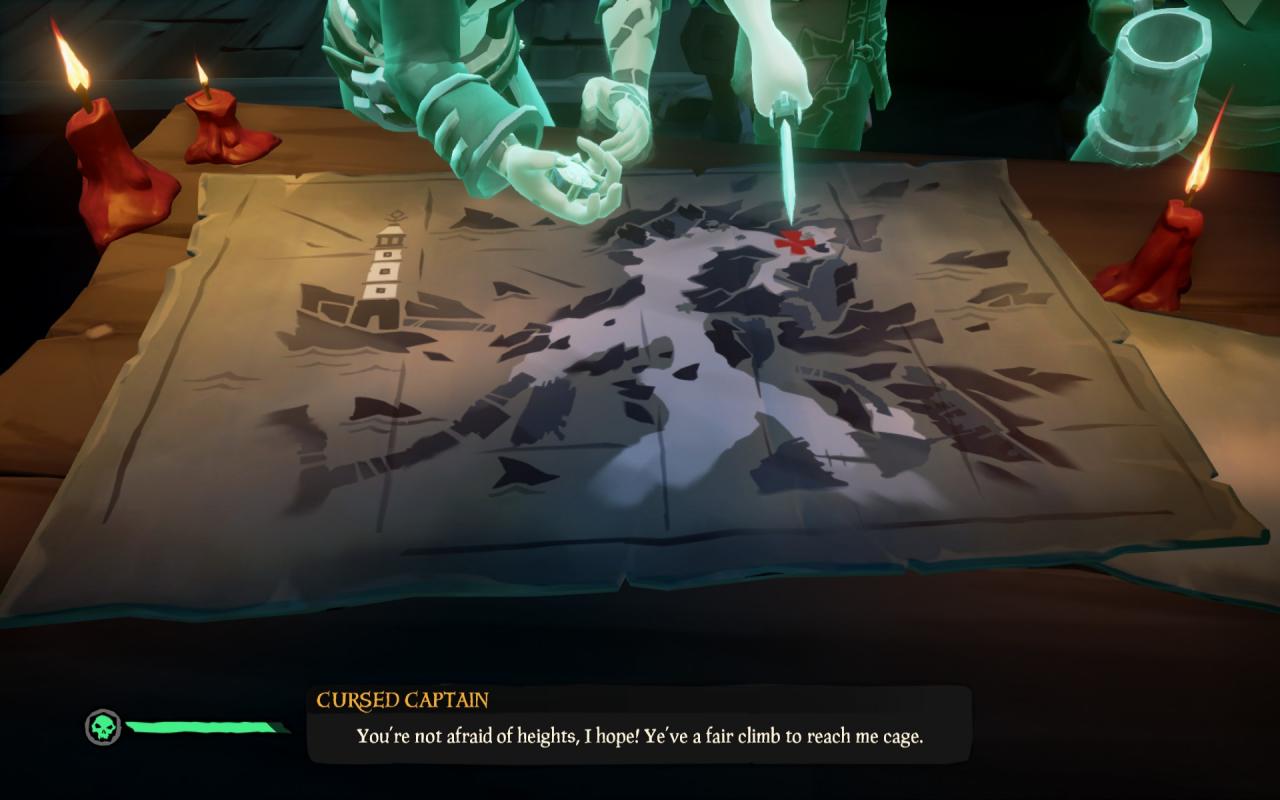
- Head to the pub and go to the second floor. There will be a map table of the area with a candle you can light up. Do that and ghosts will appear along with a red X on the map.

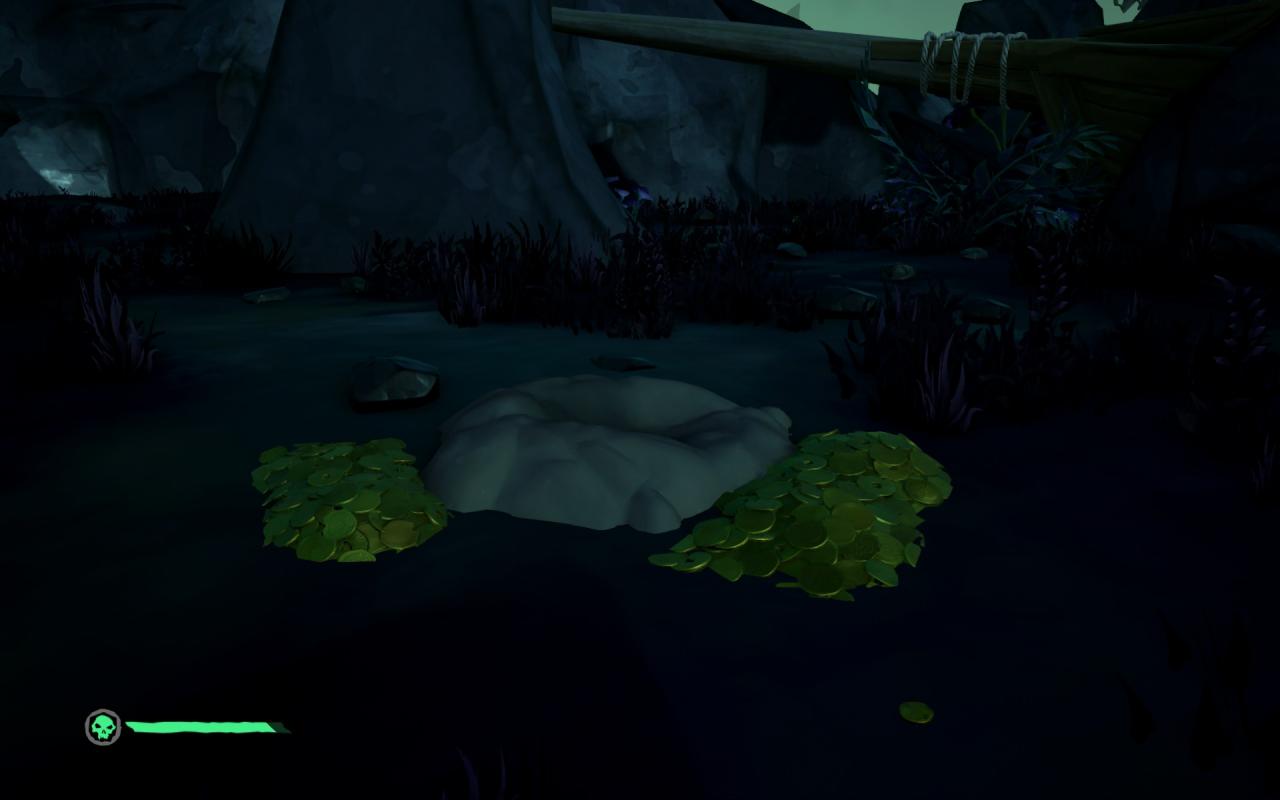
- Go northward towards the Golden Hare, the ship with the red sails to the north, then make a right into a rocky pass. You’ll find scattered gold and a dig spot with a trail of gold leading away.
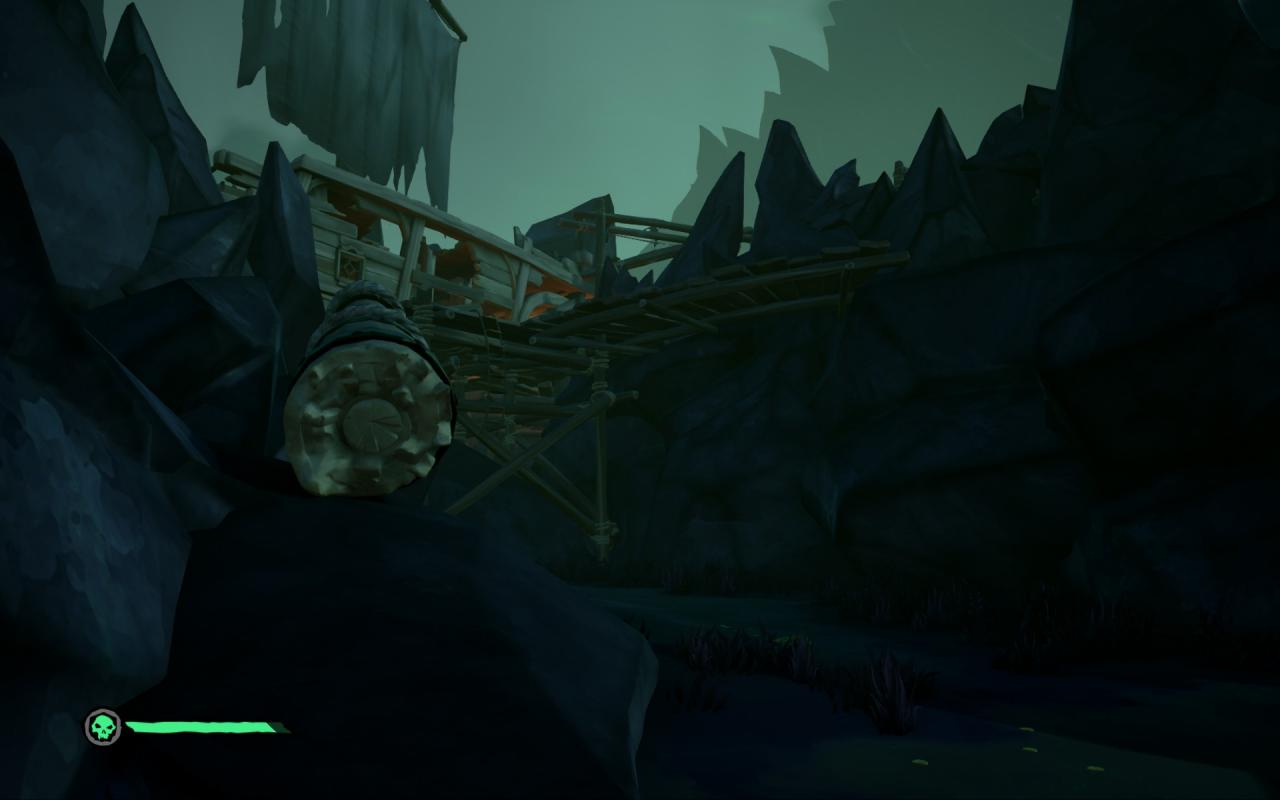
- Follow along until you reach a seemingly dead end. Instead, climb up to the cliff with the fallen mast, along with getting a peek on the treasure you’ll hopefully reach.
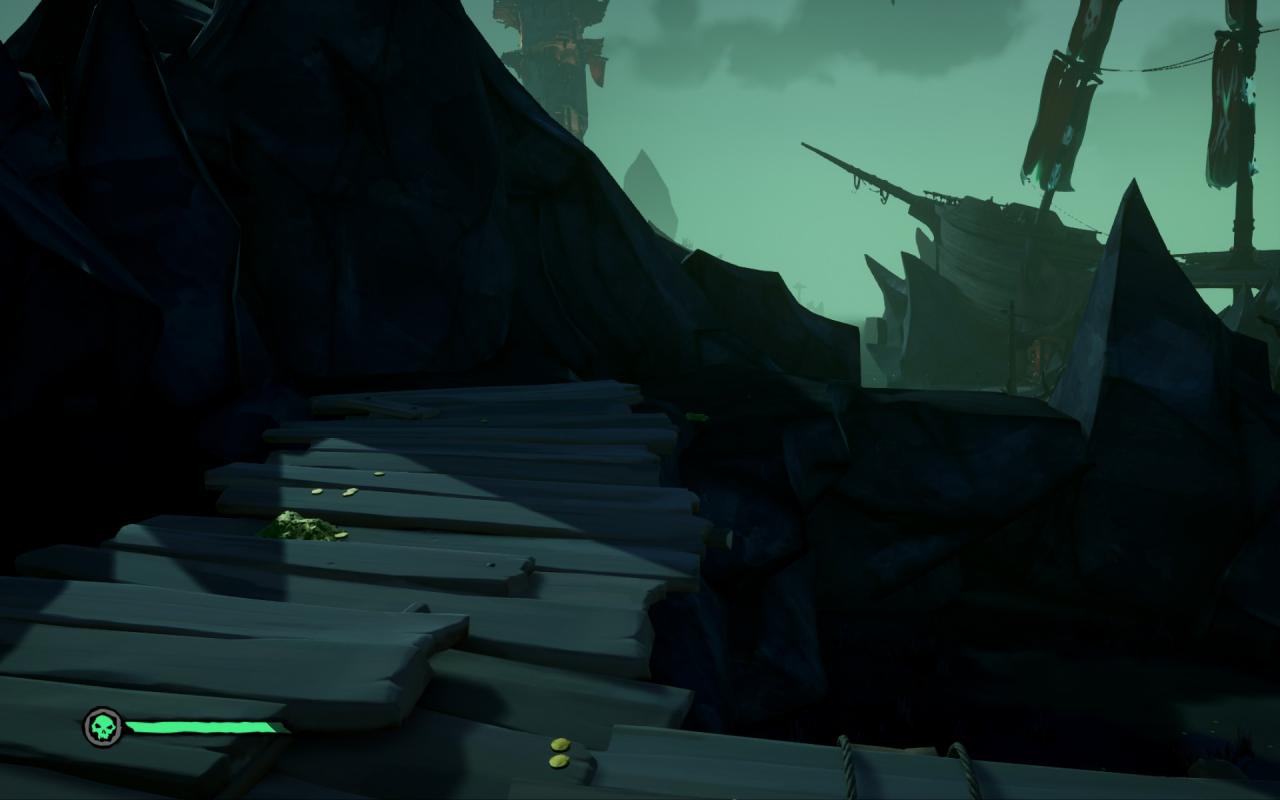
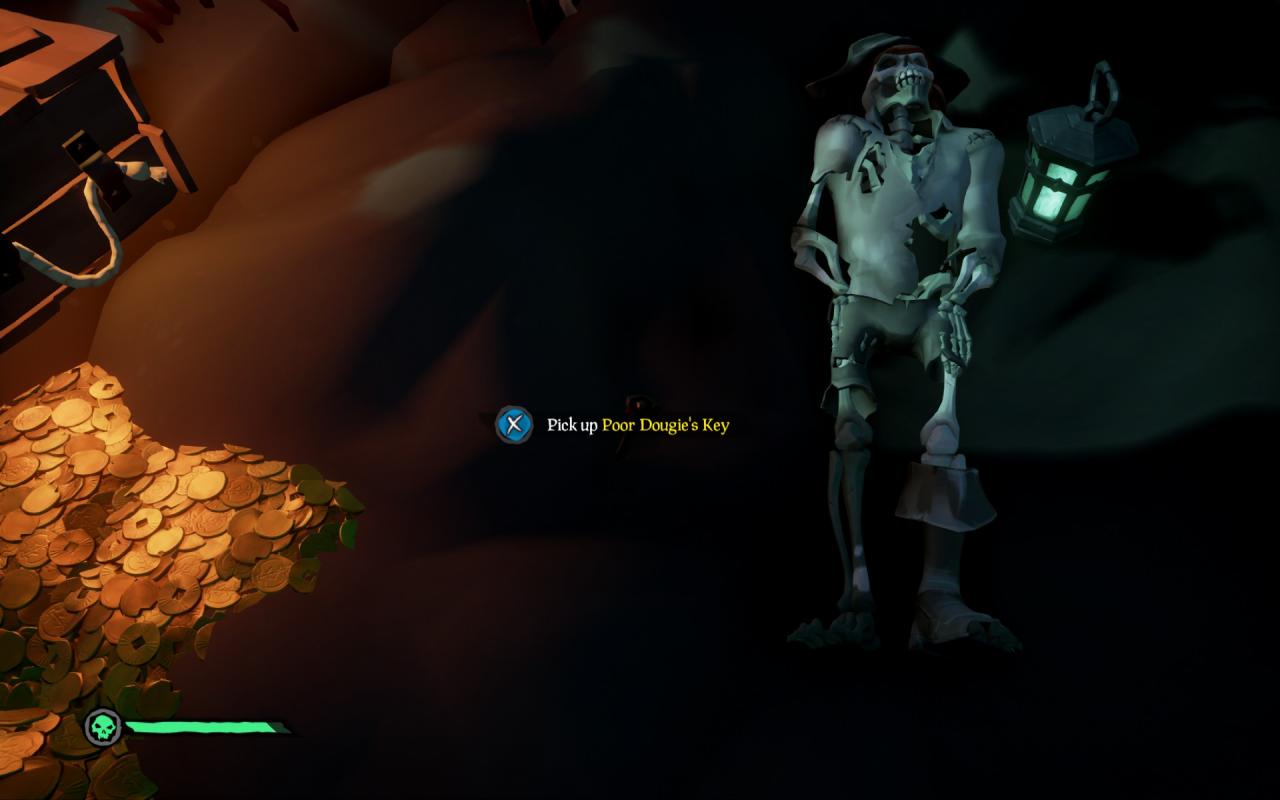
- Follow the trail of gold coins along then off the cliff before going pass the lighthouse and to a ruined sack by the docks.

- In the ruined shack you’ll find a grave. Dig it up and wake up Poor Douge by lighting up the lantern beside him. You’ll remark about his treasure and how the crew has no doubt buried it before going back to sleep. Well time to find his chest then!

Search for Poor Douge’s Treasure
- Head back over to ship with the bedroom skeleton room where you also found the Captain journal 3 in. Take a door off to the right side and up some stairs. Along the railing are three lanterns which you can light up.
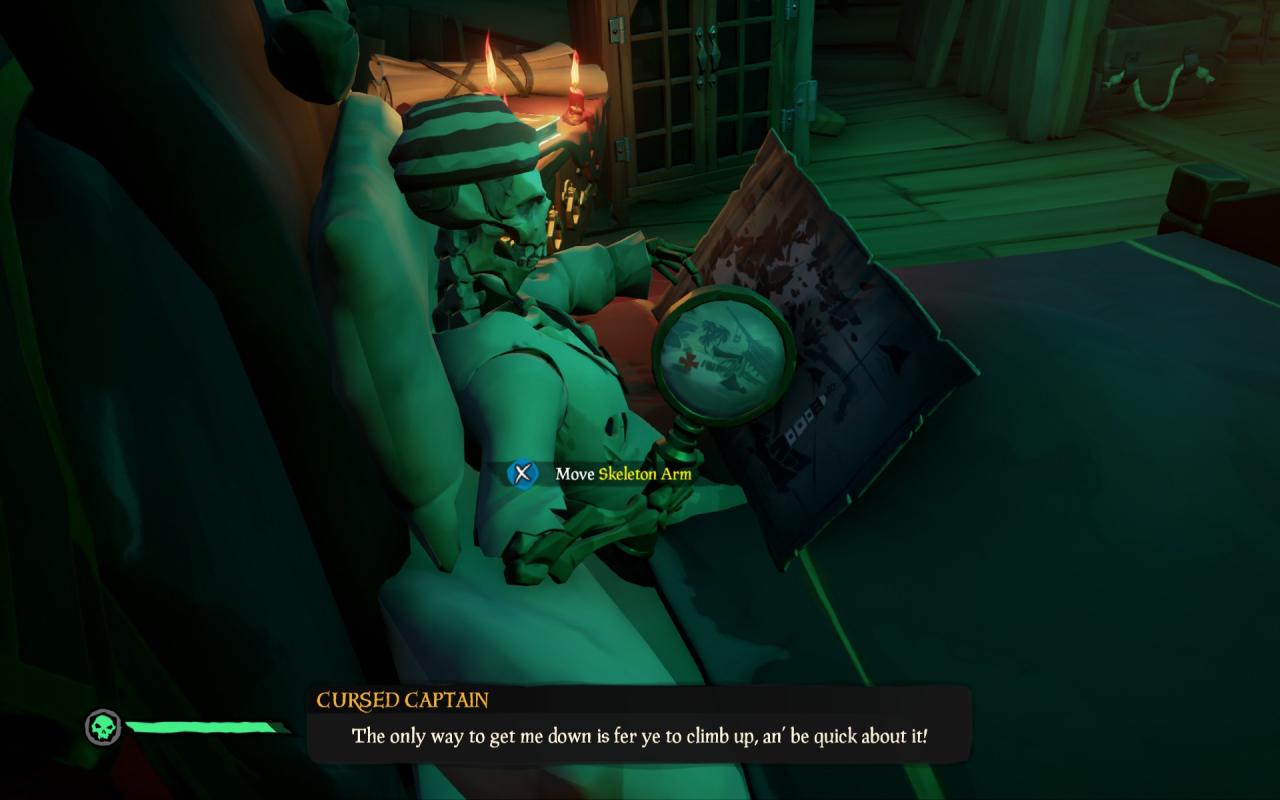
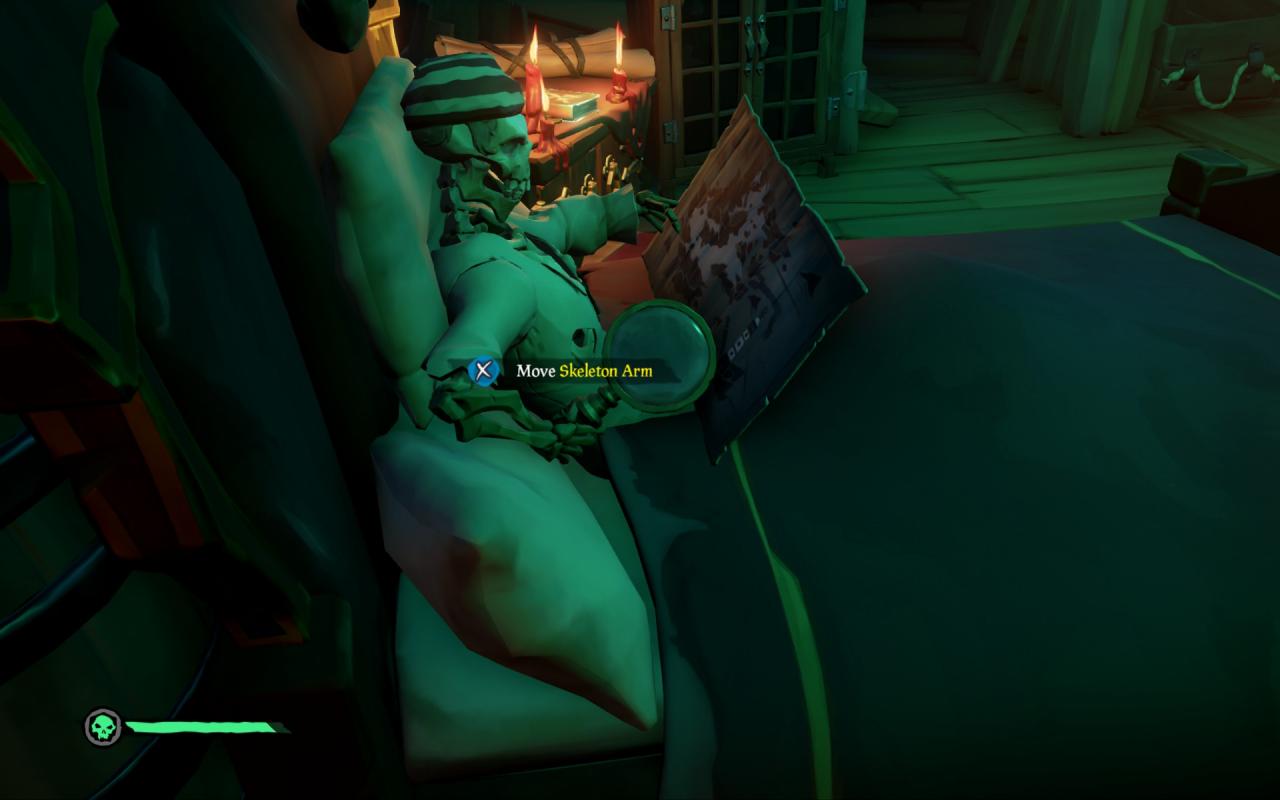
- Return to the bedroom and use the pulley to the left side which will lift the blinds in the room, letting the lantern light in.

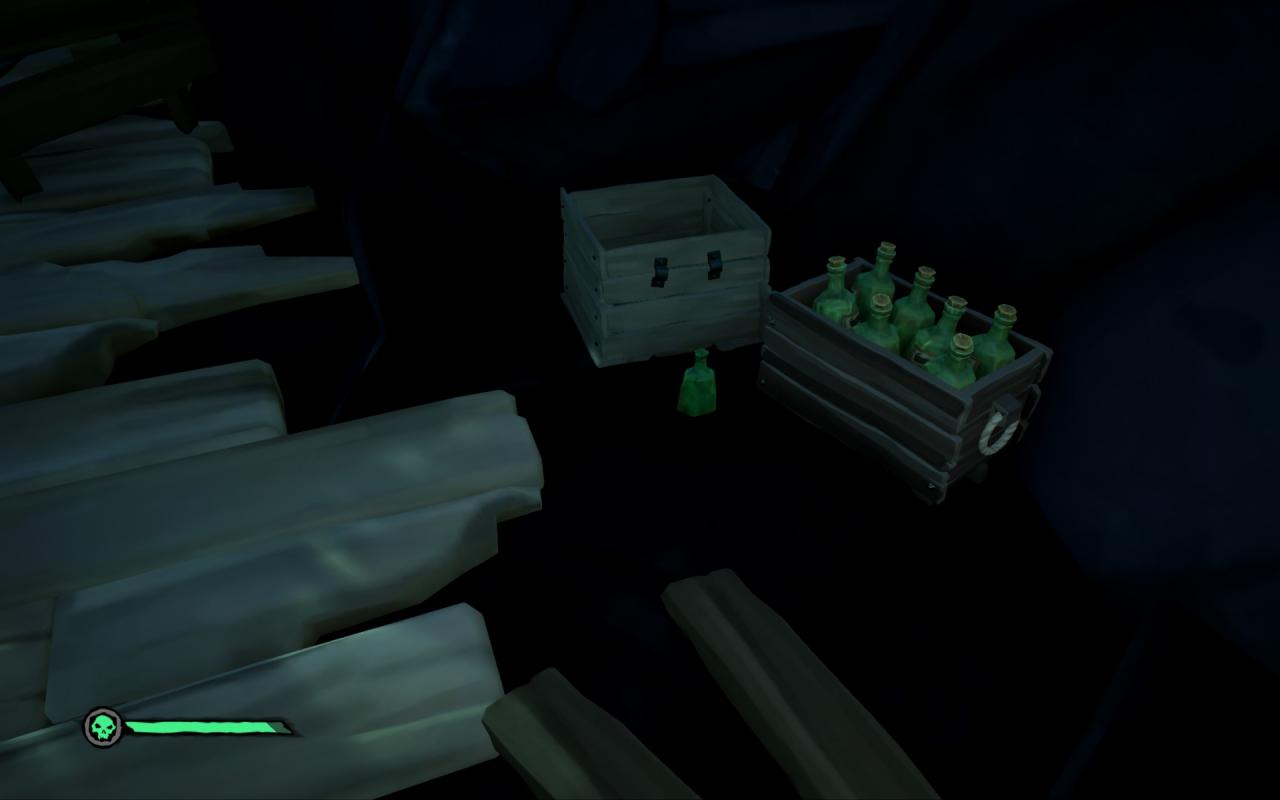
- Now go beside the bed skeleton and activate his arm. Checking through the magnifying glass in his hand will show a red X on the map he is holding. It is a spot just outside the pub.
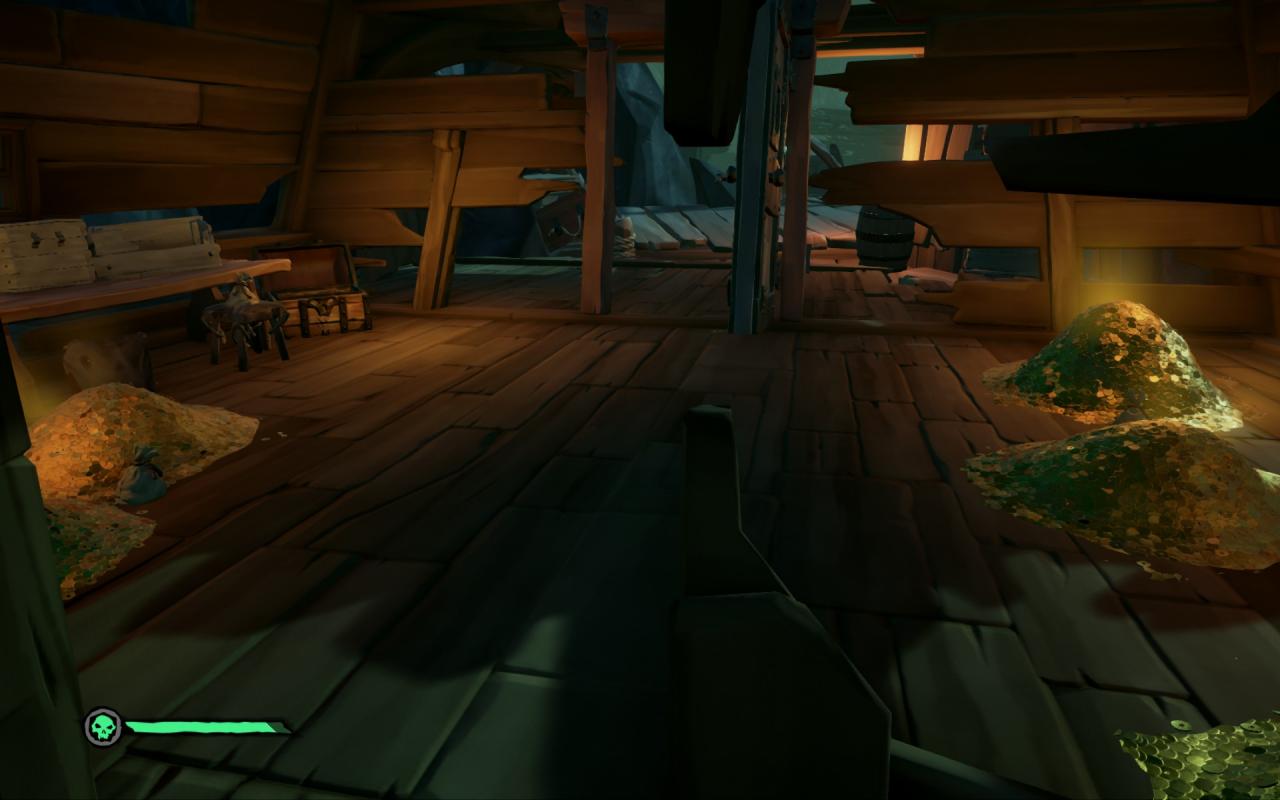
- The exact spot is shown in this next picture.
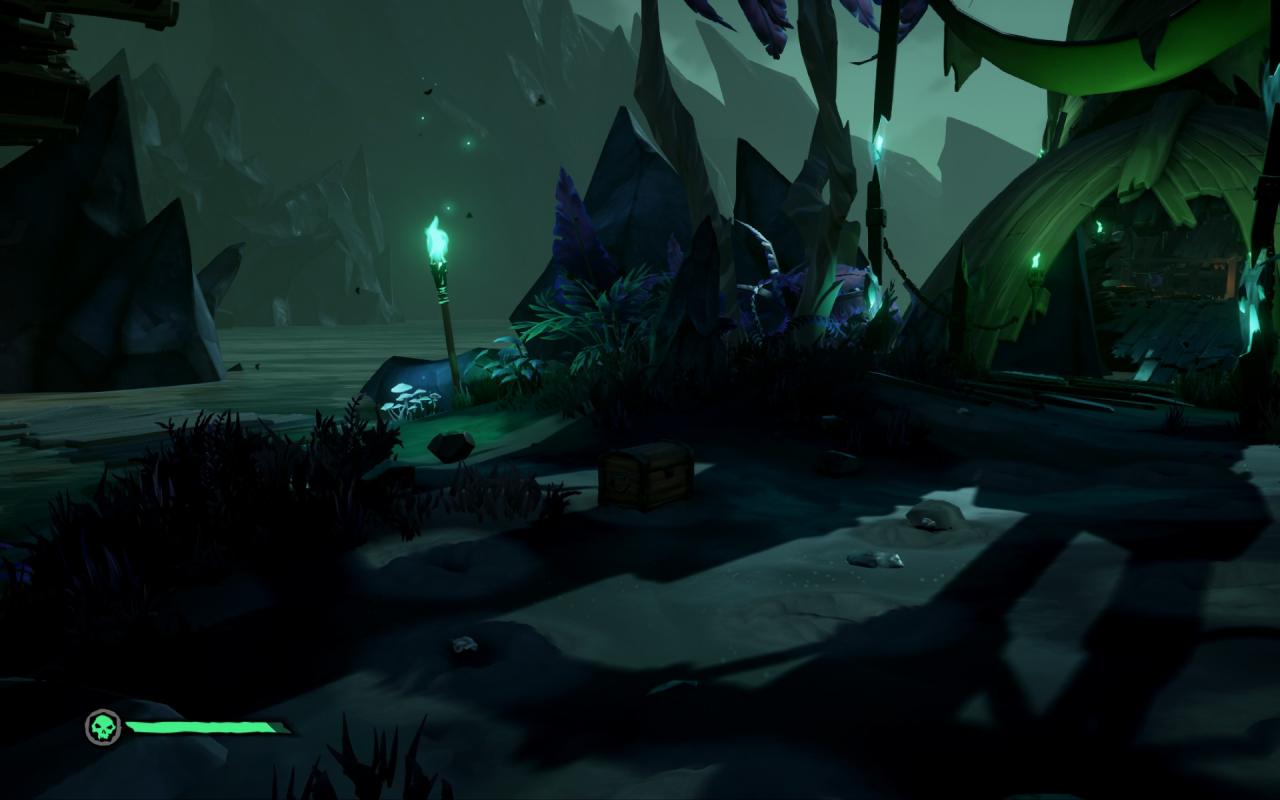
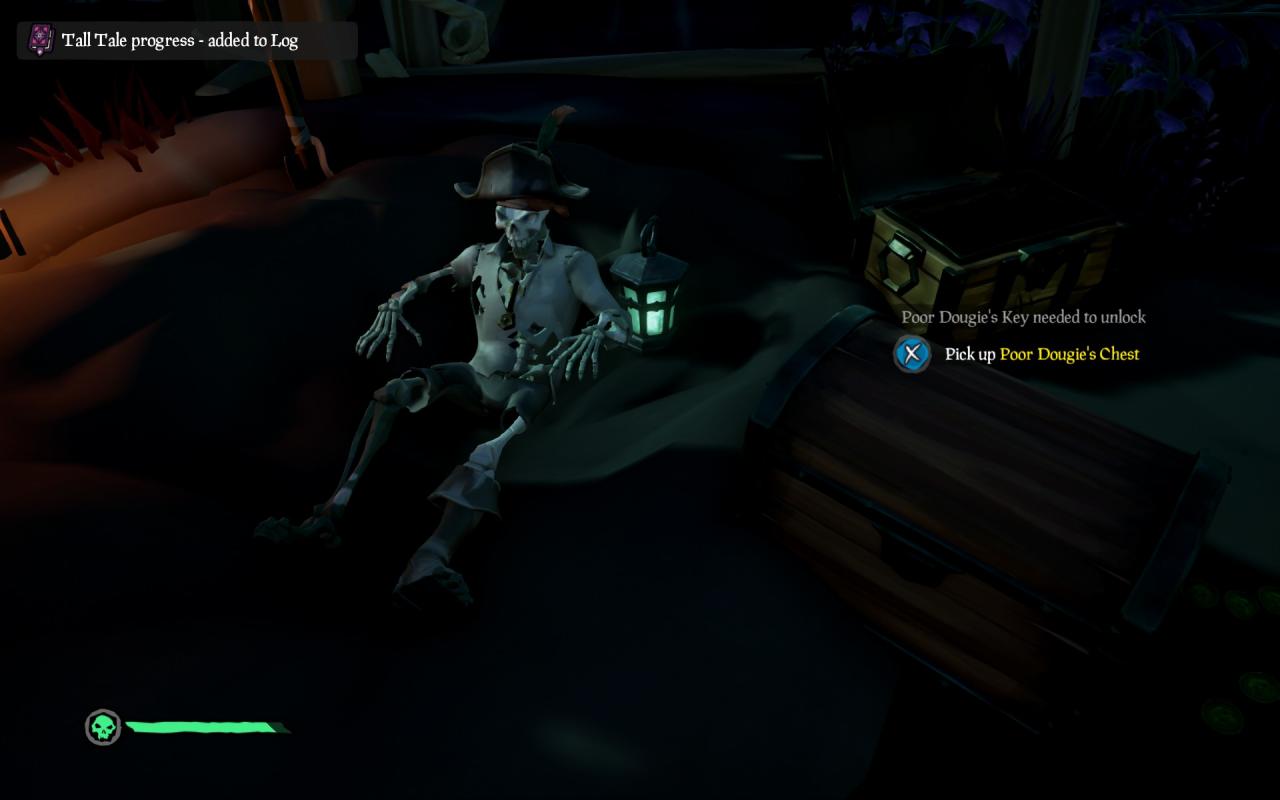
- Dig up Douge’s chest and swiftly return to his grave. You’ll get a reaction to give him the chest, leading to him waking up and giving you a key. At last you can open it and find…a single gold medallion.
The Treasure Cabin Side Quest Part 2
- Head back over to ship with the bedroom skeleton room where you also found the Captain journal 3 in. Take a door off to the right side and up some stairs. Along the railing are three lanterns which you can light up.
- Return to the bedroom and use the pulley to the left side which will lift the blinds in the room, letting the lantern light in.
- Now go beside the bed skeleton and activate his arm. Checking through the magnifying glass in his hand will show a red X on the map he is holding. It is a spot just outside the pub.
- The exact spot is shown in this next picture.
- Dig up Douge’s chest and swiftly return to his grave. You’ll get a reaction to give him the chest, leading to him waking up and giving you a key. At last you can open it and find…a single gold medallion.

Winning the Key and the Riches
With medallion in hand, return to the chess skeleton room and place it on the table. With the bet set, put the Captain onto the headless skeleton.
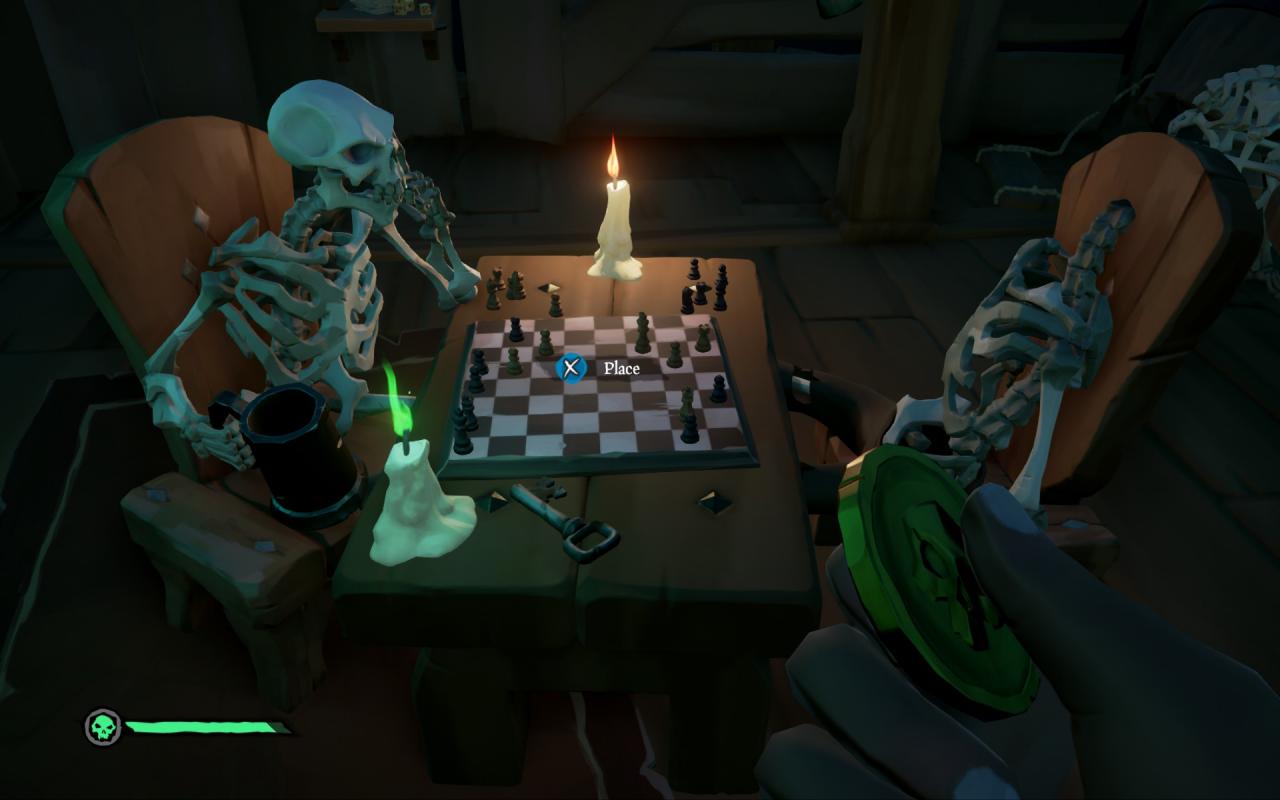
- After that, enjoy the amusing scene of him winning and ruthlessly shooting the loser. Now you can take the key and at last open the treasure cabin door! Feel free to take the Captain along to share in the glory of your success!


- Return to the upper area where you had to go to get the Captain’s cage down. After going up the hand elevator, the door will be right in front of you. Open it up and enjoy your riches. Its only a few thousand, but opening the door will earn you the side quest commendation.
However, do not rush out of the room after getting your gold. There is still one important thing to do reach the five Headless Monkey Journals.
Headless Monkey Journals
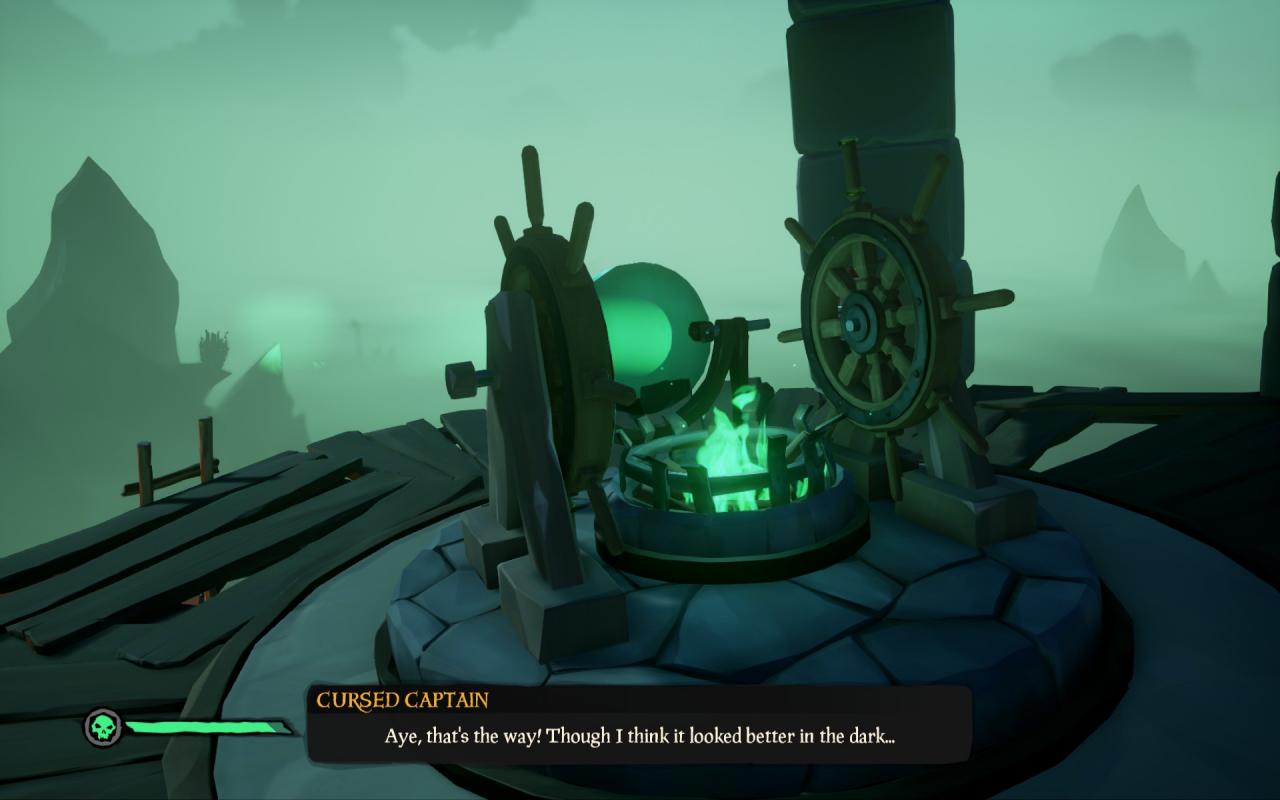
- Continuing right were the treasure cabin ended, you want to walk out of the cabin and onto the ruined deck of the ship. Off to the right is an intact rigging for the sails. Just them until they are completely turned to the side.

- If you look to your left, you will also notice a big brazier on the rocks. You’ll no doubt recognize it as being the same as the ones that needed to be lit up when calling the Ferryman. This is a clear clue on what you need to do next.
- Run on over and up to the lighthouse once more to turn the light around towards the town. Aim for the now exposed brazier and watch the light show that follows. Feel free to take the Captain along who has unique dialog with the up coming discovery.

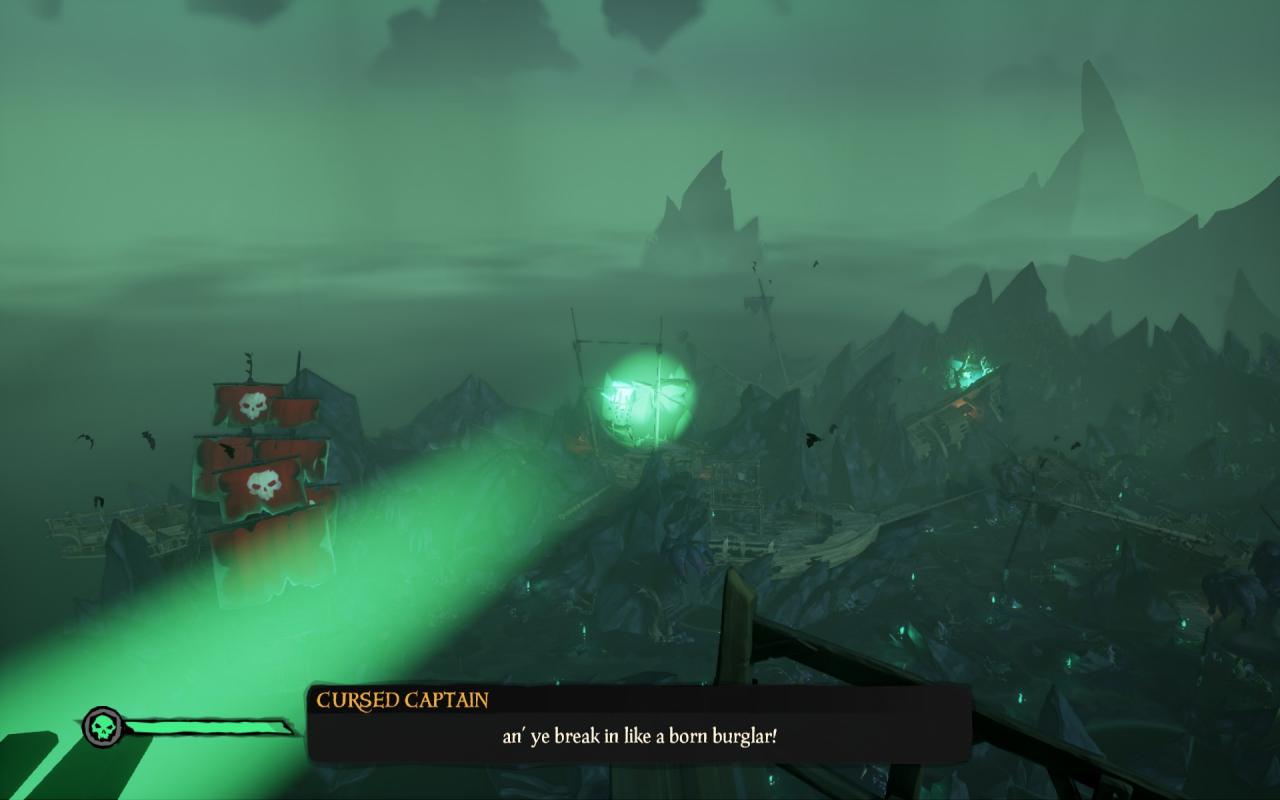
- With that done, head past the central ship area until reaching a t-split with a sign post. Go to the left (or right if coming from the grotto entrance), leading down a side path to a similar raisable bridge like the lighthouse had. However it will now be up since the hidden brazier was lit.
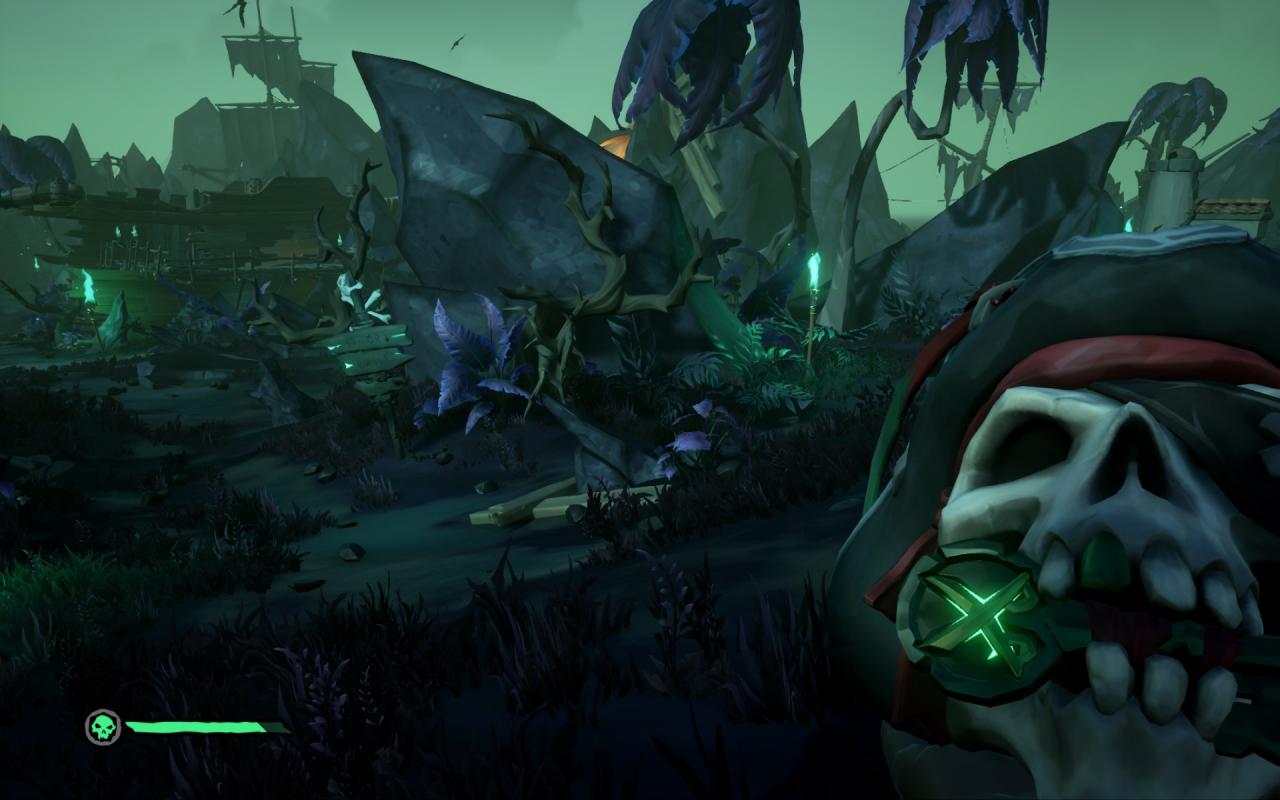
The Headless Monkey
- Cross the bridge and you’ll reach a secluded beach with a lone ship wreck of the Headless Monkey and a quite iconic tune, the Monkey Island tune for those who don’t know. Seems the Pirates of the Caribbean isn’t the only pirating world to have visited the Sea of Thieves. Anyway scattered around the wreck are more journals. Lucky they are limited to this small beach, though do blend in slightly with their tanned covers.
Headless Monkey Journal 1:
-
-
- The first journal is by the wheel, right beside a skeleton holding the ship’s cabin key. Snag that as well.
-
 Headless Monkey Journal 2:
-
-
- Right behind the first journal tucked against the mast is the second journal. Simply hidden but easy to miss if you don’t check closely.
-
 Headless Monkey Journal 3:
-
-
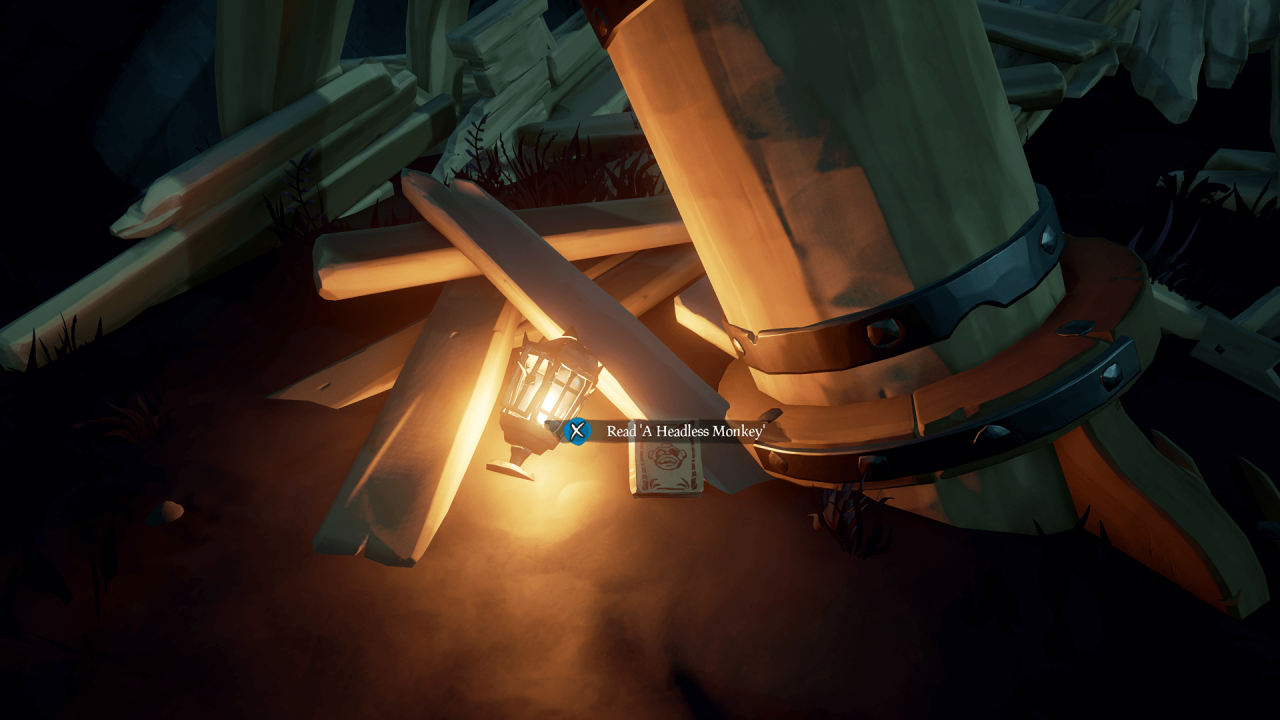
- In the middle of the wreak at the base of the destroyed mast there is the next journal right next to a lit lantern.
-
 ((Credit for this screenshot goes to the Rare Thief website who also have guides covering other Tall Tales and collectibles. I simply forgot and just not willing to go back in to get a screenshot))Headless Monkey Journal 4+5:
-
-
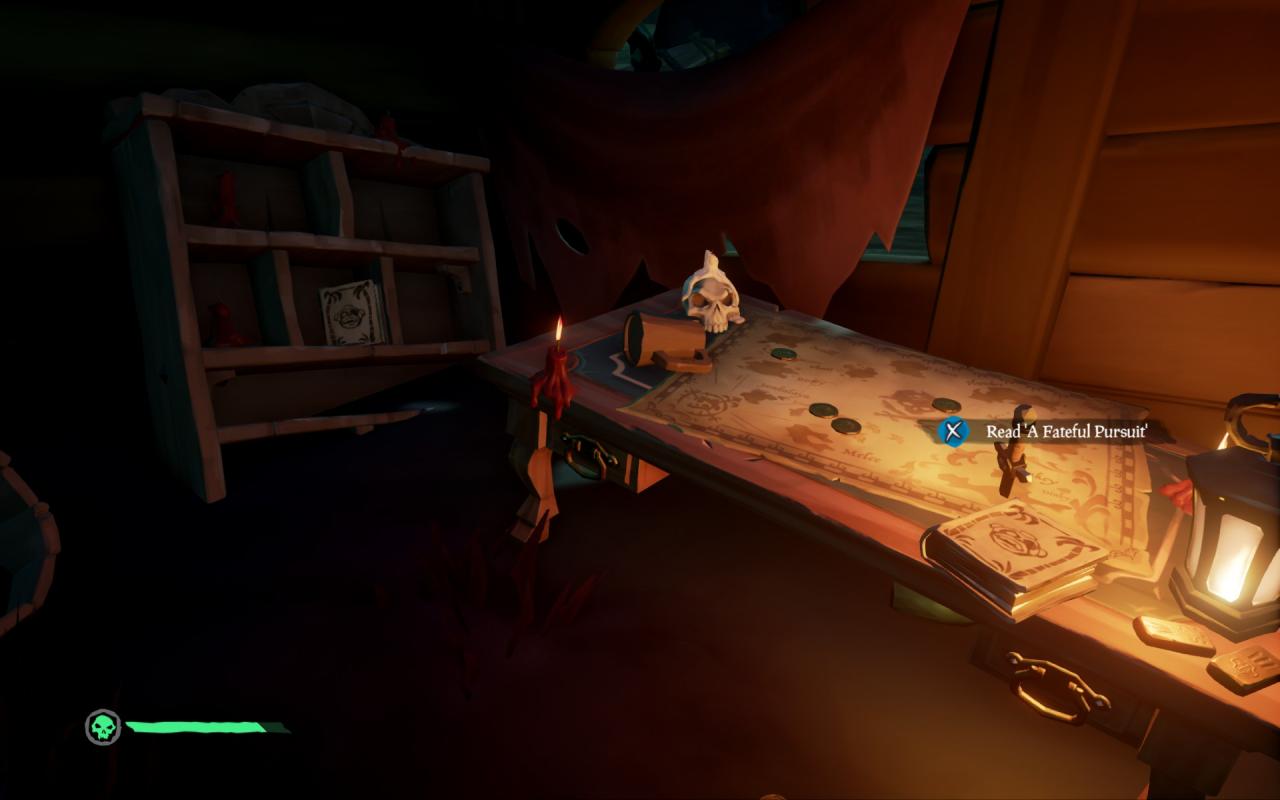
- This one is easy. Go around the far side of the ship until you reach a cabin doorway. With the key from the wheel skeleton, unlock it and head inside. On the table and nearby bookshelf you will find the last two journals for the Headless Monkey.
-
Thanks to DrakeCross for his great guide for The Pirates Life Tall Tale 1 Journal and Side Quest. all credit to his effort. you can also read the original guide from Steam Community. enjoy the game.
Related Posts:
- Sea of Thieves: How To Change Your Lantern’s Color (Flames of Fate)
- Sea of Thieves: How to Get The Ashen Dragon Set in 2021
- Sea of Thieves: How to Deal With Griefers and Avoid Conflict
- Sea of Thieves: All Islands Maps
- Sea of Thieves: How to Fix Error Code PV02