A step by step guide on importing your own tracks into the game, and have custom tape artwork.
Introduction
Important Information
– There is a maximum limit of 20 tracks
– Tracks must be named “track_01.wav” through to “track_20.wav”
– This guide will not tell you where to obtain tracks
Converting to these other formats is very simple, and can be done through a variety of programs and websites.
If you have a piece of audio editing software or a DAW, it is simply a case of importing a track, and then exporting it as a .WAV.
Examples of such software would be:
- Audacity
- Adobe Audition
- FL Studio
- Ableton Live
- Pro Tools
- PreSonus Studio One
If you don’t have the above type of software, a quick google of “mp3 to wav”, “flac to wav” etc. should take you to a website that will do the task for you with ease. You shouldn’t even have to mess with any settings.
Examples of such websites would be:
- https://convertio.co/audio-converter/
- https://cloudconvert.com/audio-converter
- https://www.freeconvert.com/wav-converter
The downsides of the above options is that they have limited capability at converting many tracks at once. This is where XMedia Recode comes in. This is software you have to download and install, but it will let you import multiple tracks at once and convert them in one go.
XMedia Recode can be downloaded here:
Getting Your Tracks Into The Game
Once this is done simply navigate to the right folder.
This will usually be “C:\Program Files (x86)\Steam\steamapps\common\Landlord’s Super\LandlordsSuper_Data\StreamingAssets\Tape4”
This can be quickly accessed by right-clicking Landlord’s Super in your steam library, going to Manage and then Browse local files. This will open the game’s main folder. From there go to “LandlordsSuper_Data“, then “StreamingAssets“, then “Tape4“.
Alternatively you can load the game and click Streaming Assets on the main menu. This will open that folder, and you will only have to open the “Tape4” folder.
Now you have the folder open, just paste (CTRL+V) your converted tracks into it, overwriting the original files.
Next time you start the game simply play the Blank Tape from your inventory and you should hear those tracks!
Creating a Custom Label
As long as you have a piece of image editing software you’re good to go!
Examples of such software would be:
- Adobe PhotoShop
- GIMP
- PaintTool SAI
To begin with you may find it easier to work from a blank template I have created, which can be downloaded from https://i.imgur.com/YGoTNc7.png and looks like this:
Once you have this downloaded simply open it in your software of choice and customise it to your hearts content. You may find it easier to rotate it 90 degrees clockwise first, and then rotate it back when you are done. Here’s something I knocked up quickly:
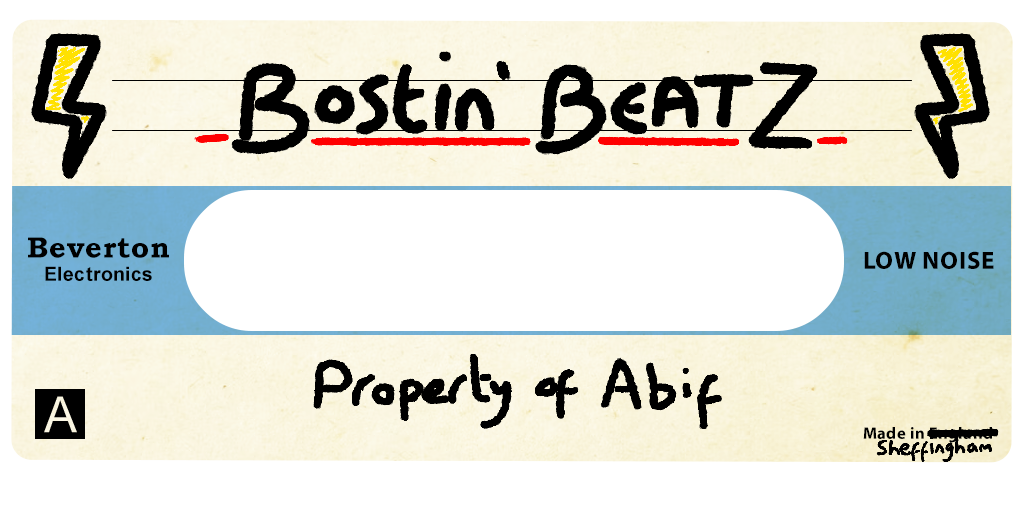 Snazzy eh?
When you’re happy with it, simply save/export it as “blank_tape_label_2.png” and put it in the “Textures” folder of the game. This is typically located at
“C:\Program Files (x86)\Steam\steamapps\common\Landlord’s Super\LandlordsSuper_Data\StreamingAssets\Textures”
This can be quickly accessed by right-clicking Landlord’s Super in your steam library, going to Manage and then Browse local files. This will open the game’s main folder. From there go to “LandlordsSuper_Data“, then “StreamingAssets“, then “Textures“.
Alternatively you can load the game and click Streaming Assets on the main menu. This will open that folder, and you will only have to open the “Textures” folder.
Closing Notes
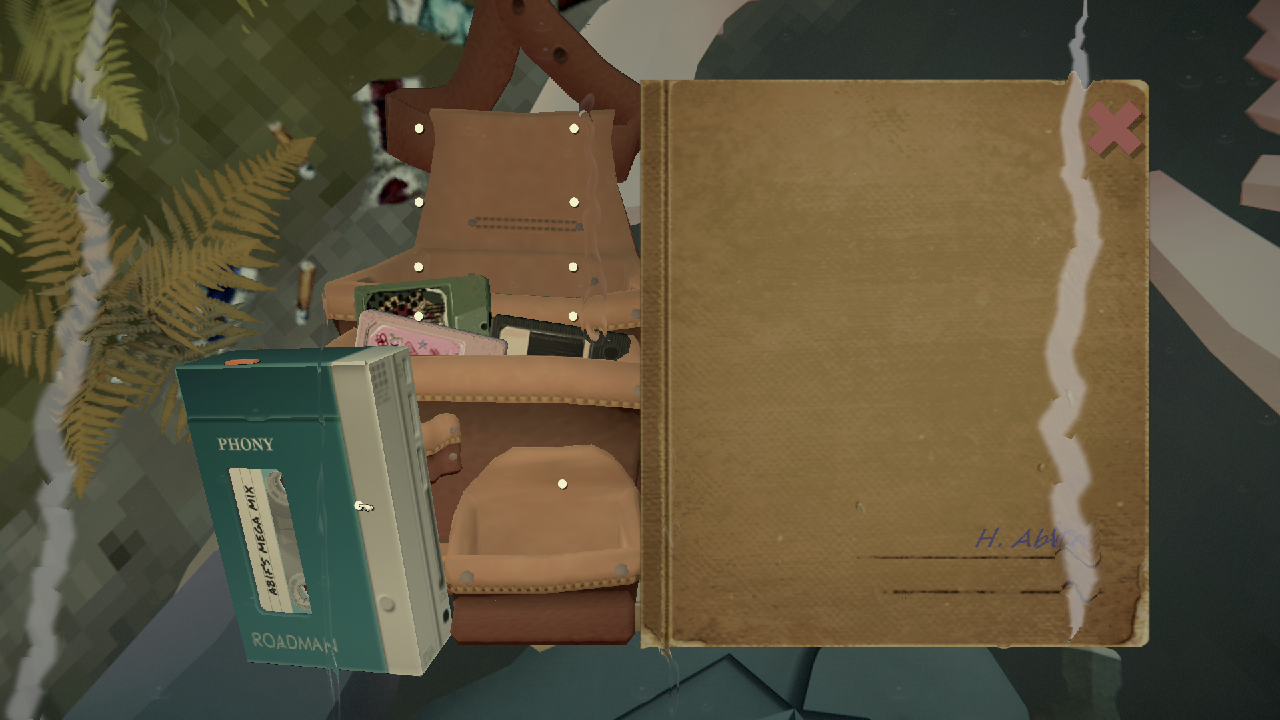
Now that I’m done writing this guide, I’m off to listen to some era appropriate real world music on my Phony Roadman.
~~ ♫ Keep feeling fascination, passion burning, love so stroooong ♫ ~~
Thanks to Relyx for his excellent guide, all credits belong to his effort. if this guide helps you, please support and rate it via Steam Community. enjoy the game.