100% completion guide for DREDGE, with screenshots. WIP, additions welcome!
Story

Help out the town of Great Marrow and pay off your debt!

Collect the Key from Great Marrow.The Secret

Collect the Music Box by helping the Hermit and blowing up the debris.
The Bond

Collect the Ring by helping the Researcher.
The Chains

Collect the Necklace by helping the Veteran.
The Moment

Collect the Pocketwatch by “helping” the Fanatic.
Unshackled

Complete the game normally.
Sated

Instead of saying you’re ready, ask for more time.
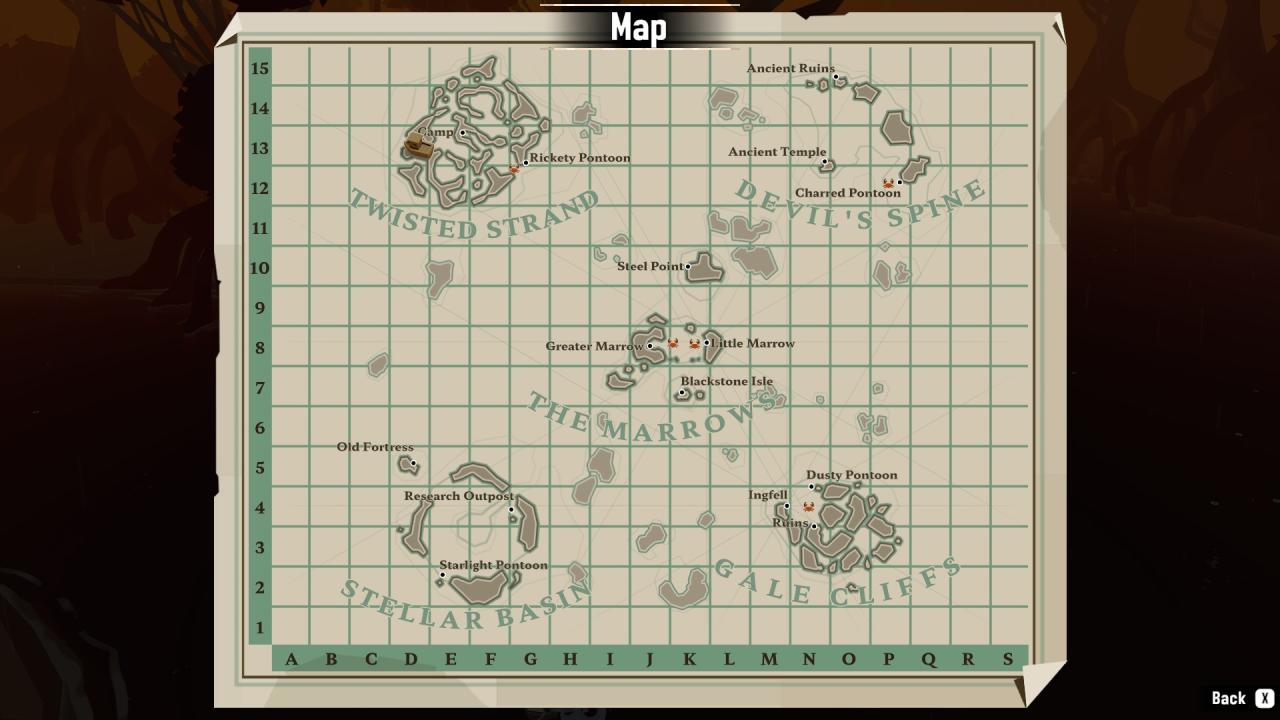
Find the island campsite to the SouthWest and speak to the man there, then speak to the Lighthouse Keeper.
Return to the Collector and ask about the book, then demand he give it to you.
Speak to the Lighthouse Keeper a final time.
Progression

Upgrade to Hull lvl.2Hull: Refined

Upgrade to Hull lvl.3
Hull: Advanced

Upgrade to Hull lvl.4
Swift Reaper

Have a fishing speed of 200%. Stack a couple rods of the same type, very easy.
No Time to Linger

Have an engine speed of 75kn. Should occur with normal upgrades.
Light up the Night

Reach a lumen strength of 3000. The lightbar unlocked at Hull lvl.4 gives 3000 lumen.
Researcher: Engines

Research all Engine upgrades.
Researcher: Rods

Research all Rod upgrades.
Researcher: Pots

Research all Pot upgrades.
Researcher: Nets

Research all Net upgrades.
Places you can get Research Materials:
-Research Material dredging locations
-Rare chance during normal dredging
-Looting shipwrecks, camps, and other points of interest on the shores.
-Sold by Travelling Merchant, restocks over time.
-Reward for catching rare fish for Traveling Merchant.
-Reward for turning in dog tags to the Airman.
-Reward for completing most sidequests.
Powers

Maintain heat above 50% for 10 seconds. [Thank you crazyabe111]Dimensional Bypass

Use the teleport power from far away. I used it from off the map, but others have found the other island chains to work. [Thank you CountZio and Tolkien Book Fan]
Banisher

Banish 10 threats. This may not count the small fish at Devil’s Spine, but it definitely counts the Ships at night. [Thank you crazyabe111]
Unsustainable Fishing

 Harvest a fishing spot from long distance. Atrophy harvests the spot closest to you, so I found an isolated spot and moved until it was just at the edge of my vision. Harvested spots do recover, just very very slowly. [Thank you crazyabe111]
Unique Actions

Honk to a friend in the night.Perfect Packing

Perfectly fill your hull. Crabs are your friends.
Feeling Prepared

Fill all of your equipment slots. Very easy late-game, but achievable at any time.
Mixed Results

Catch three different fish from a Baited spot, very easy.
Prey Sighted

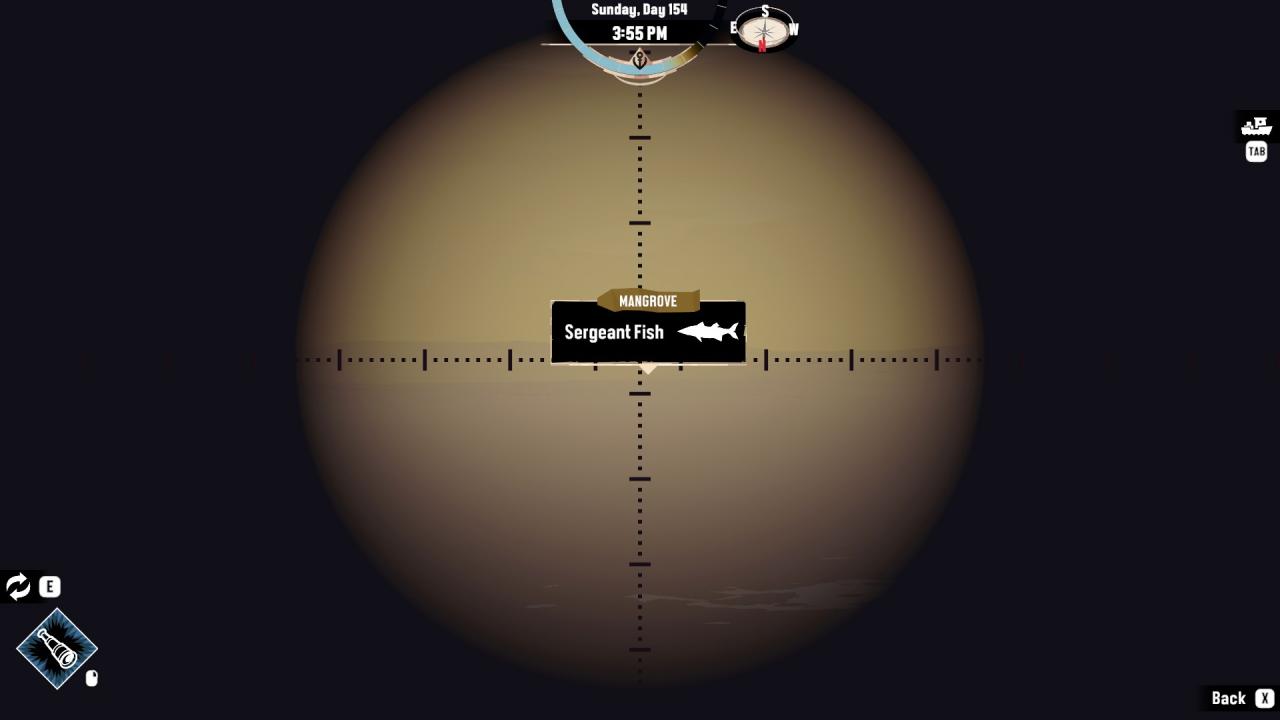 Use the Spyglass to view each type of fishing spot (Shallow, Oceanic etc.).
“Dredge” may count as a spot that needs to be spied.
[Credit to CountZio!]
Servant of the Shrines

– Behind the town of Great Marrow: Demands Cod! [Thank you CountZio]
 – On the backside of the Gale Cliffs: Demands crabs, at least one must be Decorator.
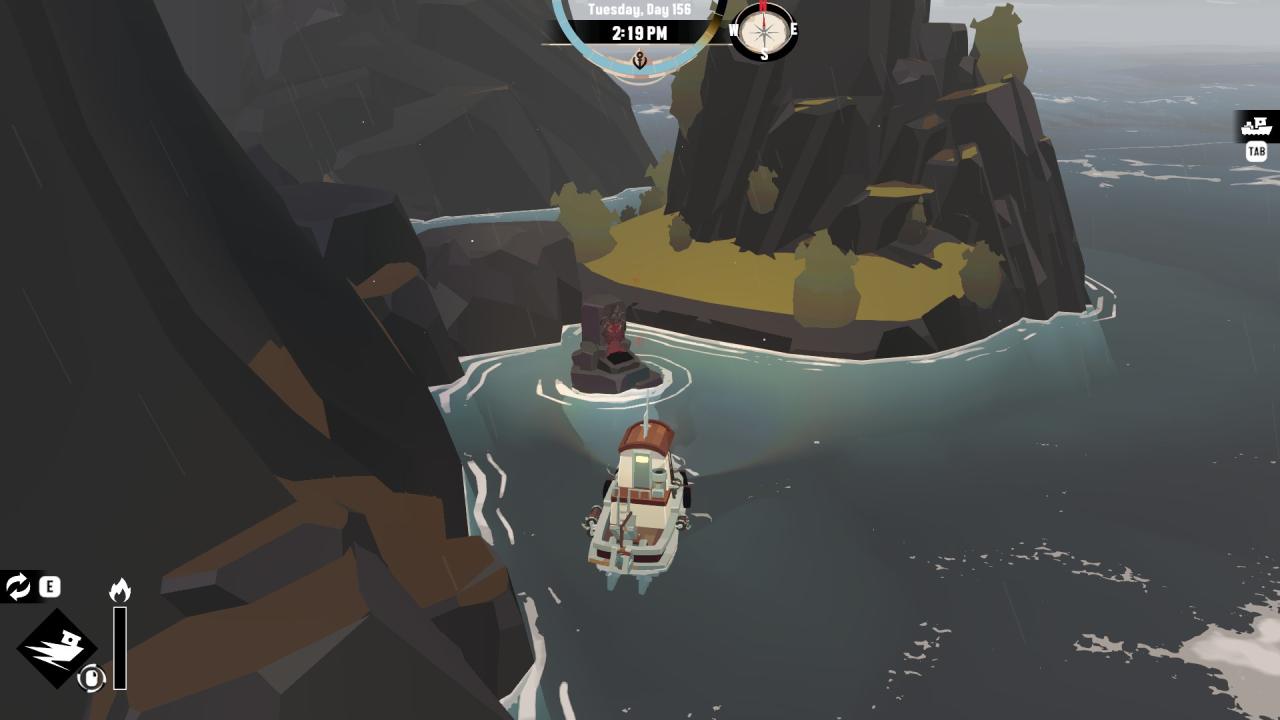
– On an island near the Stellar Basin: Demands the four Sharks: Hammerhead, Whaler, Blacktip, and Ghost. [Thank you harveyrice]

– Hidden within the Twisted Strand: Demands a single Aberrant Fish.
Providence

Complete all side missions. One way or another.
“One way or another” means you are allowed to fail the Robed Figure quests.
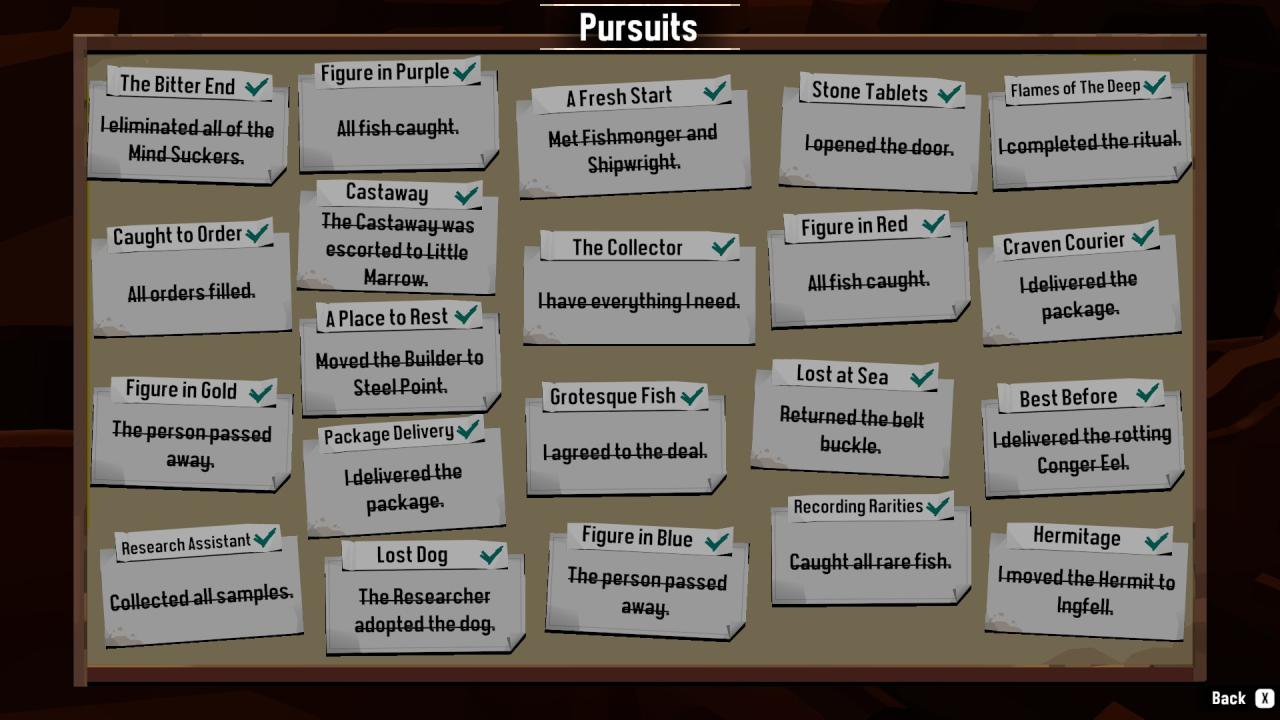
The Collector
Main Quest.
Recording Rarities
Catch the four unique fish
-The Oarfish behind the waterfall in Gale Cliffs.

-The Gulper Eel by the Research Station at the Stellar Basin.
-The Goliath Tigerfish in a blocked pond on the southside of the Twisted Strand.
-The Coelacanth in the small blocked passage behind the Devil’s Spine.
A Fresh Start
Introductory quest. Meet the Fishmonger and Shipwright.
Grotesque Fish
Required quest. Catch an Aberrant fish and give it to the Fishmonger, then speak to the man on Blackstone Isle.
Caught to Order
Complete the Fishmongers special orders.
Order 1: Flounder and Eel, both require Shallows rod.
Order 2: Squid and Black Grouper, both require fishing at night.
Order 3: Common Crab and Fiddler Crab, both caught in Marrows crabpot.
Order 4: Any Aberrant fish.
A Place to Rest
Bring supplies to Steele Point for the builder, then transport her there.
Package Delivery
Bring a package from the Mayor of Great Marrow to the Dockworker in Little Marrow.
Lost at Sea
Dredge up the Bronze Beltbuckle by Little Marrow and give it to the Grieving Father in Little Marrow.
Castaway
Find the Castaway on the shore near Steele Point and transport him to Little Marrow.
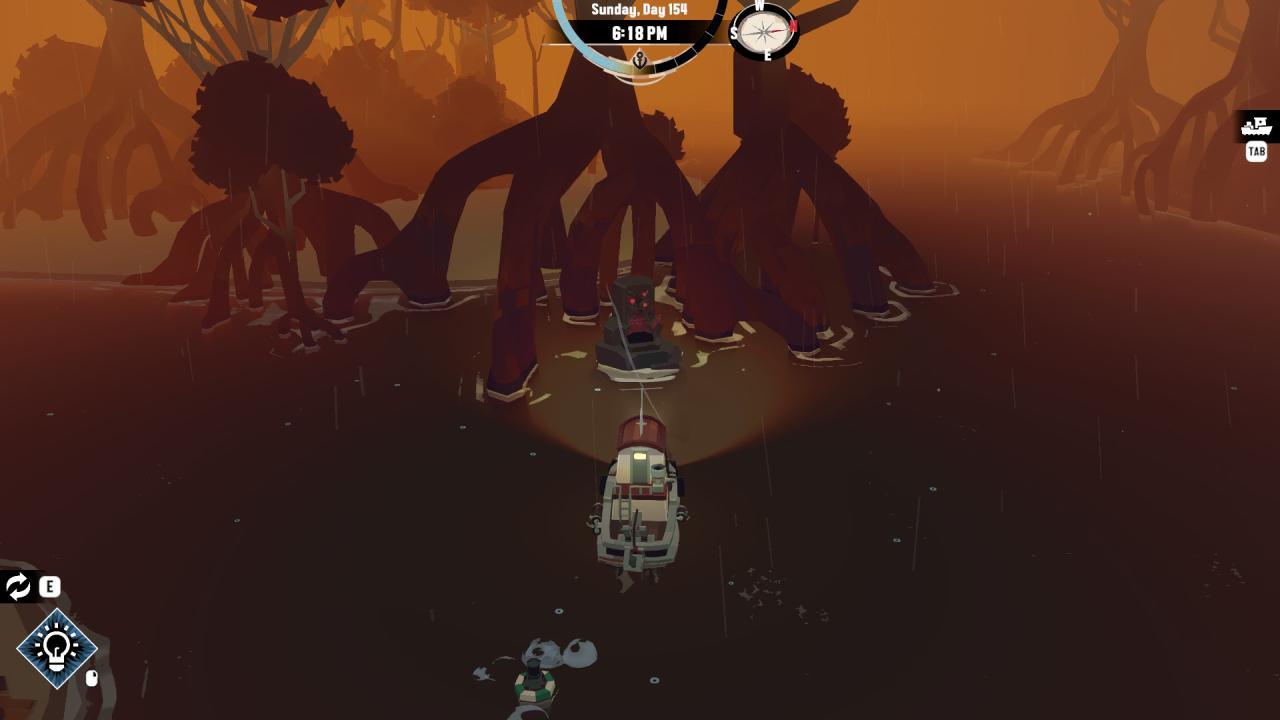
Hermitage
Required Quest. Recover the Family Heirloom for the hermit, then blow up some debris for the Retired Whaler and speak to him. Finally, transport the Hermit to Ingfell.
Best Before
Catch a Conger Eel for the woman in Ingfell and let it sit in your cargo until it is rotting. Conger Eels only come out at night in the Gale Cliffs.
Research Assistant
Required Quest. Catch all of the fish the Researcher asks for.
The first three she asks for are the Firefly Squid, Glowing Octopus, and Aurora Jellyfish, all of which are caught in the Basin at night.
She then gives you the Sampling Device, allowing you to catch Abyssal and Hadal fish, and asks for four more fish: The Giant Amphipod, Loosejaw, Snailfish, and Anglerfish.
The Amphipod and Snailfish are located above the center of the basin and can only be safely recovered when the Repulsion Device is active.
Lost Dog
Find the lost dog on the coast of the Stellar Basin and transport them to the Researcher.

The Bitter End
Required Quest. Find the two mortar pieces for the Airman and then craft the special baits. Bait the traps and return the Mind Sucker carcasses to the Airman.
Craven Courier
Find the terrified Courier’s ship between Twisted Strand and The Marrows, deliver their package to the Dockworker in Little Marrow.
Flames of The Deep
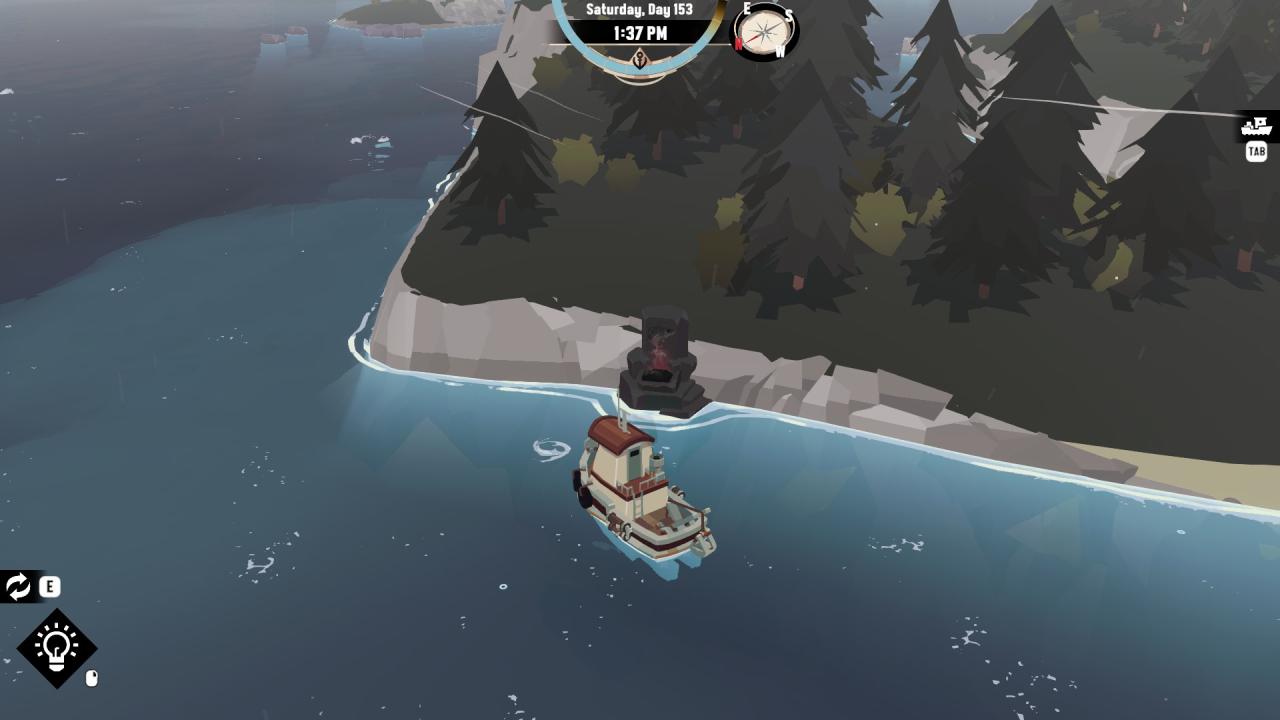
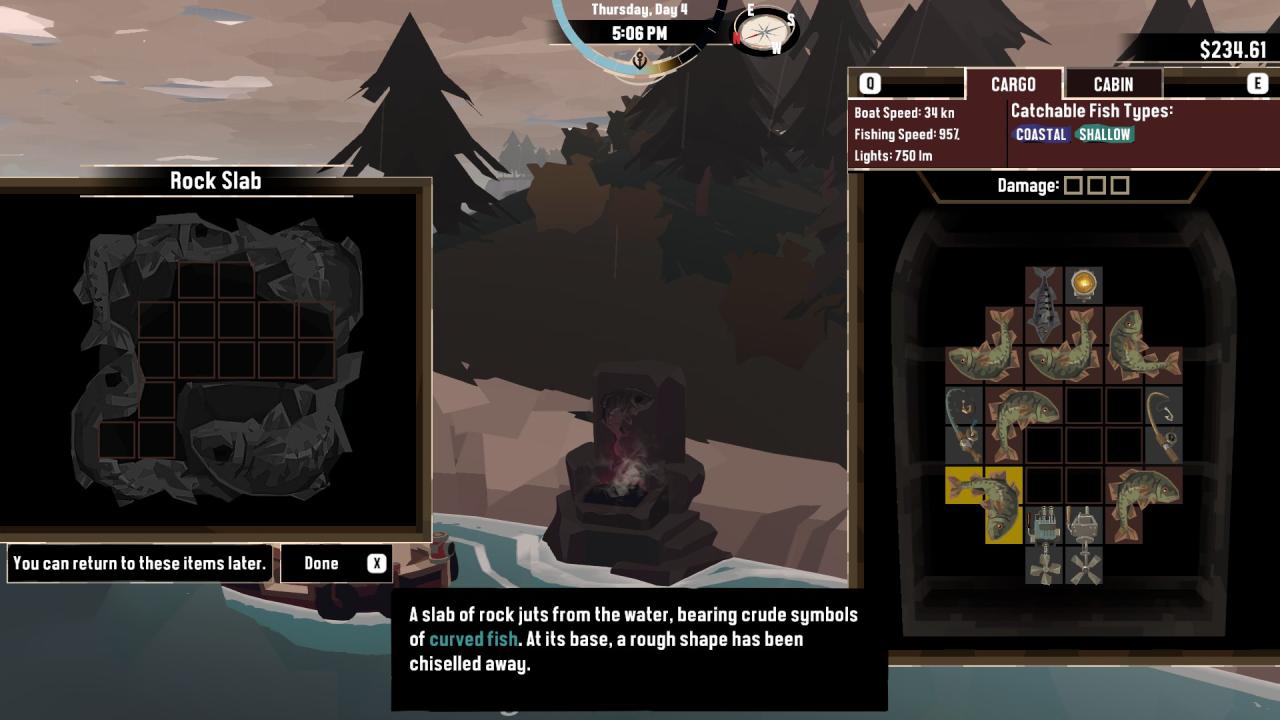
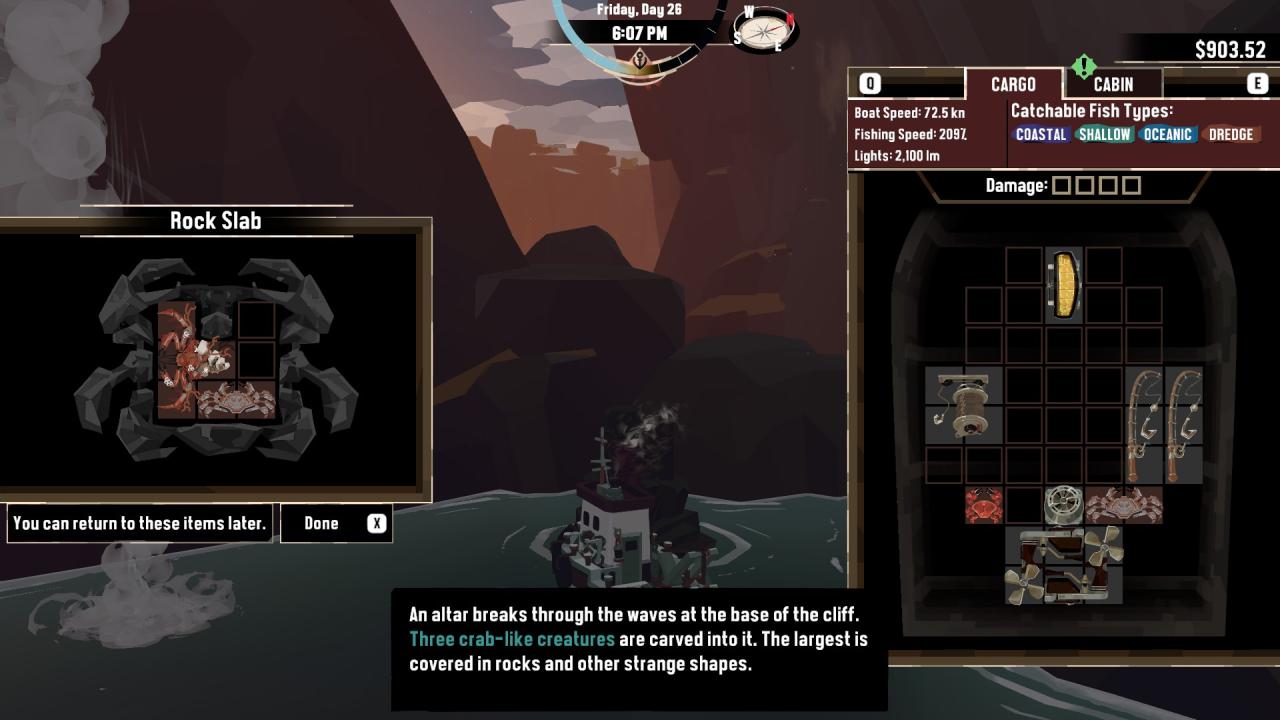
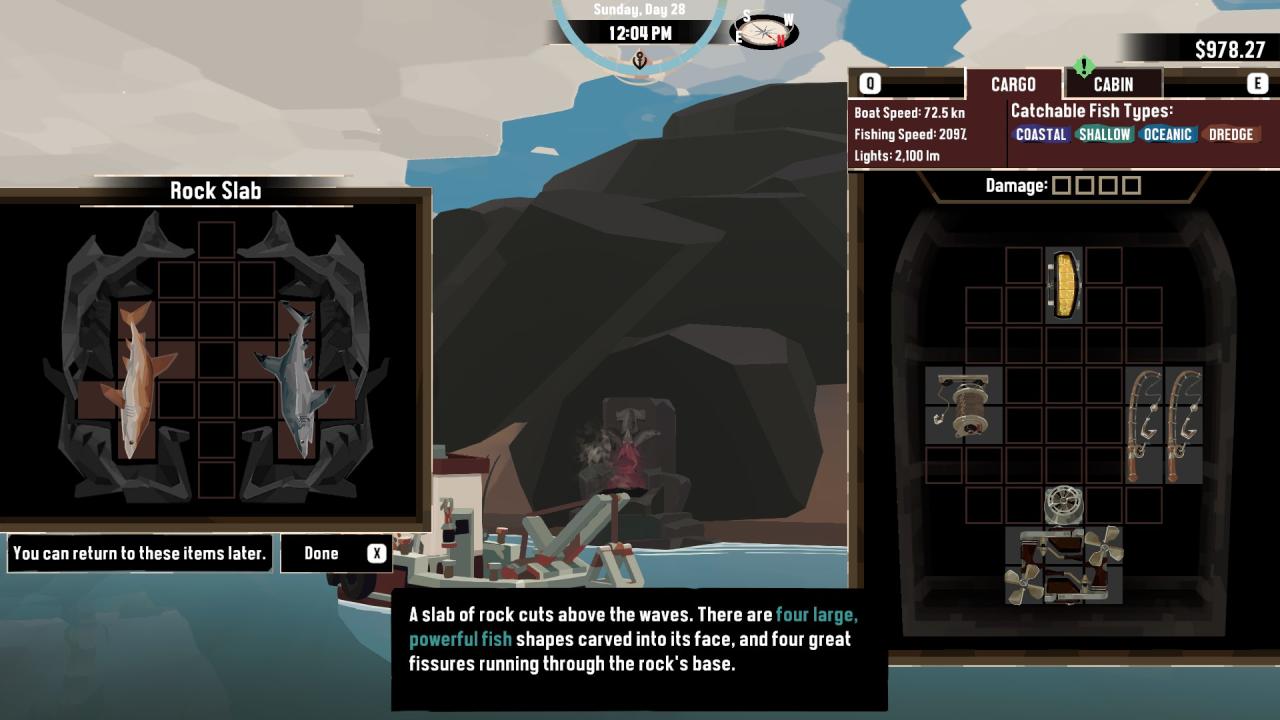
Required Quest. Solve the 3 shrines located around Devil’s Spine and recover the Cold Flames.
Stone Tablets
Dredge up the four Stone Emblems and give them to the Pawnbroker, he will return a glowing stone tablet. Take the Tablet to the Ancient Lighthouse at Devil’s Strand and open the door.
The Hooded Figure quests have timers.
Upon speaking to a Hooded Figure you begin a secret timer, you must deliver the three fish they ask for before the timer runs out. If the timer runs out the Figure dies of starvation.
The quest is still counted as “complete” even if the Figure starves.

Figure in Blue
Located on an island between The Marrows and Gale Cliffs.
Wants a Blue Mackerel, Tiger Mackerel, and Snake Mackerel (found near Devil’s Spine).
Figure in Yellow
Located on an island between Gale Cliffs and Stellar Basin.
Wants a Red Snapper, Fangtooth (requires Abyssal equipment), and Blue Crab.
Figure in Purple
Located on an island between Stellar Basin and Twisted Strand.
Wants a Tarpon, Horseshoe Crab, and Barreleye.
Figure in Red
Located on an island between Twisted Strand and Devil’s Spine.
Wants a Cusk Eel, Sailfish, and Frilled Shark.
Safe Haven

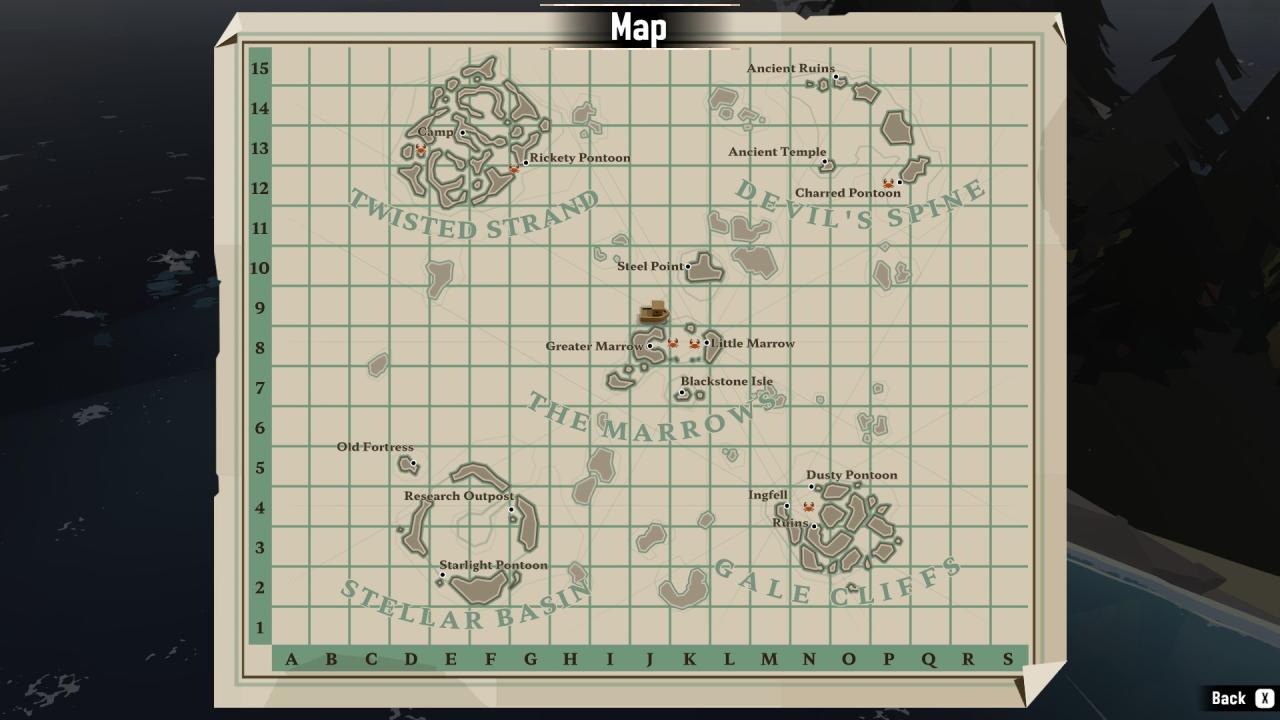
Visit every dock in the game.
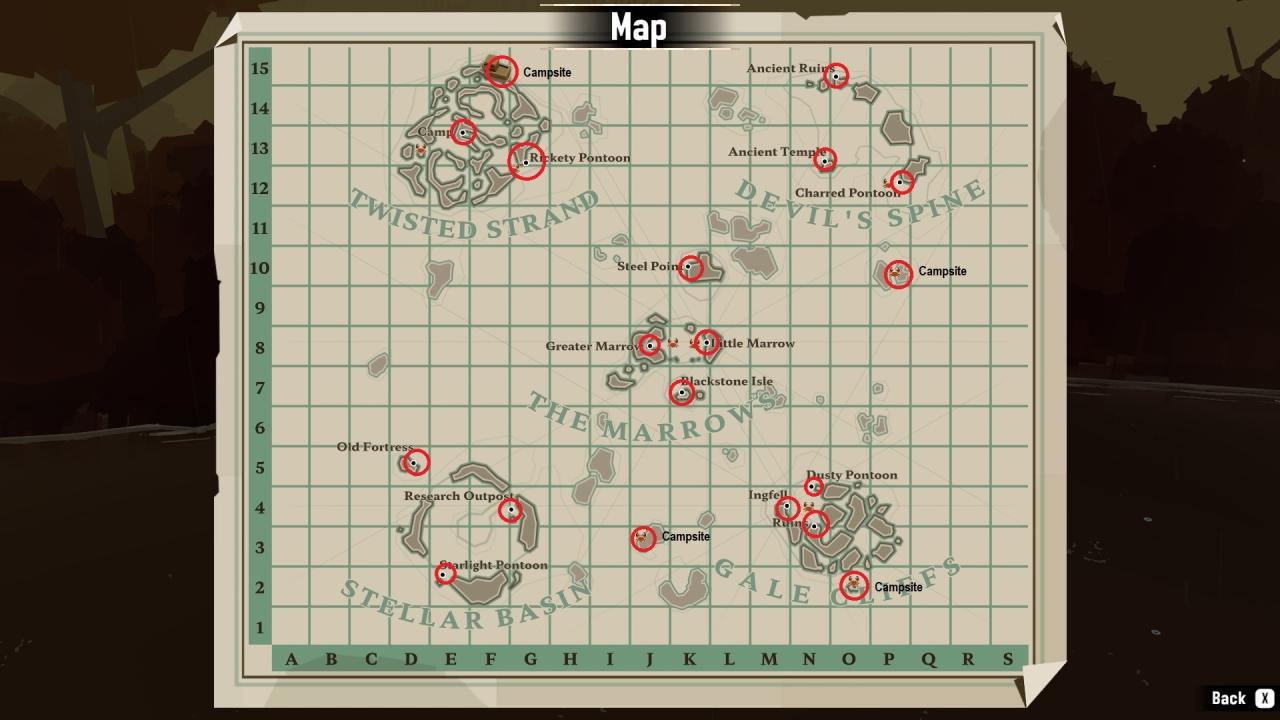
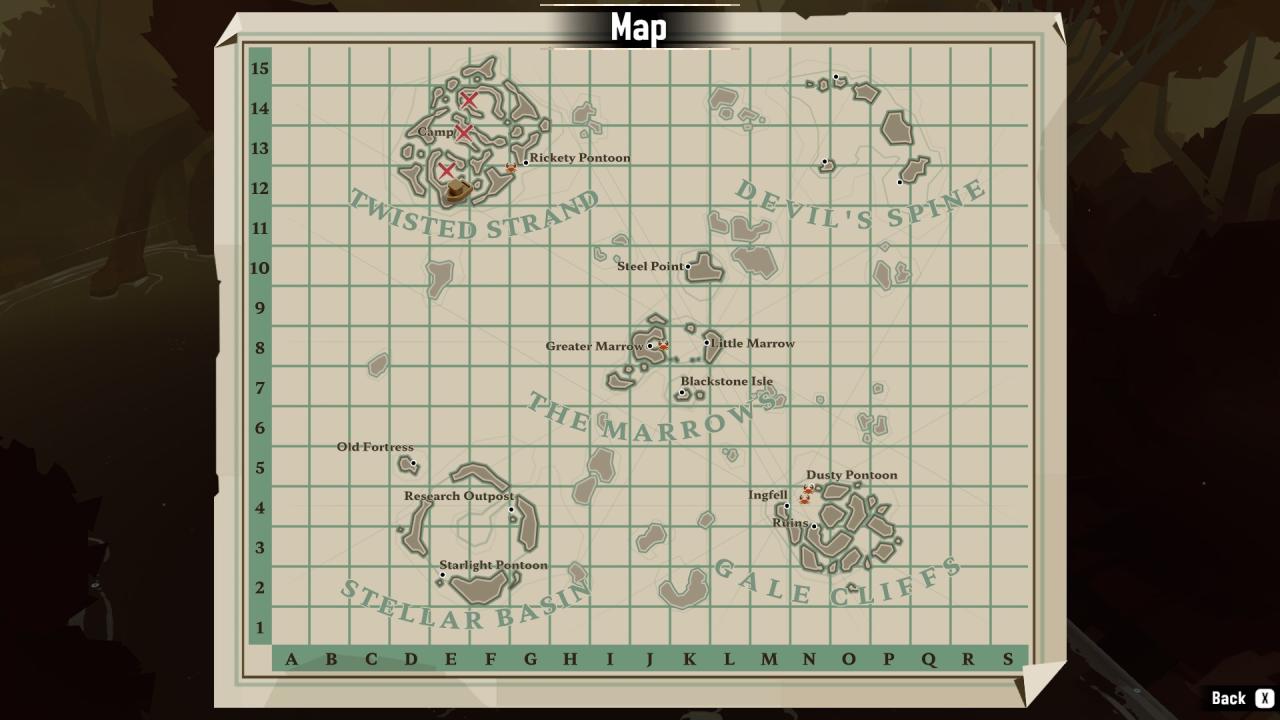
There are four campsites circled that are not normally shown on the map.
Gale Cliffs Campsite, found on the Southside.
Stellar Basin Campsite, found on an island between Gale Cliffs and Stellar Basin.
Twisted Strand Campsite, found on the northside.
Devil’s Strand Campsite, found on an island between Devil’s Strand and Gale Cliffs.
Completion

Deplete 25 harvesting spots. Depleted spots WILL regenerate, just slowly.Lives for Profit

Sell $2500 worth of fish.Cash for Gold

Sell $1500 worth of trinkets, will come quickly in the Spine.
Unwanted

Discard 25 fish.
Trapped by These Walls

Catch 100 crabs in crab pots.
Tangled in This Web

Catch 150 fish in trawl nets.
Master Angler
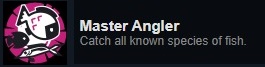
Catch all types of fish. More in-depth guide to come.
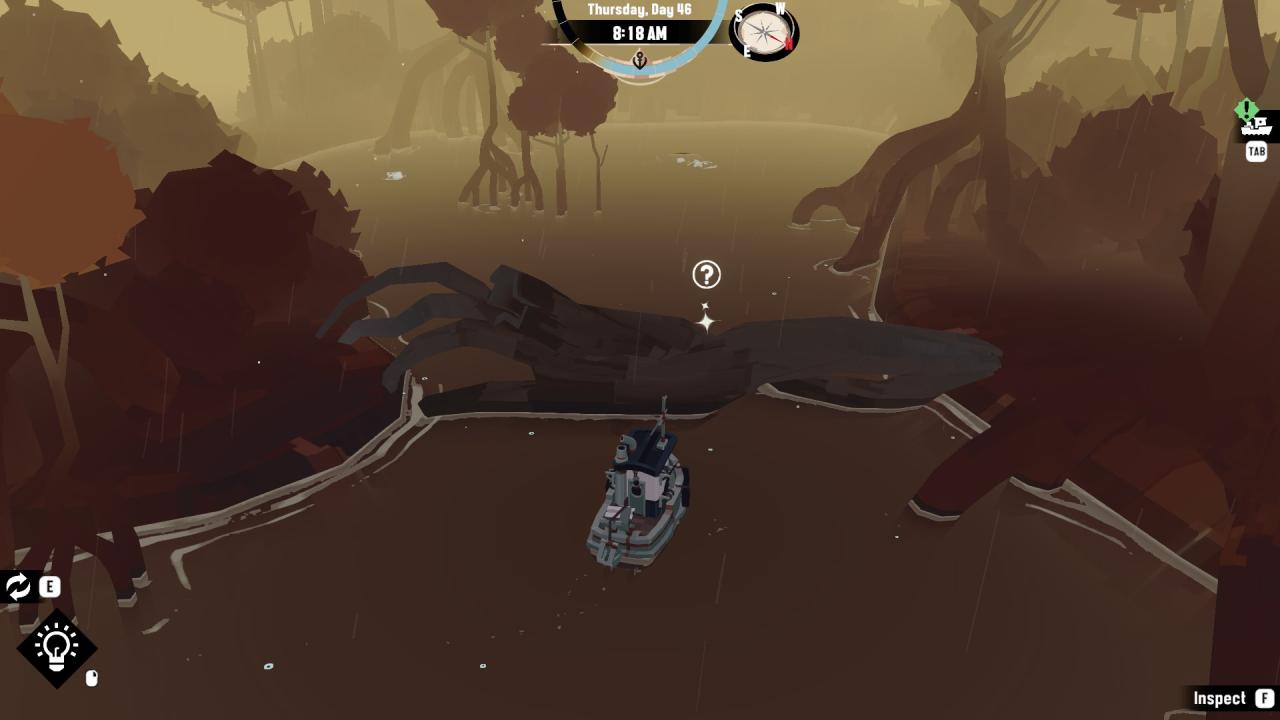
Aberration Attractor

Catch all Aberration types. Borg2011 has a guide with many good tips, the most helpful to me was that Atrophy has a high chance of catching Aberrations. Screw that jellyfish though.
From the Depths

Obtain all achievements.
To-Do
Starting a new job this week, but will try to get this done ASAP!
Thanks to Forgotten Lands for his excellent guide, all credits belong to his effort. if this guide helps you, please support and rate it via Steam Community. enjoy the game.
Related Posts:
- DREDGE: Hooded Figures Map
- DREDGE: Secret Fishing Equipment
- DREDGE: How to Find Stoplight Loosejaw
- DREDGE: All Special Locations (Treasure, Camp, Secret…)
- DREDGE: How to Catch the Angler Fish (Research Asssistant)