If you are NOT looking for spoilers, this is NOT the guide for you.
Introduction
Find the games to feed your fetish – Den of Perversion Curator Site
While you really don’t need a guide to play this game, I believe this guide will speed up your progress to level 100 to unlock the entire gallery and obtain all of the achievements.
If you are short on cash play City 1 and take advantage of the free weapons cache.
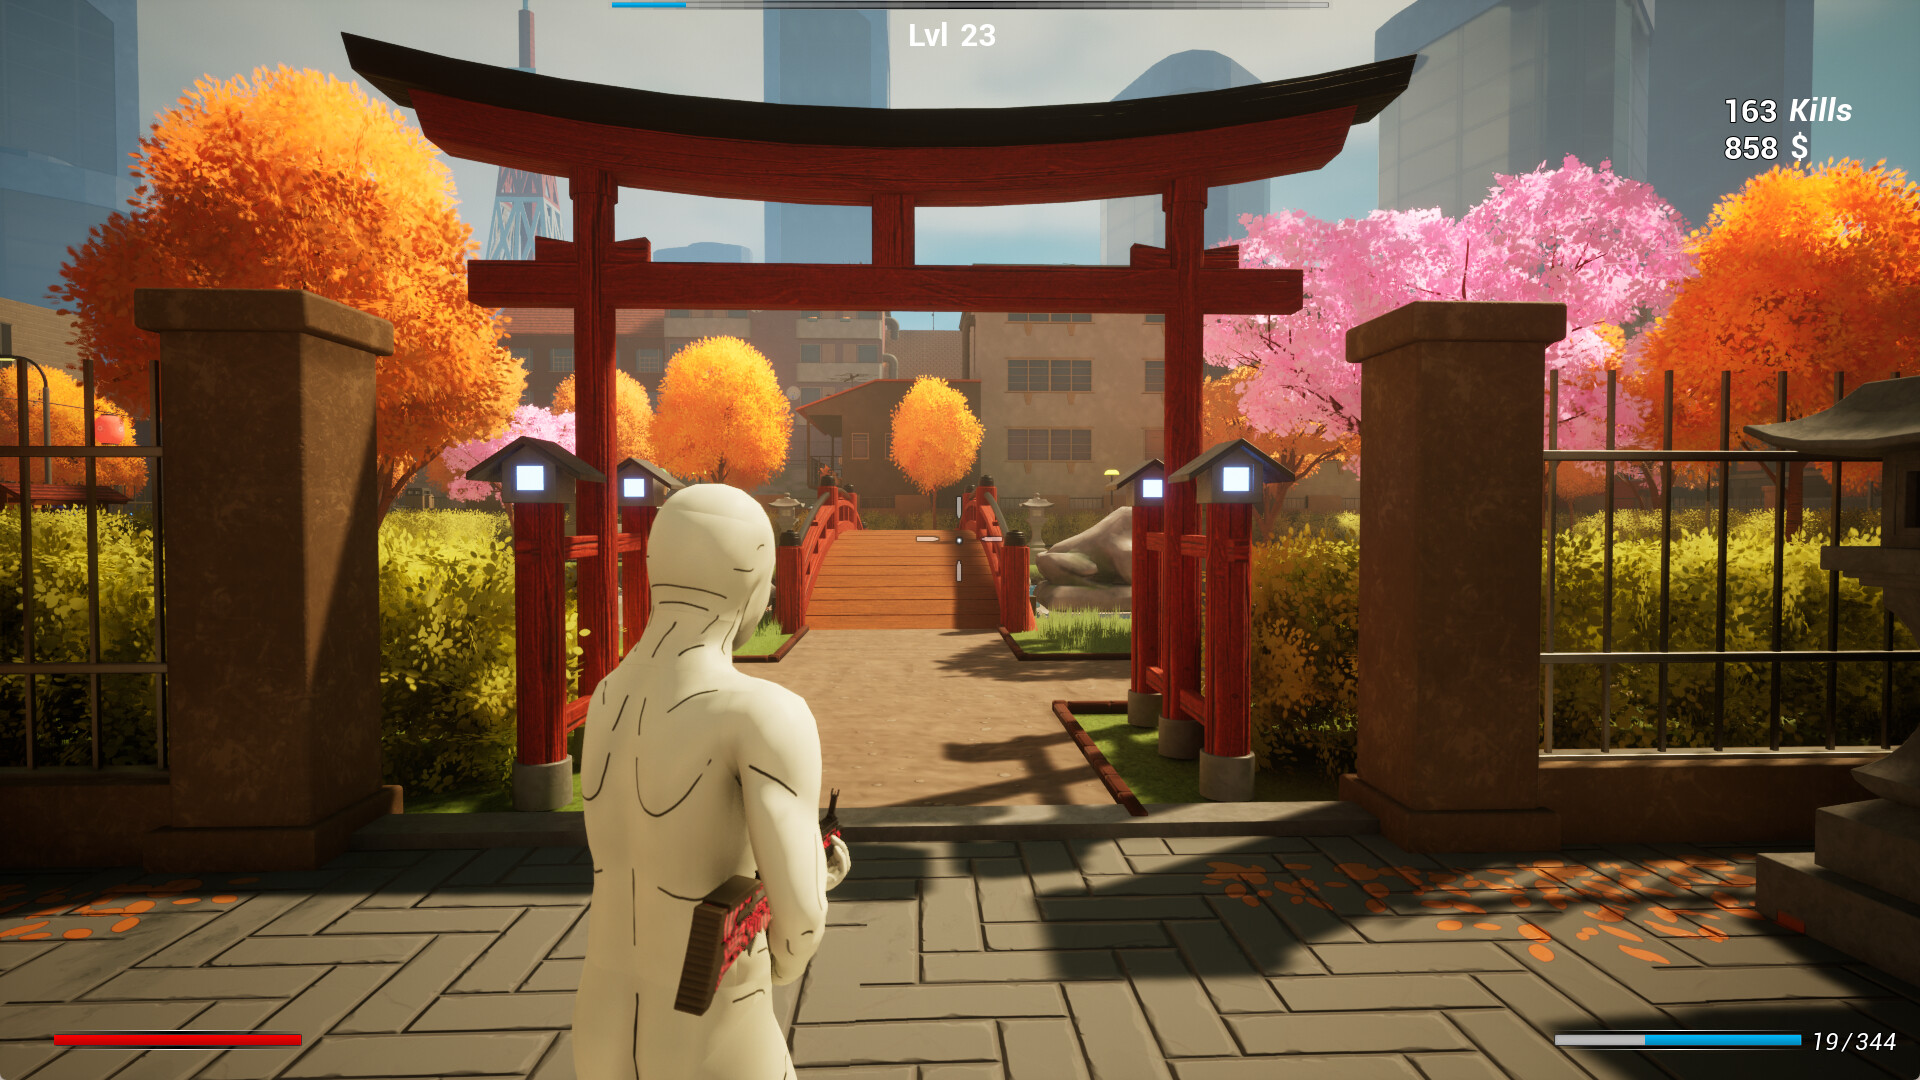
The main thing is to keep going forward as much as possible. If you try going backwards you will frequently find something has spawned behind you, normally a Panda.
Weapons
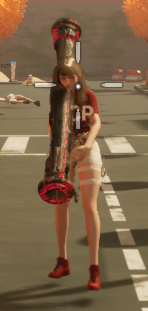
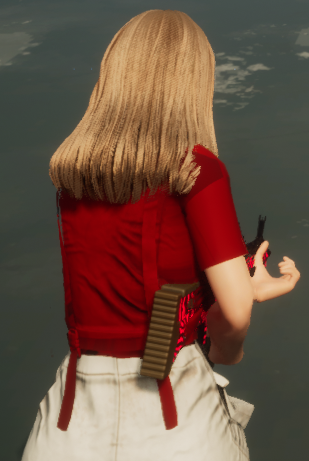
Save yourself some time and grief. There are only two weapons you want to use, the LS80 and the Ayakashi as shown here. The Ayakashi is the long pink laser rifle on the left and the LS80 is the red sub machine gun on the right.
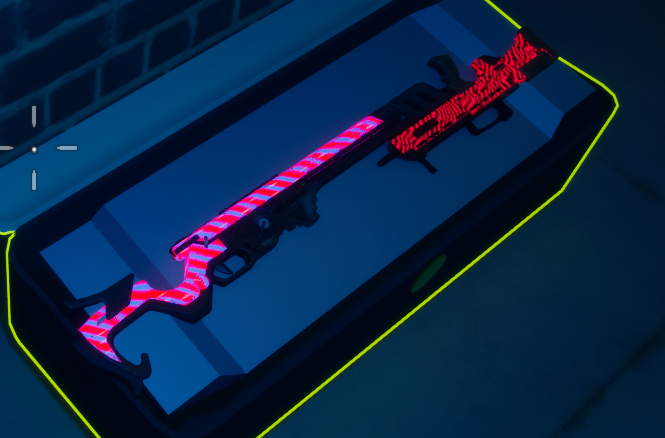
The Ayakashi must be obtained from a weapons cache. It has a 100 round magazine and has a maximum of 1,000 shots. Additional ammo is $30 for 50. Most enemies take between five to 10 shots. There is no recoil, so point and squeeze the trigger until your target falls.
The LS80 is the default weapon for City 2. It has a 30 round magazine and has a maximum of 750 rounds. Additional ammunition is $13 for 30 rounds.
The rest of the weapons are not useful. The M1 is a semi-automatic, so you have to continually press the button to shoot. The DoubleBarrel is good, but only at close range, this falls into if you can shoot the enemy that can shoot you category. The RPG-17 may be useful for the Boss due to its heavy damage, but the low splash damage, slow firing, low ammo storage and carry, make it ineffective for continuous use. The Sniper rifle is useless as you cannot get to a high point and just shoot everything.
Weapons inside of the weapons caches are random, on an individual basis. This means that you can have two different or two of the same weapons.
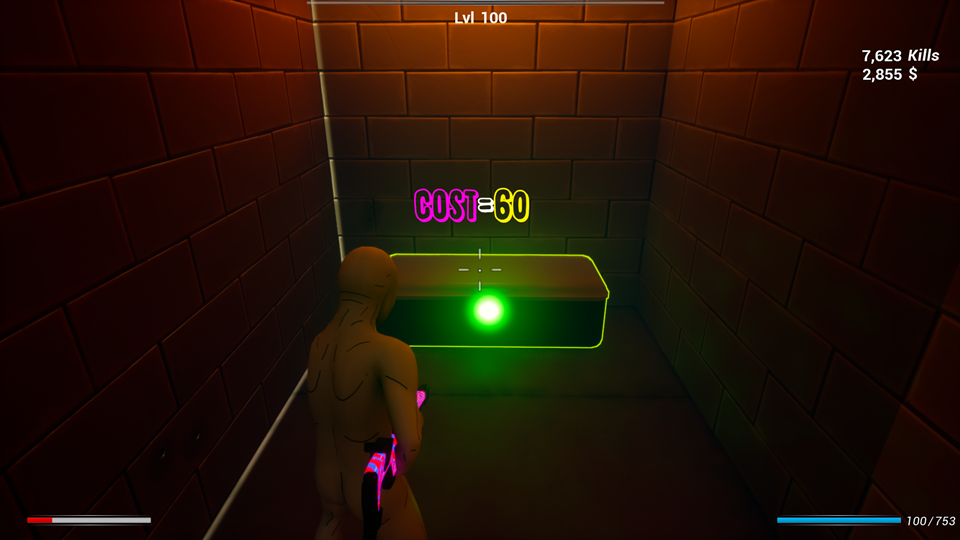
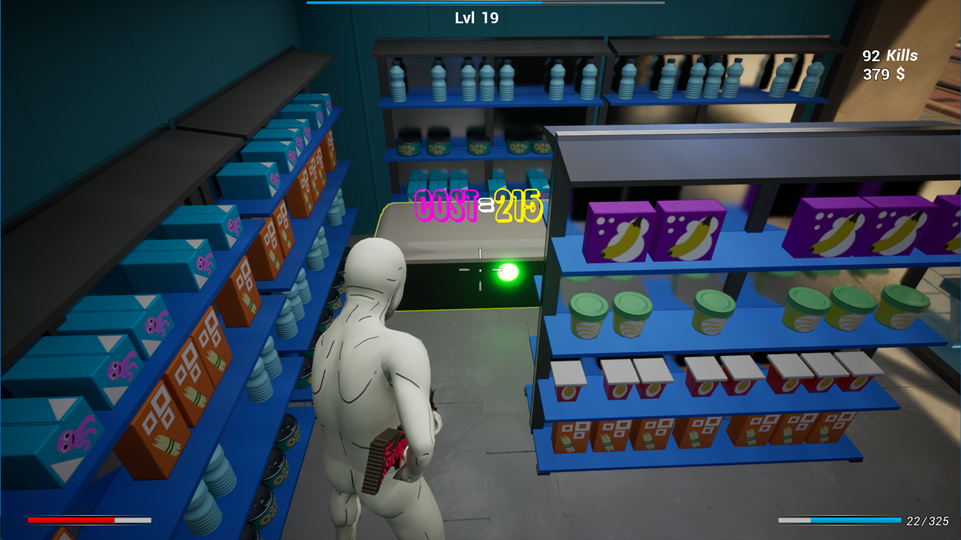
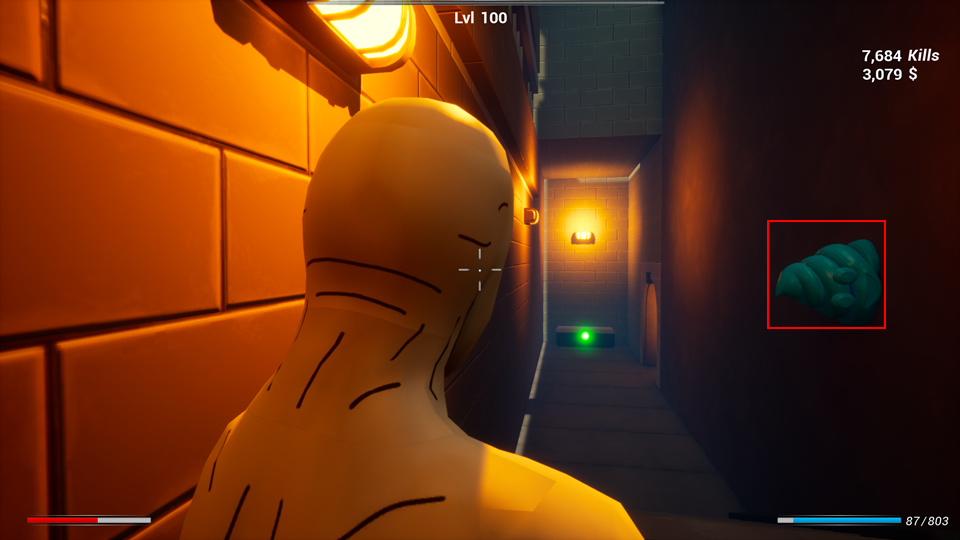
Head straight from the start area towards the spawn portal. Take the stairs up. Go through the doorway and around and down and the weapons cache is in the center of the corridor. This is the only free weapons cache in the game. I highly recommend opening it to see what is inside. Do not switch weapons unless it is an upgrade or you are nearly out of ammo. If you are carrying the same weapon I found it works best if you drop the one you have first.

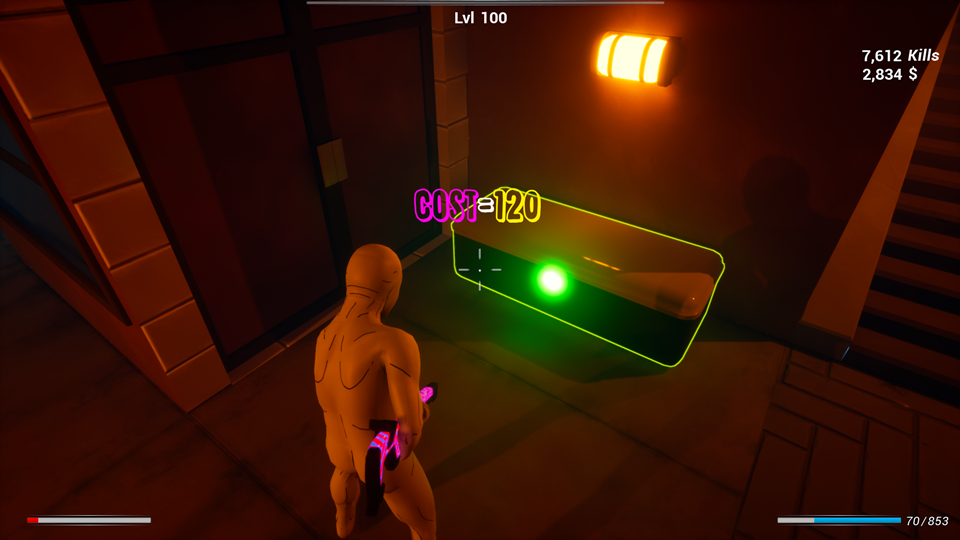
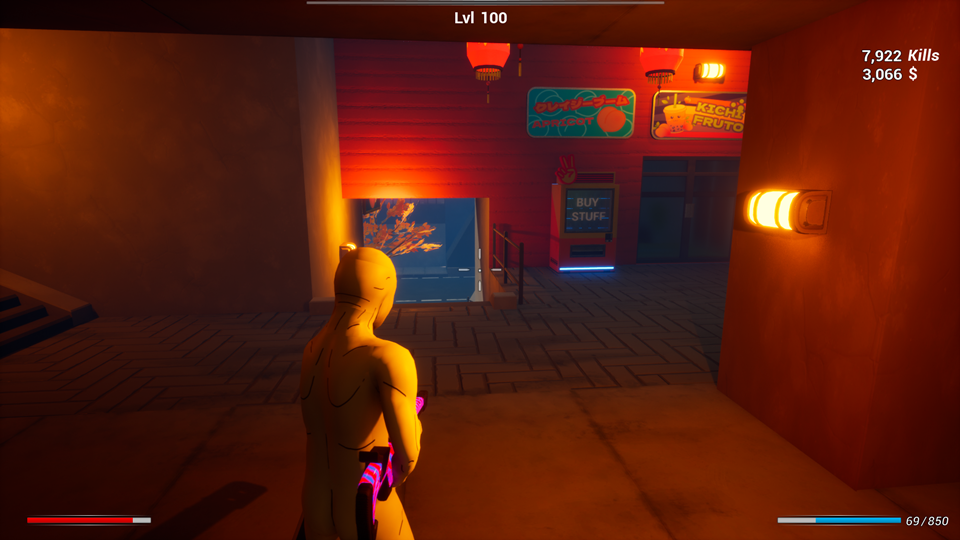
From the start go straight and make a left on the street. Go into the Orange lit door and turn to your right.
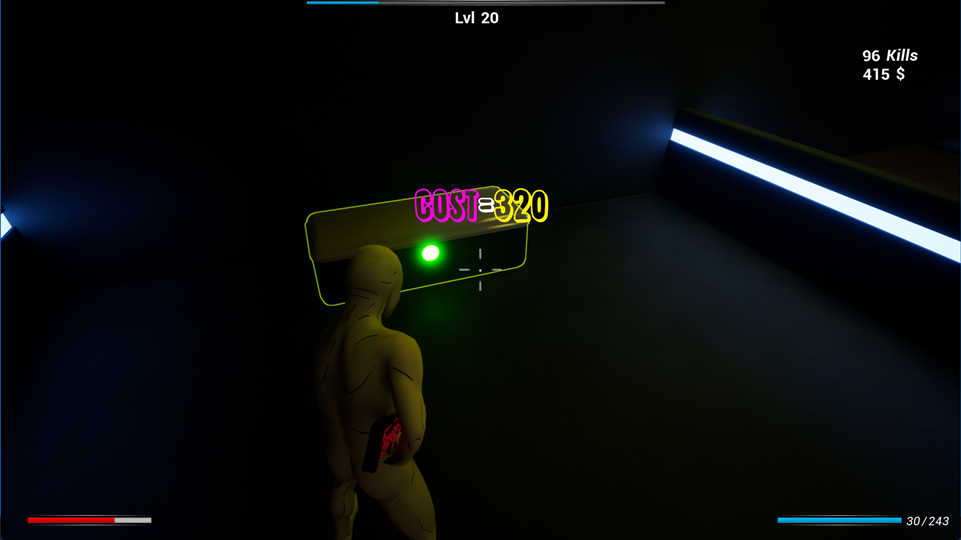
Weapon Cache 3 is just before the bridge if you enter from Elon’s staircase. This is the most expensive cache on the level.
From start it is just past Elon. There is an open store next to the vending machine and it is in the back.
From start go to the end of the street past the spawn portal.
From start go straight, make a left at the spawn portal. Go up the hill and turn left at the spawn portal. About three quarters of the way down it is on the right.
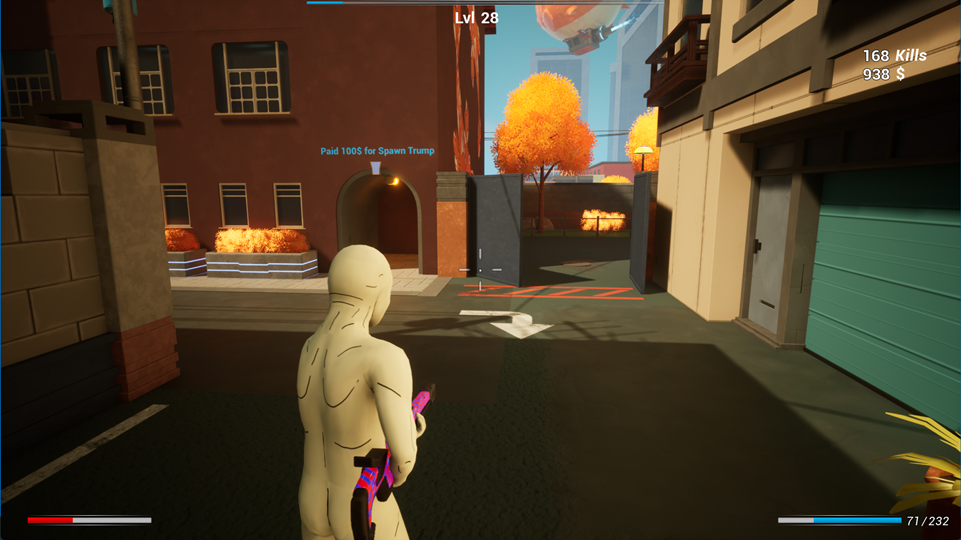
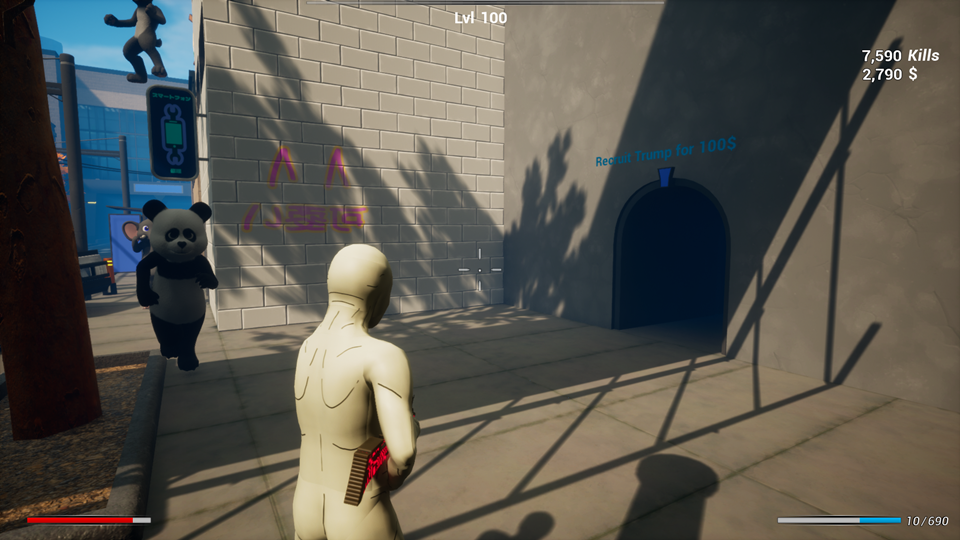
Personal opinion is that you’re better off purchasing ammo than recruiting Trump. However, if you feel that you must. From start go straight, make a left at the spawn portal. Go up the hill and turn left at the spawn portal. At the end of the street make a left.
City 1 – The Enemies
Here are the enemies in their recommended kill order.
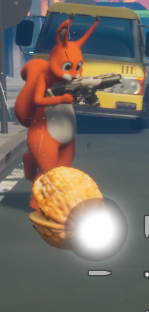
1. Squirrel
The Squirrel will shoot four walnuts at you and then run away to reload. Best to either be running towards or away to keep them in your sights.
2. Rabbit
The Rabbit is a fast mover. He will throw carrots at you and jump up in the air. Best taken out at a distance as he won’t jump until he gets closer.

3. Frog
The Frog will shoot two shots at you and then just stand still while he rearms. Take him out either when he stops to shoot or immediately after.

4. Panda
Moves at the same speed as you do, will catch up if you’re busy aiming. Melee attack. Not difficult to dispatch as he will run towards you.

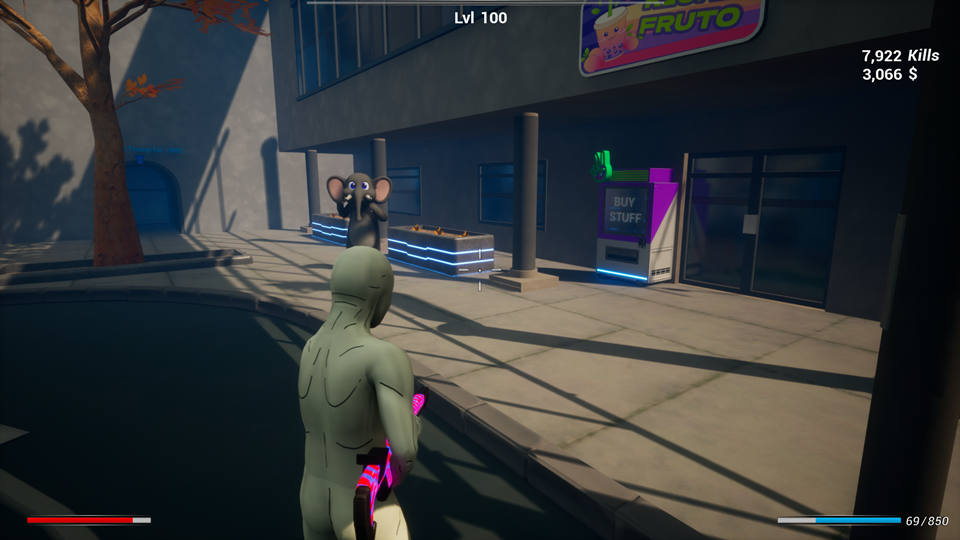
5. Elephant
The Elephant is a slow mover, but has a charge attack if you get too close. The Elephant deals heavy damage.

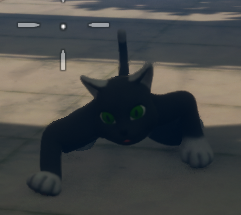
6. Cat (Kitty Ninja)
The Cat will crawl towards you, making him slower and difficult to see.
City 1
 1. Kill 97 enemies, self explanatory.
2. Find 5 Poops.
3. Destroy 4 antennas.You don’t have to talk to Elon to get the quests, but can check in with him to see if they are completed. To get to Elon, go straight from start, right on the street, half way down is a staircase on the right and Elon is on the left of the stairs halfway up. These quests do not need to be completed in a single run.
Go straight from the starting point to the enemy spawn and turn to the right, it is on the wall of the stairs.
Go to the top of the stairs where Elon is and it is on the right next to the dumpser. Standing here is also safe, nothing can hit you when you are standing where the poop is.
After picking up Poop #2 turn around and head towards the vending machine, on your left is a bridge, take the bridge. On the other side of the bridge you will find Poop #3.
Head down the stairs and look for the orange lighted entrance, go into it and you’ll see Poop #4.
I haven’t found a Poop #5 yet. If you find it, let me know in the comments.
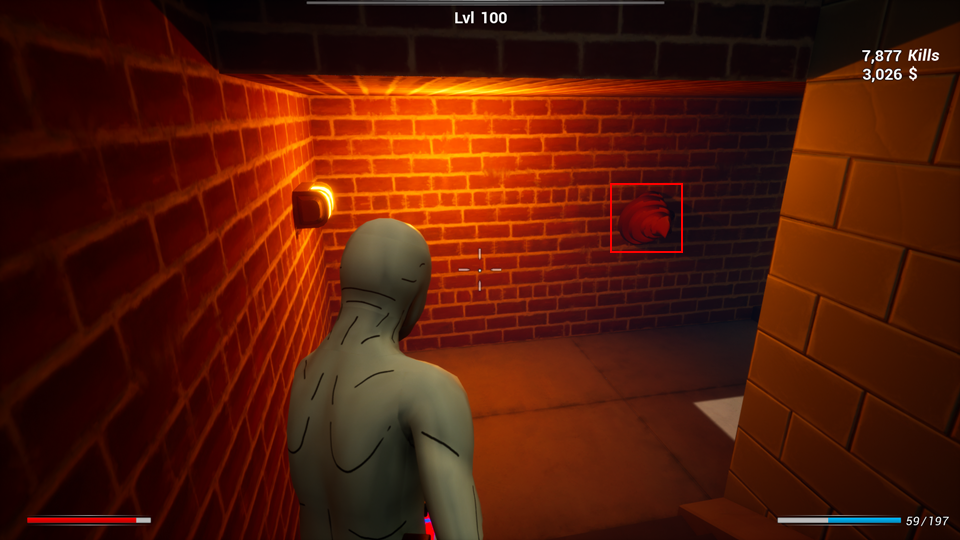
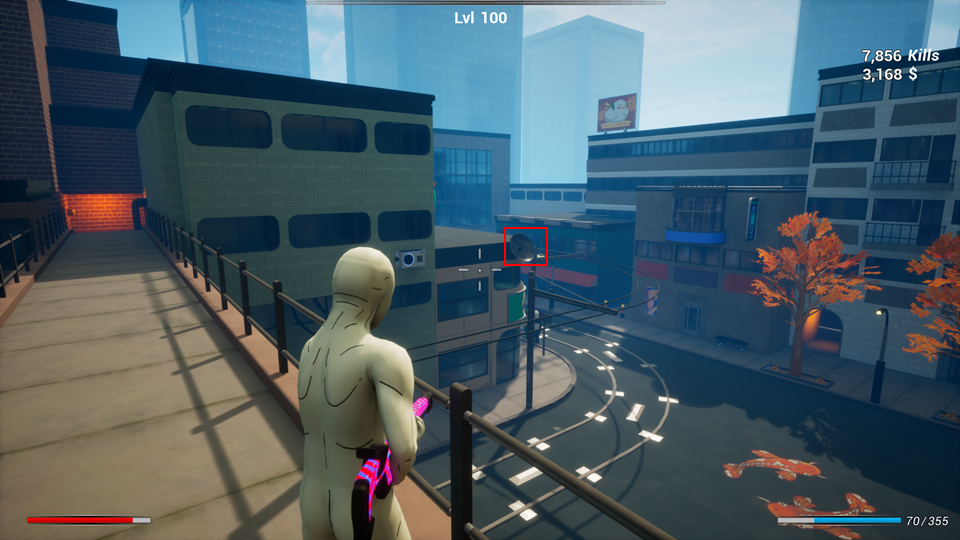
The Antennas are actually satellite dishes.
Go straight towards the enemy spawn and take the stairs up. Go straight through the doorway and the Antenna #1 is on your left.
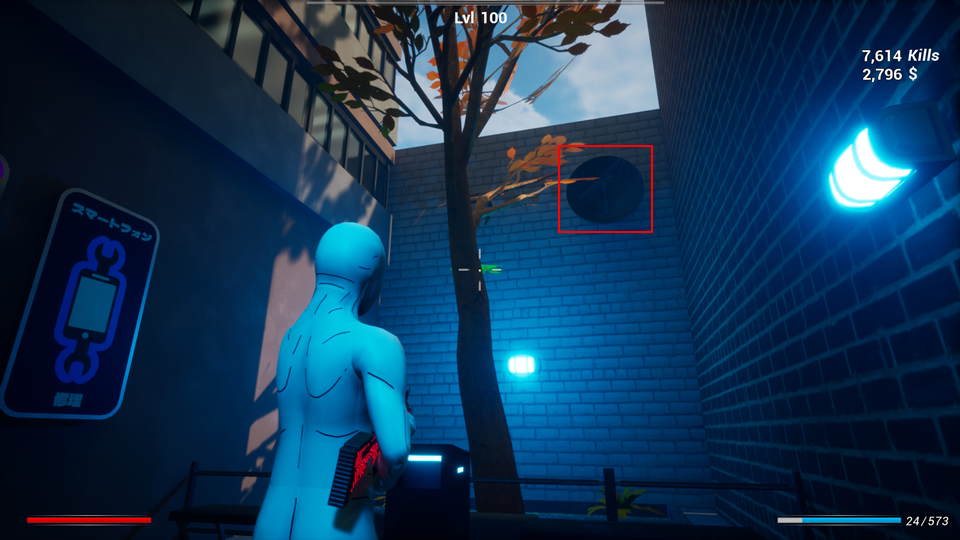
The best place to get the three remaining antennas is from the bridge. Head up the stairs by Elon, make a left and then another left at the vending machine.
Once you’re on the bridge, turn around and the Antenna is over the doorway.
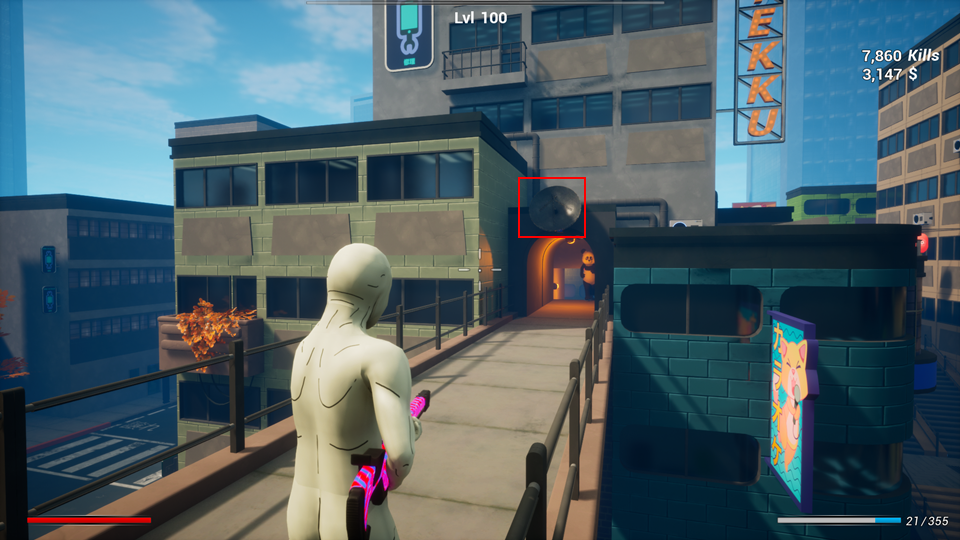
After you destroy Antenna #2, look off to your right by the start area and destroy Antenna #3 high on the building.
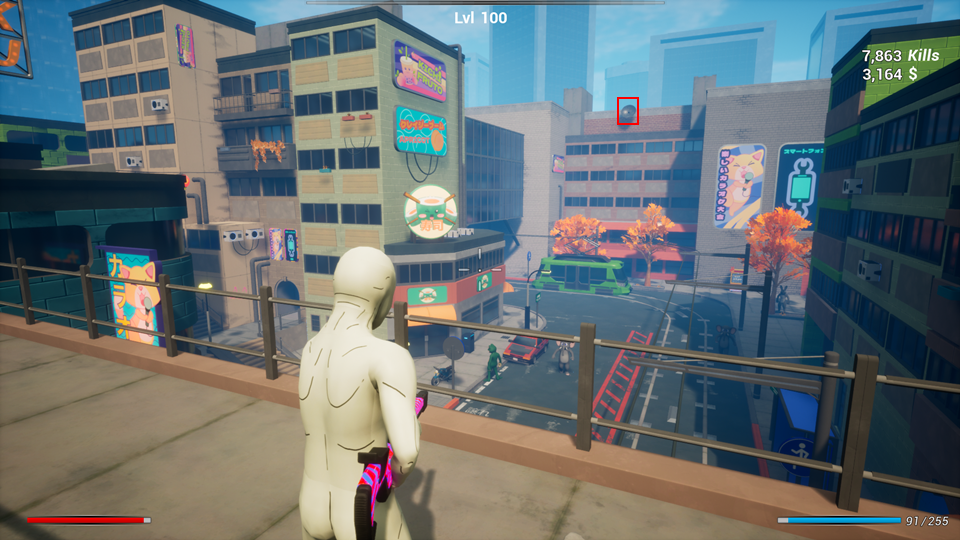
After you destroy Antenna #3, turn around and look at the building on your left.
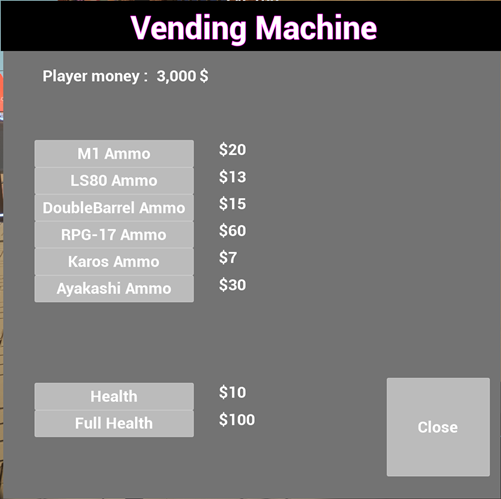
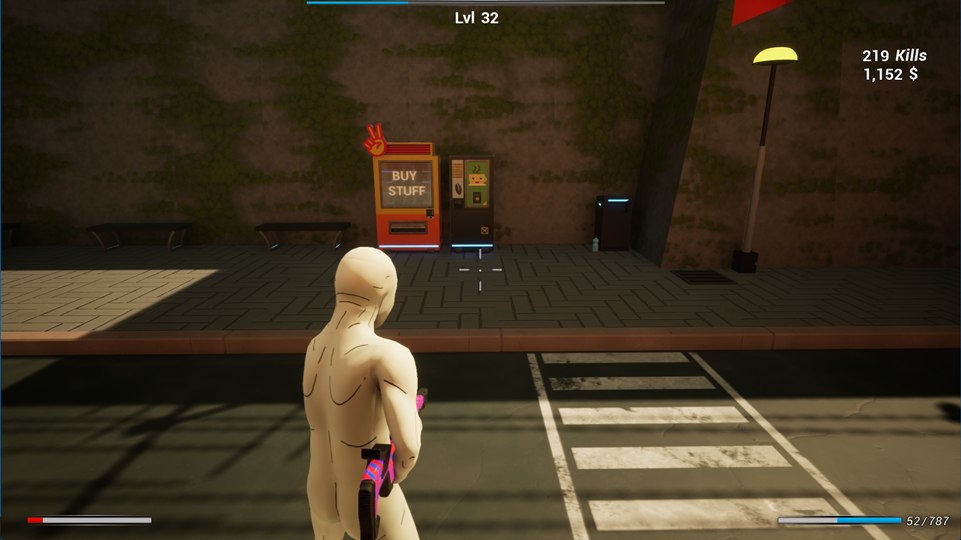
There are three vending machines in City 1. These machines allow you to purchase ammunition and health. I recommend using them mainly for health and ammunition as needed.
The first vending machine is by the start near the spawn portal.

The second vending machine is just before the bridge if you go up the stairs by Elon and take a left.
The third vending machine is by the area you recruit Trump. From start go straight, right on the street, go to the end of the street and make a left and just past the police cars.
Personal opinion is that you’re better off purchasing ammo than recruiting Trump. However, if you feel that you must. Go straight from the start, right on the street, go to the end of the street and make a left. Go past/over the police cars and Trumps cave is on the left.
City 2 – The Enemies
Here are the enemies in their recommended kill order.
1. Bazooka SCP
The Bazooka will shoot up to three shots before reloading. These shots do large amounts of direct and splash damage. Best taken out from a distance.
2. Grenade SCP
The Grenades will damage both you and enemies. Like the Bazooka, they do large amounts of direct and splash damage. Best taken out from a distance.
3. Pistol SCP
This is the least damaging of the SCP girls. She will normally jump to the side before she shoots. Her shots are slow moving and easily dodged. While taking her out from a distance is preferred, there are no issues going toe to toe with her.

4. Rabbit
The Rabbit is a fast mover. He will throw carrots at you and jump up in the air. Best taken out at a distance as he won’t jump until he gets closer.
5. Panda
Moves at the same speed as you do, will catch up if you’re busy aiming. Melee attack. Not difficult to dispatch as he will run towards you.
6.Cat (Ninja Kitty)
The Cat will crawl towards you, making him slower and difficult to see.
City 2
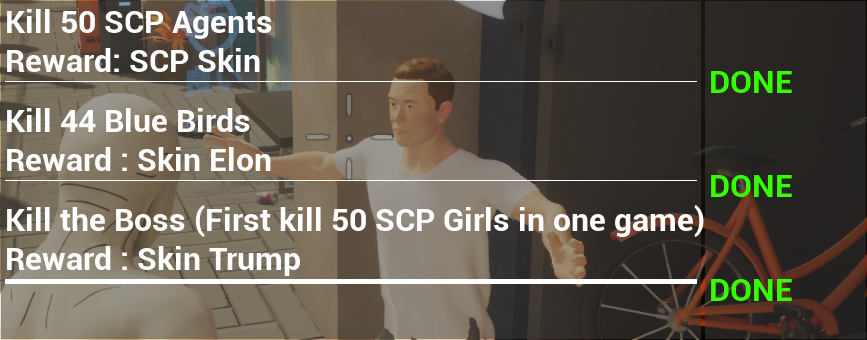 1. Kill 50 SCP Agents (Awards SCP Skin)
This can be completed in multiple runs.
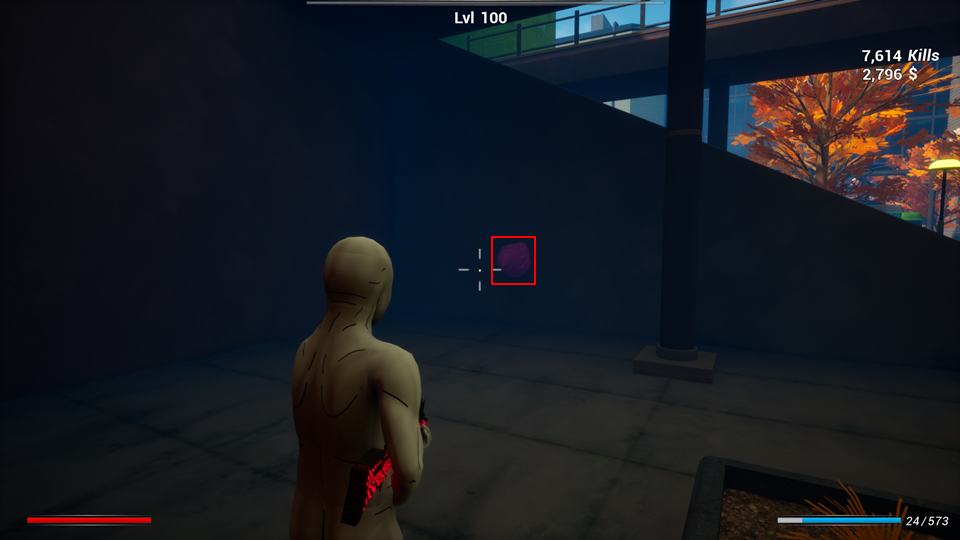
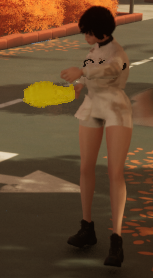
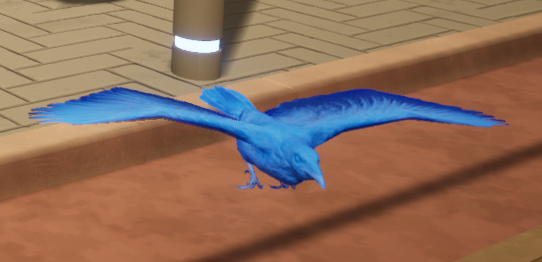
 2. Kill 44 Blue Birds (Awards: Elon Skin)
This can be completed in multiple runs. Here is what the bird looks like. Once you complete the quest the birds will no longer appear.
 3. Kill the Boss (First kill 50 SCP Girls in one game) (Awards Trump Skin)
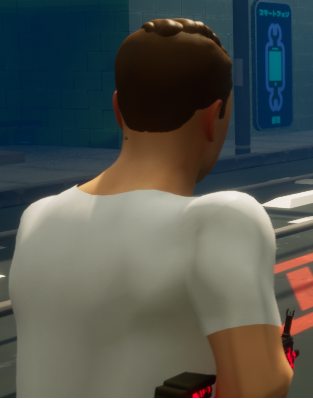
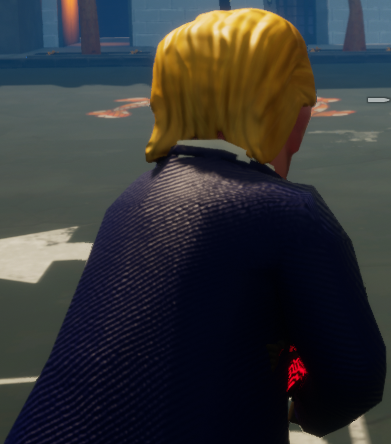 Default Wojack Skin. The game defaults to the Wojack skin every time you start a new run.
There are three vending machines in City 1. These machines allow you to purchase ammunition and health. I recommend using them mainly for health and ammunition as needed.

The first vending machine is by the start, just past Elon

The second vending machine is in the middle of the map. From start go straight and make a left at the spawn portal. Go just past the park and make a left. About half way down you’ll find the vending machine.
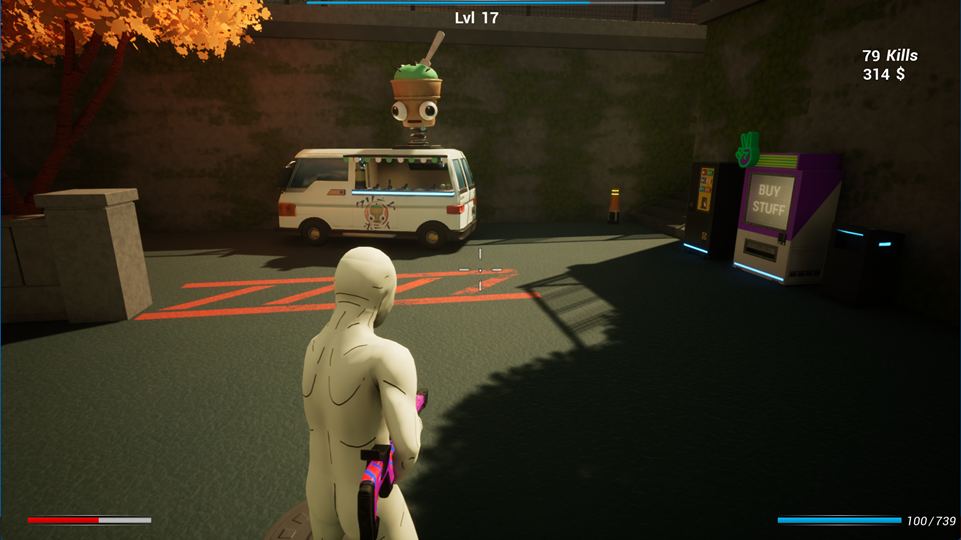
The third vending machine is on the far side of the map. From start go straight and make a left at the spawn portal. Go all the way to the end of the street and make a left near the end of this street it widens out and there is a food truck, the vending machine is in that area.
Credits
Thanks to Kilroy for his excellent guide, all credits belong to his effort. if this guide helps you, please support and rate it via Steam Community. enjoy the game.