
Introduction
Now, you’re probably here to learn how to speedrun this room, right? Well, lets go on ahead, shall we?
Inside of this room, you must collect “Smileys” to level up. I hate to break it to you, but there is no point on leveling up apart from the advancement that you get when reaching level 100. Don’t worry, you can only get it one time LOL.
Mechanics
Welcome to the first “gameplay” section! In here, we will talk about all the small things that will help you progress through the room.

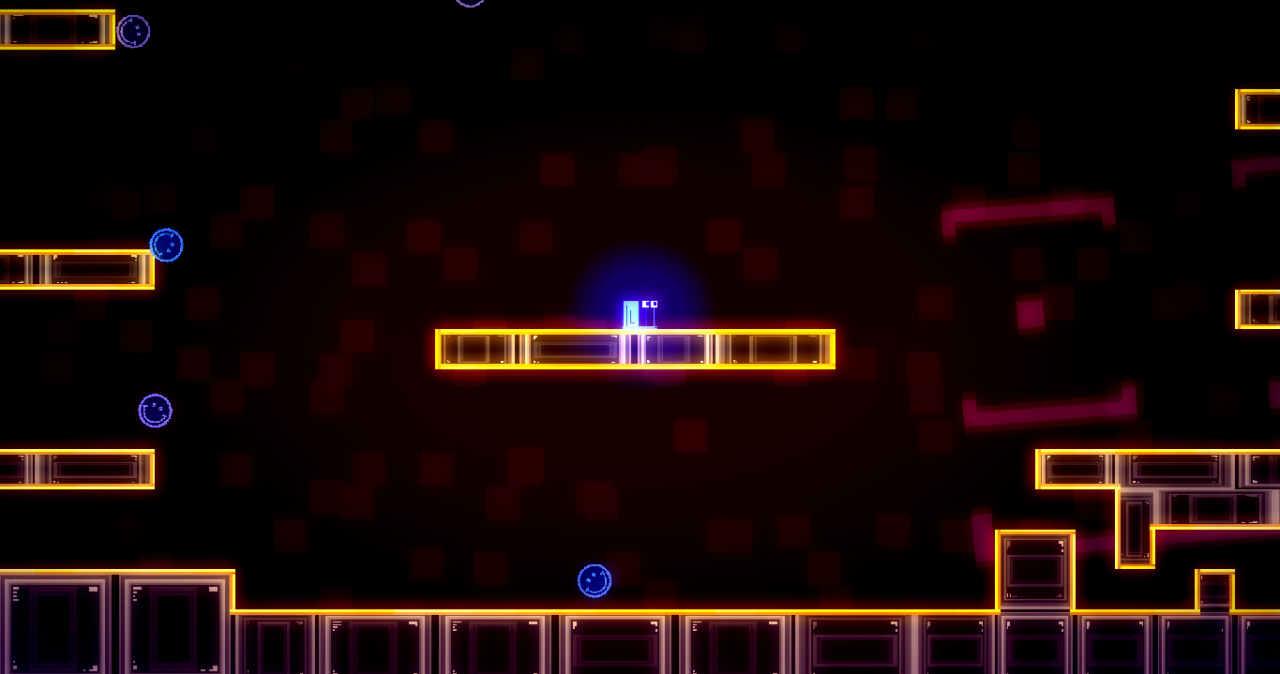
You unlock the level bar as soon as you enter the room, kinda obvious.
 Smileys are the small colorful balls that you collect to level up. Every smiley gives you 10 points on the level bar, which can be increased with multipliers (More on that later). You can also just approach a smiley and then run away, they will get to you even trough walls with infinite range!
You unlock the smileys as soon as you enter the room, and they spawn randomly around the map.
![]() Multipliers are the main source of points and level-ups, it is VITAL that you get good multipliers to progress faster. On a speed run, having good RNG and multipliers is a must-have.
Multipliers are the main source of points and level-ups, it is VITAL that you get good multipliers to progress faster. On a speed run, having good RNG and multipliers is a must-have.
Multipliers:
- 0x (10 points, minimum)
- 1.5x (15 Points)
- 2.5x (25 points)
- 5.0x (50 points)
- 10x (100 points)
- 25x (250 points)
- 50x (500 points)
- 100x (1000 points, maximum?)
Multipliers do not need to be unlocked, just like the level bar or smileys.
 These are your best friend inside this tiny room, once you hit them, they grant you a HUUUUUGE speed boost that you retain until you hit a wall. More on that later…
They are really useful for moving around and grabbing everything that you need at the speed of sound, you ALWAYS want this to be active.
Its respawn time is around ~10s.
Level Unlocks:
- Tier 1 is unlocked at level 2 (2 pads per side)
- Tier 2 is unlocked at level 30 (5 pads per side)
 Jump pads are a really useful tool to get up to high places and reach for smileys that you couldn’t have ever gotten without deviating from your route. Jump pads give you a small but great jump into the air before deactivating and granting you YOUR DOUBLE JUMP back.
Its respawn time is around ~10s
Level Unlocks:
- Tier 1 is unlocked at level 5 (8 pads, middle)
- Tier 2 is unlocked at level 10 (17 pads, middle)
- Tier 3 is unlocked at level 20 (34 pads, sides)
 Bubbles, I won’t lie to you here, but they are AMAZING.
You can use bubbles to get to high places faster than with jump pads, this only becomes reliable if you have the speed boost active.
Now, here’s the best part about them… They refill your double jump and your speed is conserved inside the bubble.
Unfortunately, they can throw off your movement if you are not paying attention and with their almost instant respawn time you can end up in some unfortunate spots of the room.
Its respawn time is the same as regular bubbles.
Level Unlocks:
- Tier 1 is unlocked at level 25 (2 bubbles)

Sadly, they despawn after some time, so you better grab them quickly!
Its respawn time is ~50s.
Level Unlocks:
- Tier 1 is unlocked at level 40 (1 pinata)
Global Strategies
In this section, we will learn some global strategies and tips to get better at getting fast times and being more consistent overall.
 The key to conserving your speed boost is to…
NEVER. STOP. MOVING.
If you don’t stop holding any direction key (left or right) your boost will NEVER run out. The only things that can stop your speed boost is hitting a wall or stopping your movement by not holding a movement key or pressing both at the same time. Really comes in handy when you master it!
 What is really interesting is that the game is not that punishing when it comes to walls. You can sliiiightly hit a wall and retain the required speed to keep your boost!
This is quite useful on situations where you want to retain your boost and you should have lost it. If you bonk onto a wall for a small more amount of time, the boost would be removed.
 Now, to top it off, I will tell you a not so secret tip about conserving your boost…
If you hug a wall or stay still while using a jump boost, your speed boost will not disappear. Not even while using bubbles! Pretty neat, huh?
This requires quite some practice and understanding of the other mechanics. Don’t get frustrated if you lose your boost often while practicing.
 There are some jumps that appear to be impossible to clear with or without a speed boost, however that’s not true. To be honest they aren’t hard to master or practice, and there are probably even more that I missed, keep experimenting to find out more!
This jump is not that hard to learn, and it saves around ~1s when playing on level 1 speed runs.
 This one seems impossible! However, it is not. You don’t even need the boost.
This jump should only be used when absolutely necessary, it is really hard to perform and do consistently as it requires a coyote-jump. Be careful when trying to get there!
(No idea why the GIF looks that bad).
 This jump is really, really easy, I don’t even know why I placed it in here!
It’s still a great one to get up to heights on level 1 because it’s great to have a backup plan if smileys are just too high up out of your reach.
Specific Strategies
If you actually need a visual explanation, just watch any IAF% run above level 2.
When it comes to regenerating your double jump, you have to try and save some jump pads when necessary, the middle ones if possible.
Leaving gaps when using jump pads will allow you to reuse the ones you left to reach places where you shouldn’t have been able to reach normally by regaining your double jump.
This is mostly applied to tier 3 jump pads.
Your bubble direction can greatly vary depending on from where you take it and the direction you are going.
If you get a sharp angle with a speed boost, you can go really far away and gain quite some height, it also refills your jump. Take in mind that to use this trick, you must ALWAYS be under the influence of a speed boost, otherwise you won’t get a great directional boost.
Basically, you only want to pop the pinata after having AT LEAST a 5x or a x10 multiplier, due to it easily giving you a ton of smileys, so you can get a better combo faster (You can even get to 100x if you are lucky).
Speedrun Tips
All of these sections are dedicated to WR pace, not slower runs.
If you haven’t gotten to level 2 in at least 6-20s and you aren’t in the effects of a speed boost, you should reset. This doesn’t mean that the run is dead, you could still go for a good run and get godlike RNG, but it’s better to restart.
If you are running level 2, then sure, you should be good to end your run. However, if you are running level 25, and you get a PB/WR… CONTINUE YOUR RUN.
You probably won’t get a good run or RNG in 10-20 minutes, so make use of it. Even if you are running for a lower level category, aim higher. You could get two or three PB/WR instead of one!
Here’s a bad example of ending your run with godly RNG:
Alright, level 2 is really short, so I will keep this short as well.
- You can collect smileys trough walls.
- Use the jump skips that we went through previously.
- Get lucky.
- Record your runs.
Now, I’m not joking, that is all you need, level 2 is purely RNG LOL.
You can tecnically speed up your game speed, as it’s allowed on the ruleset of the category, but I personally think that it’s not the intended way of speedrunning the room. It it way better and you get more respect points by doing it without speedups 😛
Step 1: Do not run level 1k
Step 2: You win!
(I’m dead serious)
Closing Notes
Here are some useful links to begin your speed running journey!
- Will You Snail Discord[discord.gg]
- Speedrun Leaderboard[www.speedrun.com]
- Official Discord Server[discord.gg]
- ANY% Speedrunning Basics (Youtube)
Thanks to UnderGame for his great guide, all credit to his effort. you can also read the original guide from Steam Community. enjoy the game.
Related Posts:
- Will You Snail?: How to Cheat 100% via Saves Editing (100% Savefile)
- Will You Snail? All Secret Level Locations
- Will You Snail?: Alternate Ending Guide
- Will You Snail?: How to Create Your Own Color Schemes