A Guide to all forms of Modding currently available in Teardown.
Currently as far I know this isn’t possible, the missions .lua files all direct to hidden .xml files that can’t be accessed so there is no way to actually add a new mission in however you can change the sections that the missions do appear in by changing the xml files to another area’s xml file. E.g. Swapping Lee with Marina.
– Custom Weapons
I can’t find any script files that actually change how weapons fire (I tried finding the spray can to change the color but found nothing) however you can change the models which will be under ‘Custom Models’ section.
– Custom Audio (Could be possible)
I’ve tried replacing the audio files and messing with the extensions but to no luck but perhaps someone else could have better luck with it.
I will try to update the Guide when any of this is made possible and include steps on how to do them!
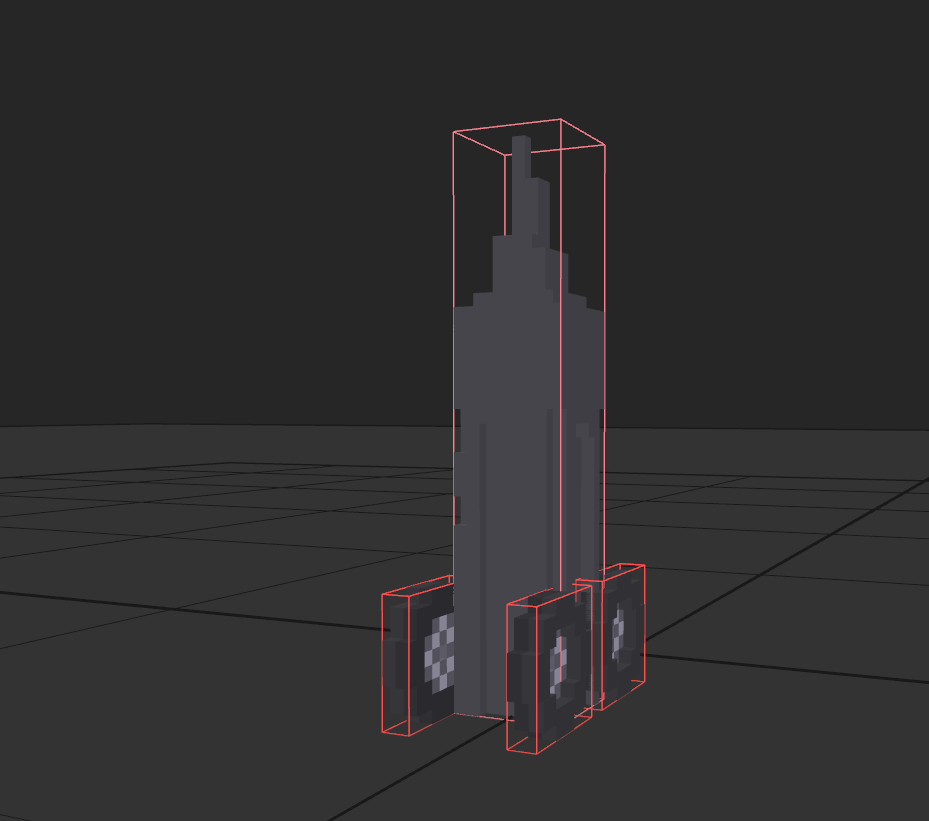
Open that and inside should be 2 .vox models, I believe these are alternate models used after completing a mission and replaying it, inside the tool folder are all the ones that you will be given throughout the campaign. Simply open them up using MagicaVoxel (Refer to the Custom Level guide posted above if you don’t know how to use the program) and adjust the model to your liking and save it. Once you re-load an area the model should appear!
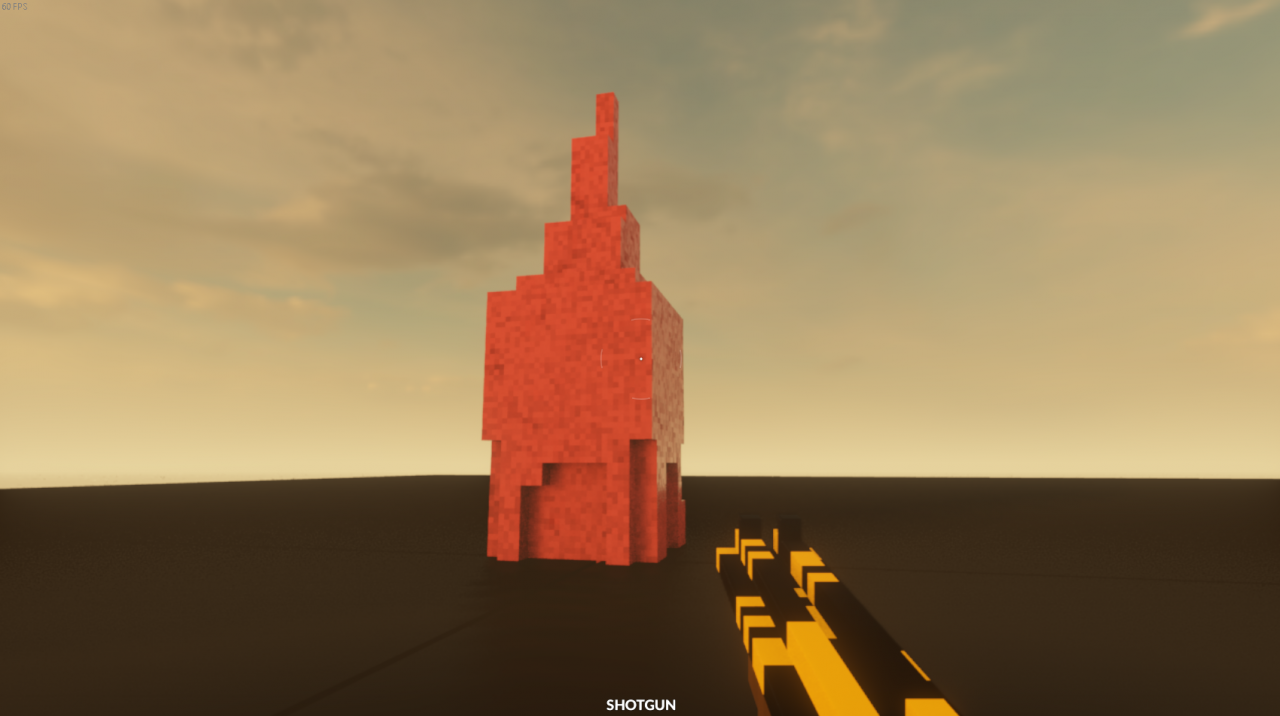
First off you make a model, I used a random clocktower file, and save the vox file and place it inside the ‘custom’ folder (or whichever map’s folder you are using)
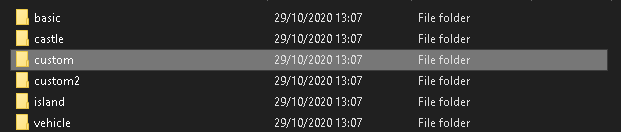
So your folder should now look something like this

After that go to the ‘custom.xml’ file and open it with any text editor such as notepad and scroll down until you see this line.
<vox pos=”0 0 0″ file=”LEVEL/custom.vox”/>
All you need to do now is add this line just underneath it
<vox pos=”0 0 0″ file=”LEVEL/yourfilename.vox”/>
(You can adjust the numbers after pos to change the XYZ co-ordinates of where it will spawn)
So it should now look something like this

And there you go!
You should now have new model seperate from the base map!
Now this is pretty similar to what we did before except there’s a little extra code to deal with and we will have to adjust our model to fit with the code by renaming some things.
For this tutorial we will just be modifying an existing vehicle model but you can use the model you already made as long as you name everything correctly!
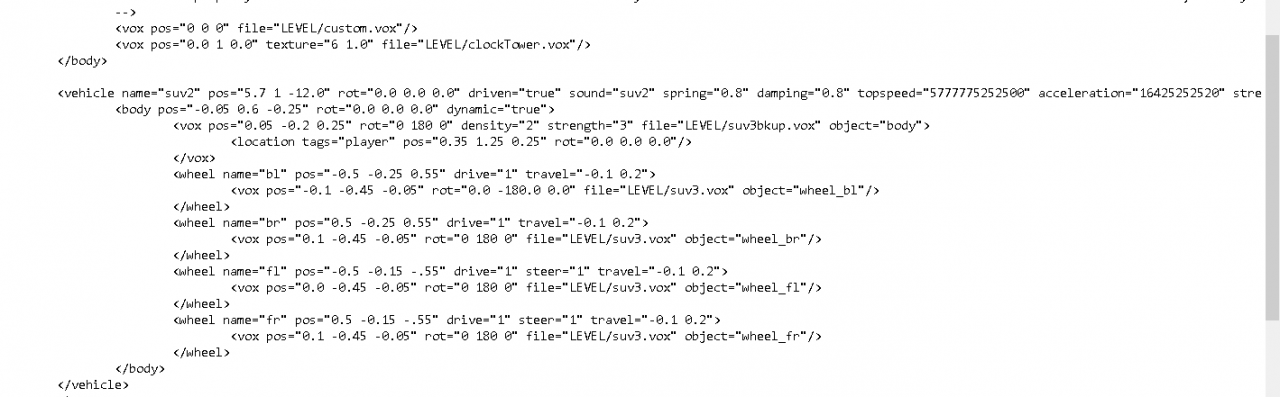
So first off let’s get the code out of the way, all you need to do is below our code we wrote earlier there is </body>, you need to paste this code directly under that part.
<vehicle name=”suv2″ pos=”5.7 1 -12.0″ rot=”0.0 0.0 0.0″ driven=”true” sound=”suv2″ spring=”0.8″ damping=”0.8″ topspeed=”5777775252500″ acceleration=”16425252520″ strength=”5″ antispin=”0″ antiroll=”0.2″ difflock=”0.5″ steerassist=”0.0″>
<body pos=”-0.05 0.6 -0.25″ rot=”0.0 0.0 0.0″ dynamic=”true”>
<vox pos=”0.05 -0.2 0.25″ rot=”0 180 0″ density=”2″ strength=”3″ file=”LEVEL/suv3bkup.vox” object=”body”>
<location tags=”player” pos=”0.35 1.25 0.25″ rot=”0.0 0.0 0.0″/>
</vox>
<wheel name=”bl” pos=”-0.5 -0.25 0.55″ drive=”1″ travel=”-0.1 0.2″>
<vox pos=”-0.1 -0.45 -0.05″ rot=”0.0 -180.0 0.0″ file=”LEVEL/suv3.vox” object=”wheel_bl”/>
</wheel>
<wheel name=”br” pos=”0.5 -0.25 0.55″ drive=”1″ travel=”-0.1 0.2″>
<vox pos=”0.1 -0.45 -0.05″ rot=”0 180 0″ file=”LEVEL/suv3.vox” object=”wheel_br”/>
</wheel>
<wheel name=”fl” pos=”-0.5 -0.15 -.55″ drive=”1″ steer=”1″ travel=”-0.1 0.2″>
<vox pos=”0.0 -0.45 -0.05″ rot=”0 180 0″ file=”LEVEL/suv3.vox” object=”wheel_fl”/>
</wheel>
<wheel name=”fr” pos=”0.5 -0.15 -.55″ drive=”1″ steer=”1″ travel=”-0.1 0.2″>
<vox pos=”0.1 -0.45 -0.05″ rot=”0 180 0″ file=”LEVEL/suv3.vox” object=”wheel_fr”/>
</wheel>
</body>
</vehicle>
Which should look like this
You will need to re-name all the .vox files (so change my suv3.vox and suv3bkup.vox) to your new models name (DO NOT LAUNCH THE MAP YET, the game will crash if the files don’t exist or if they are not named correctly, also do not change any non .vox file names, leave suv2 for both the name and the sound file name much like mine is)
Next if you using a vehicle template then you should already have wheels, if not you will have to add them and re-name them, I’ll go over naming in a moment.
I will be using the suv2.vox for this example which should now look like this
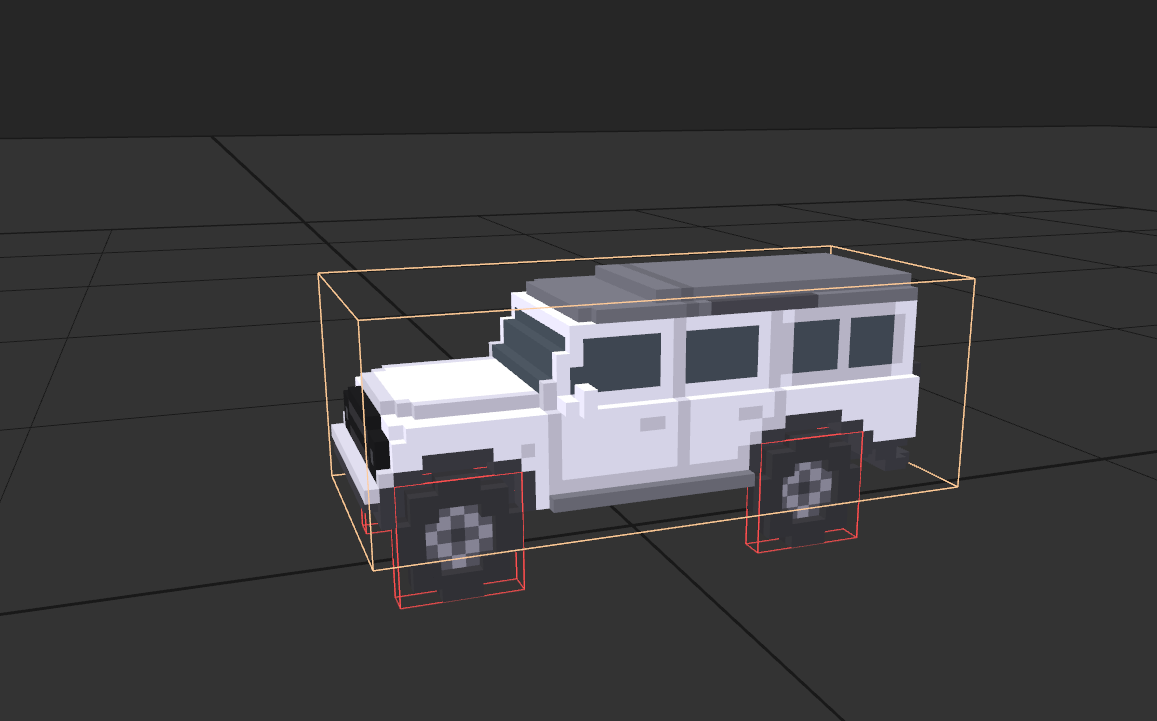
You can simply click on the car model and press the delete key to delete the model, now drag in your new model and rotate it if needed.
For this model I re-adjusted the wheels however I don’t think this is nessesary as the xml file will adjust them anyway.
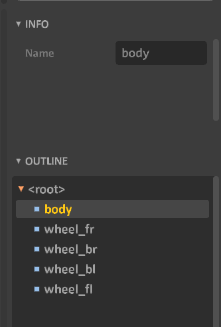
Now the most important step is to re-name the model by clicking here
And then clicking on your new model and re-naming it to Body. For those who decided to make their own model without the vehicle template here is where you’ll need to add wheels and re-name them here.
Now for the final step is to look back at the Vehicle code I pasted, each wheel position needs to be adjusted to fit your model, this is mostly a trial and error thing so keep saving and re-loading your map until it fits correctly.
You only need to change this position for each wheel “<wheel name=”fr” pos=”0.5 -0.15 -.55″” the other one is for rotation and should work fine by default.
fr = Front Right
fl = Front Left
br = Back Right
bl = Back Left
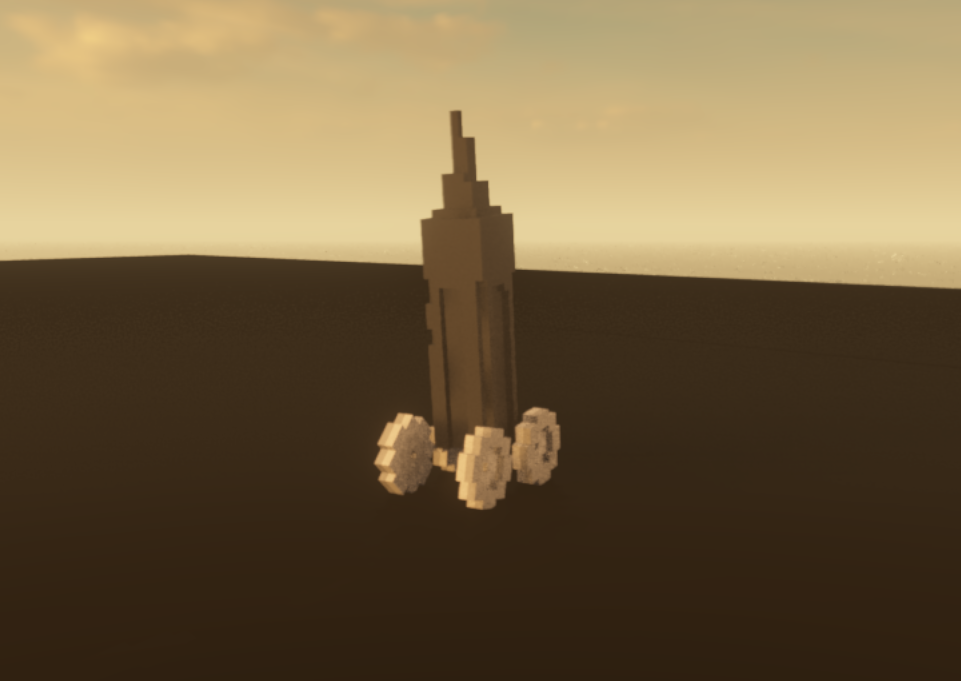
Now if everything worked correctly you should have your new car!
To adjust the car speed and handling refer to this part of the code
spring=”0.8″ damping=”0.8″ topspeed=”5777775252500″ acceleration=”16425252520″ strength=”5″ antispin=”0″ antiroll=”0.2″ difflock=”0.5″ steerassist=”0.0″>
I put it ridiculously high for testing purposes.
This is all that I currently know how to spawn in, I’m sure there is a way to add in propane tanks and the like however that’s not currently documented anywhere but as soon as it is I shall update this guide!
If I missed anything or it didn’t work let me know and I’ll try to help!
Here’s a handy guide to unlocking all weapons and things
Related Posts:
- Teardown: How to Make Chase Vehicles
- Teardown: How to create Custom Maps
- Teardown: How to Remove TuxedoLabs Splash (Dark Mode)
- Teardown: How to Open & Get Started with MagicaVoxel
- Teardown: “The GPS devices” Mission Guide (All goals walkthrough)