
List and pictures of locations of all the pods in Powderfall Bluffs as of 0.2.0!
Map Overview
The locations of every pod is marked in the above map. The numbers correspond to the numbers below for individual images, but are also the order in which I covered them when taking screenshots. I tried to have minimal backtracking, but there is some!Follow the directions below each pod location screenshotted below for a walkthrough of getting each pod in order.
If you’re just missing one or two, each section starts with a picture of the pod’s location to help give an idea of where to go.
Pods 1 – 6 (Exterior I)
Starting out, it’s easiest to grab the pods along the eastern mountain and the path to it on the exterior to start before wandering the caves.

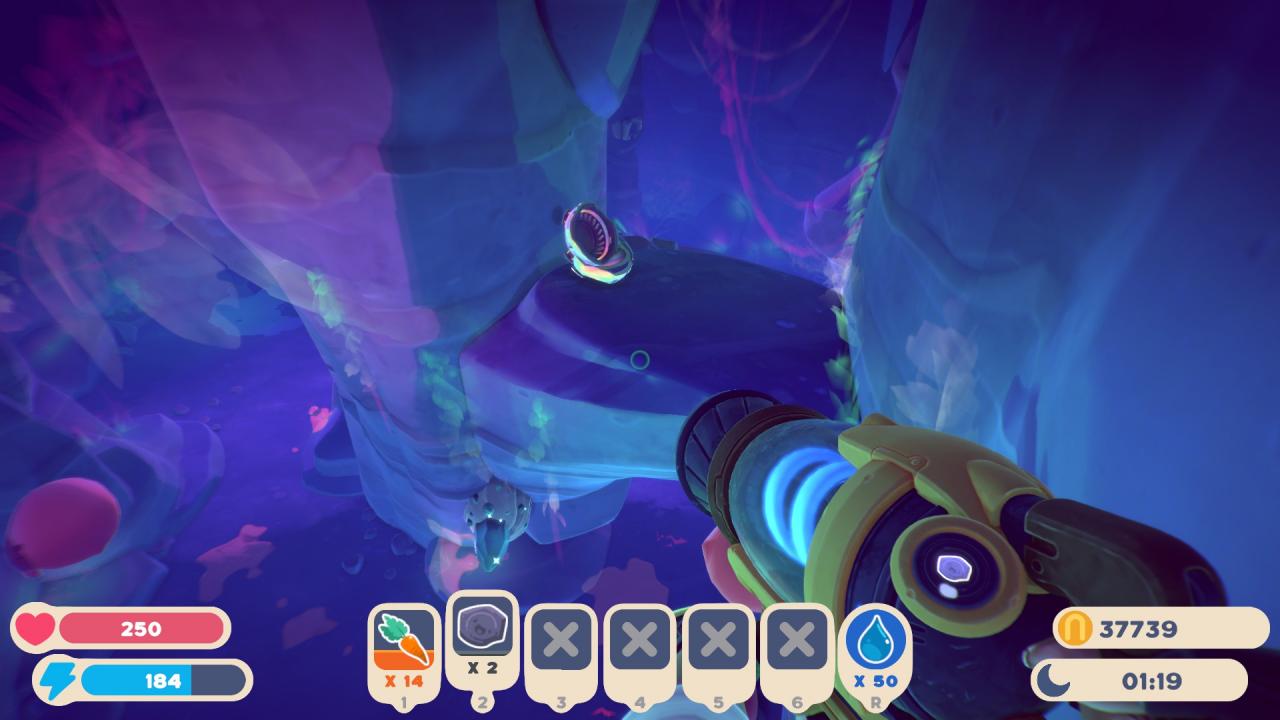
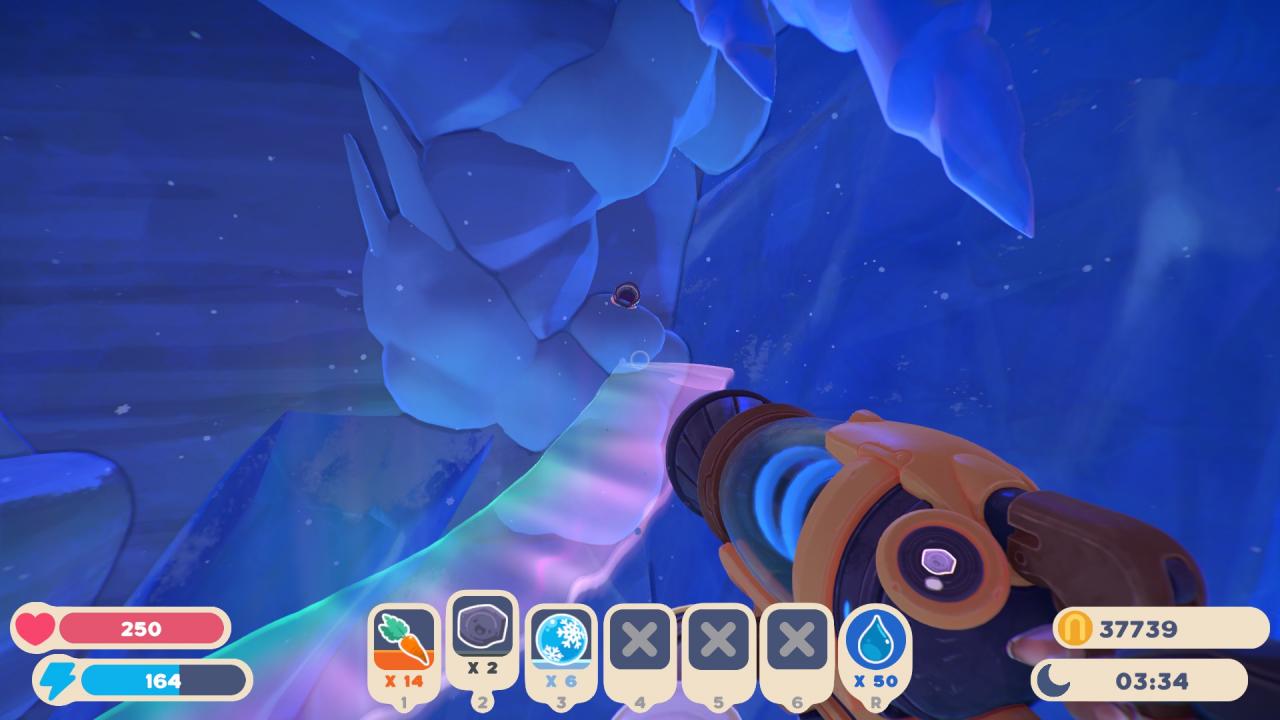
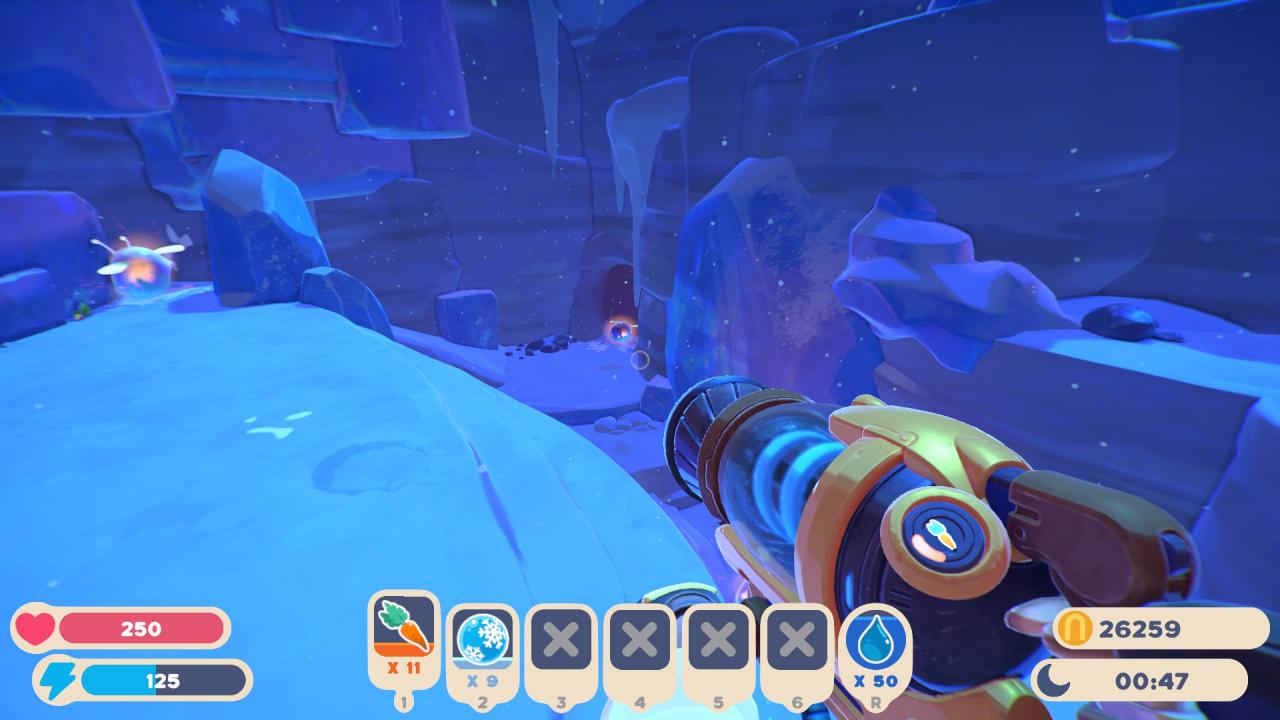
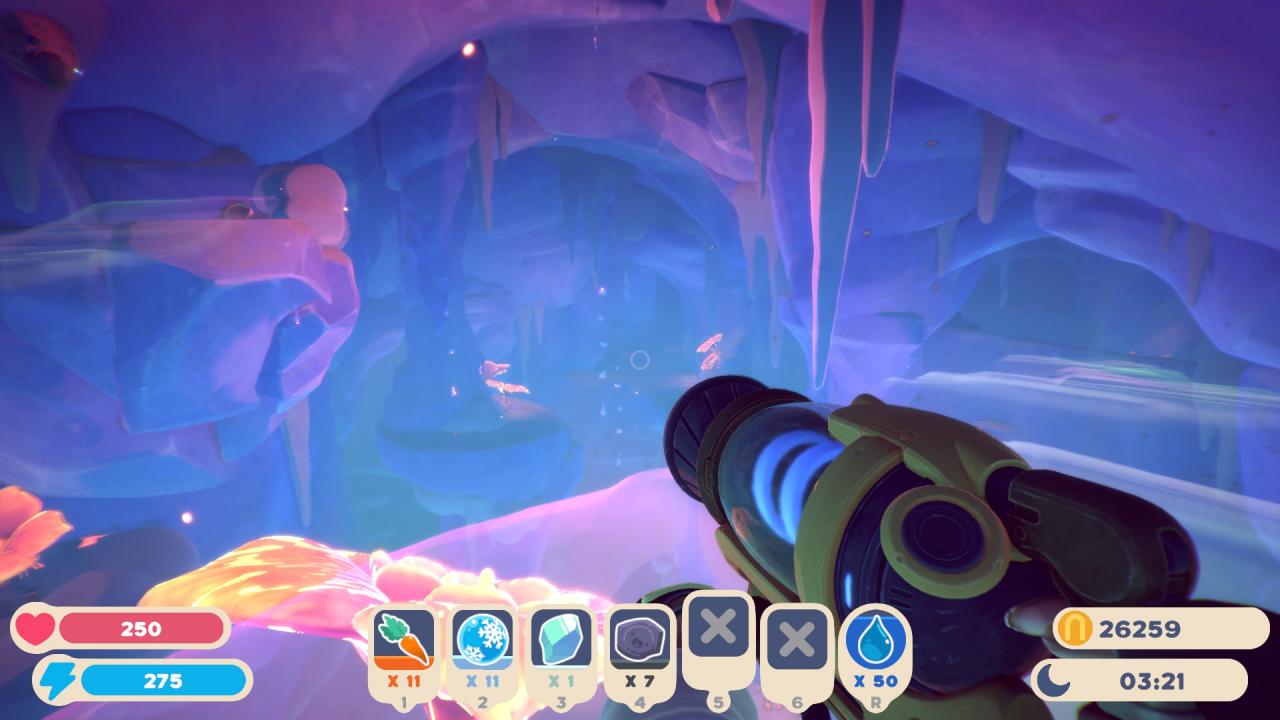
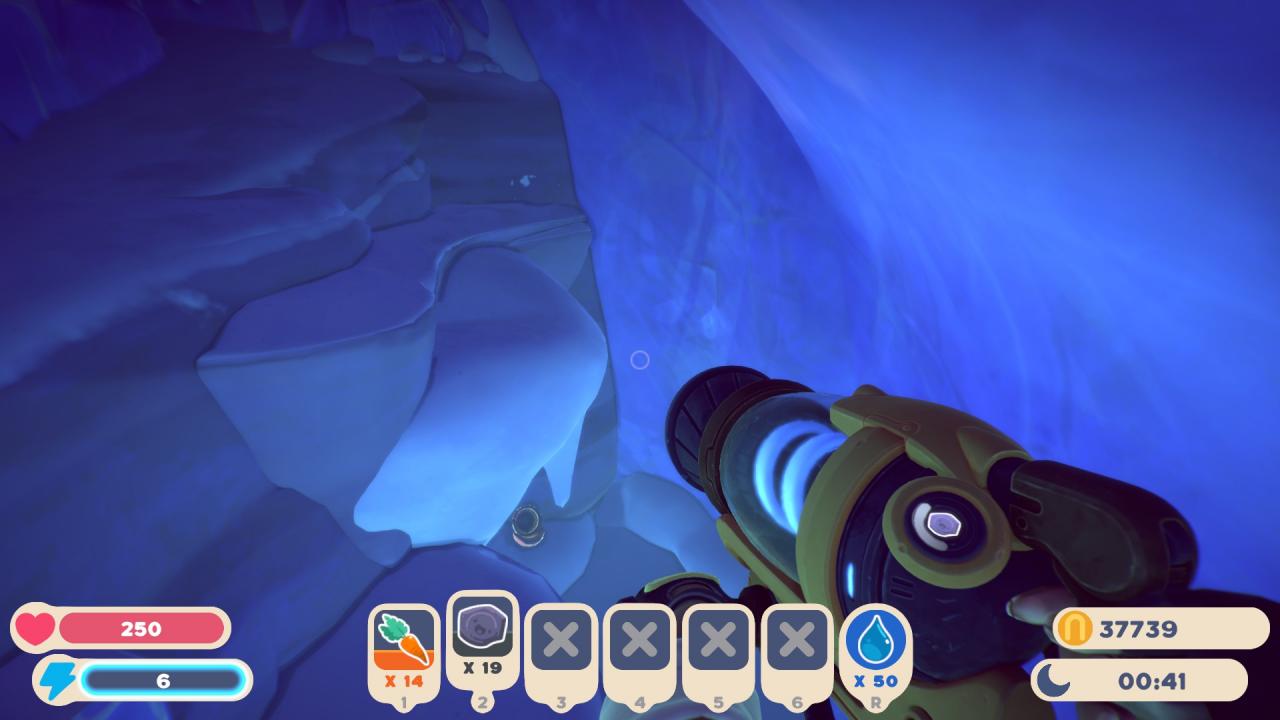
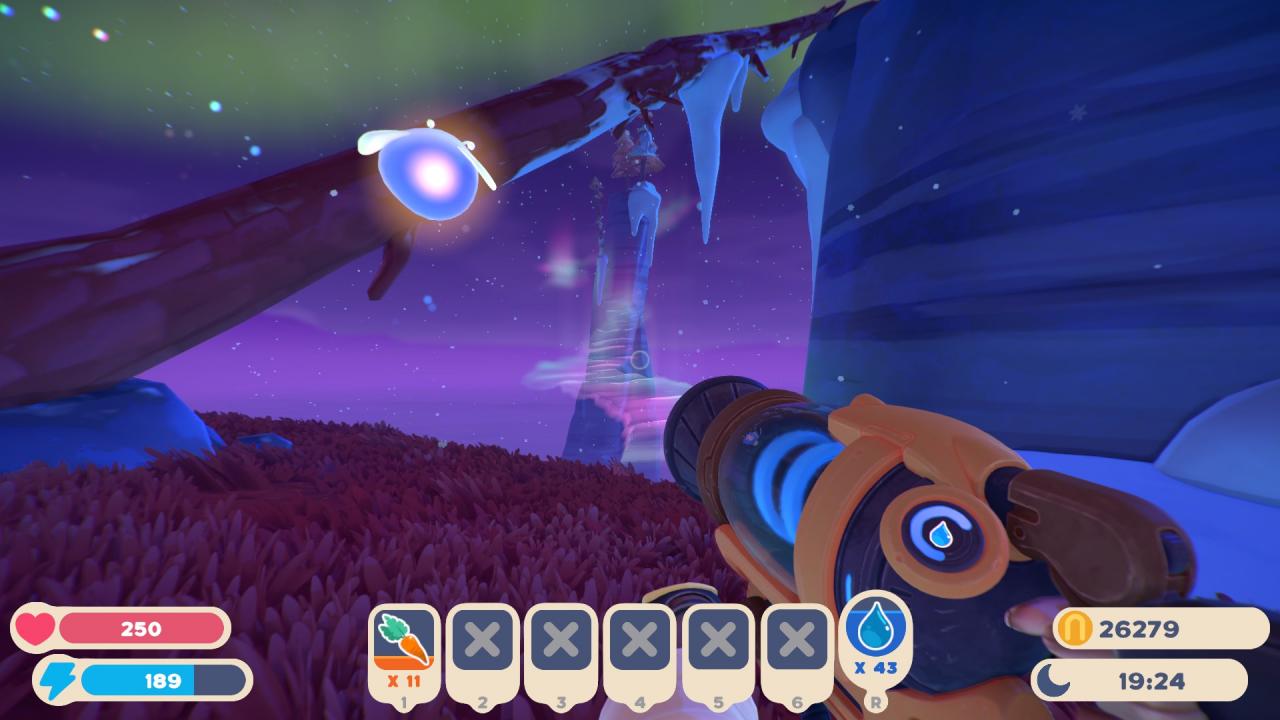
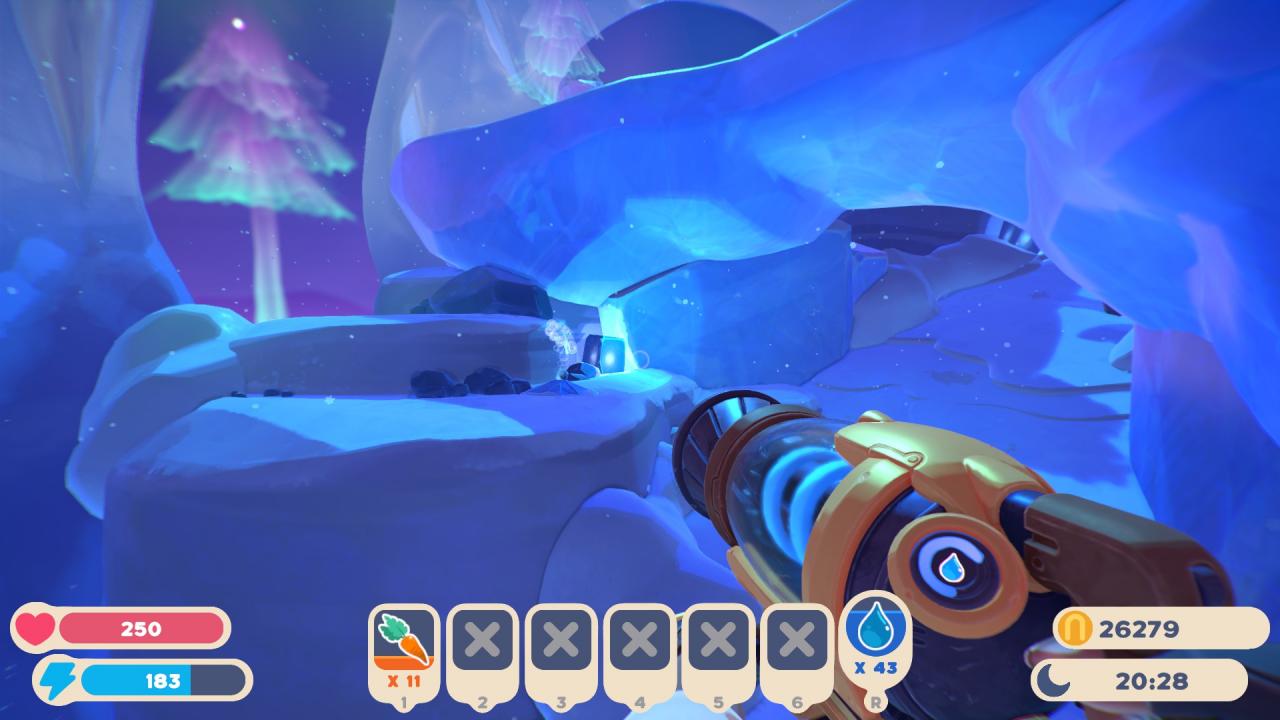
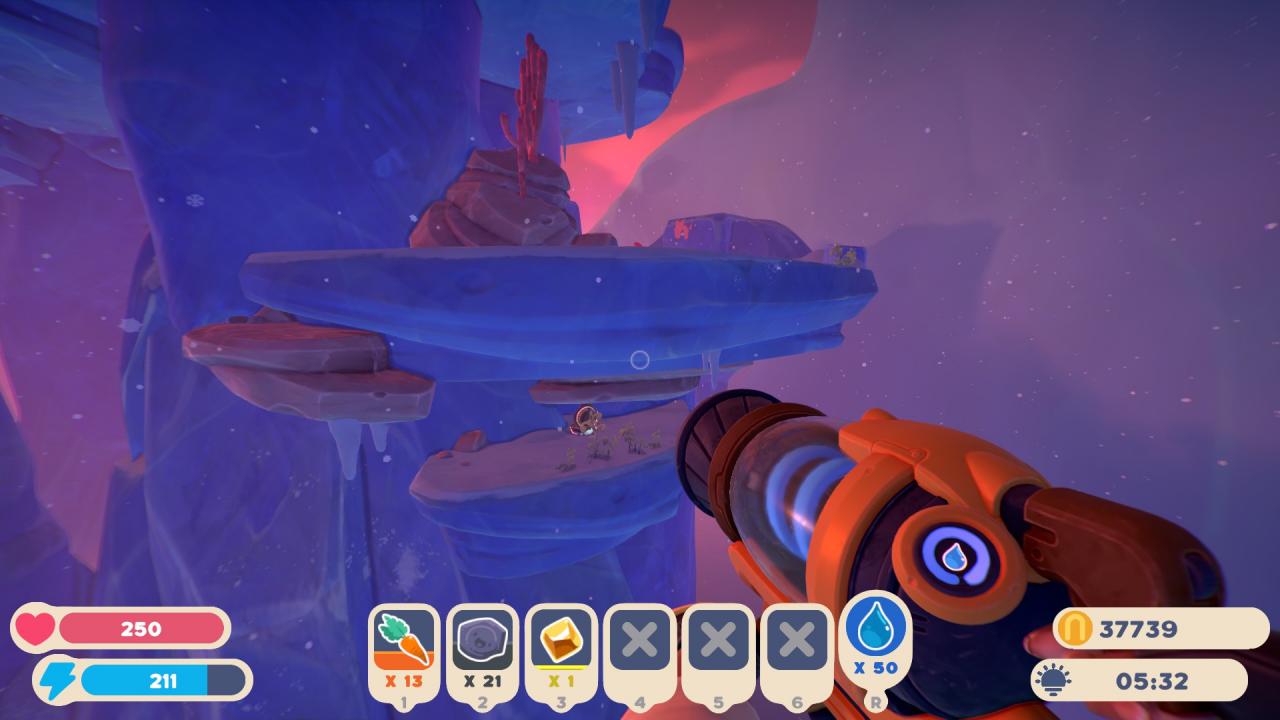
The first pod is directly behind the initial arrival point. Turn around and there will be a small crevice you can exit through. Leave there, and then jetpack to the ice floes. The pod is behind the largest one.

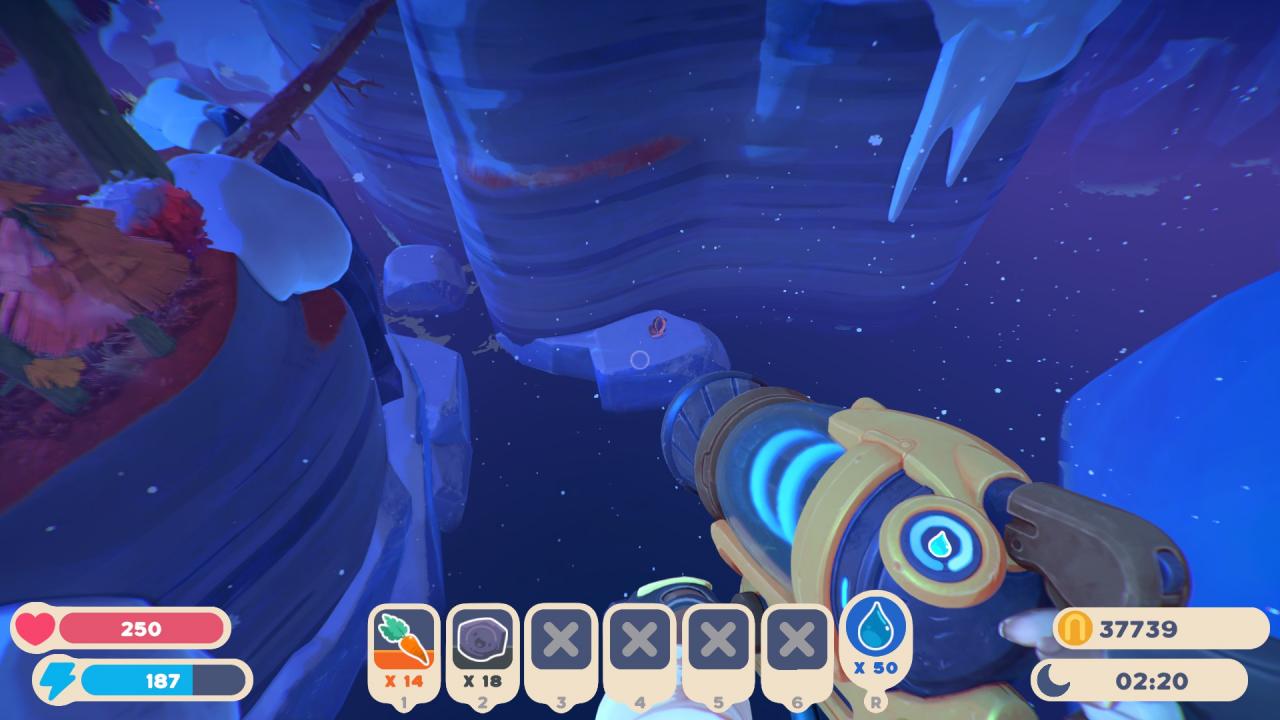
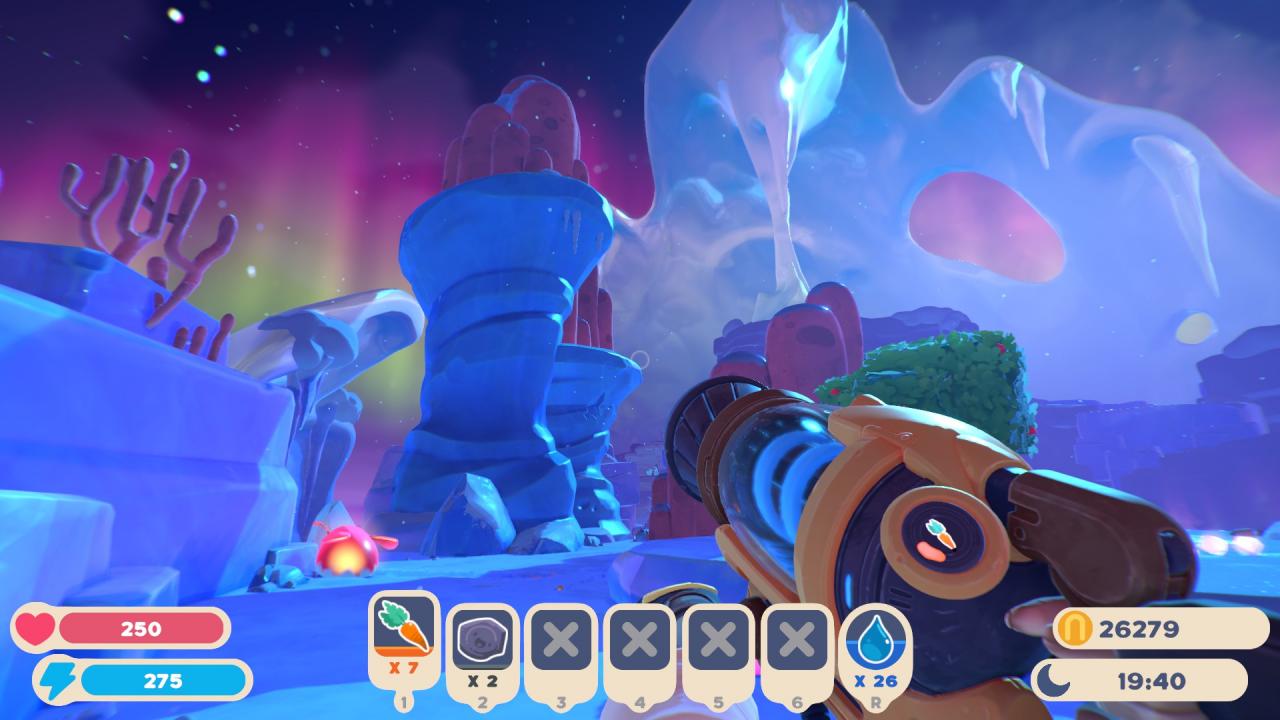
Exit location behind the portal.
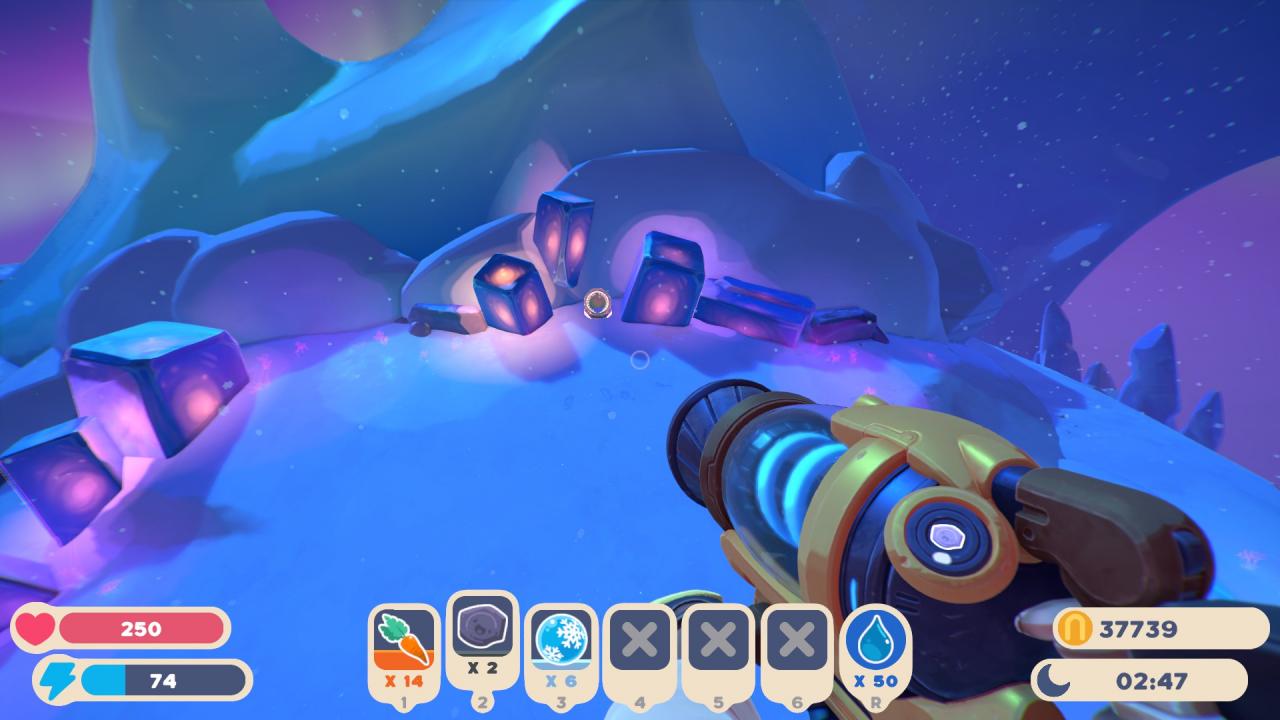
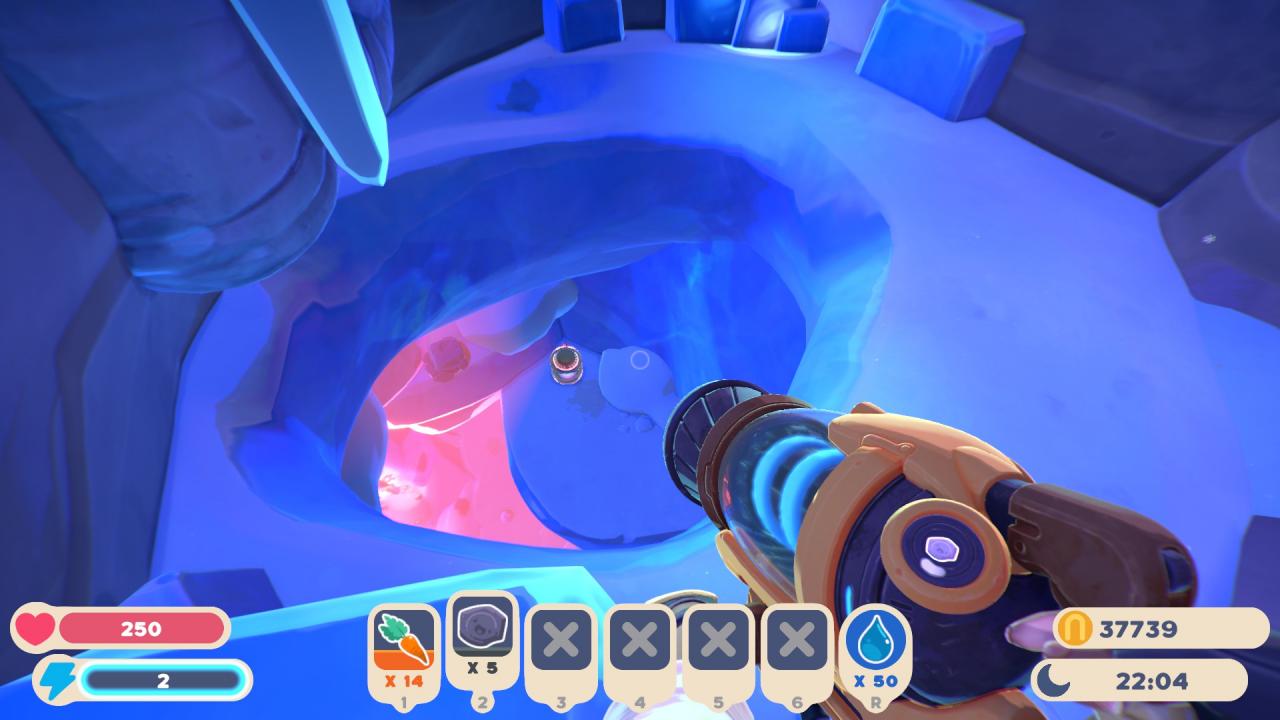
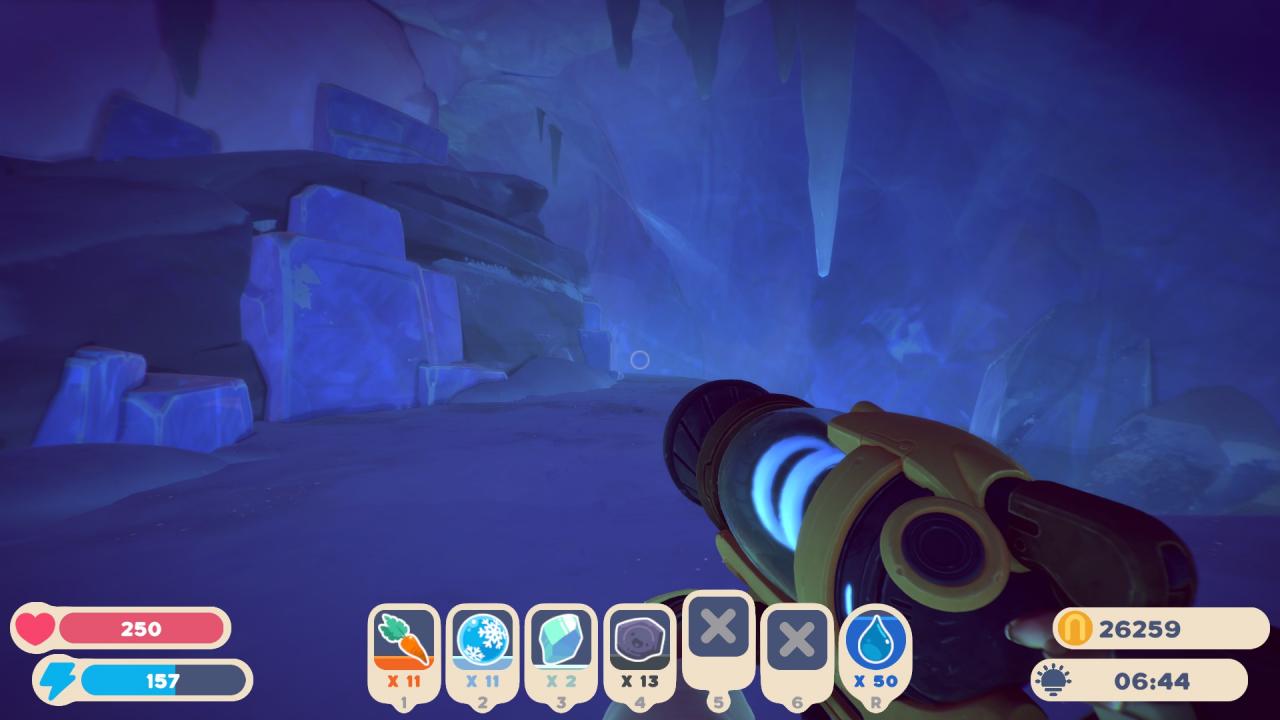
From the landing pad, continue in the direction it points you until you exit into the first large area. Once you reach the first section of grass and large cubic glacier, turn left and you will find the next pod down a small ramp near the water.
Left is the cave that leads to the portal. Right is the path to the drop for the pod.
This pod is atop the large cubic glacier that is in the middle of the map. You can reach it by walking on the auroras that spawn to its north, then jetpacking over to it.
Walk up the auroras that follow along the cliff east of pod 3 to get on top of the cliff.
Turn north, then follow the path higher up the cliffside on its western edge.
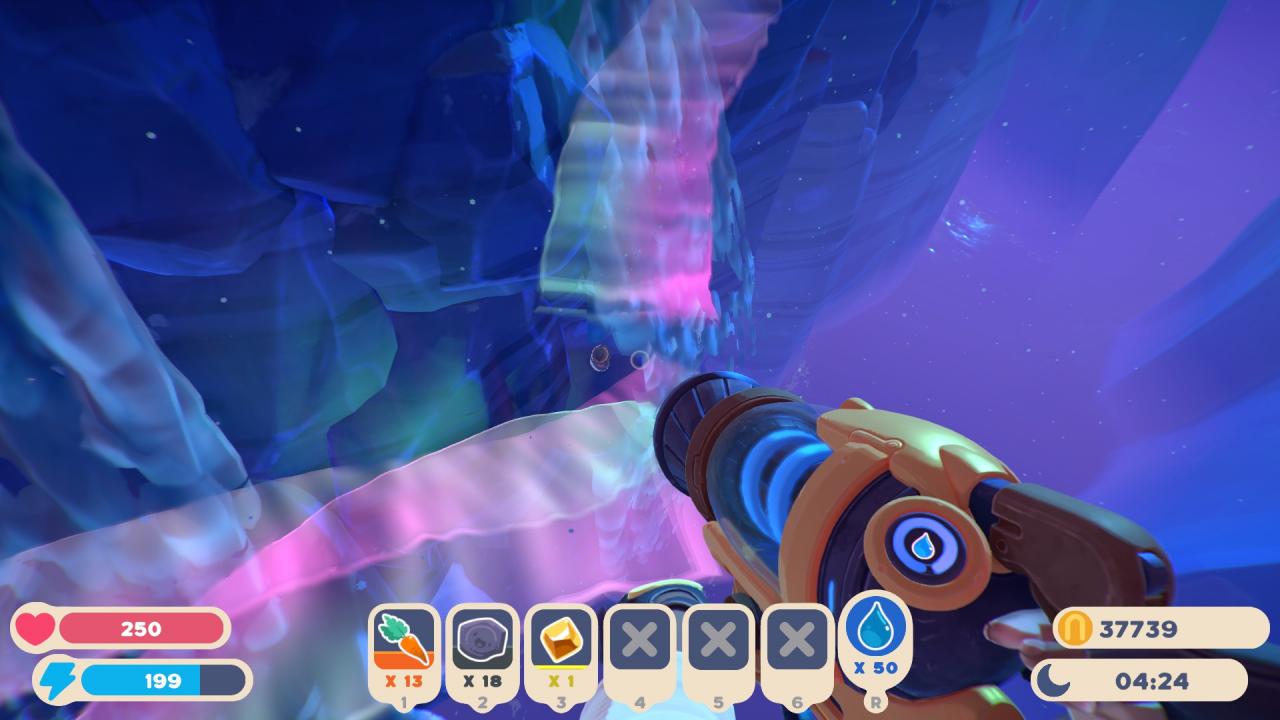
Along this path will be a small crevice you can enter.
This cave is a dead end, but it contains this pod slightly elevated off the ground. This cave is NOT linked to the lower caves shown on the map.
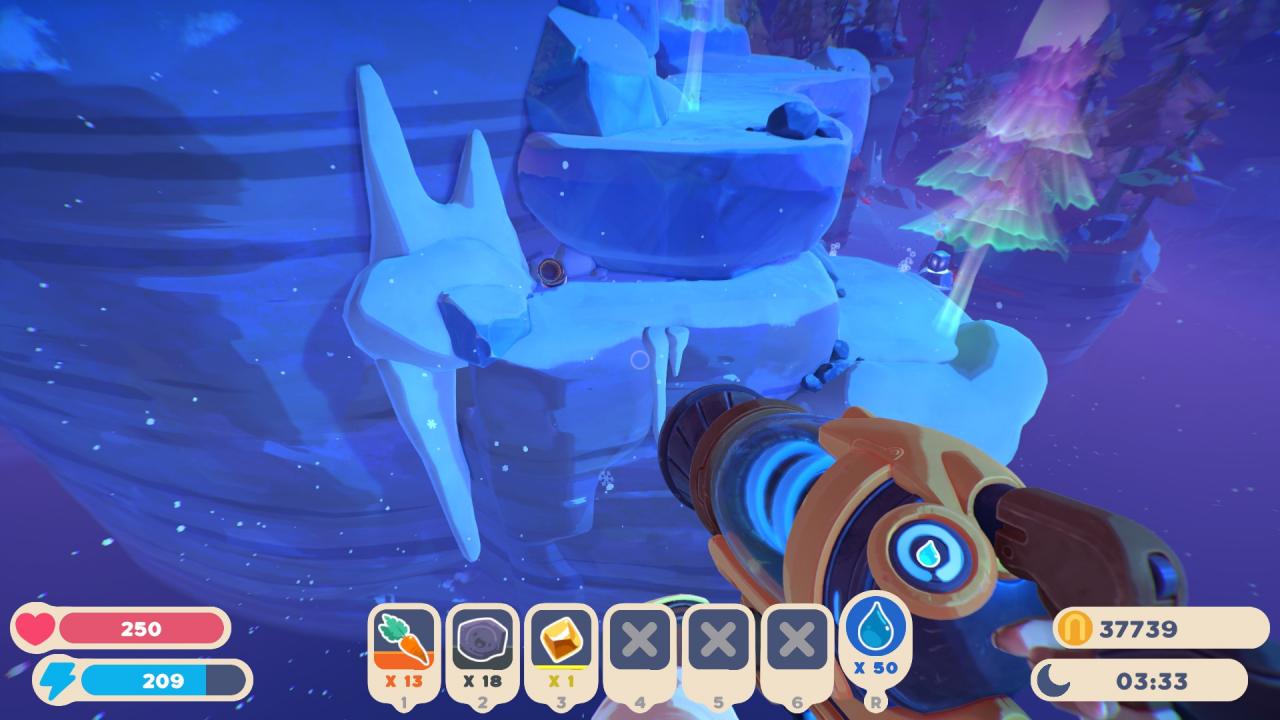
This pod is on top of the tallest mountain on the map. The map does not display the top, instead showing the caves, so be aware that #5 is NOT in a cave.
From Pod 4, keep following the pathway up the cliff.
You’ll soon come to a point where you have to jetpack from ledge to ledge to reach the top, around the northern face of the mountain.
It can be finnicky to get from the final ledge to the top, but it’s possible!
The pod is at the center of the peak.
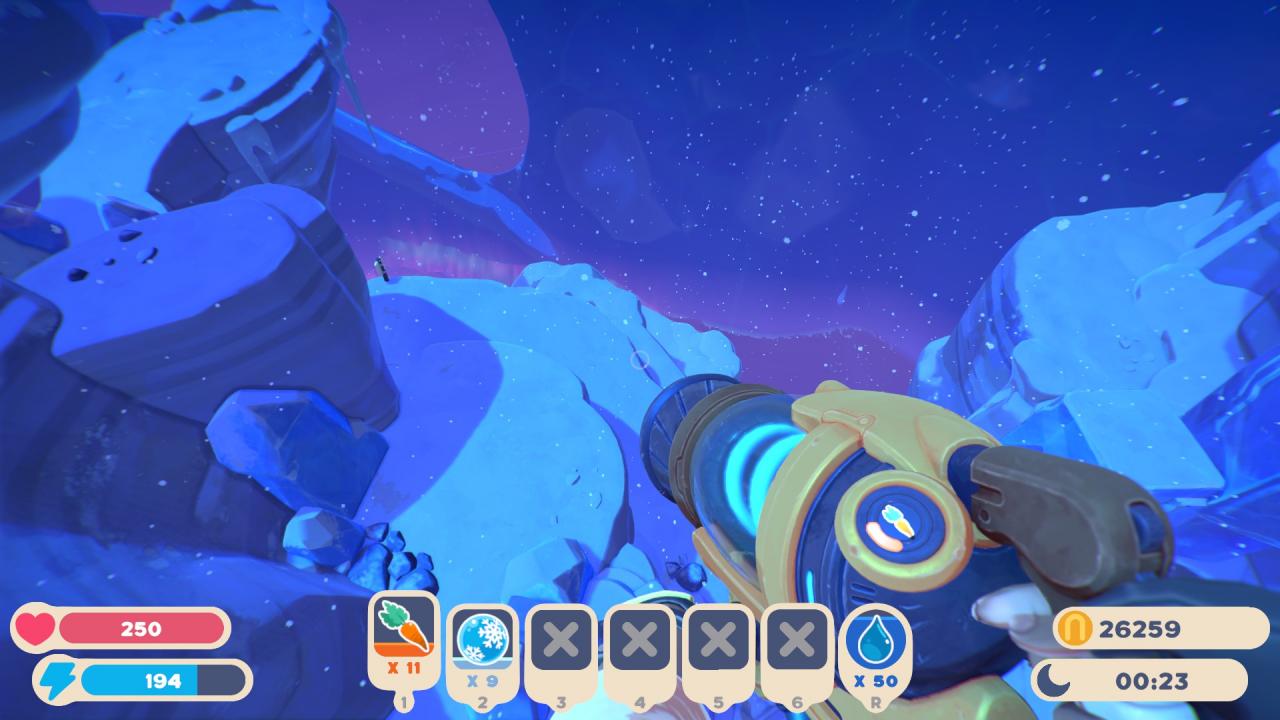
Pod 6 is on the backside of the cliffs on the eastern edge of the region. It cannot be obtained without the auroras or tricky jetpacking that might result in your demise!
You can reach it two ways:
1. If you had just grabbed pod 5, jump down towards the general region where you see it marked on the reference map. Essentially, aim for the eastern flank of the mountain. Along there, you will find a bridge of many auroras. Follow them to the pod.
2. From the landing on the way to pod 4, before you turn north and head up the mountain, follow the path to the northeast instead and then jump down. The auroras link up to the mountain’s edge along the eastern side.
View from above, jumping down from the lower point in the mountain.
Standing on the aurora bridges.
Pods 7 – 12 (Underground)
All of these pods are in the maze-like caves throughout the mountains, so try to bear with the instructions.
I am assuming you are starting from the stop location of the last section, but in case you are not, jump down to the east of the eastern mountain after taking the auroras up. We’re entering the caves from the open middle section in between them on the map! (Between 5 and 12)
To start, double back from the location of Pod 6 to the ledges along the eastern side of the mountain. Enter the caves here:
View from standing position above.
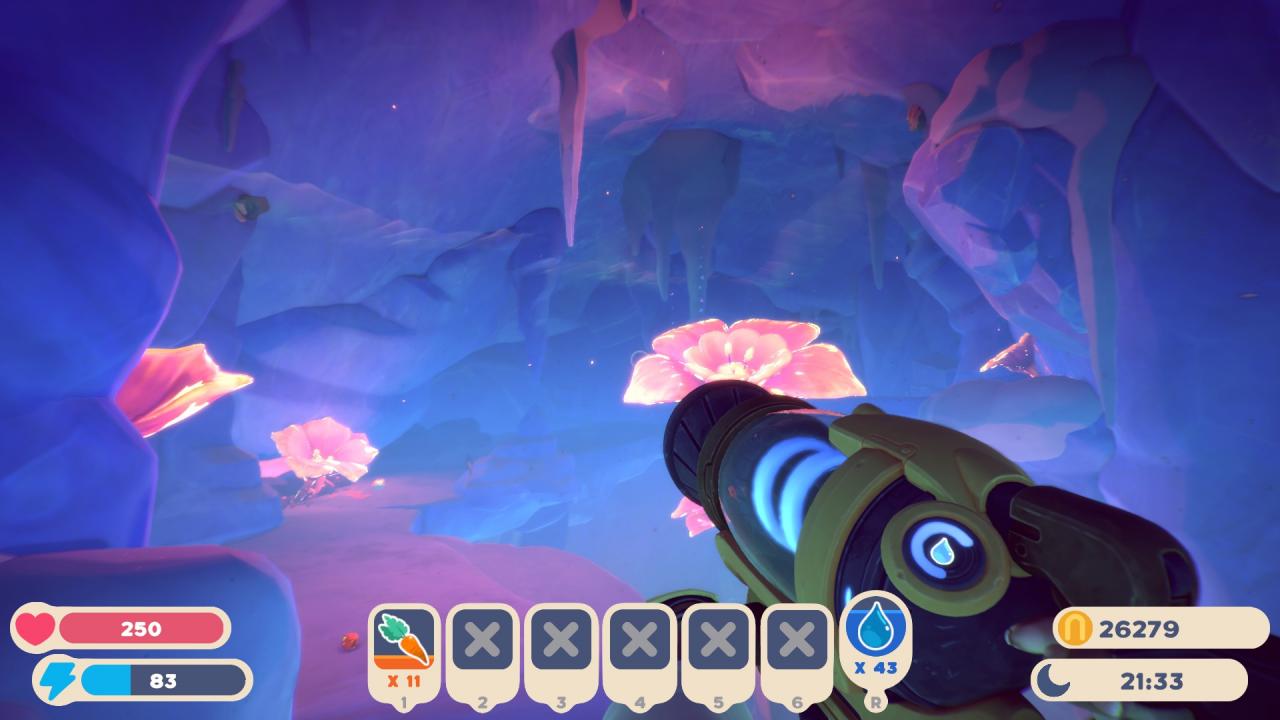
From the entrance shown in the images above, the pod will be directly above your head. To reach it, jetpack onto the flower in the center of the room, and then jetpack onto the auroras that surround it. Walk along the auroras to reach it.
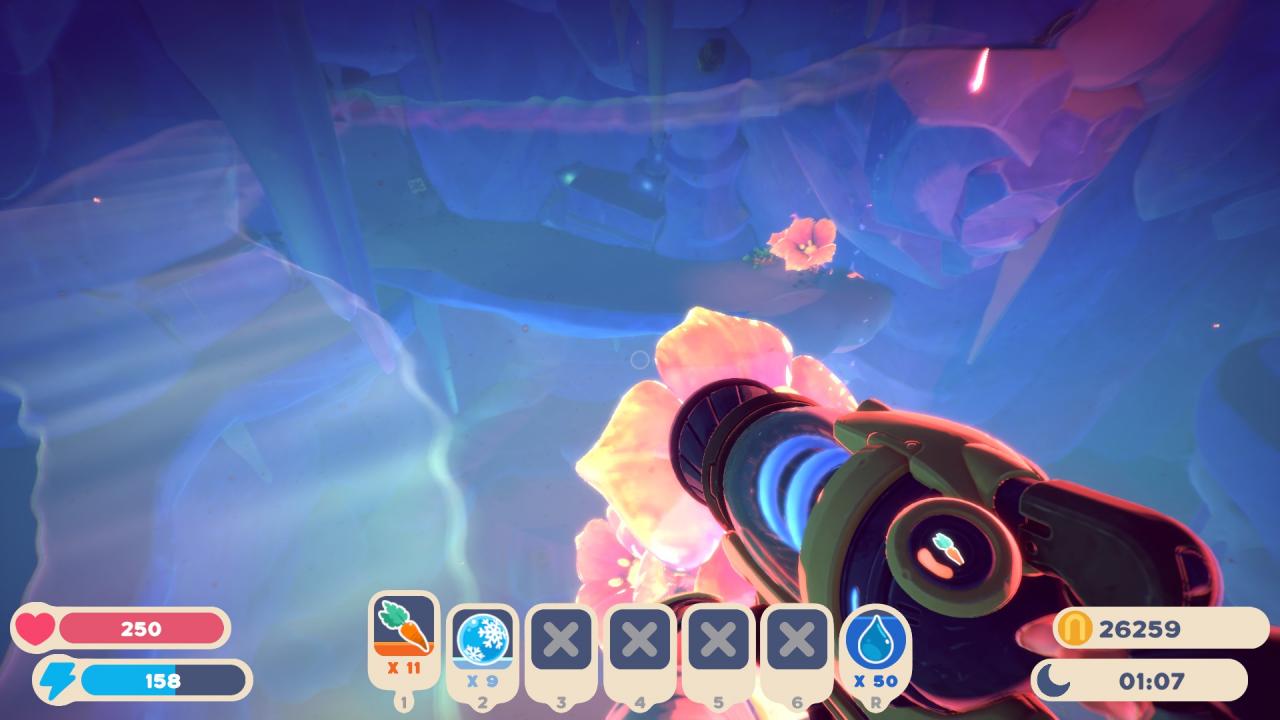
Entrance visible on left. Jump onto the flower obscured by the vacuum tool, then onto the aurora below the player in the image. Walk along it in the direction faced in the image.
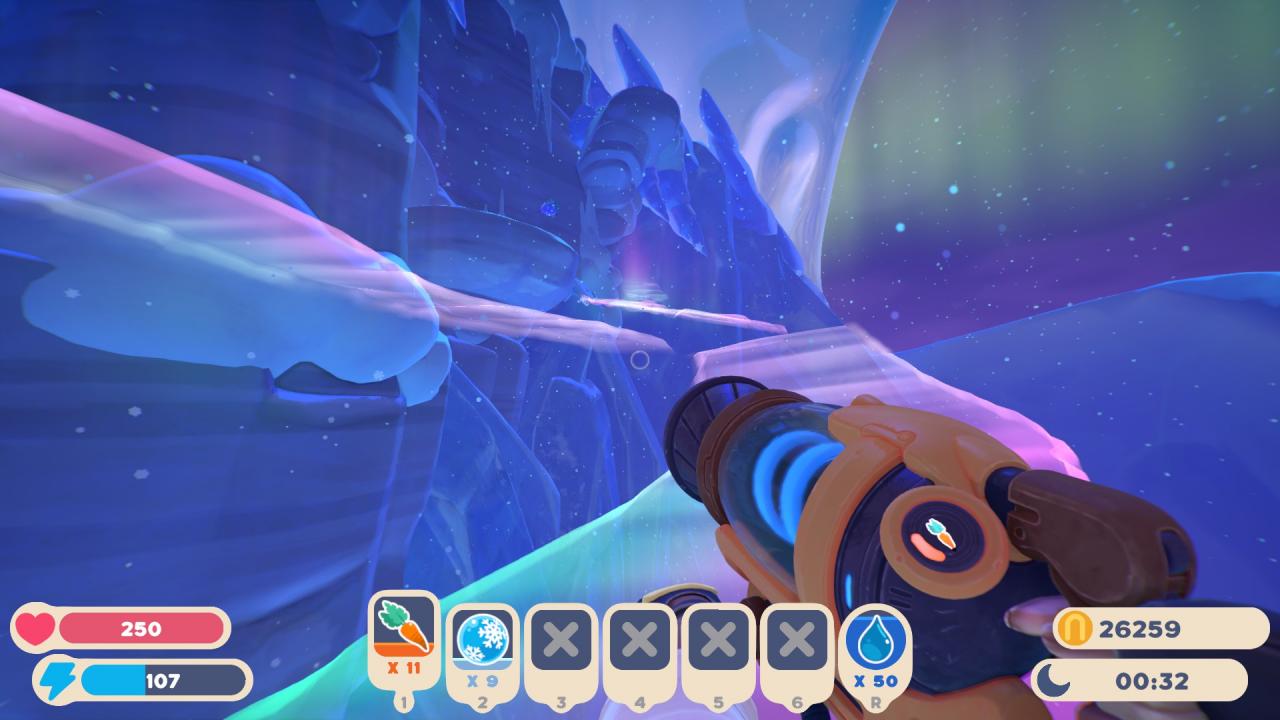
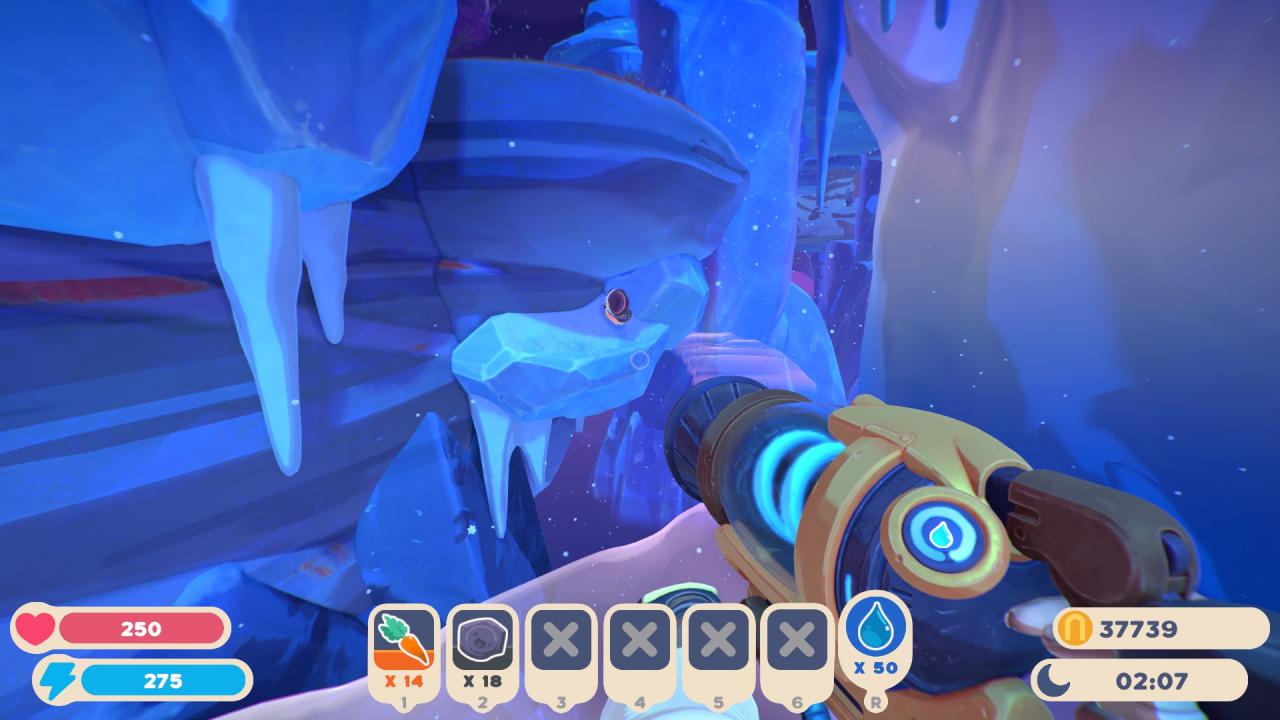
From #7, double back and follow the auroras to the side passage entrance they lead directly towards.
Left: Pod #7. Right: the passage entrance in question.
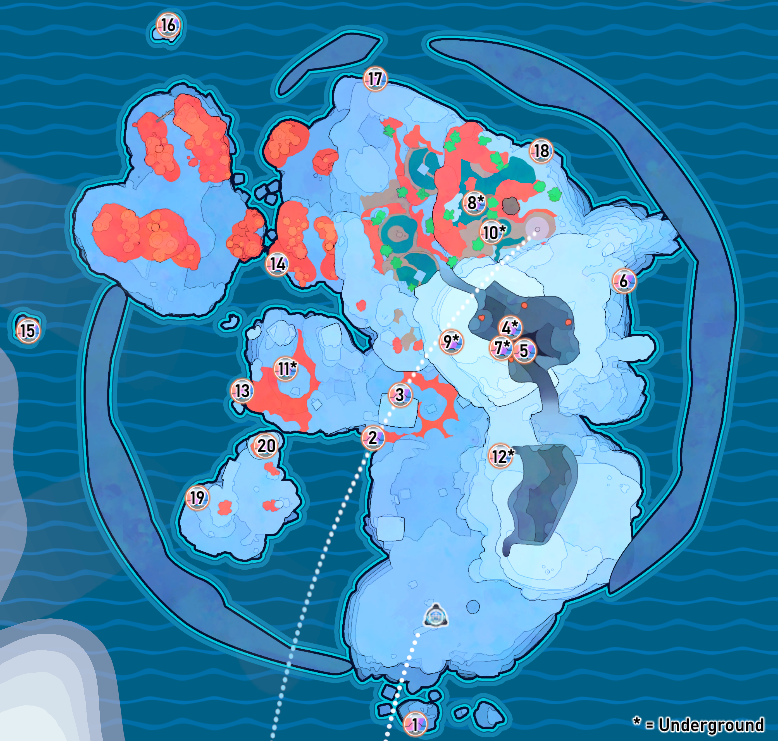
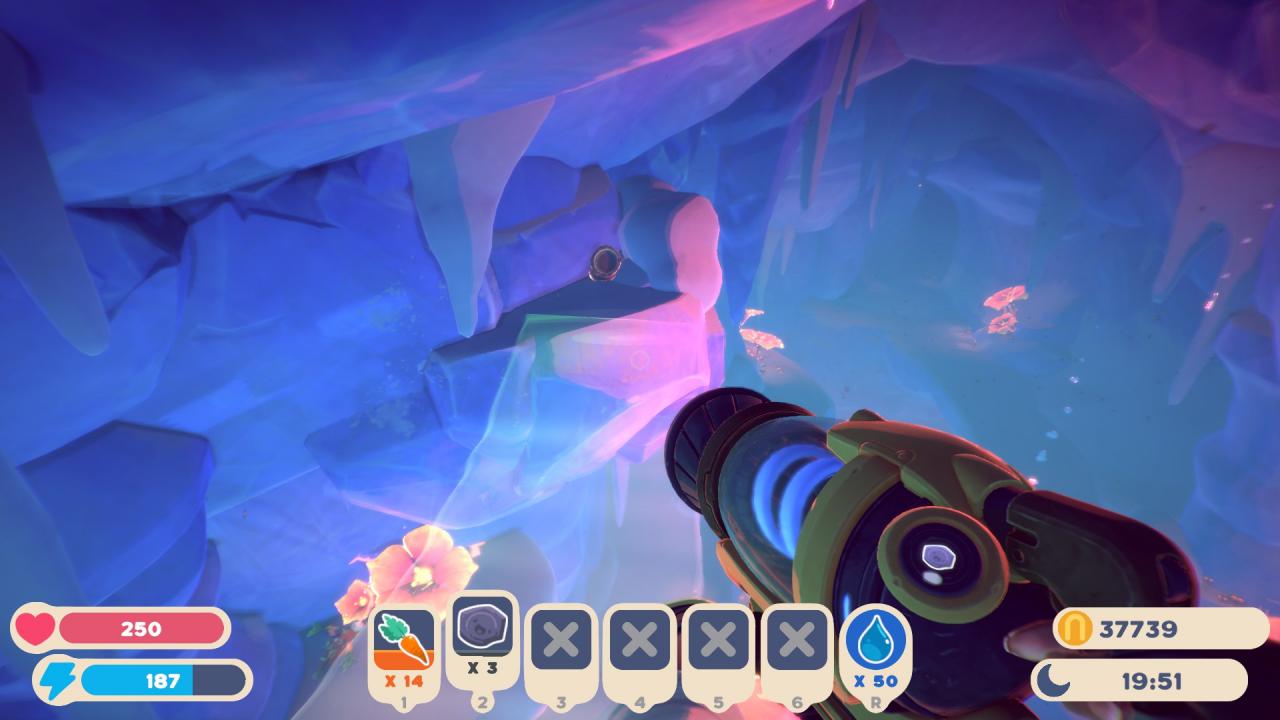
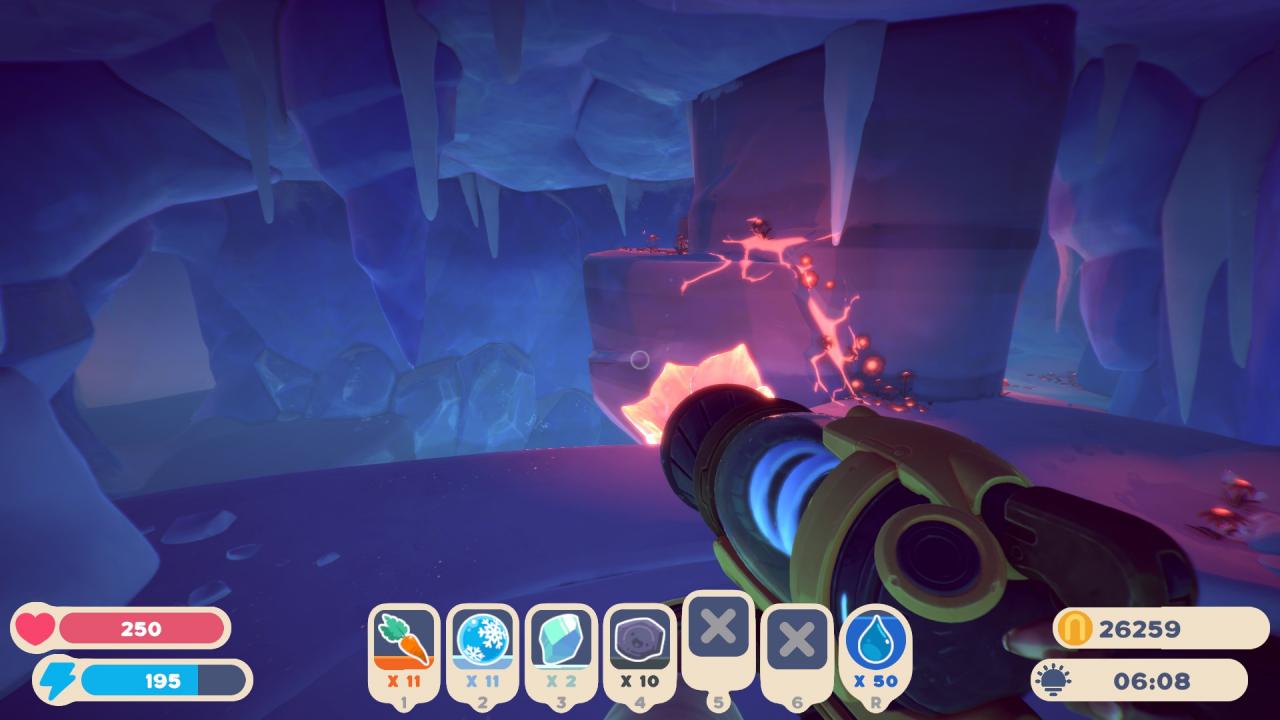
This passage is a straight shot to a geyser. Walk past the geyser and towards the waterfall that obscures an exit. Do not exit, though – turn around, and the pod will be directly behind you, hidden behind a pillar.
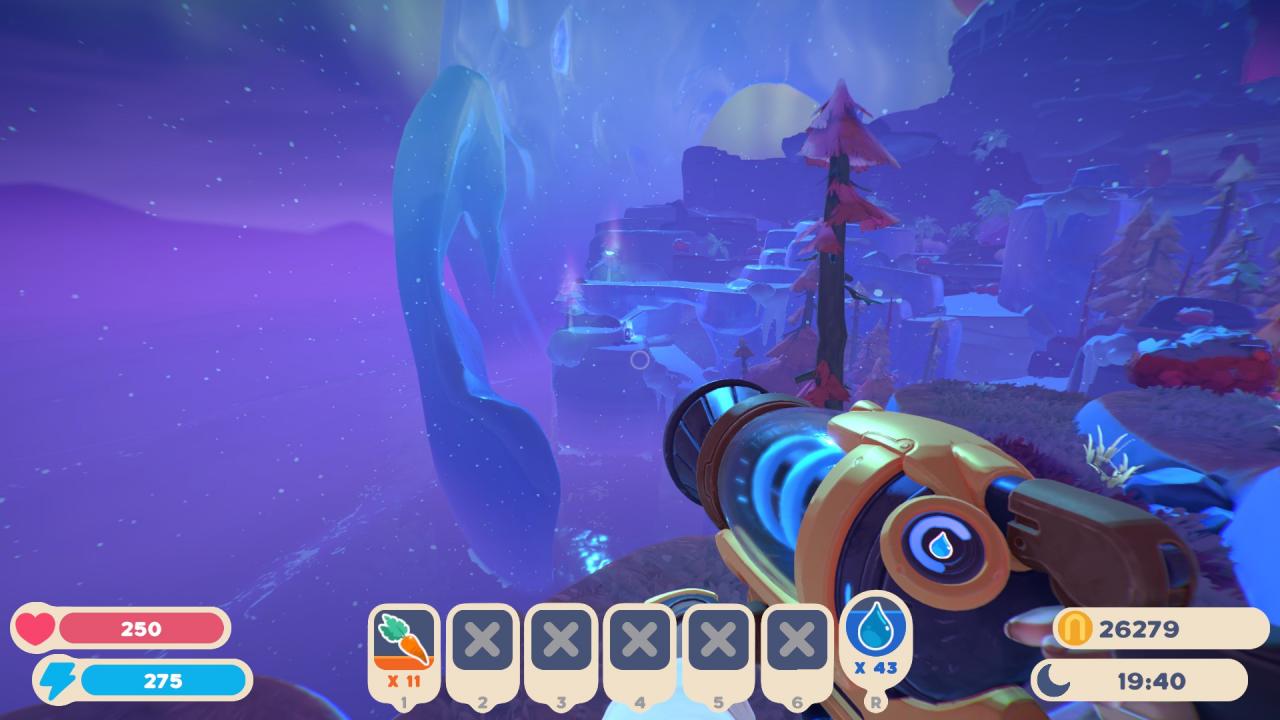
We’re going back outside! From the geyser passage in #8, either ride the geyser up to the outside, or double back and exit the cave using the northwestern passage visible on the map.
Exit is on the left – if you double back and don’t take the geyser.
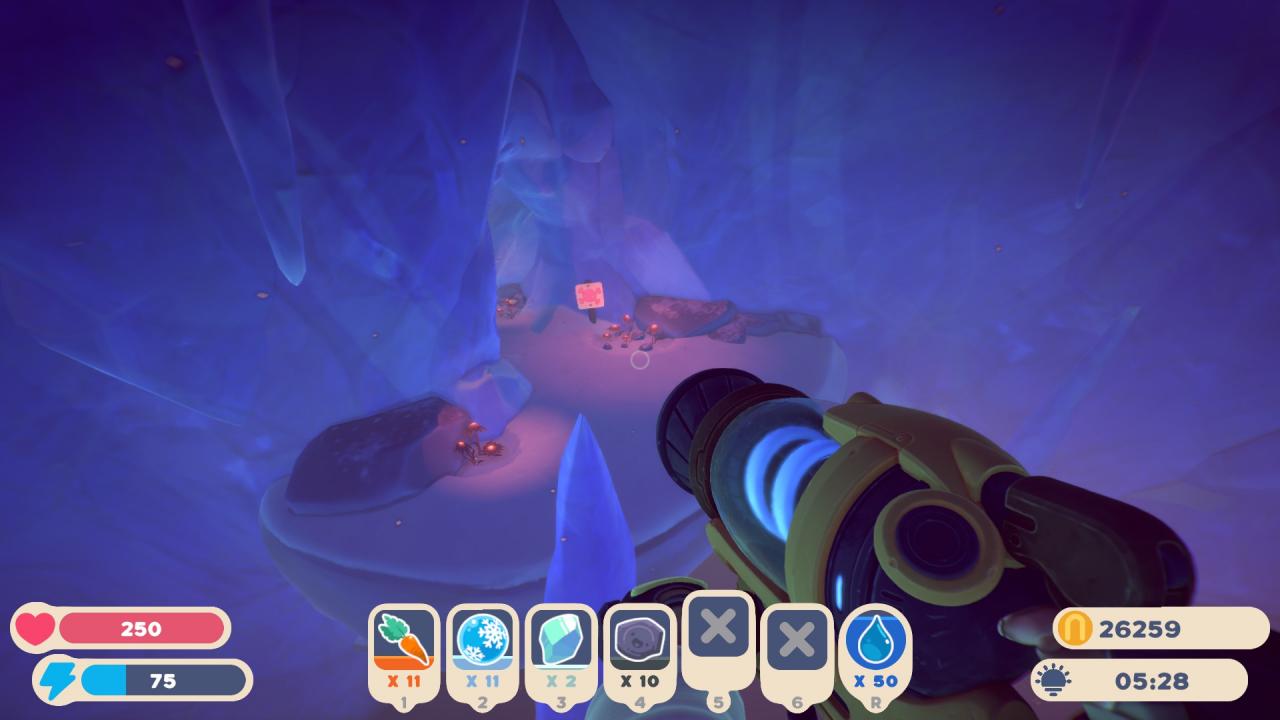
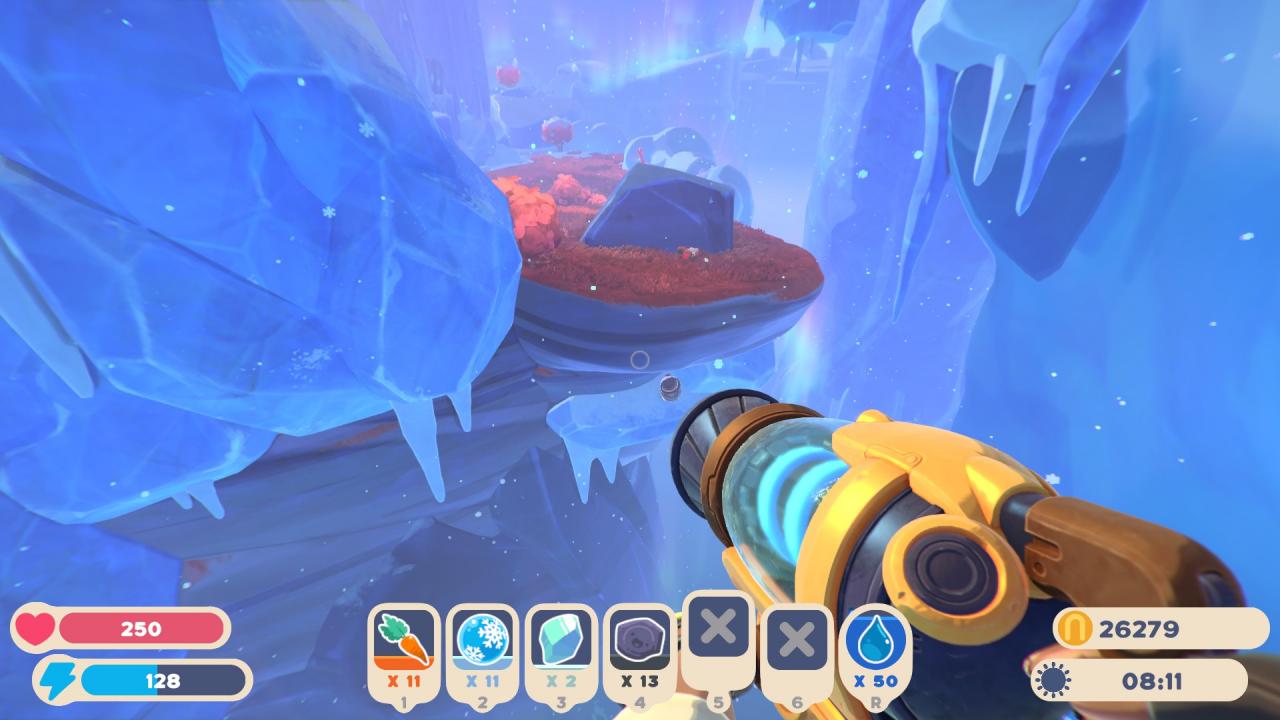
From either position, go south until you are on an outcropping of rock that appears to be covered in corals and undersea plants. This leads you to another new cave entrance.
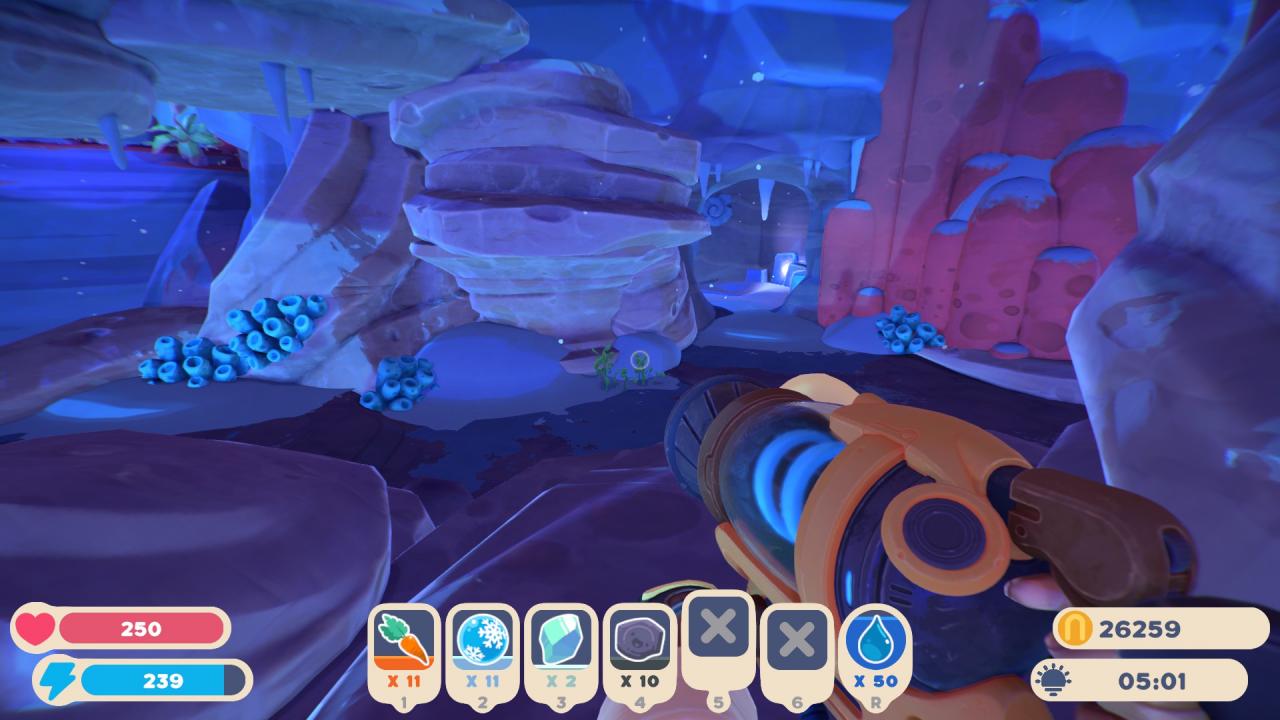
Cave exit is off-screen on the left – the geyser is further than that, but in the same direction.
Jump into the hole in this cave entrance, being sure to land on the outcropping where pod 9 is.
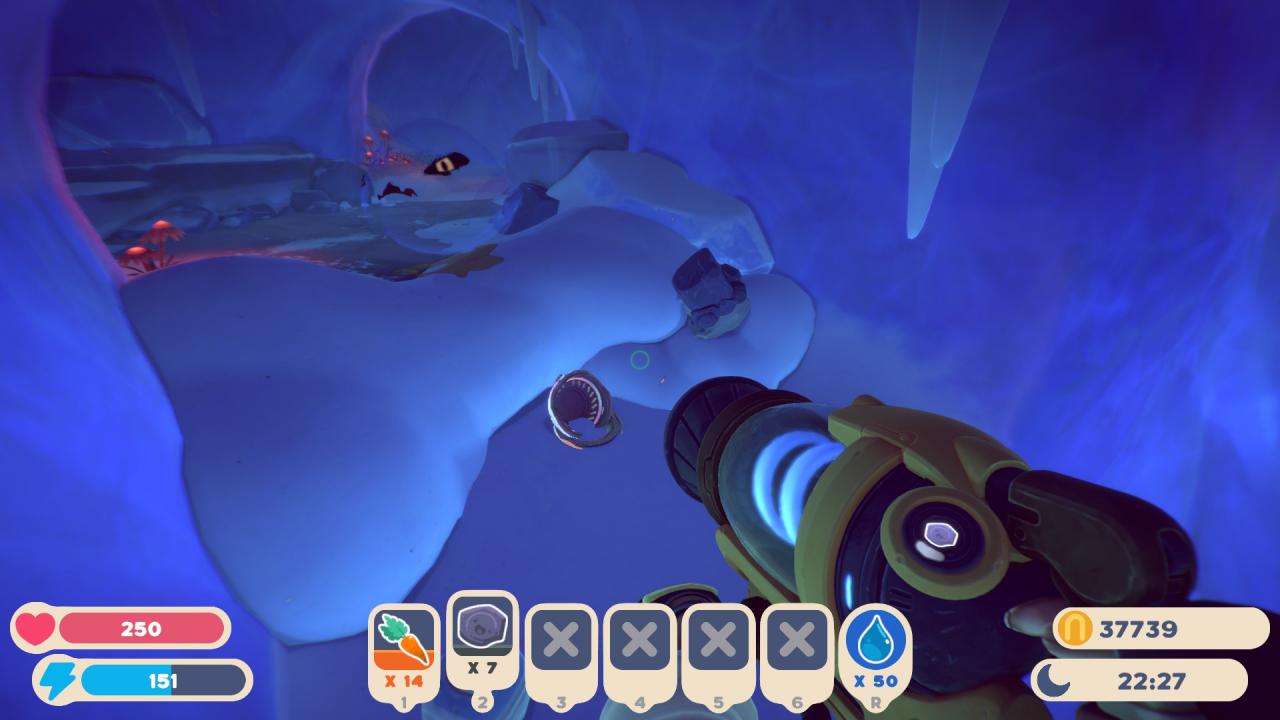
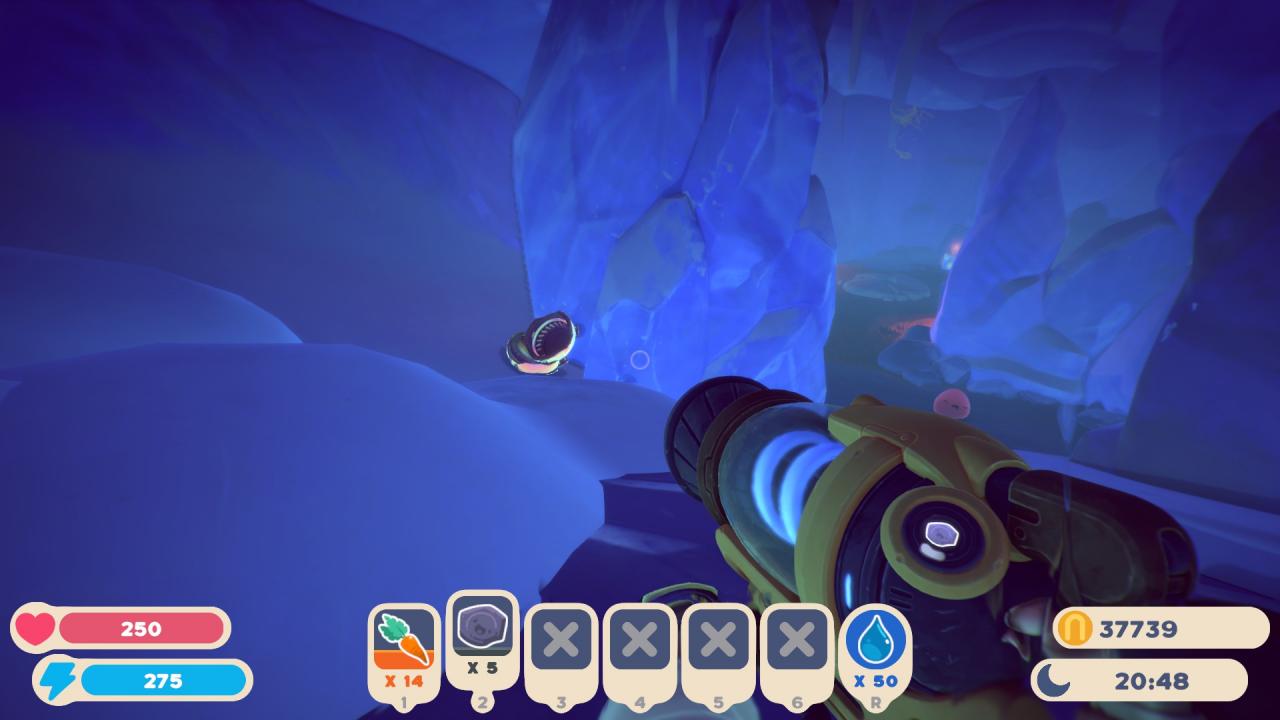
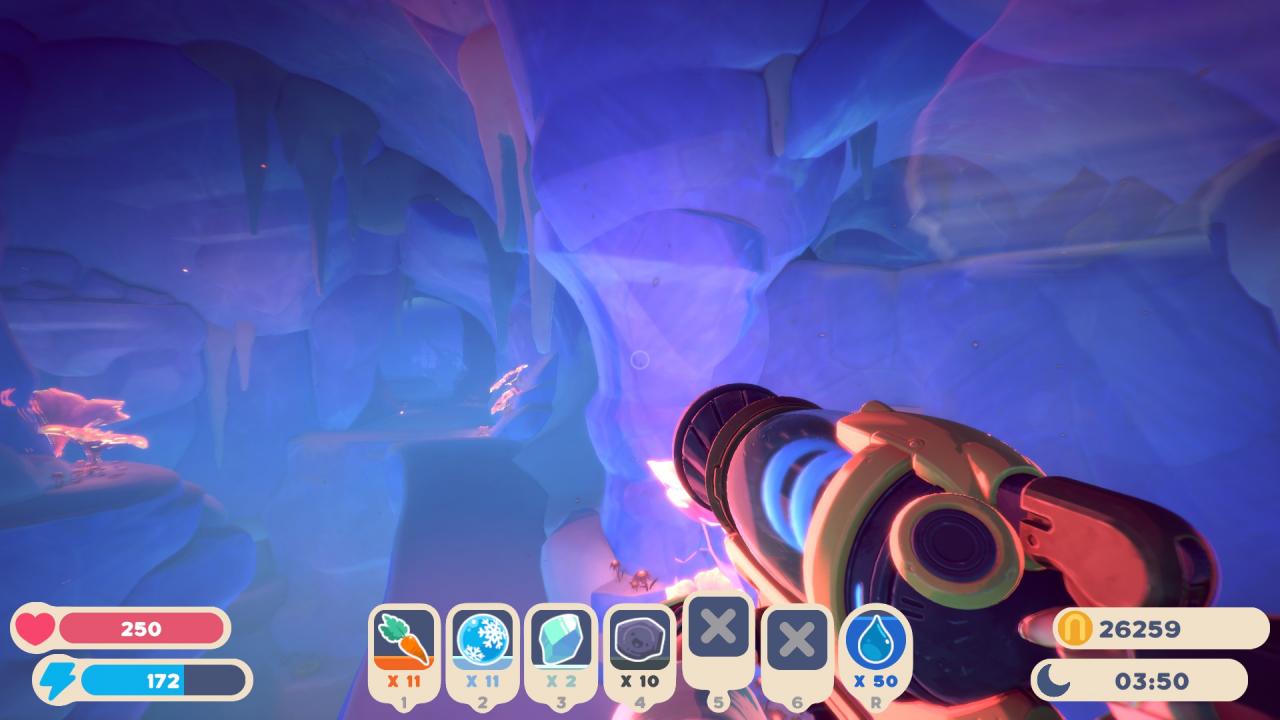
After dropping down from pod 9, you’ll end up near the bottom of the big central cave system. Continue down until you reach the lowest level and look for a small passage directly ahead marked with a ‘slime and crossbones’. It is across a small river, so don’t fall in.
Enter this passage, being cautious of the feral slimes. At the first bend, turn right instead of following the passage left – the pod is directly below the lip.
Keep running through the feral slimes passage from #10. It is a straight shot and can be done without the aurora bridge in a certain section so long as you have enough jetpack energy.
Past the aurora bridge / slime sea section, you will reach a crossroad. Go RIGHT, through the smaller passage.
This passage terminates at a ledge into the slime sea, but also a small outcrop with pod 11. There is no exit from here, so don’t try to jetpack out! (I died trying that once.)
This last underground pod is easily missed, so be wary.
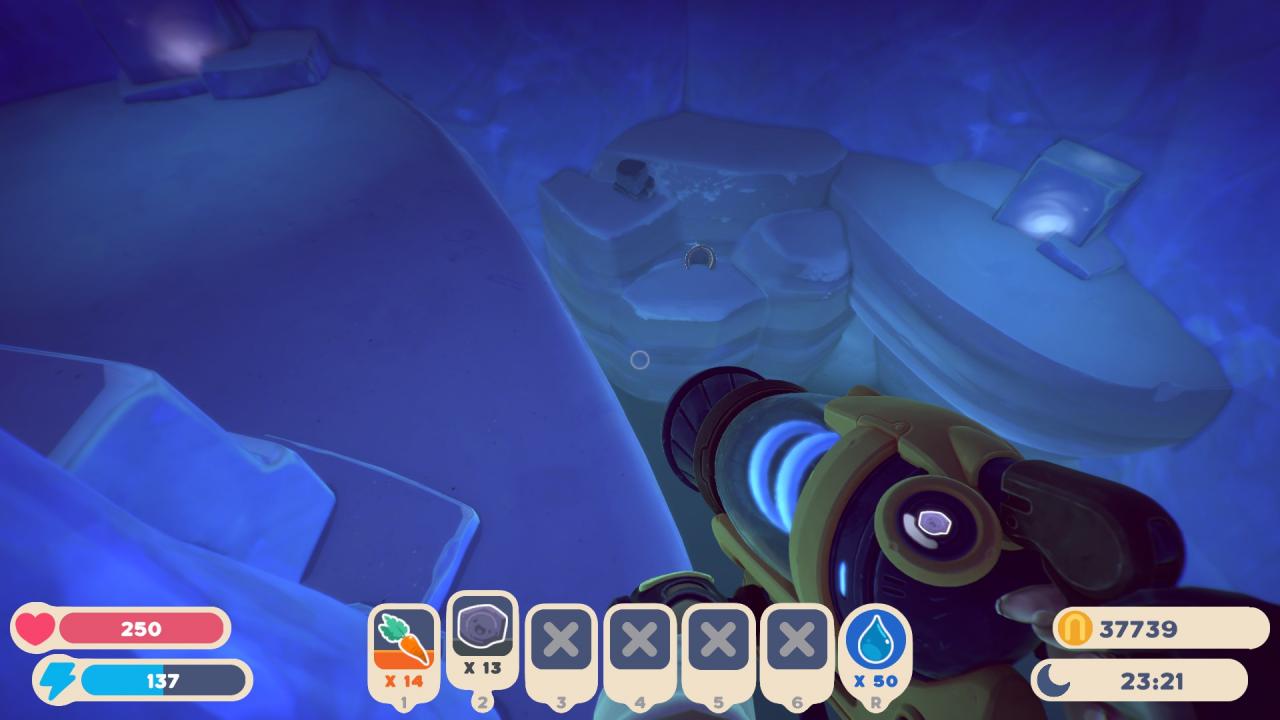
From pod 11, double back to the crossroads and follow the right wall, jetpacking across the gap. (Going left will return you to the feral slime passage from earlier.)
Instead of going up the ramp ahead of you now, follow the low road on your right.
Go towards where the cursor is.
The pod is tucked away at the very end of the narrow passageway.
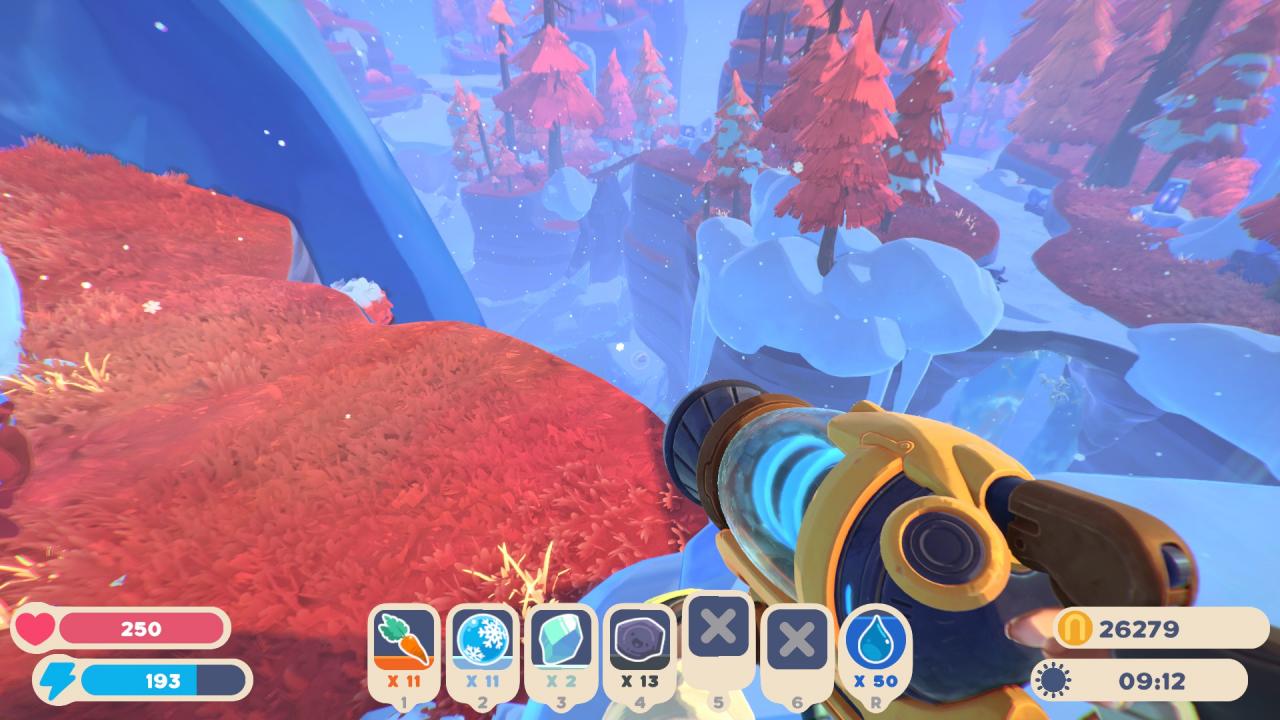
Pods 13 – 20 (Exterior II)
For this part, we are starting back at the primary portal into the Bluffs. If you are following along from the prior section, this is a straight shot if you follow the ramp up from Pod #12.
From the entrance, run along the lower level until you reach the giant ice cube, then go west as you pass it, staying on the lower level.
You will be faced with a large hunk of curved glacier, a rather normal looking grey rock, and the sea. Walk past the grey rock and look down over the edge; you should see an aurora bridge (or a faded aurora, if it is daytime.) The pod is directly below you. You can try to jetpack to it and risk dying, or use the bridge at night.
Ledge with more context. The auroras would be below you in this image, were it night time.
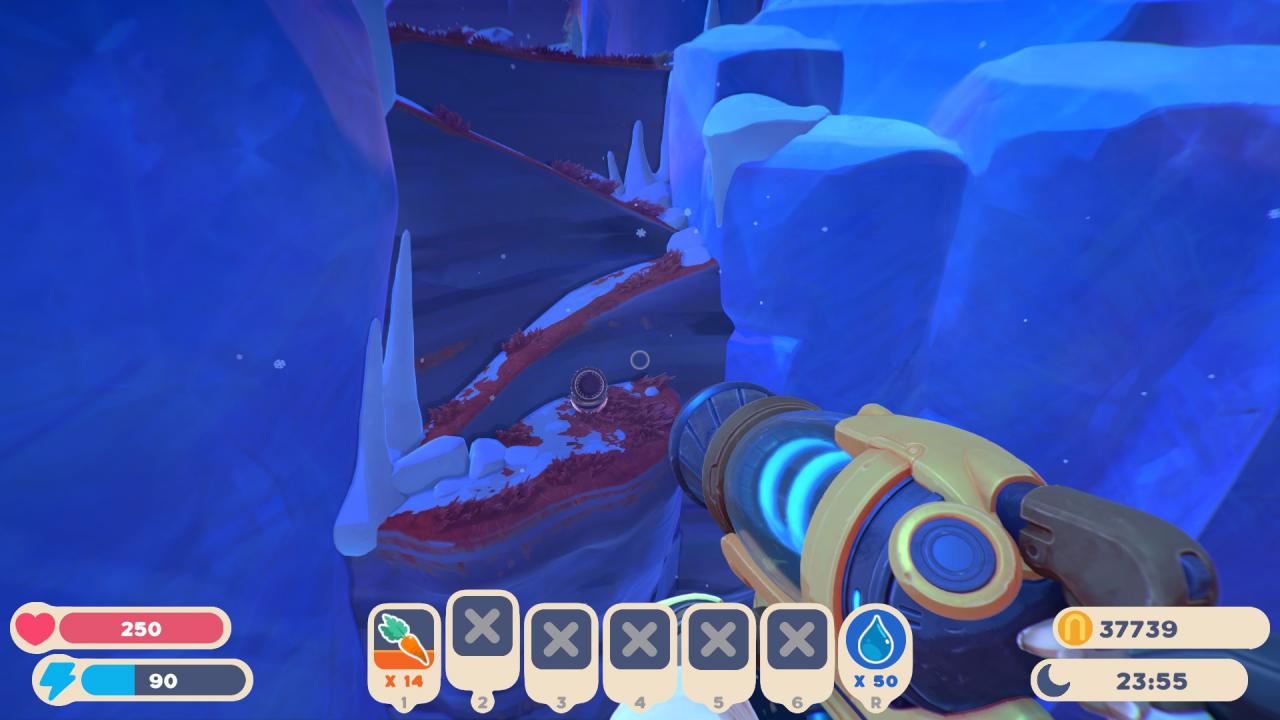
From pod 13, turn and go north along the aurora bridges or coastline. Once you reach a section of red grass at the edge of a cliff, at the northern edge, you should be able to see pod 14 from above. It is sitting on a small ice floe.
Pod 14 is at the cursor.
Jetpack down to it from here.

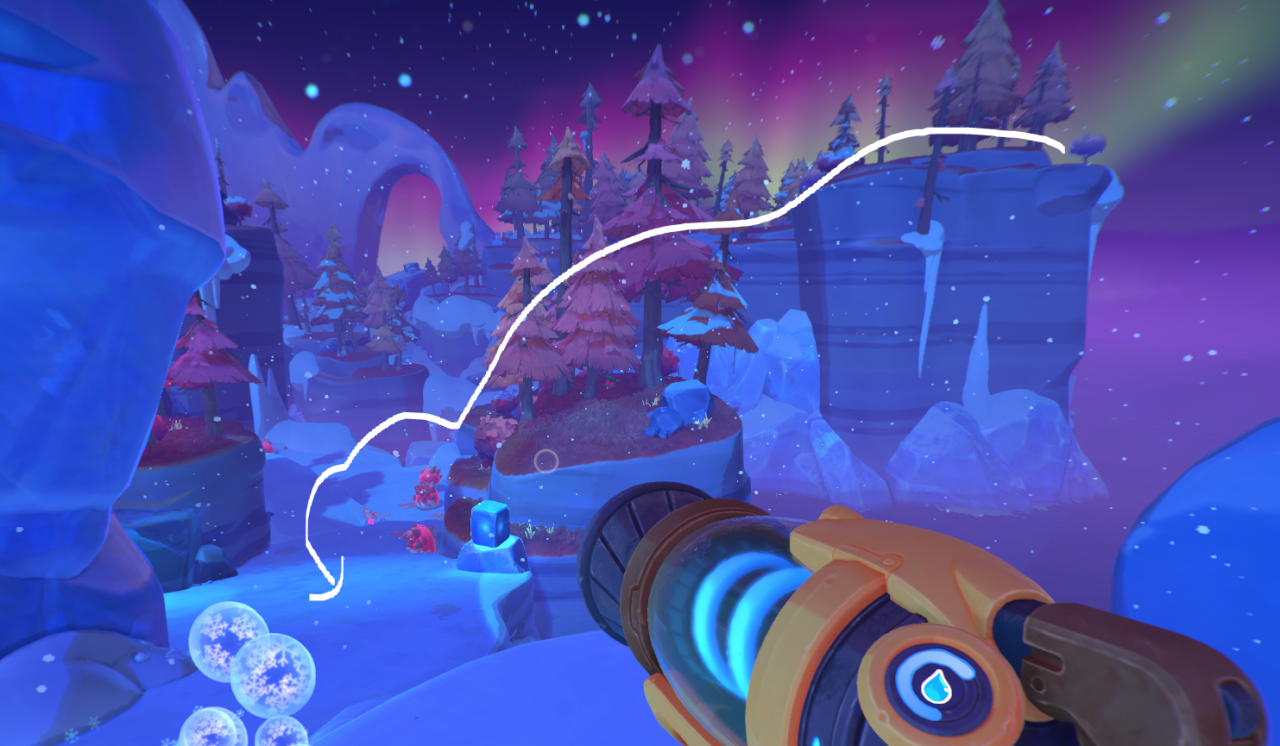
Hop across the ice floes from #13 to get back to dry land, then go to the smaller land mass/island to the west. Run up and around as shown, until you get to a small ledge on the western half.

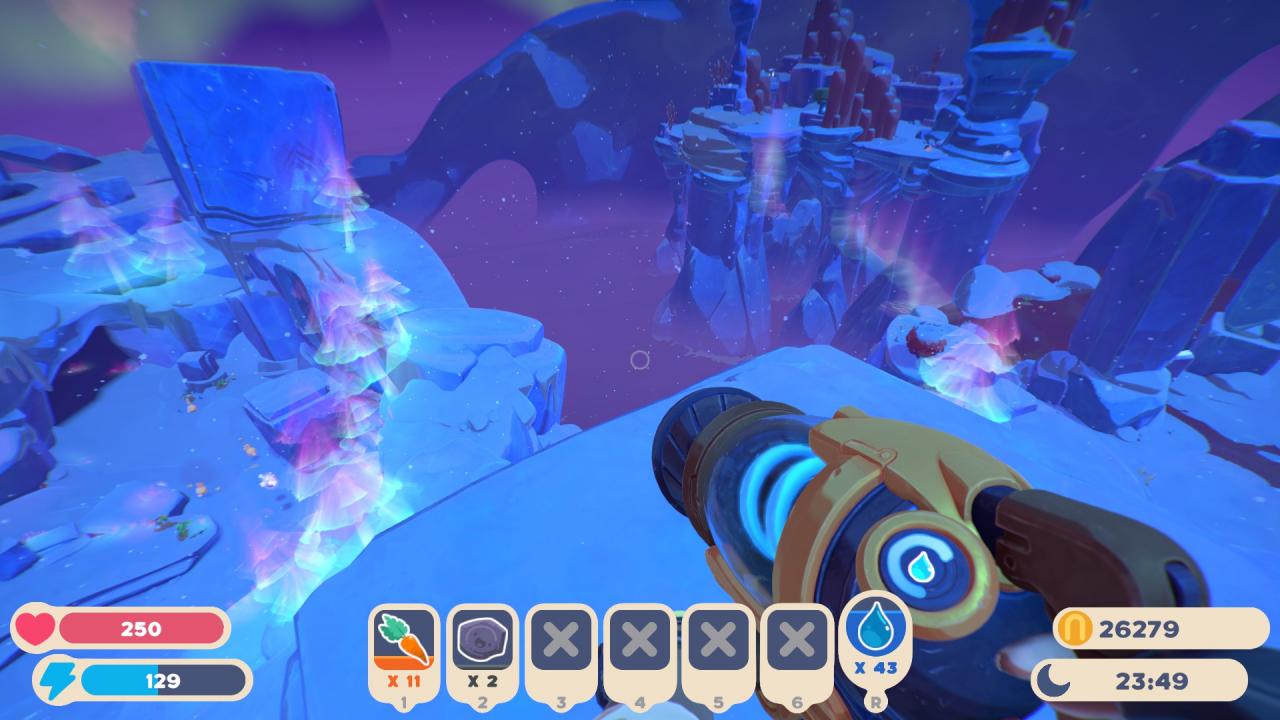
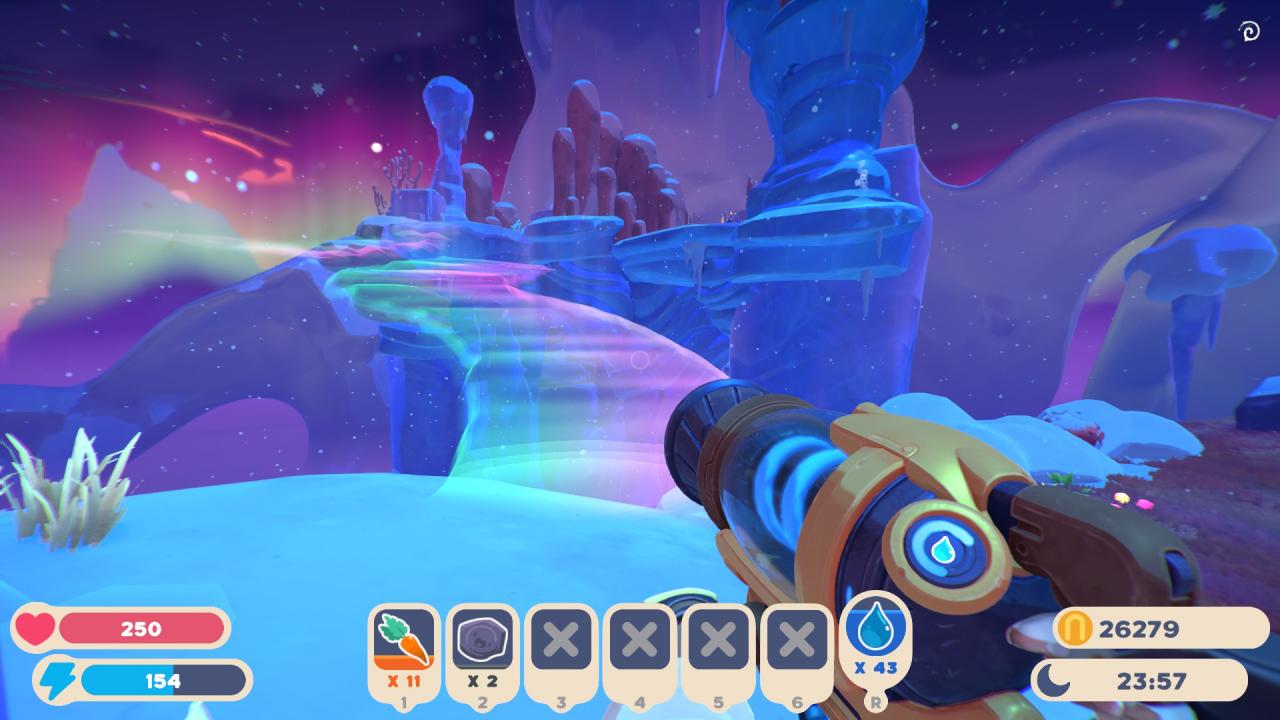
From here, you can see auroras leading out to the island in the distance. You can only get to the island at night using the bridges.
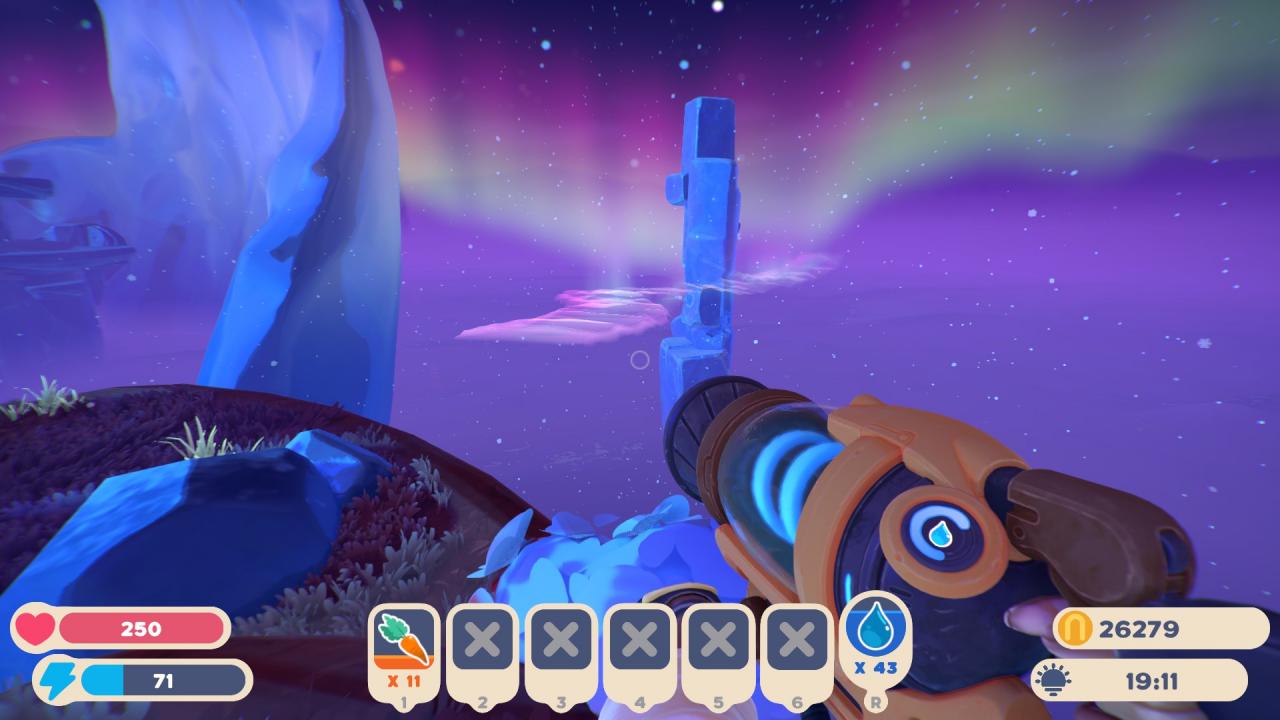
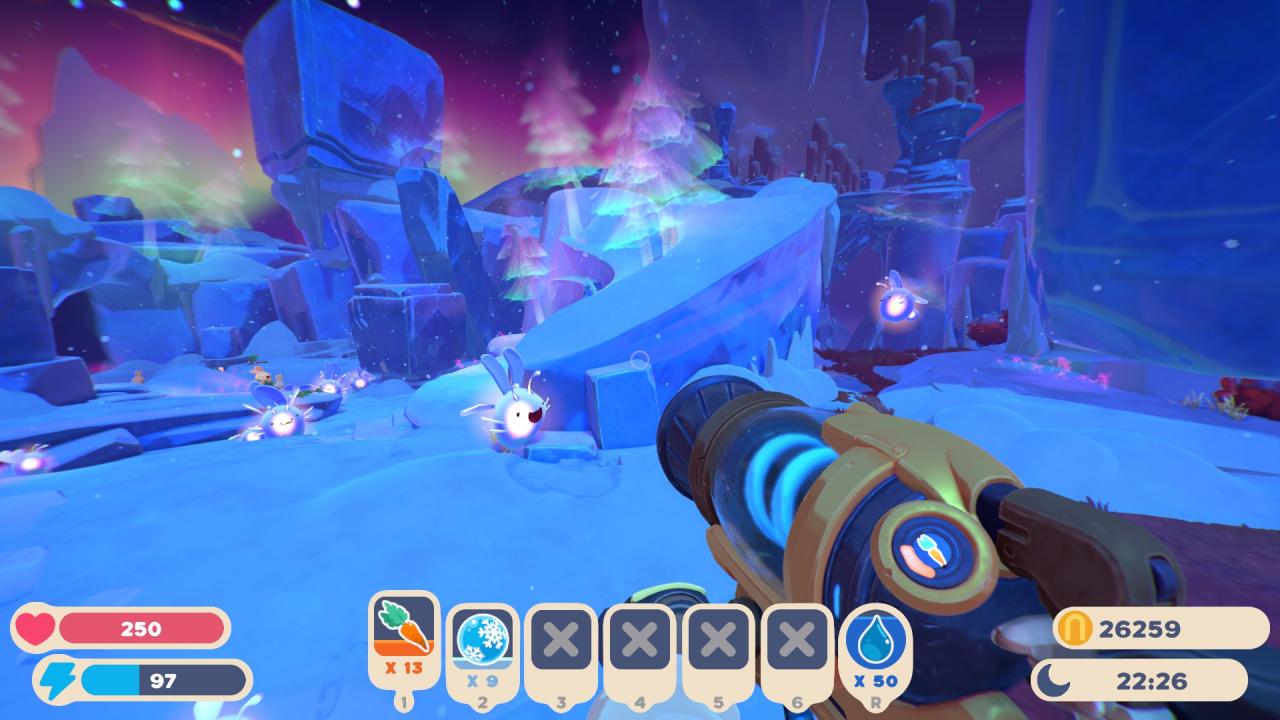
This is another pillar pod! This time, go the north end of the island. Another path of aurora bridges will be waiting for you underneath a fallen tree.
From pod 16, return to the island and follow the fallen log up to the top. Looking east, you should see the main landmass and a large section of melted glacier. You should have enough energy to jetpack across, but if not, head back across the ice floes you hopped over earlier to get back to the other side.
Where we’re going, from atop the island.
The rough ground route, pictured from the destination shown above.
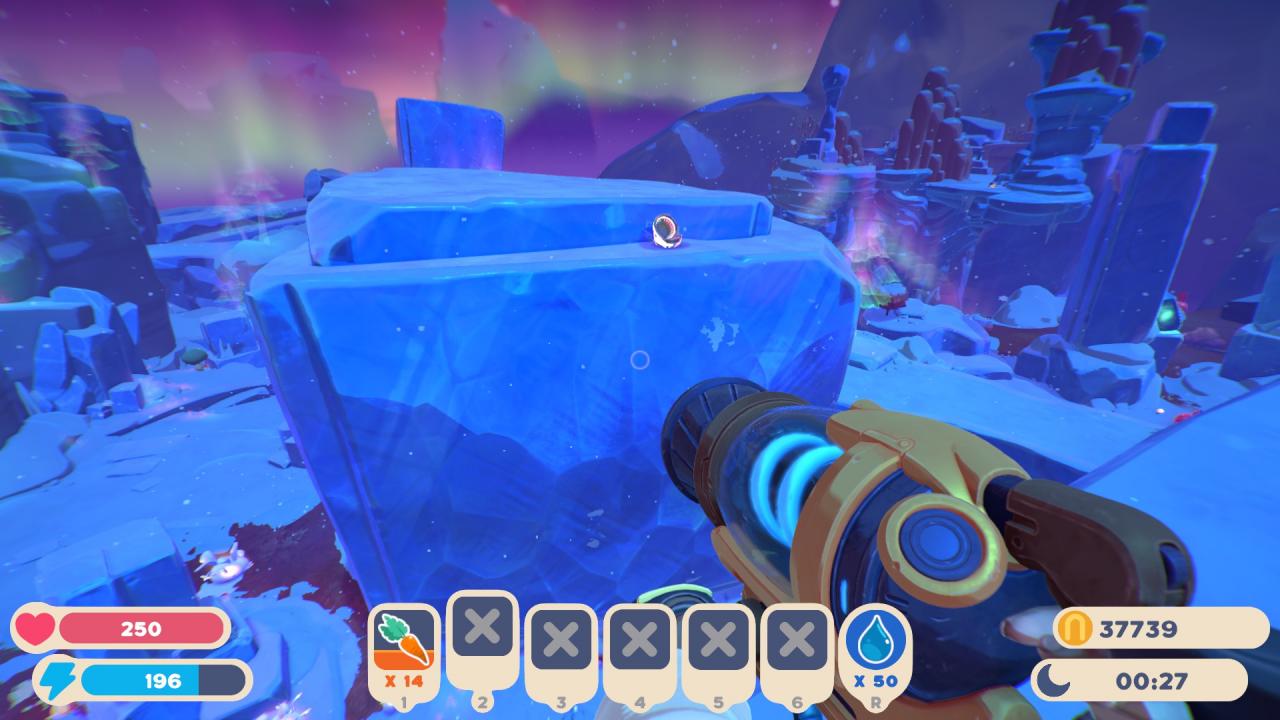
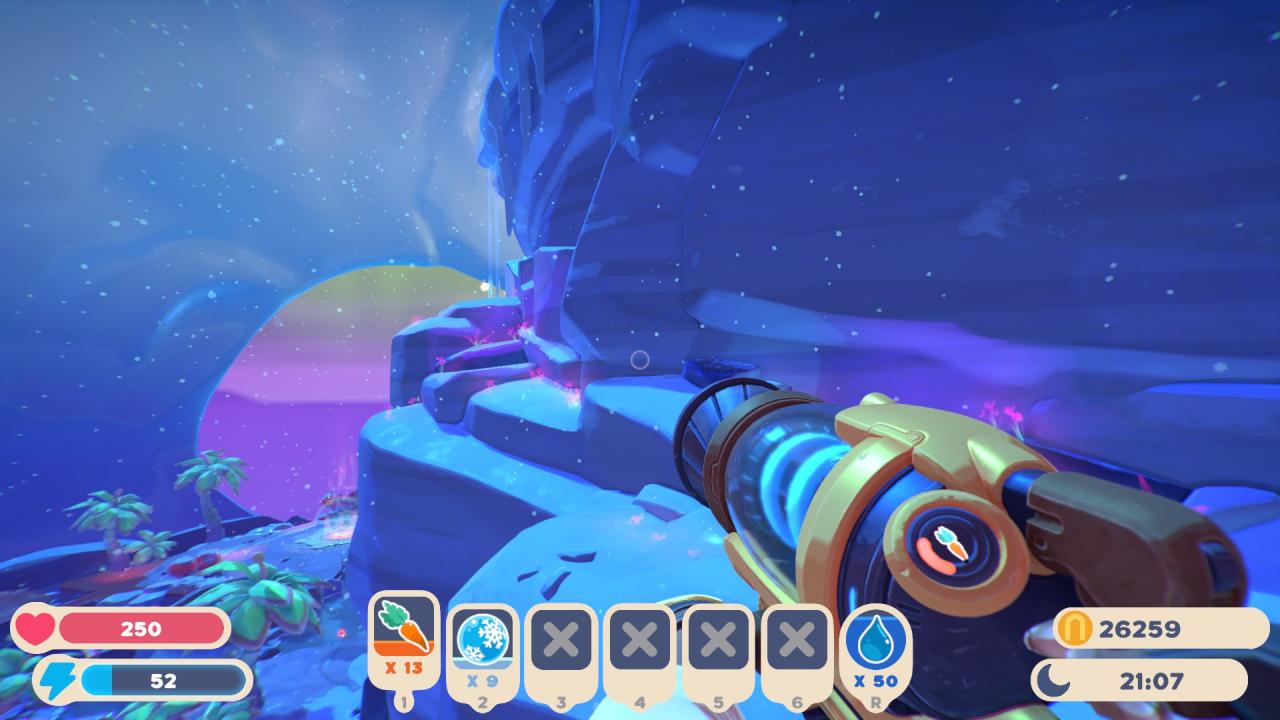
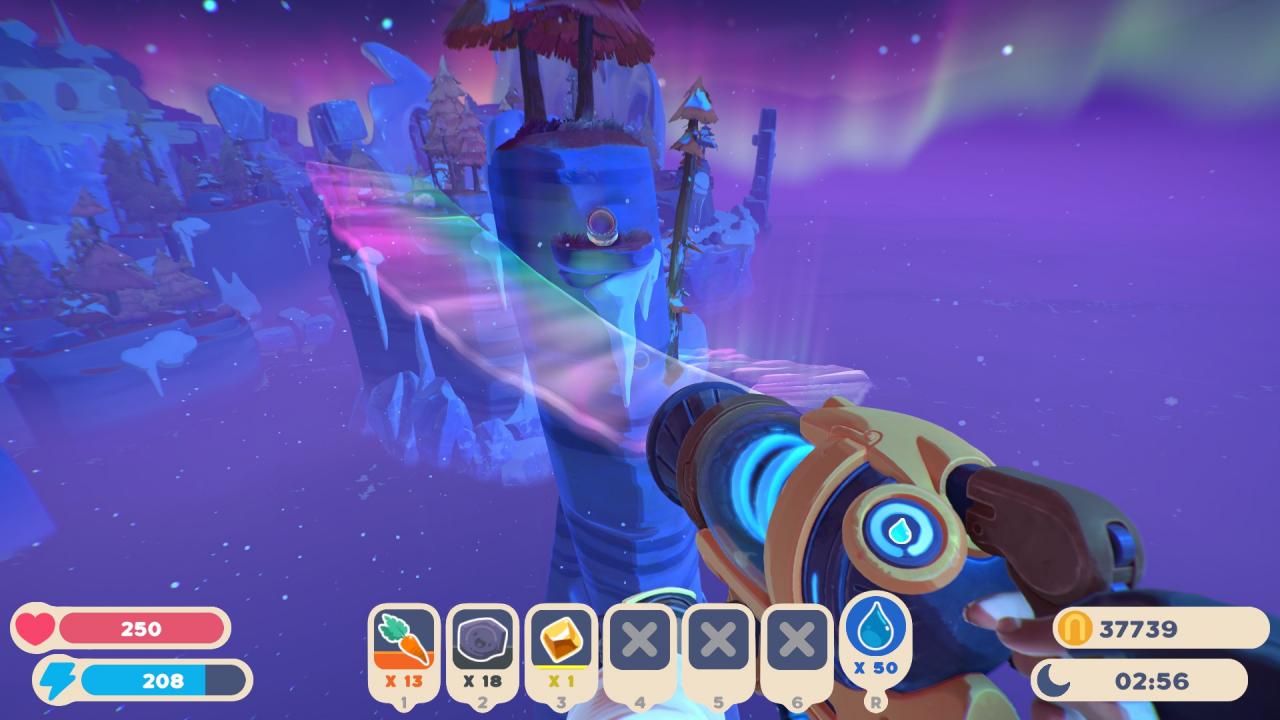
Once across, you want to head up the hillside until you get to an archway. Do not go under the archway – instead, head left.
Archway on right; destination on left!
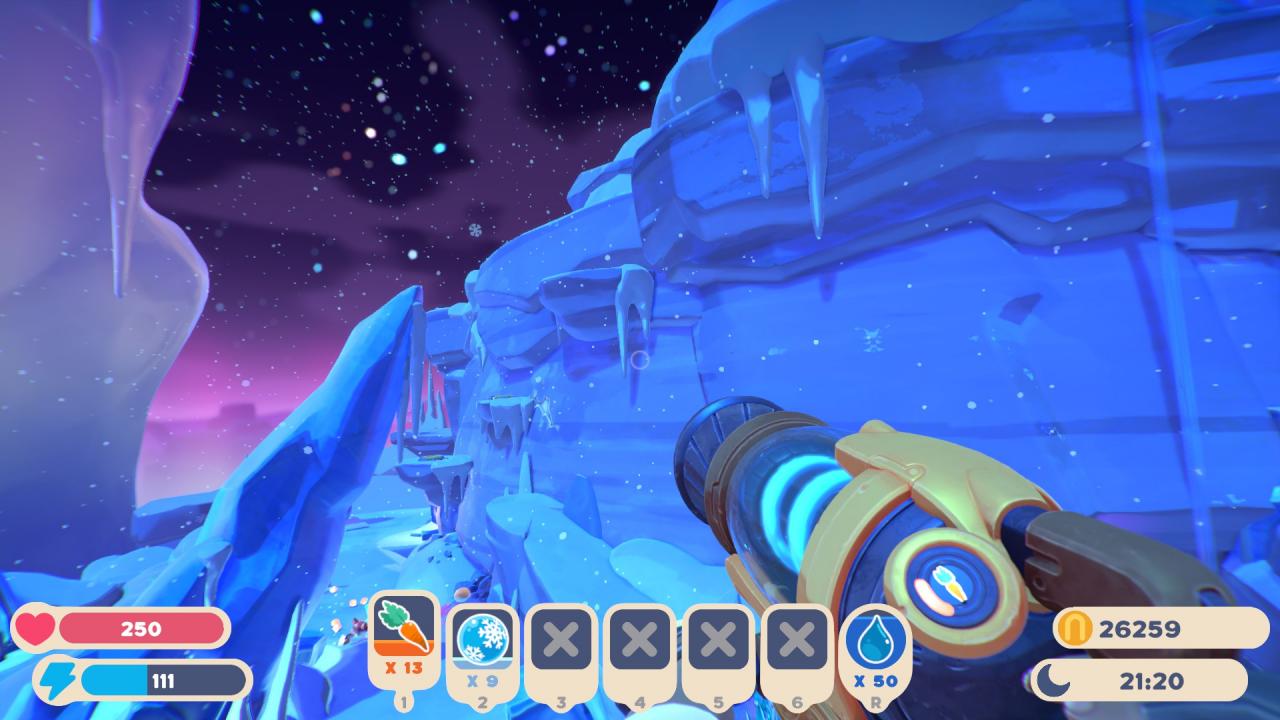
Walking past the snowflake geyser, jump up the rocks and hug the edge of the cliff. The pod is sitting on the ledge.
From pod 18, head under the archway and further up the path. Once at the thermal pools, you’ll want to keep walking along at ground level until you get to the cave entrance. You can potentially parkour to the ledge above (where we’re going), but it’s easier to take the cave.
Enter the cave and jetpack onto the big central flower and then onto the auroras, like you did earlier for pod #7.
Flower and auroras.
In this case, head away from the pod and into the tunnel with the geyser. Ride the geyser up to the upper platform.
Once on this platform, go north to where the water runs off the edge in a waterfall. Here, there should be an aurora bridge. Walk along it to find pod 18.
Waterfall and bridges, with the secondary teleporter / Saber Gordo location for reference.
Head back towards the beginning of the level, where we had dropped down earlier for pod 13. You can jetpack most of the way there – we are aiming for the smaller island in the southwest where the last two pods are located.
Island is on the right. Map entrance teleporter cave is on the left. Picture taken while hovering above the glacier cube.
To get onto the island, use the aurora bridge connecting it to the mainland, or jetpack to it from a higher vantage point.
Aurora bridge is just slightly southeast of pod #13’s location.
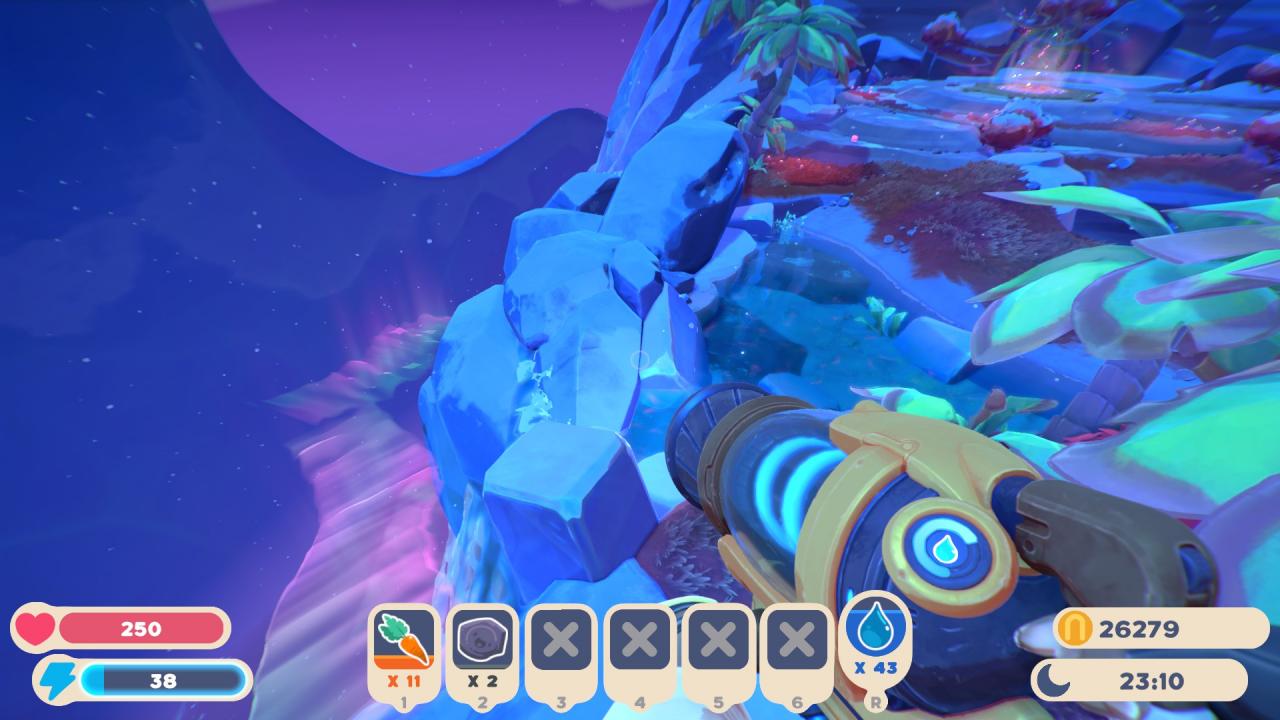
Once on the island, go all the way to the southwestern end (which is straight from the aurora bridge) – you’ll find a ledge you can drop down onto from above. Drop down and follow the right wall until you get to the very end. You’ll see some rocks sticking out of the wall – jump on those, turn around, and then onto the ledge below. The pod should be in front of you.

Distant perspective from an ill-fated jetpack flight. The ledge is on the bottom left, below the large boulder with corals on it. You would be coming in from the right, where the slimes are.
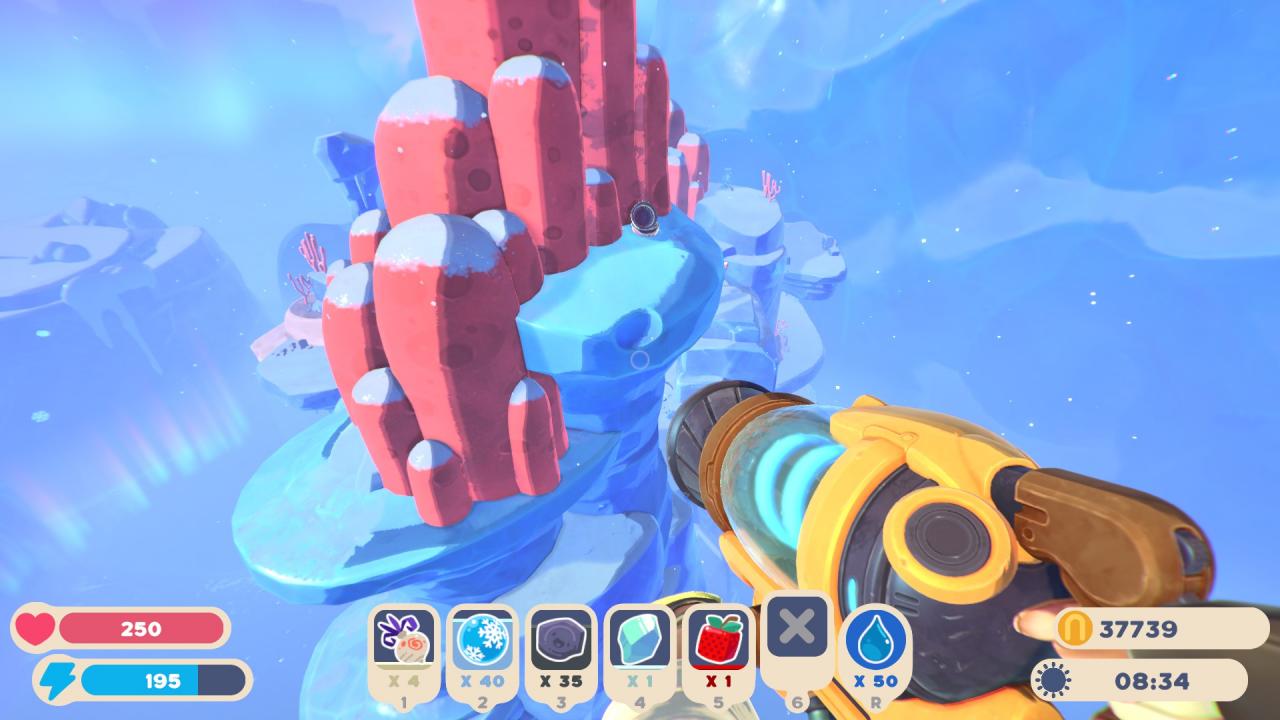
The final pod is at the very tippy top of the coral island. From pod 19, jump and jetpack back up until you’re on the main part of the island again. Go to the northernmost end and you will see a pillar of corals and ice.
The pod is on the back side from this perspective.
The pod is on top of the tallest pillar. Jump up onto the top of the smaller pillar first, then jetpack onto the middle-sized one attached to the tallest one. Use the tops of the pink corals as rest sites to regain energy and height and make your way to the top of the pillar, where the pod lies.
Thanks to Rackiera for his excellent guide, all credits belong to his effort. if this guide helps you, please support and rate it via Steam Community. enjoy the game.
Related Posts:
- Slime Rancher 2: How to Unlock Starlight Strand & Ember Valley
- Slime Rancher 2: All Gordo Locations
- Slime Rancher 2: 0.6.0 Into the Labyrinth Guide (New Locations, Items, Slimes, etc)
- Slime Rancher 2: Ringtail Slime Location Guide (Easy Method to Find)
- Slime Rancher 2: Powderfall Bluffs 24th Treasure Pod Guide