The game rendering is locked at 720p, which causes a lot of blurriness at higher resolutions. Reshade can help mitigate this issue and make the game look better.
Intro
As the game is locked to 720p, the only options available by default are either a blurry mess or windowed mode, which adds a bit of input delay.
Reshade give the option to have a decent full screen experience with MBTL at modern resolutions.
PSA:
Reshade is not magic and there is only so much it can do, so don’t expect anything spectacular.
Any additional effect will increase your GPU load, so this might not work on some old or low end setups.
Installing Reshade
Once downloaded, just run it and select MBTL from the list of games. When asked about the api used, click on Direct3D 9, then you can just tick the box for all the effect packages (or just the ones you need if you know which ones they are) and proceed with the installation.
Next time you start the game you should see an overlay on the top left corner of the screen telling you you can press “home” to access reshade and see the tutorial.
Using Reshade
If you want to skip the tutorial, here is how to use Reshade in a nutshell:
Press “home” to access reshade while in game, then tick the box for each effect you want to use from the list in the main tab, then you can tweak the selected effects’ parameters with the sliders at the bottom of the overlay, and you can order the effects by drag and dropping them in the list. The effects are immediately applied so you can see what you are doing.
Once you’ve selected your effects, ordered them and tuned them, tick the “performance mode” box in the bottom right corner of the first tab on the Reshade overlay and press “home” to close it.
The effects I use
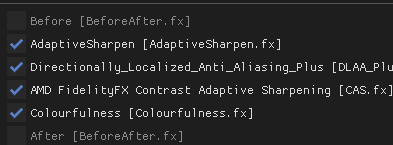
Adaptive Sharpen reduces the blur naturally generated by the game, then the DLAA removes some aliasing and the CAS removes the blur caused by the AA. I personally find the game’s colours to be a bit dull so I added a colourfulness effect.
The order of the effects actually has an impact on the image quality:
Moving the DLAA before both sharpening effects greatly reduces the blur but also greatly increases the aliasing, while moving the DLAA after both sharpening effects reduces the aliasing a little and increases the blur a little. I find that placing the DLAA between both filters is a good balance between blurriness and no aliasing.
I have cranked up the sharpening effects to the max in the settings and I have set the DLAA’s short edge AA to 0.35, but these settings will depend on your screen resolution and your personal tolerance for blurriness. The colourfulness setting depend entirely on your monitor and your personal taste.
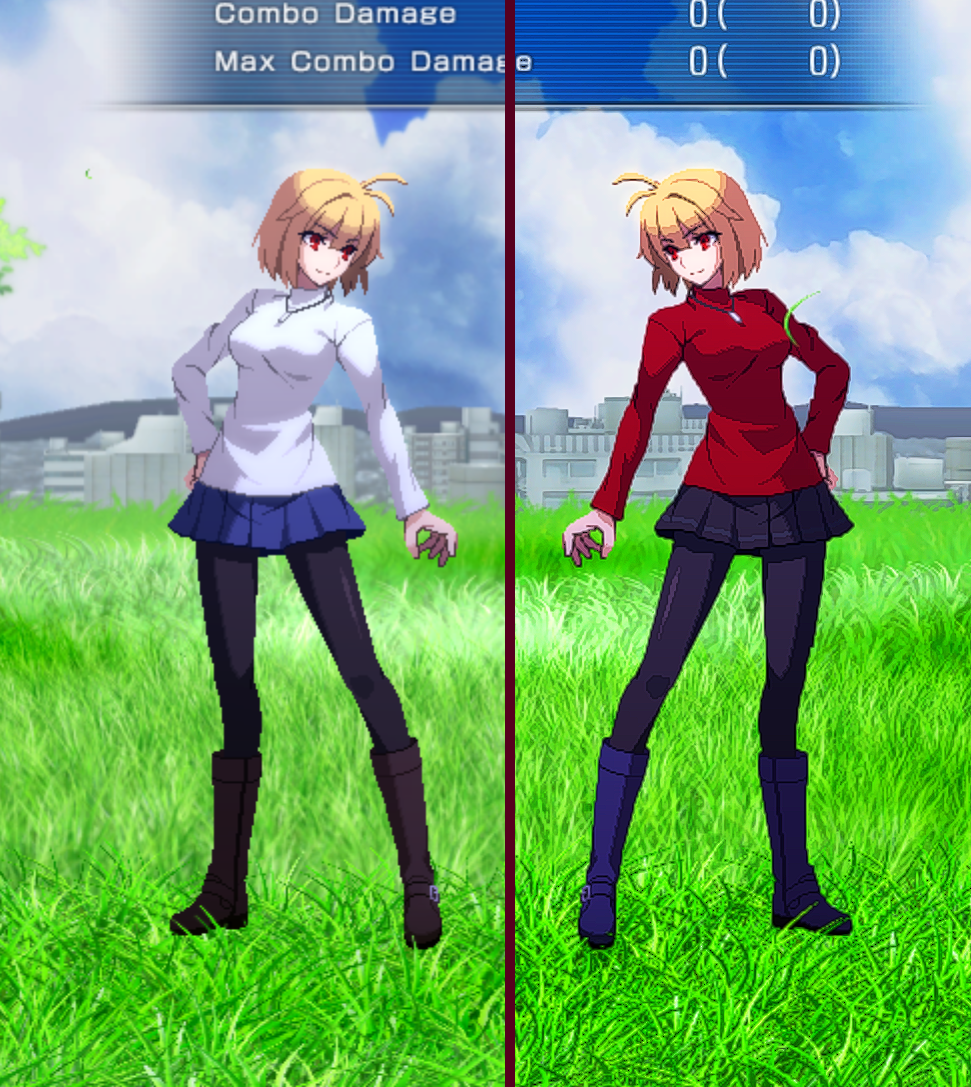
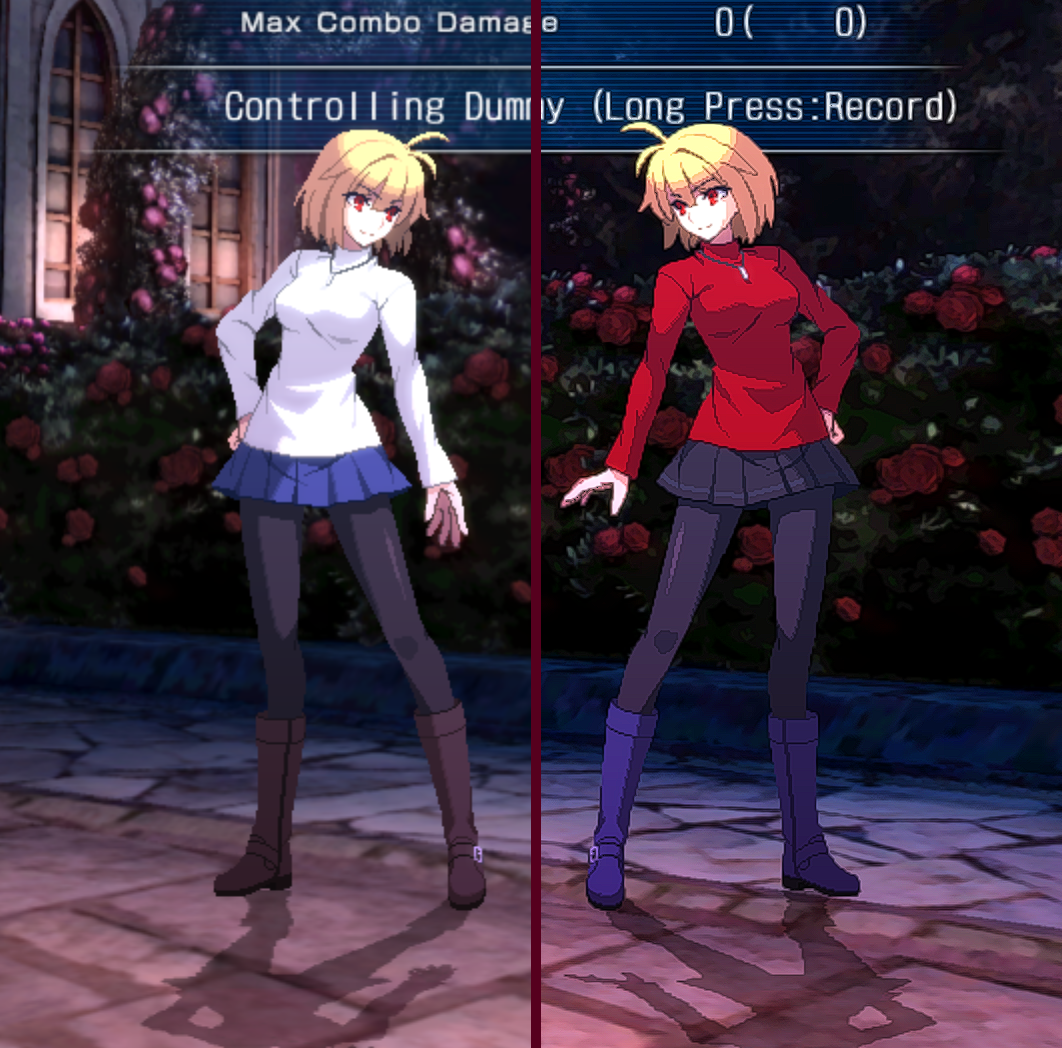
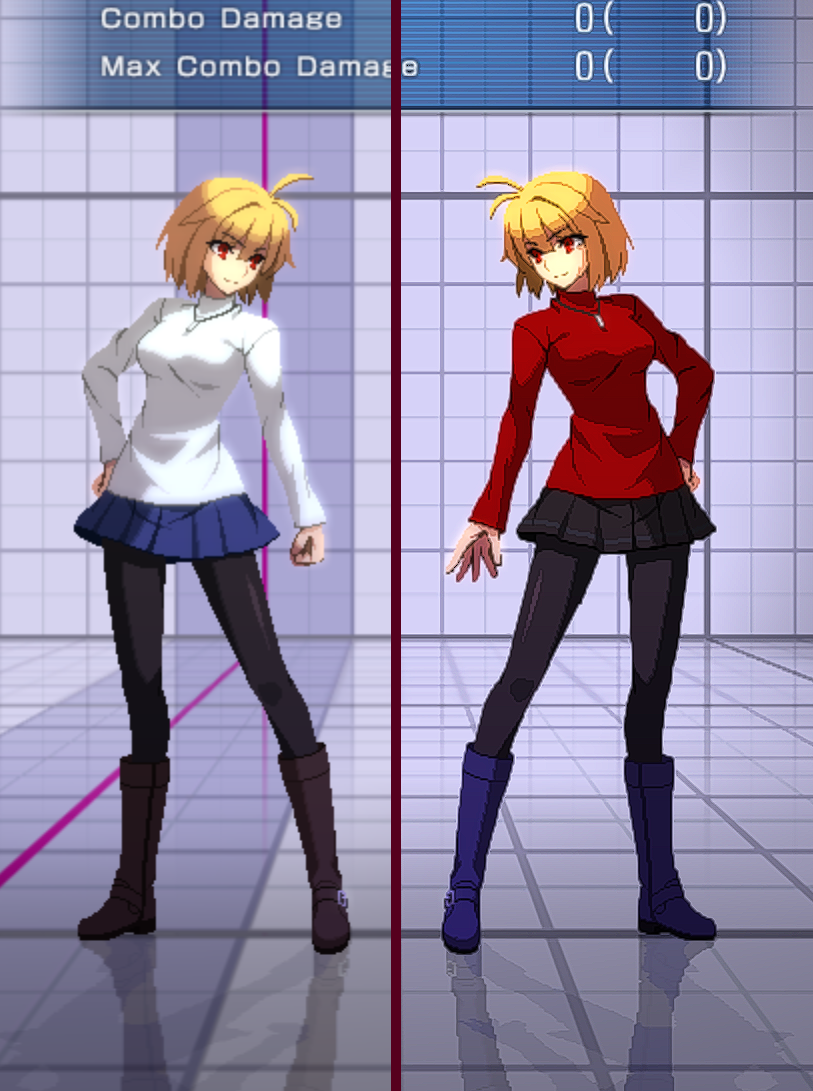
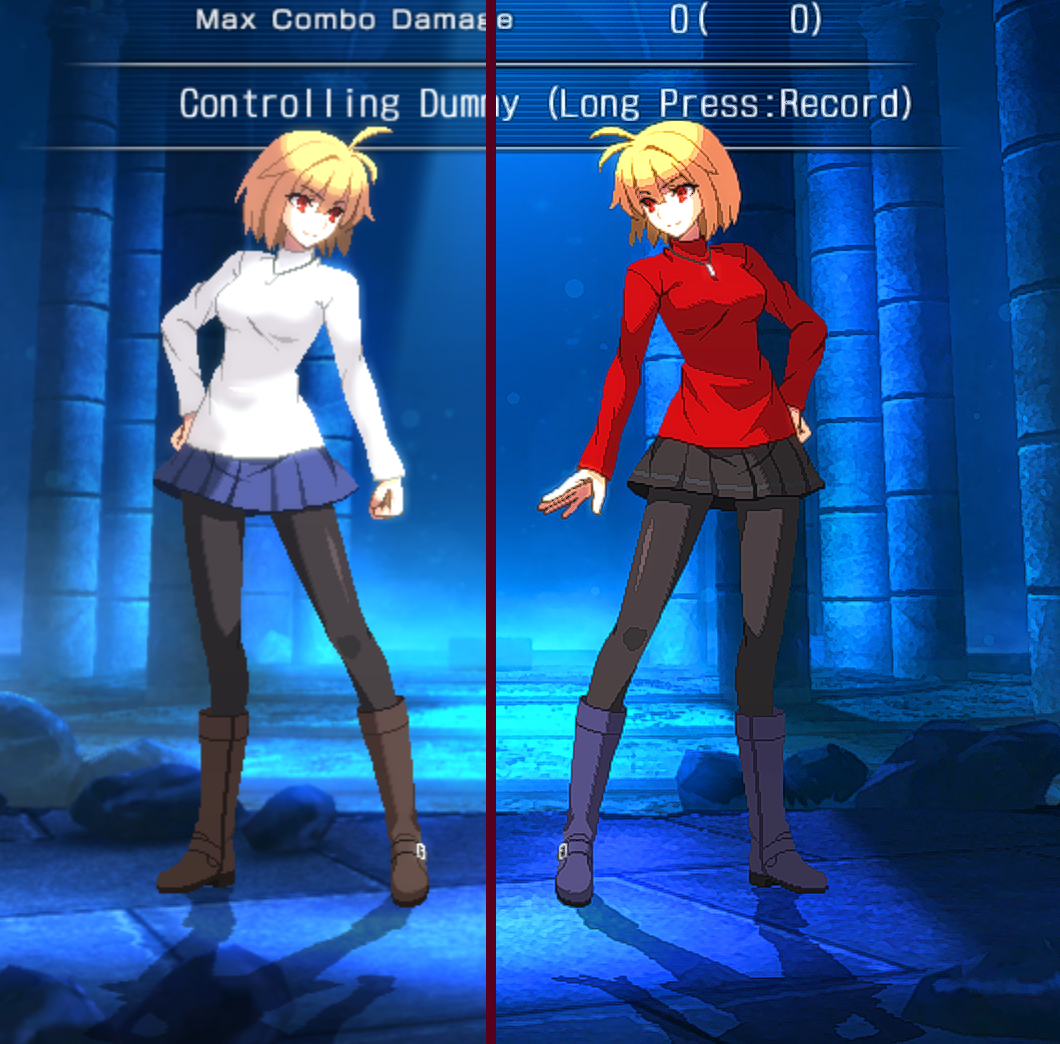
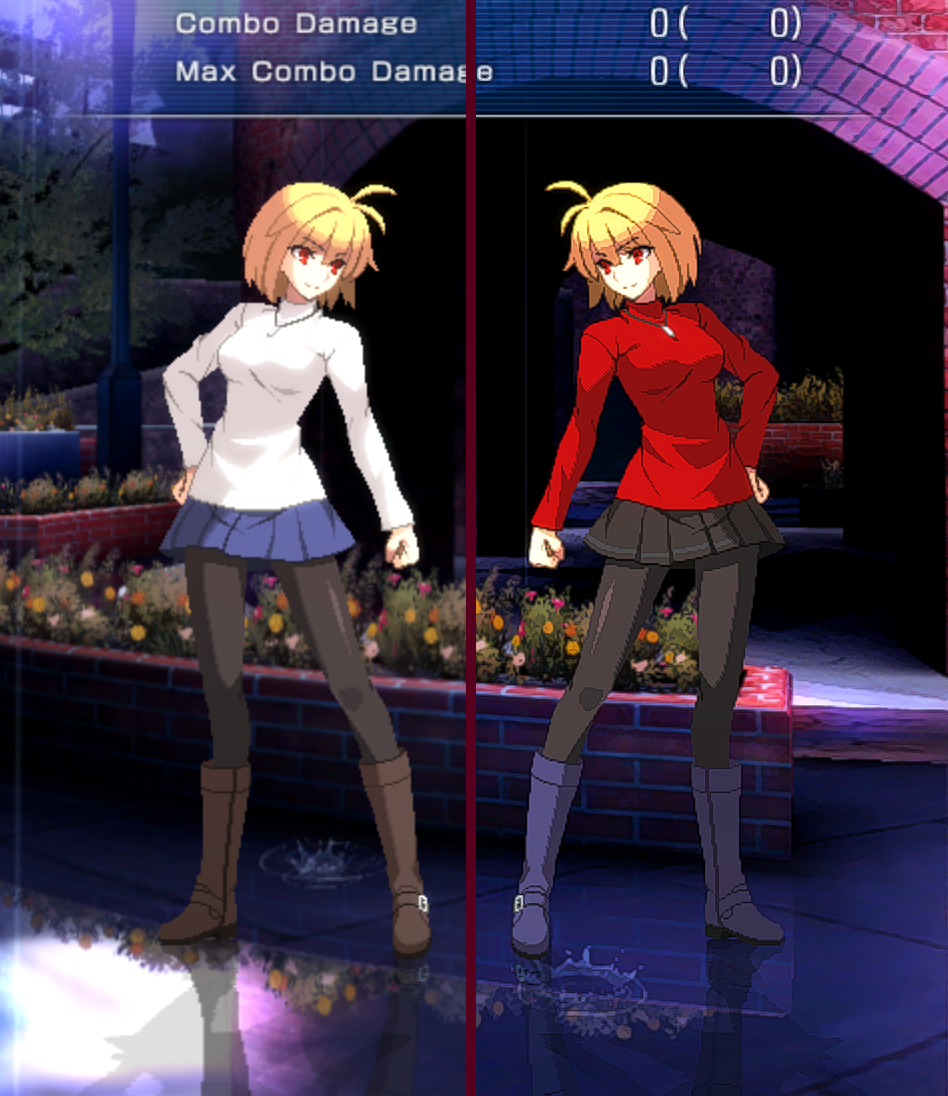
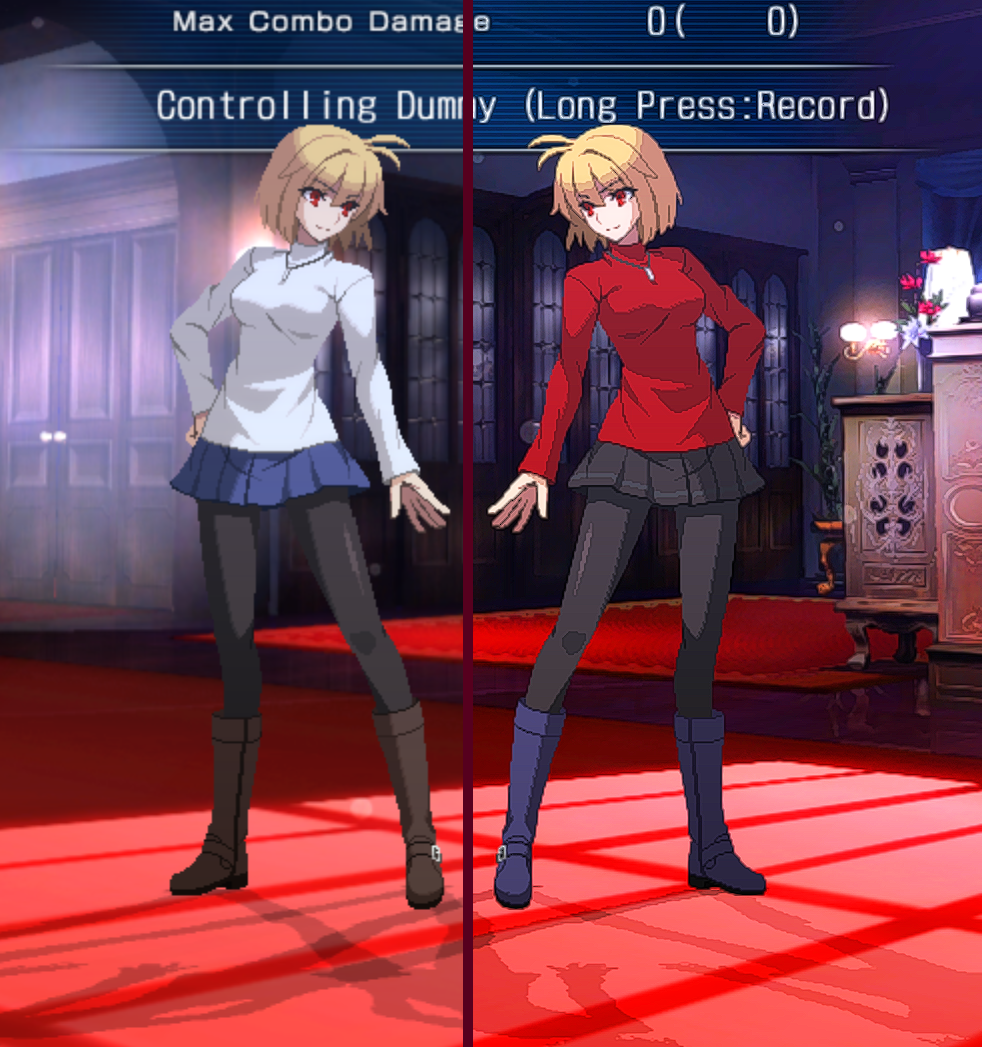
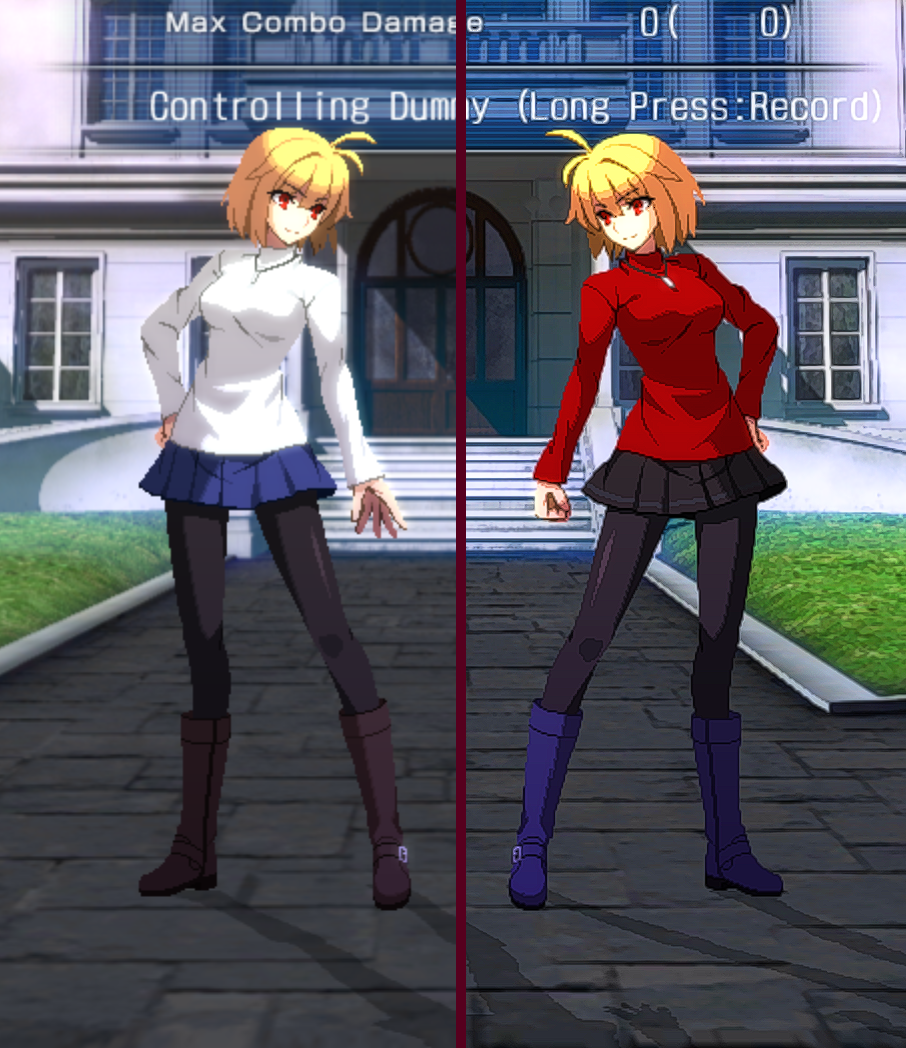
Here are some screenshots showing what the game looks like without and with the Reshade effects (left side is no effects):

Thanks to Ne0M0rph3us666 for his great guide, all credit to his effort. you can also read the original guide from Steam Community. enjoy the game.