Limbus Company stores its additional download files in the AppData of your install drive (default LocalLow). Here’s a quick workaround to move your files to another disk.
Some Warnings…
https://steamcommunity.com/app/286160/discussions/0/541906989393418008/
Basically a workaround to the AppData storage that Limbus Company has opted to use, which does not allow us to change the directory worth ~4GB.
I have had this running just over a week, which includes the update that happened on the 16th – the game still runs fine, so I don’t think this should have too much of an issue.
HOWEVER! This workaround does require the use of Command Line, and I have only tested this on Windows 10 – you should check if the commands here can run on your version of Windows before attempting.
How to Move?
It should have a URL something like:
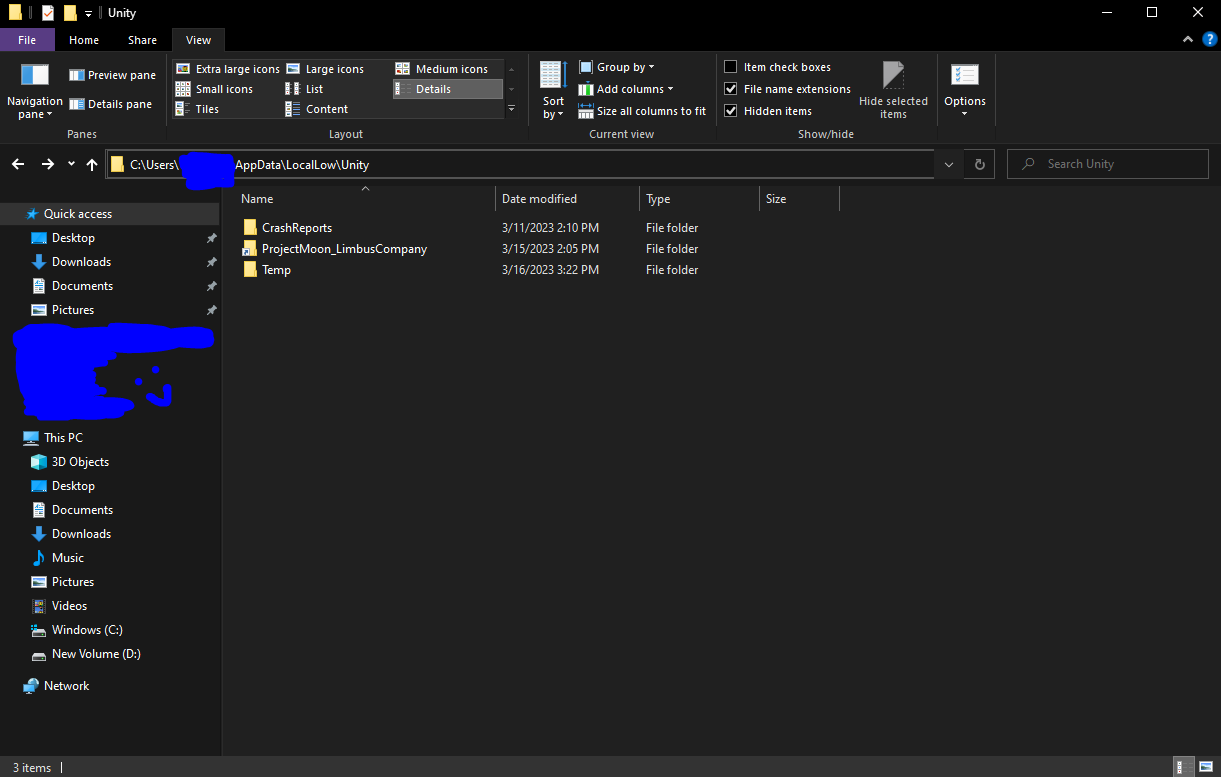
C:\Users\<your username here>\AppData\LocalLow\Unity
 You can probably get here quicker using %appdata%, then navigating from there.
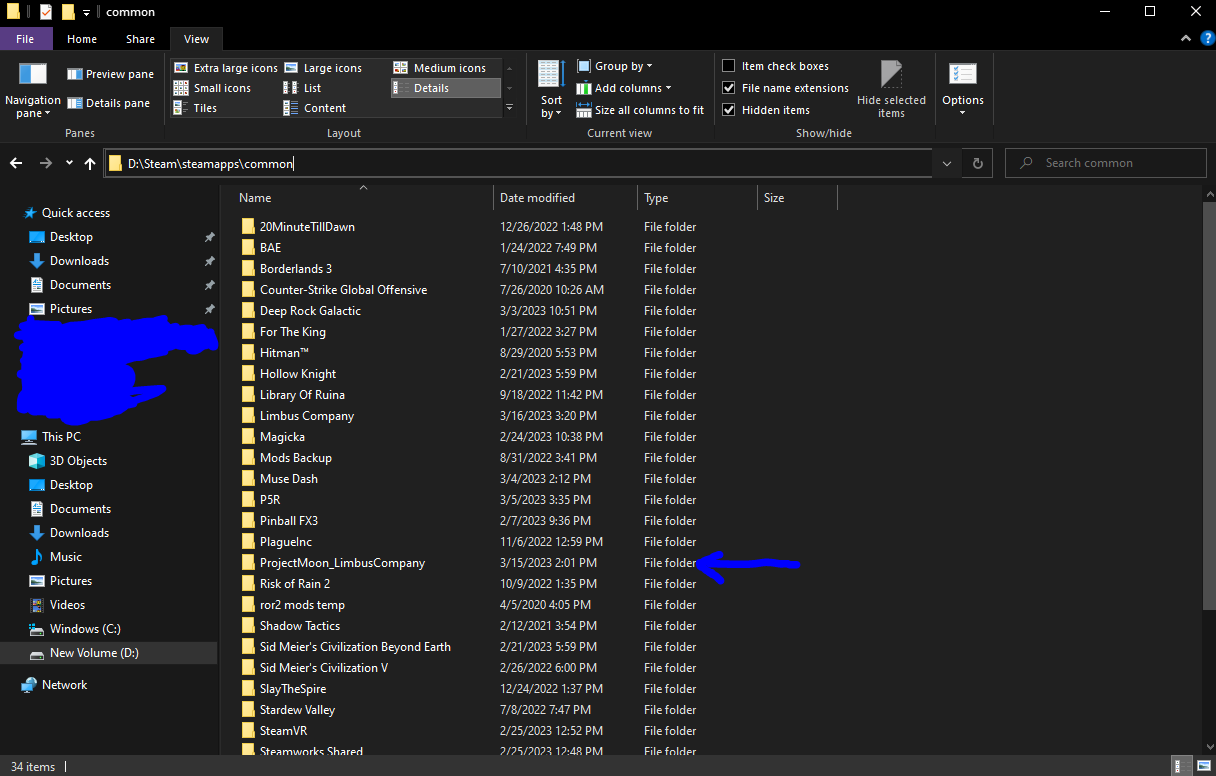
Personally, I placed mine in my Steam Directory in the D Drive.
 In your original folder, the ProjectMoon_LimbusCompany folder should be deleted after this is done.
Jot down this URL, and wrap in quotes for any folder with spaces between.
So, for me, it would be:
D:\Steam\steamapps\common\ProjectMoon_LimbusCompany
DO NOT COPY THIS DIRECTLY! MAKE SURE THIS IS WHERE YOU WANT TO STORE YOUR DATA!
I did not need Administrative Rights to run it, but you might need it – try without Admin Rights first, and if it doesn’t work, retry with Admin Rights.
Note: This doesn’t seem to work with PowerShell, though I’m not sure about other alternatives.
You will need to run the following command:
~~~~~~~~~~~~~~~~~~~~~~~~
mklink /J C:\Users\”<Your Username Here>”\AppData\LocalLow\Unity\ProjectMoon_LimbusCompany <TARGET LOCATION HERE>
~~~~~~~~~~~~~~~~~~~~~~~~
** Formatting:
The Target Location should be wherever you moved the folder to, including the ProjectMoon_LimbusCompany folder.
Any folder with spaces in between should be enclosed in quotations. So, if your folder path is:
E:\FolderWithNoSpace\Den som Griper\ProjectMoon_LimbusCompany
Then you need to put it in the URL as
E:\FolderWithNoSpace\”Den som Griper”\ProjectMoon_LimbusCompany
Once you are done, the ProjectMoon_LimbusCompany folder should reappear in the AppData folder with a little shortcut icon in the corner.
OK, but what does this command actually do?
Thanks to Someone¿ for his excellent guide, all credits belong to his effort. if this guide helps you, please support and rate it via Steam Community. enjoy the game.
Related Posts:
- Limbus Company: How to Reroll on PC using Android Emulation or a Phone
- Limbus Company: How to Build Your Mirror Dungeon Team with Randomized EGO Gift
- Limbus Company: Combat Guide for Aspiring Clockfaces to Stop Being Murdered by Mariachis
- Limbus Company: How to fix Frozen Cutscenes and Black Screens for PC and a Phone
- Limbus Company: Tactics, Teambuilding, and Mechanics Guide

