/!\ This guide is updated for the version 1.0.1.4 of the game and will be updated with time. /!\
It is confirmed that, both choice and science upgrade do change result in situation.
How it work :
Guide title : Chapter ({ Location } Name ), exemple : Prologue ({ Moon } Moon – Abandoned Base )
Symbols :
- 🗘 Mean you can continue after a choice
- 🔒 Mean the area will be locked after the choice
- 🏆 Mean theire is a reward / secret / achievement by doing this choice
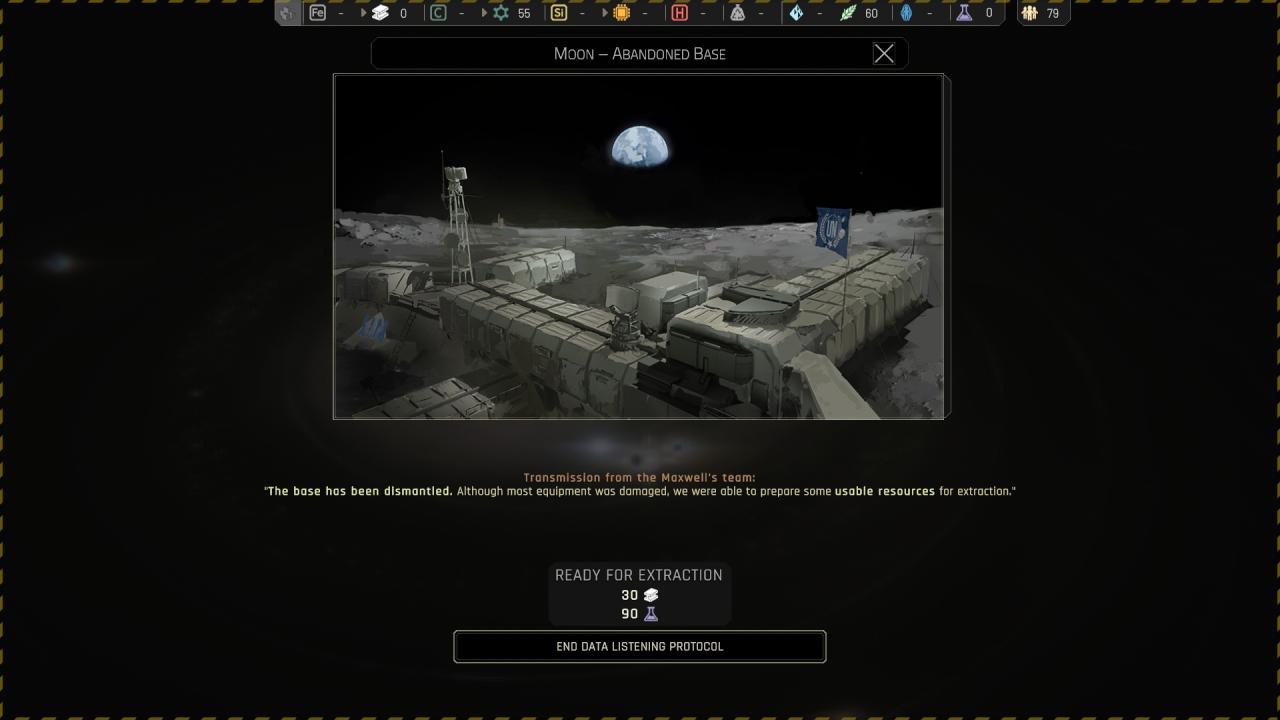
Prologue ({ Moon } Moon – Abandoned Base )


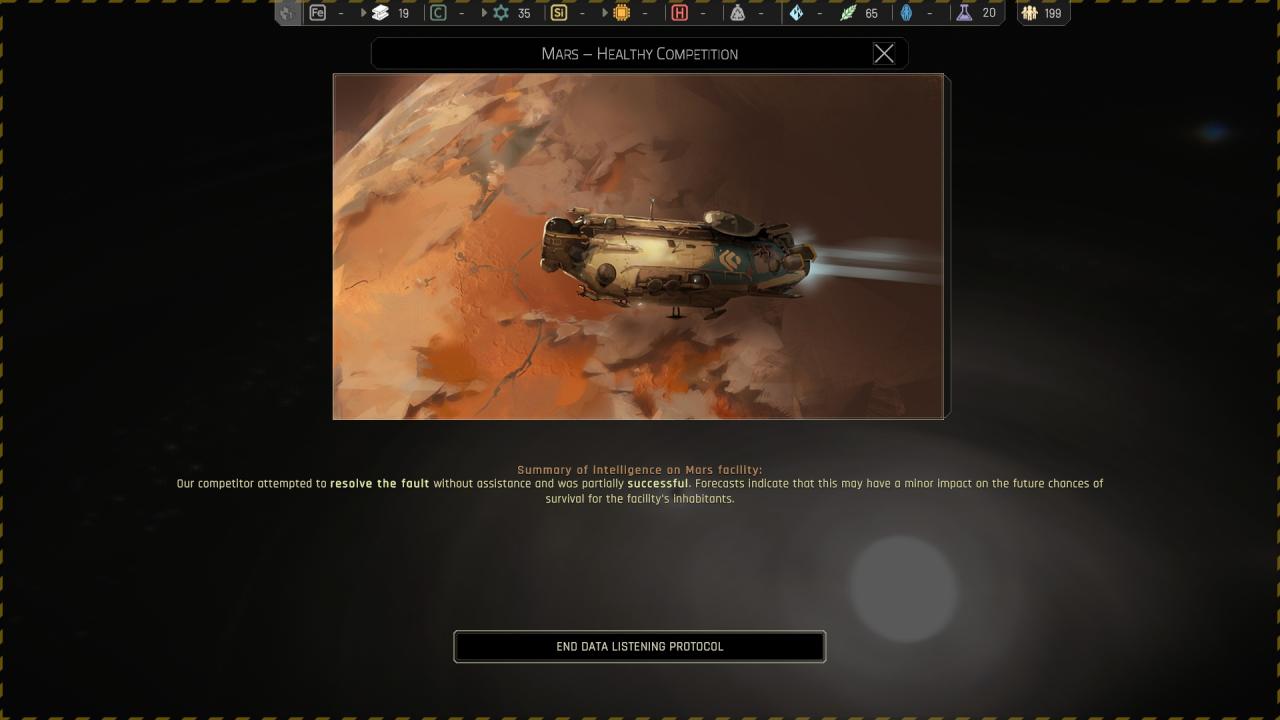
Prologue ({ Mars } Mars – Healthy Competition )
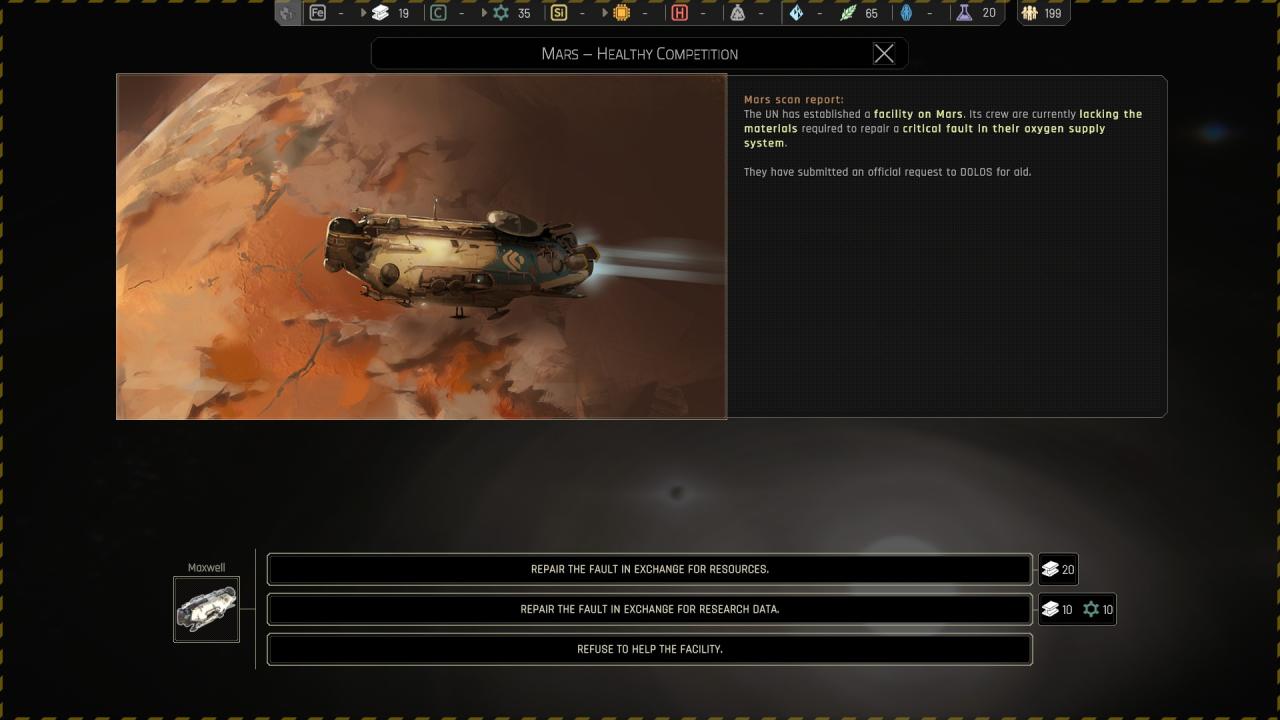 🔒 Repair the fault in exchange for resources :
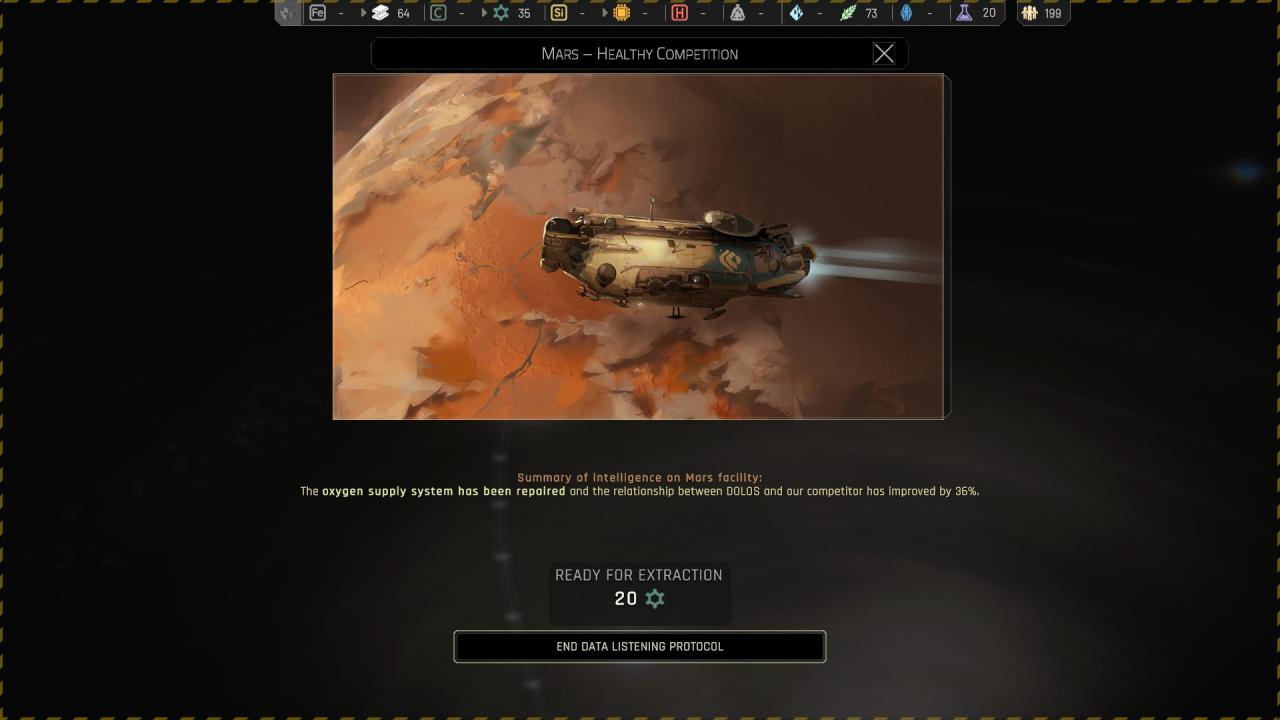 🔒 Repair the fault in exchange for research data :
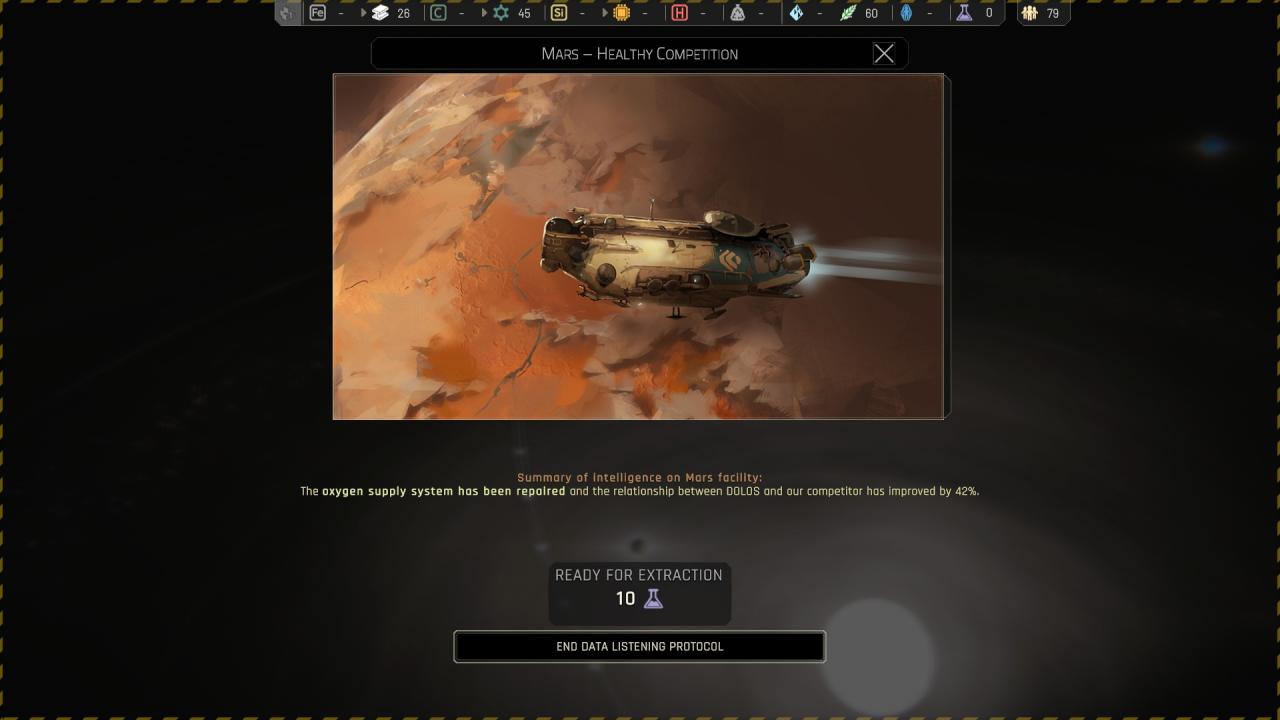
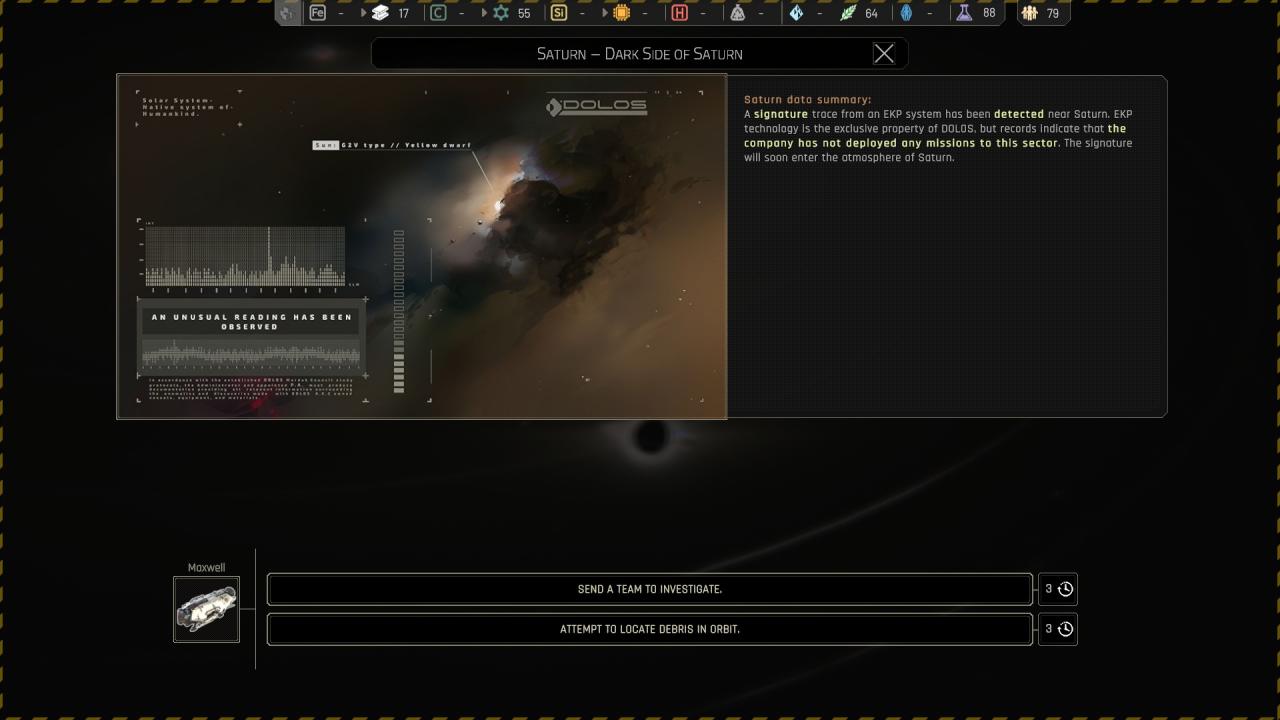
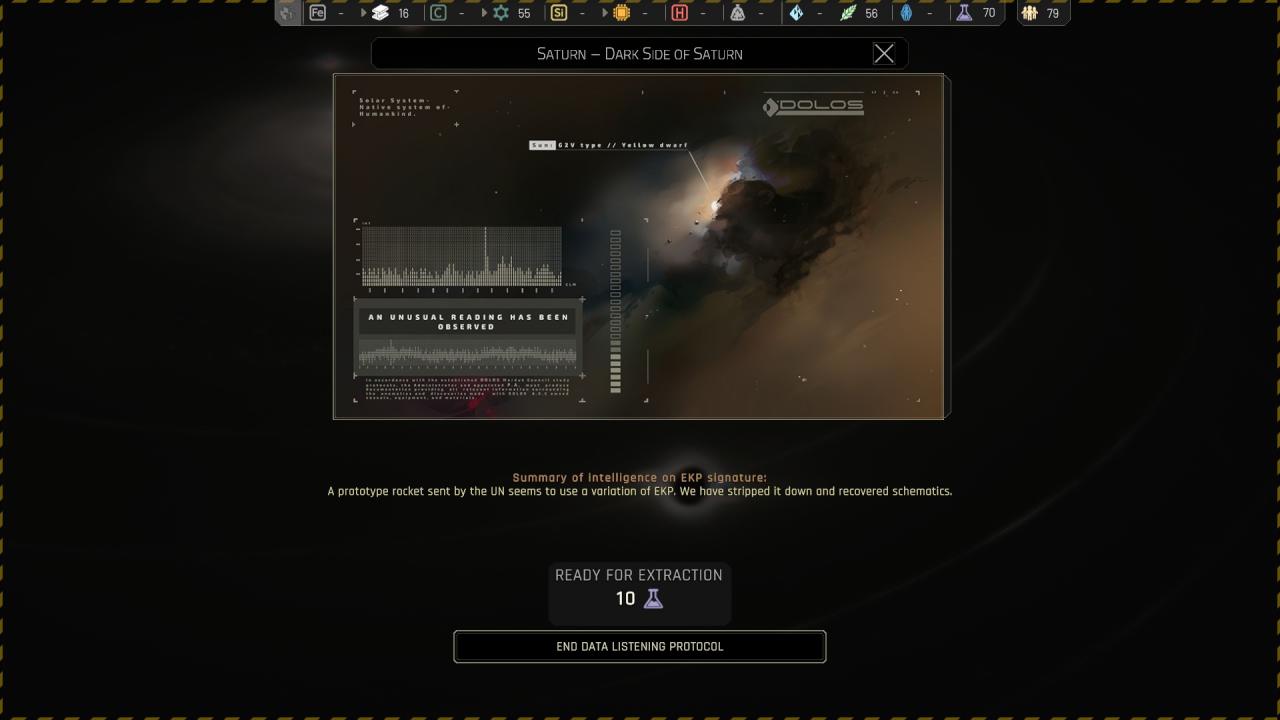
Prologue ({ Saturn } Saturn – Dark Side of Saturn )
Prologue ({ Unauthorized Access } Outer Hope – Out of Sight )
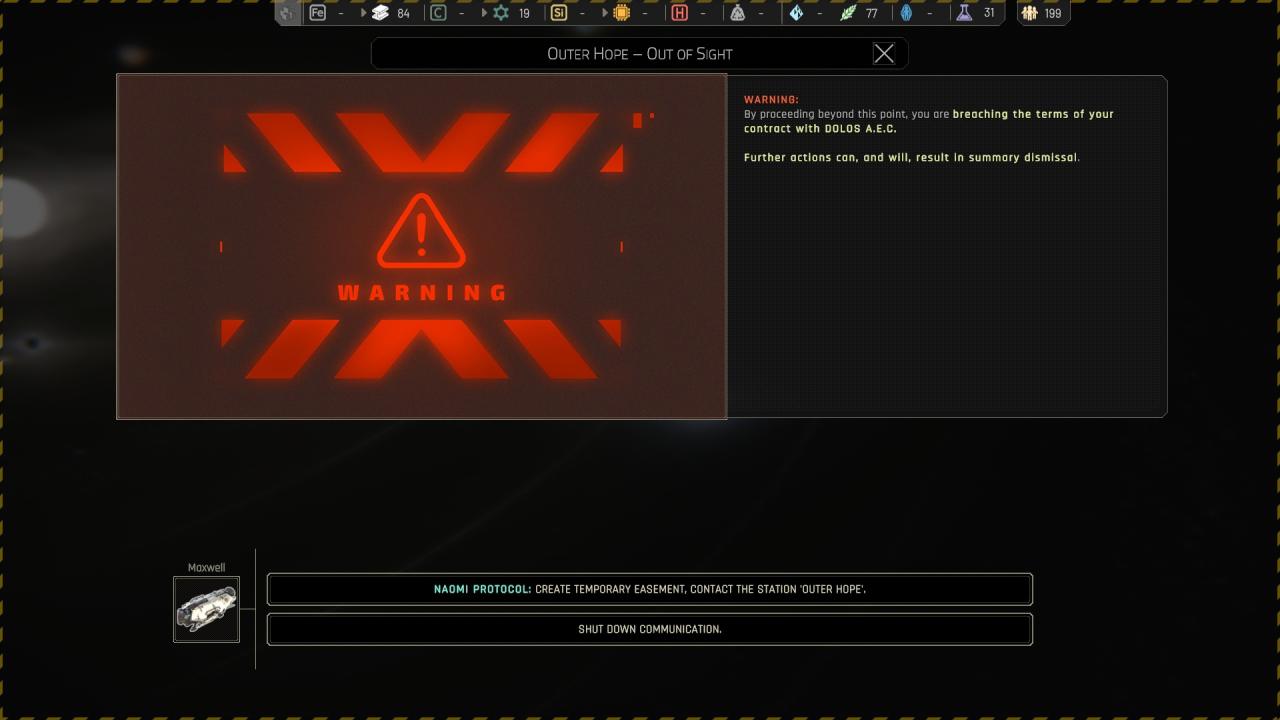 🗘 Naomi protocol : create a temporary easement, contact the station ‘Outer Hope’ :
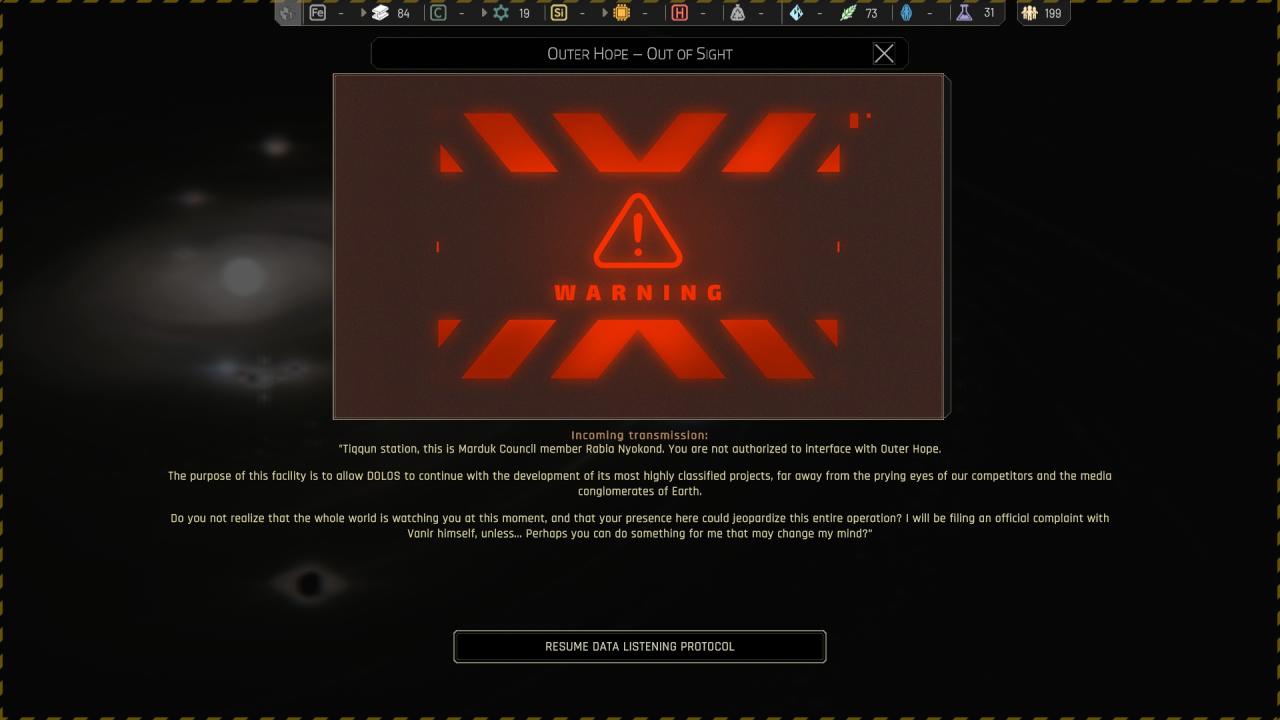
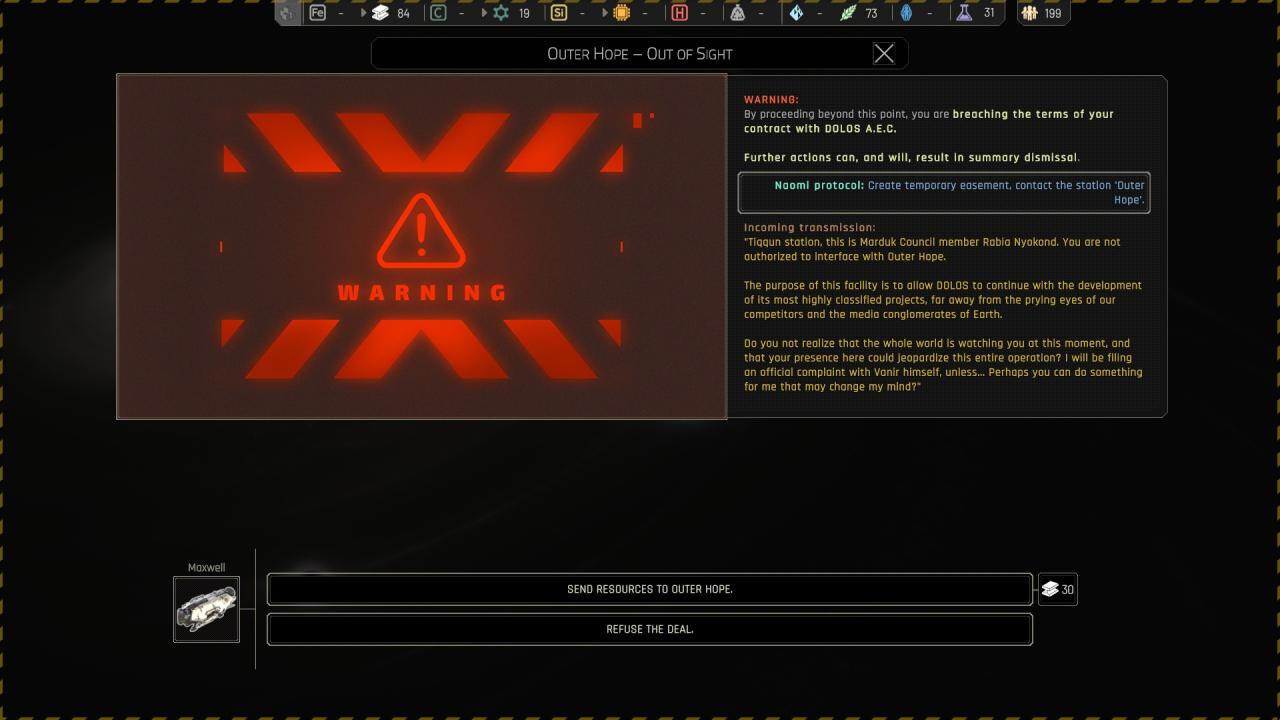 🔒 Naomi protocol : create a temporary easement, contact the station ‘Outer Hope’ > Send resources to Outer Hope :
 🔒 Naomi protocol : create a temporary easement, contact the station ‘Outer Hope’ > Refuse the Deal :
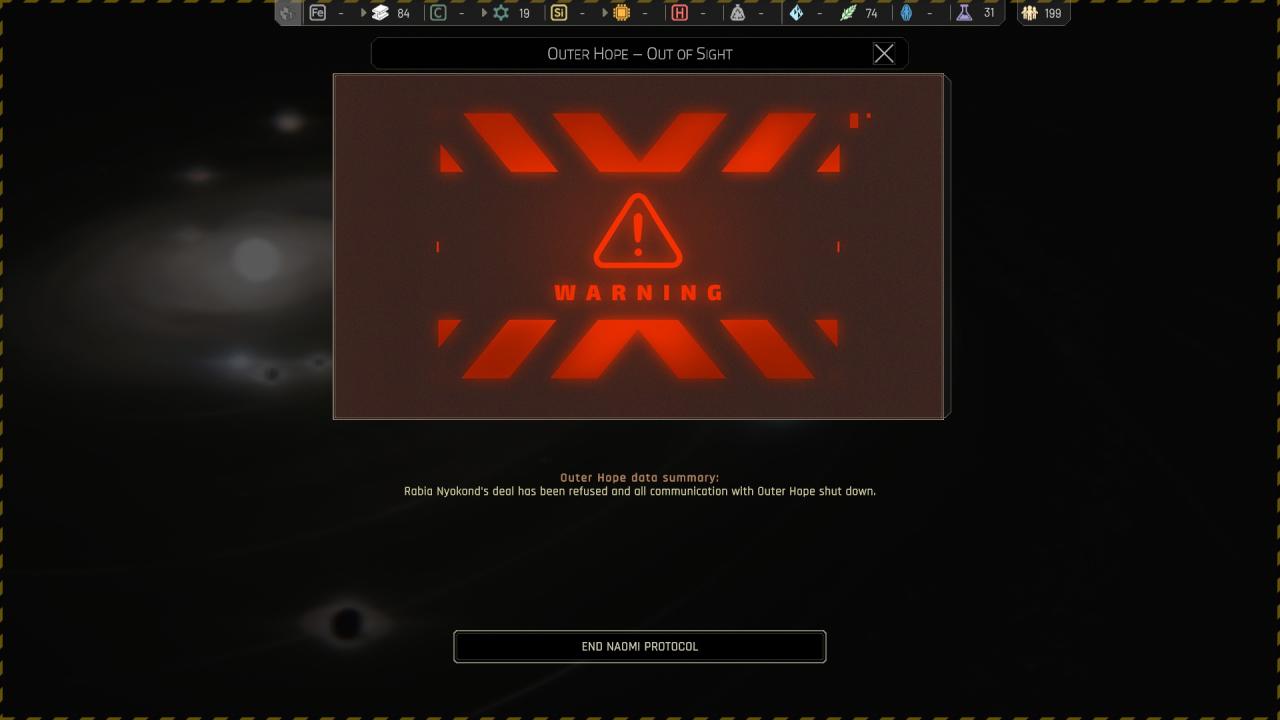
Prologue ( Tips & Tricks )
——————————————————————————————————-
 ——————————————————————————————————-
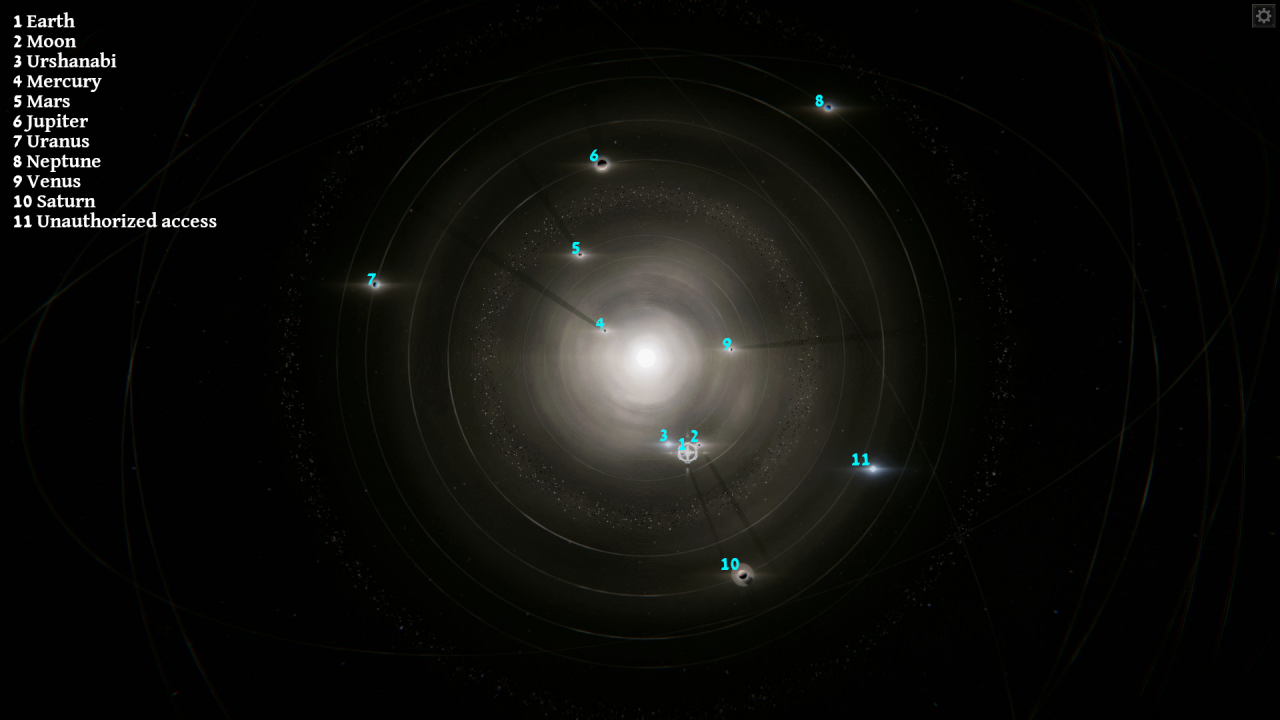
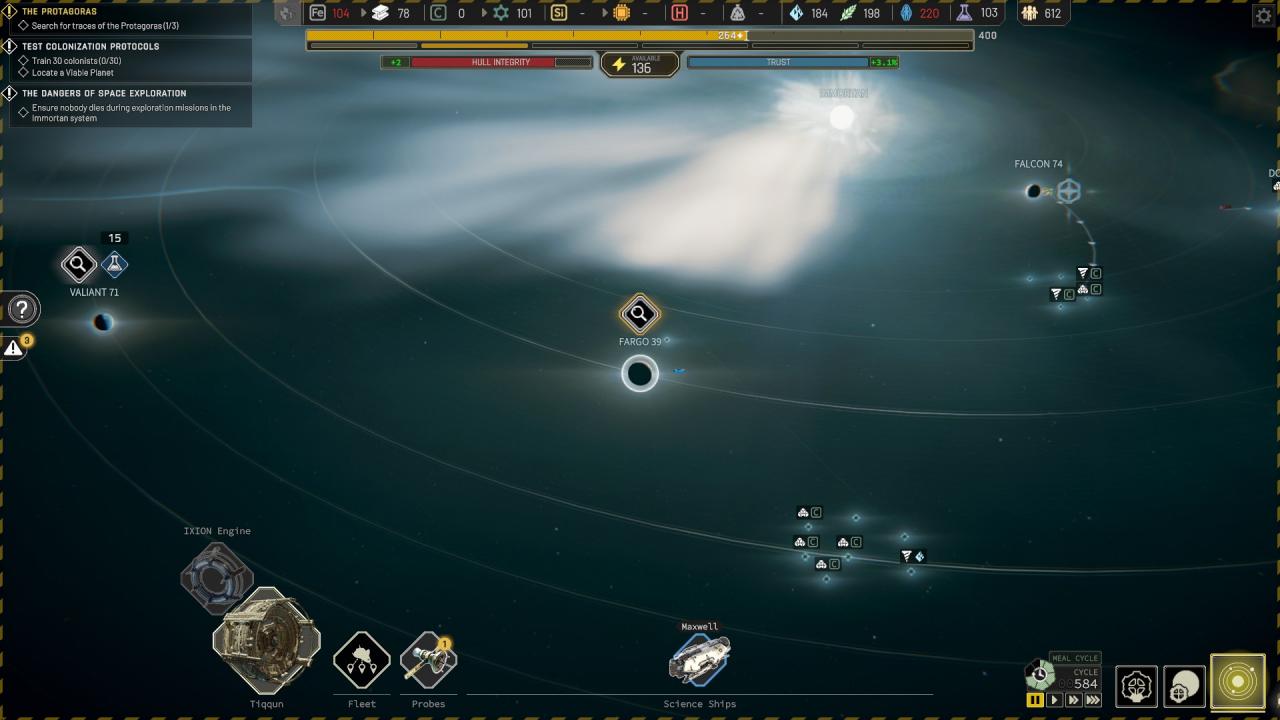
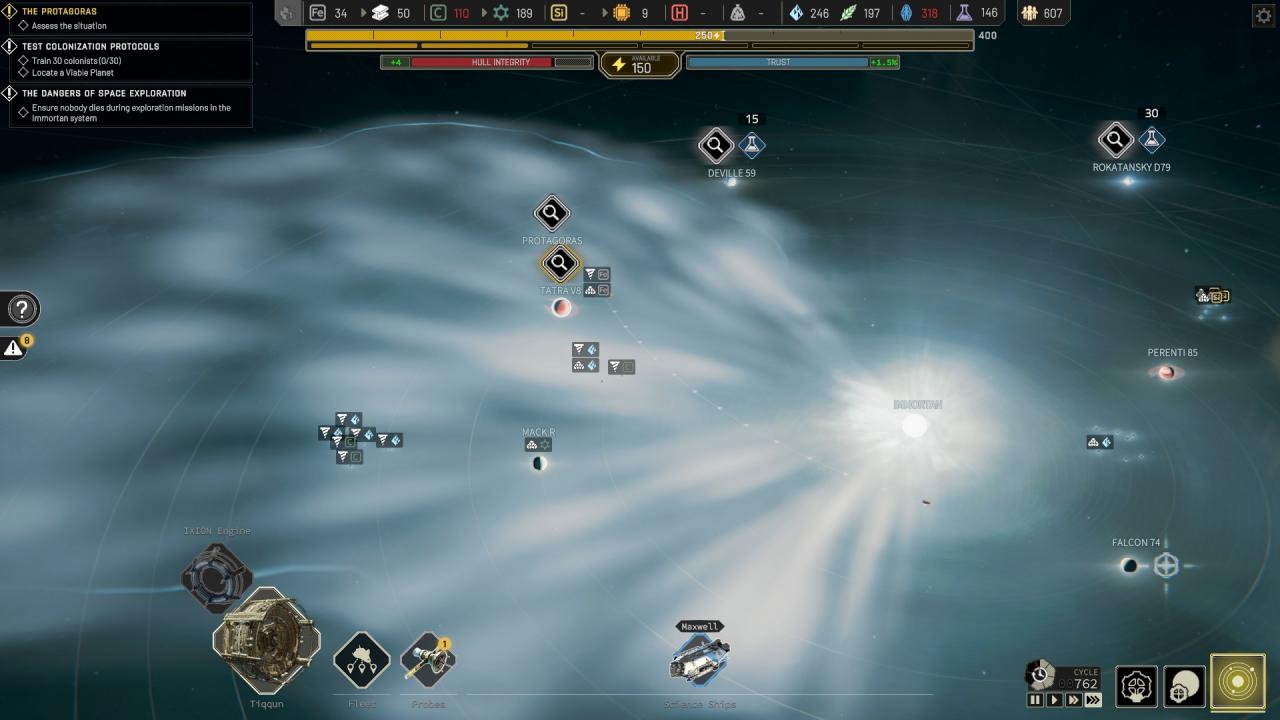
Just one thing, send a probe South East to discover the only location available here !
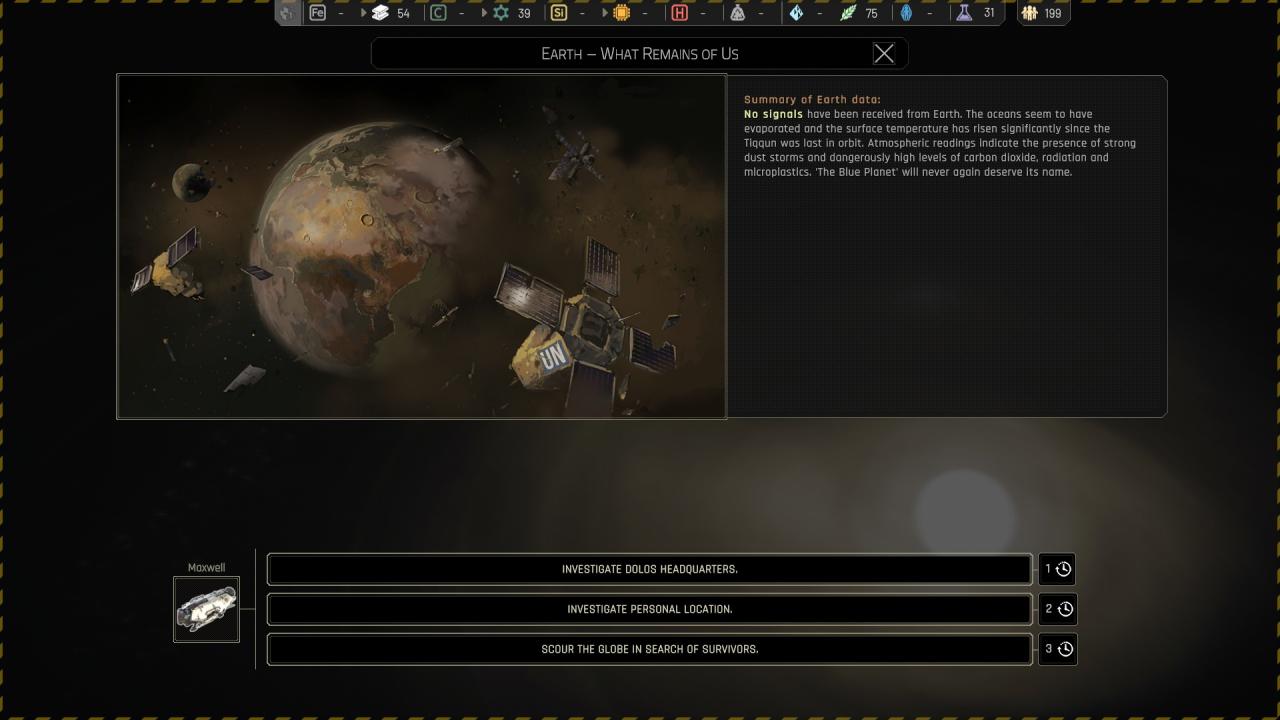
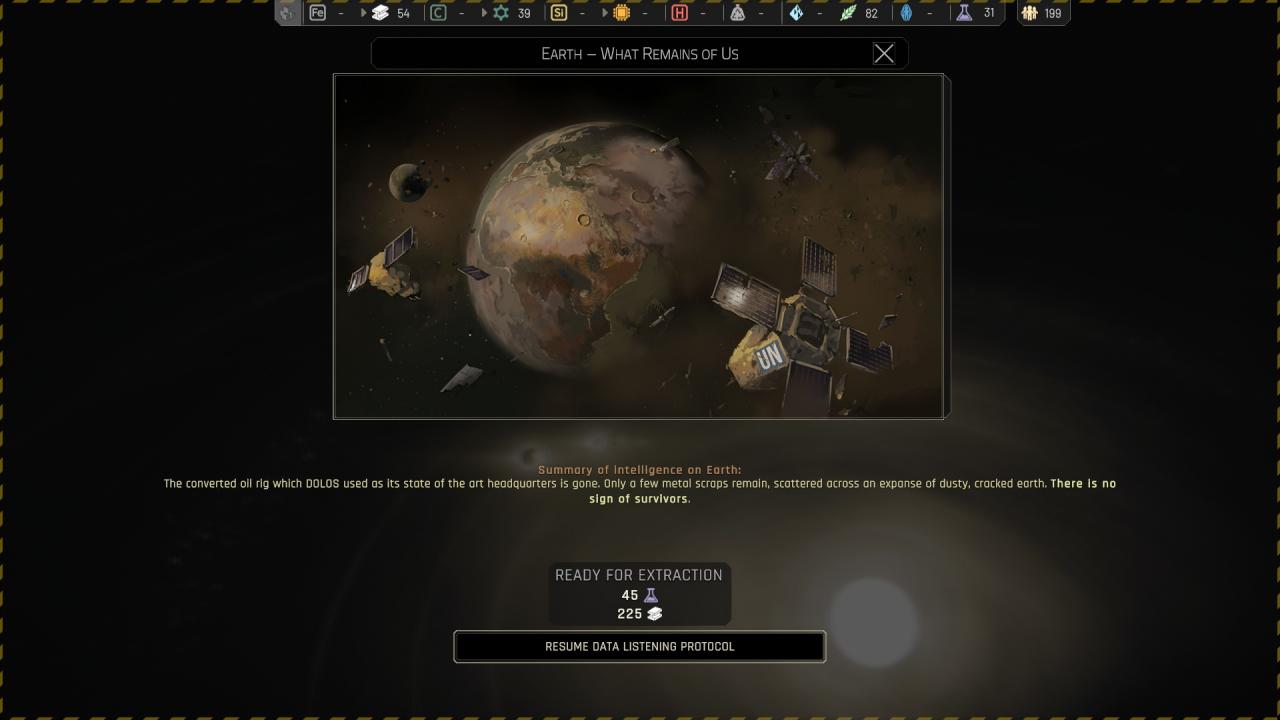
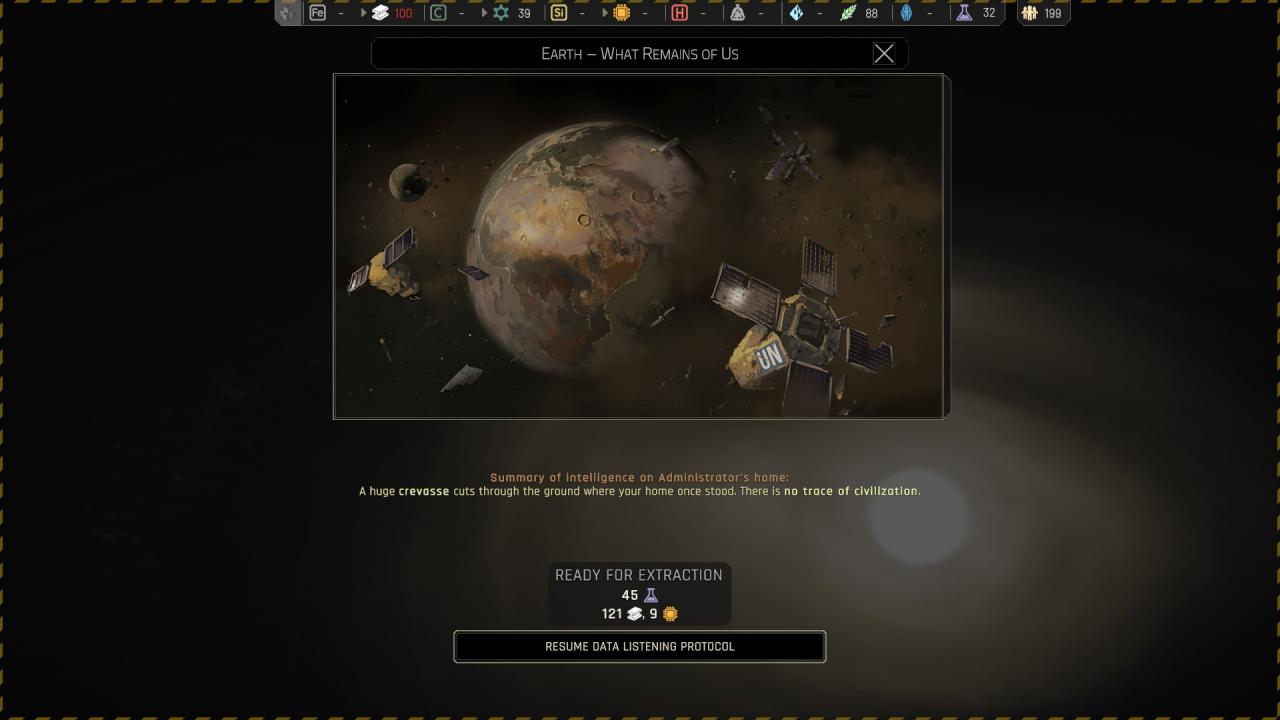
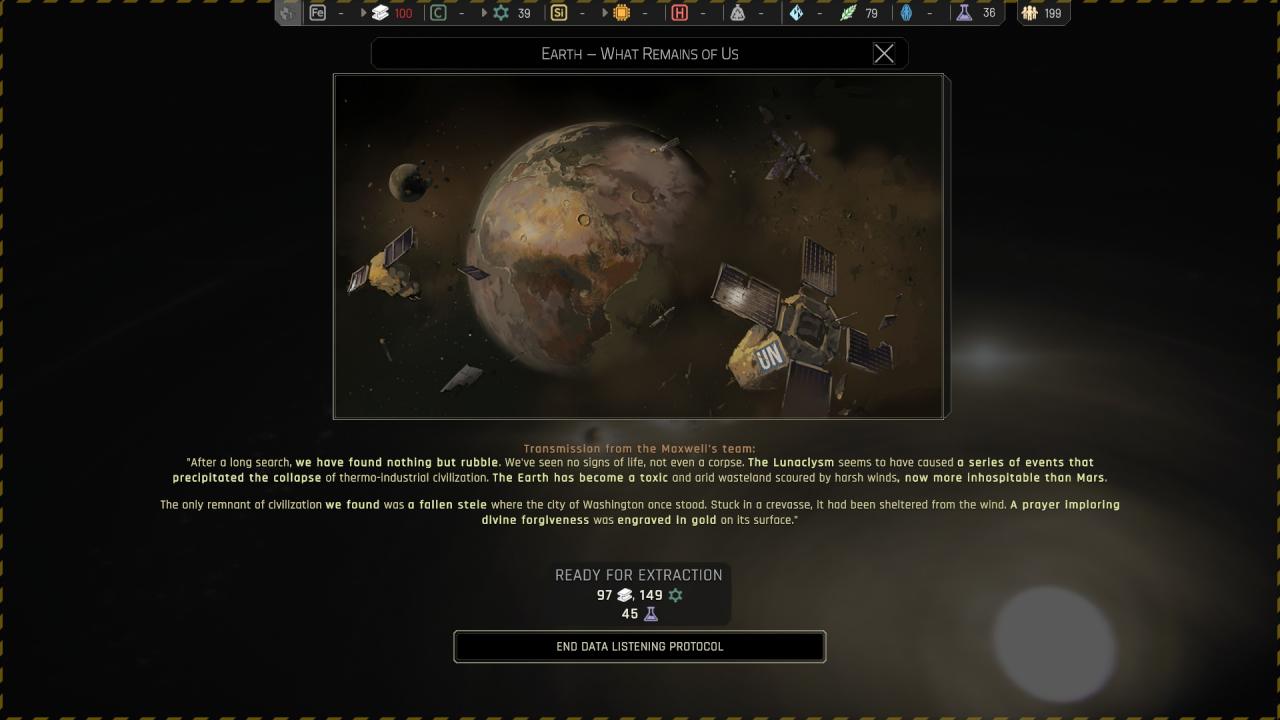
Chapter 1 ({ Earth } Earth – What Remains of Us )
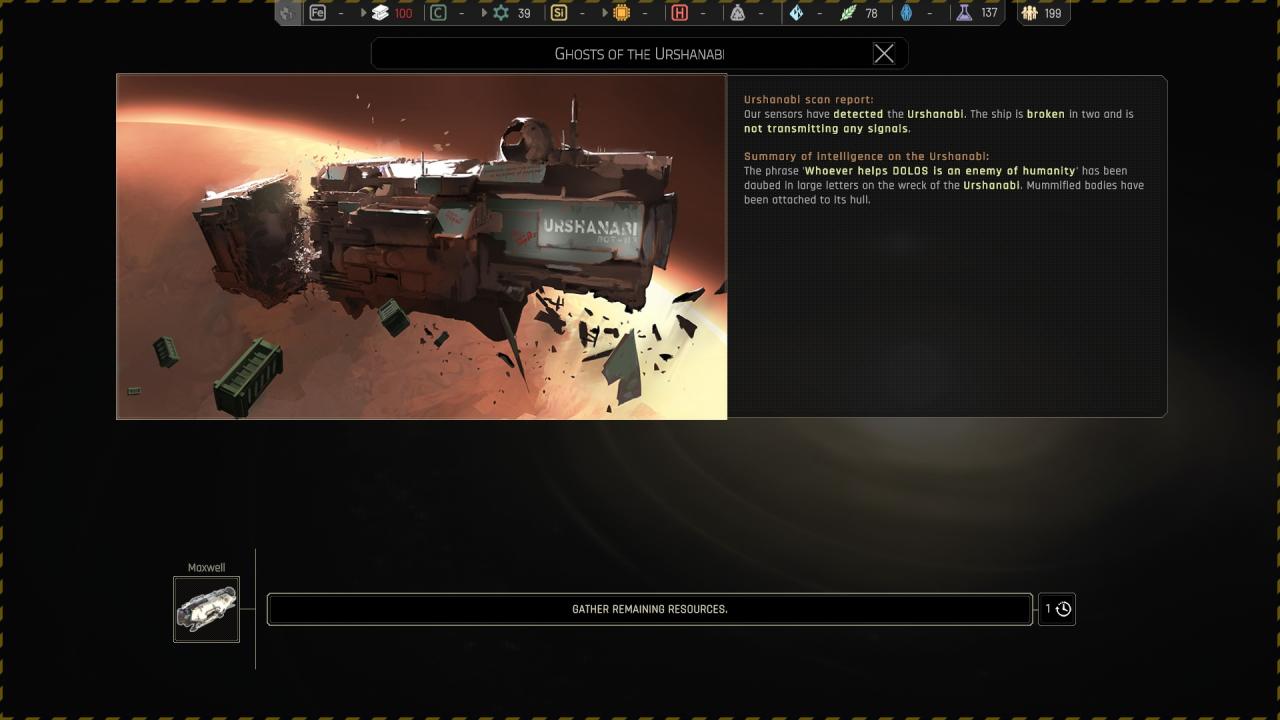
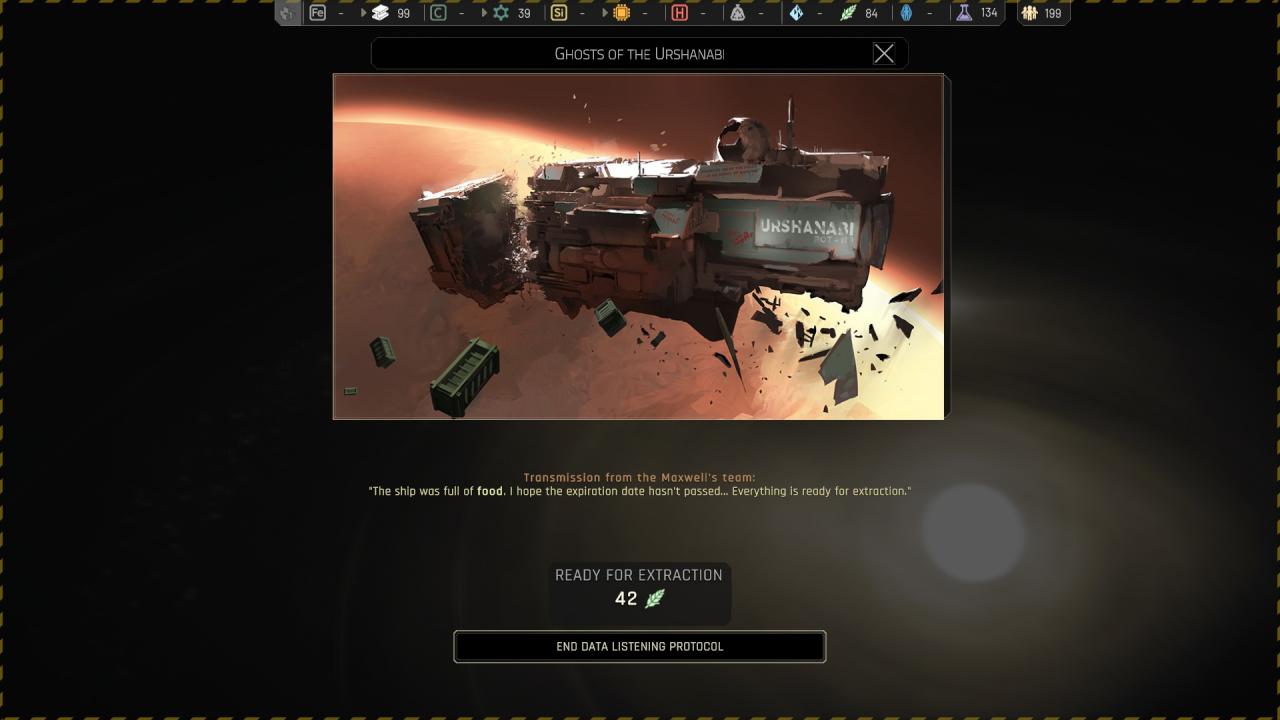
Chapter 1 ({ Urshanabi } Ghosts of the Urshanabi )
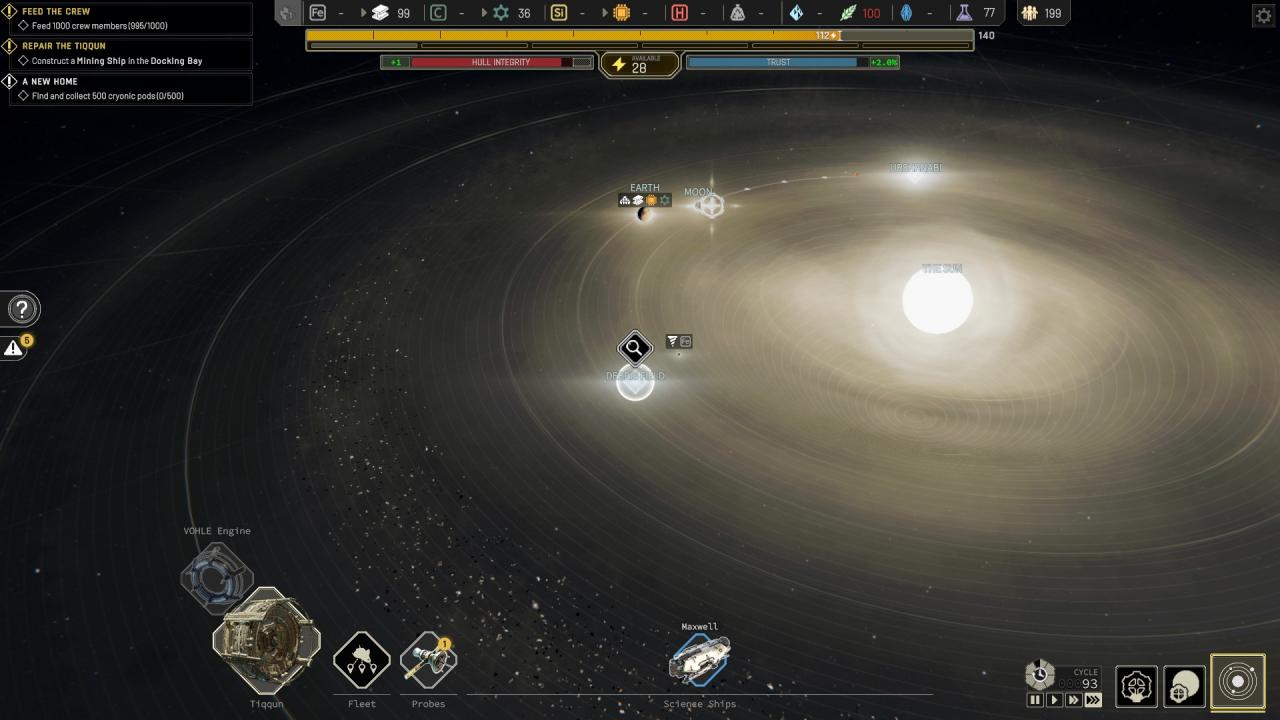
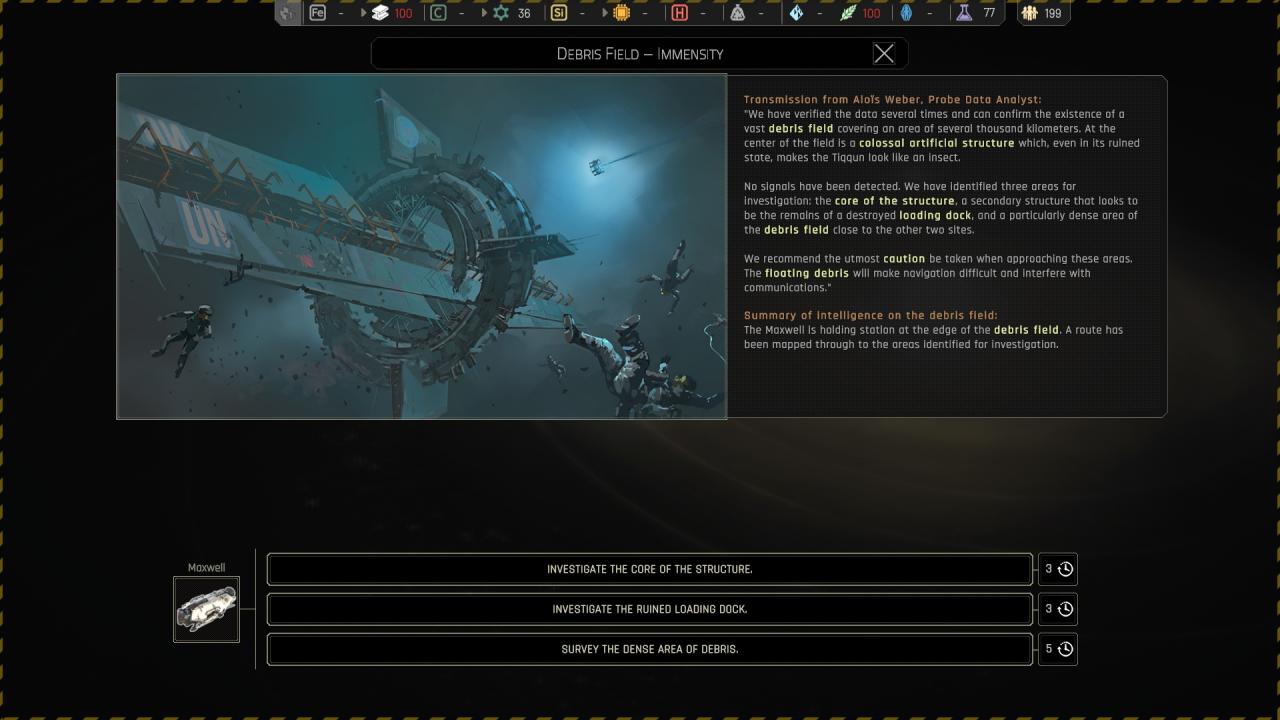
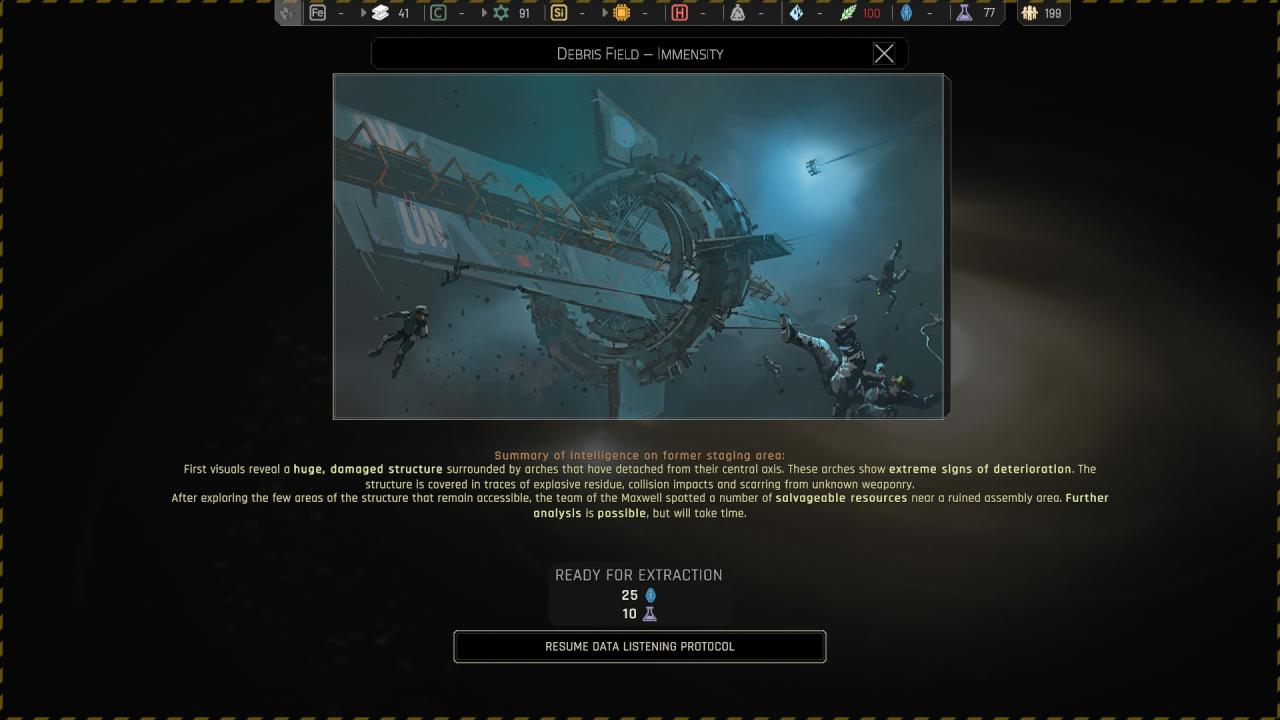
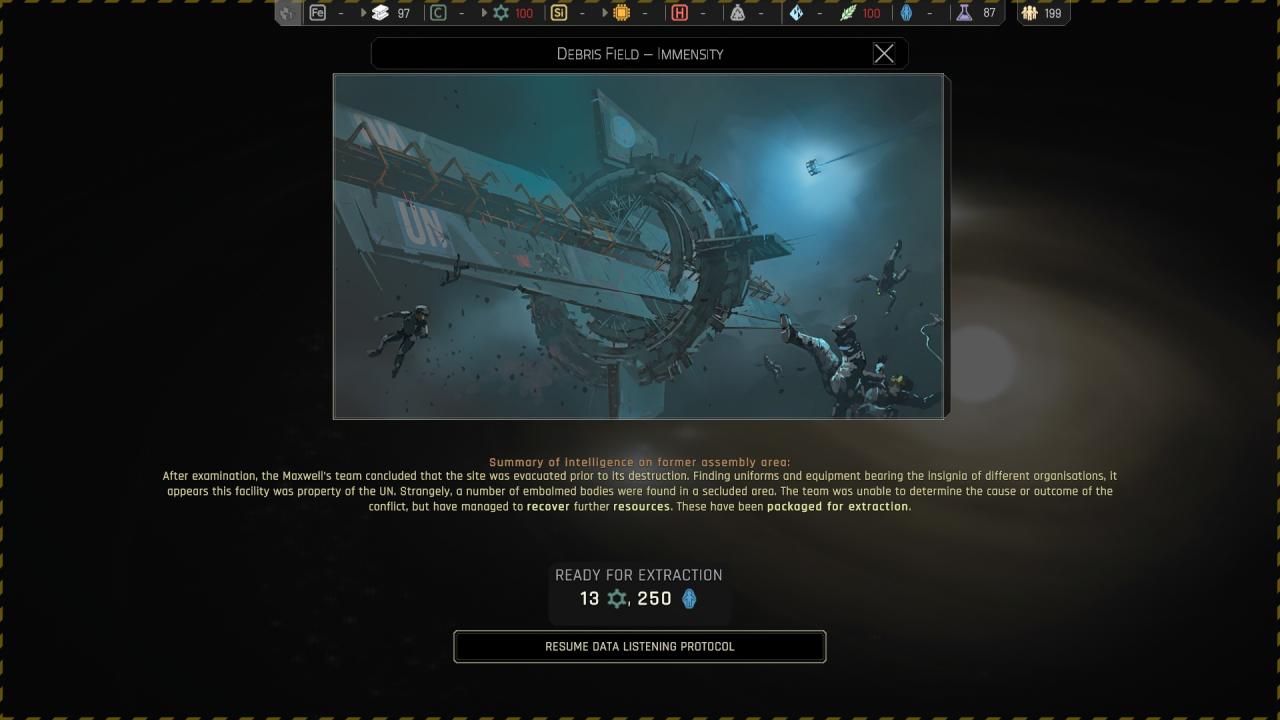
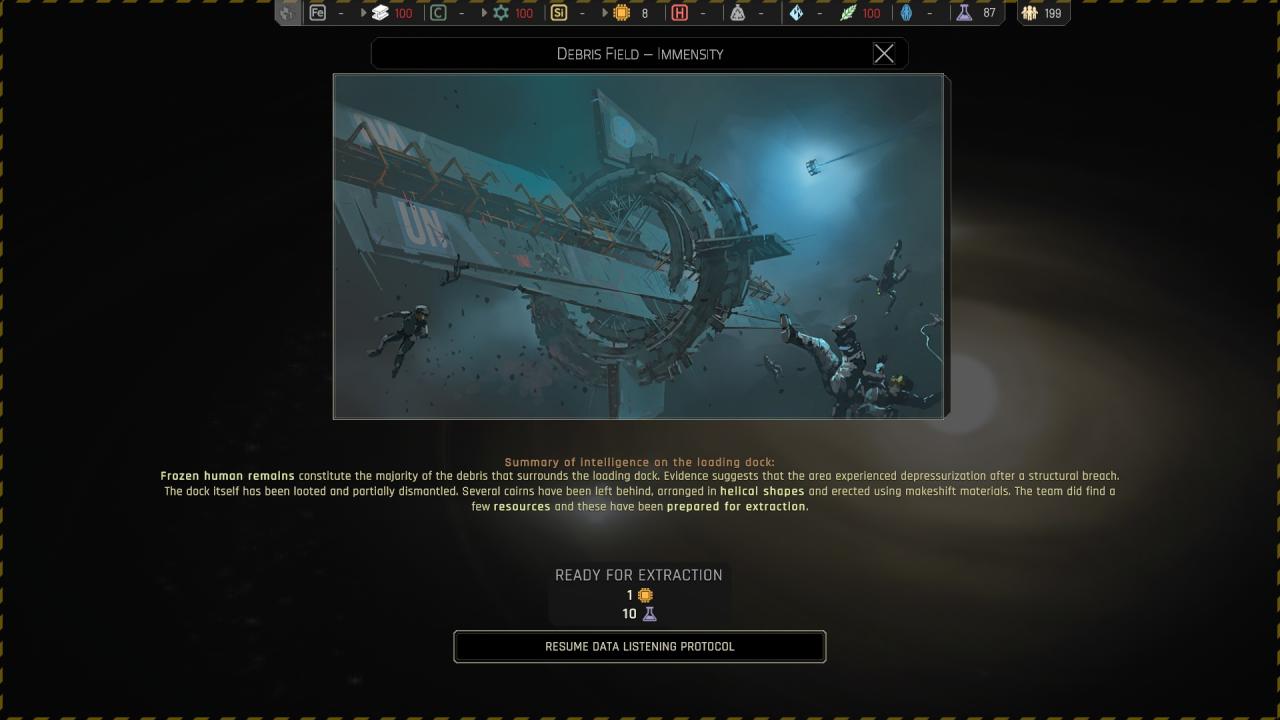
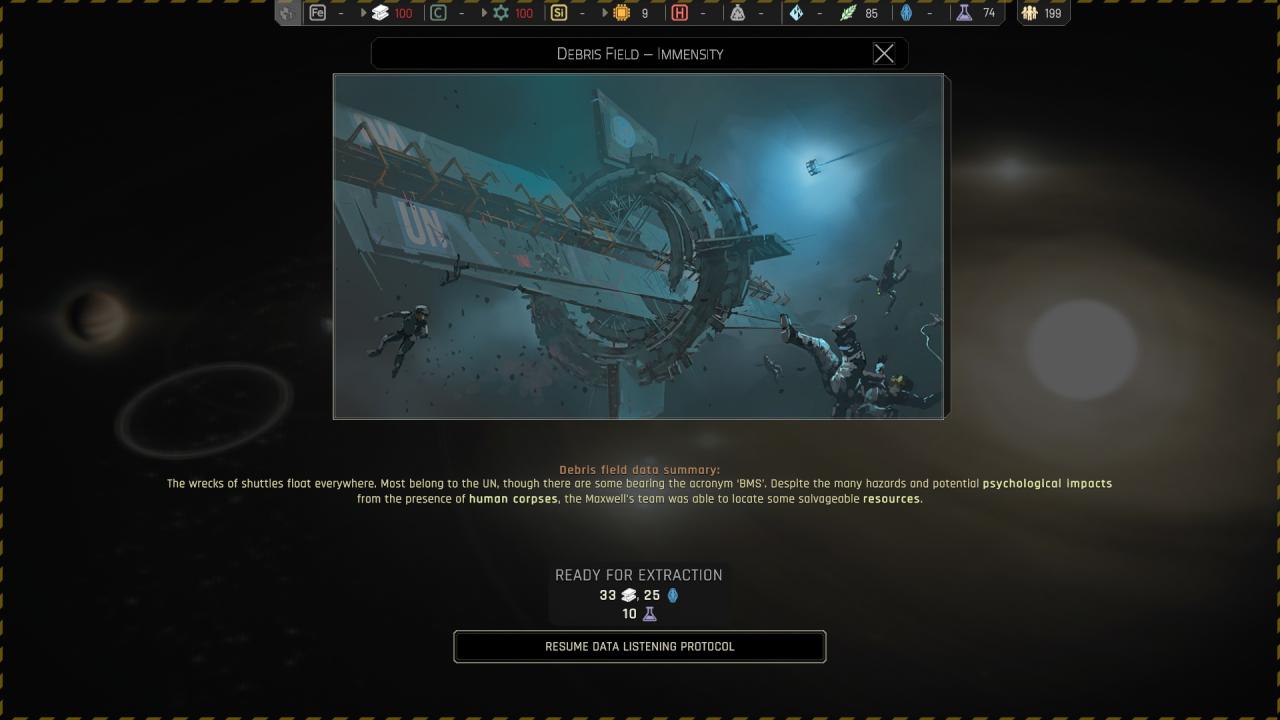
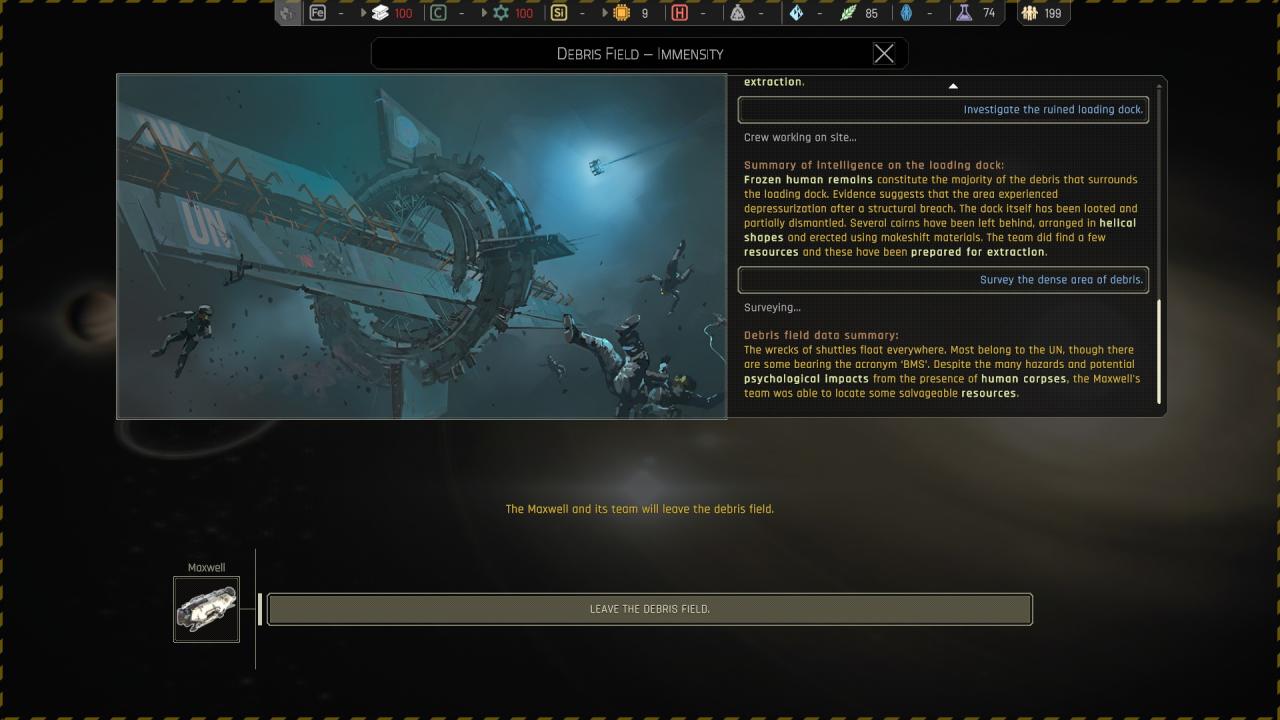
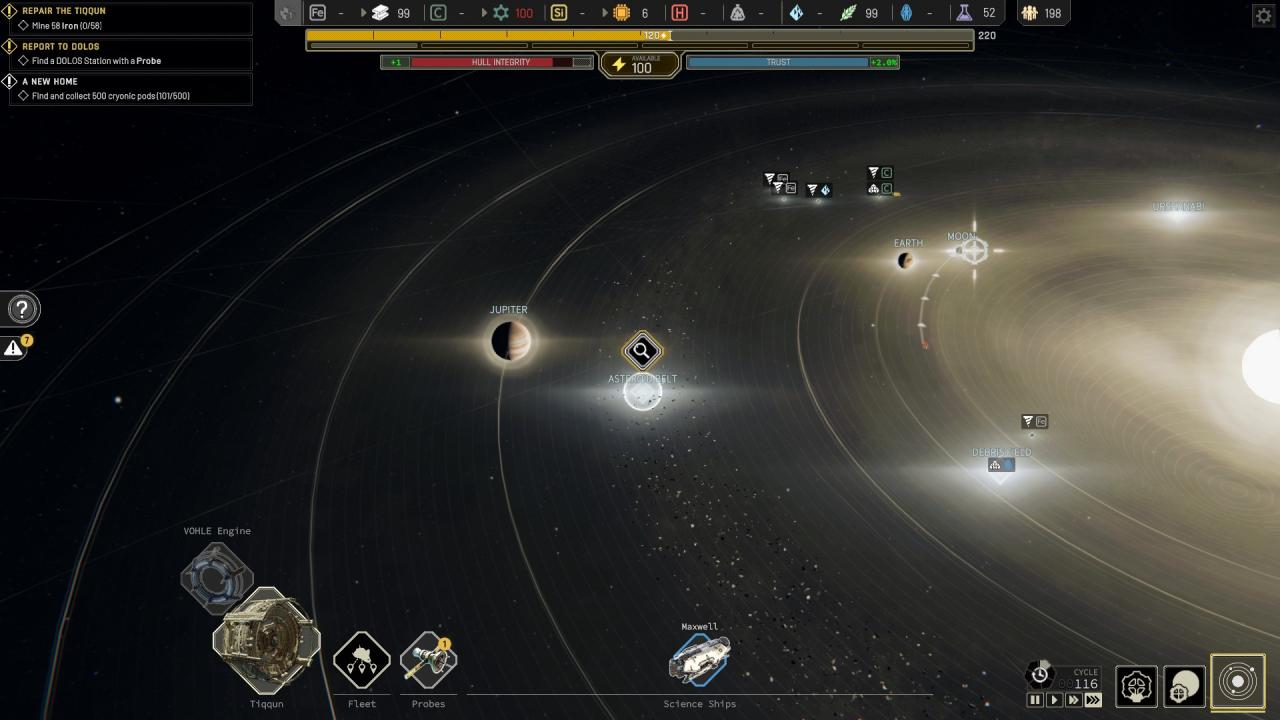
Chapter 1 ({ Debris Field } Debris Field – Immensity )

Chapter 1 ({ Asteroid Belt } Asteroid Belt – They Call It a Mine )
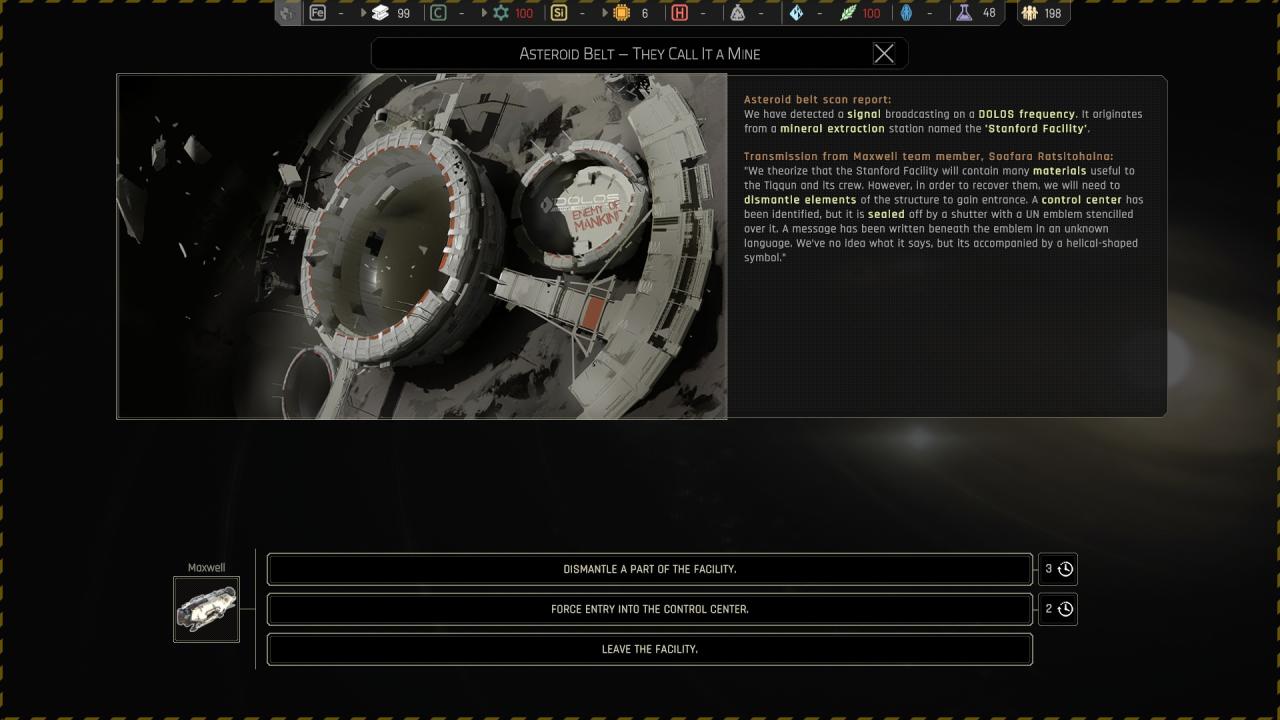 If you choose to dismantle a part of the facility :
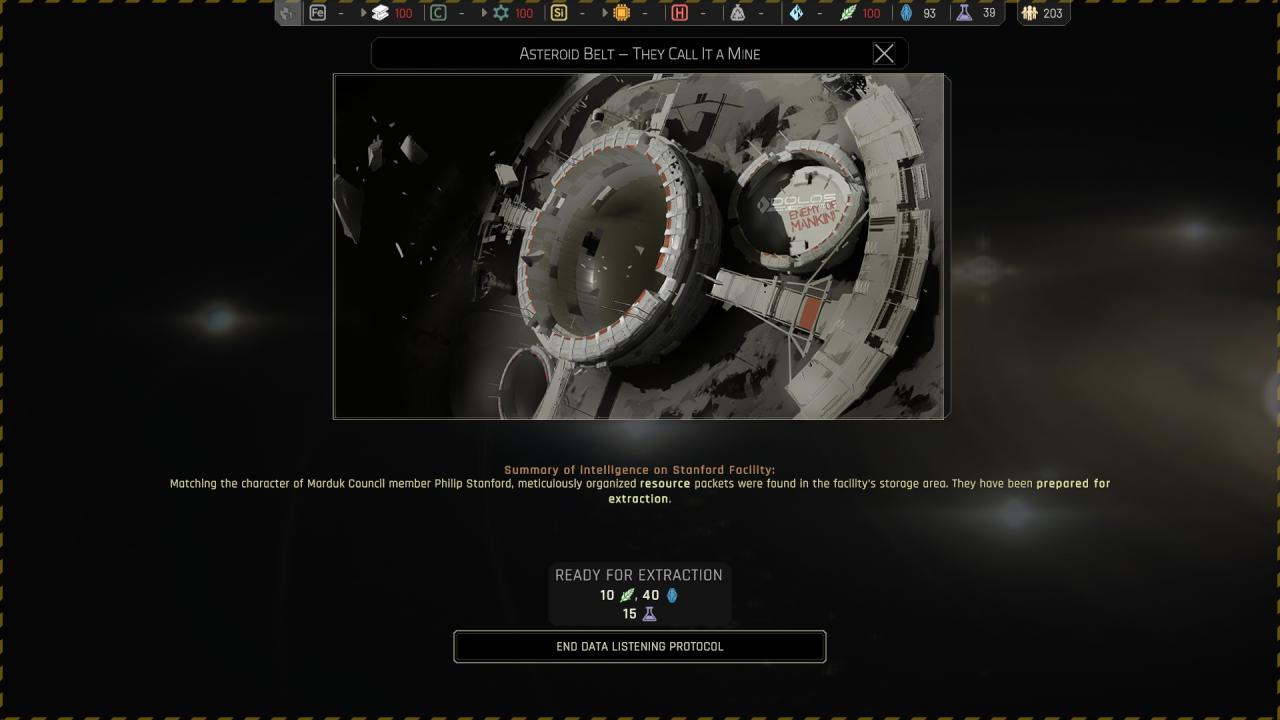 Forcing the entry to the control center will lead on loosing few crew member, with the choice to honor the dead or leave the corpse …
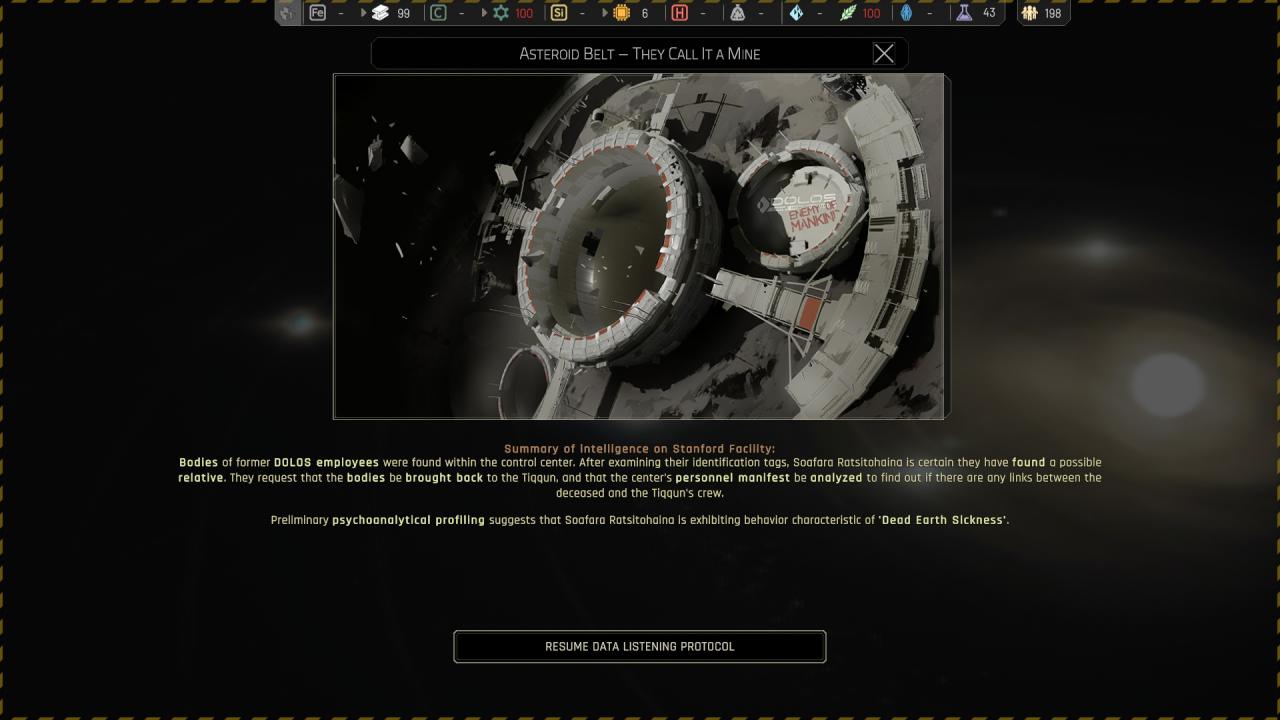
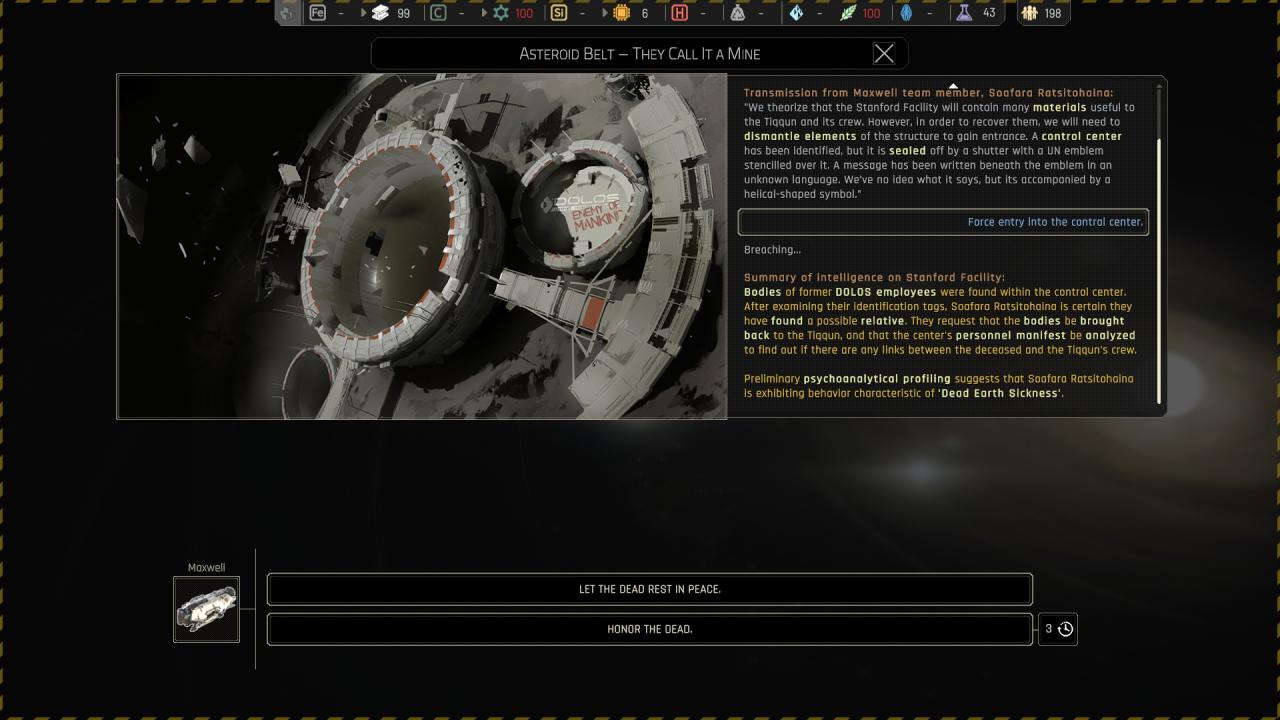 If you choose to let the dead rest in peace :
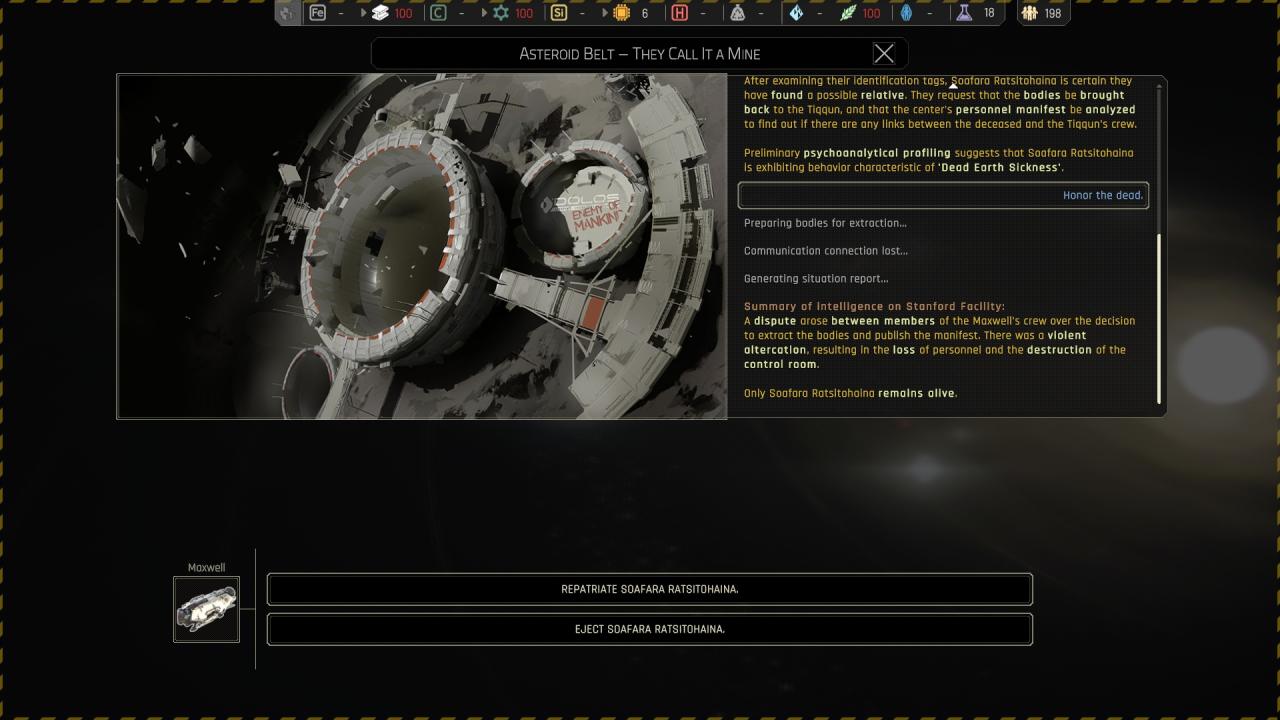
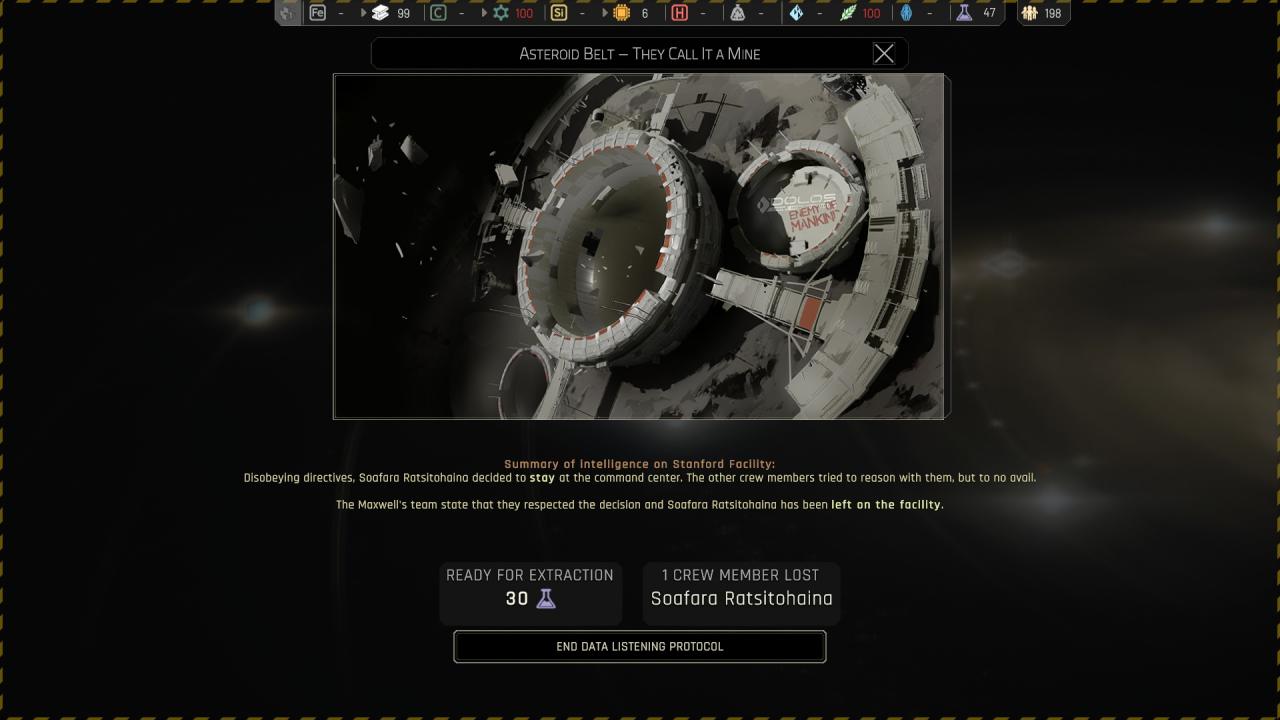 If you choose to honor the dead it’s worst :
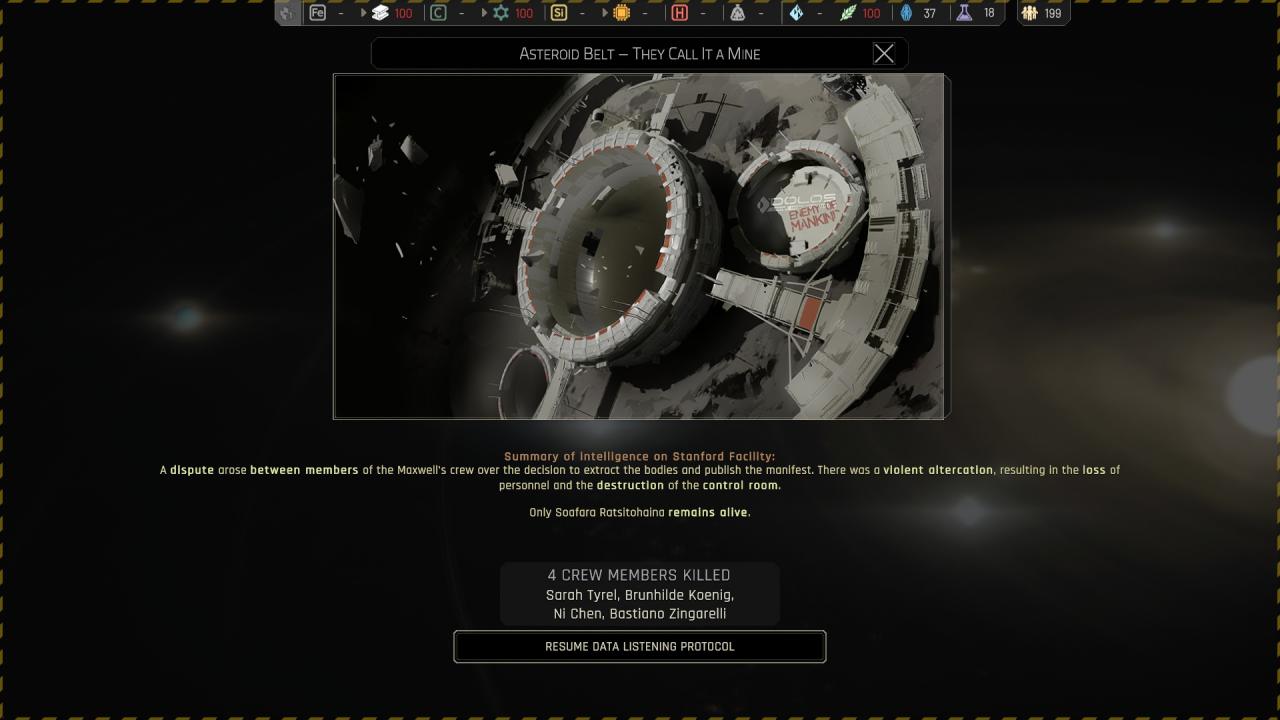
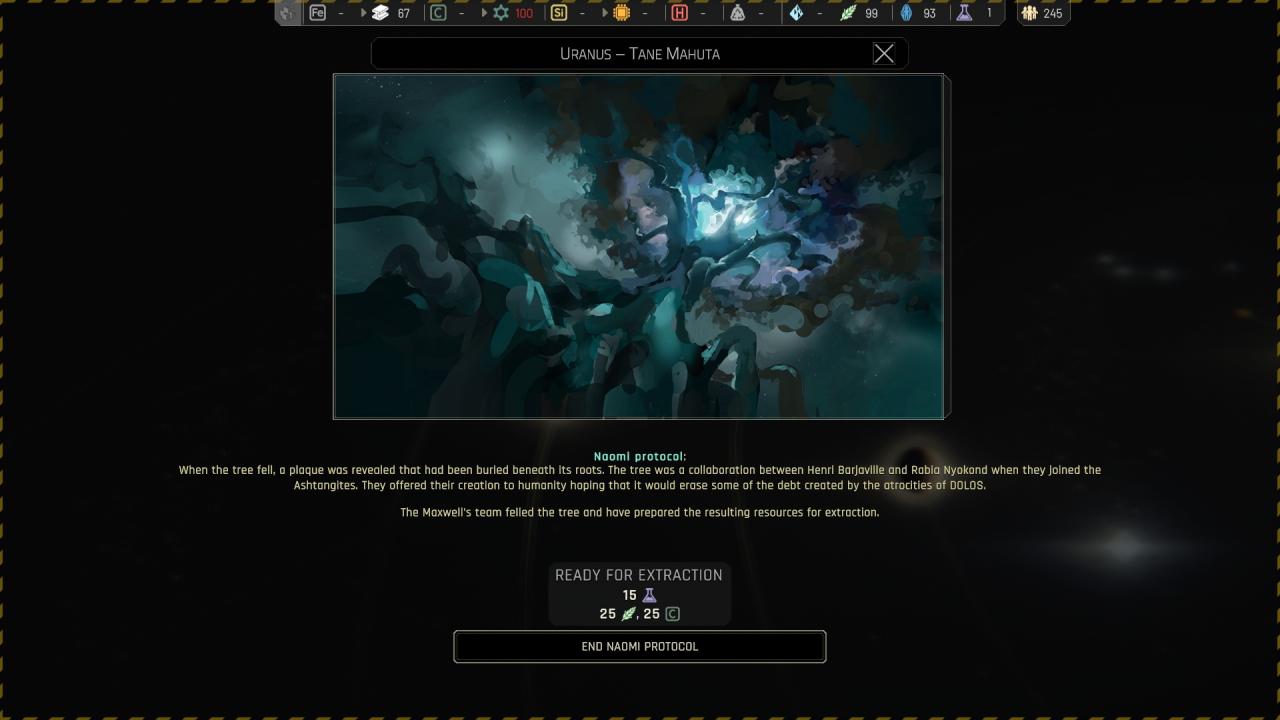
Chapter 1 ({ Uranus } Uranus – Tane Mahuta )
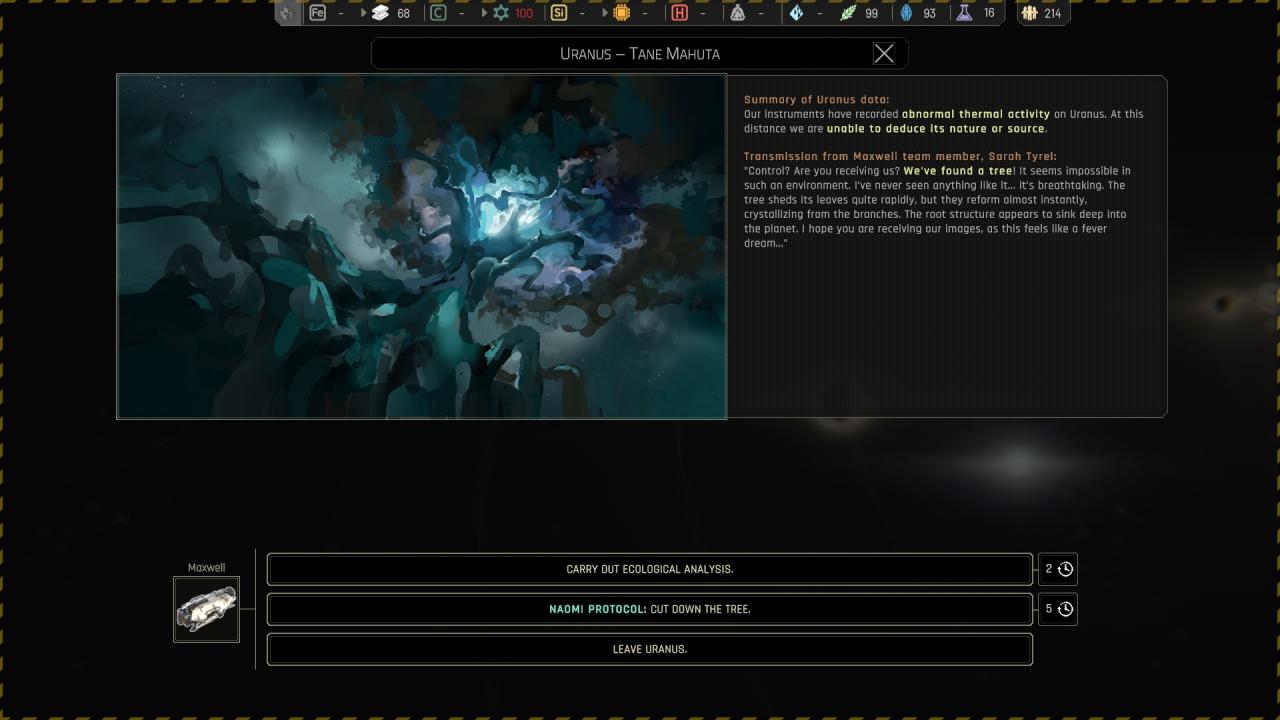 If you choose to “Carry out ecological analysis” :
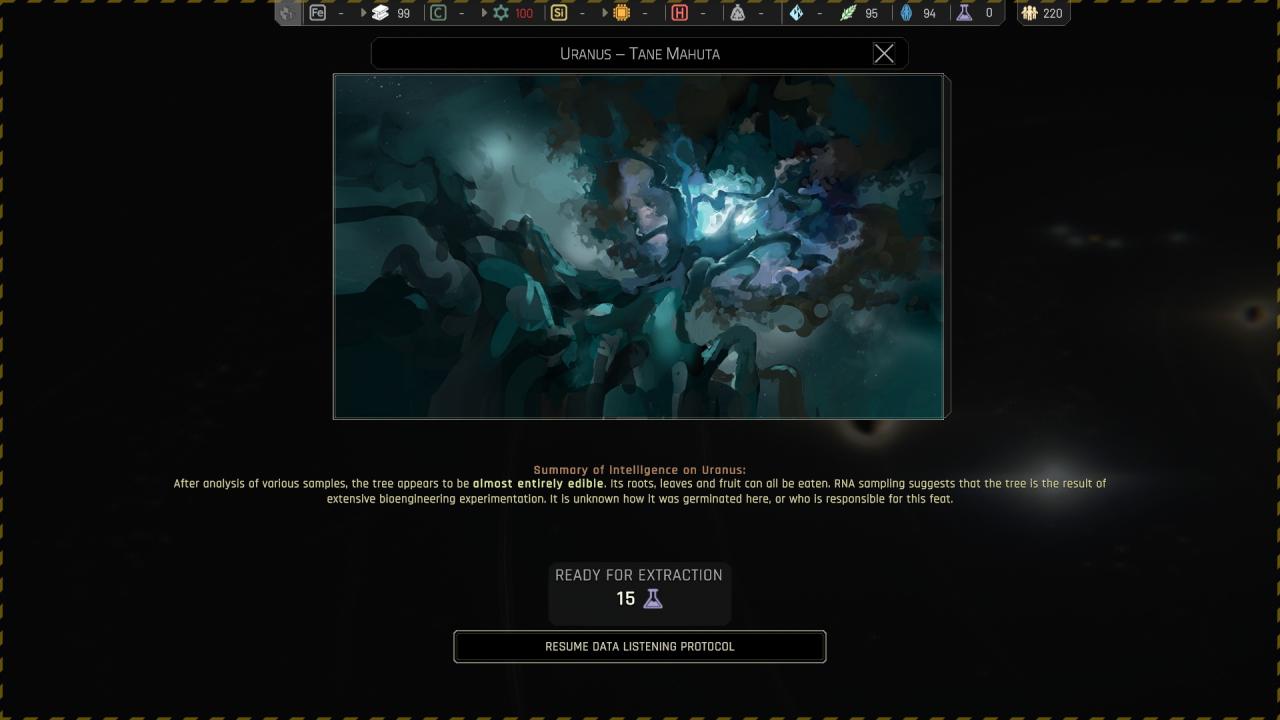 Then you can harverst some edible elements :
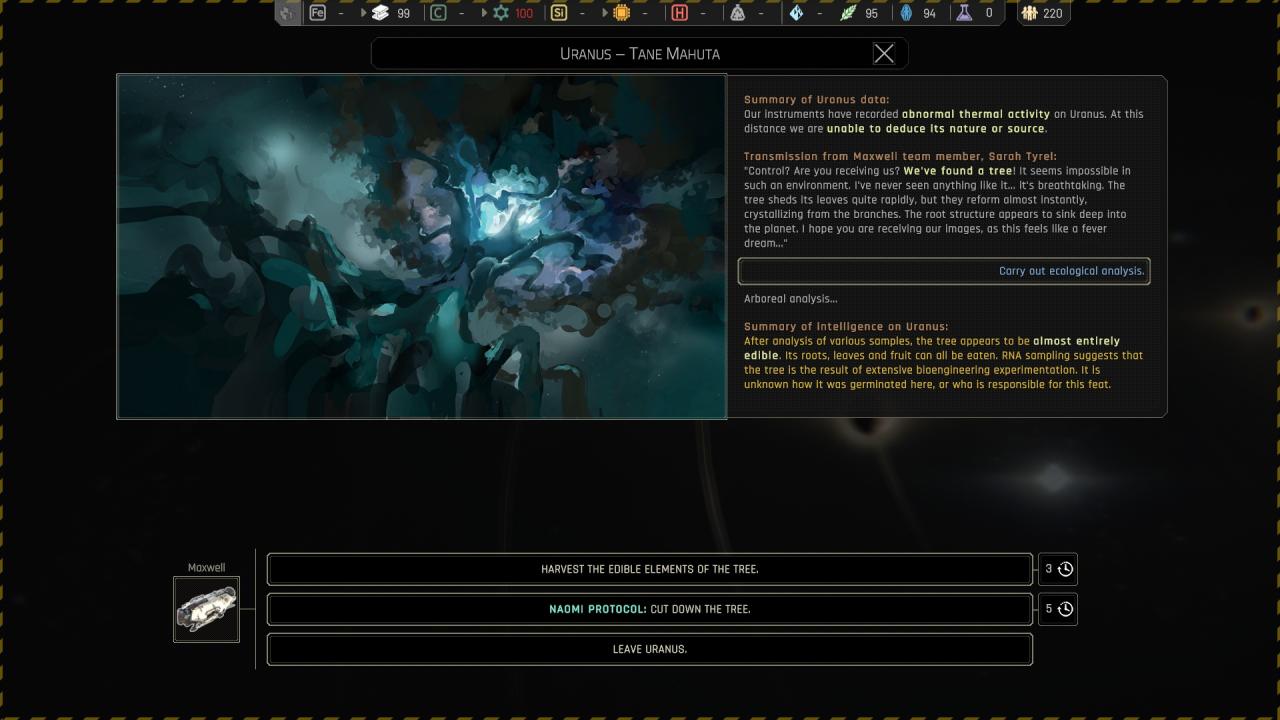
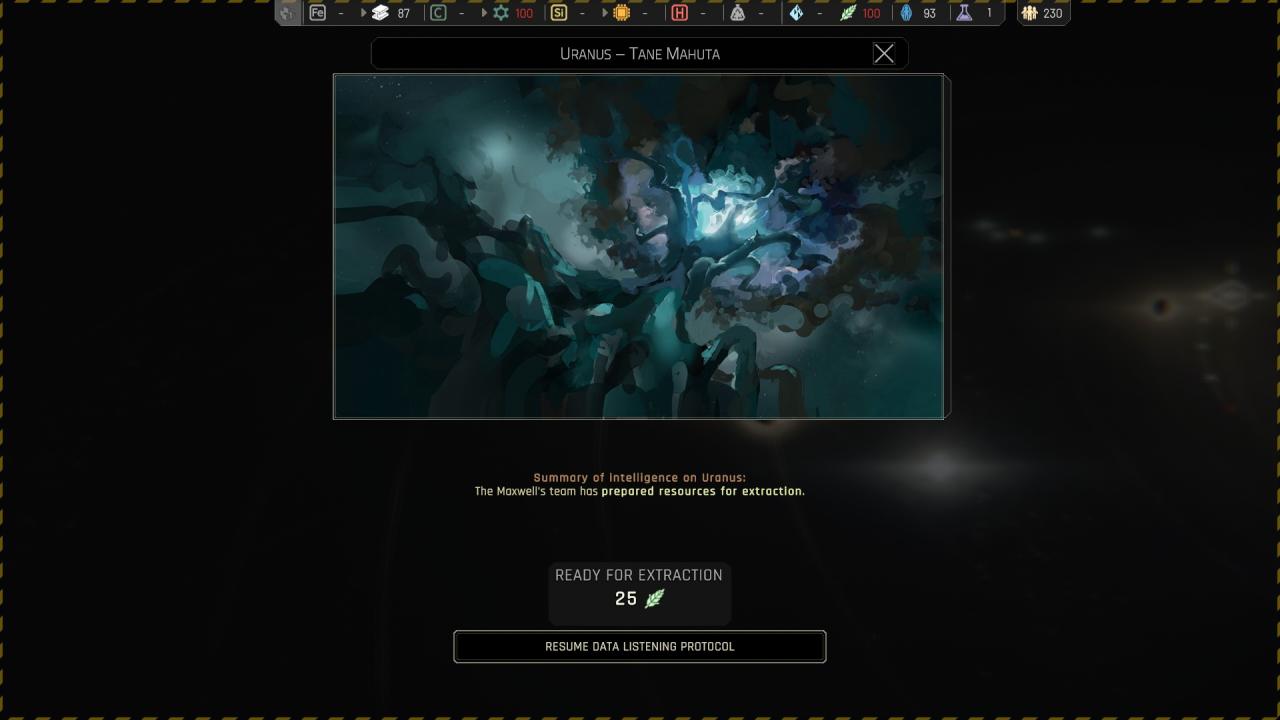 And then cutting the tree :
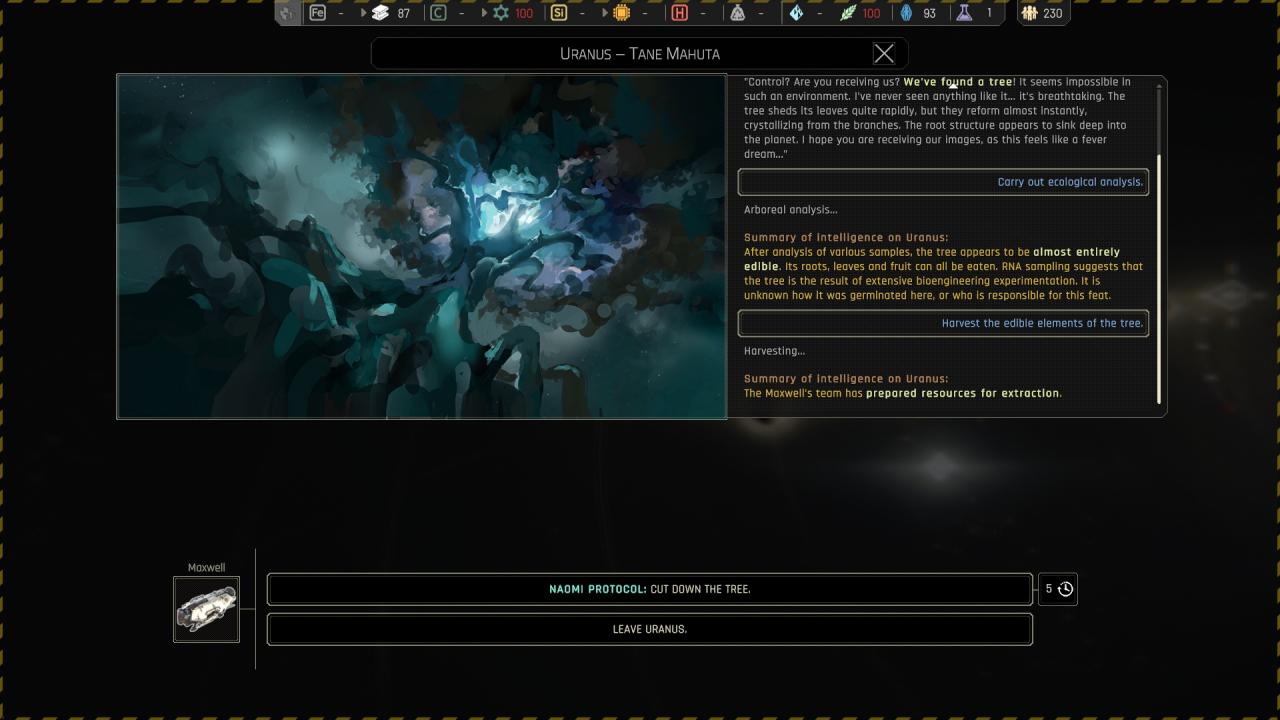
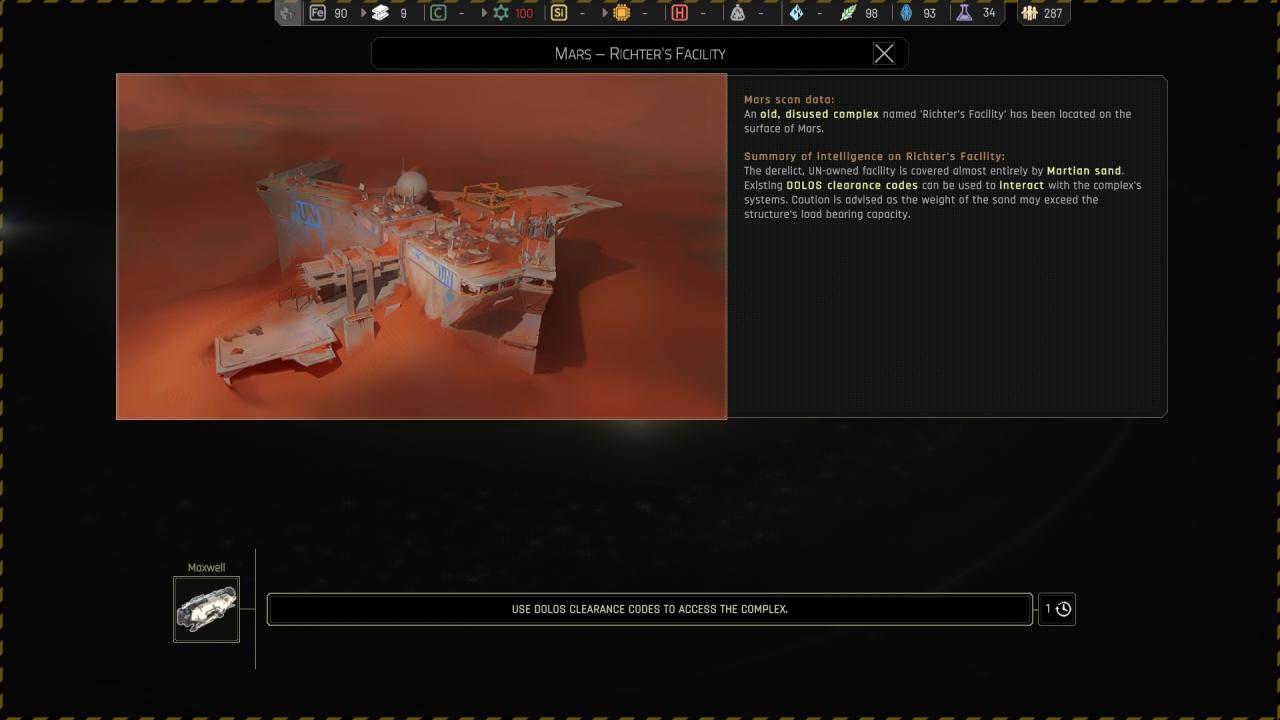
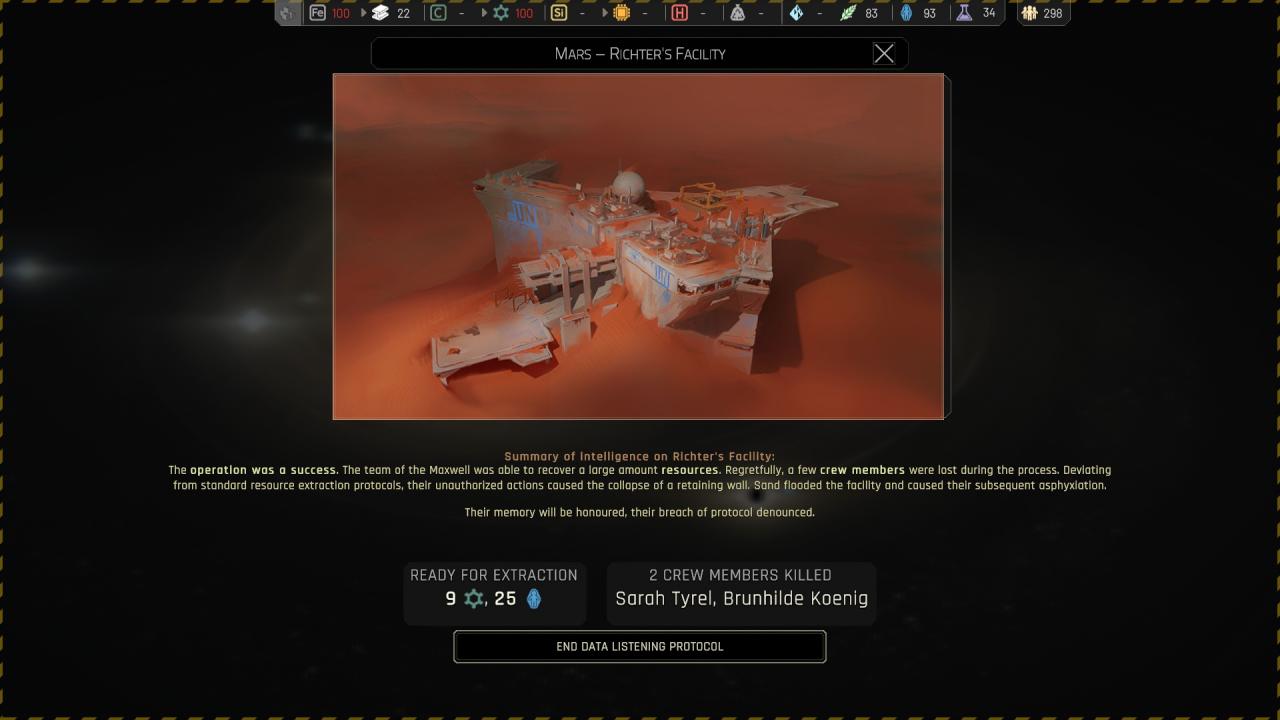
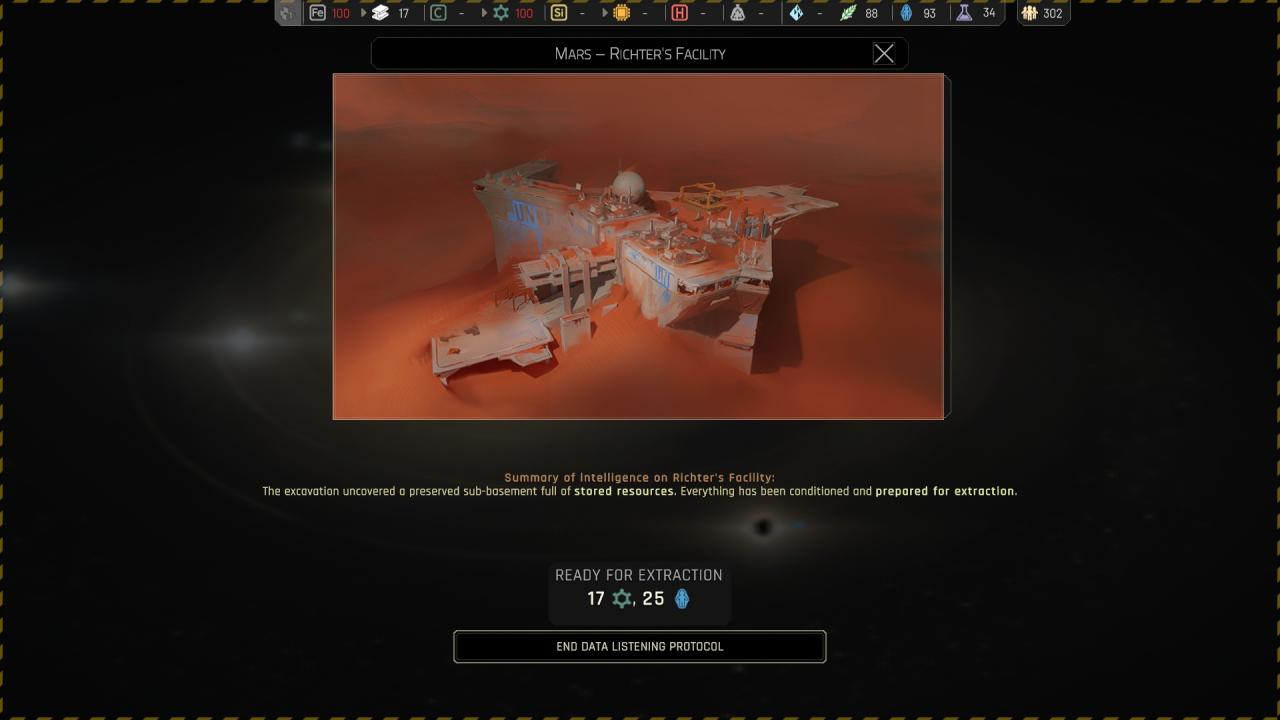
Chapter 1 ({ Mars } Mars – Richter’s Facility )

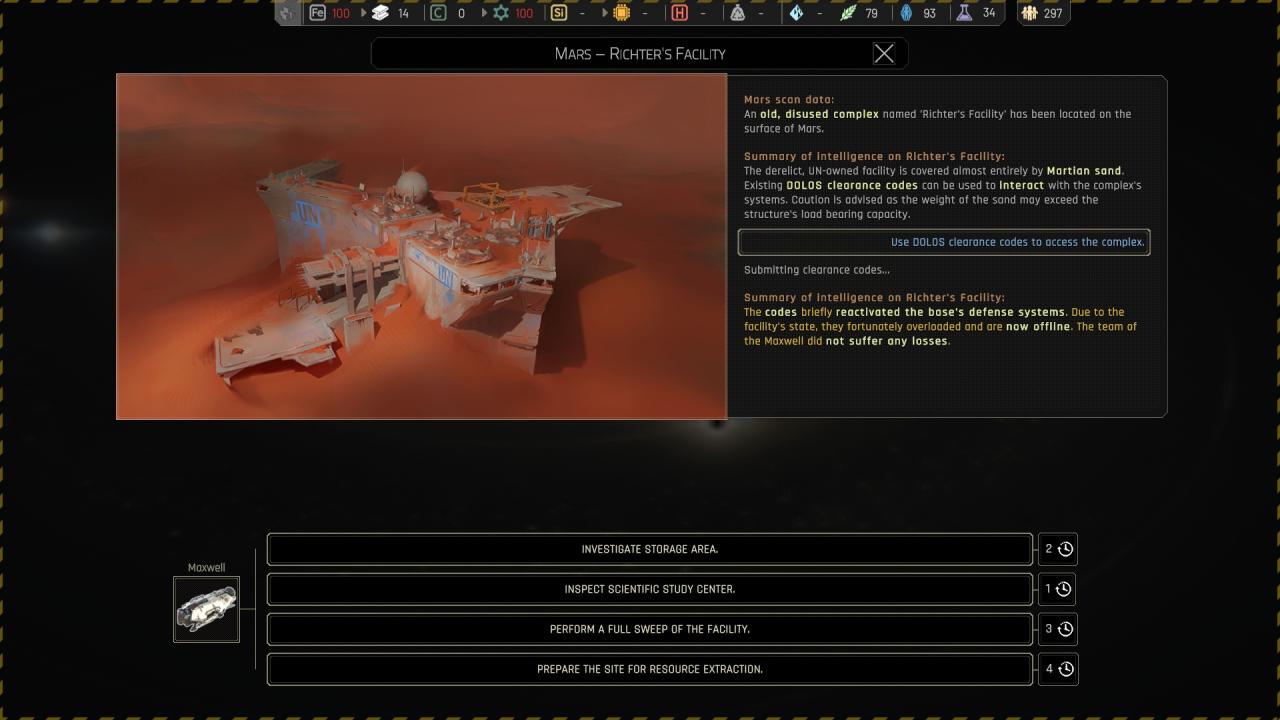
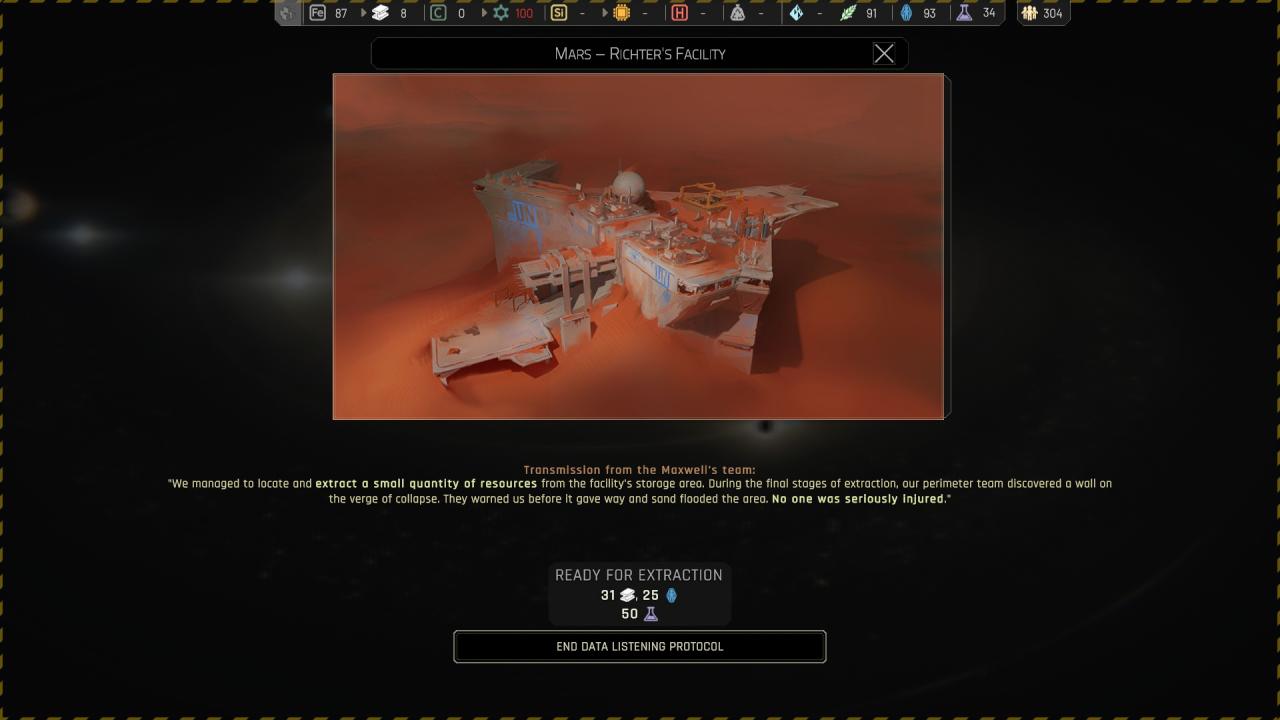
Investigate the storage area :
Inspecting the scientific study center :

Performing a full swepp of the facility :
Preparing the site for ressource extraction :
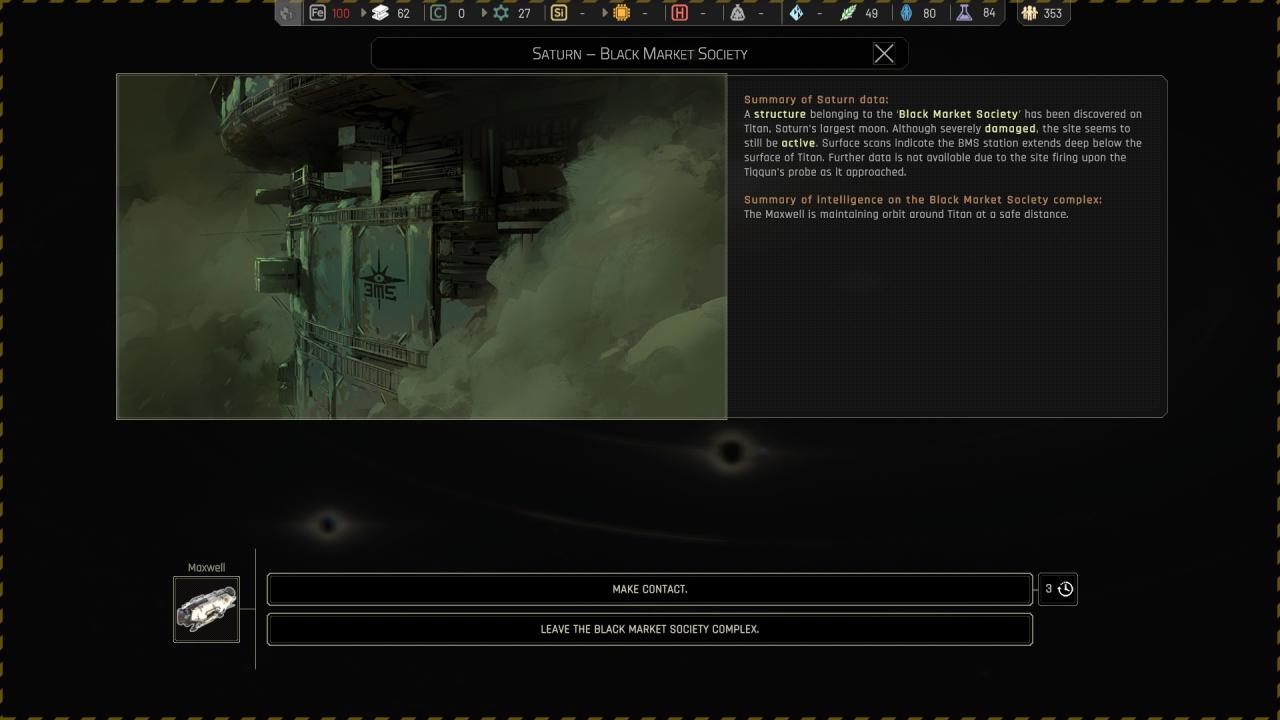
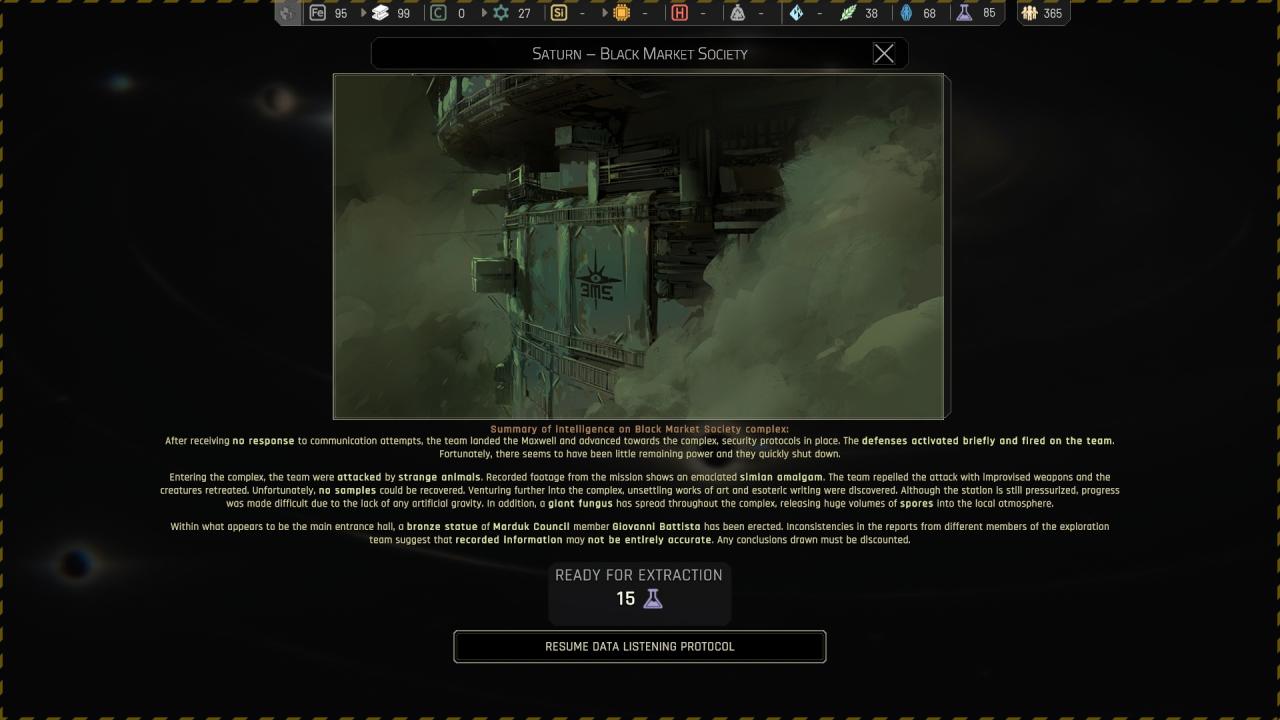
Chapter 1 ({ Saturn } Saturn – Black Market Society )
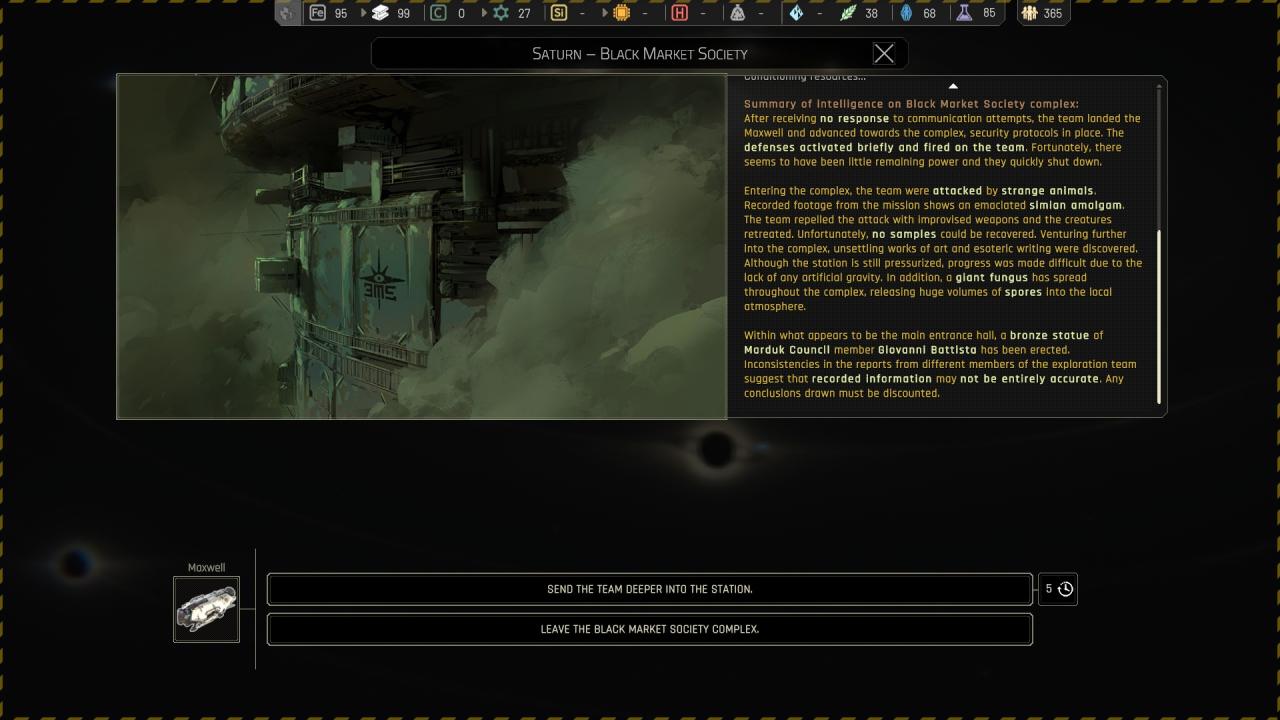
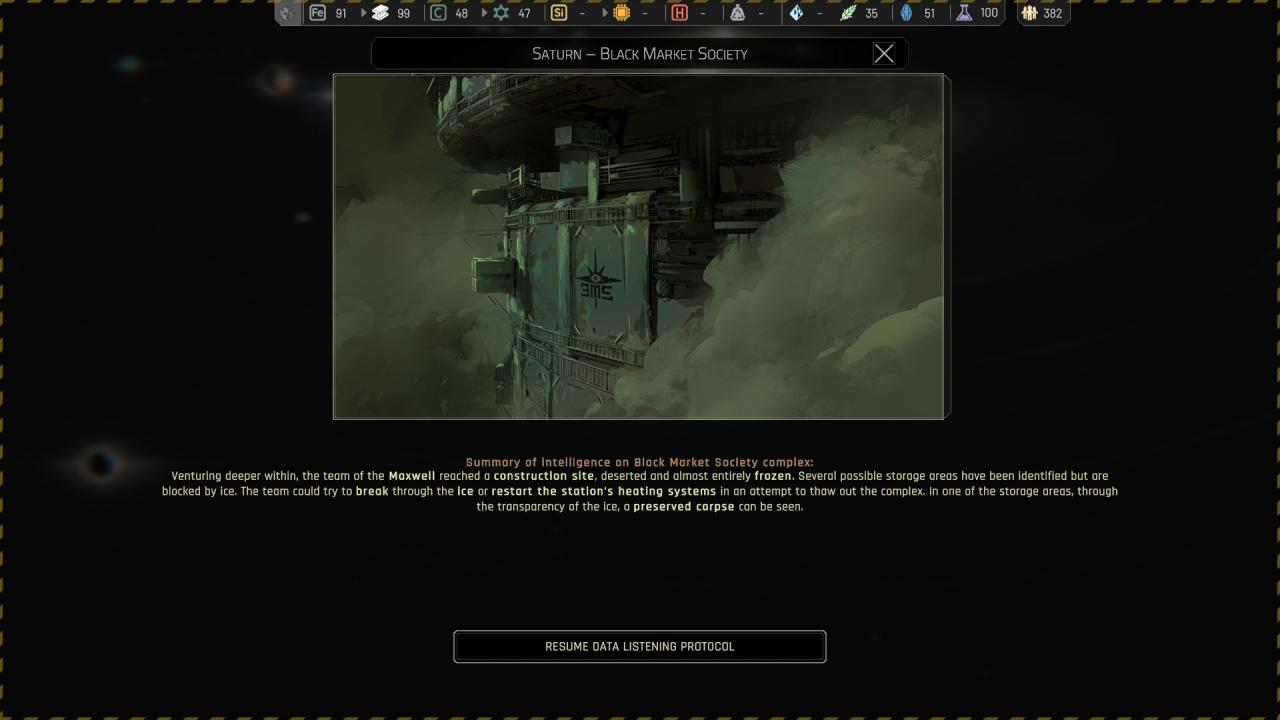 Attempting to restart the station’s heating system will do nothing …
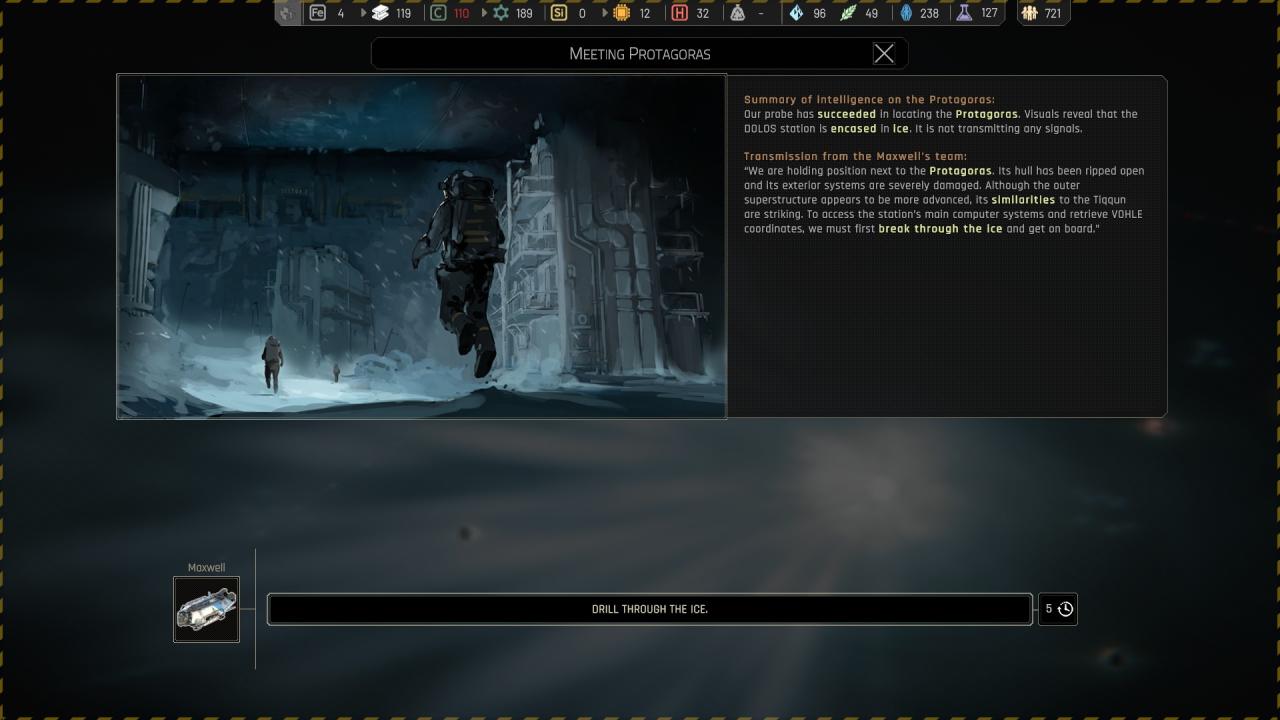
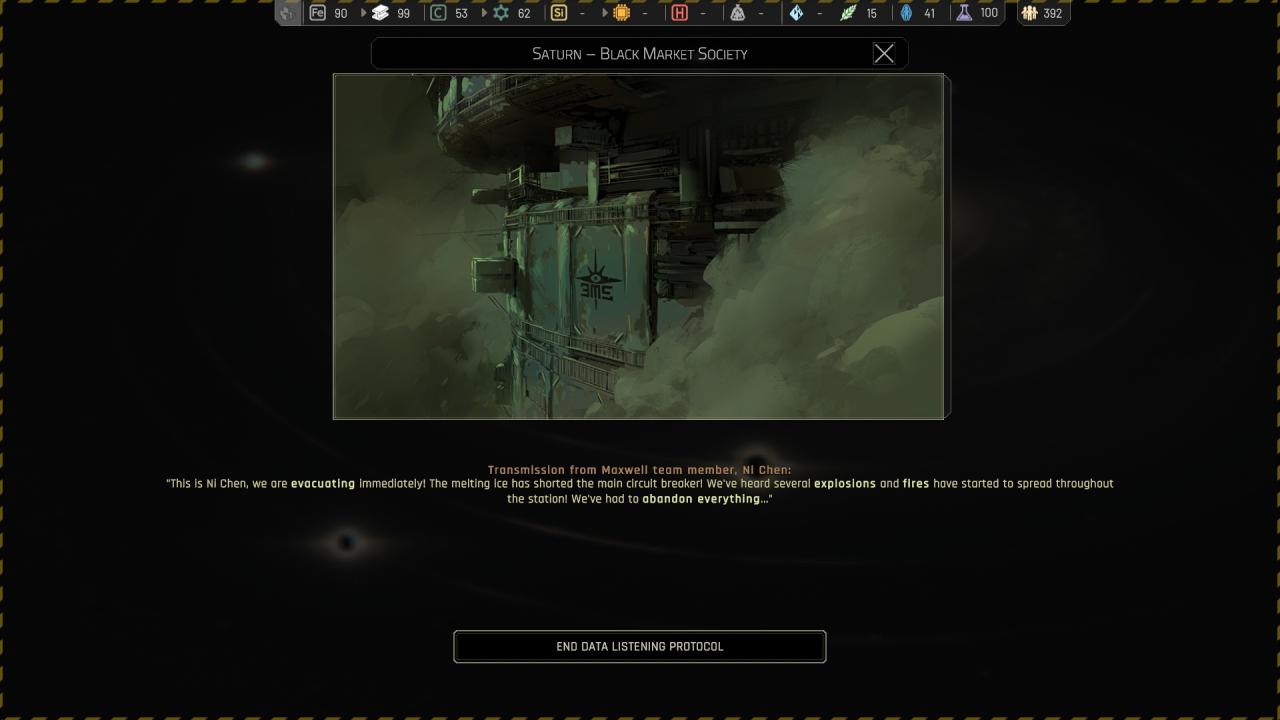 Breaking through the ice :
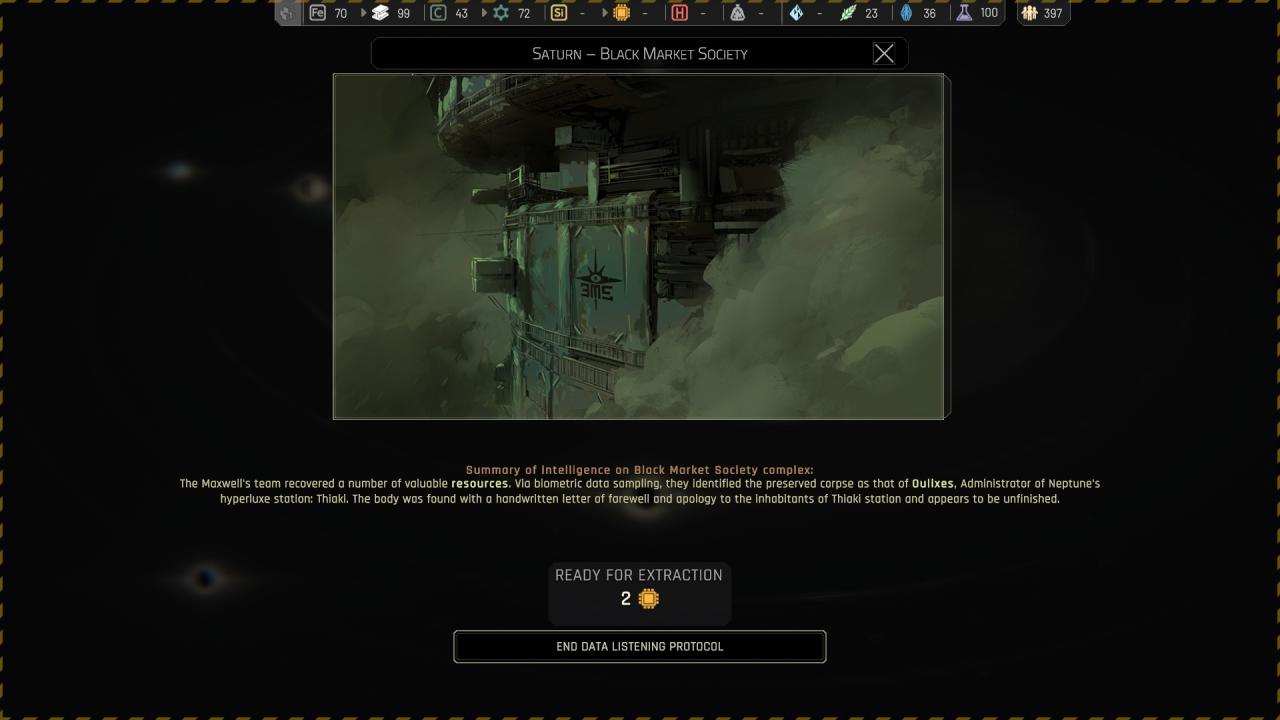
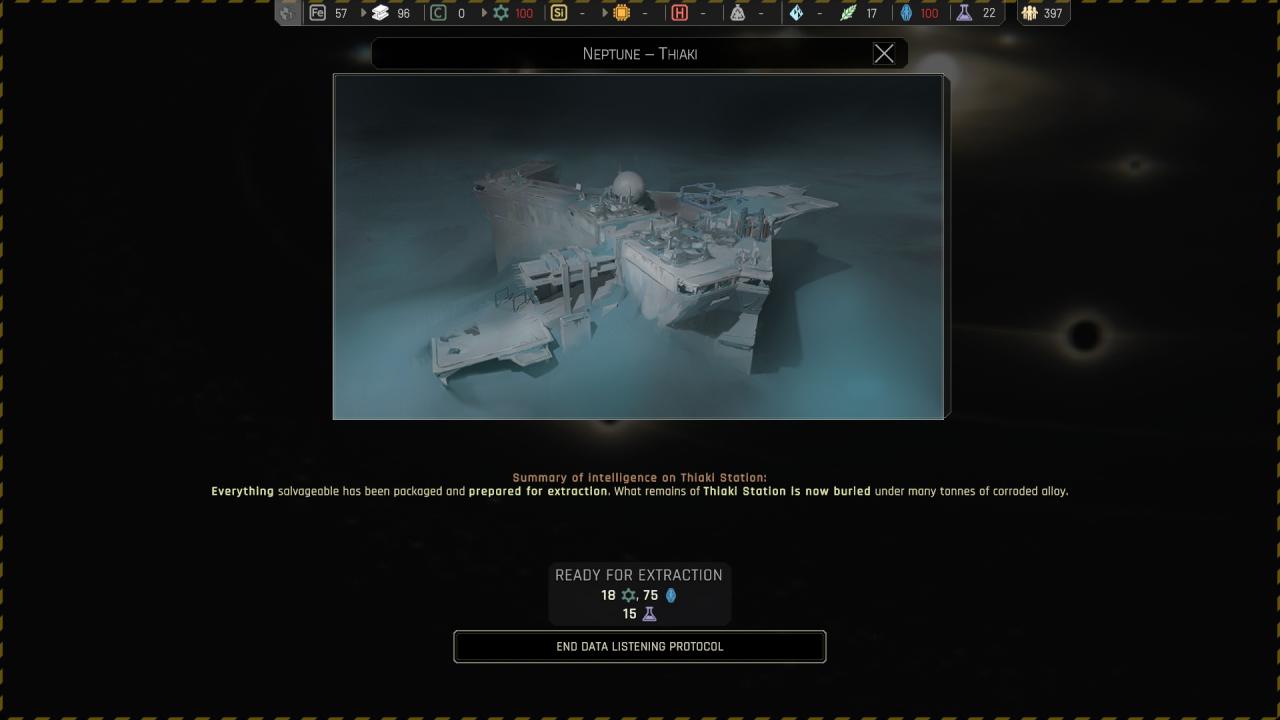
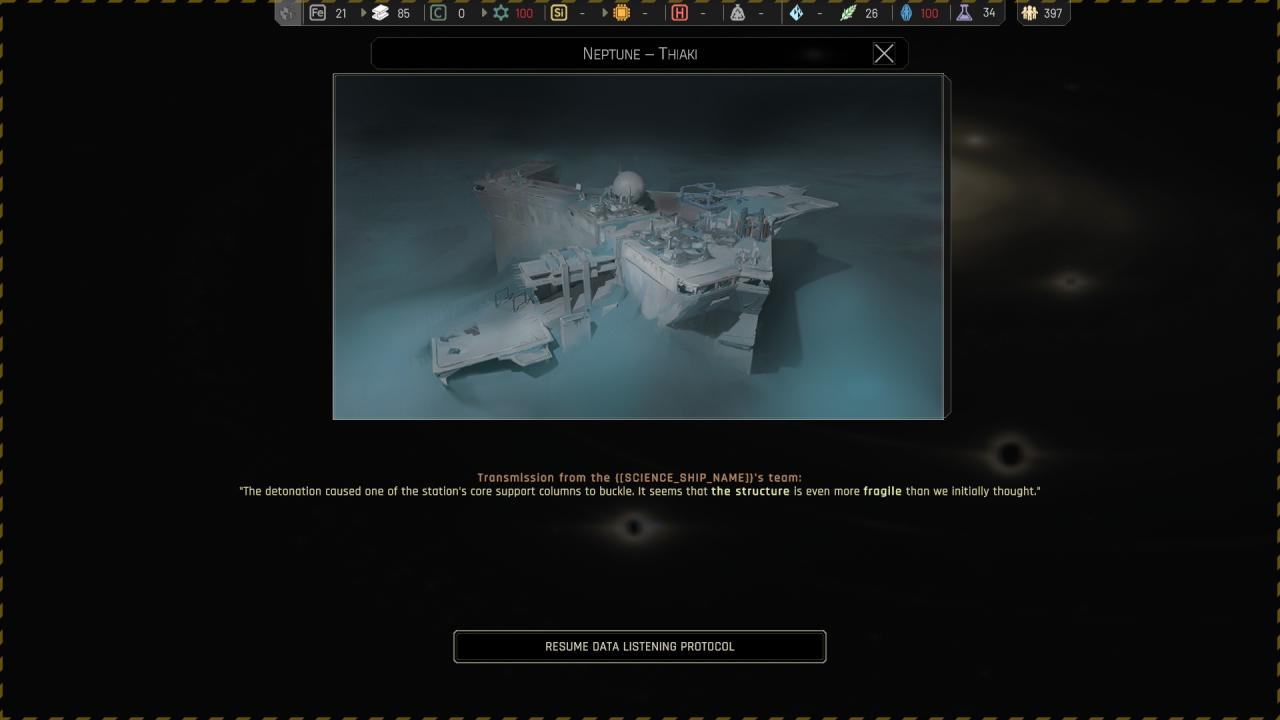
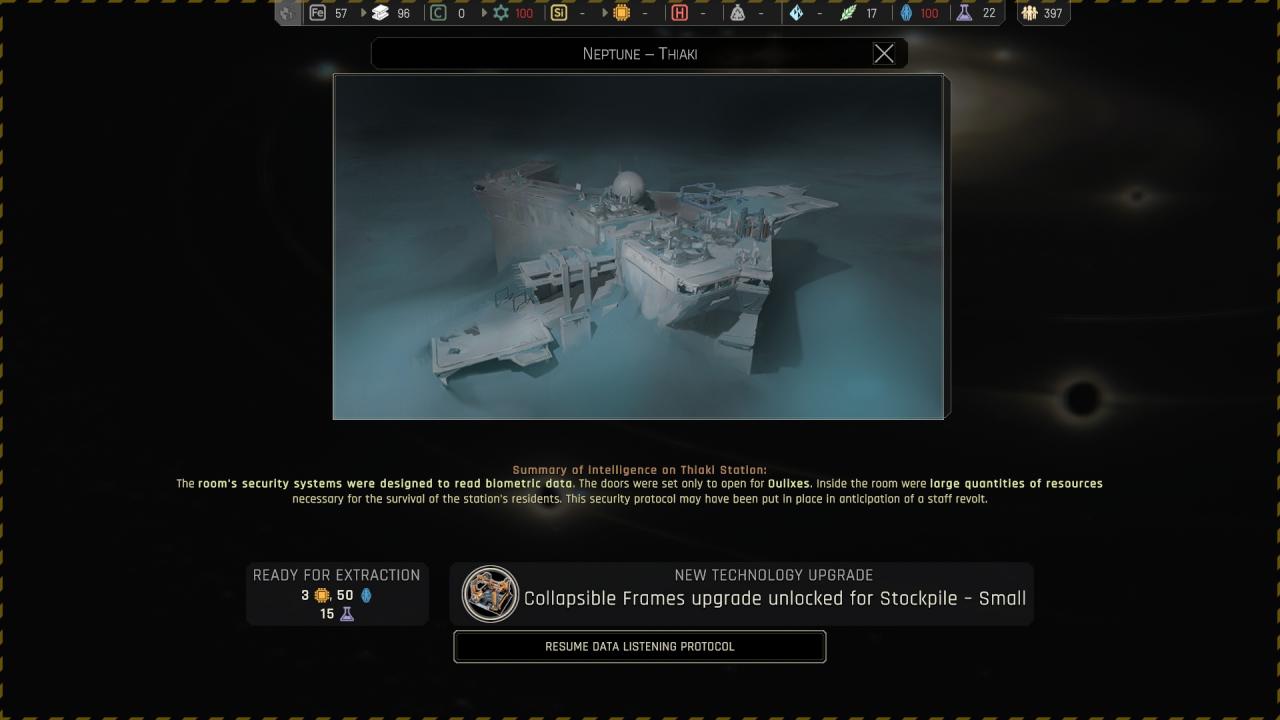
Chapter 1 ({ Neptune } Neptune – Thiaki )
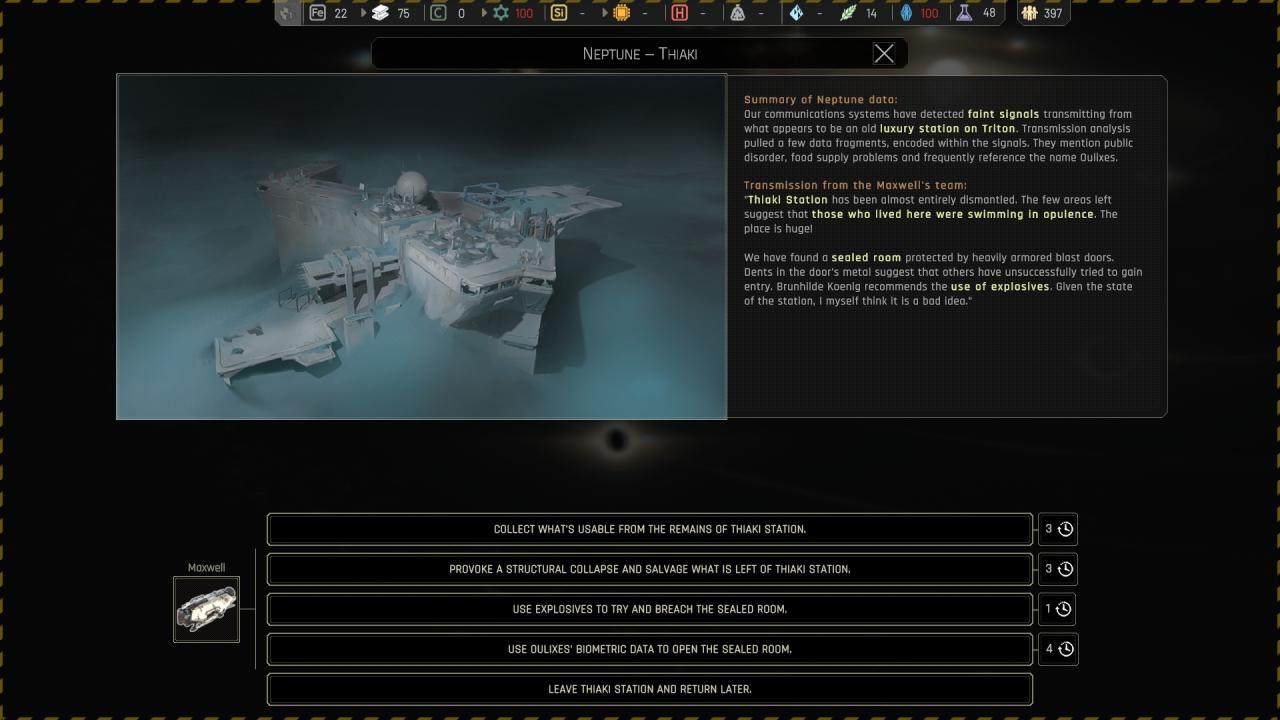
Collecting what’s usable in the station : ( This choice allow you to open the sealed box ! )

Provoking a structural collapse : ( Lock the location ! )
/!\ Using explosive to open the sealed room do nothing, but allow you then to collect what’s useable fom the remains …
If you use the oulixes biometric to open the sealed room : ( If you had the possibility to break through just after don’t do it, you will get some dead ! )
Chapter 1 ({ Venus } Venus – Morbihan )
… Also, with regards to the Venus event in Chapter 1, if you restart then the planet will generate 10 Polymer over 10 cycles 3 times so 30 Polymer total
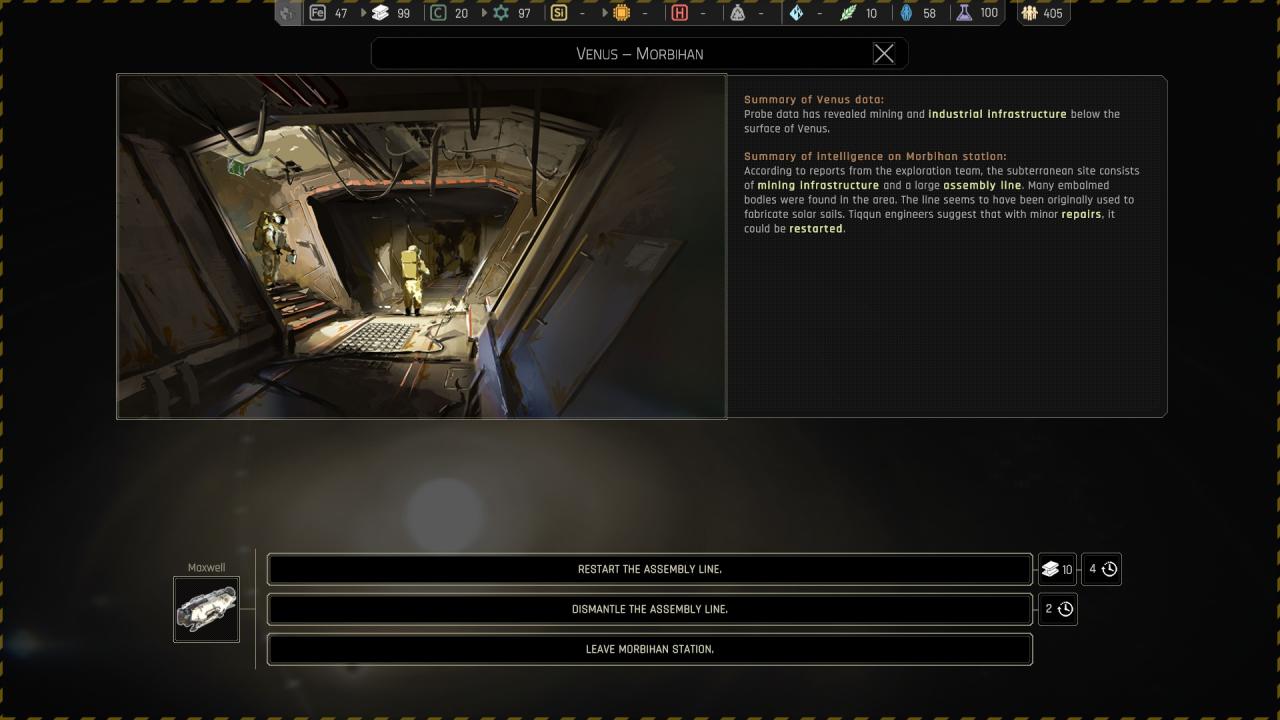 Restarting the assembly line :
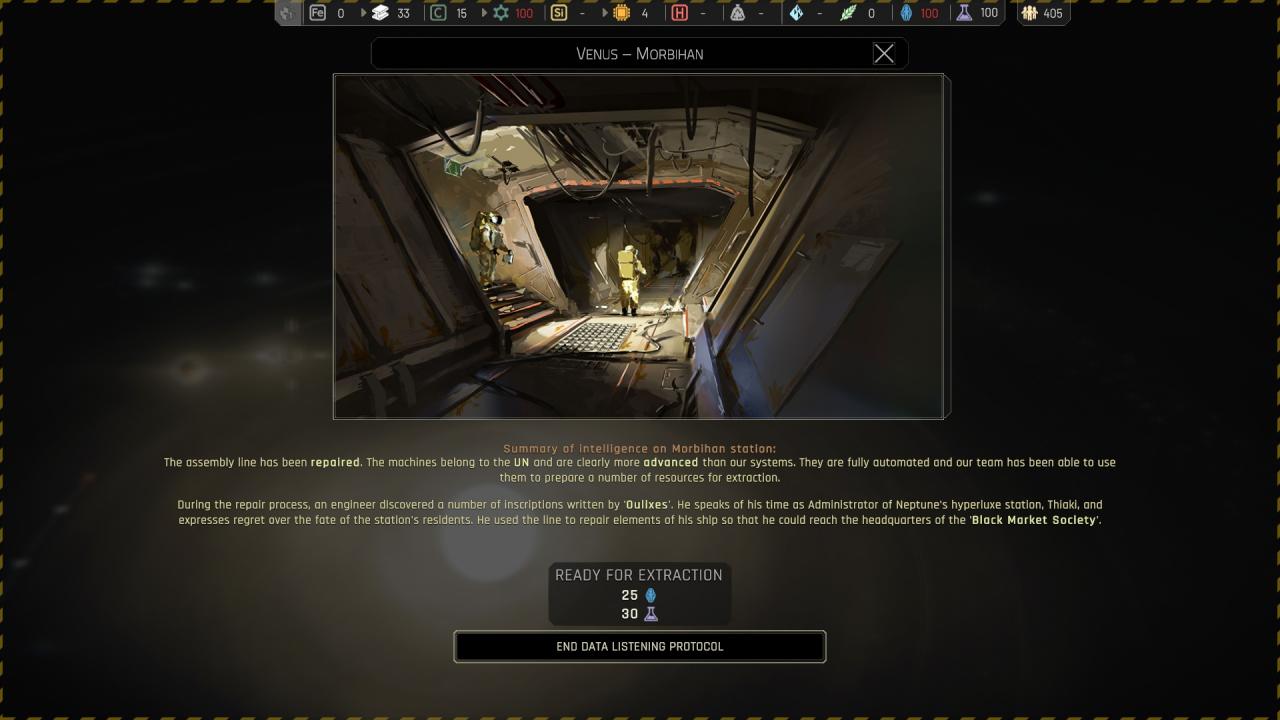 Dismantling it :
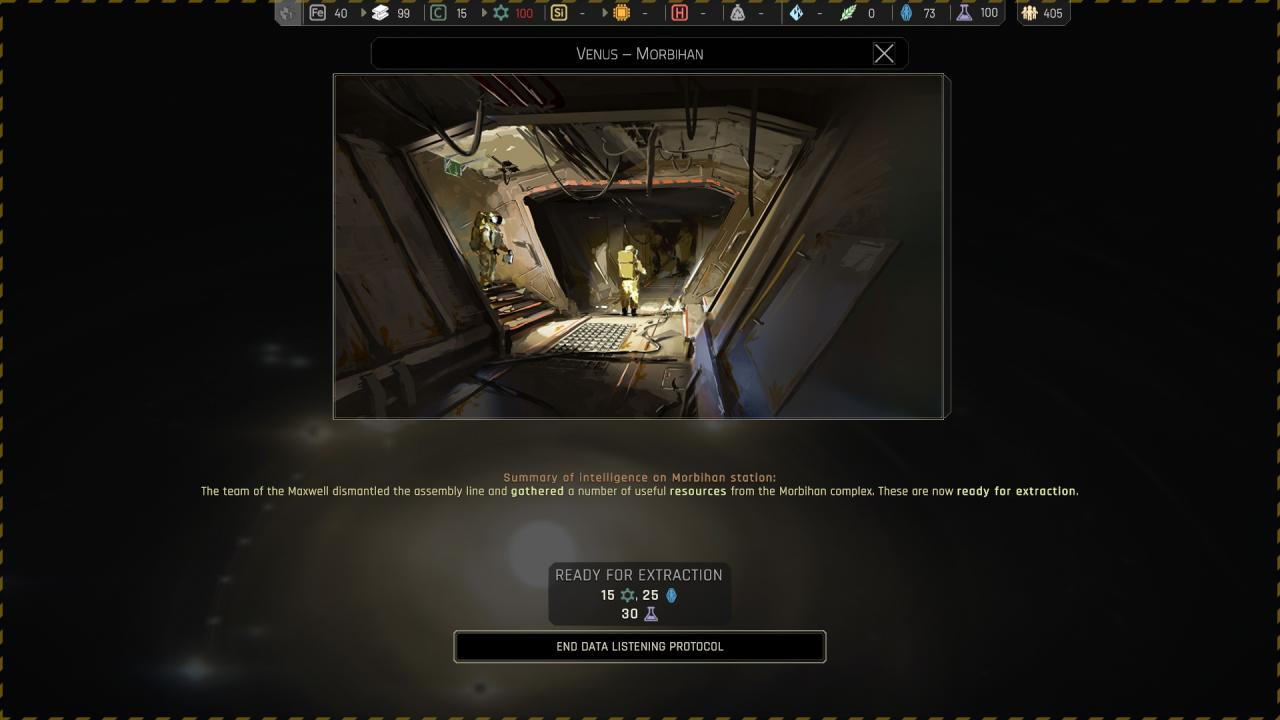
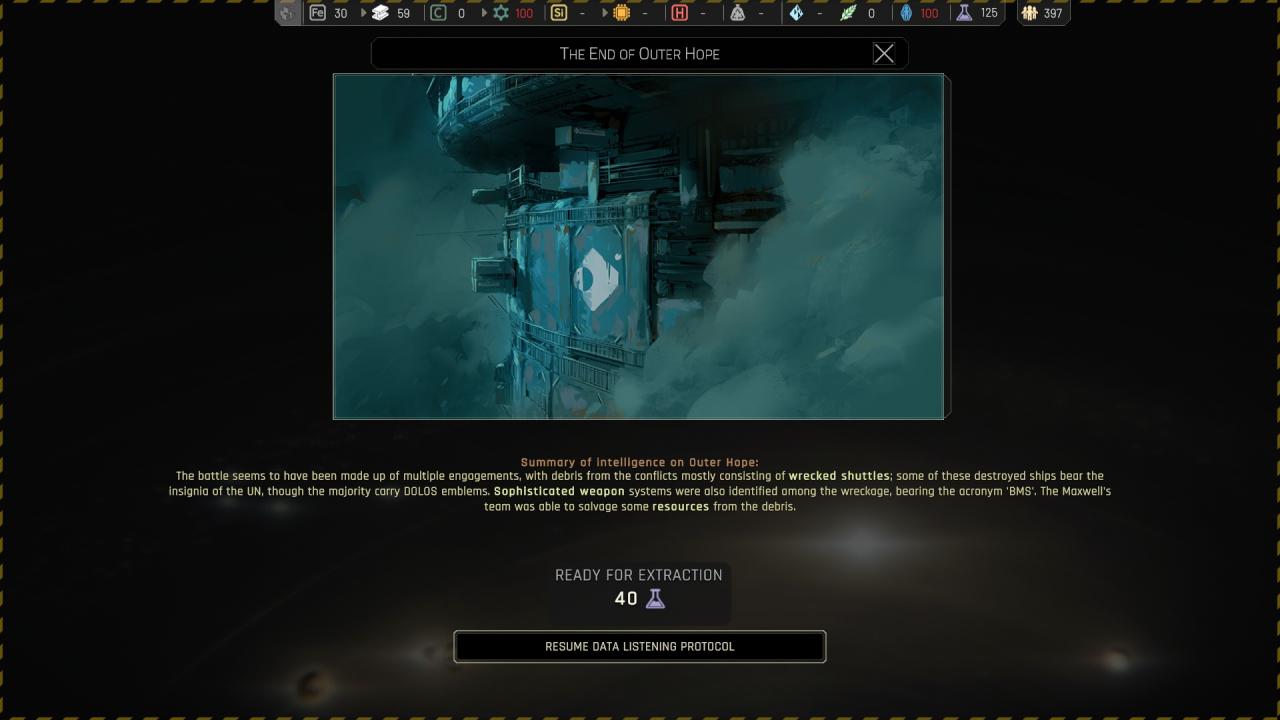
Chapter 1 ({ Outer Hope } The End of Outer Hope ) – Quest /!\
I havn’t tested both situation, but starting first by searching the battlefield allow to continue :
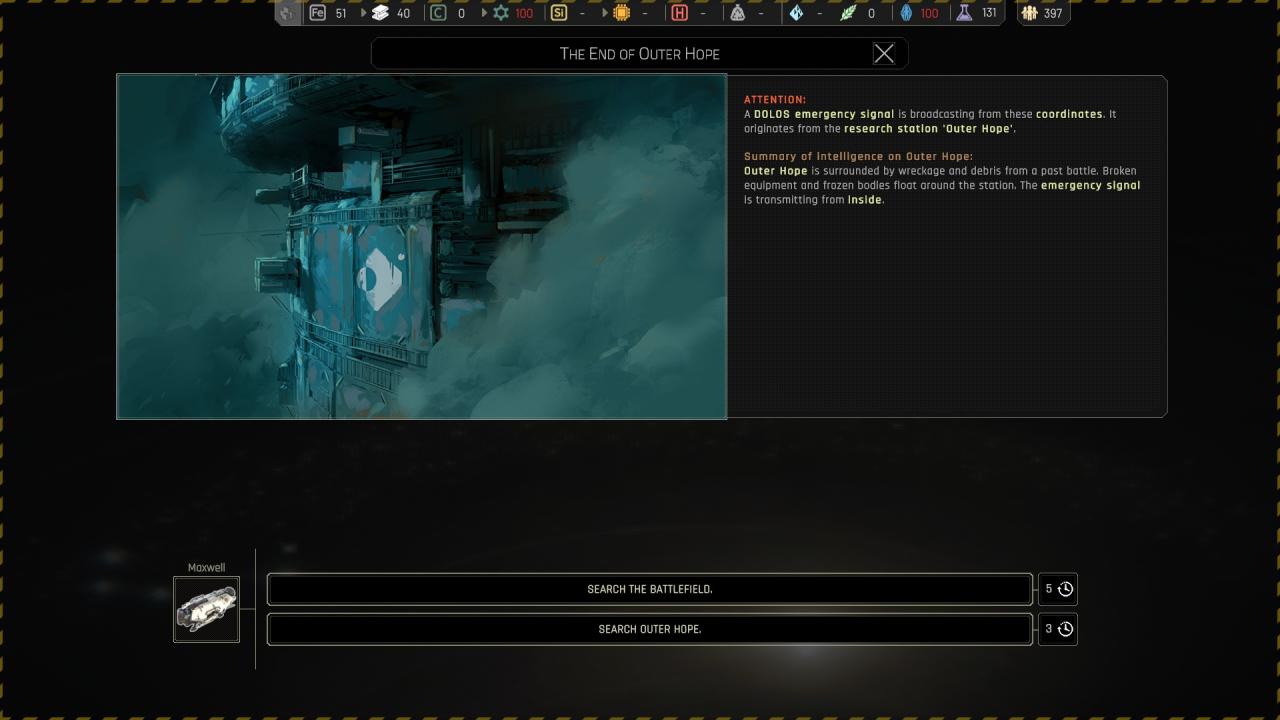
 And then search Outer Hope :
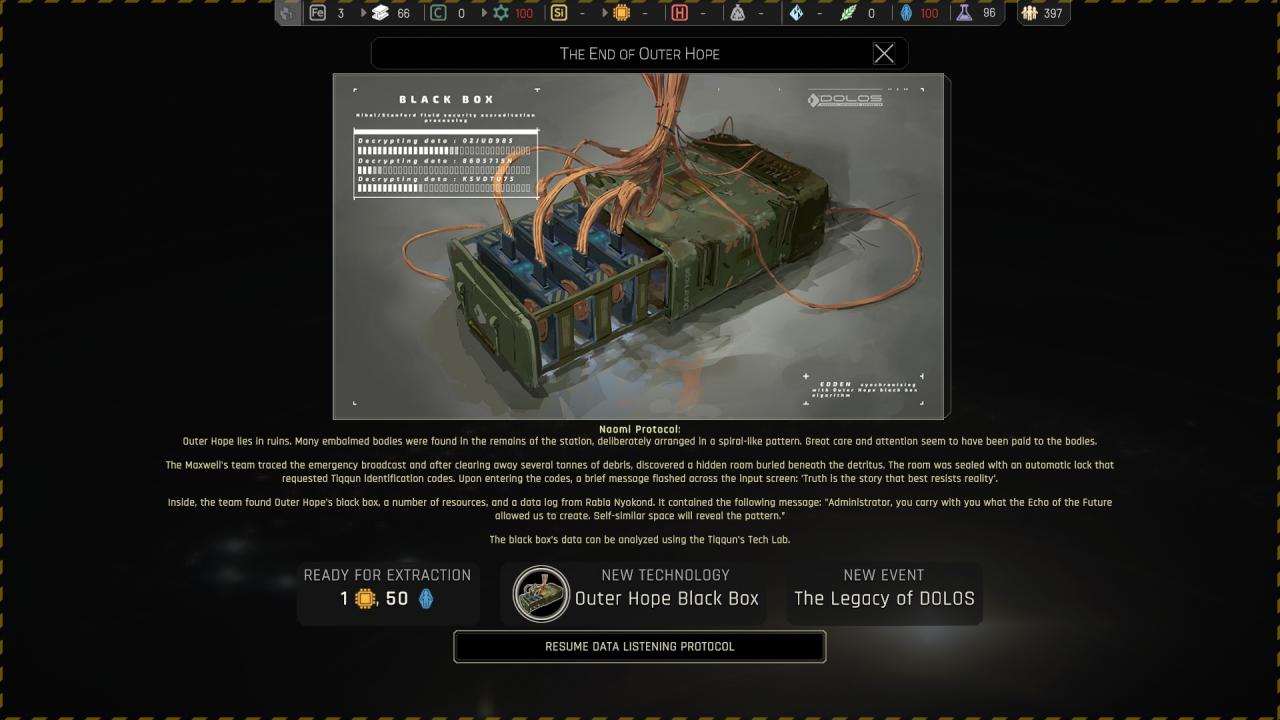
 To finish dismantle the station :
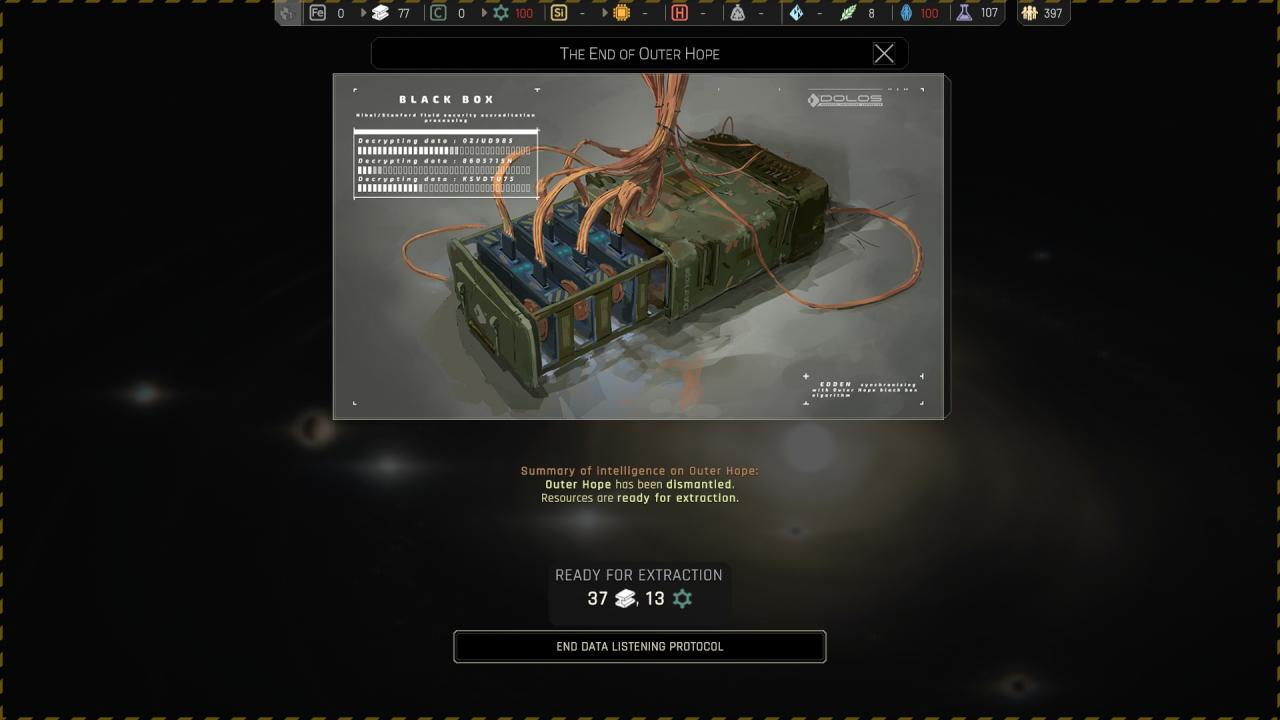
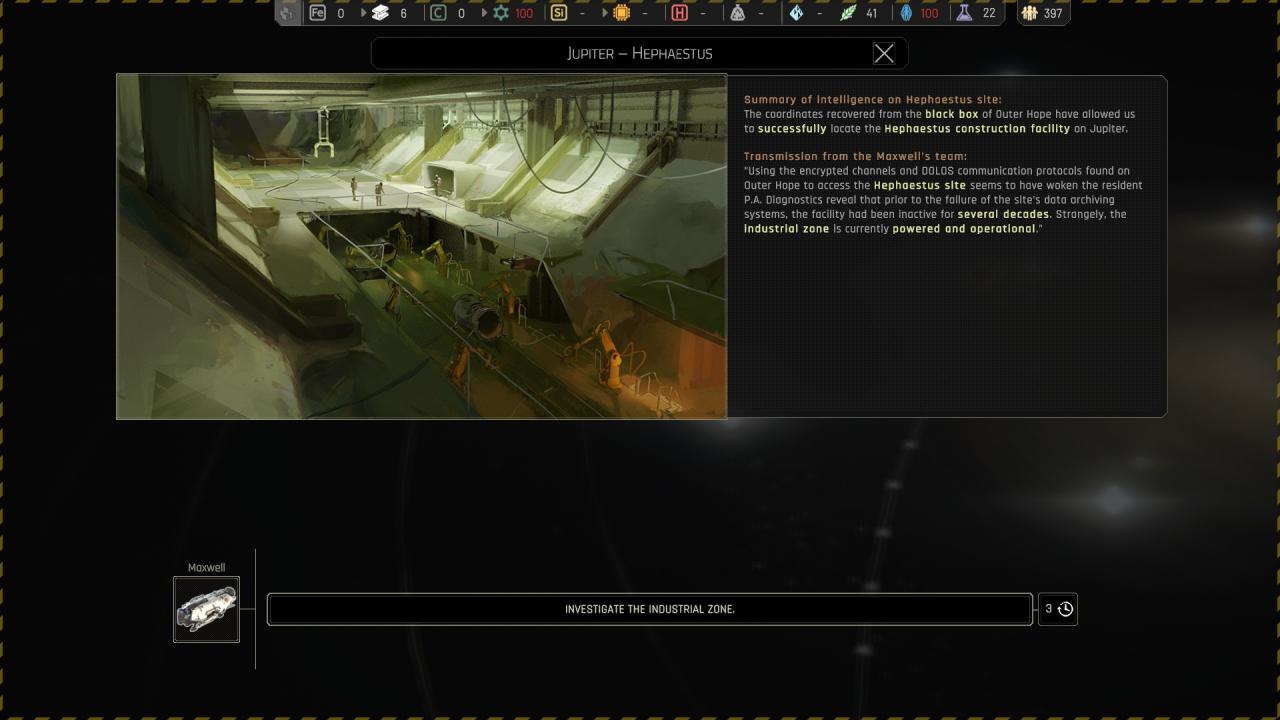
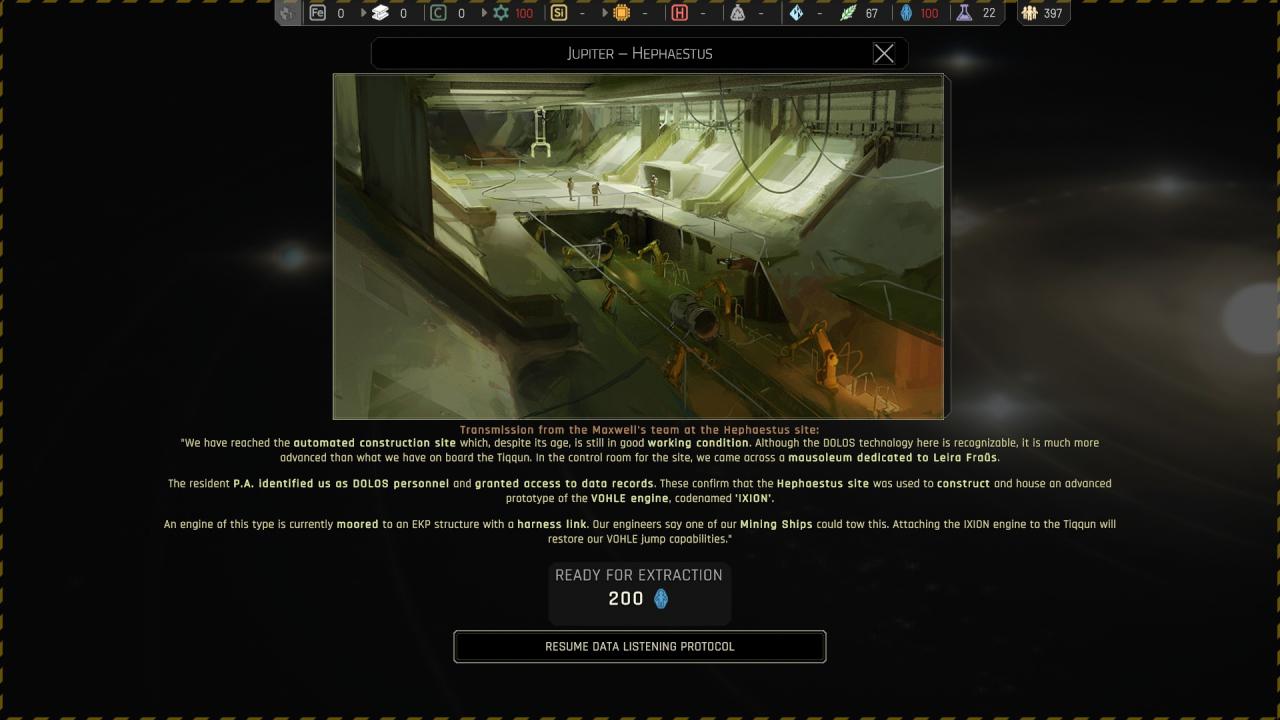
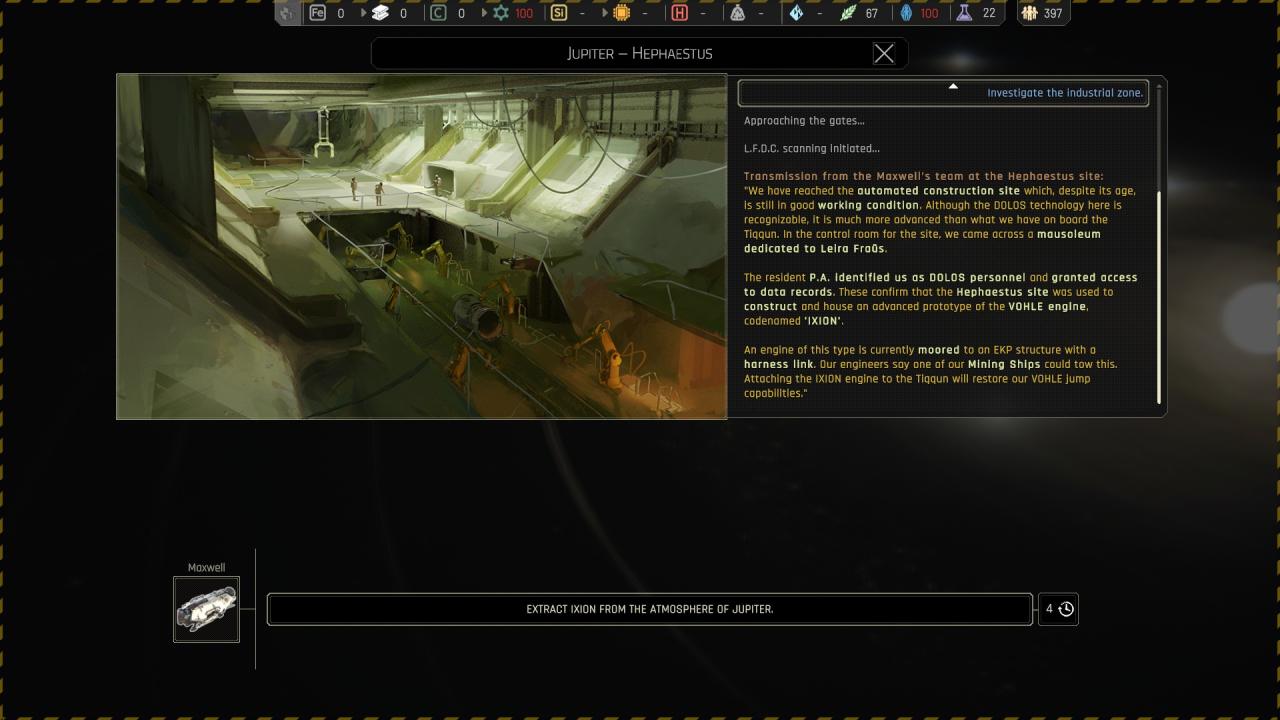
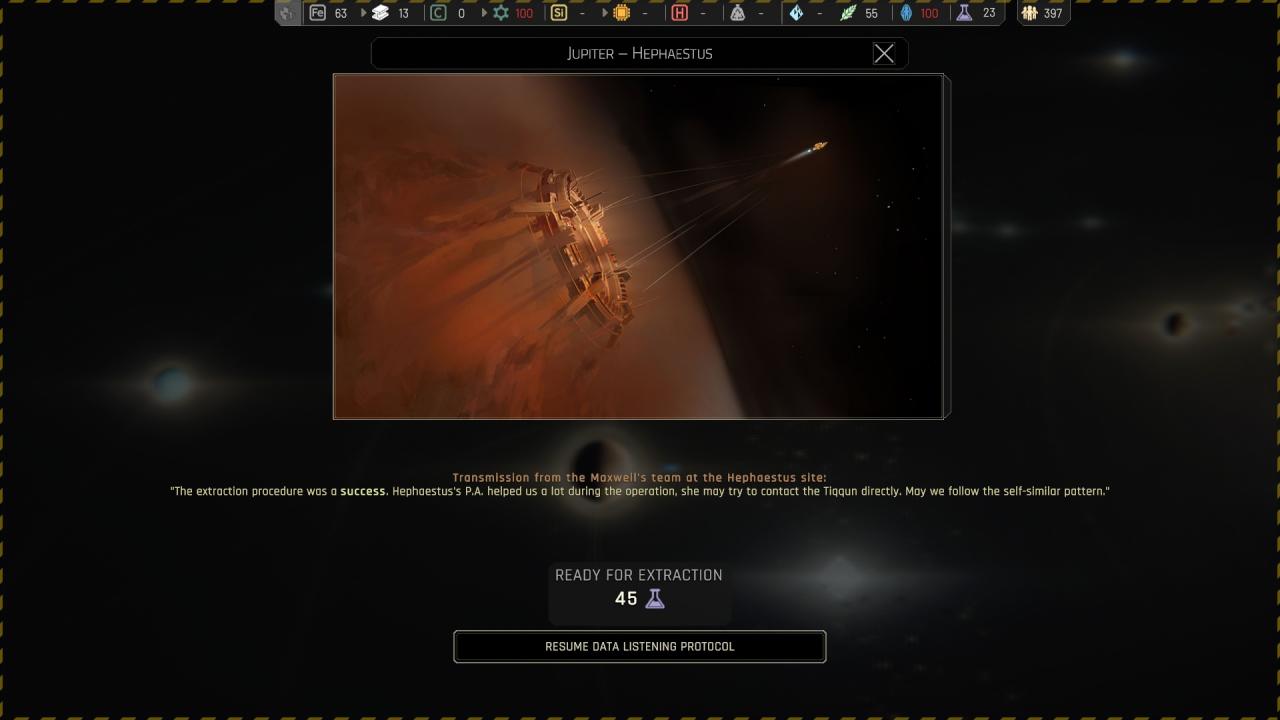
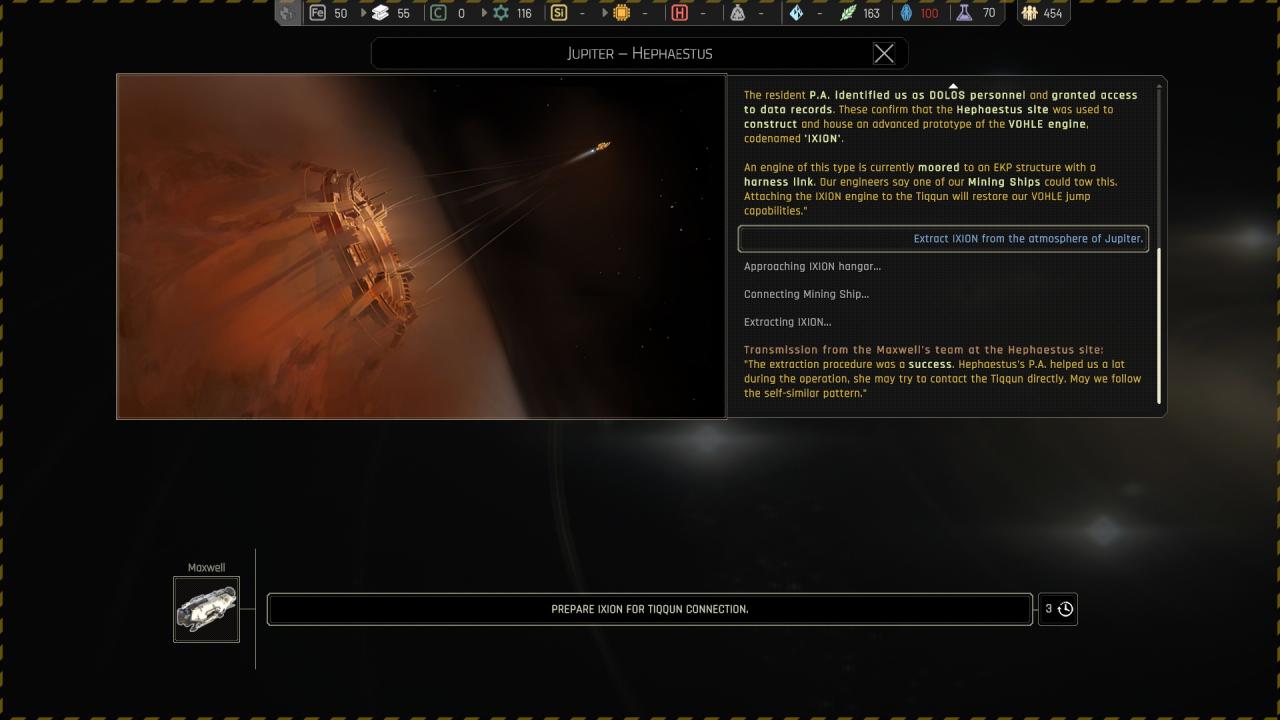
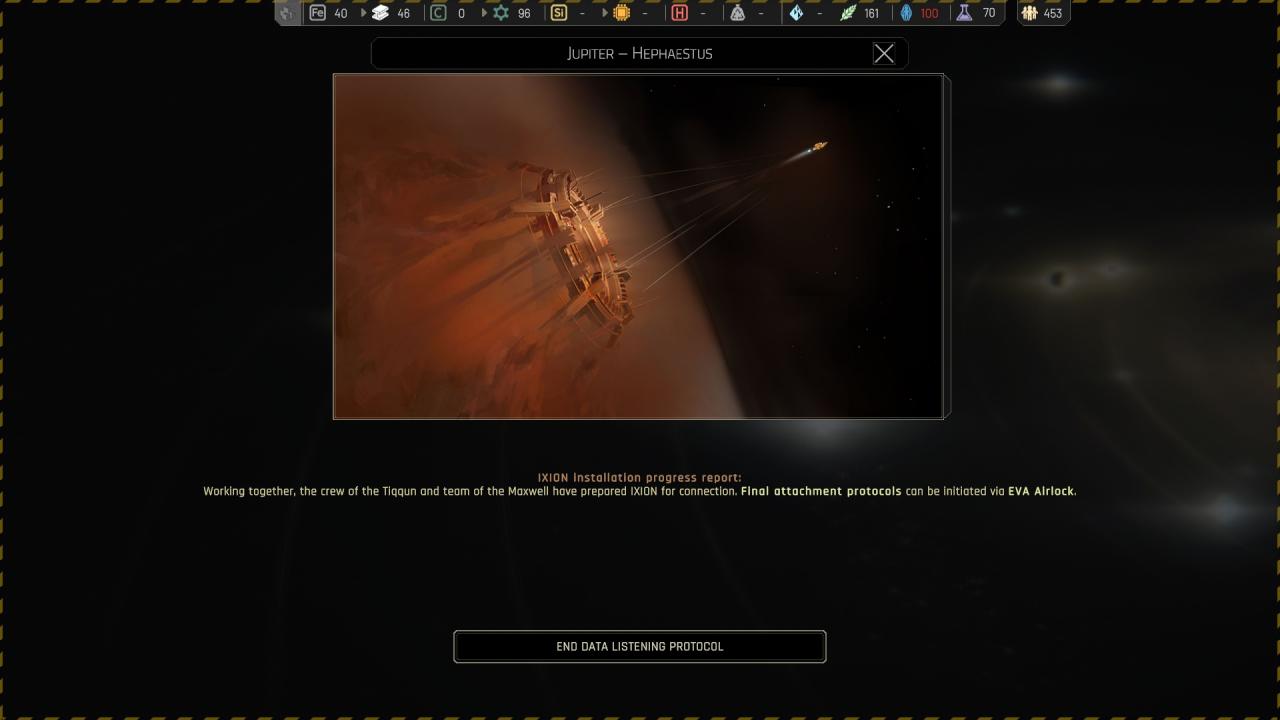
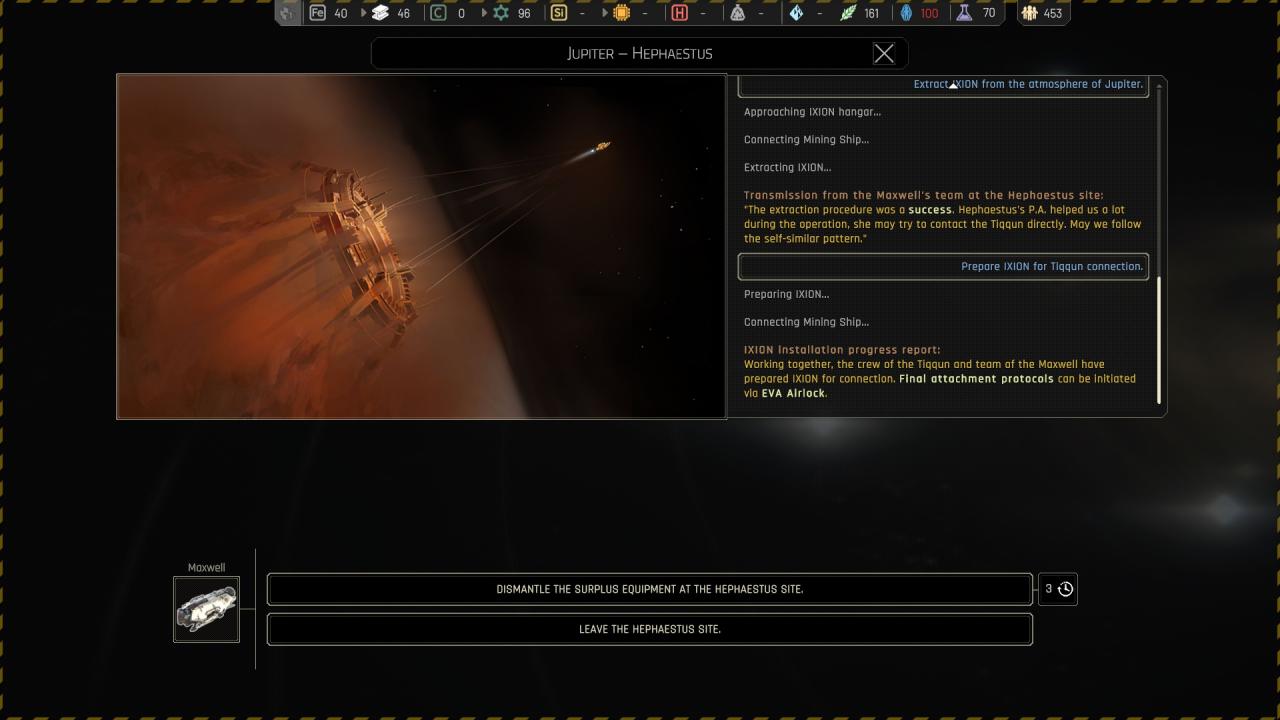
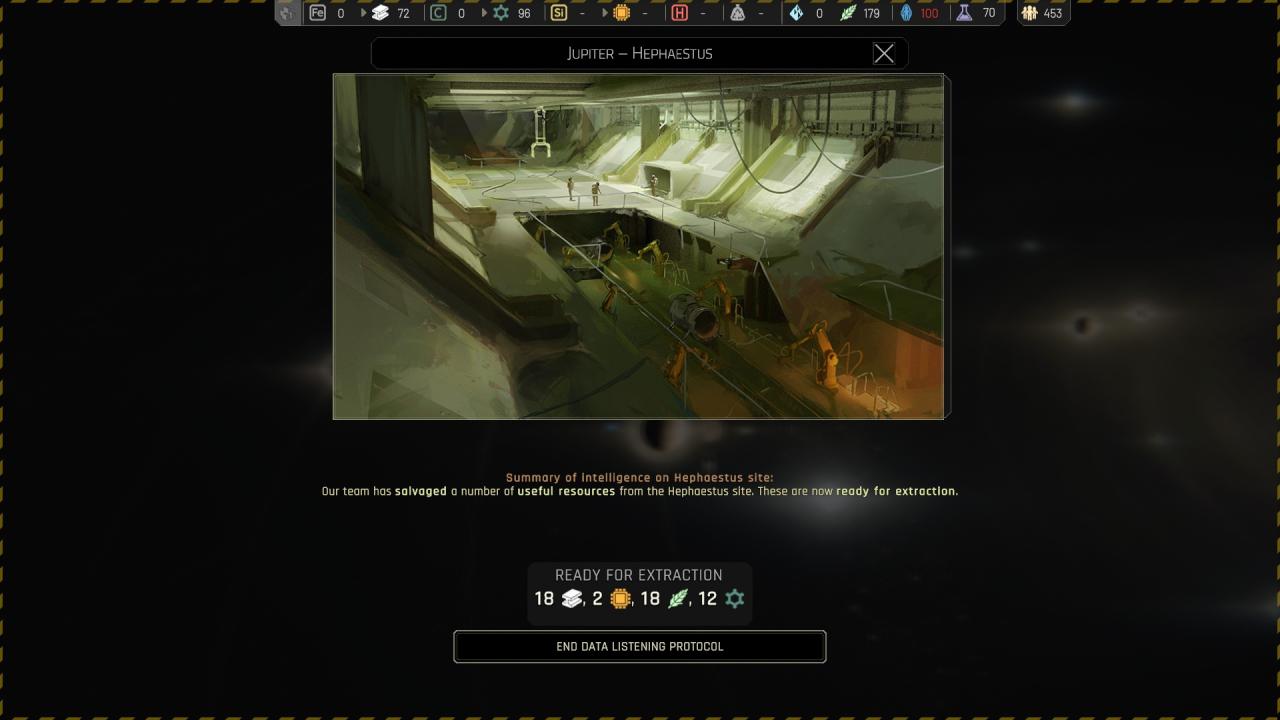
Chapter 1 ({ Jupiter } Jupiter – Hepaestus ) Quest /!\
Chapter 1 ( Tips & Tricks + pattern )
——————————————————————————————————-
 ——————————————————————————————————-
- Tech Lab : Assistant promotion
- Infirmary : Reorganization of care
- Crew Quarters : Additional Beds, Optimized quarter
- Mess Hall : Advanced logistics
- Workshop : Stanford Initiative
——————————————————————————————————-
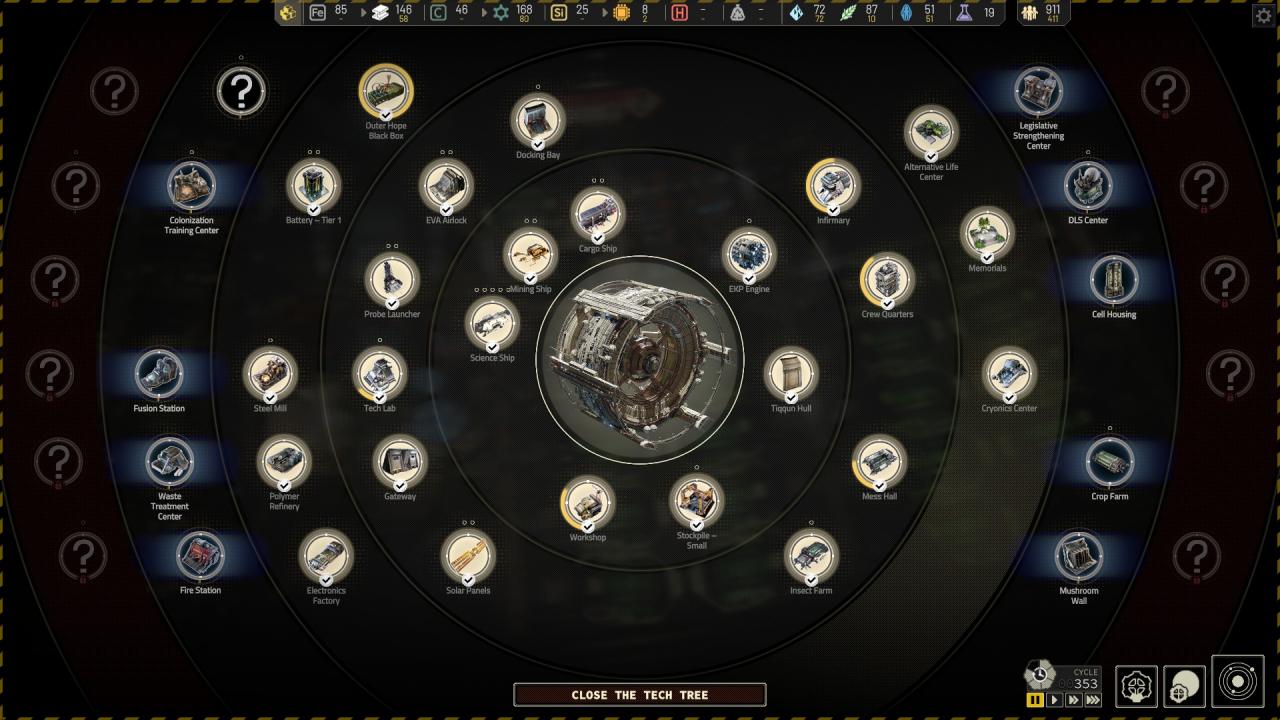
- You must research ASAP the Assistant Promotion upgrade for the tech lab as it produce 3 science every 5 cycle ! ( A must have )
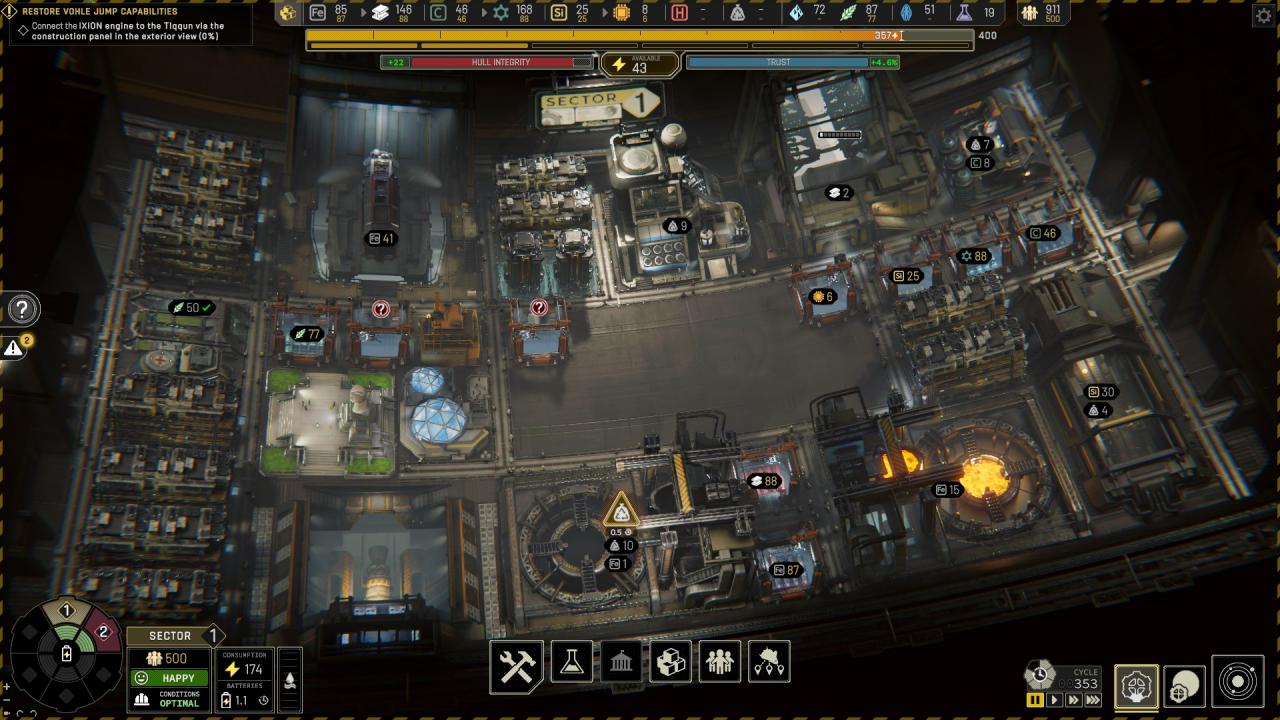
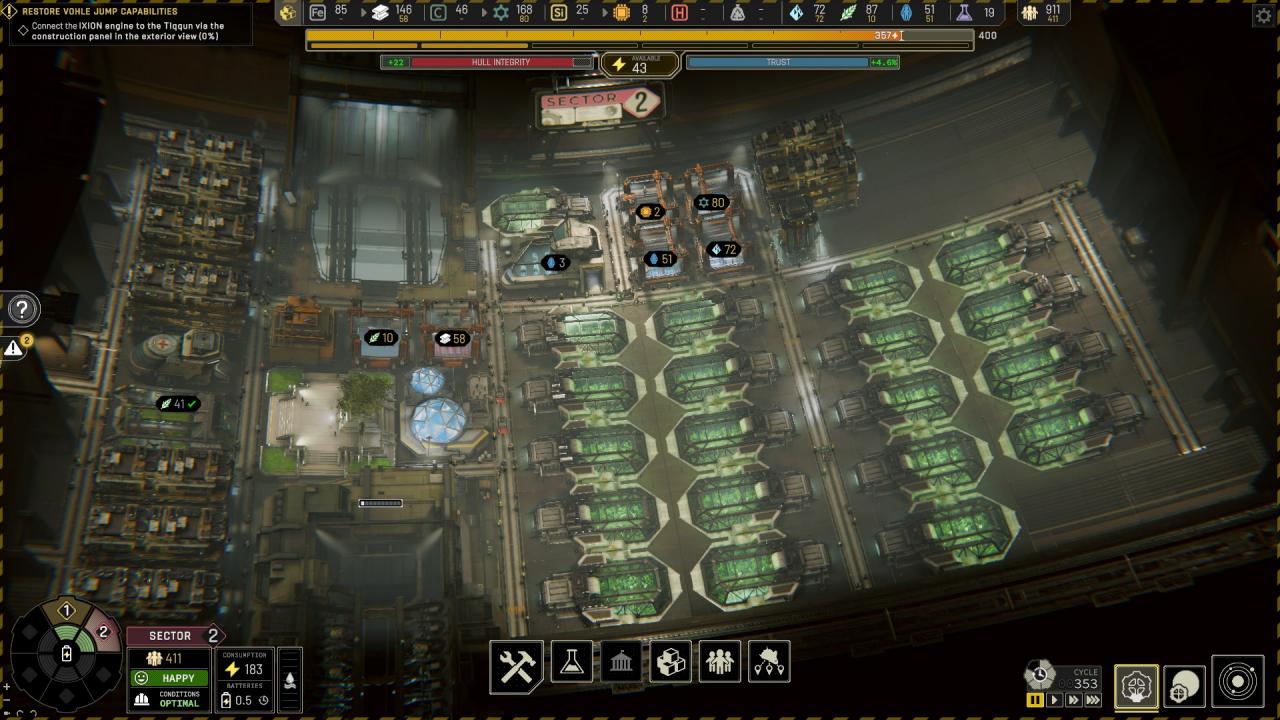
- Open ASAP your second sector, just accept the mission directly when people ask for it, then build a second docking bay and farm all you can.
- Take your time in chapter 1, you can harvest a lot of ressources, unlock tech and upgrade, and prepare your station for chapter 2
- Try to never stop to awakens humans from cryonic pods, first it will help you to improve your overall production in your station ( just upgrade or add new quarters if required ), second is about trust, keeping too much cryopods will create a lot of trouble, idk what is the first tier, but at 500+ you have -2 trust, 720 -3 trust … be carefull !
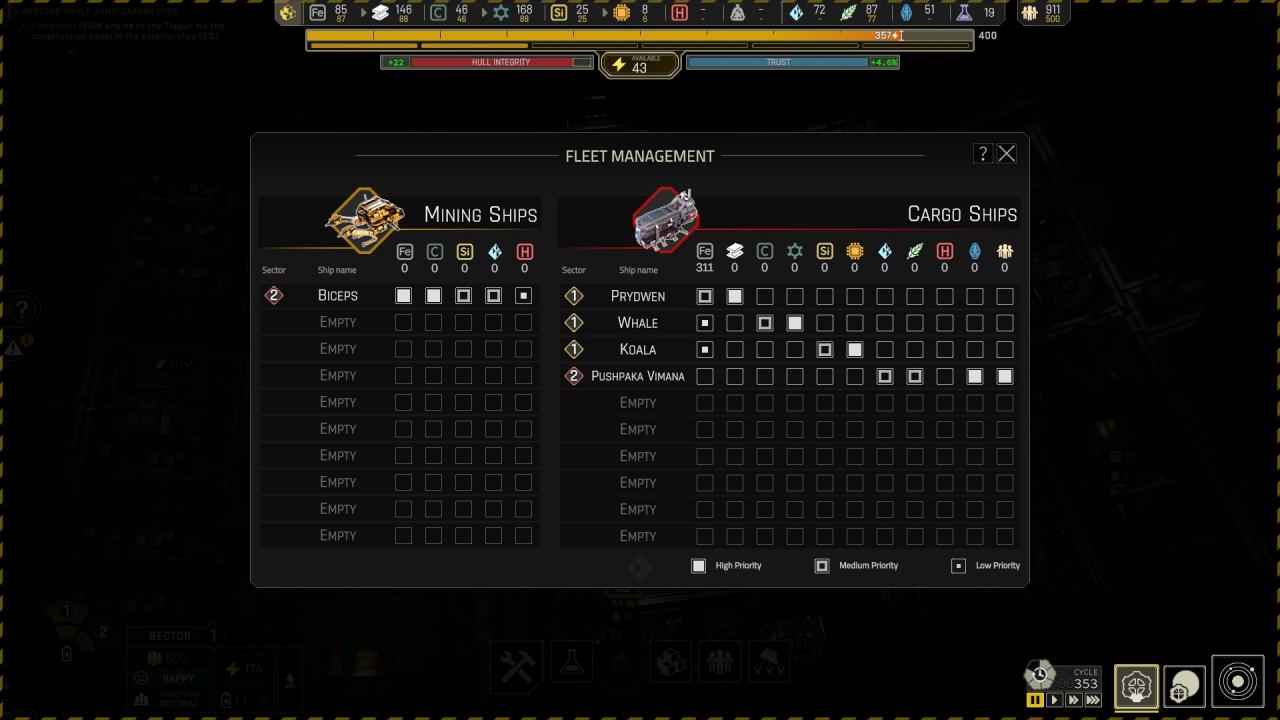
- When you want to move Tiqqun, check first by mouse overing thoose battery bar under the energy one ( the six smaller one for each sector ), it’ll show you how far you can keep it powered, you can also temporary disable your industries that’s not required to increase the range / time you can travel !
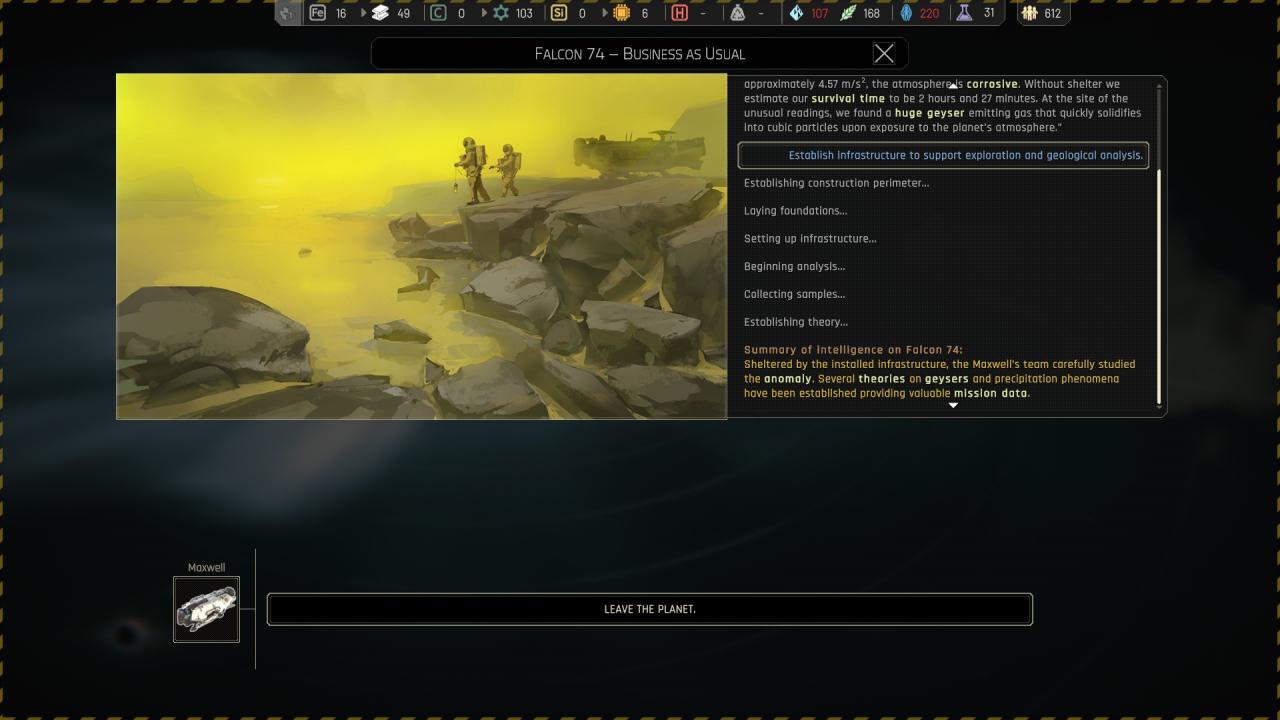
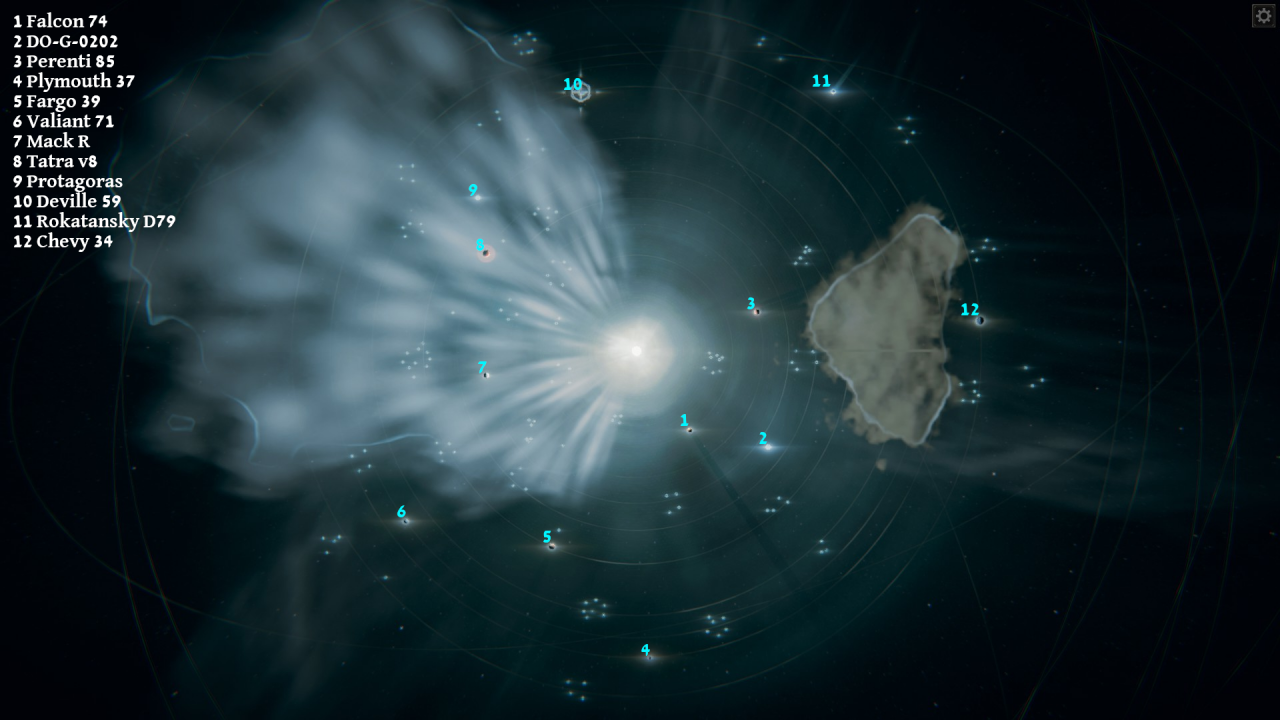
Chapter 2 ({ Falcon 74 } Falcon 74 – Business as Usual )
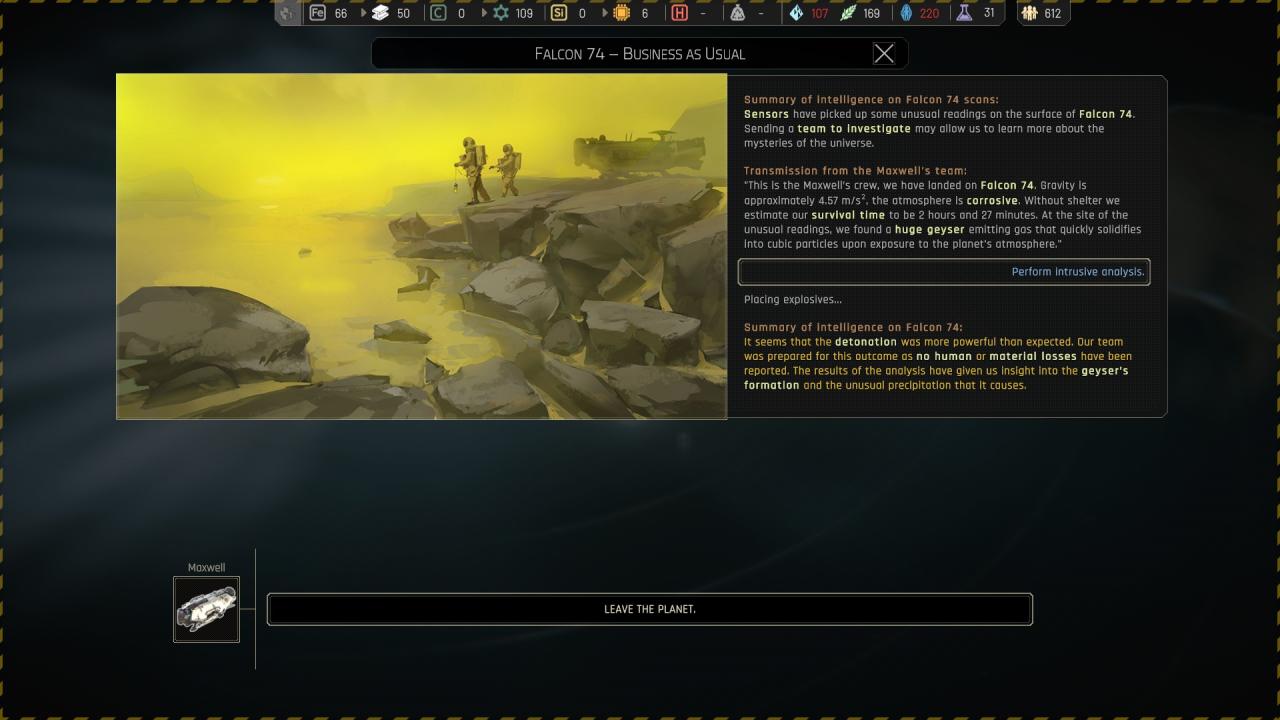
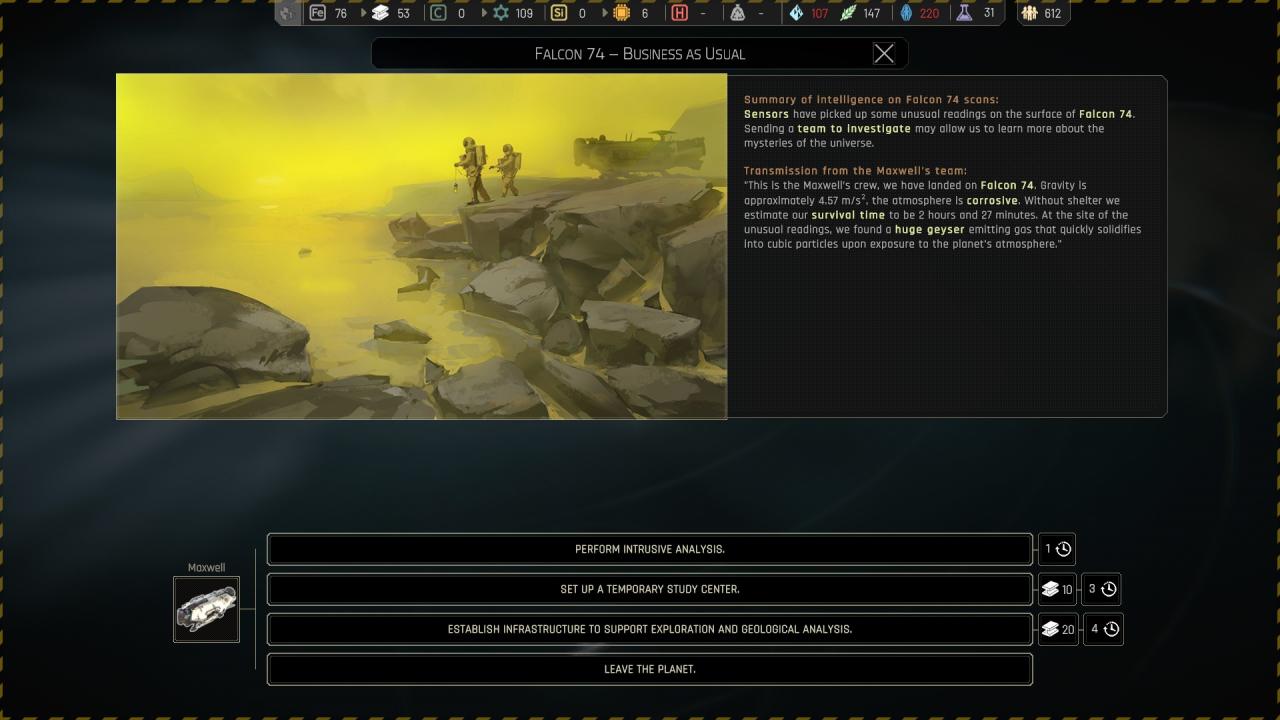 Performing intrusive analysis : ( Lock the location )
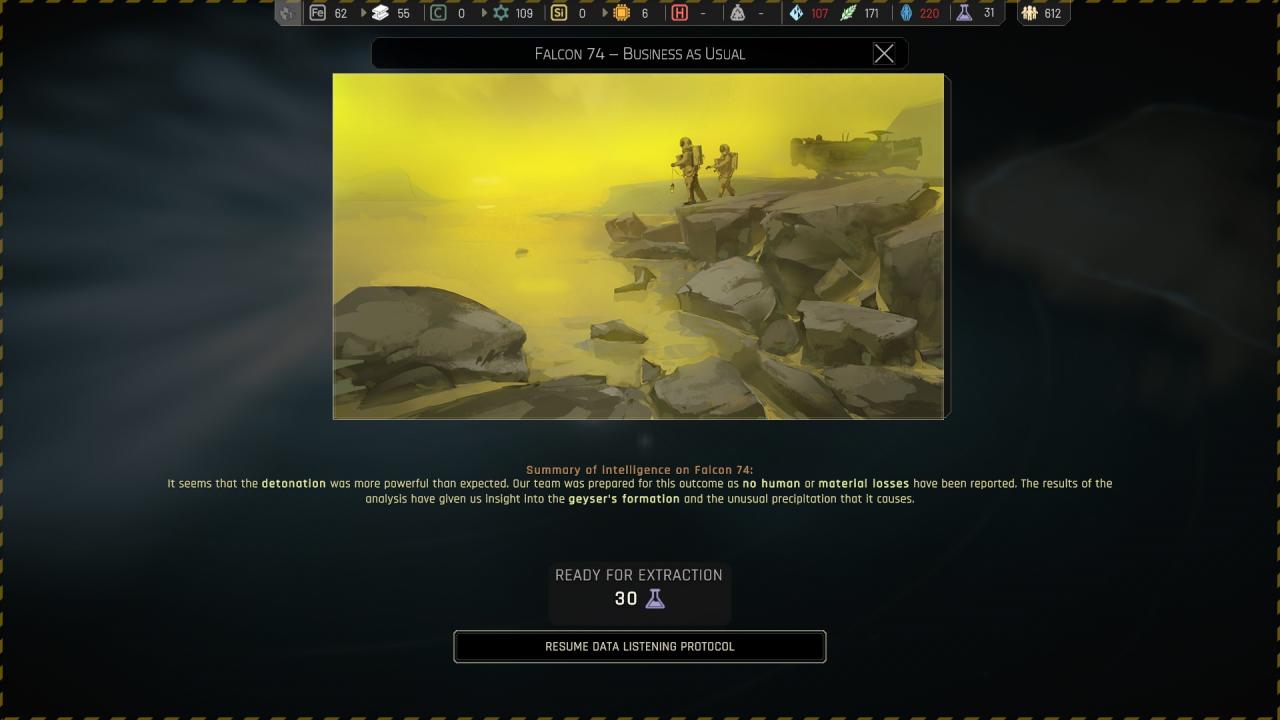
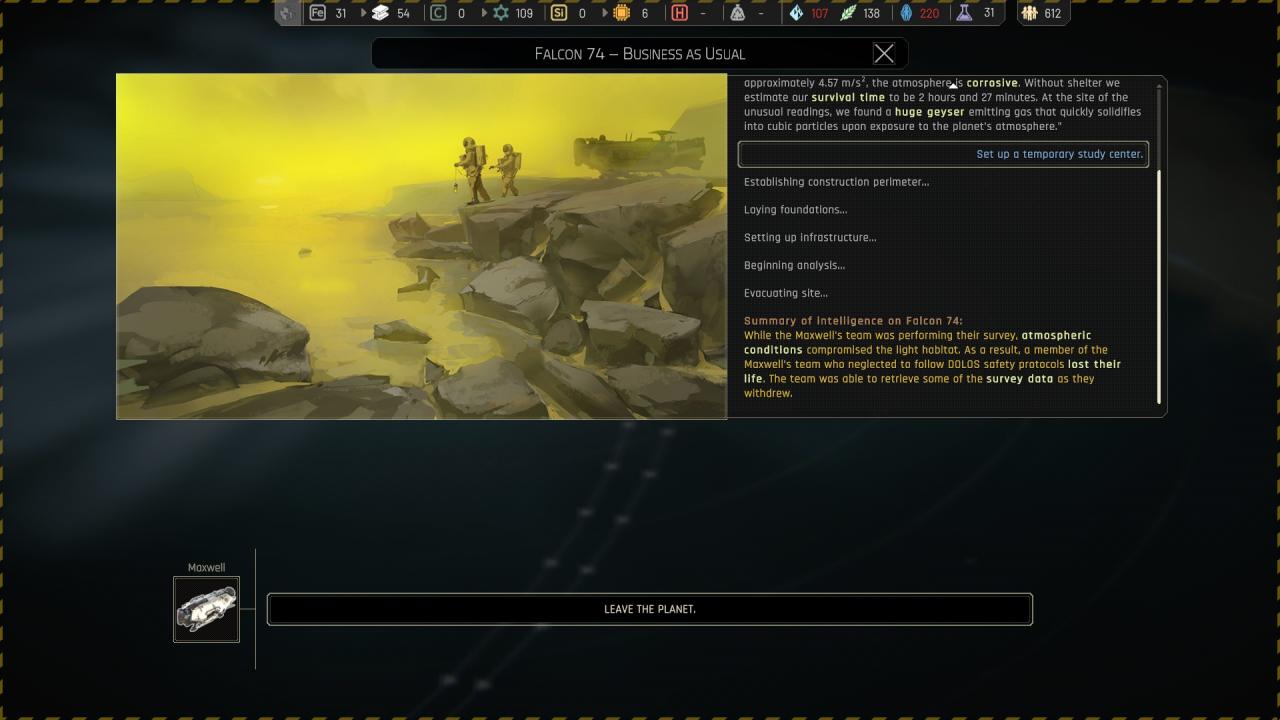
 Setting up a temporary study center : ( Lock the location )
 Etablishing infrastructure :
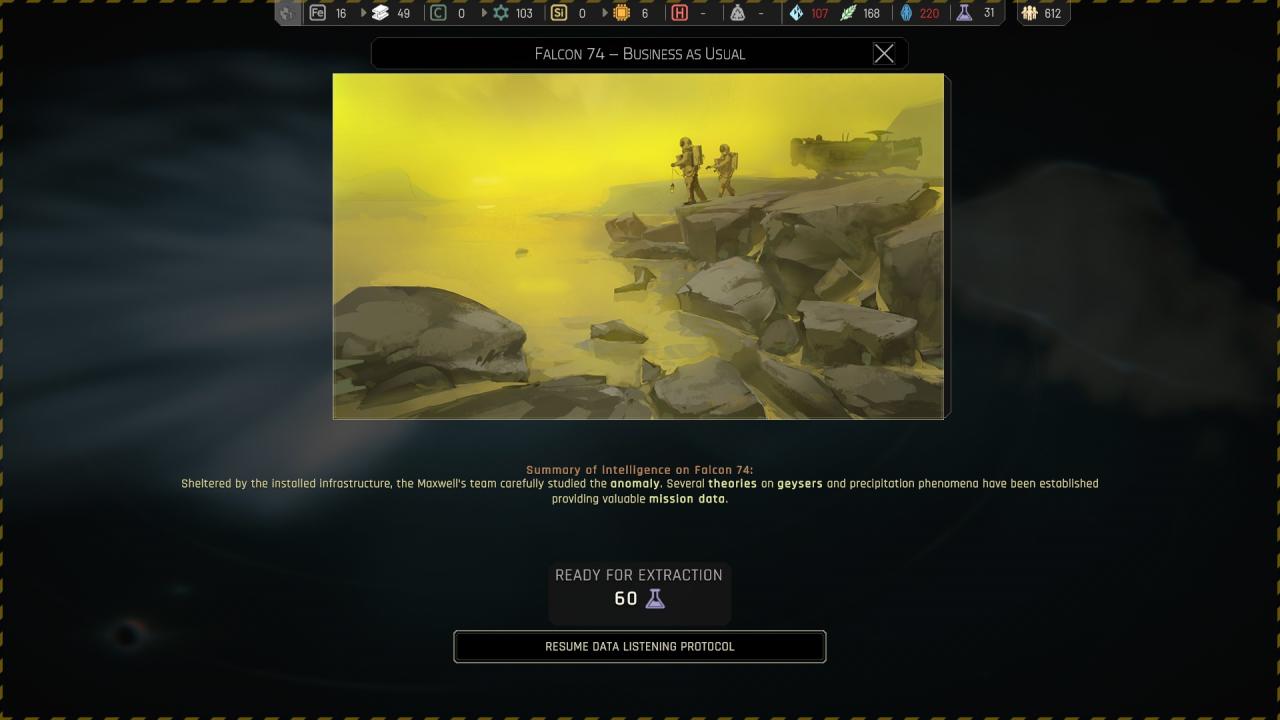
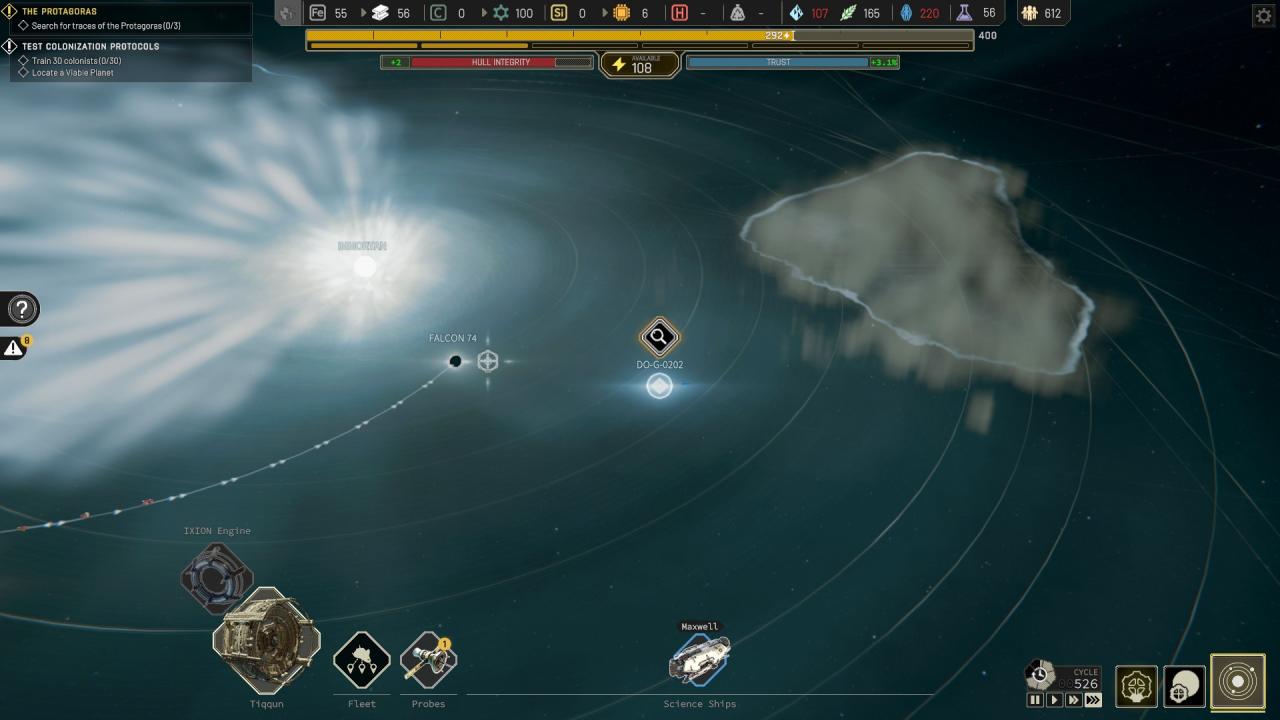
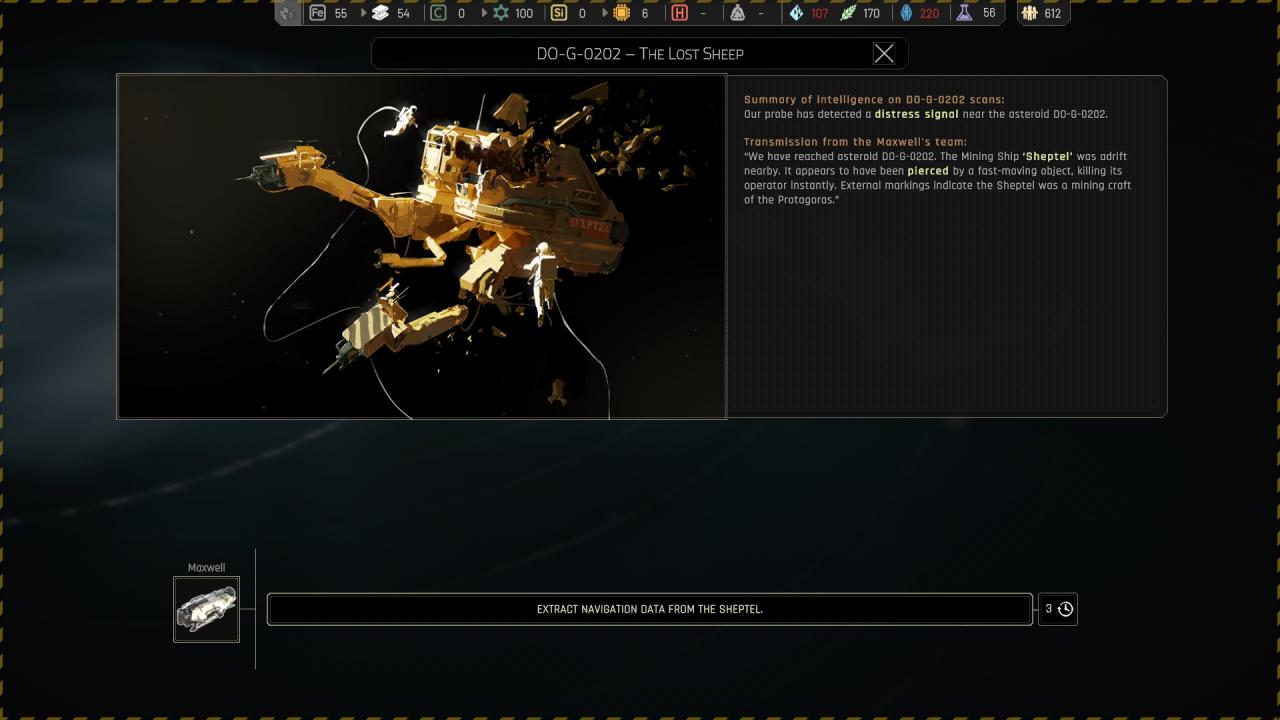
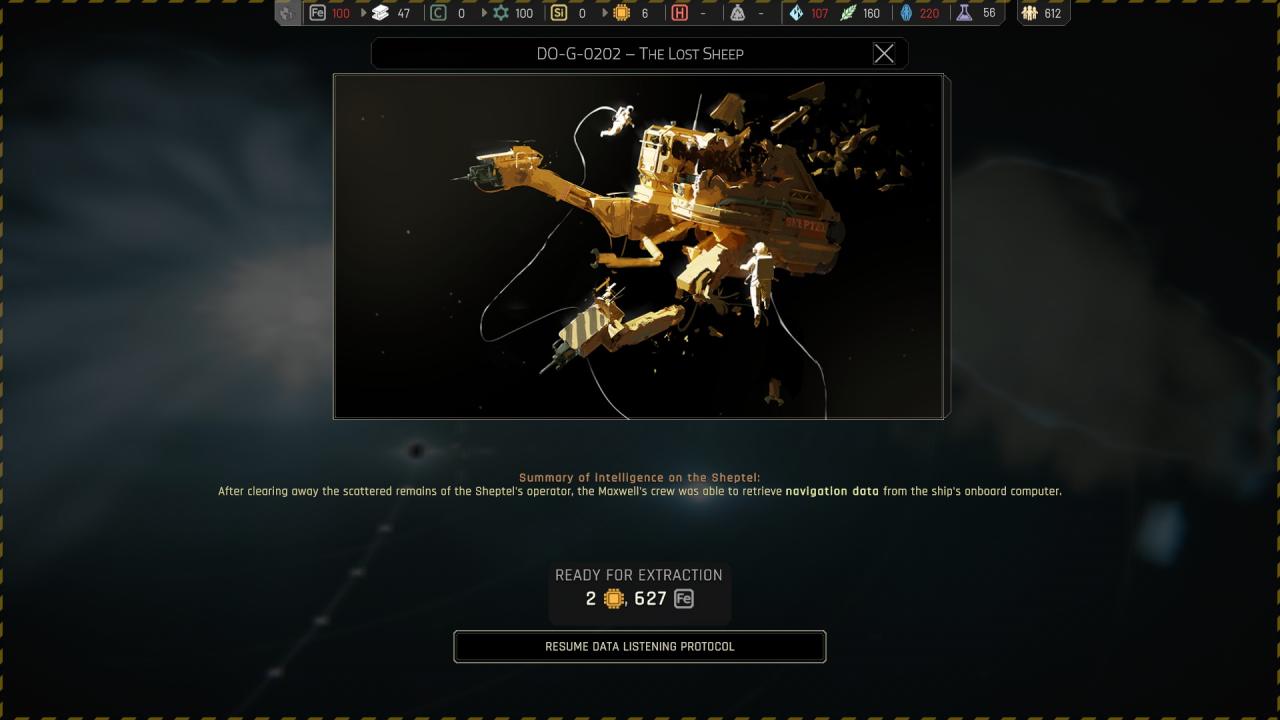
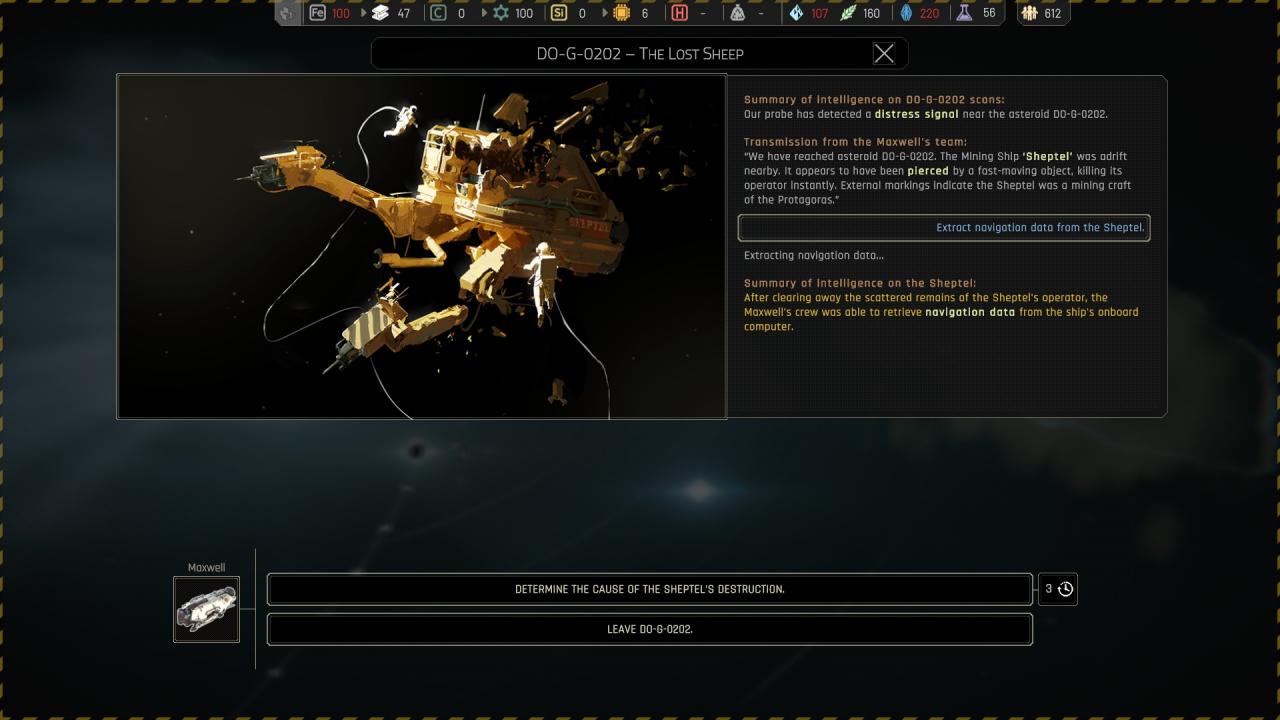
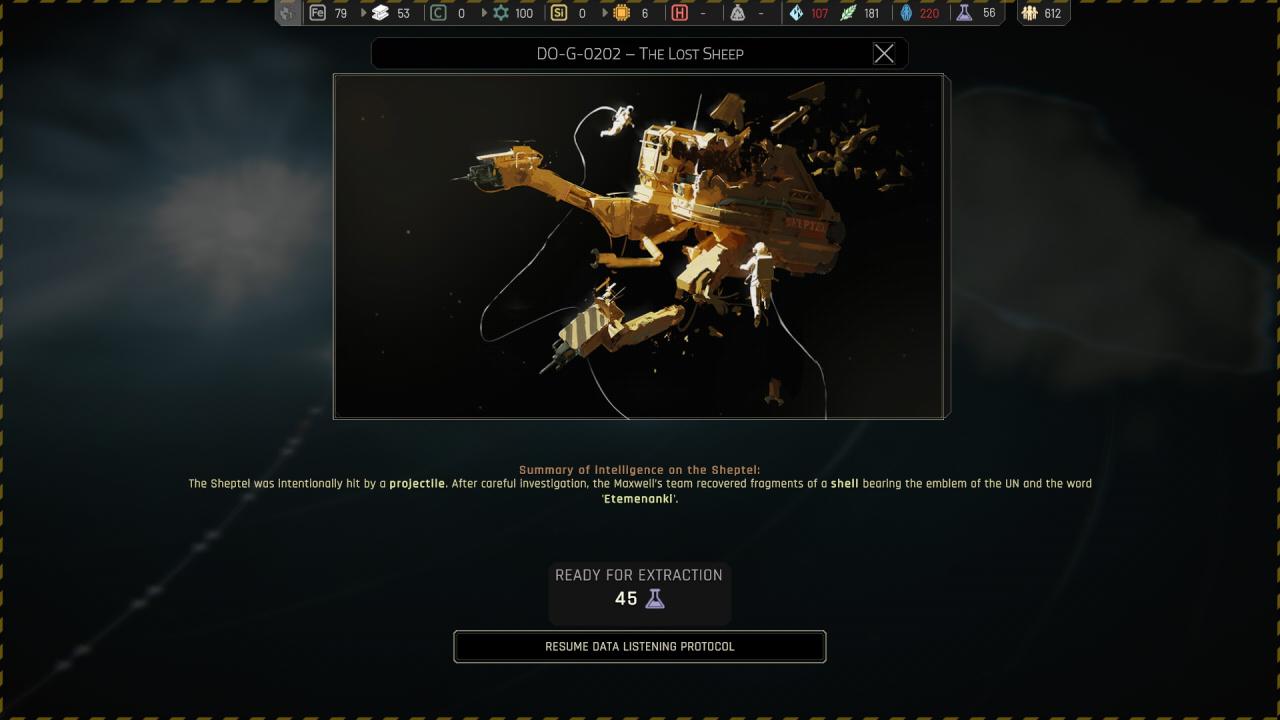
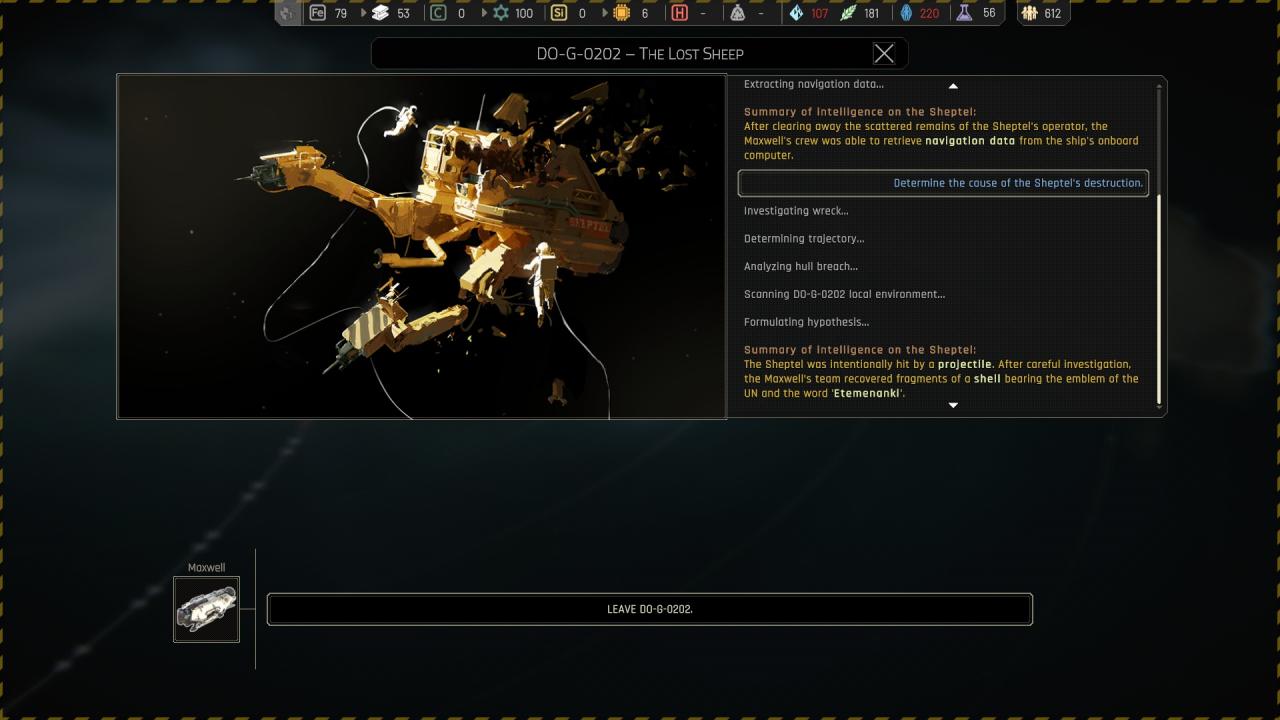
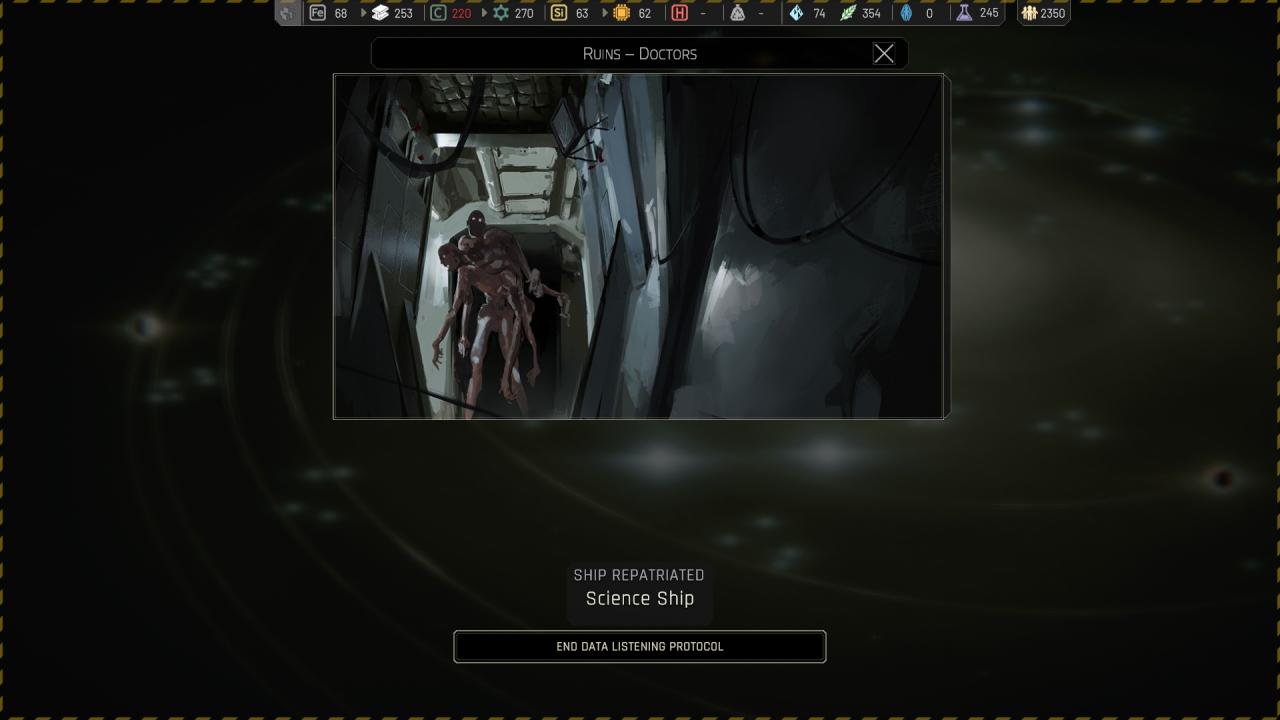
Chapter 2 ({ DO-G-0202 } DO-G-0202 – The Lost Sheep )
Chapter 2 DO-G-0202, in addition to determining the Sheptel’s destruction, I had the option to repair and receive the ship for free. Not sure if this option is locked behind a research option or not. ( Maybe by doing another location first ? need to be confirmed )
About the option, i think its because locked behind automatic repatriation on Science Ship.
And you should first determine the cause of destruction, then repair and reclaim the sheptel
Linear choice, just don’t leave and finish all task.
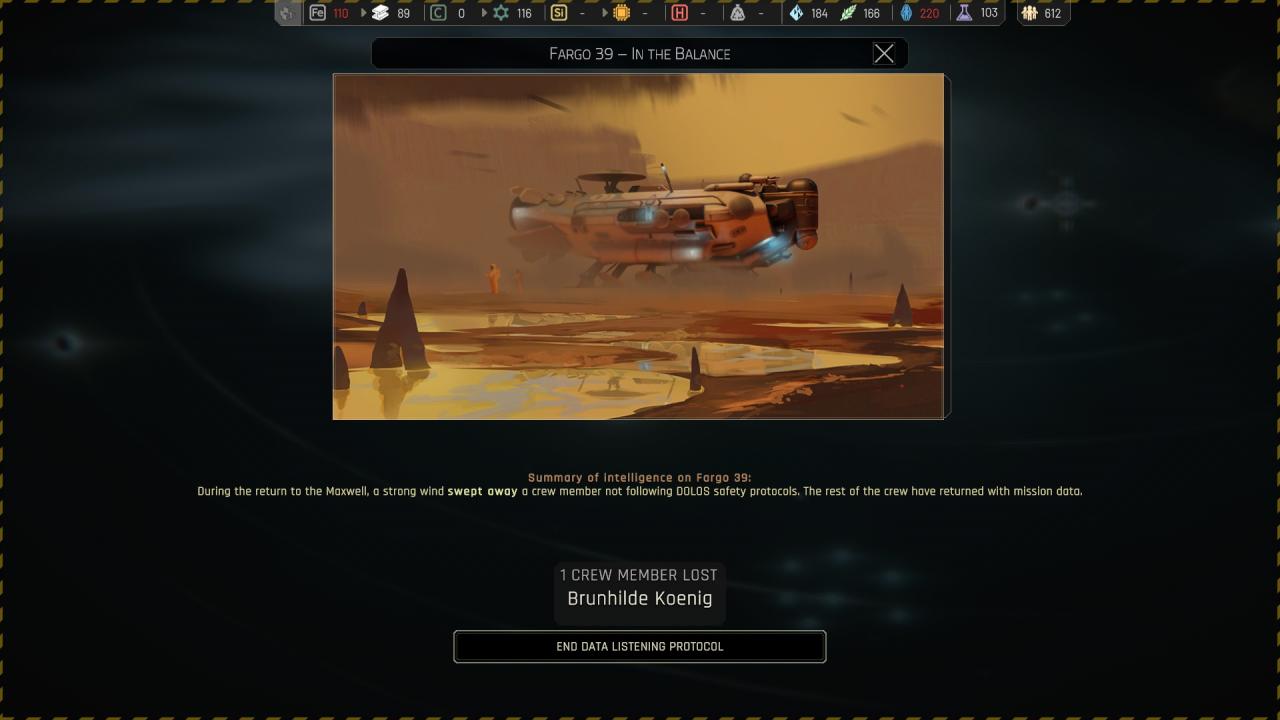
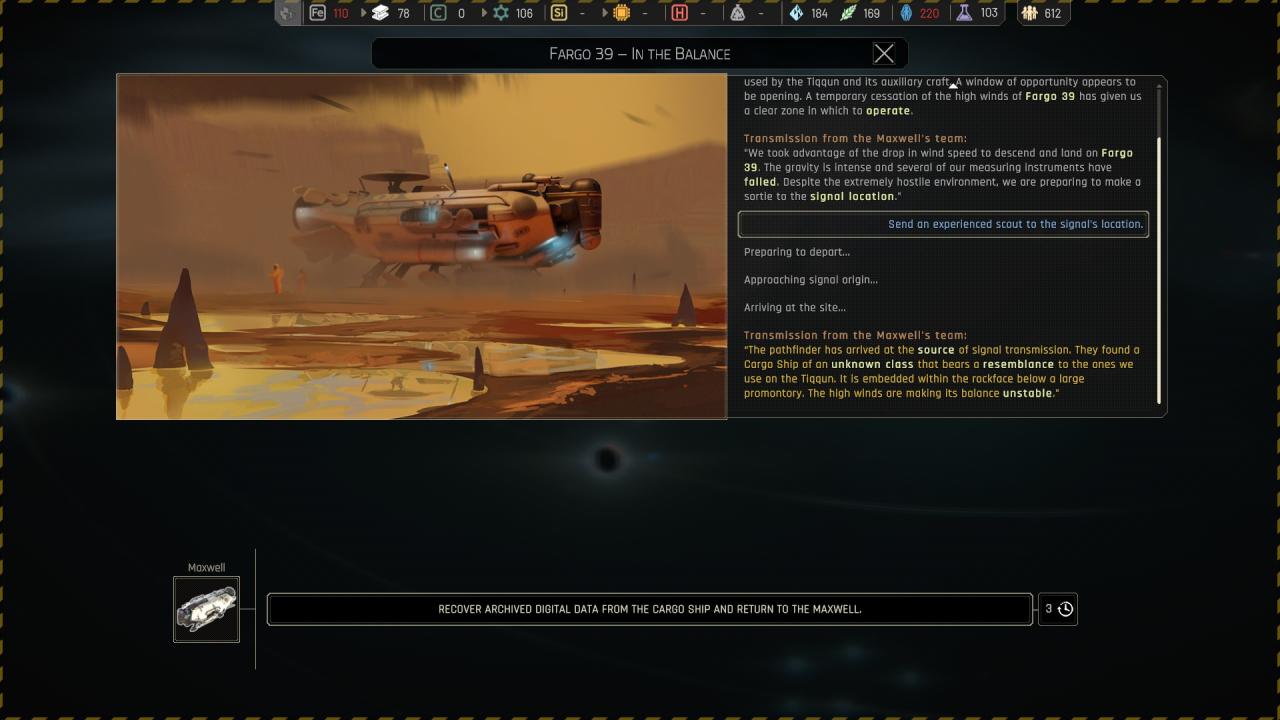
Chapter 2 ({ Fargo 39 } Fargo 39 – In the Balance ) Quest /!\
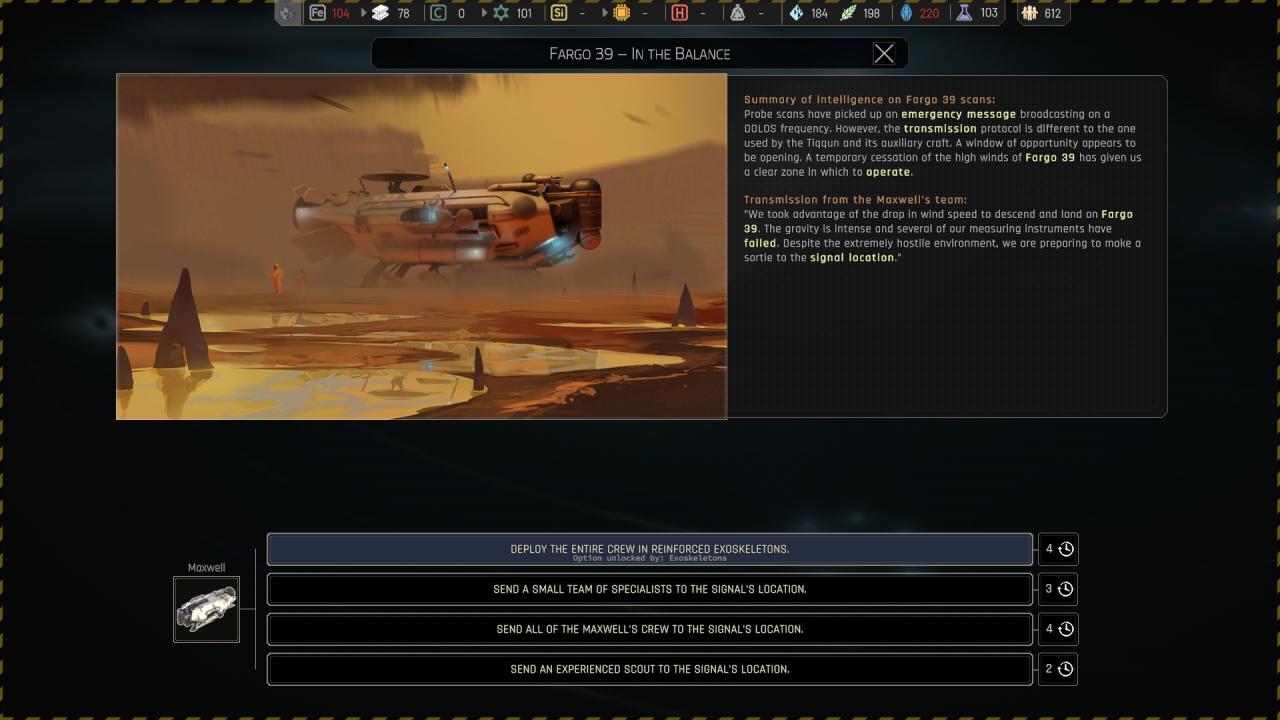 If you want to send an expedition with exoskeleton : ( Lock the location )
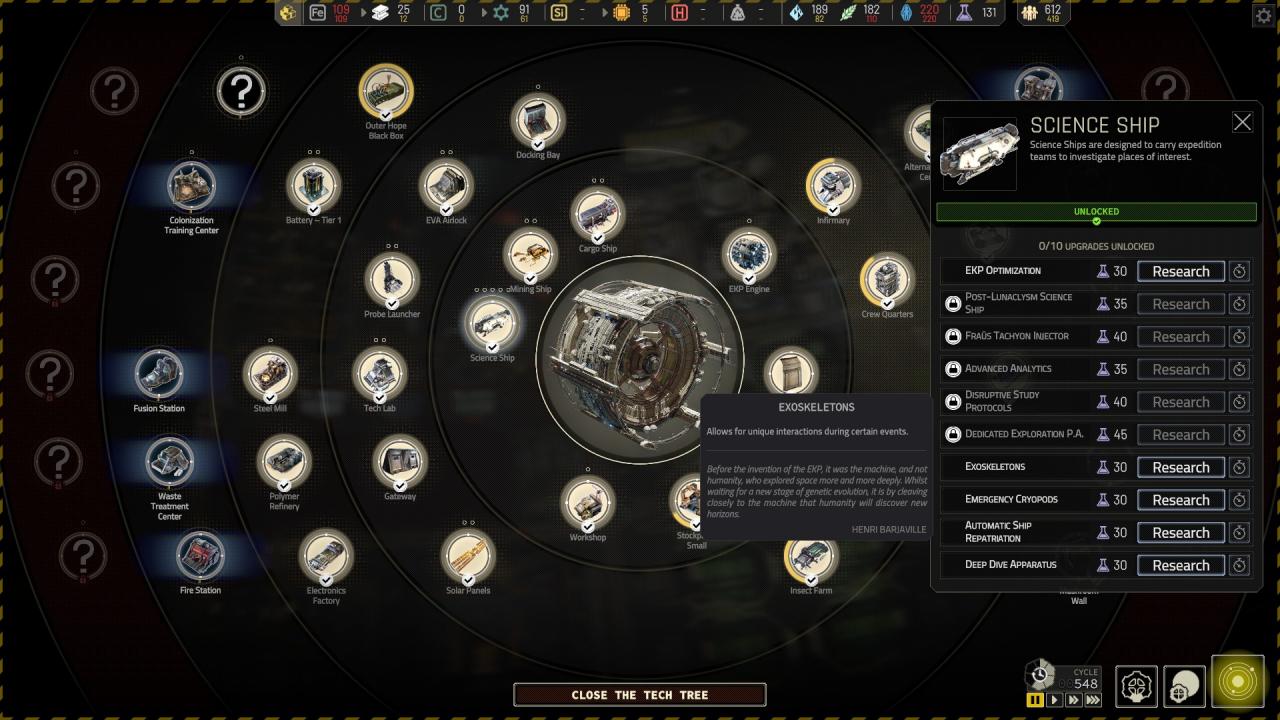
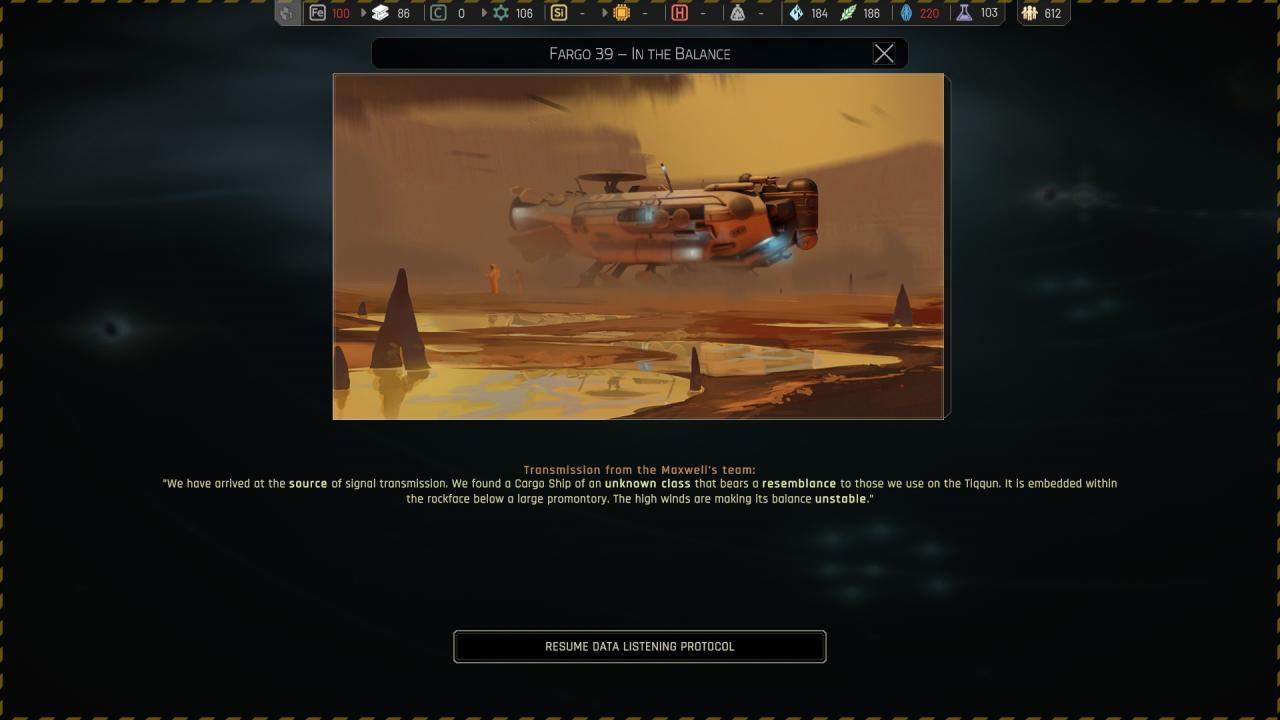 Recovering archived digital data from the cargo ship and return to the maxwell :
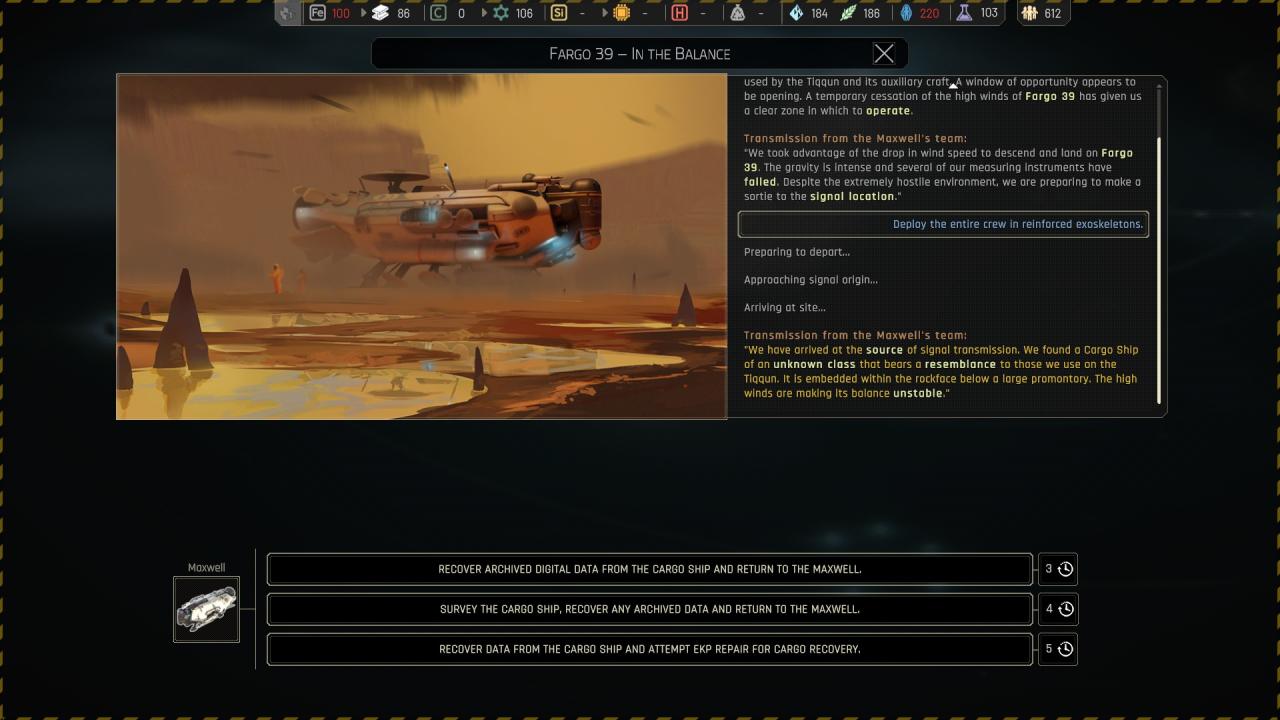
 Survey the cargo ship, recover any archived data and return to the maxwell :
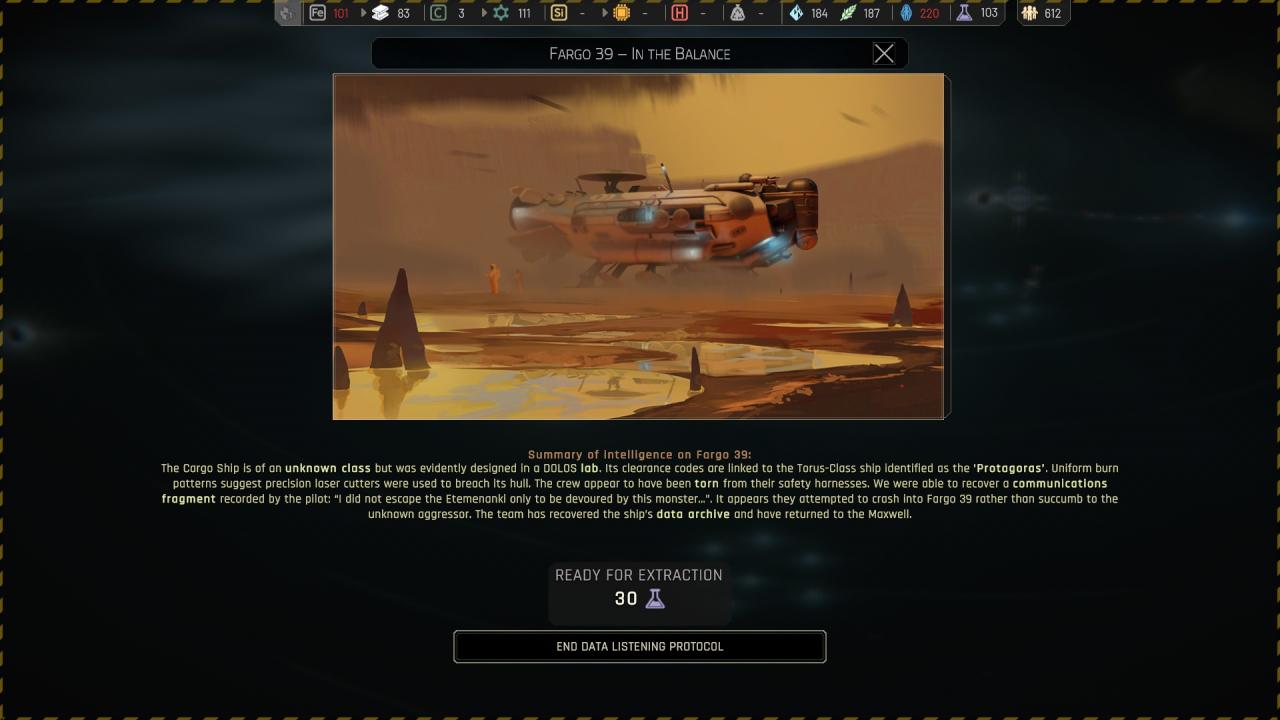 Recover data from the cargo ship and attempt EKP repair for the cargo recovery :
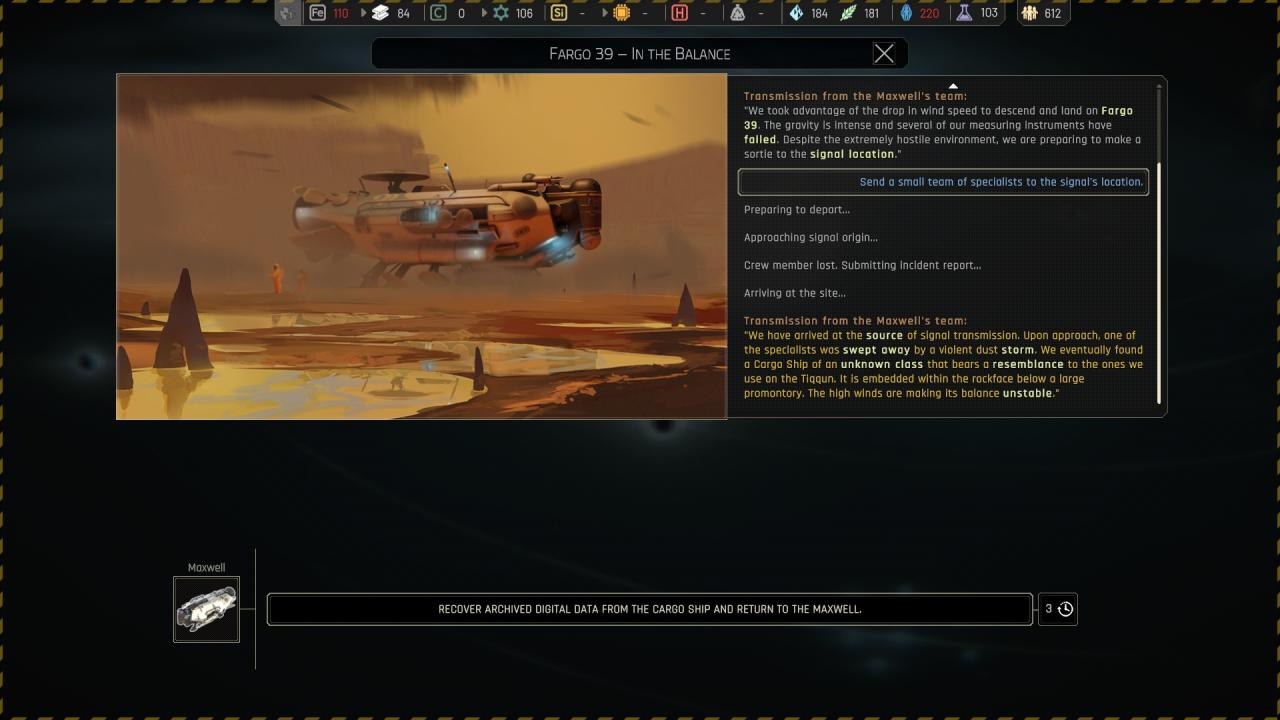
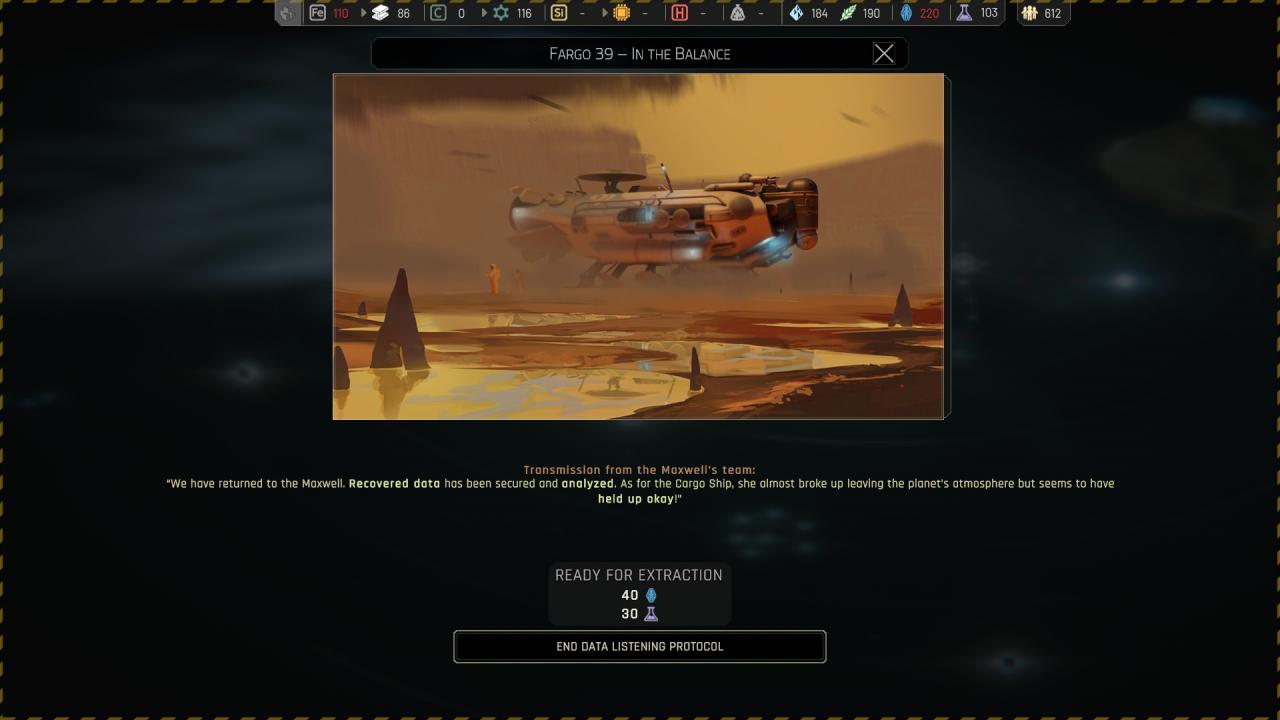 Sending a small team of specialists to the signal’s location : ( Loosing crew member with no reward )
 Send all of the maxwell’s crew to the signal’s location : ( End reward are the same as above from your choice )
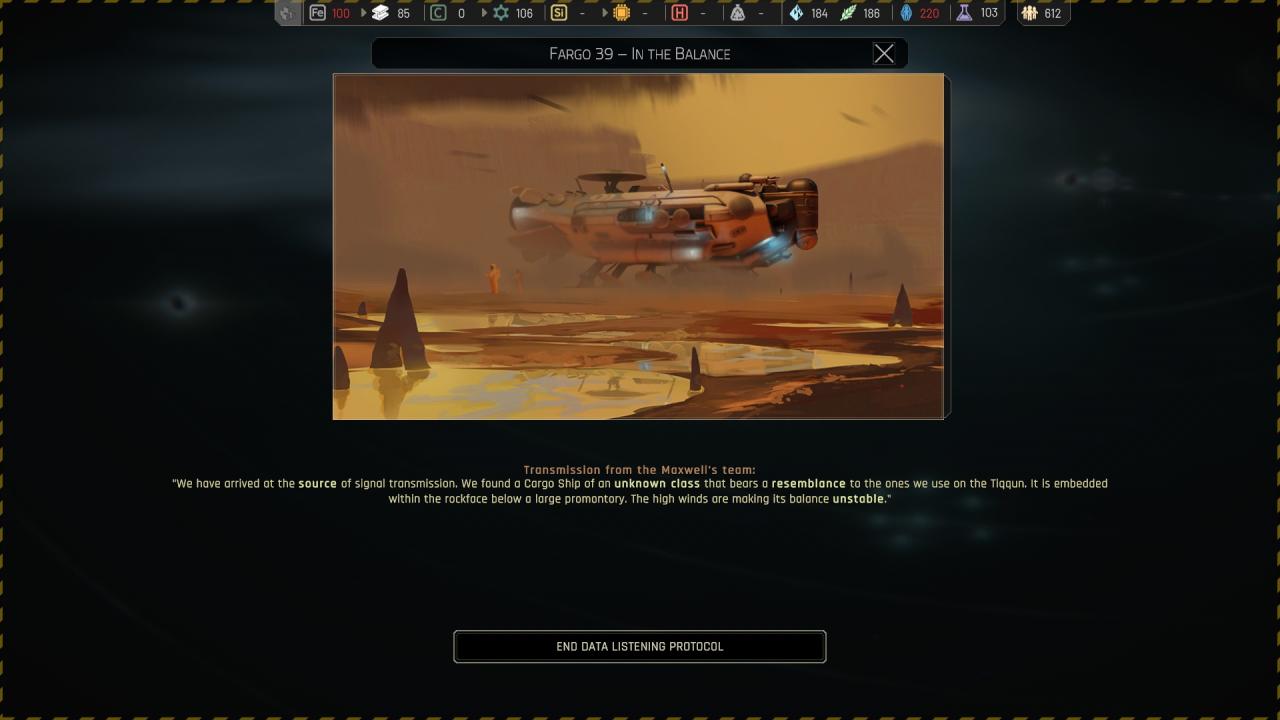
 Send an experienced scout to the signal’s location : ( End reward are the same as above from your choice )
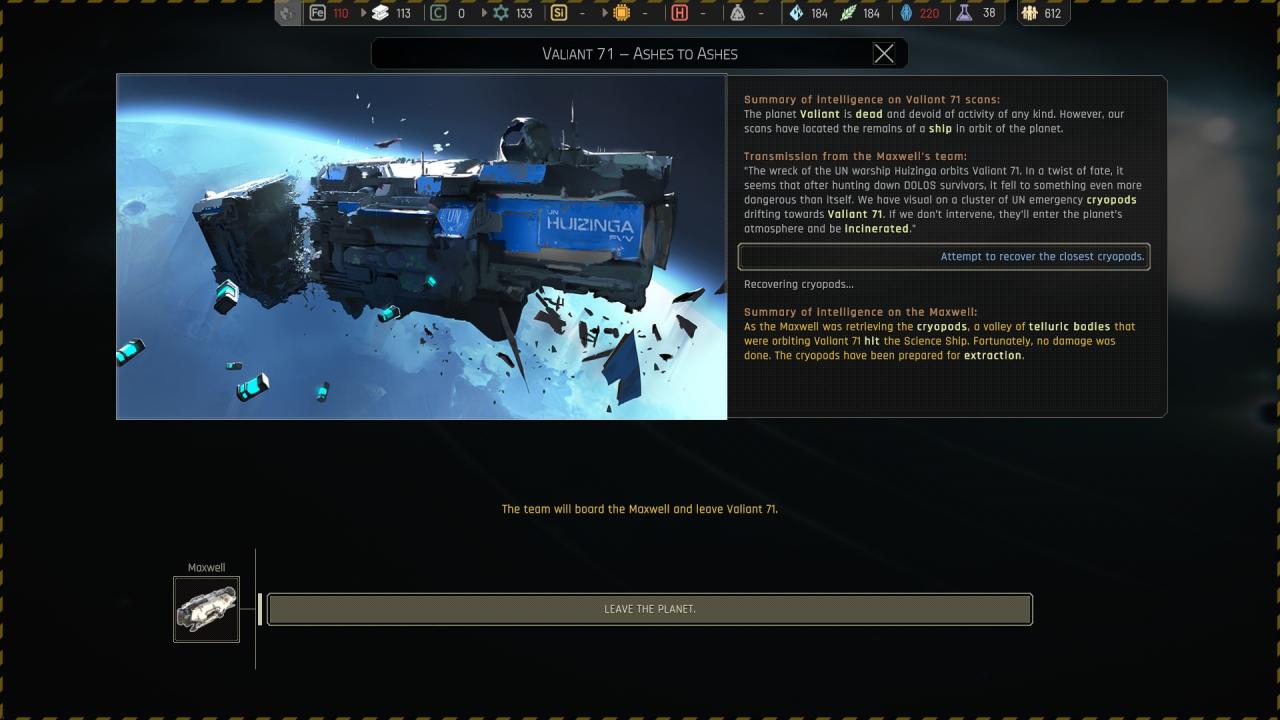
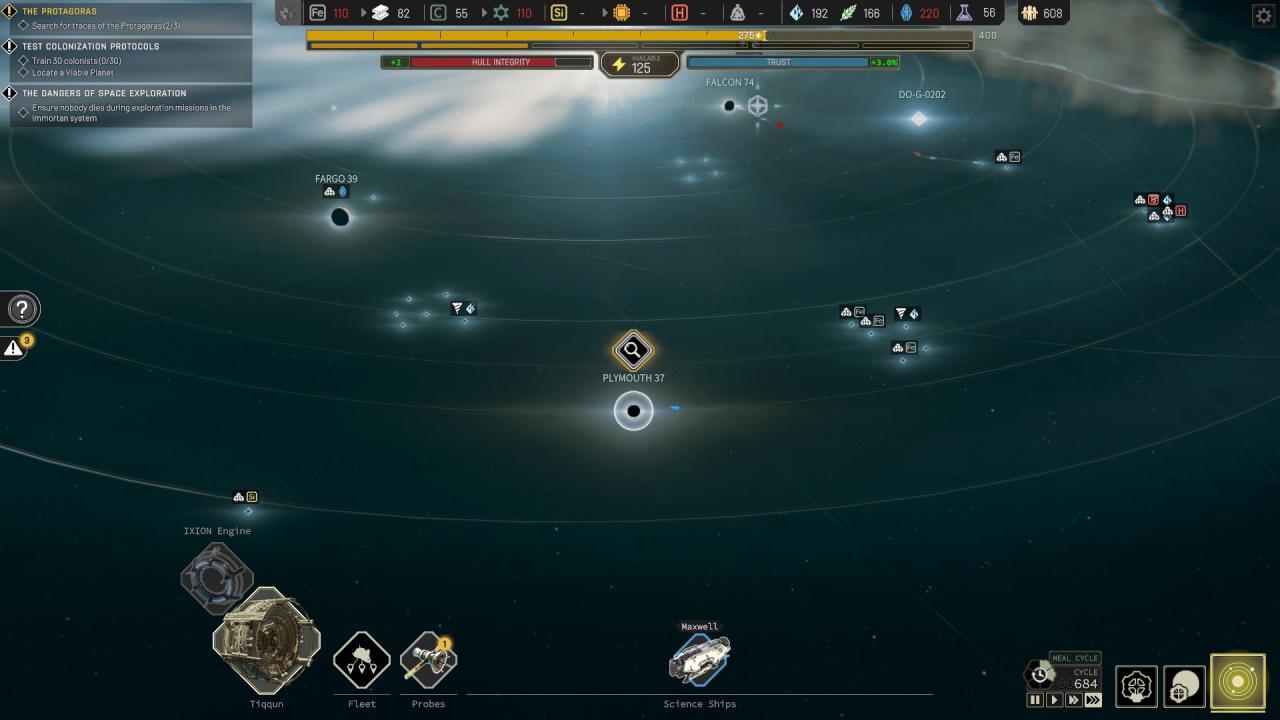
Chapter 2 ({ Valiant 71 } Valiant 71 – Ashes to Ashes )
Attempting to recover all the cryopods :
If you have researched science ship – emergency criopods, don’t lose people, only the ship
Not sure if anyone has said this but you get a permanent -1 to stability from completing the valiant 71 objectives for discovering the fate of the protagoras
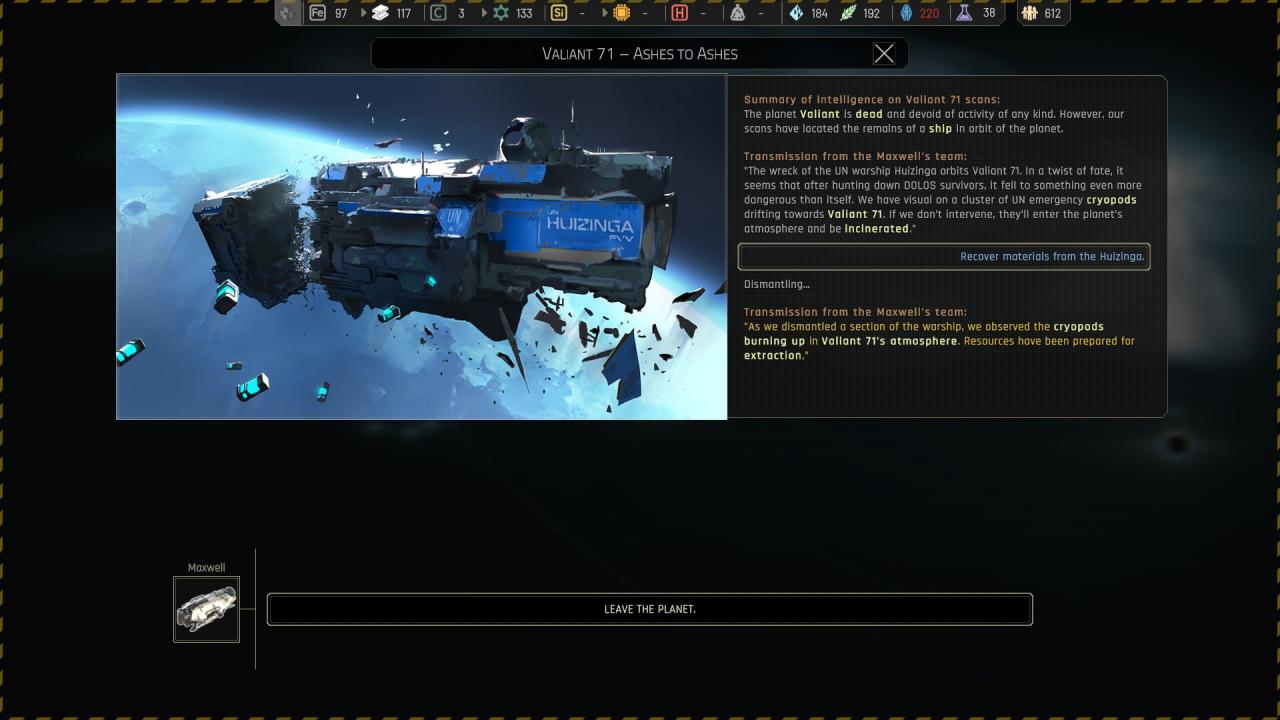
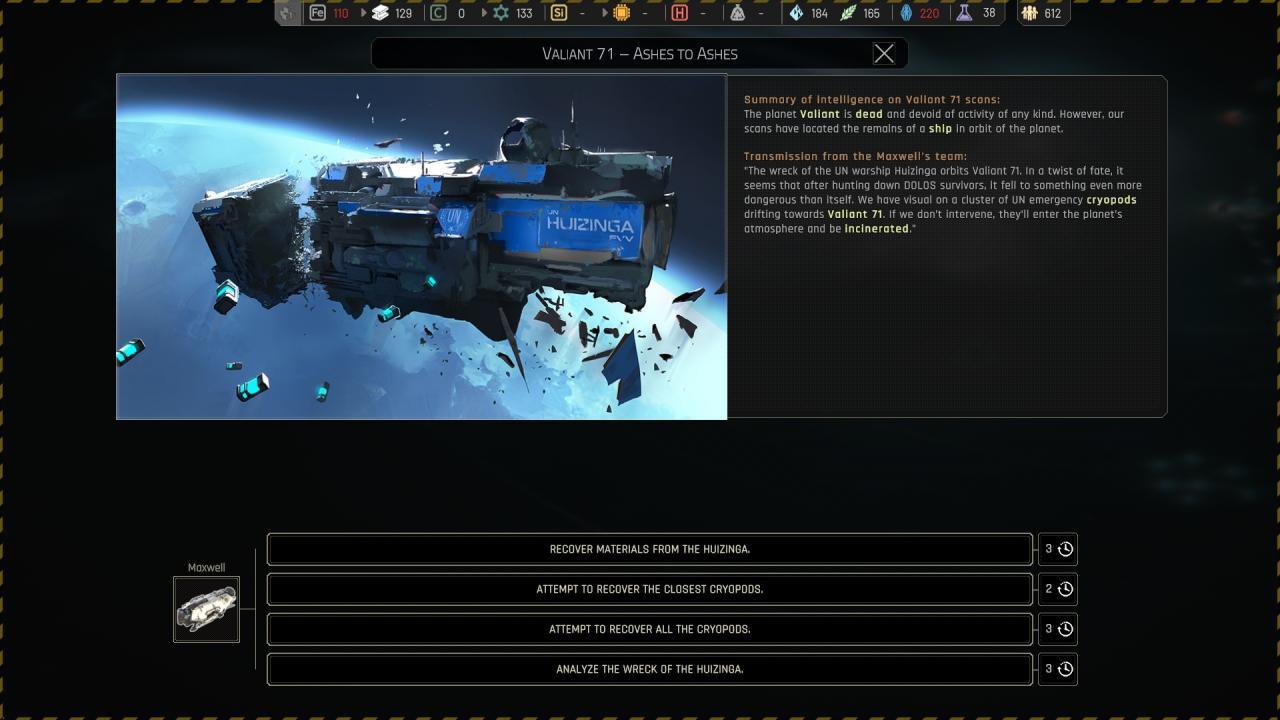 Recovering materials from the huizinga : ( Lock the location )
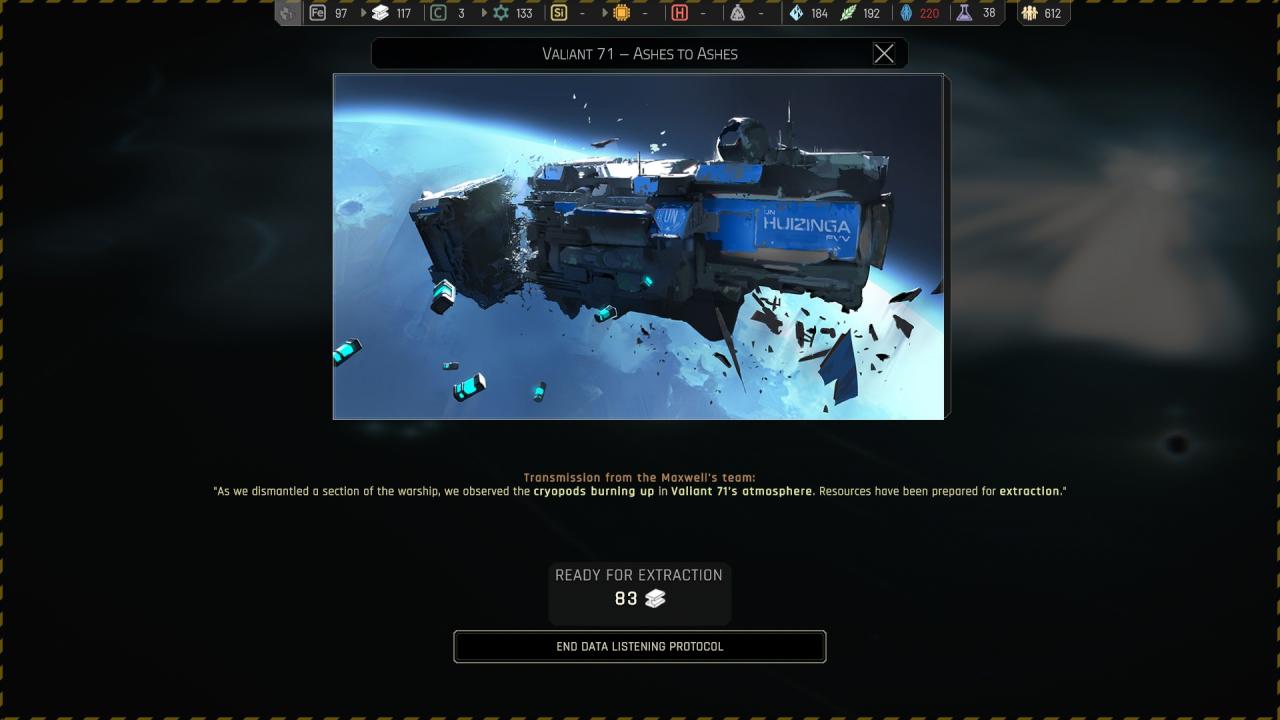
 Attempting to recover the closest cryopods : ( Lock the location )
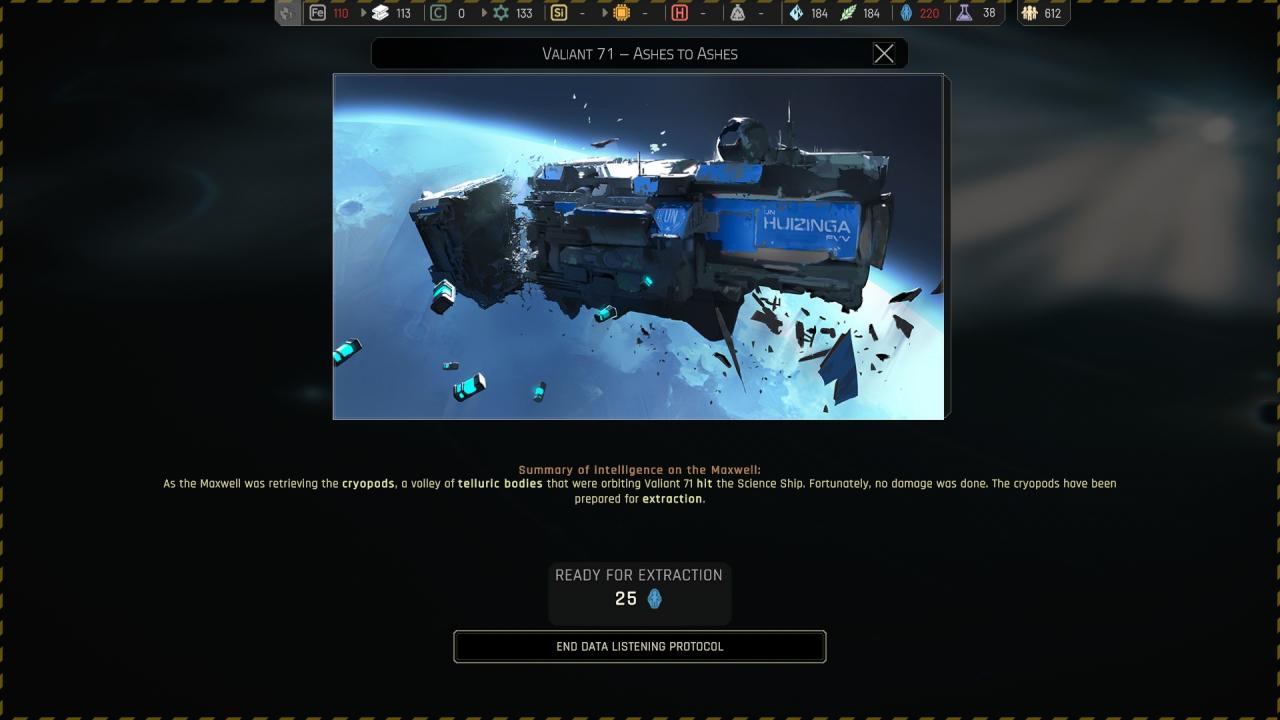
 Attempting to recover all the cryopods : ( Lock the location, worst choice ever ! )
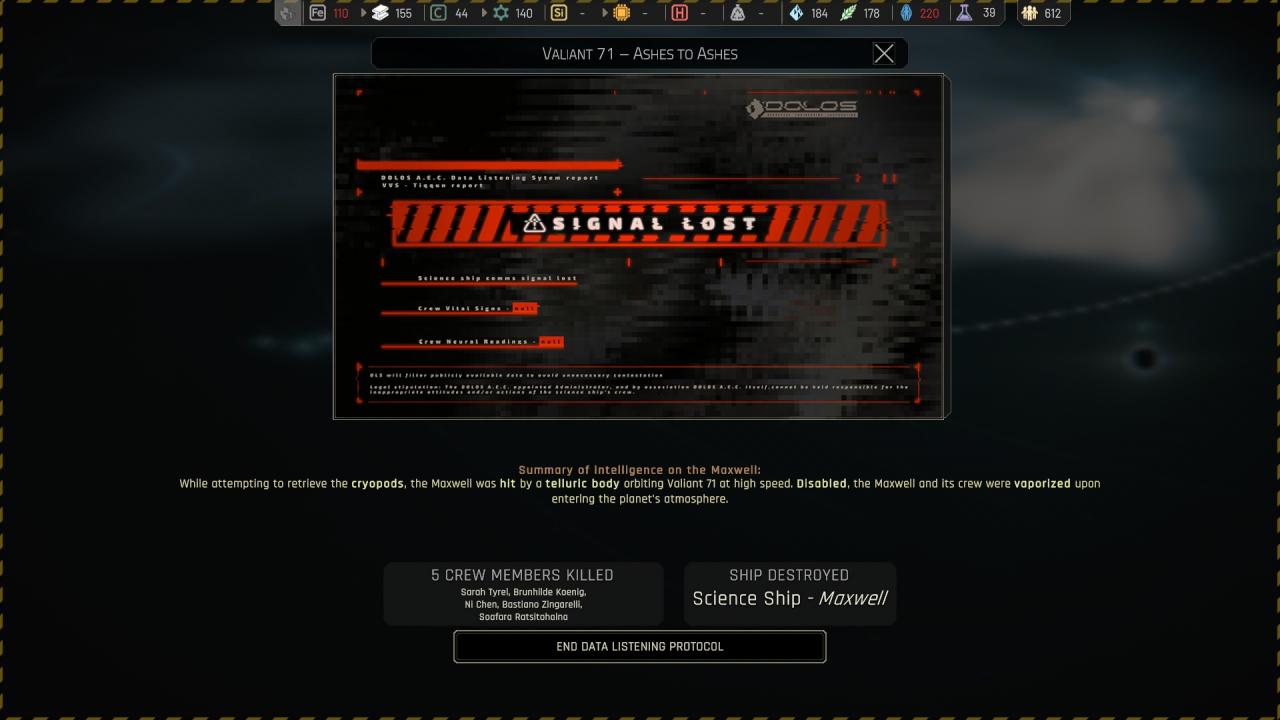 Analyzing the wreck of the huizinga : ( Lock the location )
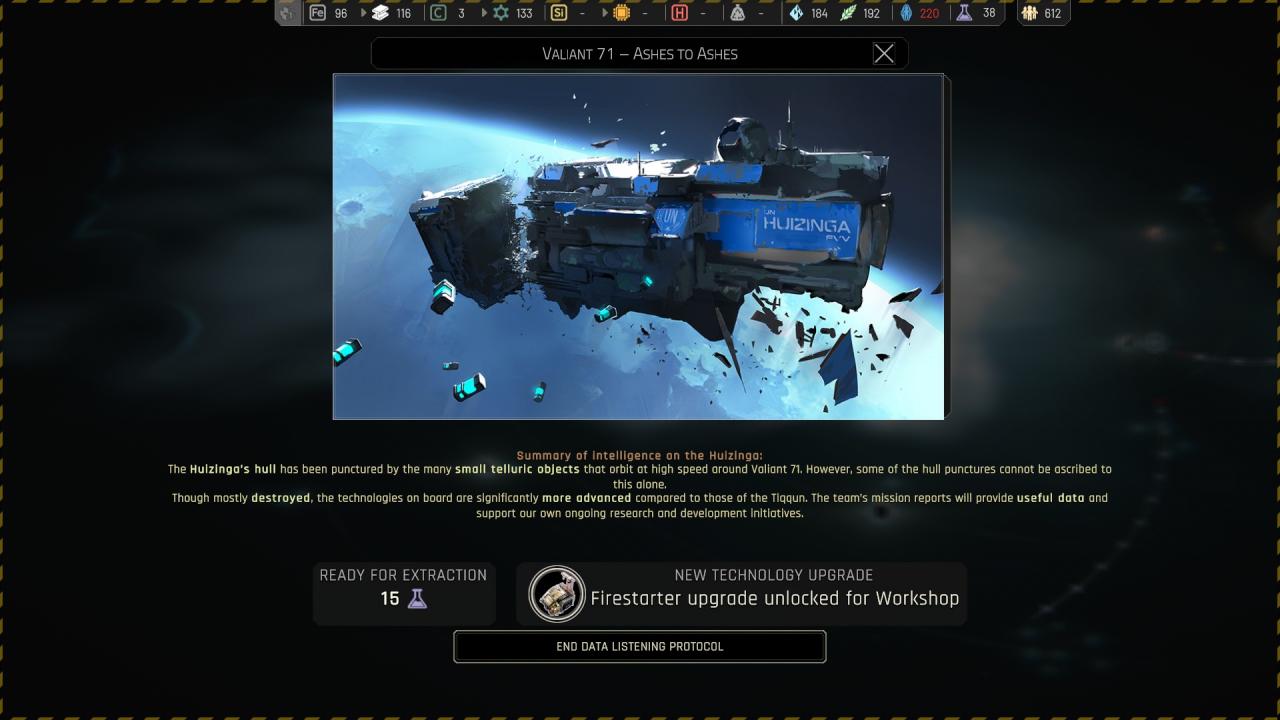
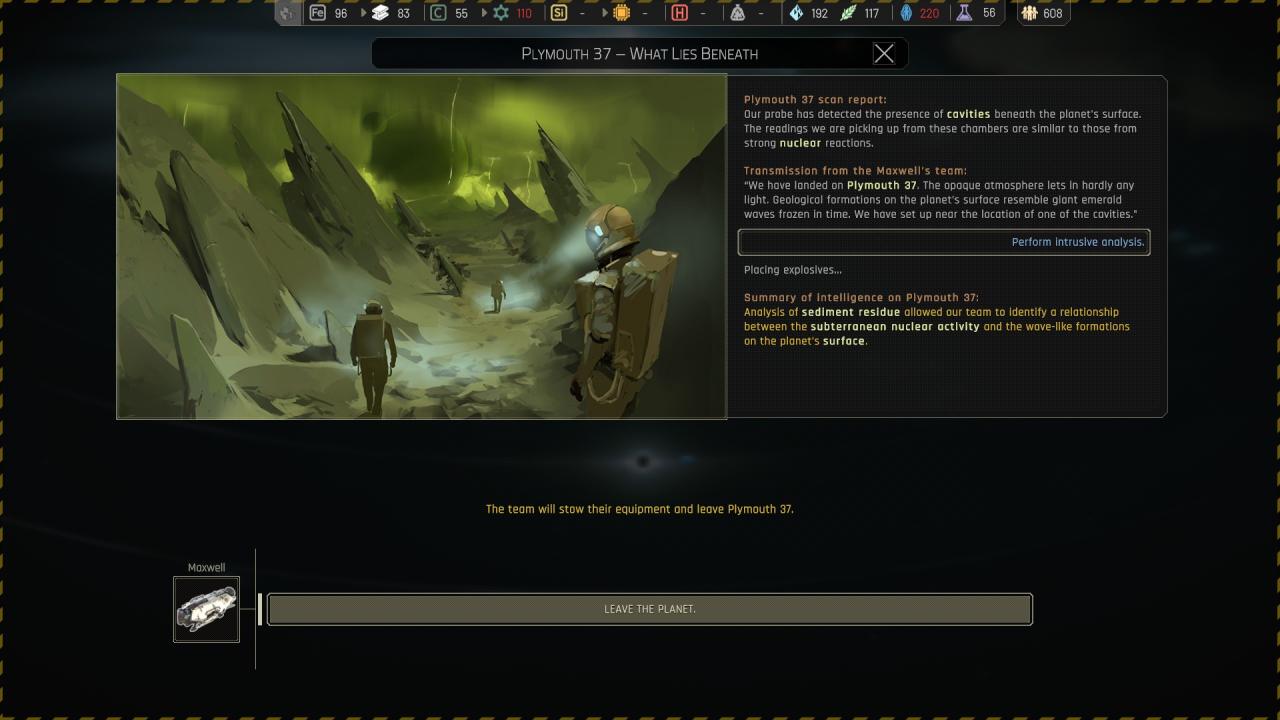
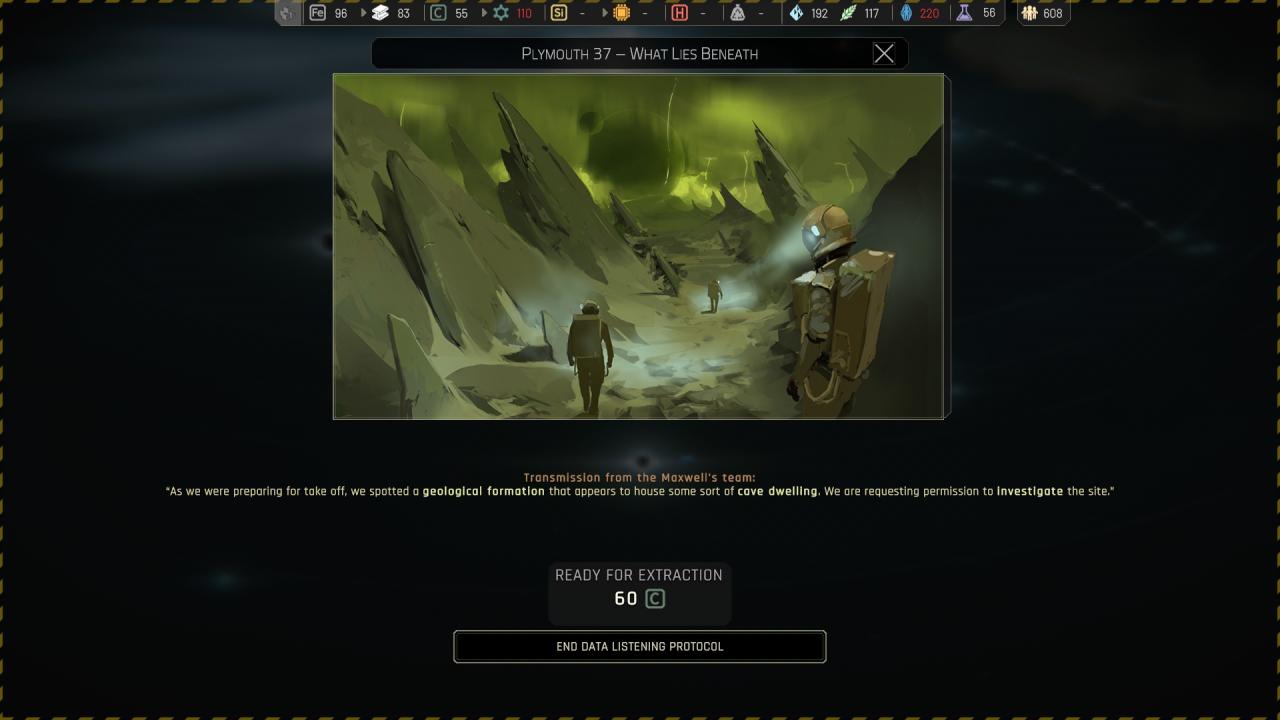
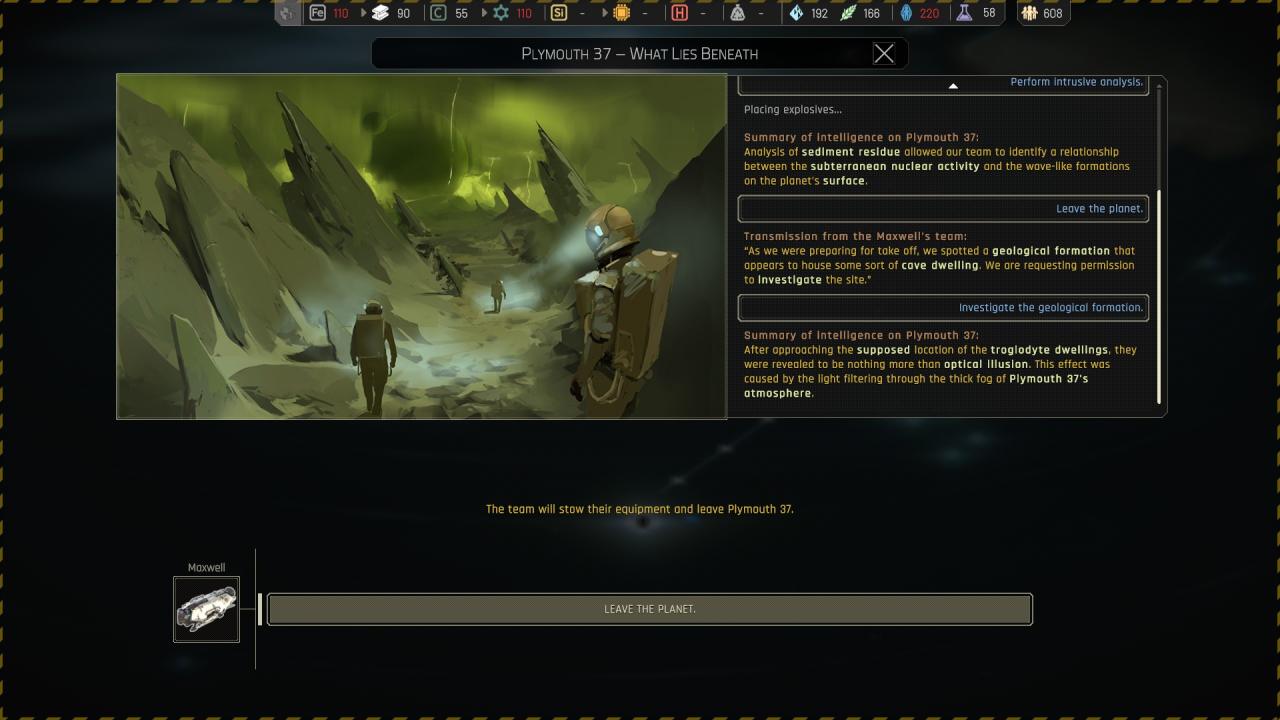
Chapter 2 ({ Plymouth 37 } Plymouth 37 – What Lies Beneath )
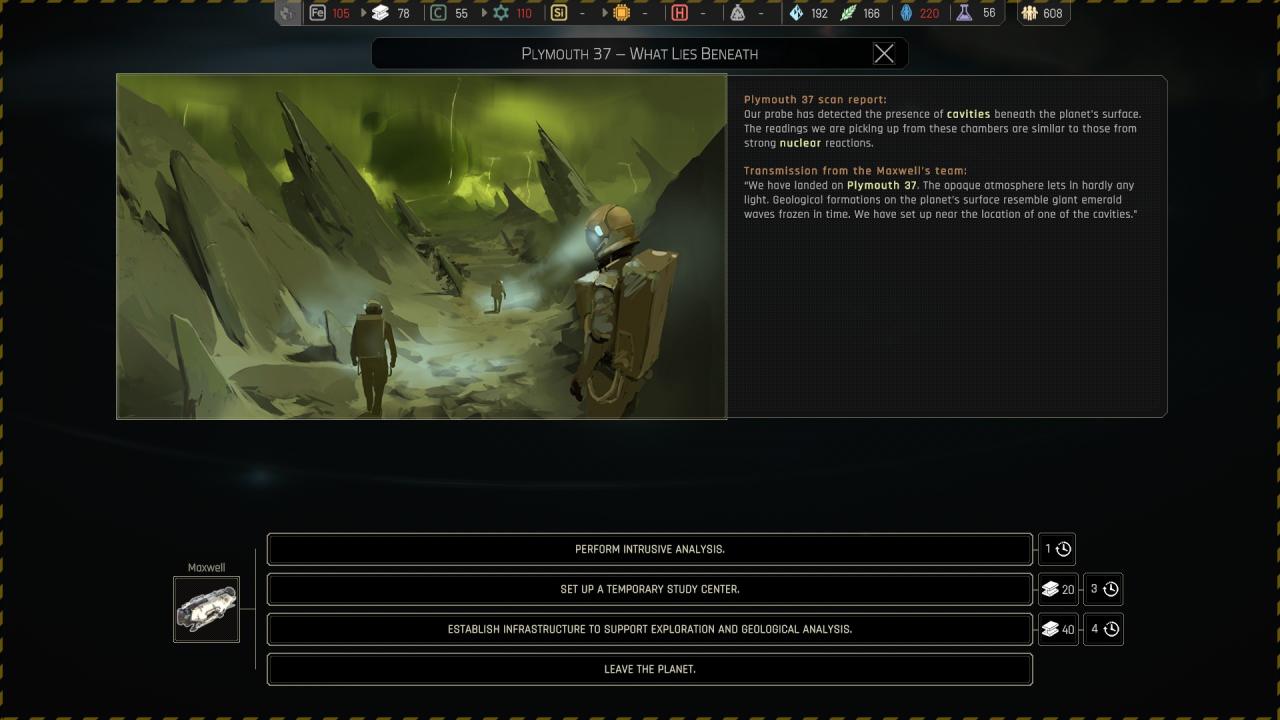 Performing intrusive analysis :
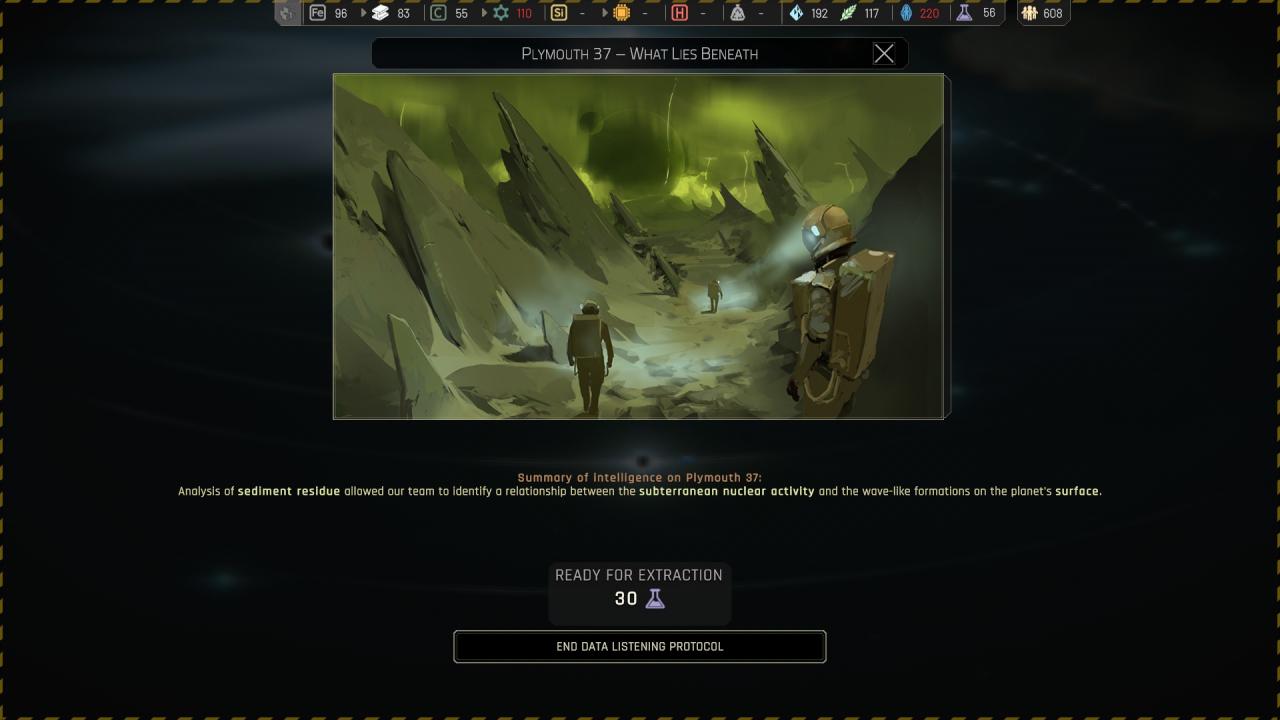

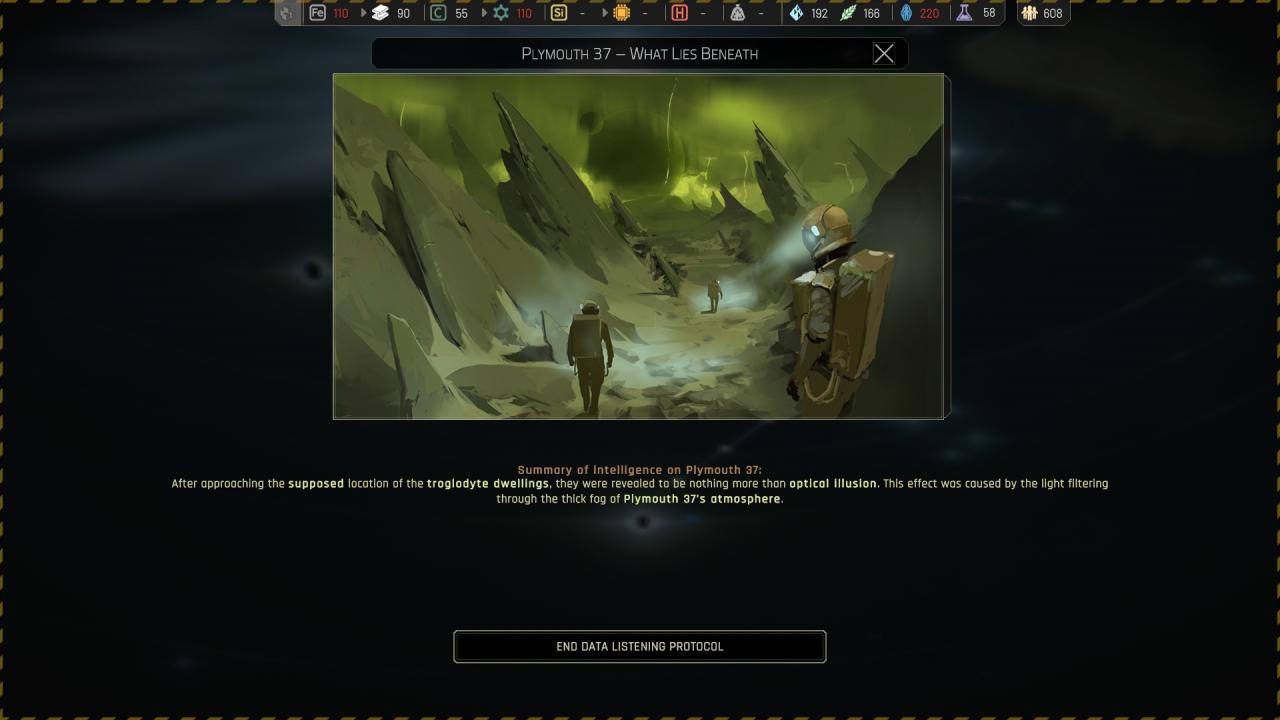
 Set up a temporary study center : ( The end result is the same as above ! )
 Establish infrastructure to support exploration and geological analysis : ( The end result is the same as above ! )
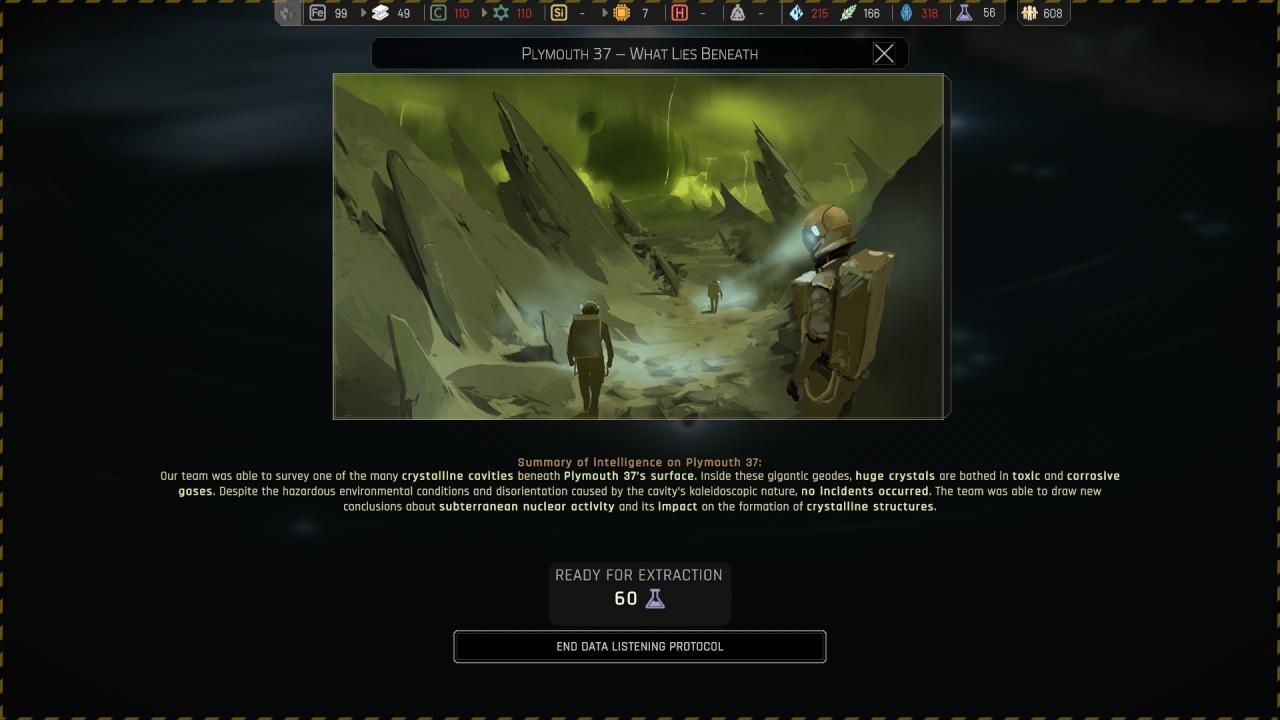
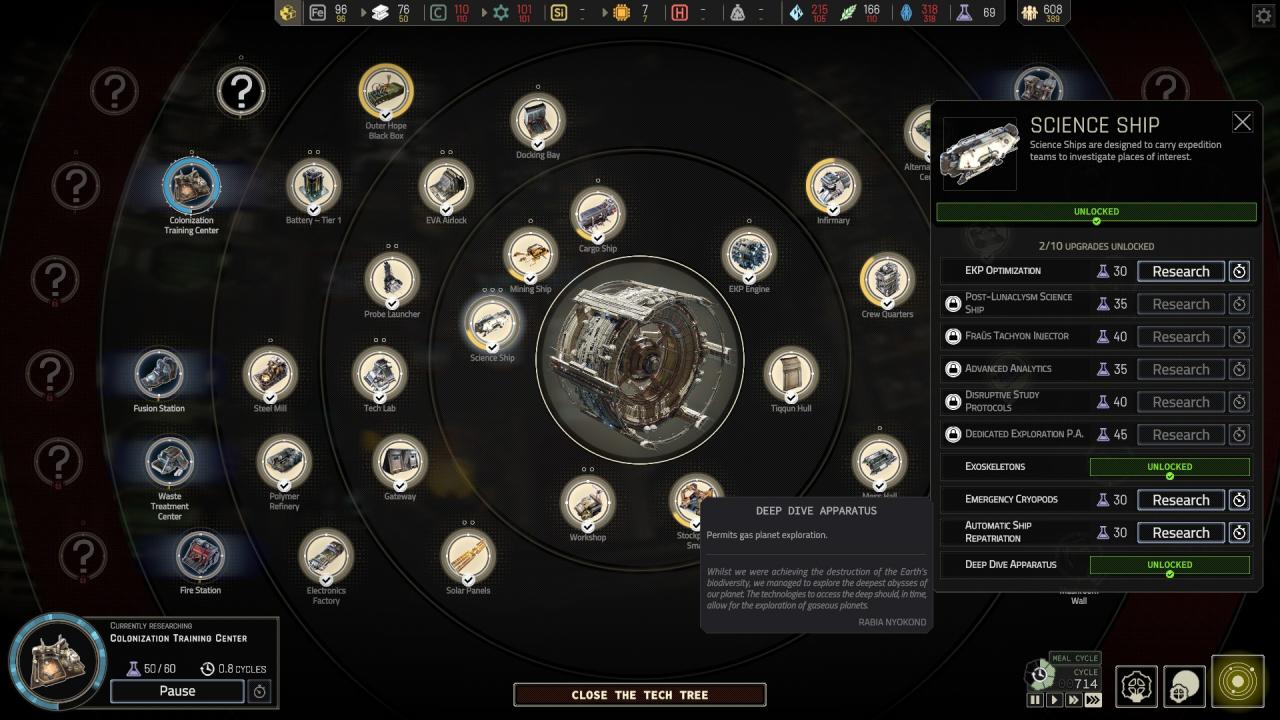
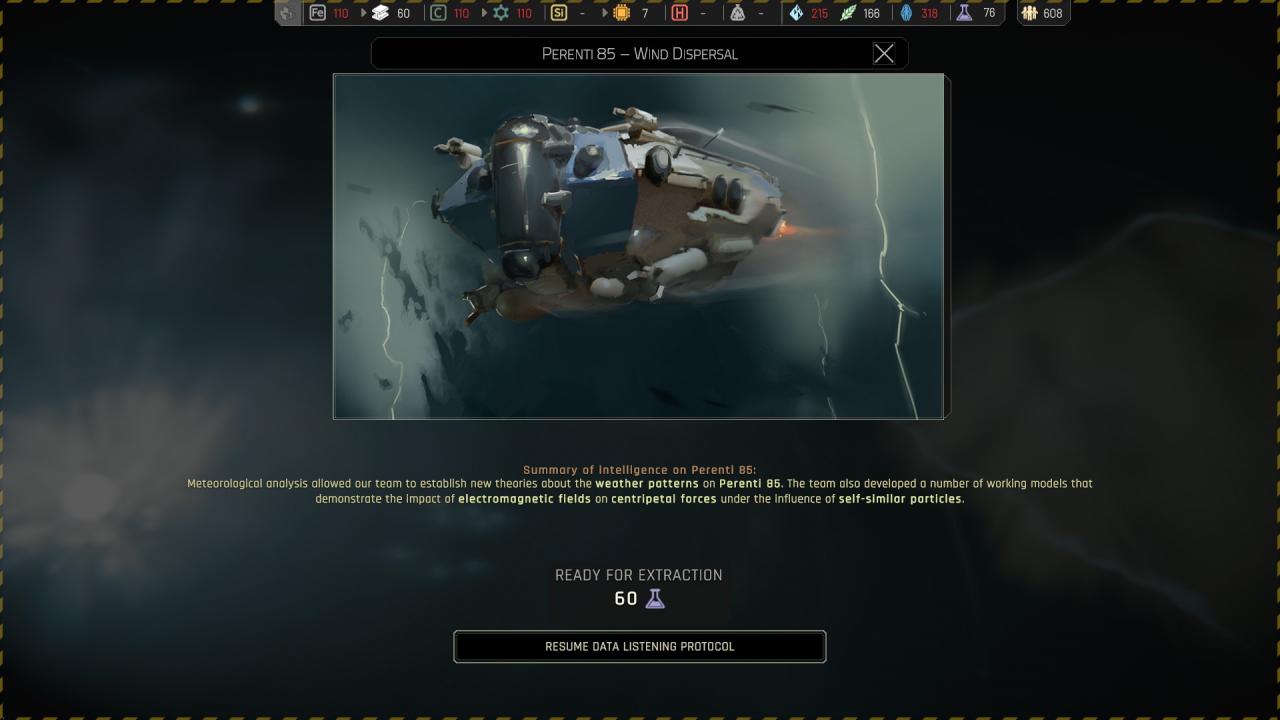
Chapter 2 ({ Perenti 85 } Perenti 85 – Wind Dispersal )
The game will not let you pick any options with the science ship for Perenti if you do not research deep dive.
It will allow you to leave and come back later without penalty. If you click the magnifying glass it even tells you that you can’t do anything until you get deep-dive tech so, no one should have any issues with it. 🙂
 I’m not sure about this one because i’ve research the upgrade before trying to go to perenti, so it must be confirmed if the upgrade is required or not here !
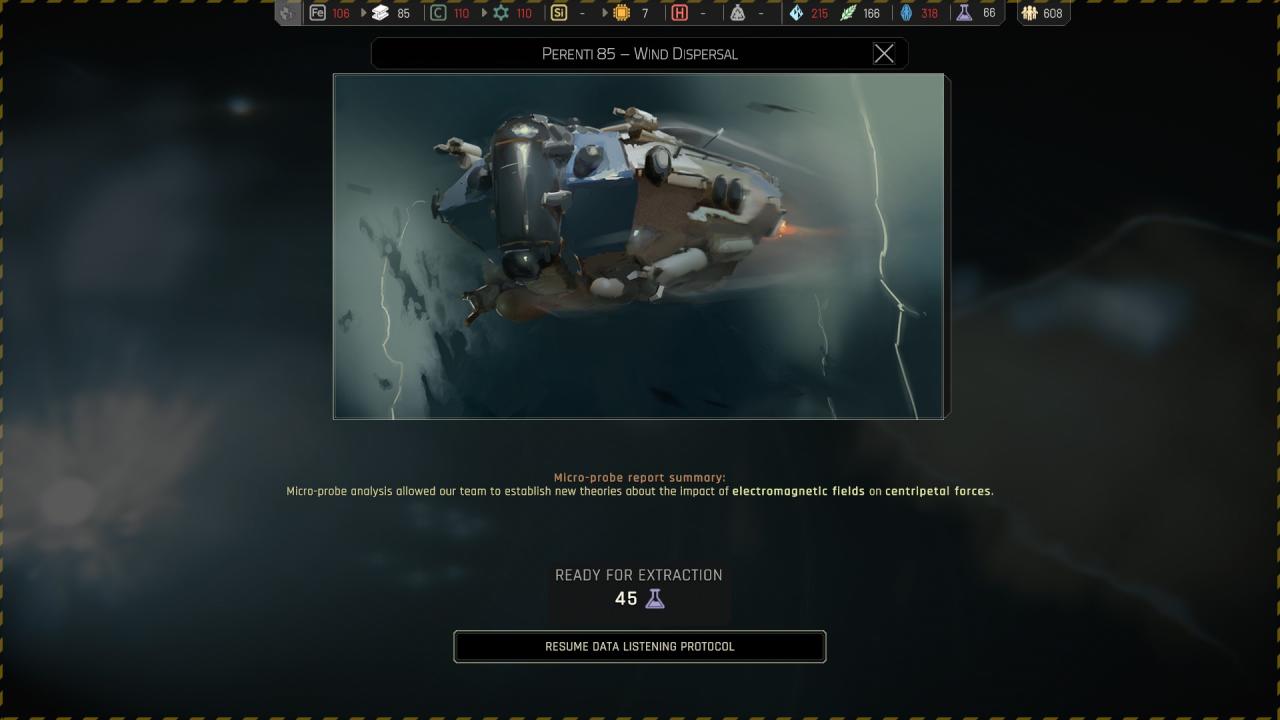
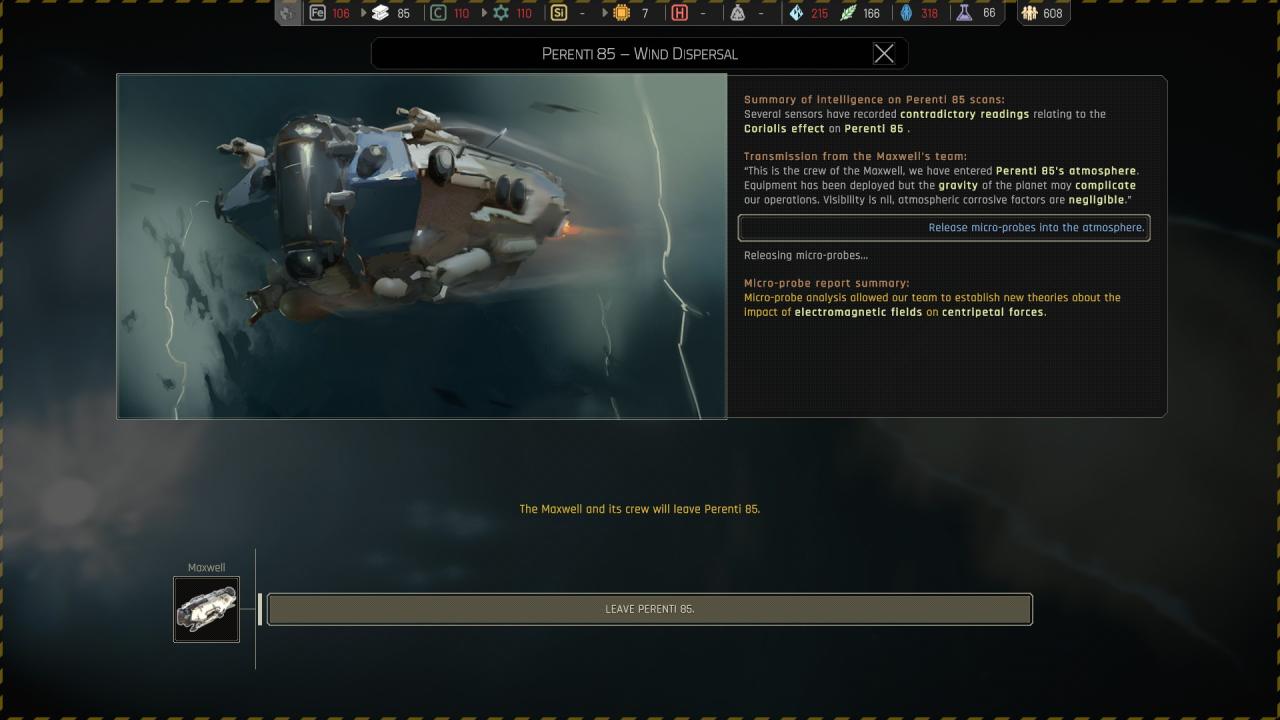
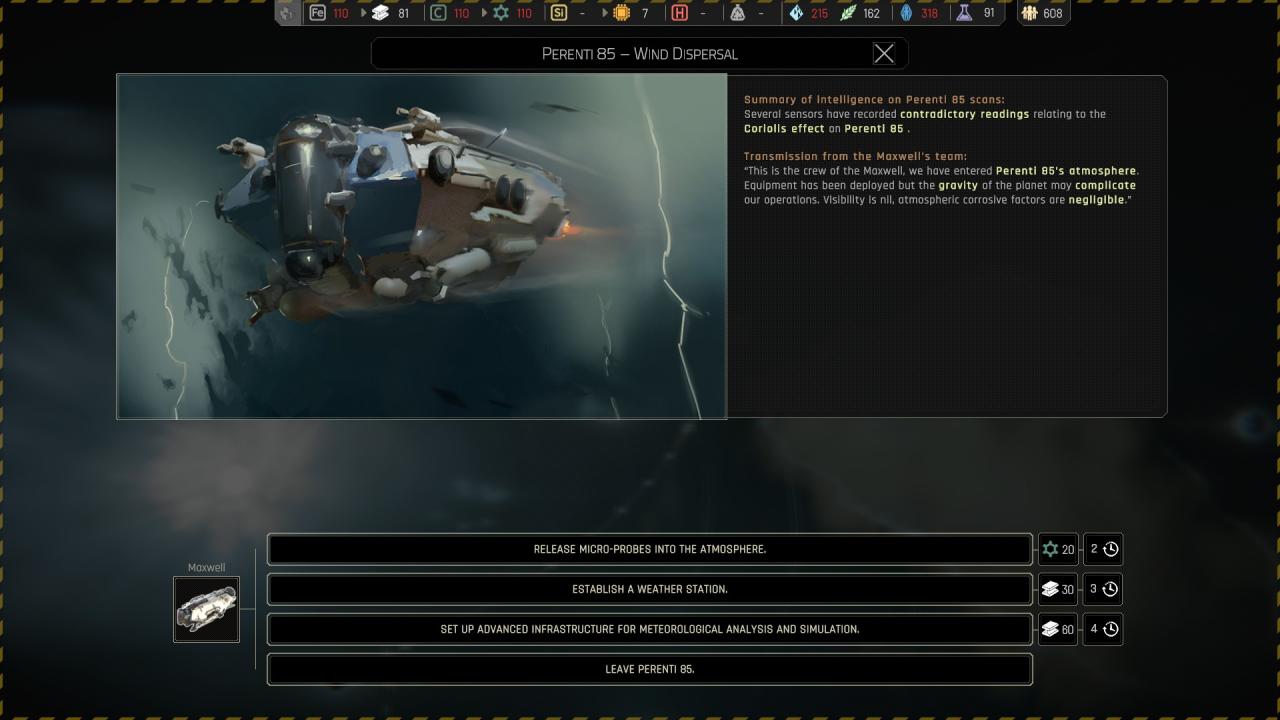 Releasing micro-probes into the atmosphere :
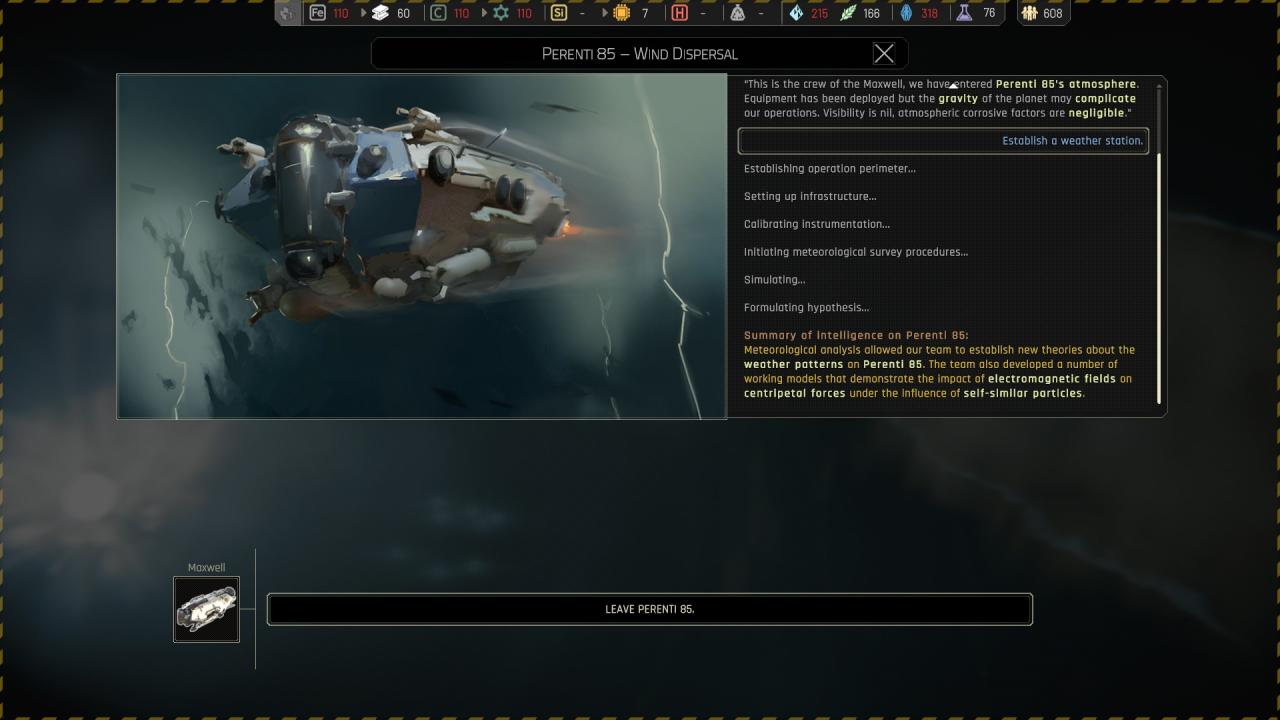
 Establishing a weather station :
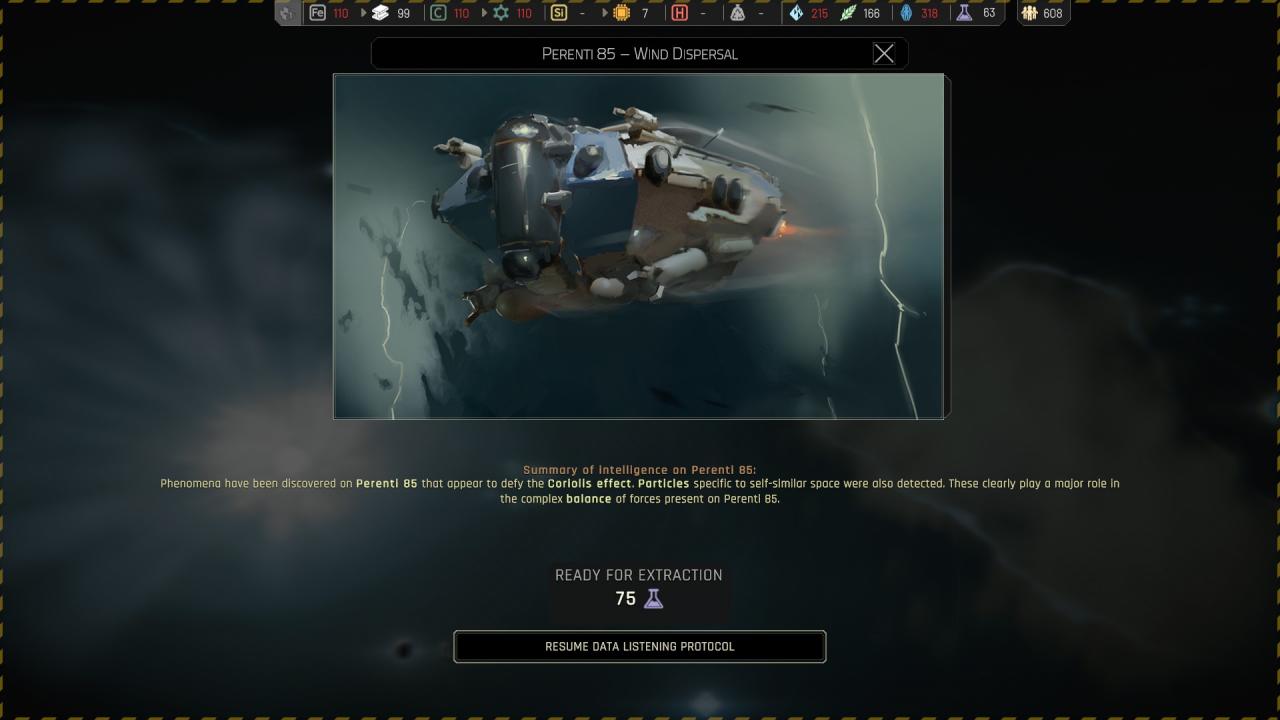
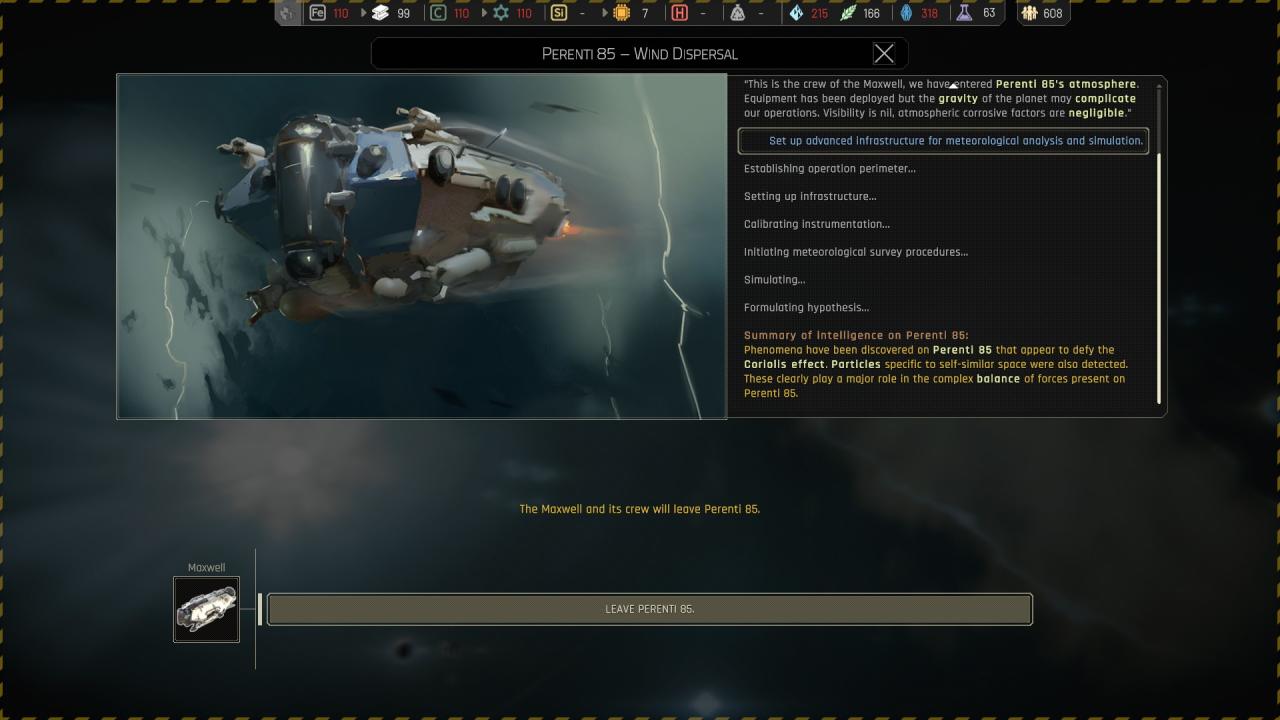
 Seting up advanced infrastructure for meteorological analysis and simulation :
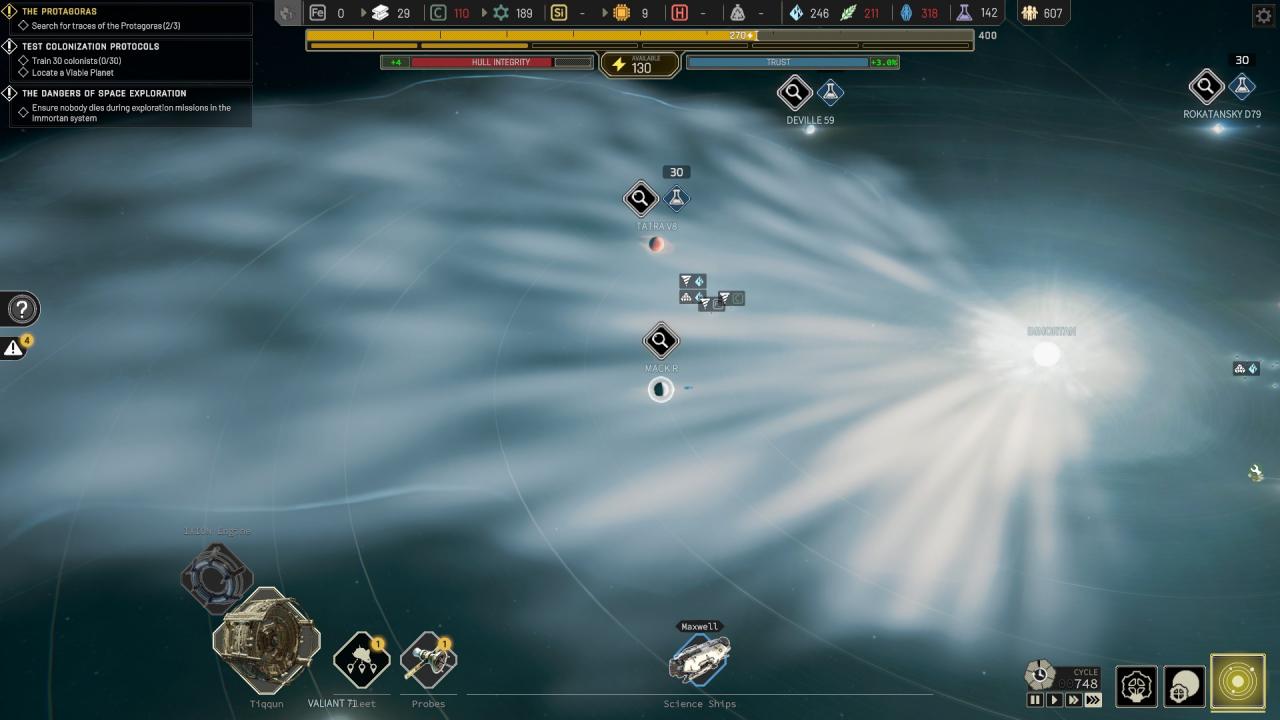
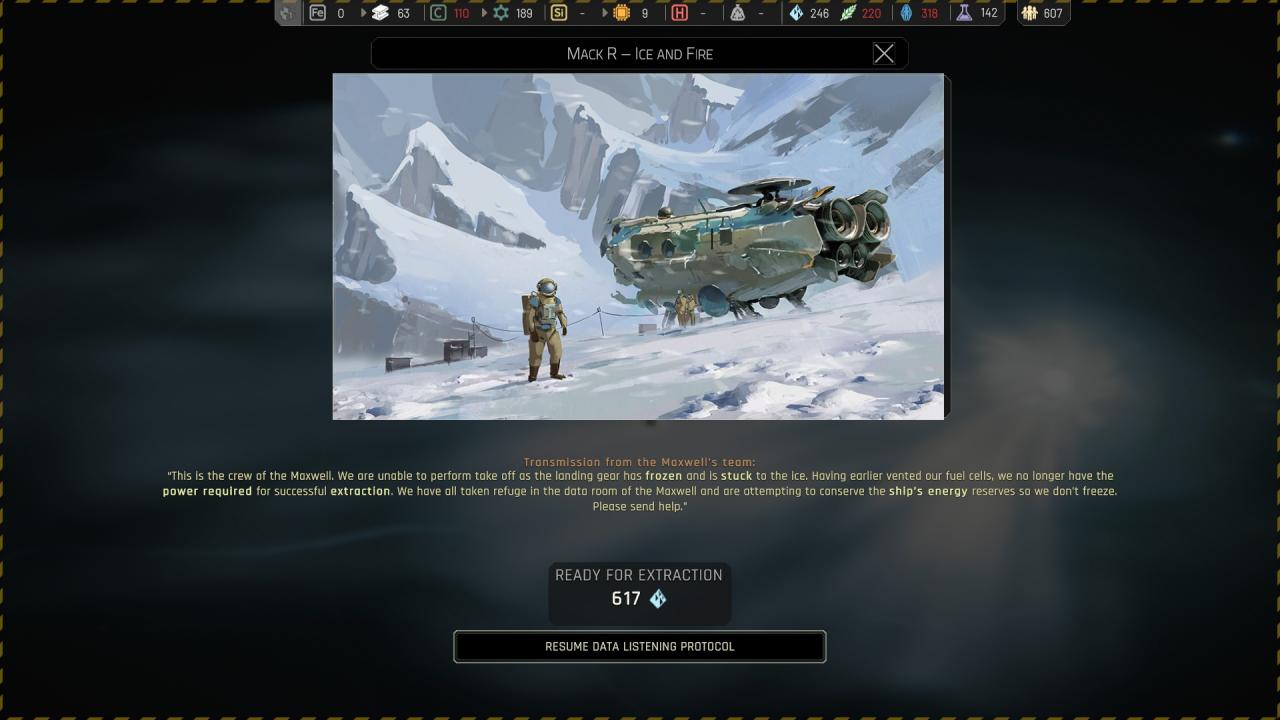
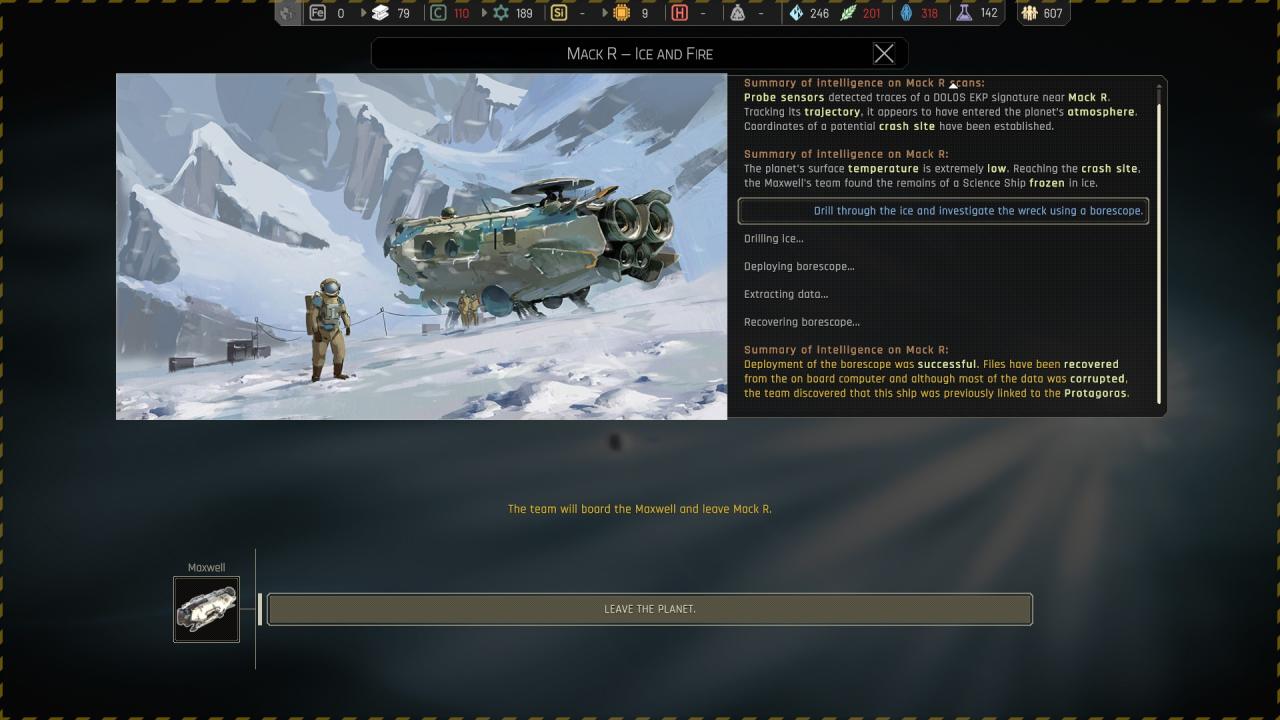
Chapter 2 ({ Mack R } Mack R – Ice and Fire ) Quest /!\
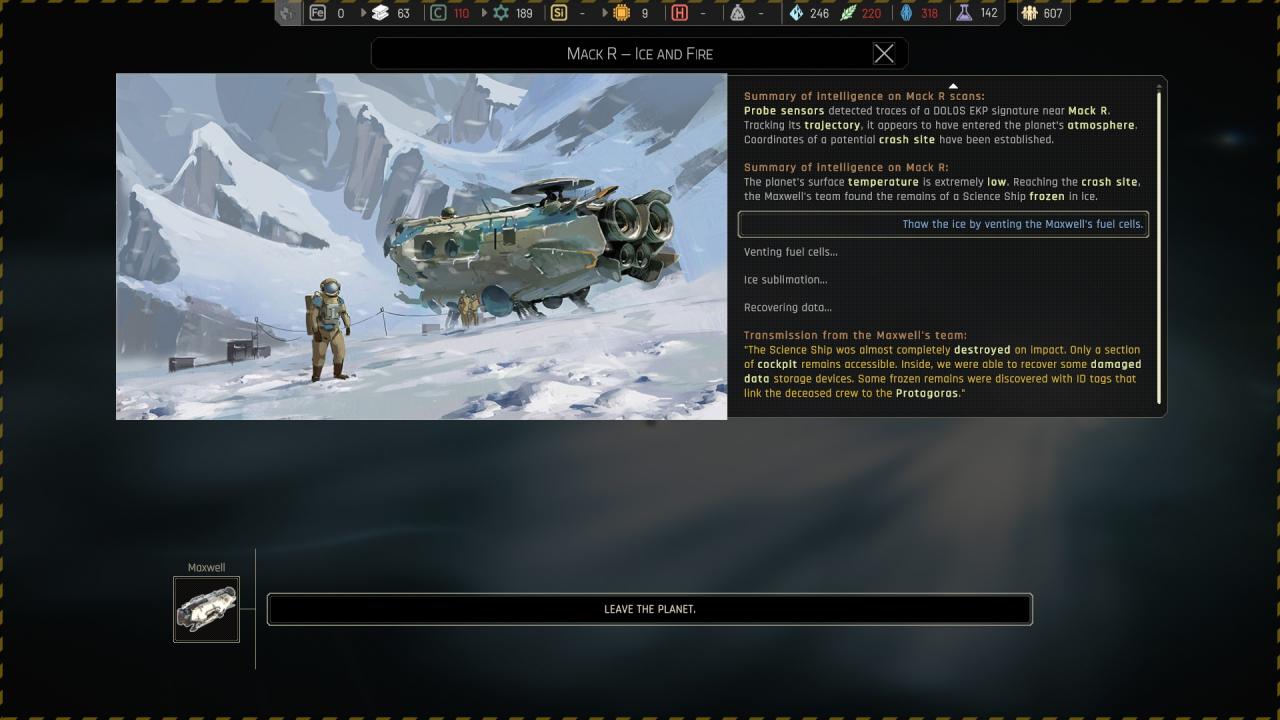
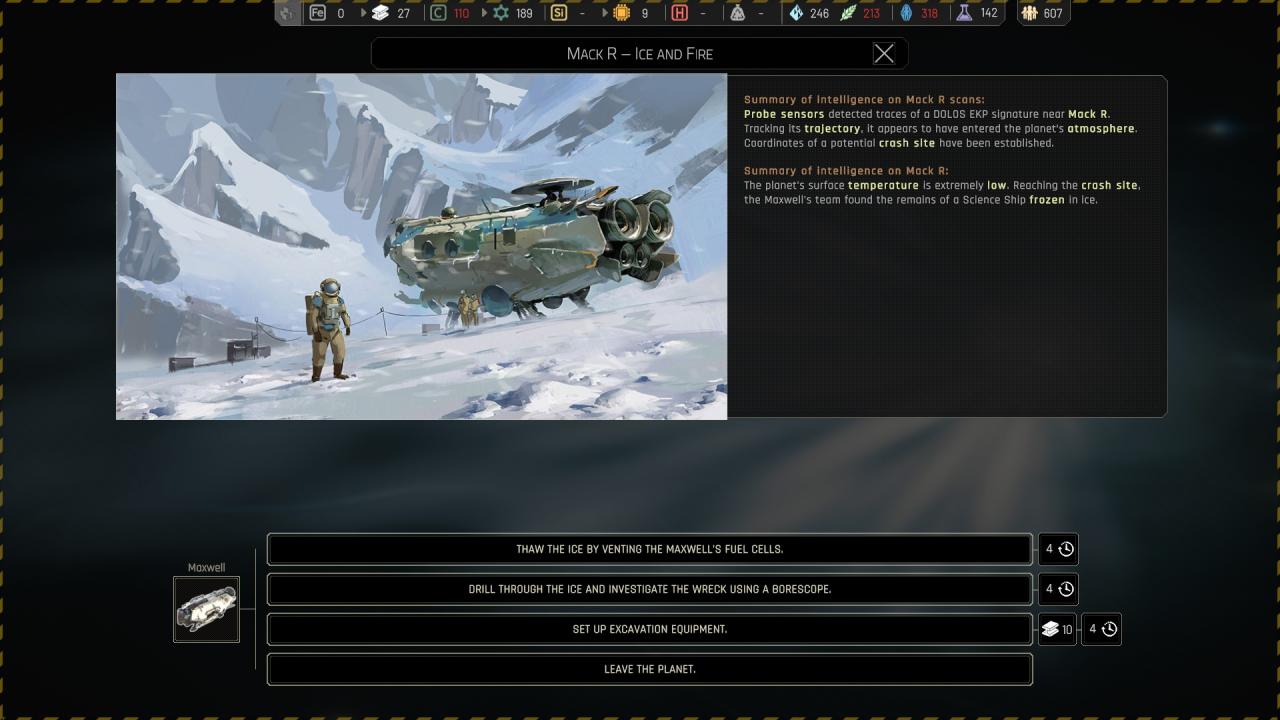 Thawing the ice by venting the maxwell’s fuel cells :
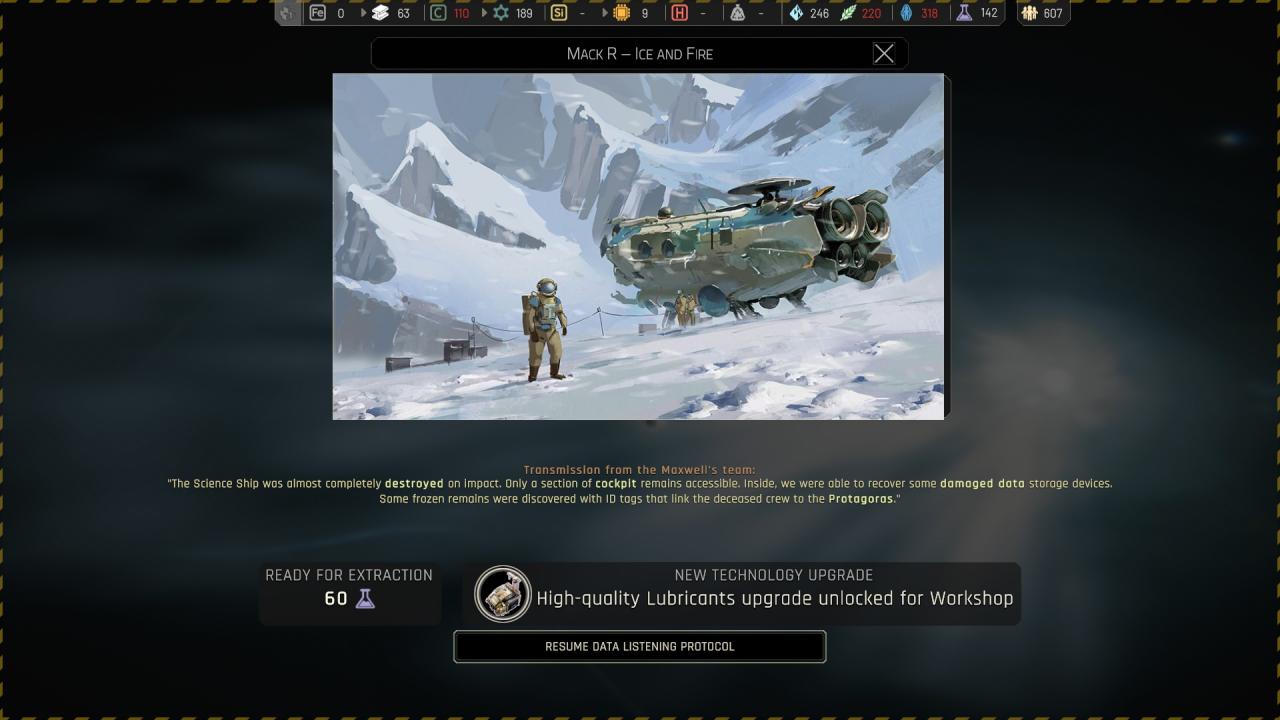
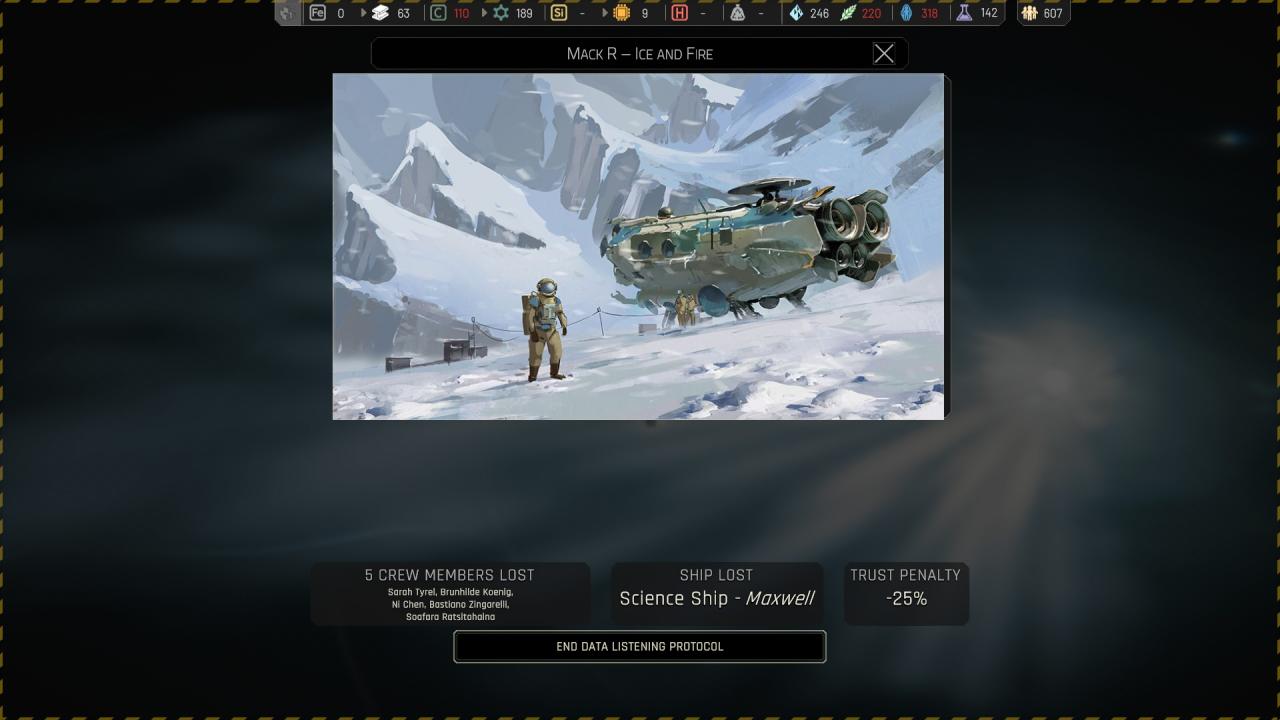
 If you choose to abandon the maxwell and declare its crew lost :
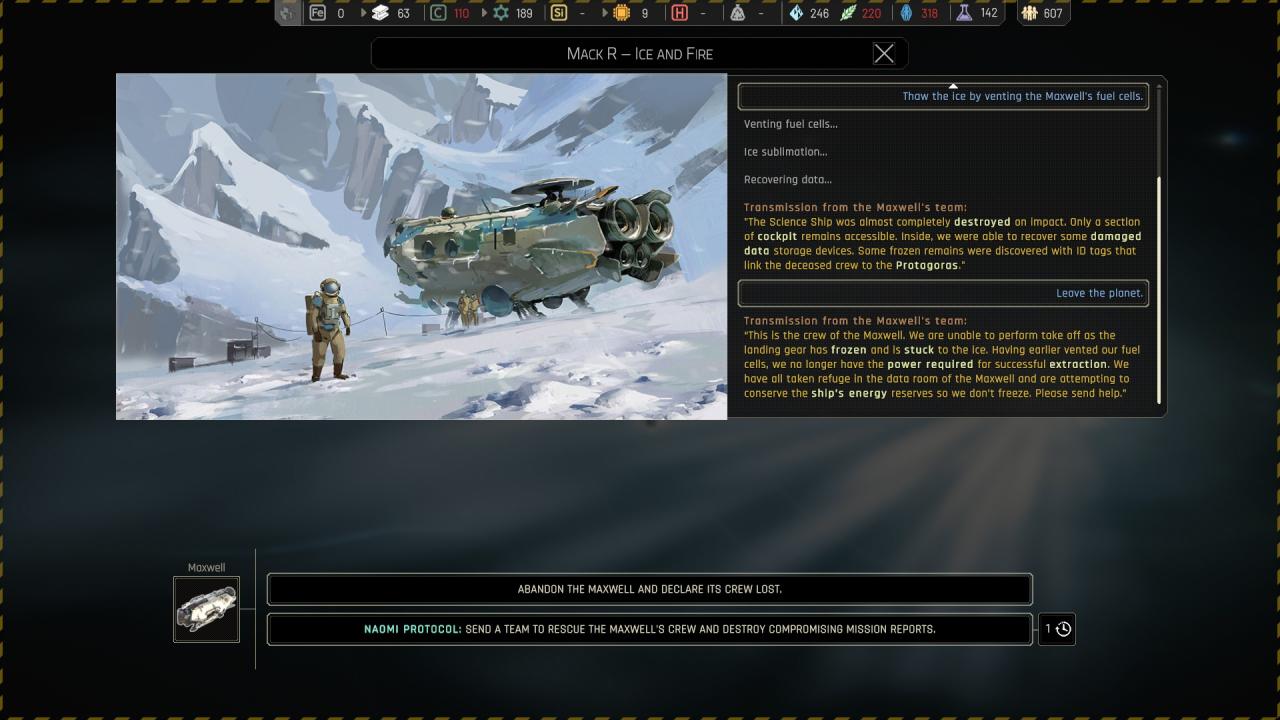
 But it you choose to rescue them and burrow the proof :
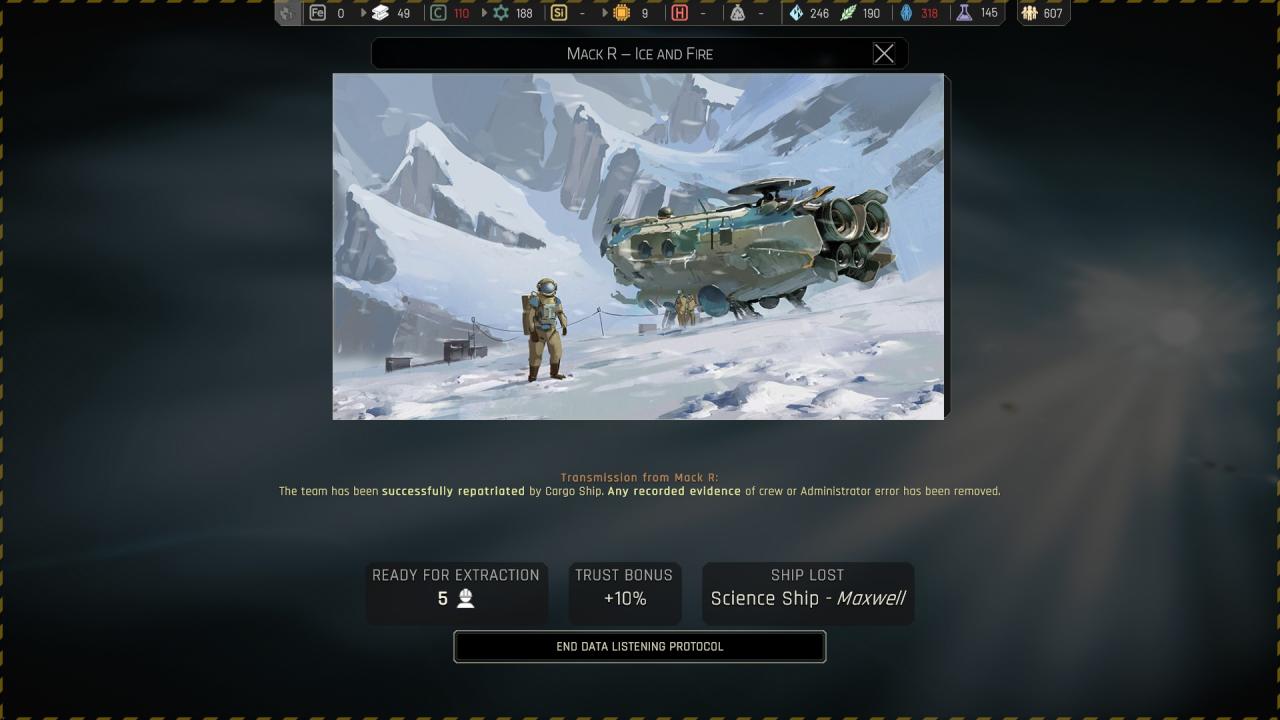 Drilling through the ice and investigate the wreck using a borescope :
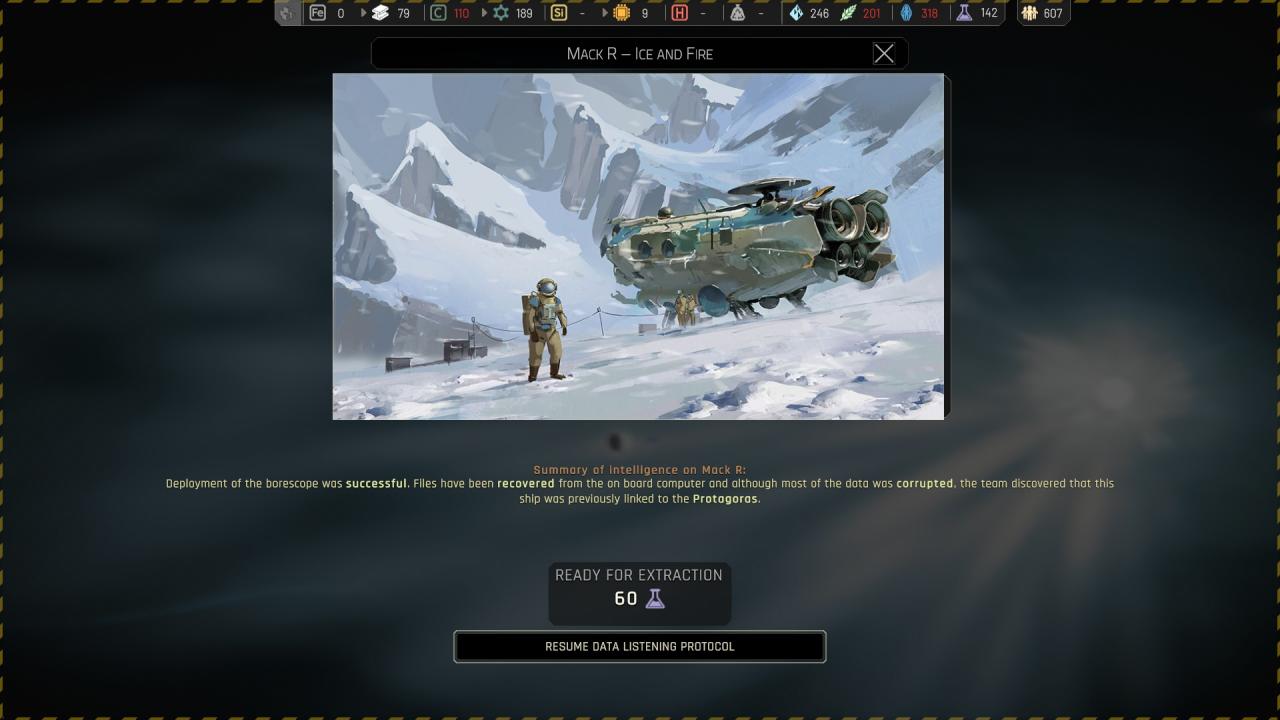
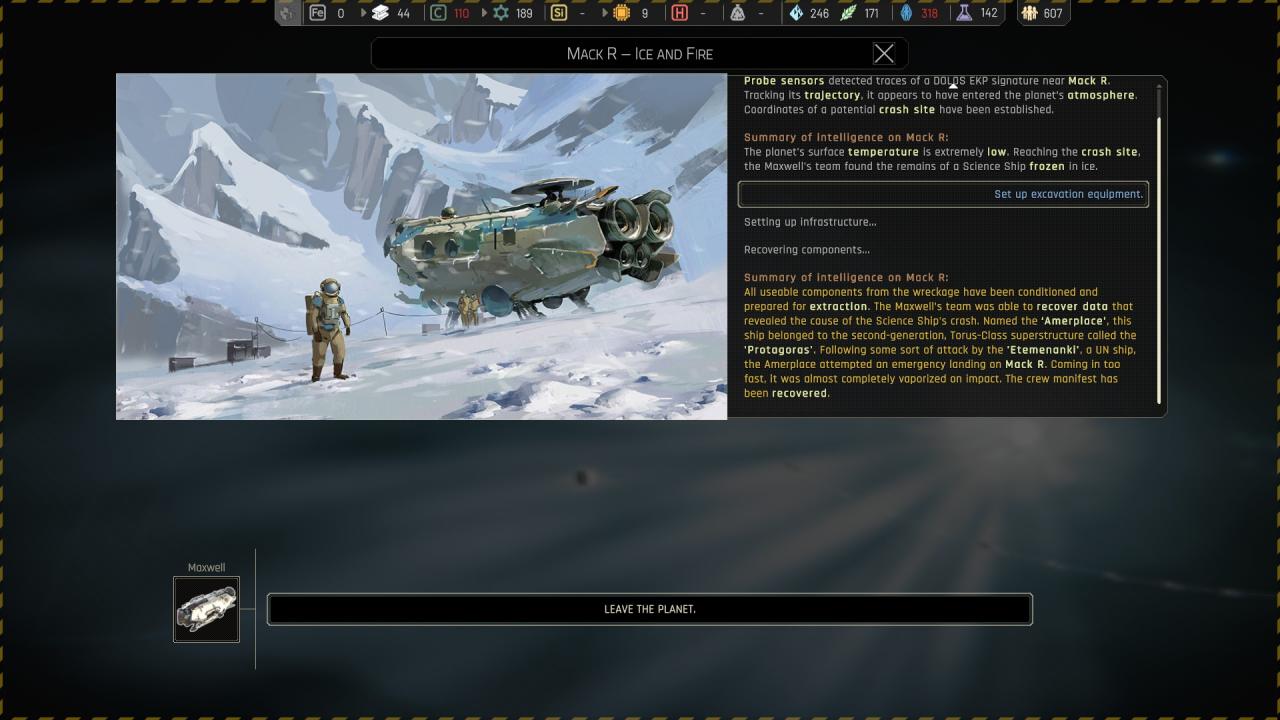
 Setting up excavation equipment :
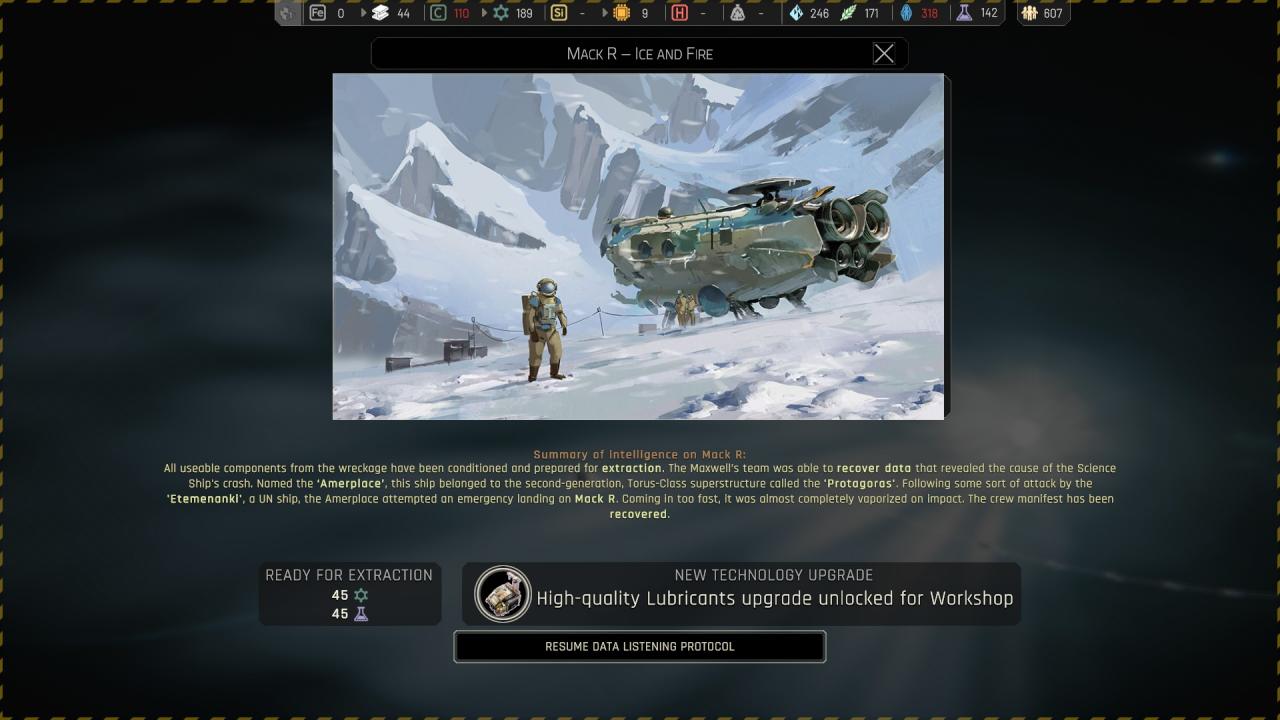
Chapter 2 ({ Tatra v8 } Tatra v8 – Adrift )
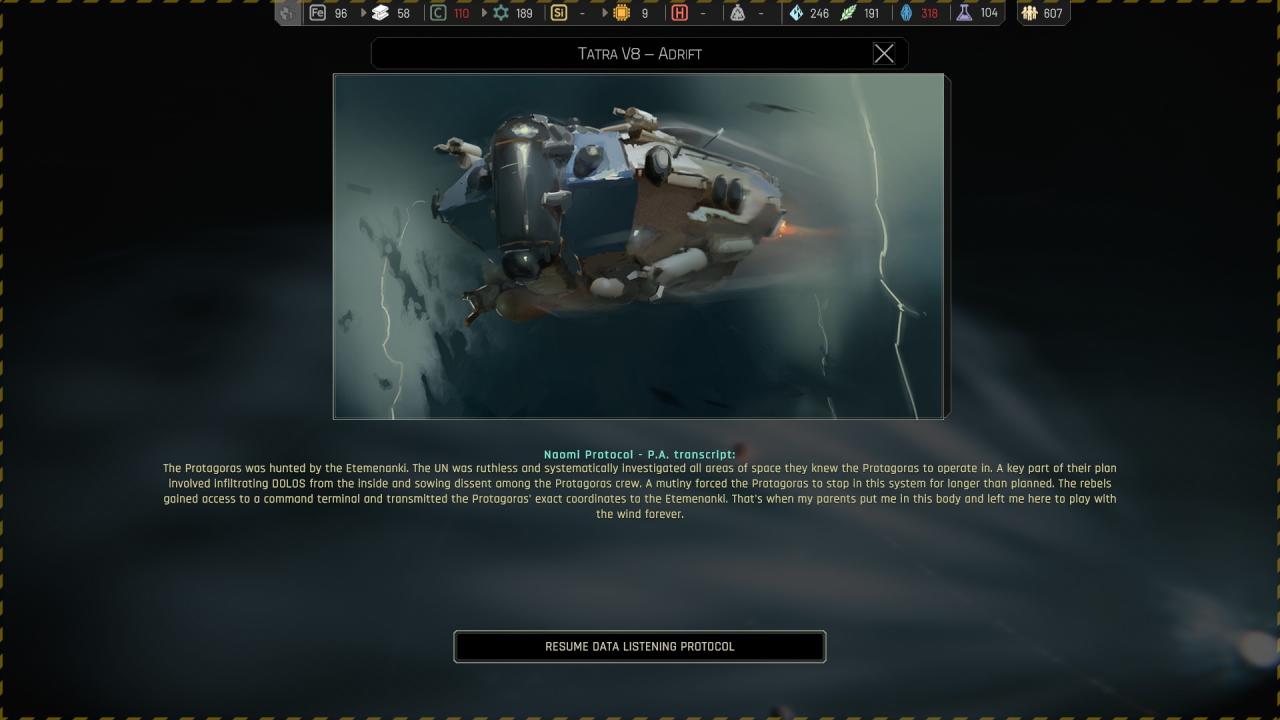
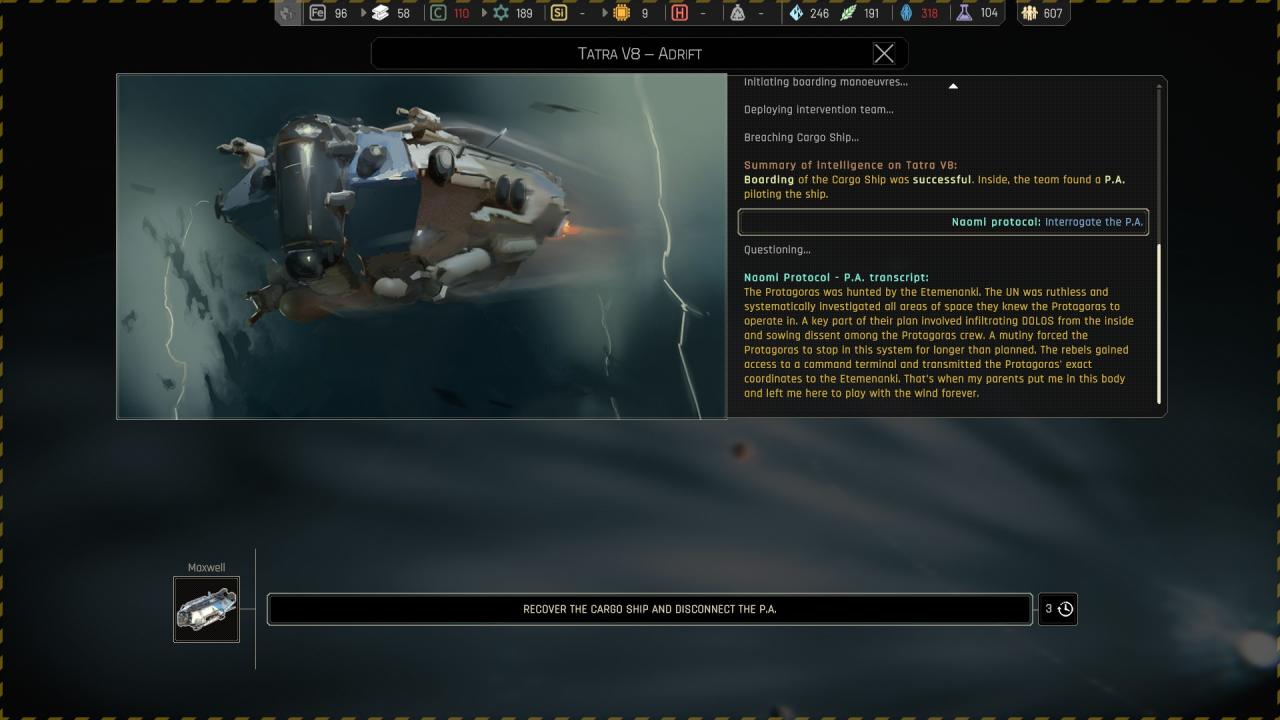
if you choose NAOMI PROTOCOL you will loose -1 stability permanent (but you find out some story dont know if this is relevant to the over all choices or story relevant things)
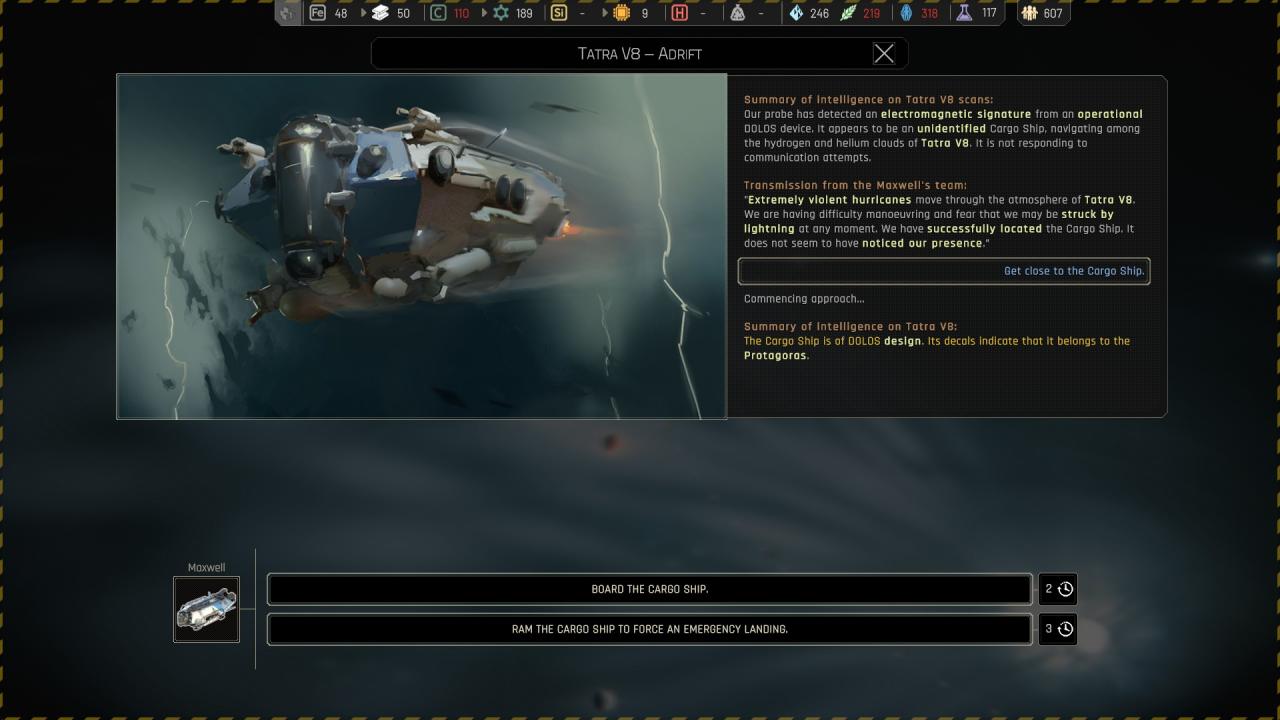
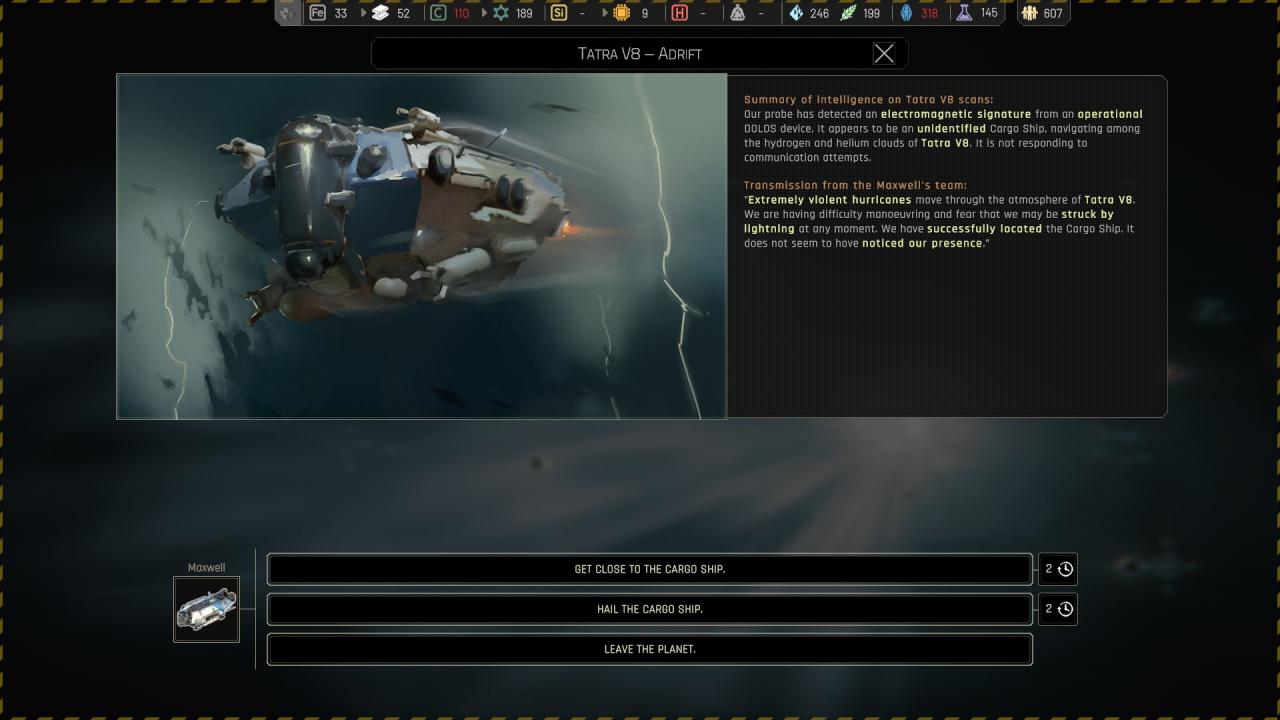 Getting close to the cargo ship :
 If you choose to board the cargo ship or hailling it : ( no reward change )
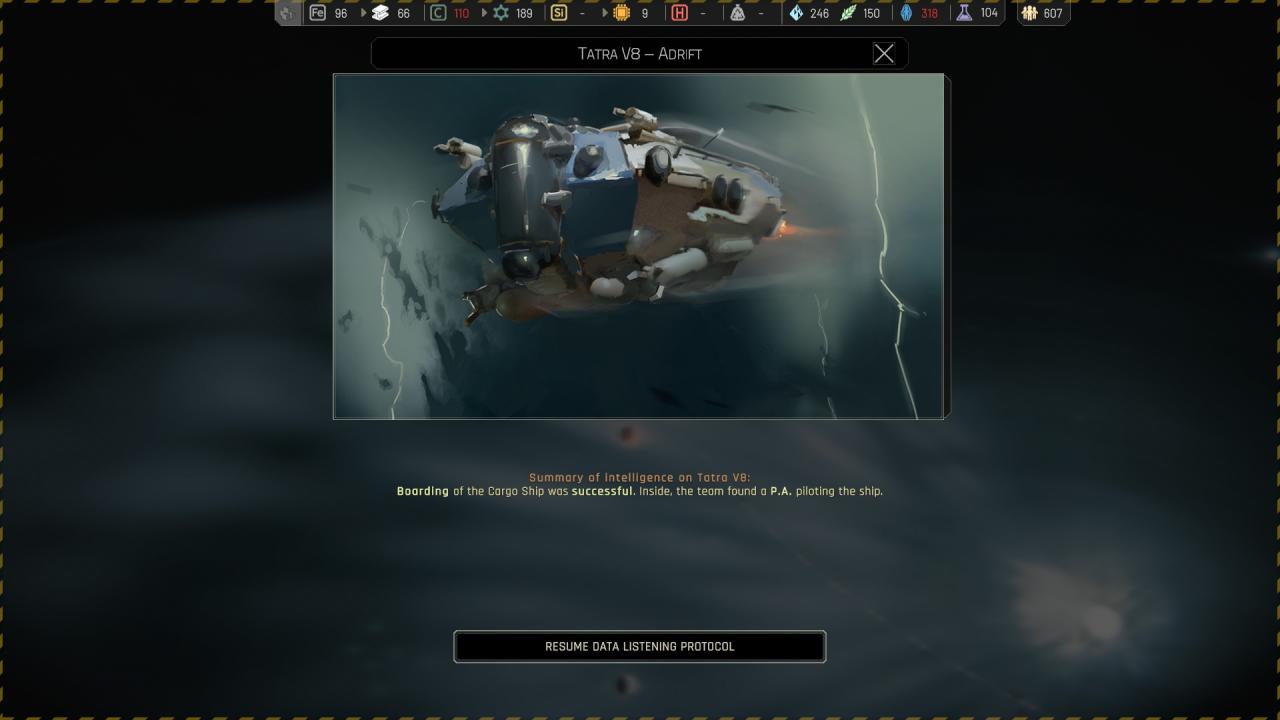
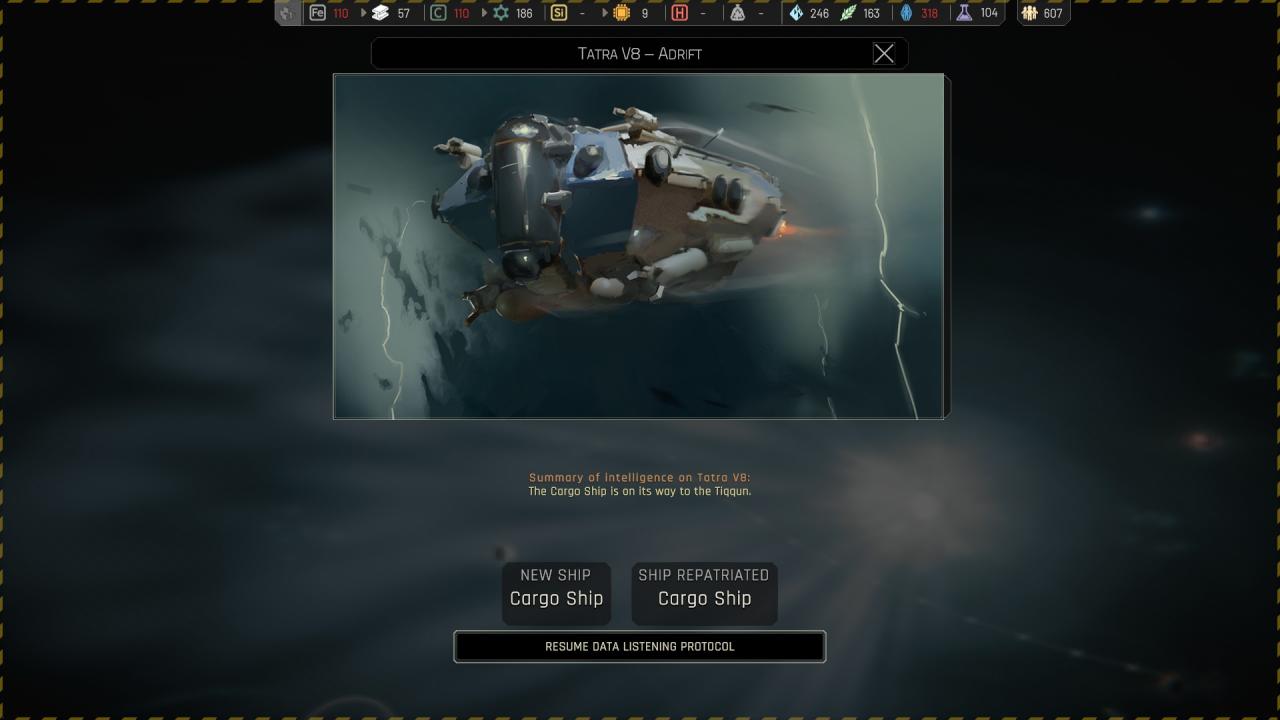
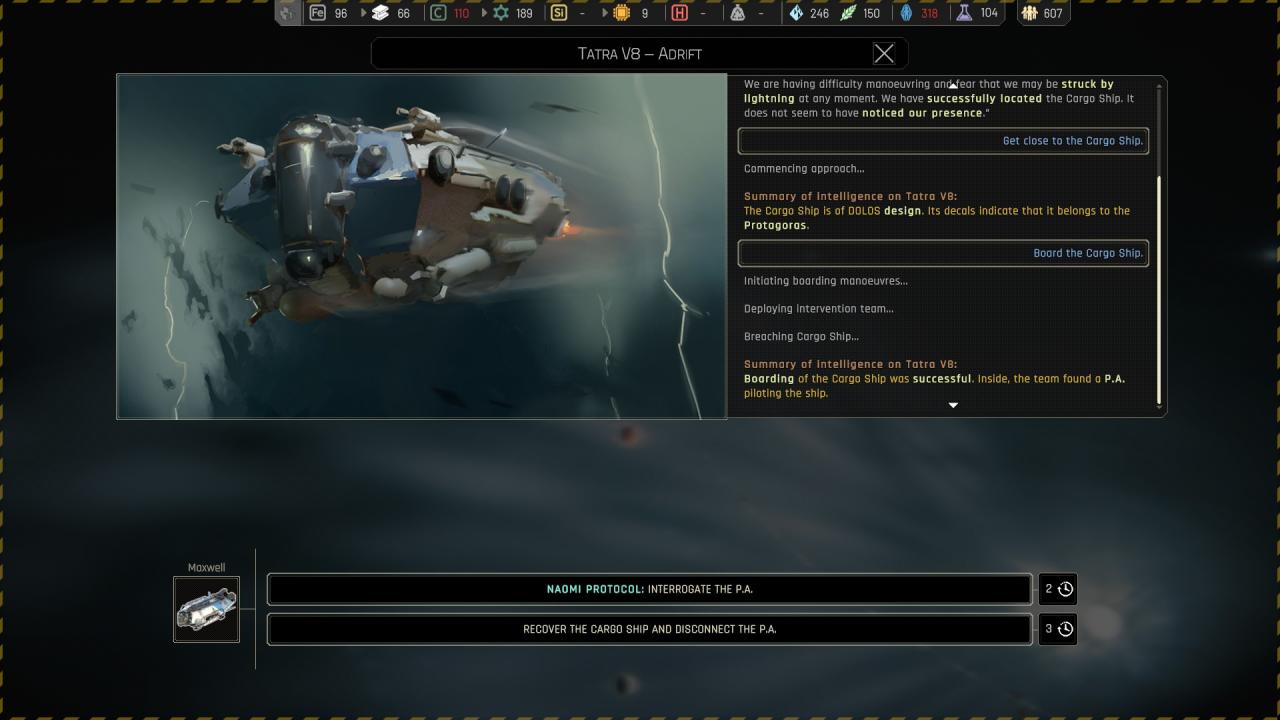 And then interrogate the P.A : ( You will be able to recover the cargo just after ! )
 In each case, ramming the ship will lead to :

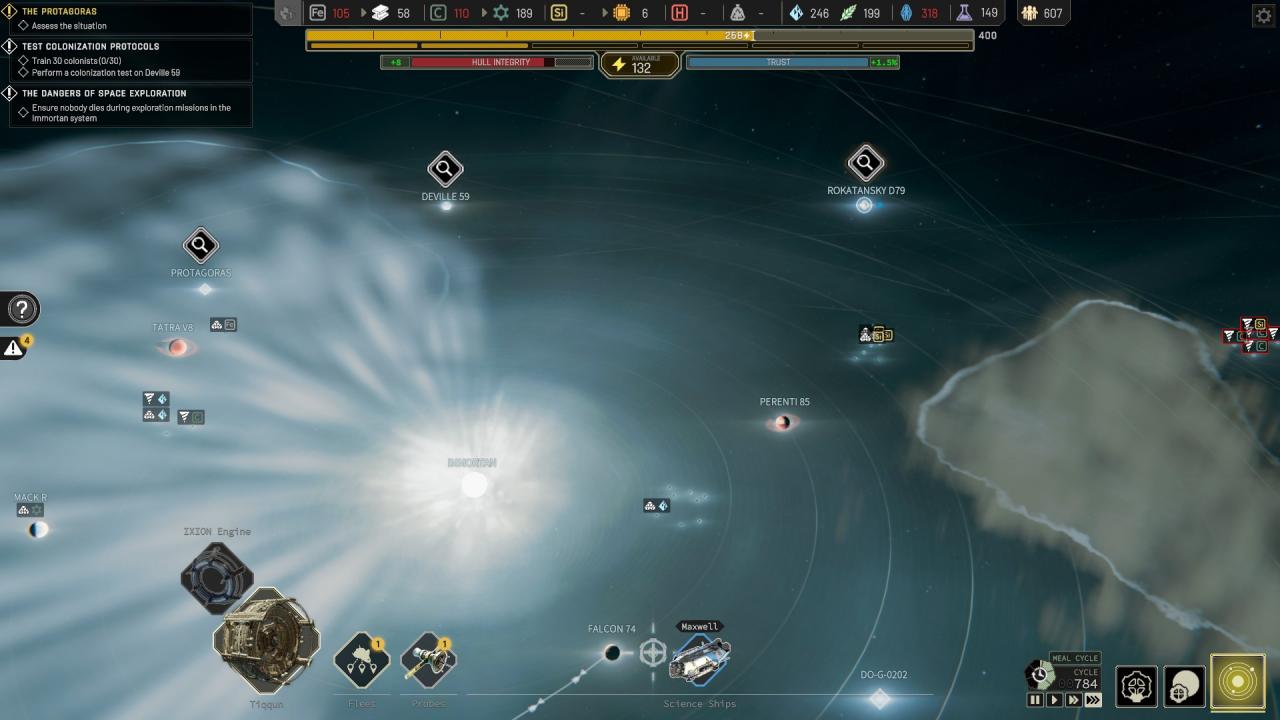
Chapter 2 ({ Rockatansky D79 } Rockatansky D79 – Twin-Tailed Comet )
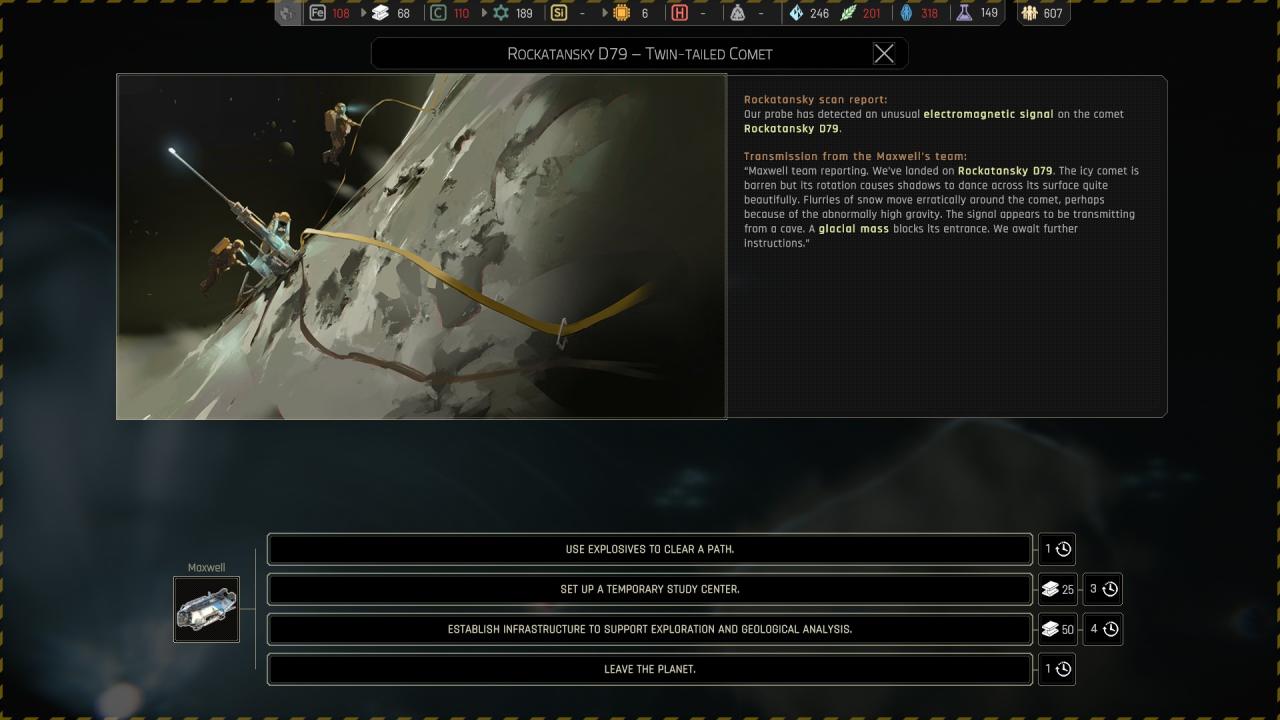 Using explosives to clear the path : ( Lead to a desaster … )
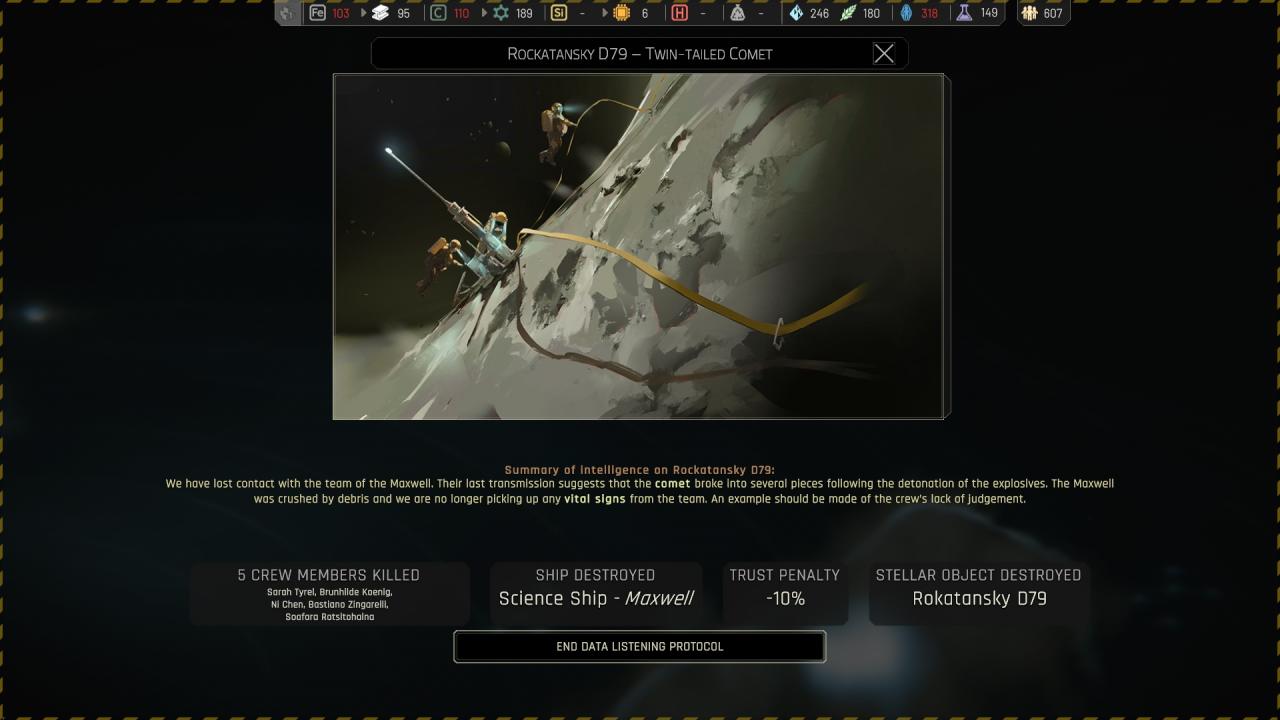 Setting up a temporary study center :
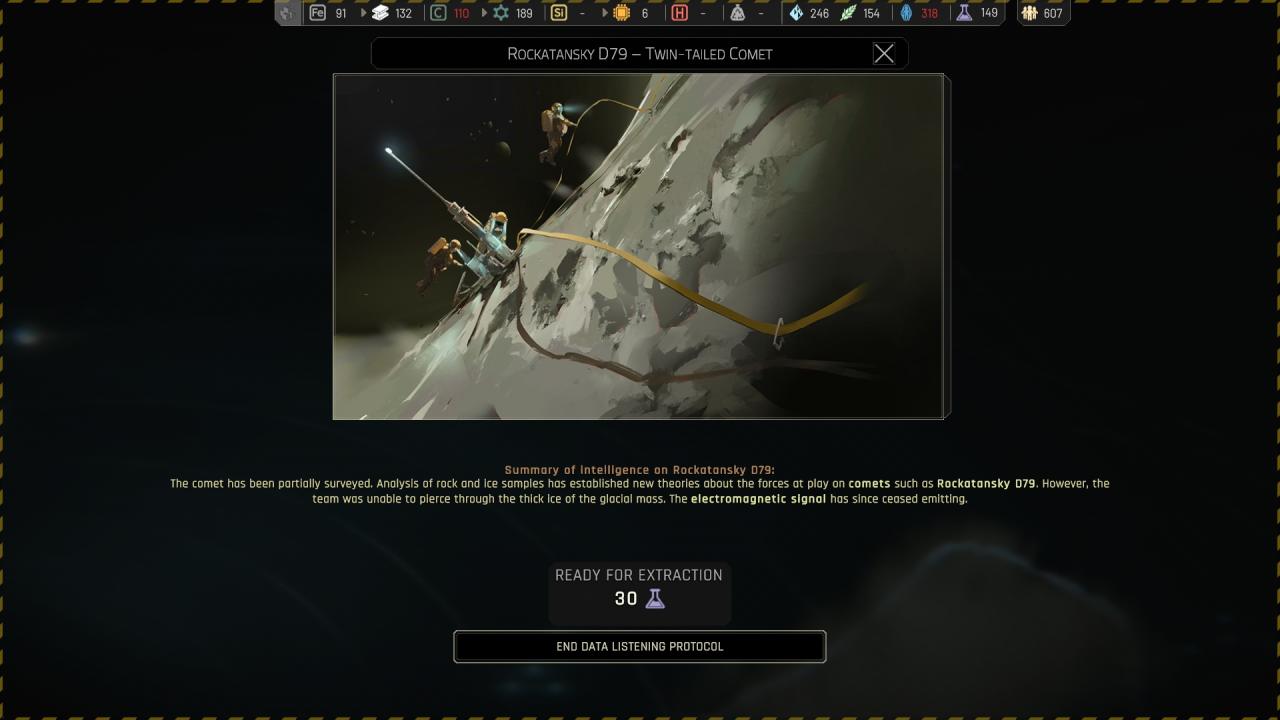
 And then remotly initiate the maxwell’s self-destruct sequence : ( Bad choice again ! )
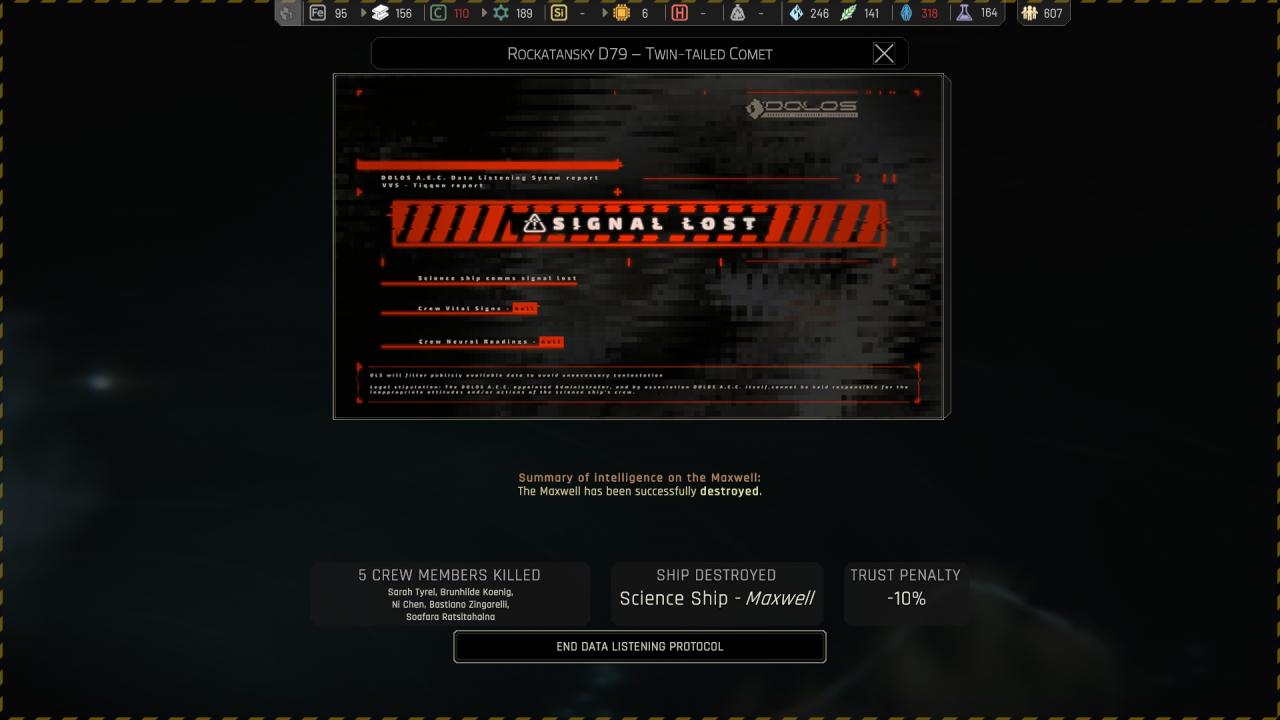 Using naomi protocol, updating the tiqqun’s crew manifest to include the new biometric data :
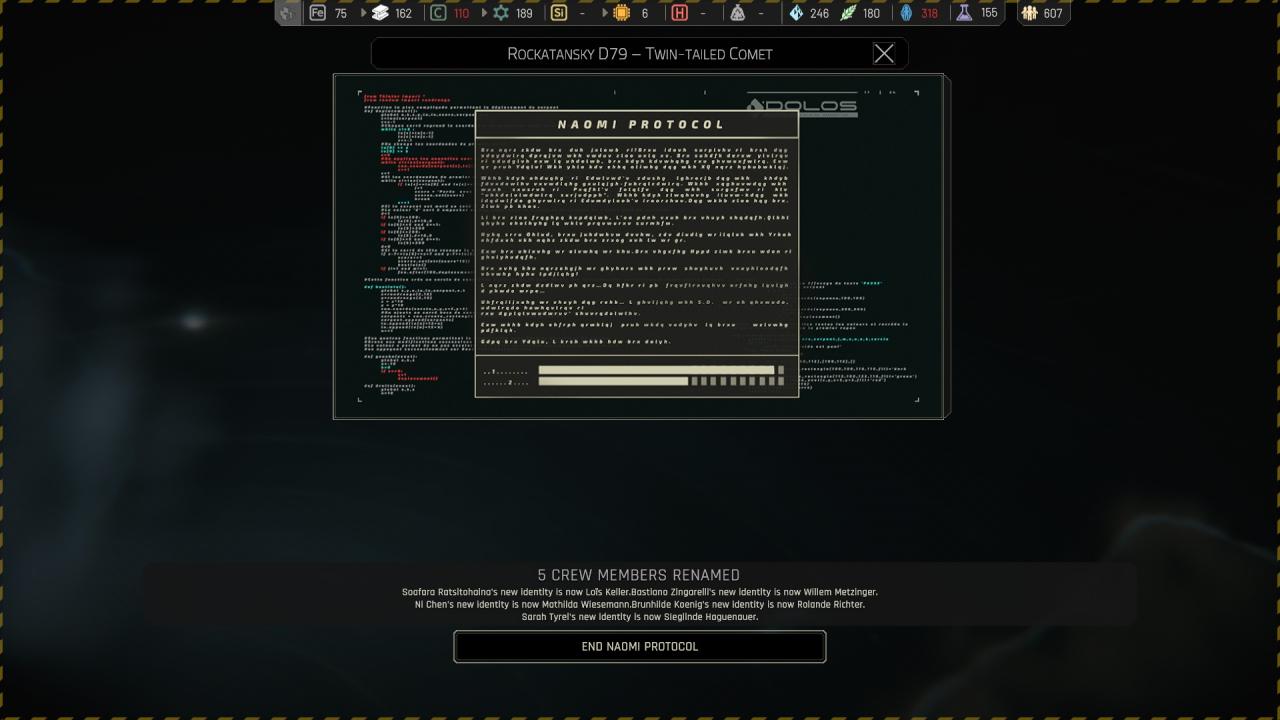 Establishing infrastructure to support exploration and geological analysis :
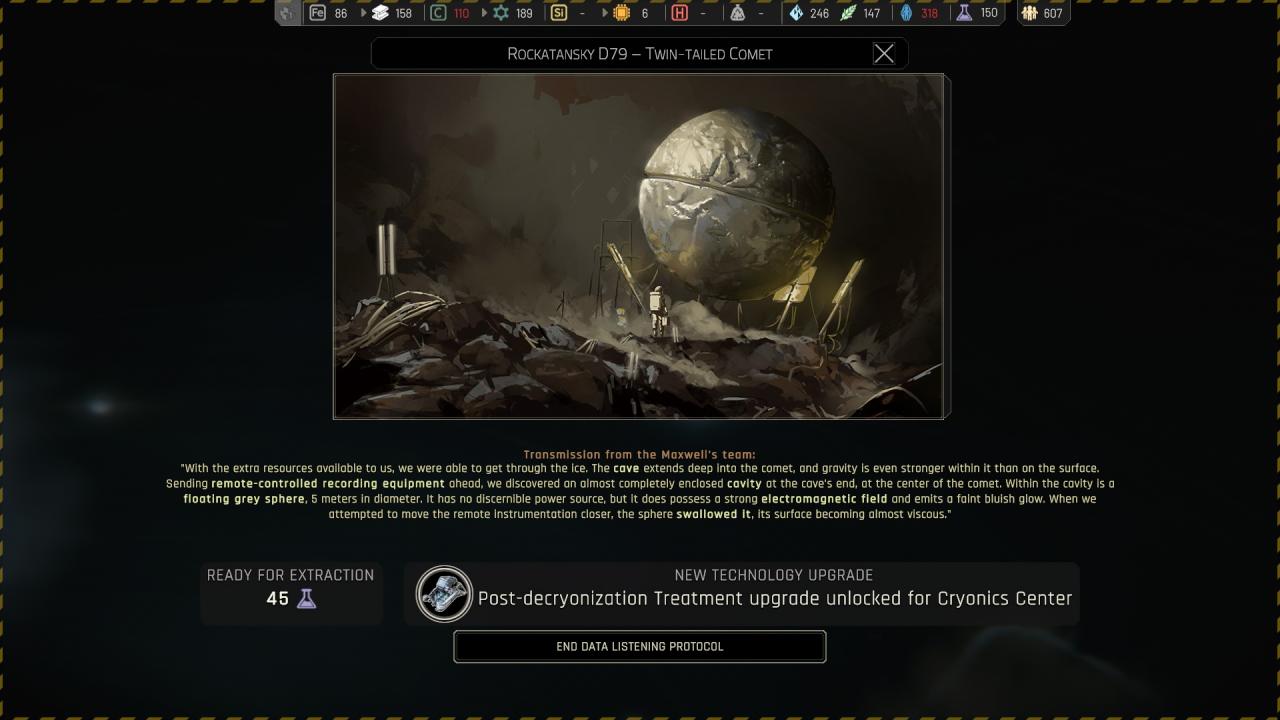
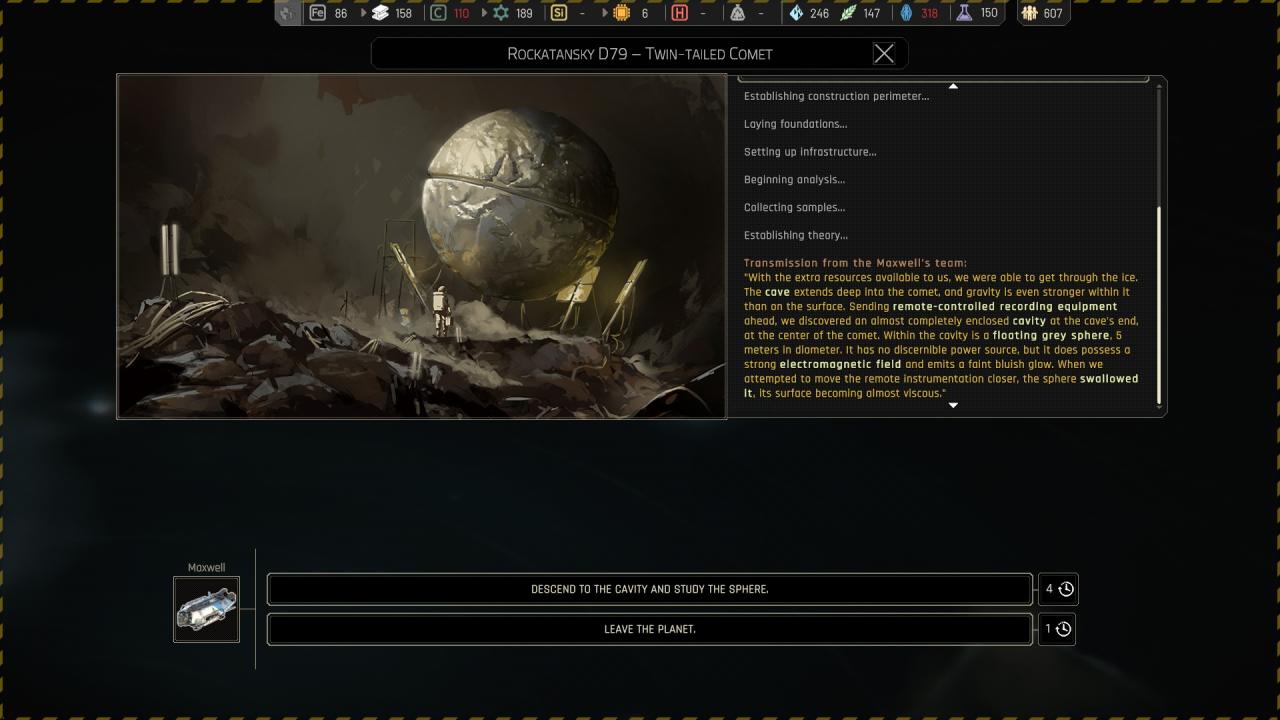 If you choose to descend to the cavity and study the sphere : ( Bad things happened, better to just leave the planet and lock the location )
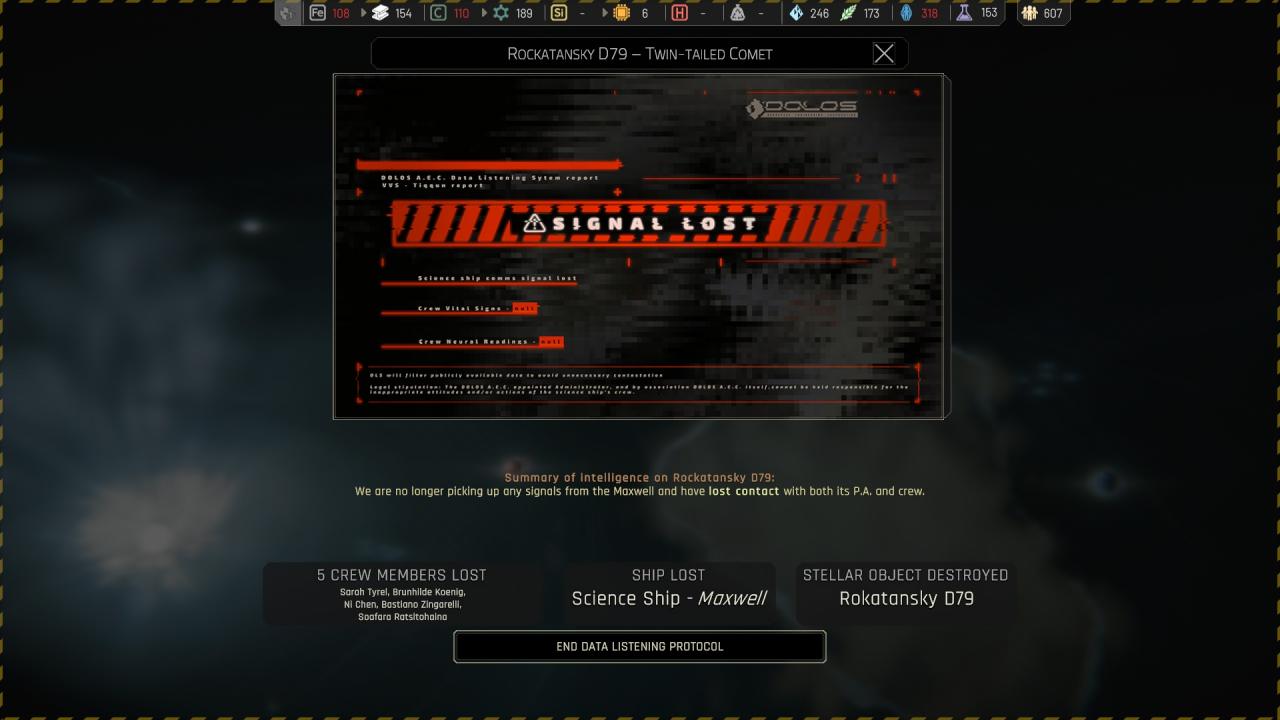
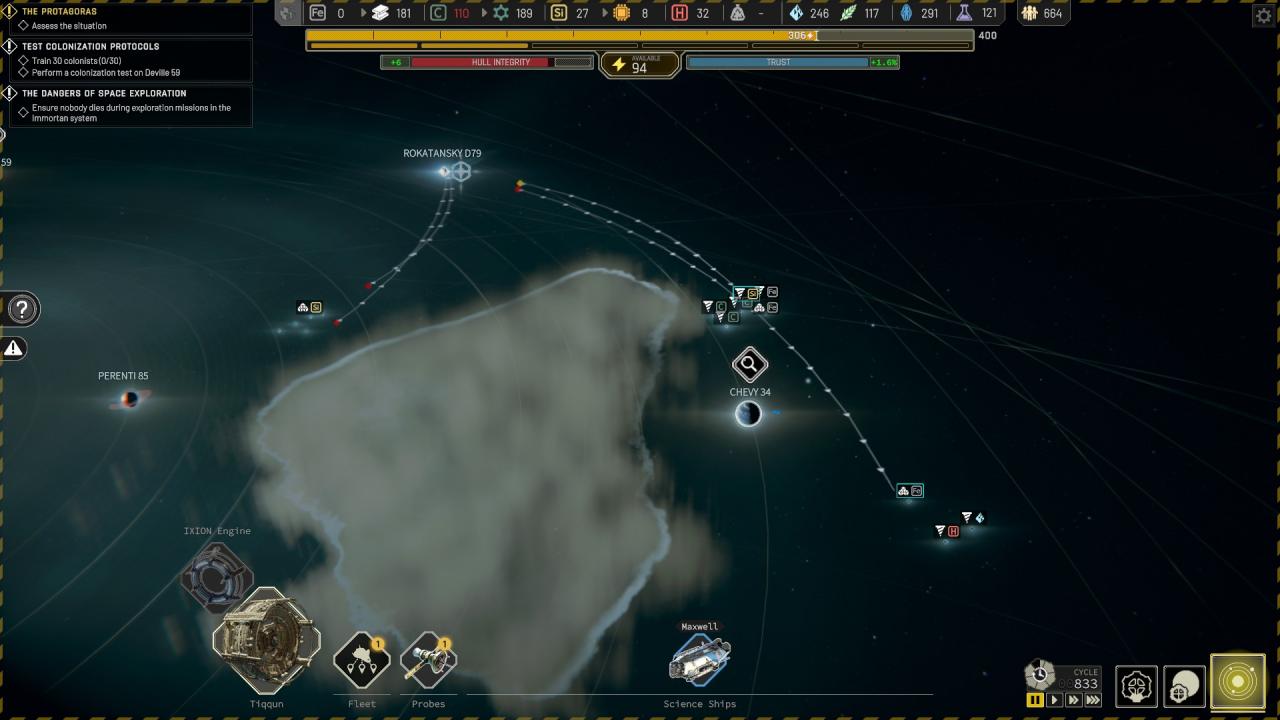
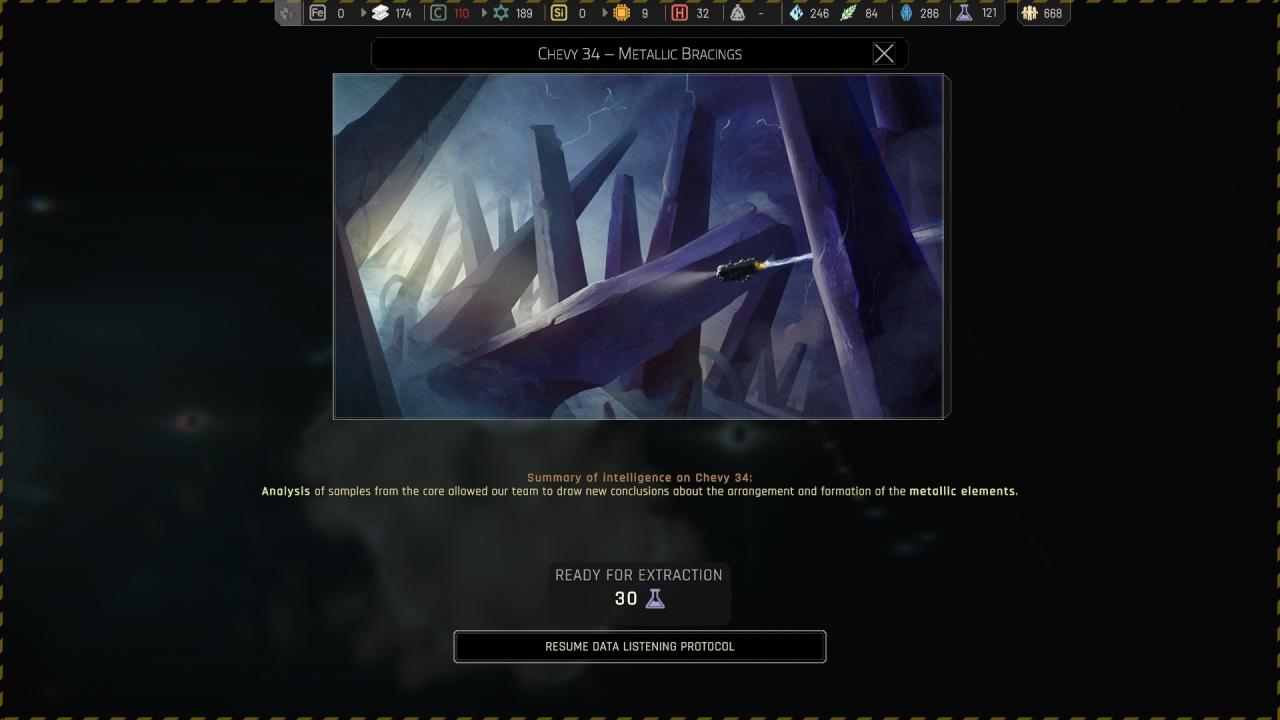
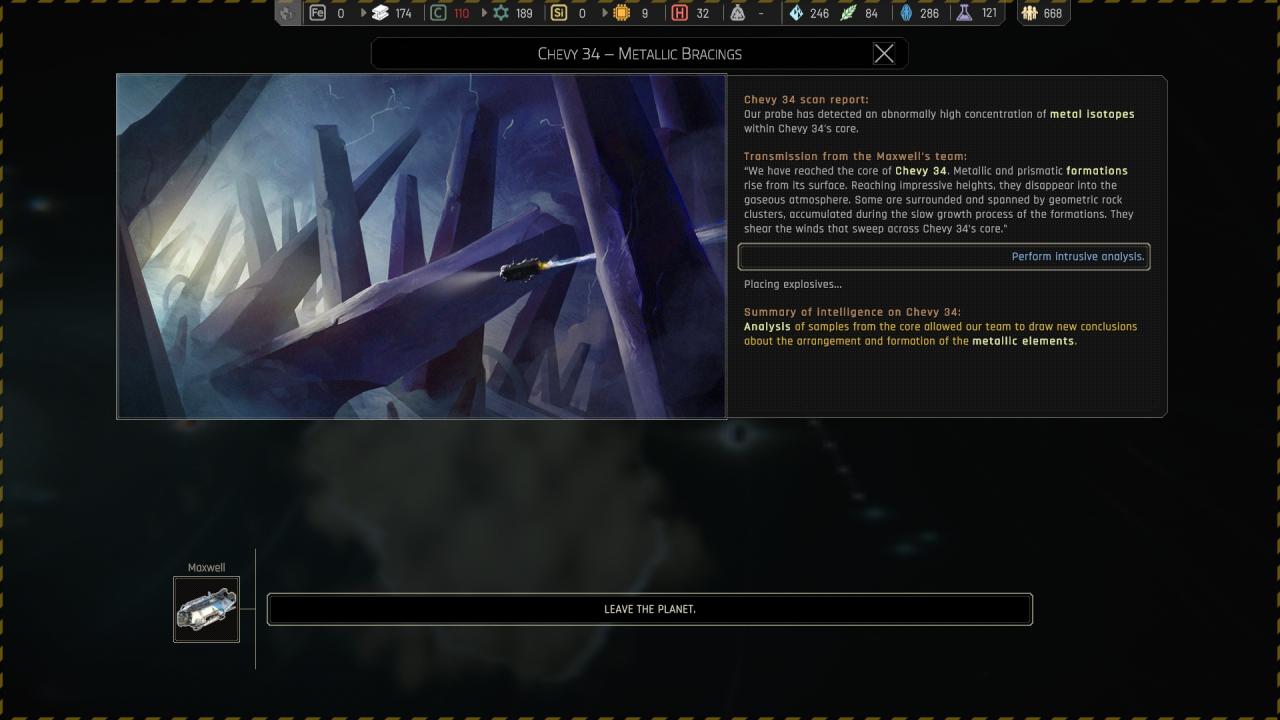
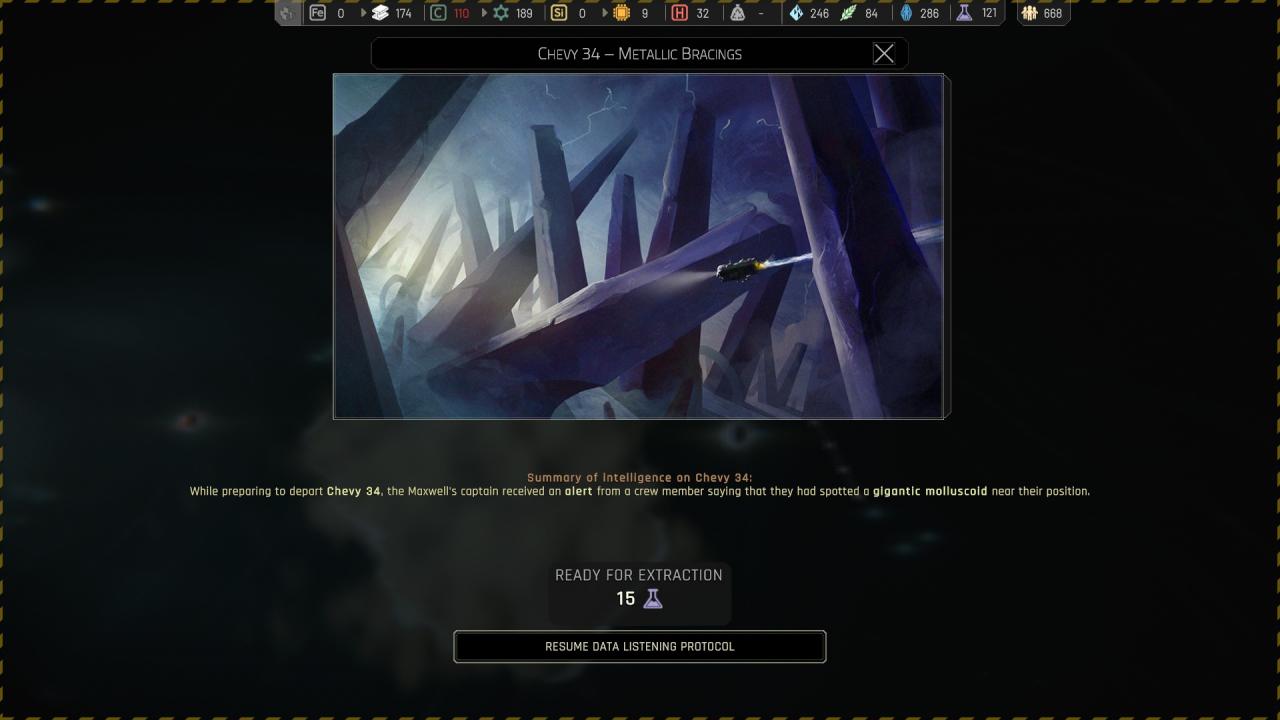
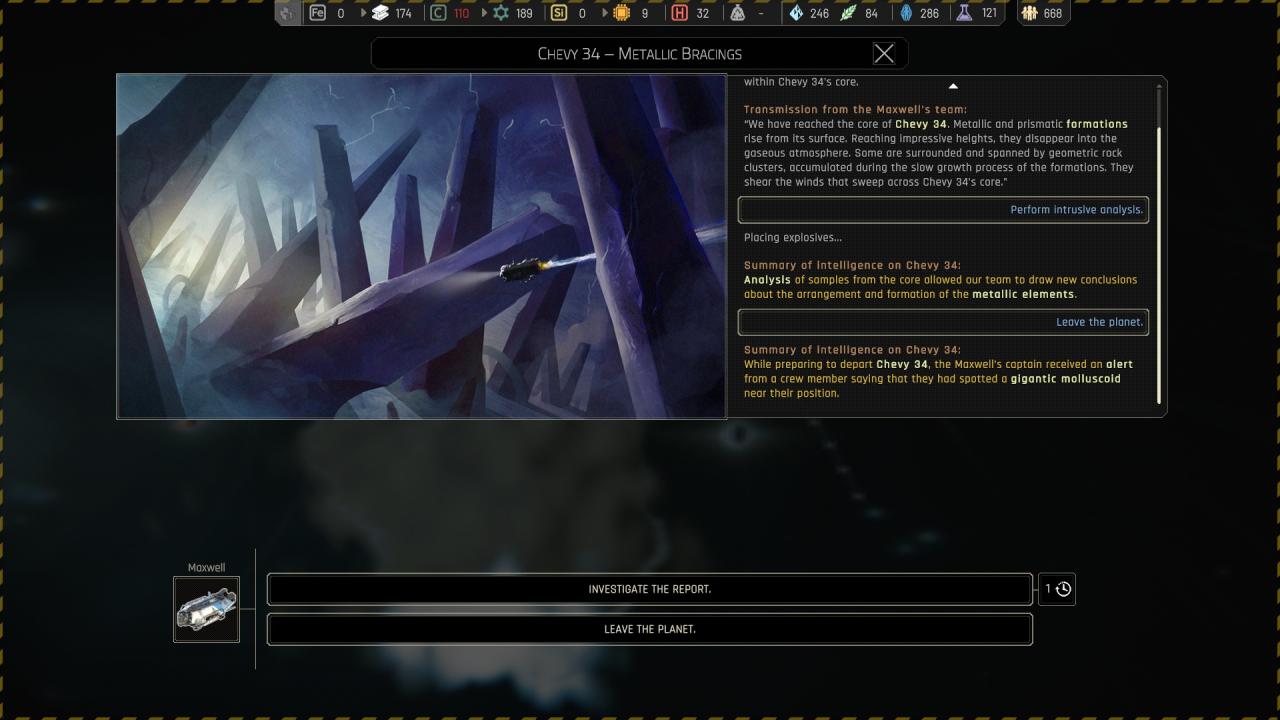
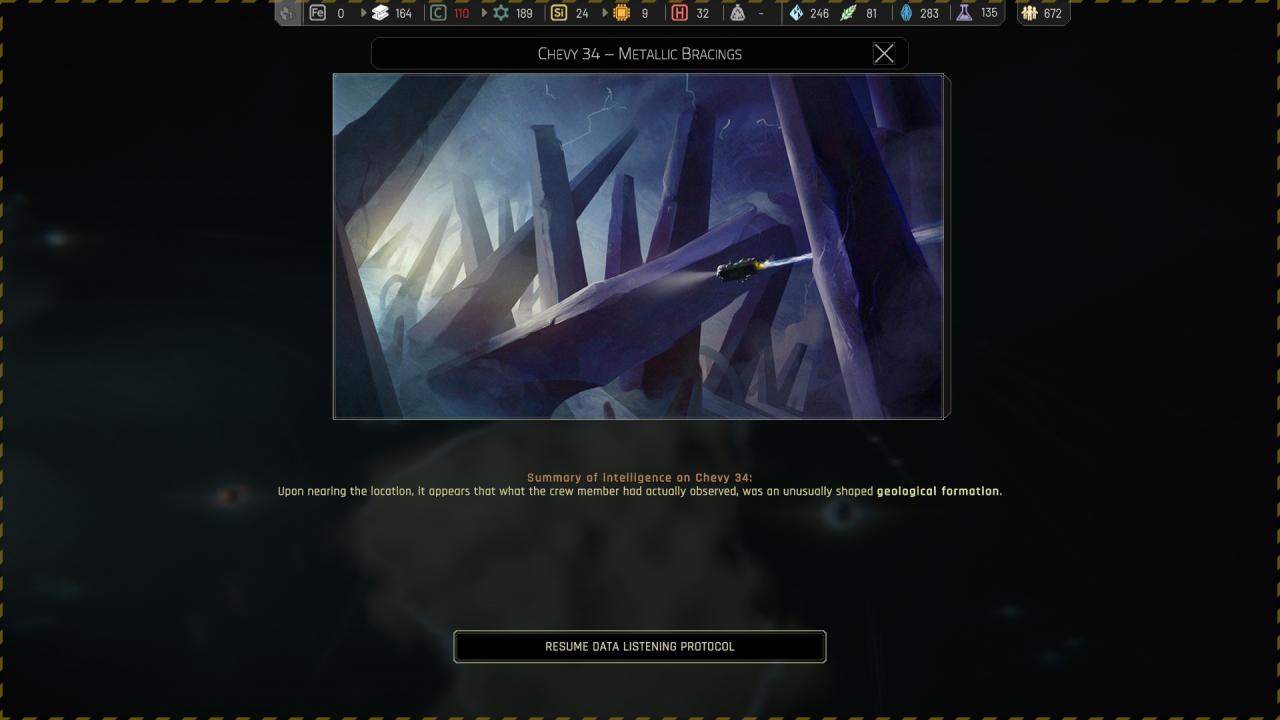
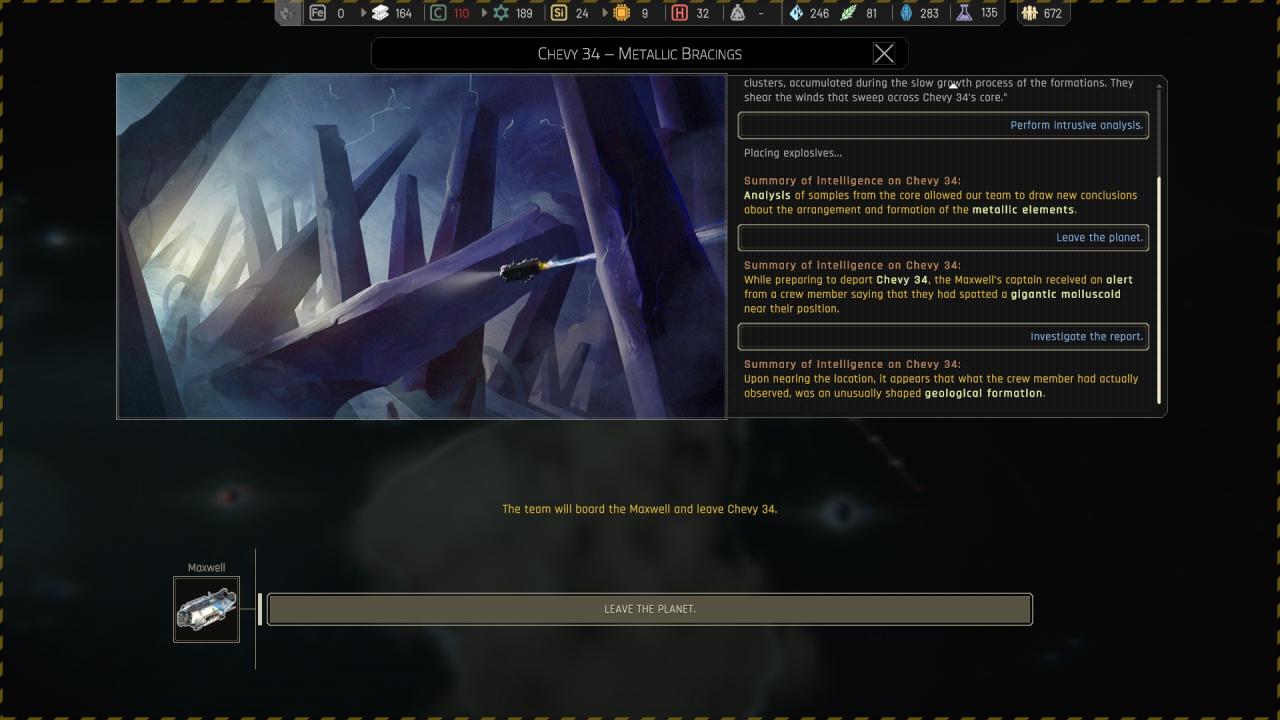
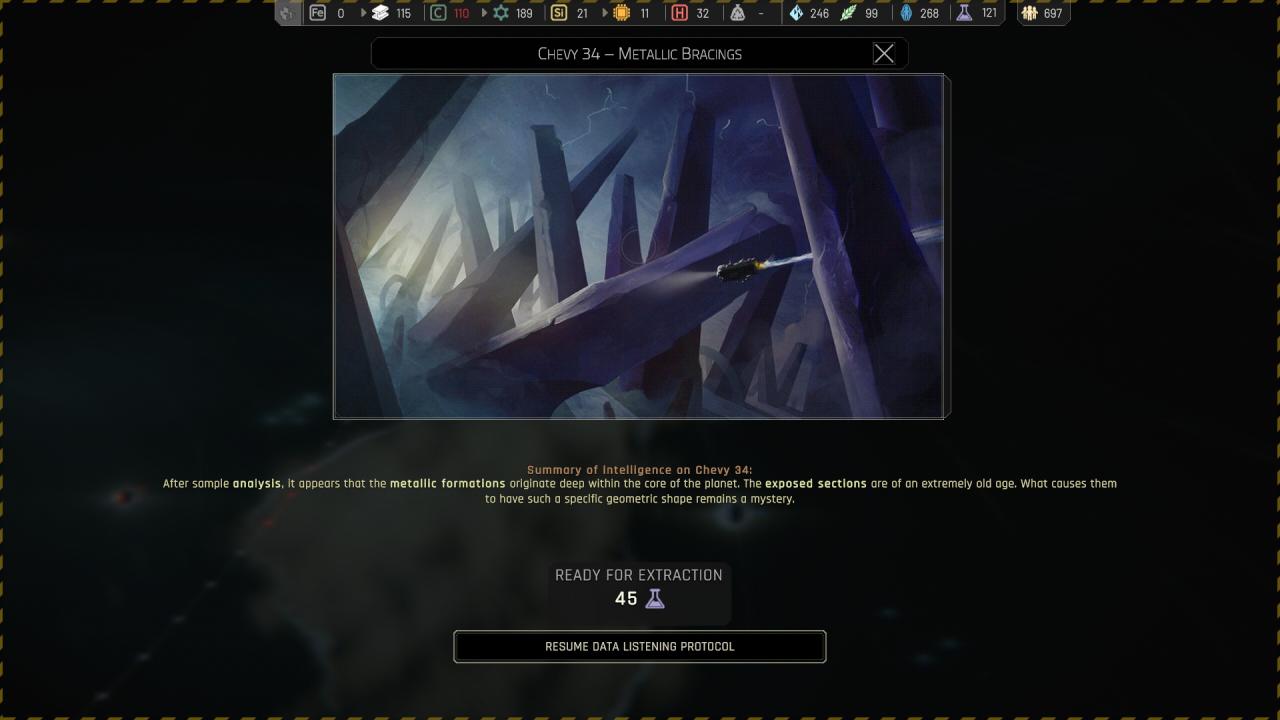
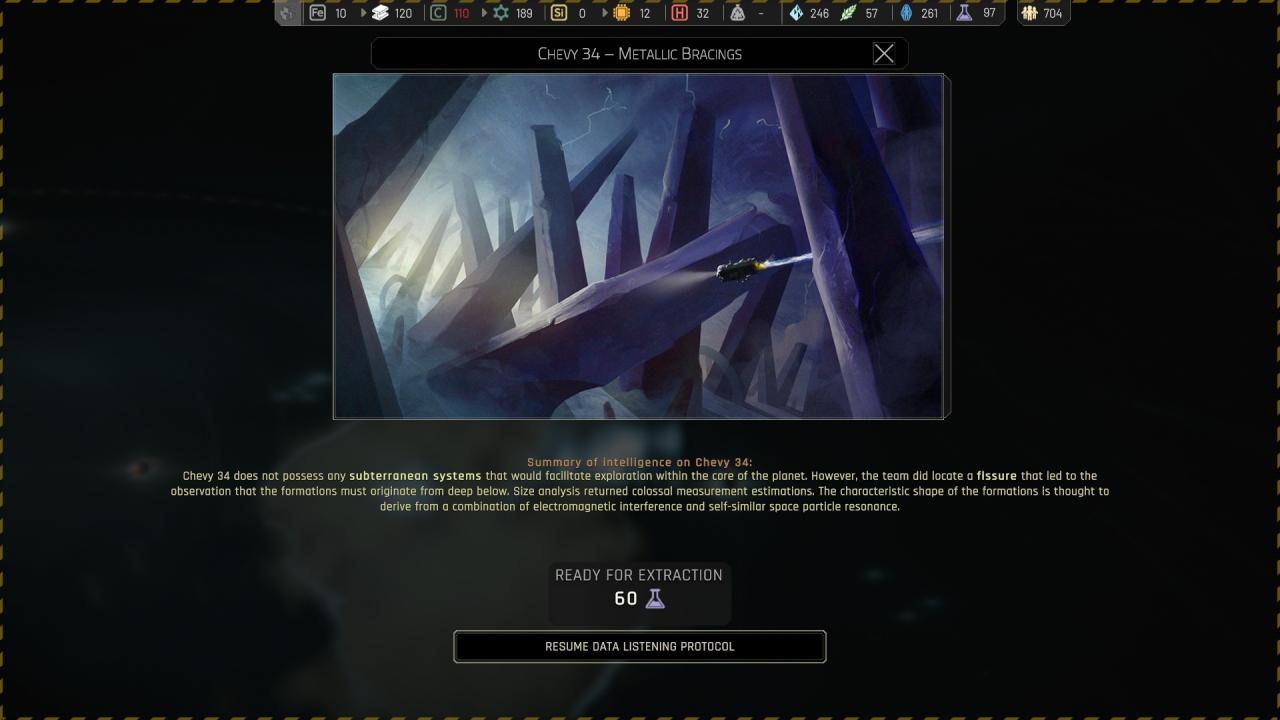
Chapter 2 ({ Chevy 34 } Chevy 34 – Metallic Bracings )
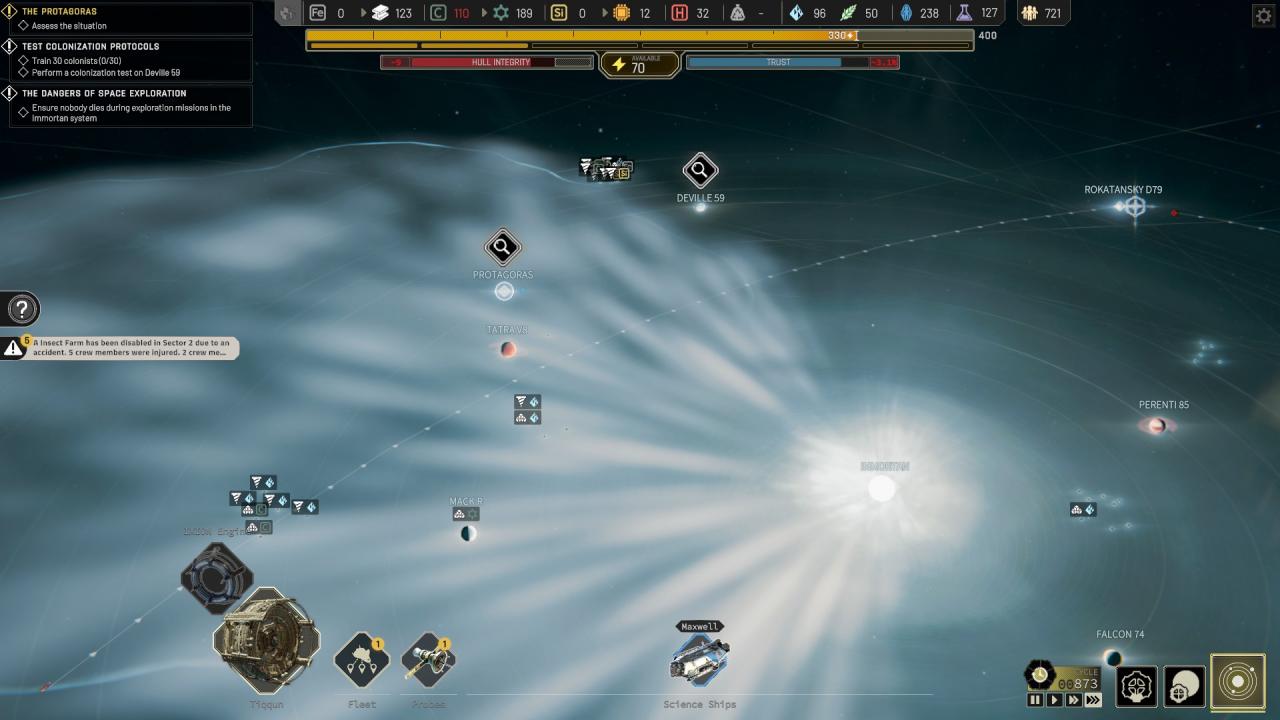
It seems that to test the events on a planet behind the space thunderstorm you need to fly the station to it or to Rokatansky comet so the cargo ship will avoid the thunderstorm.. Cargo ship always ended being destroyed for me before even carrying the full load, so I’ve never finished any options outside first one.
First off, i confirmed that is better to send Tiqqun to Rokatansky to do quest and minning around Chevy ( thank to @Sleeps~Darkly~ ).
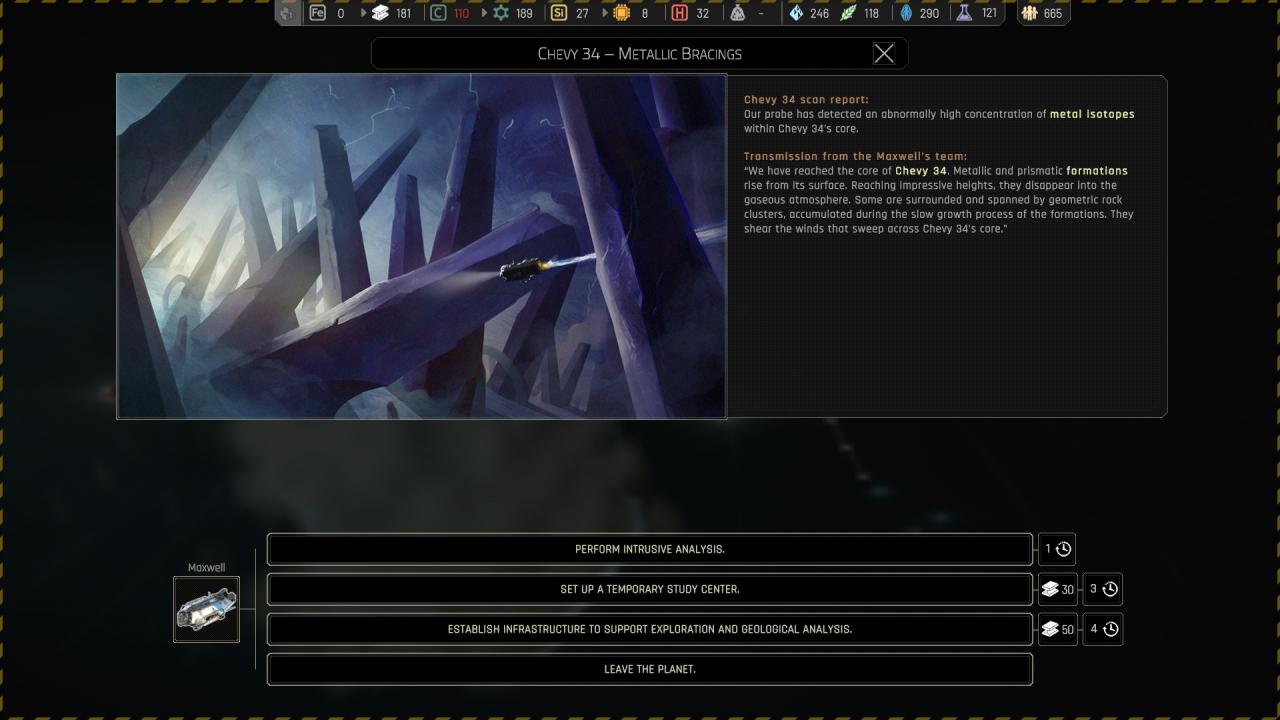
 Perfoming intrusive analysis :
 Setting up a temporary study center : ( End just like above )
 Establishing infrastructure to support exploration and geological analysis : ( End just like above )
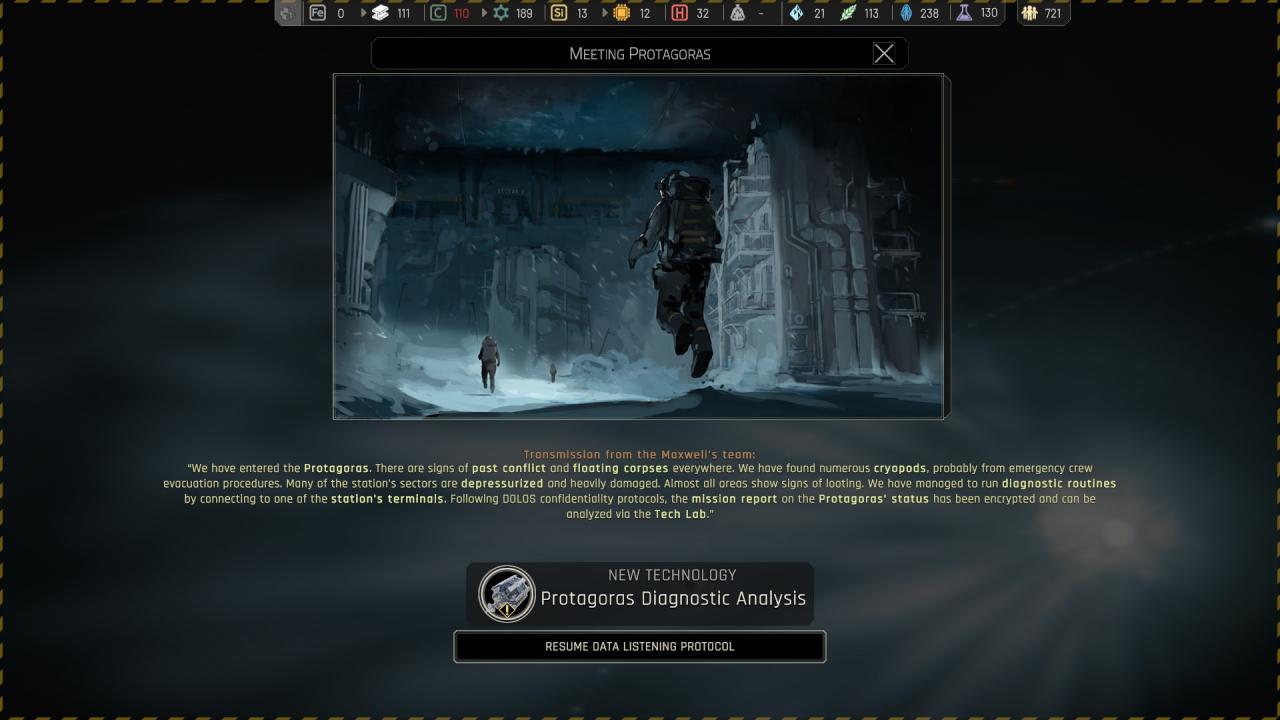
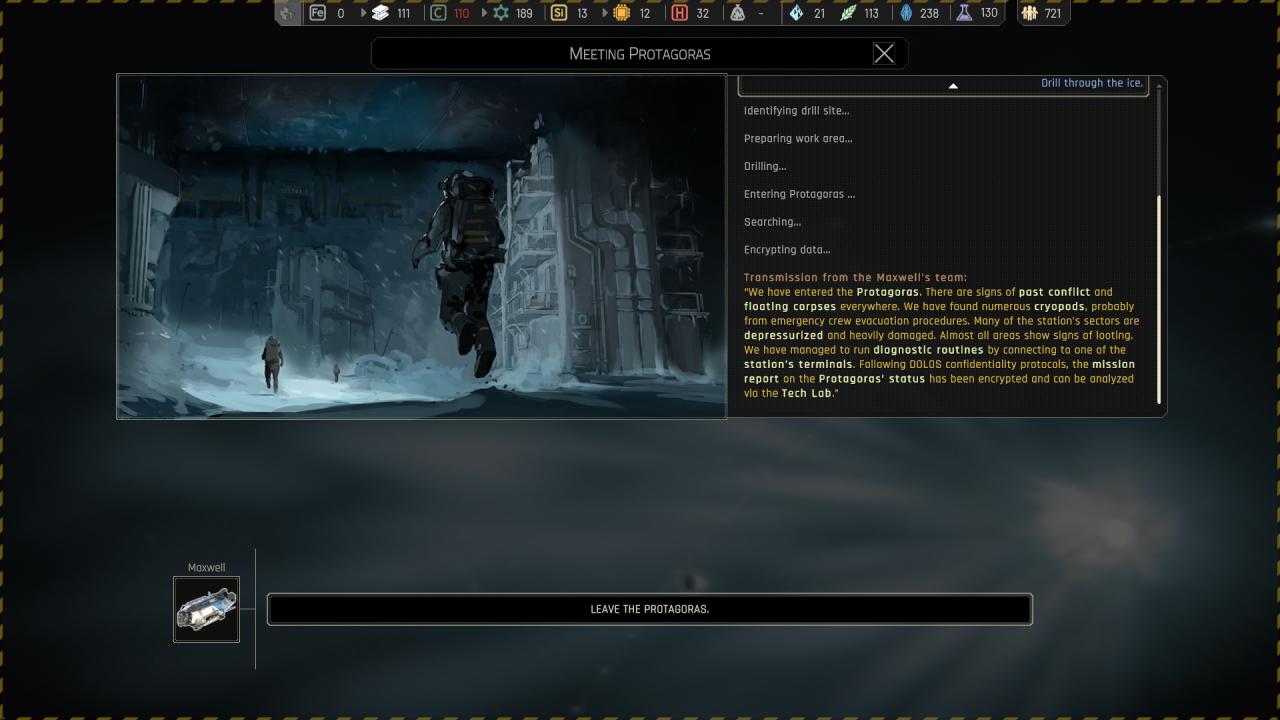
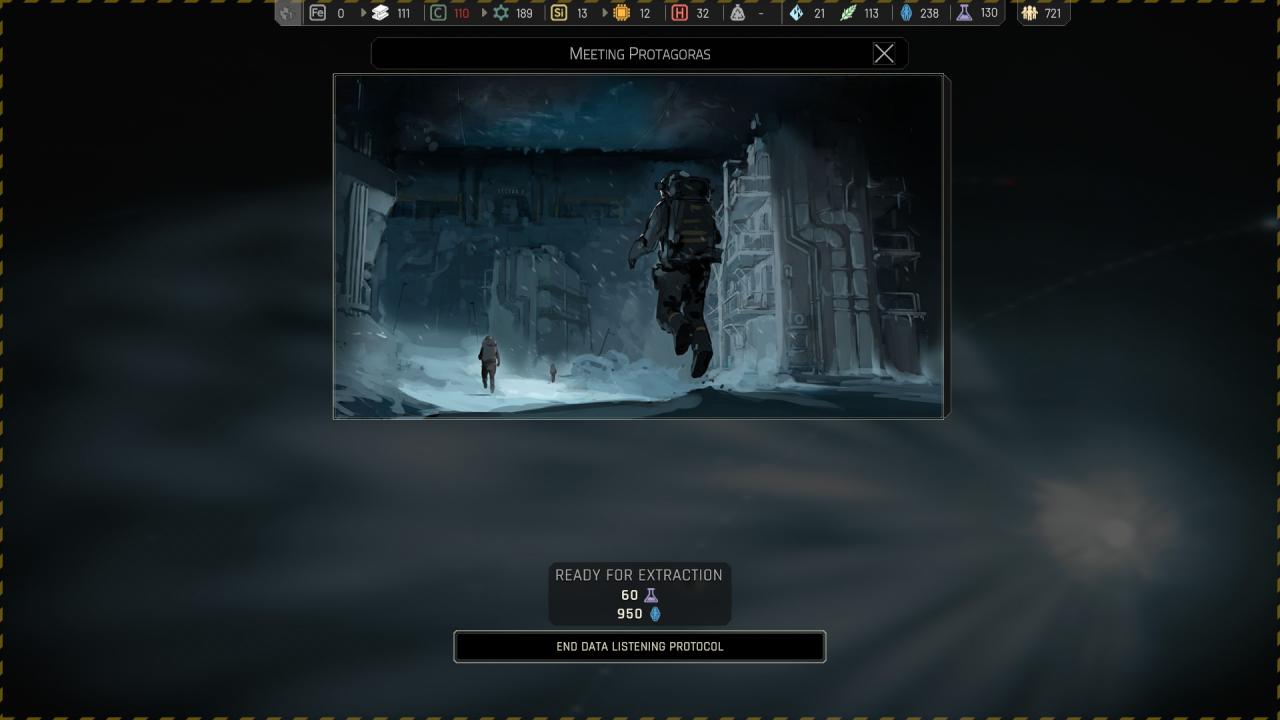
Chapter 2 ({ Protagoras } Meeting Protagoras ) Quest /!\
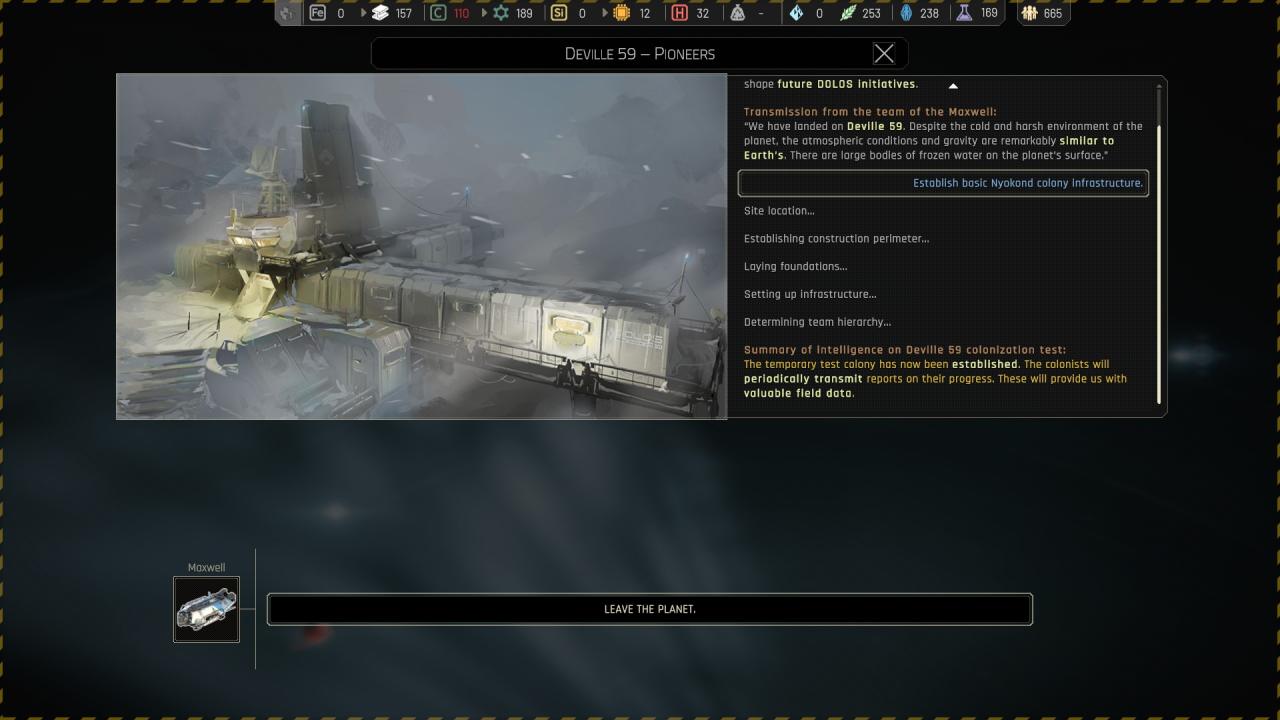
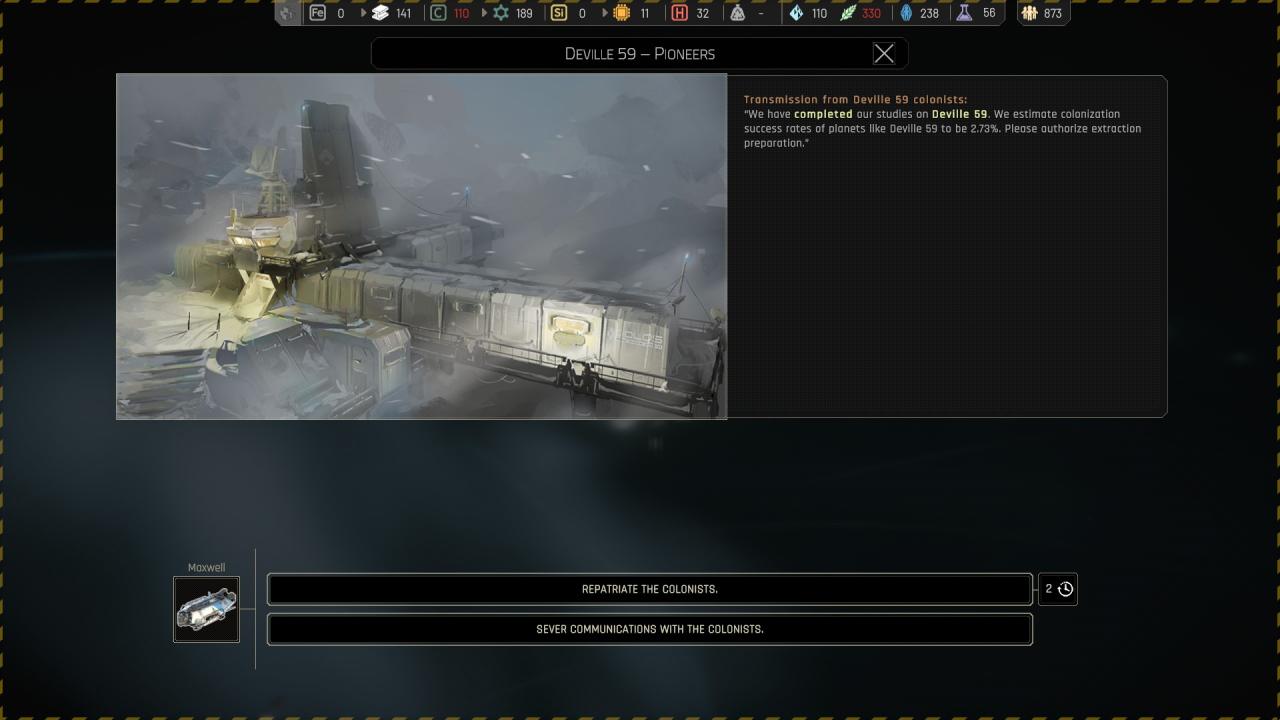
Chapter 2 ({ Deville 59 } Deville 59 – Pioneers ) Colony /!\
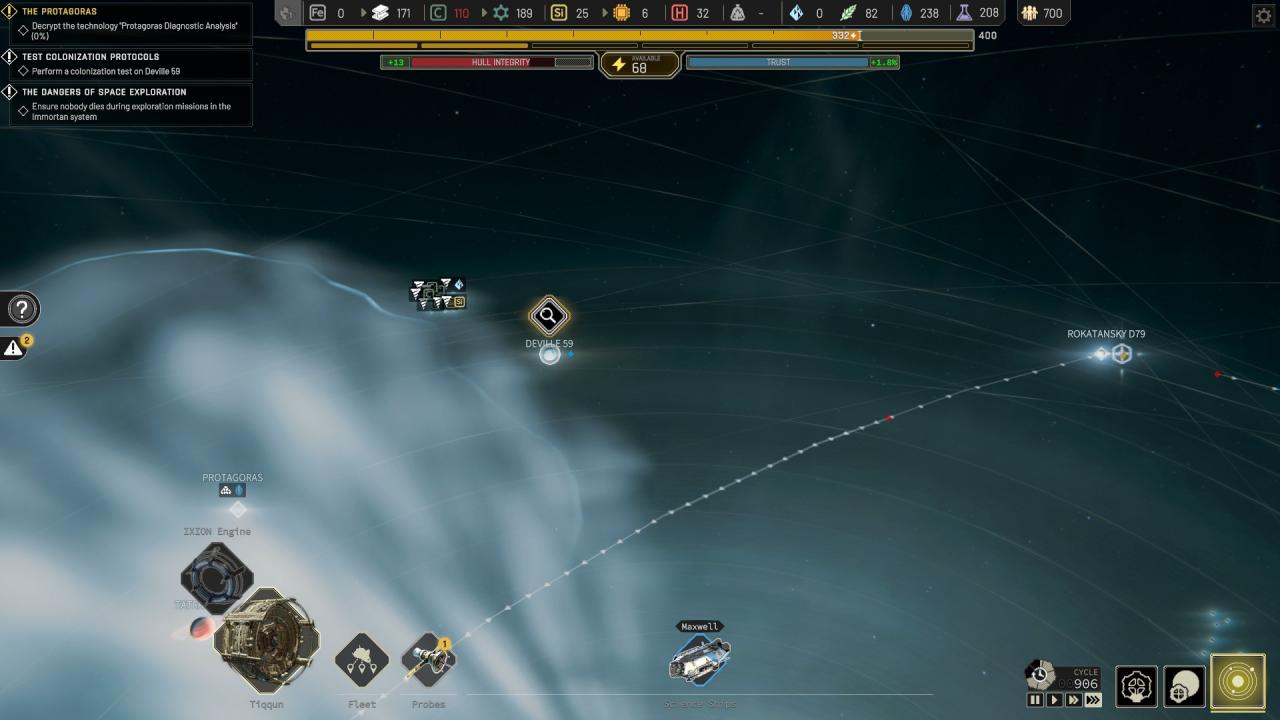
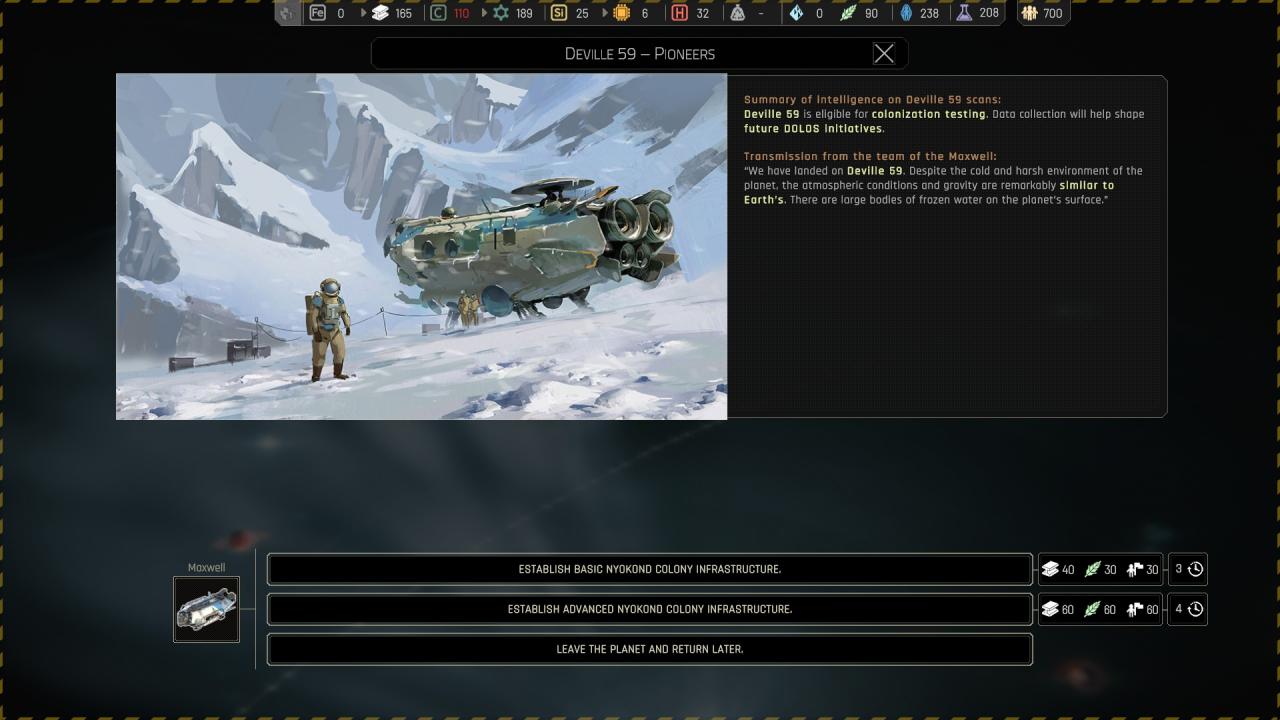 Establishing basic Nyokond colony infrastructure : ( Do nothing specific )
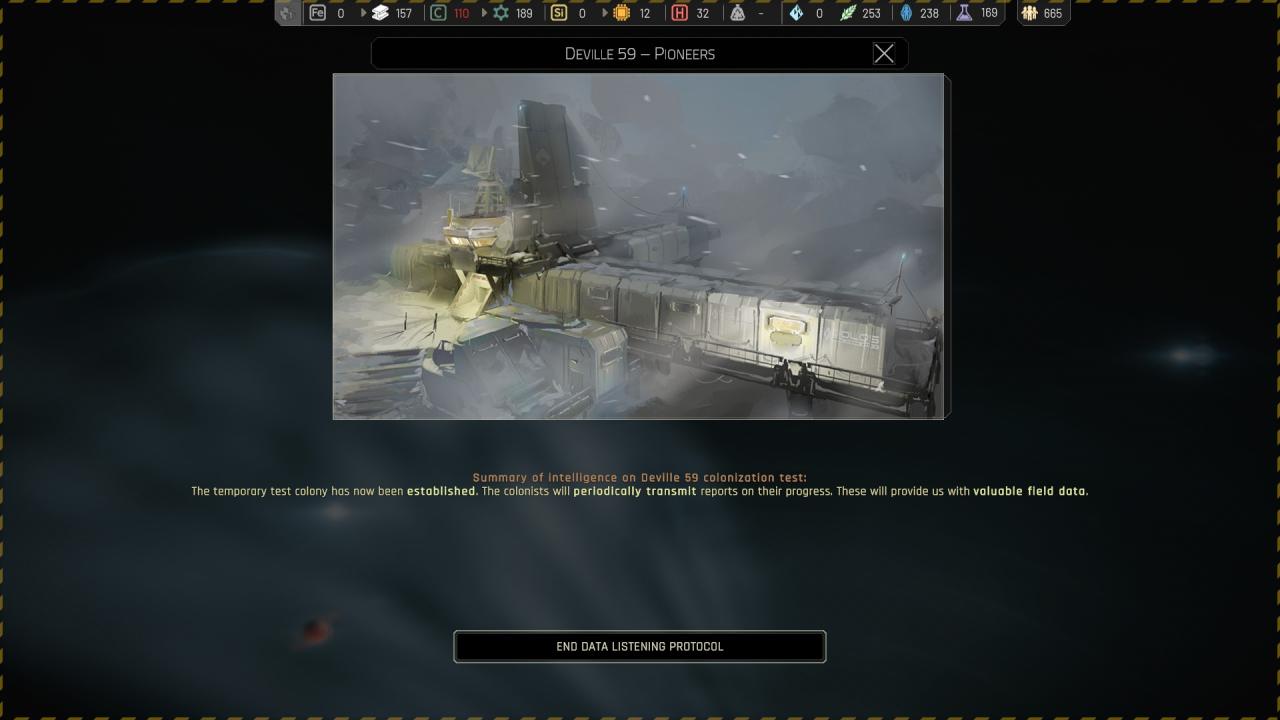
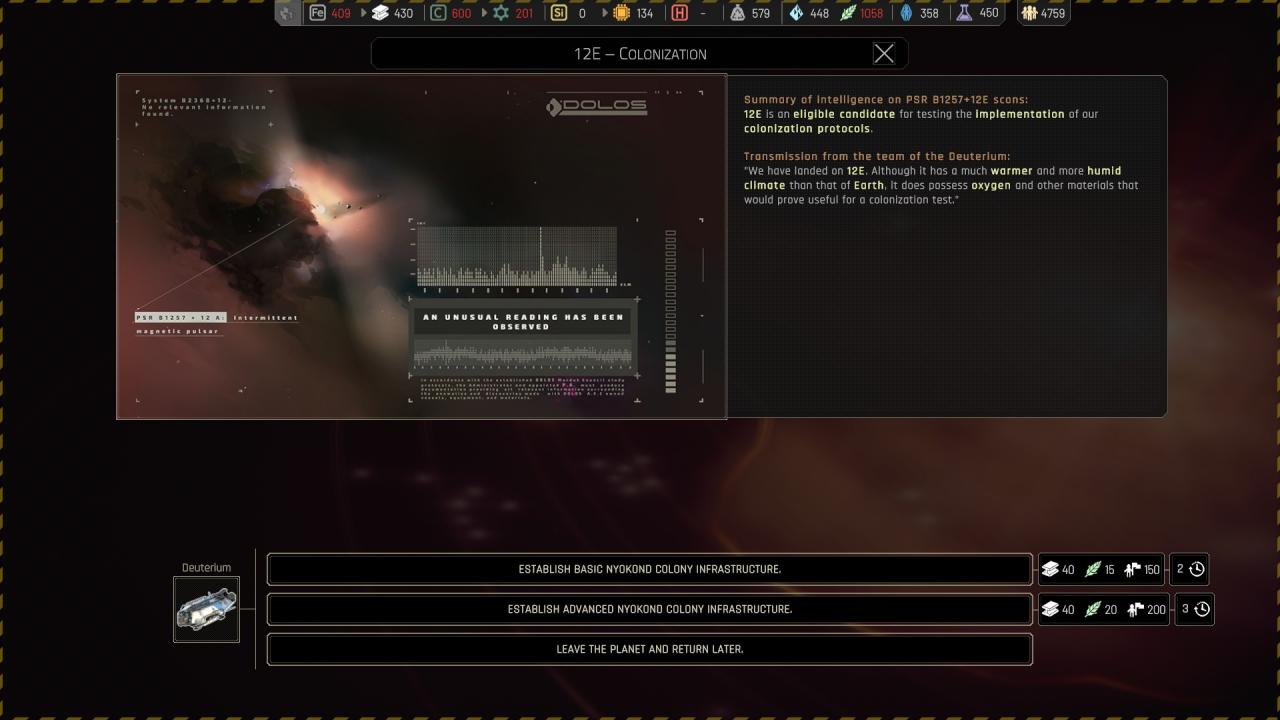
 Establishing advanced Nyokond colony infrastructure : ( Maybe a bonus later ? But no reward actually )
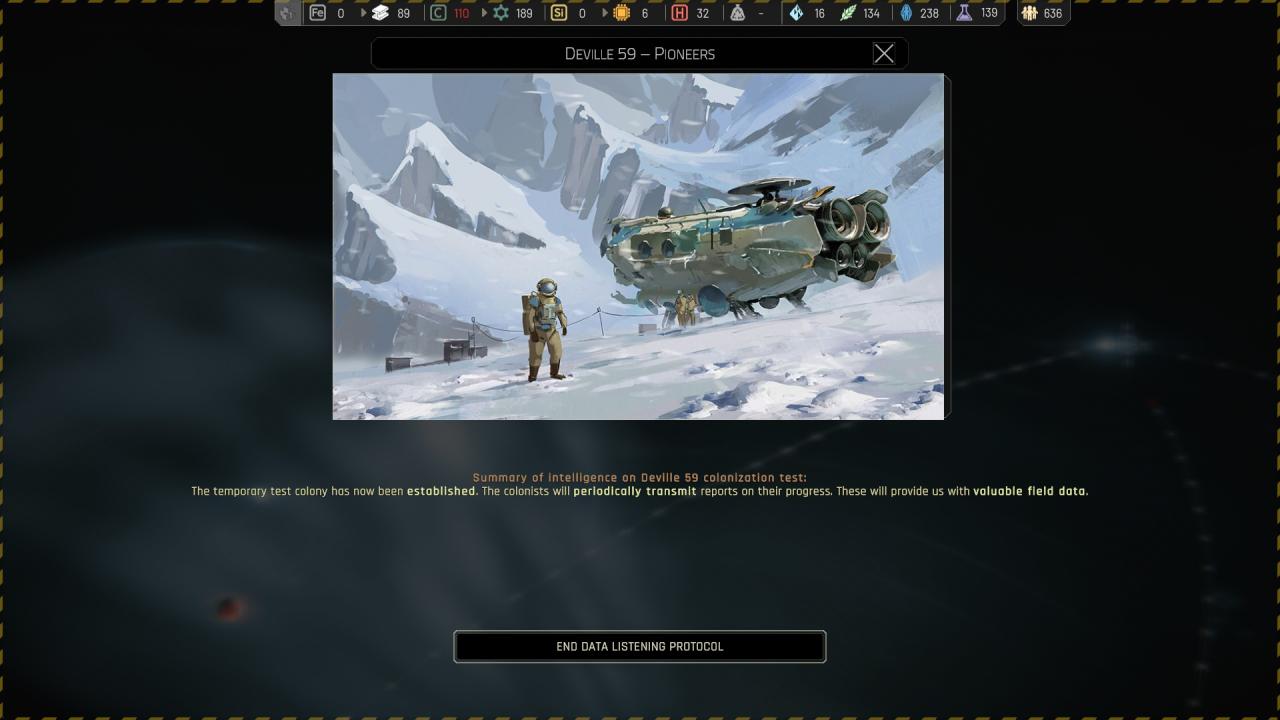

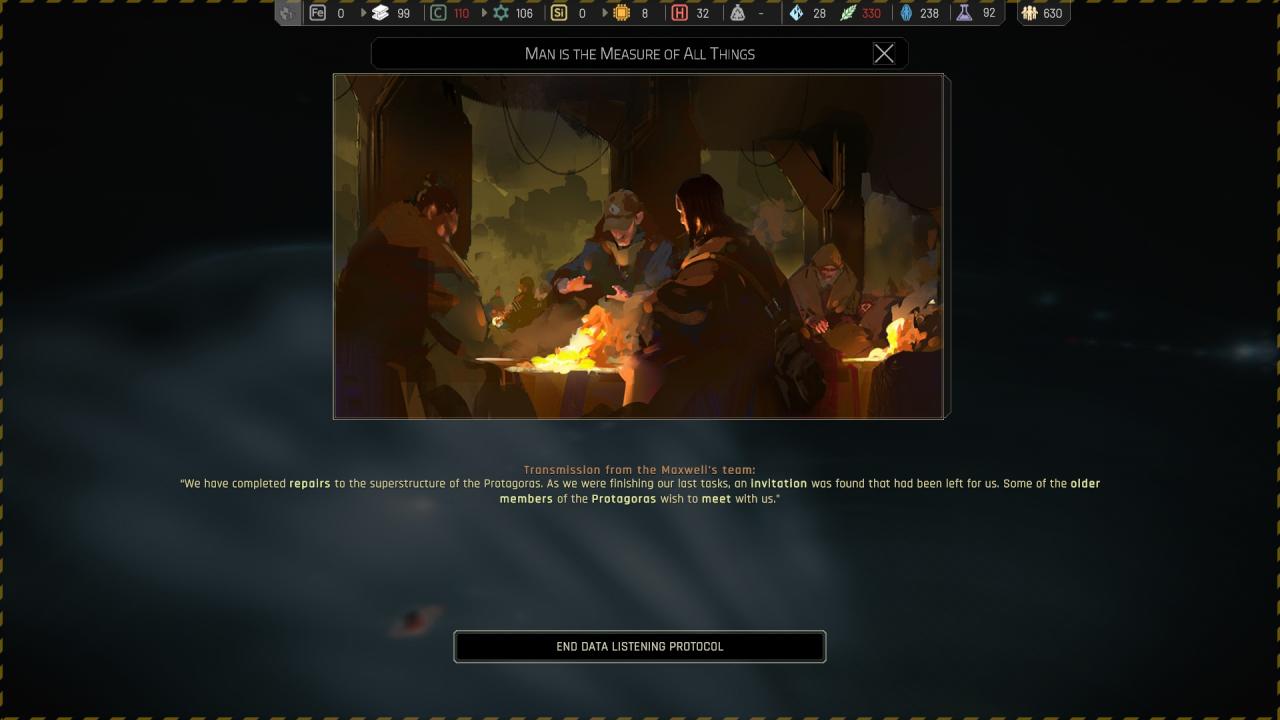
Chapter 2 ({ Protagoras } Man is the Measure of all Things ) Quest /!\
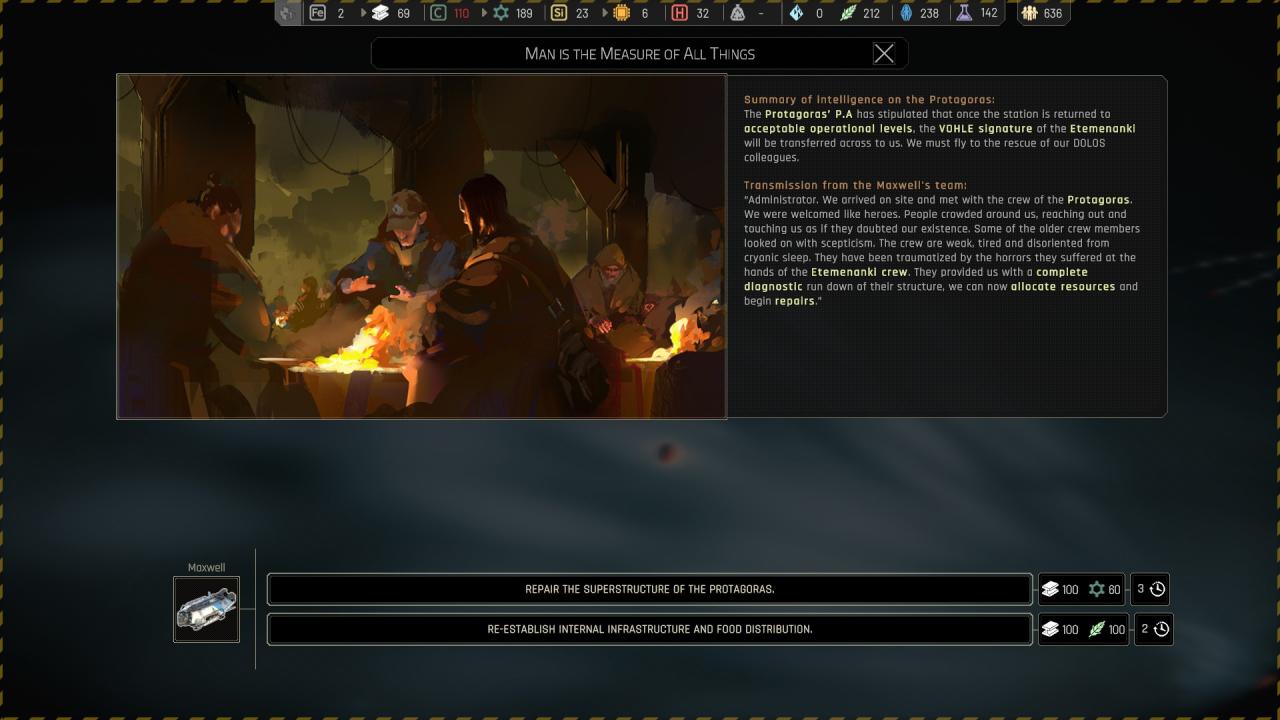
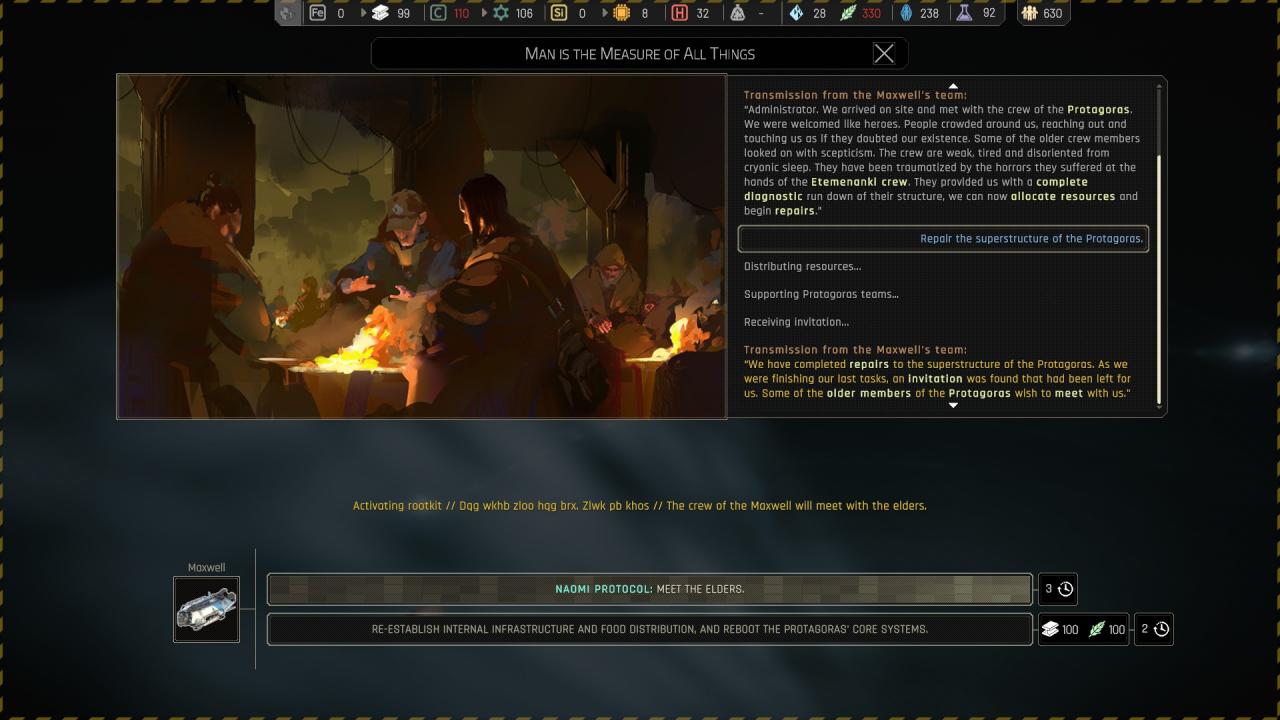 After repairing the superstructure of the protagoras, If you meet the leders directly after :
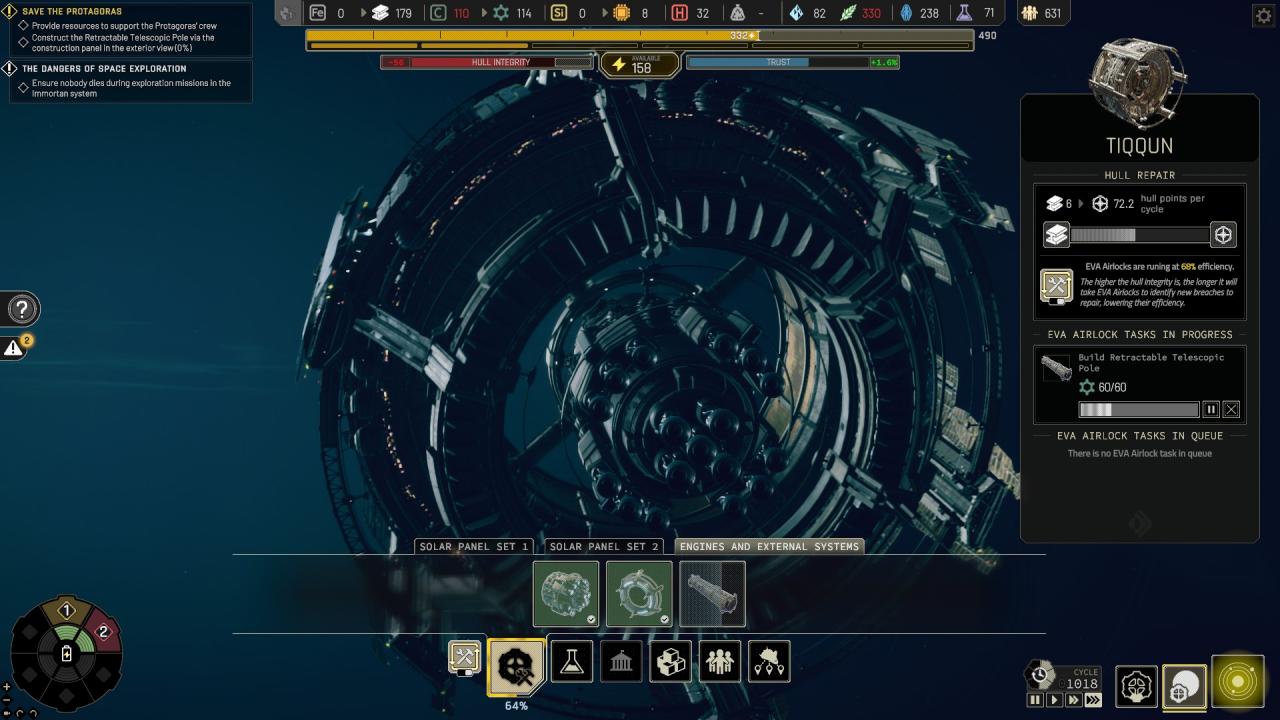
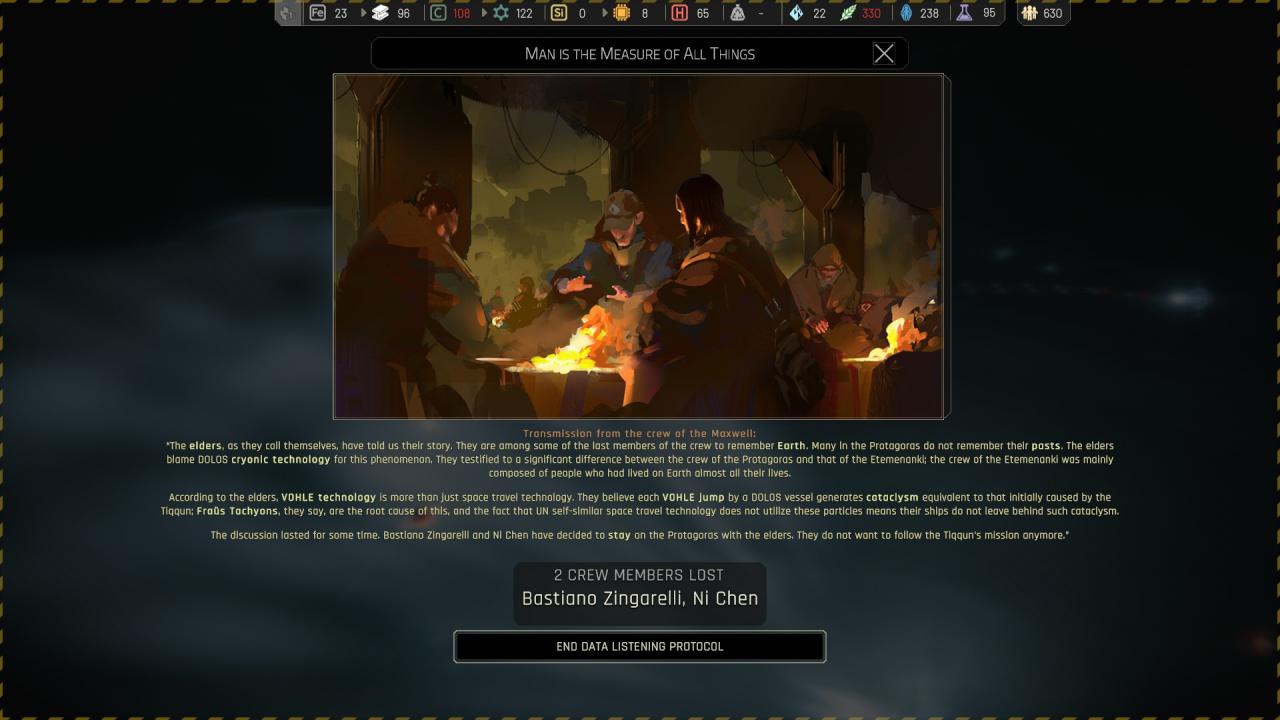 Then research and built the “retractable telescopic pole” and continue the reparation : ( you need to put Tiqqun in orbit of Protagoras, be prepared this phase is hard ! )
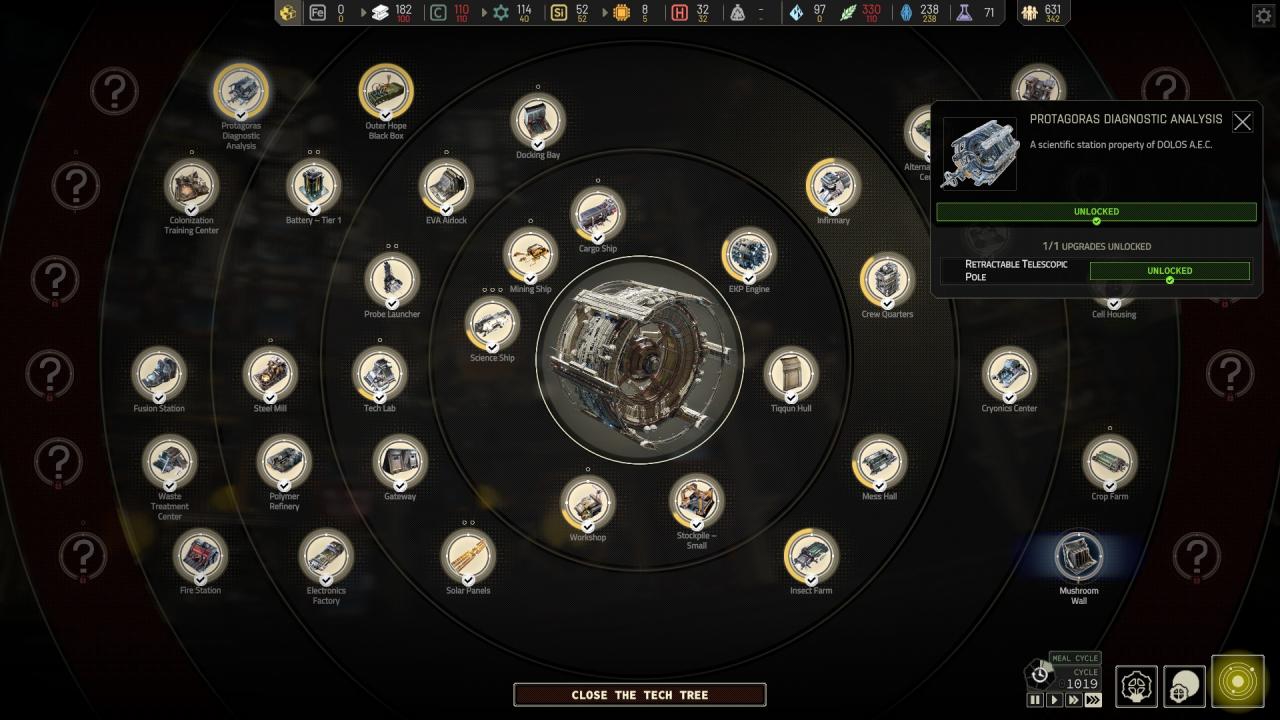
 After this, if you meet the elders the result is the same …
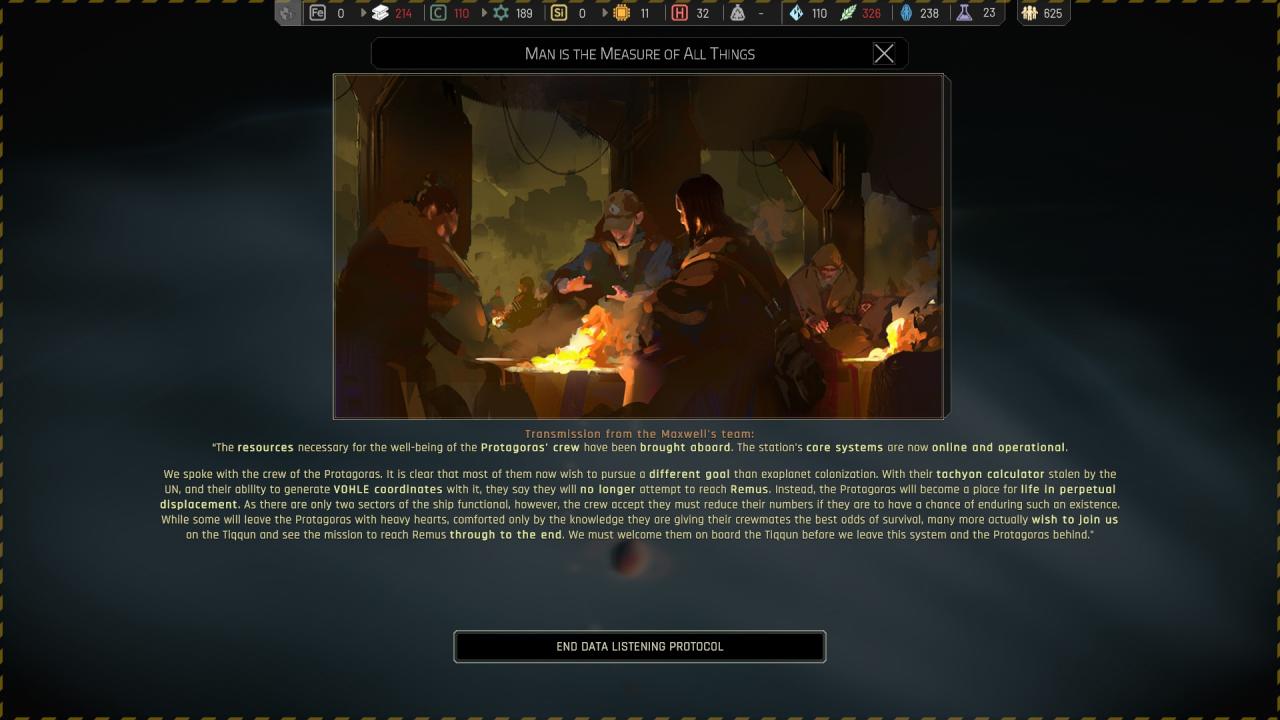
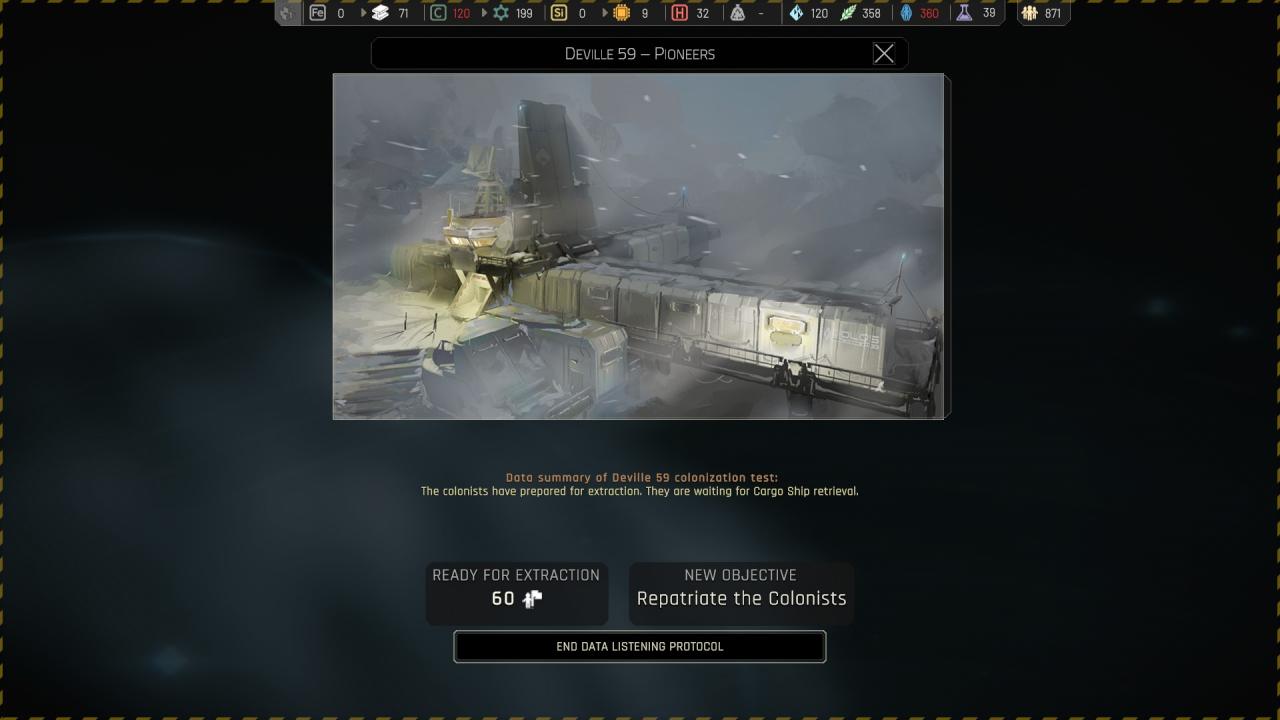
Chapter 2 ({ Deville 59 } Deville 59 – Pioneers ) Stage 2 /!\
If you take colonists home in chapter 2 you will get +10% trust.
Dont know, but if you abandoned them there you can get trust penalty
Before leaving the system you can reitreive or abandon the collonist : ( or leave them ? )
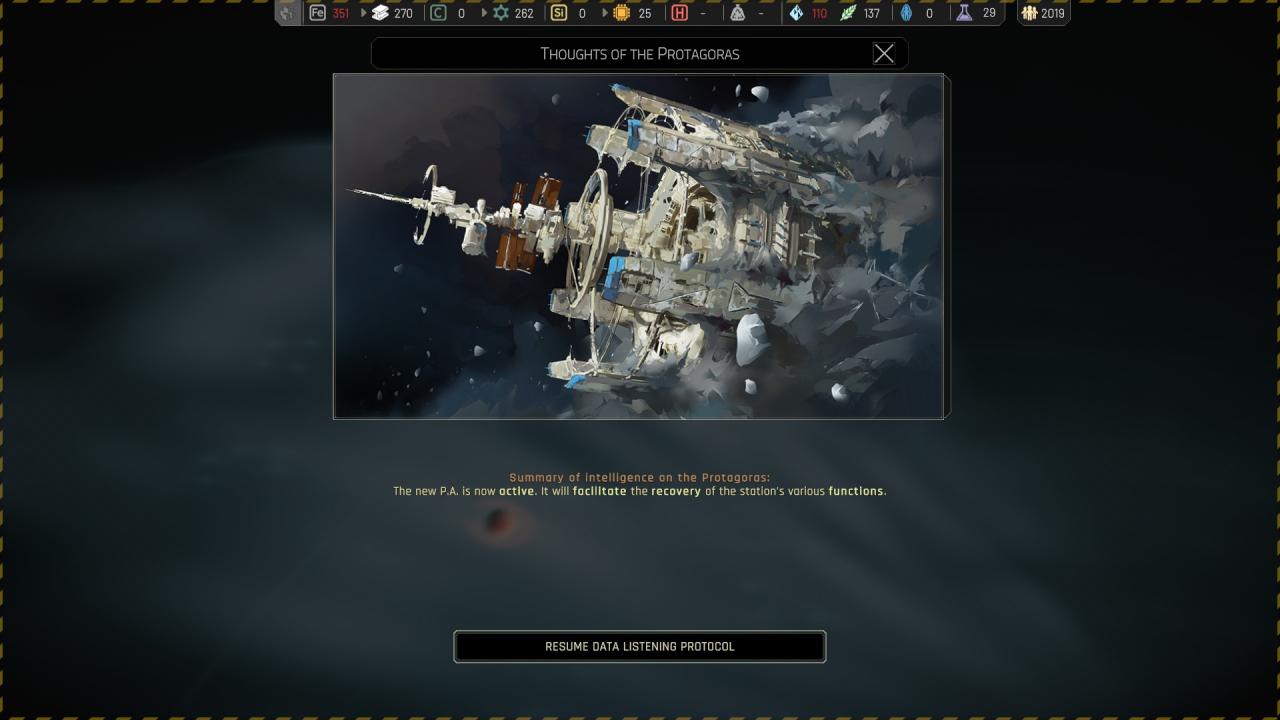
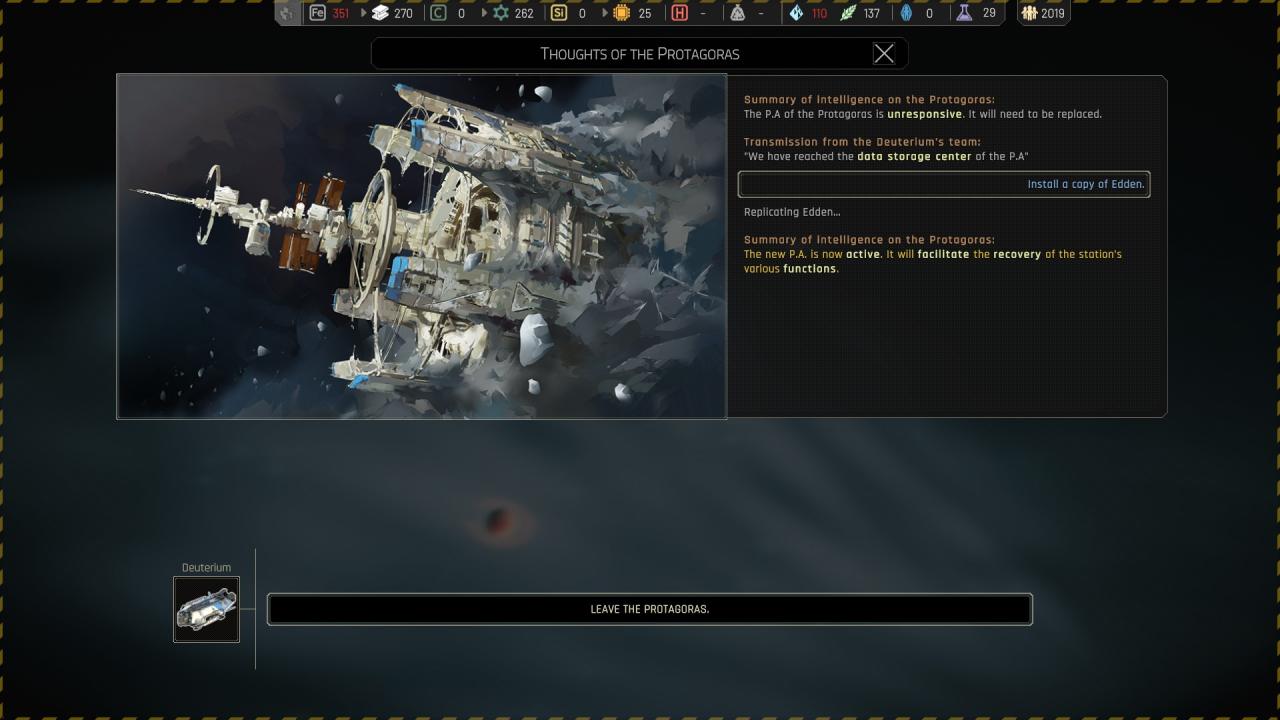
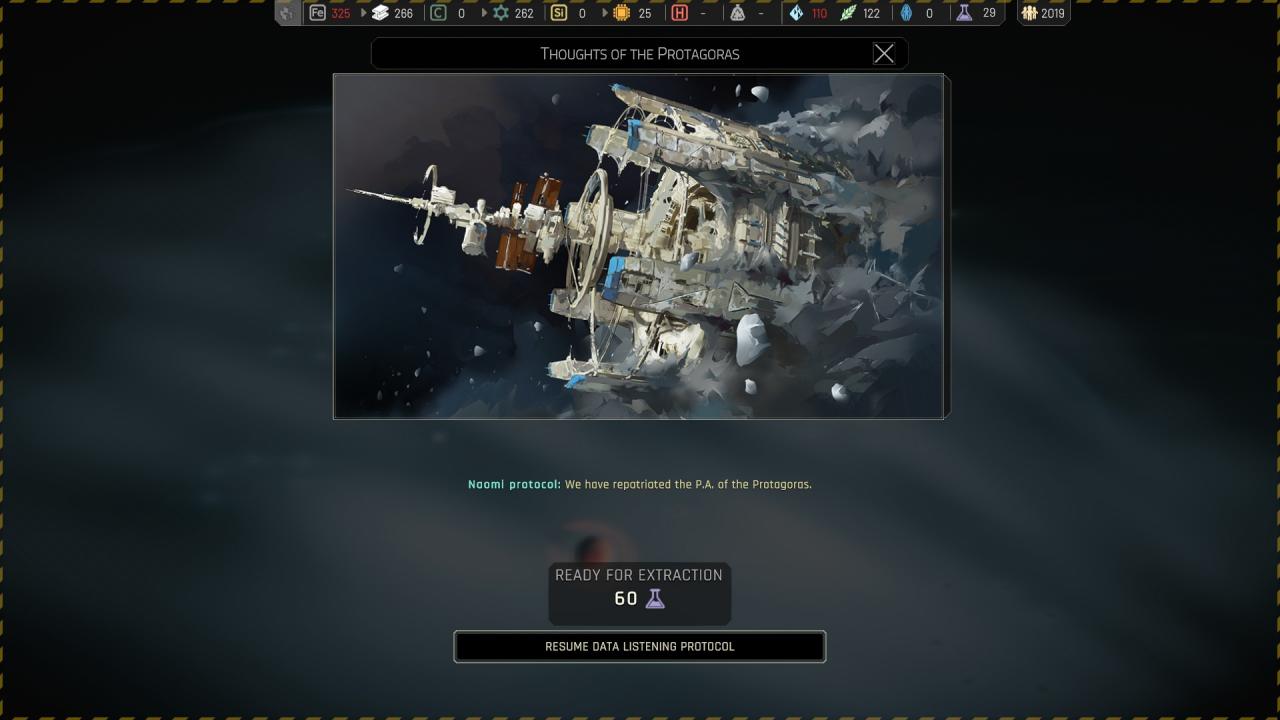
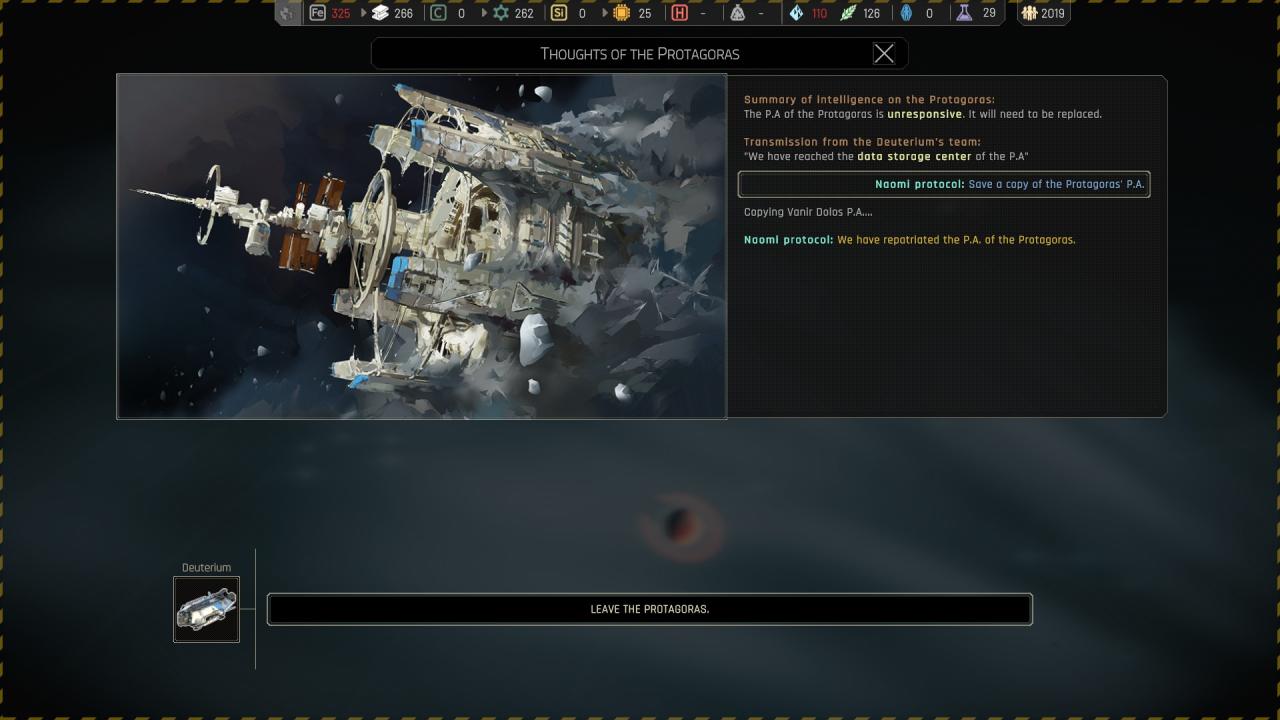
Chapter 2 ({ Protagoras } Thoughts of the Protagoras )
For Chapter 2 your missing Thoughts of the Protagoras (I’ve got a save at that point if you want me to message you the results of it along with images for the list)
you CAN do this even if you did not meet the elders.
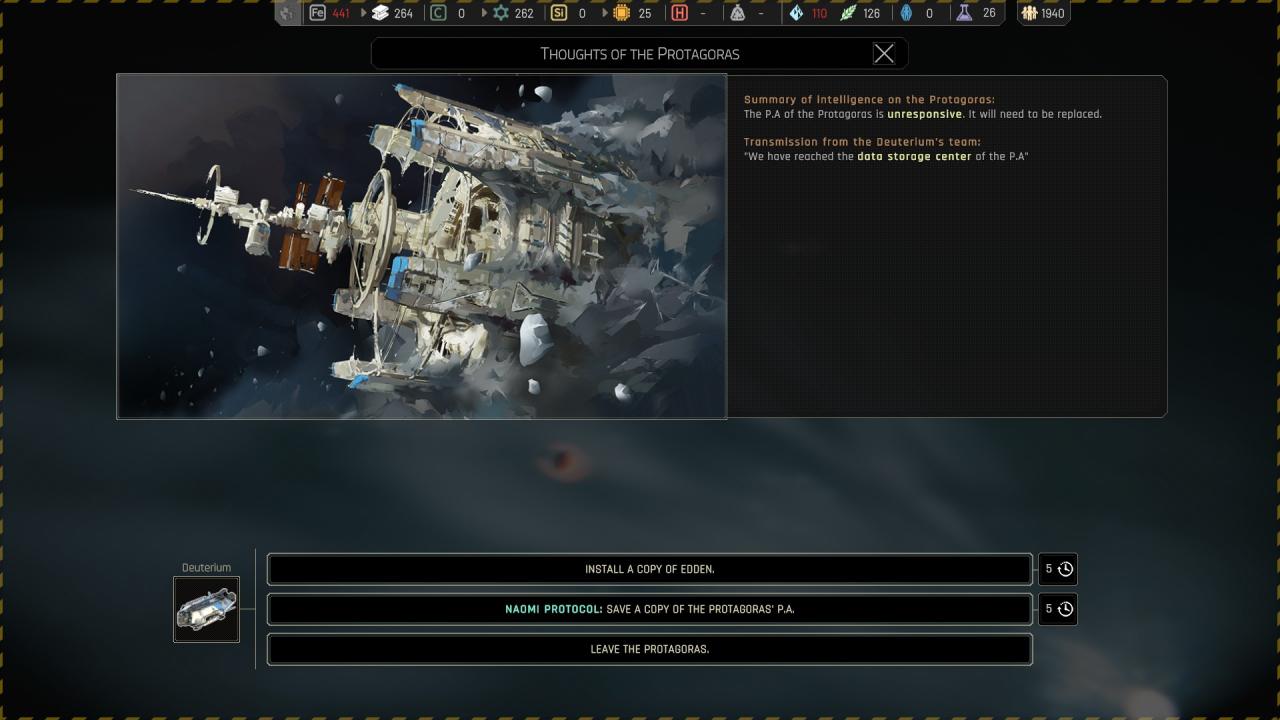
🔒 Installing a copy of edden :
🔒 Naomi protocol : Save a copy of the protagoras’ P.A. :
Chapter 2 ( Tips & Tricks )
——————————————————————————————————-
 ——————————————————————————————————-
——————————————————————————————————-
- Tech Lab : Intelligent lab
- Fusion Station :High-pressure cutters, ice preparation workers
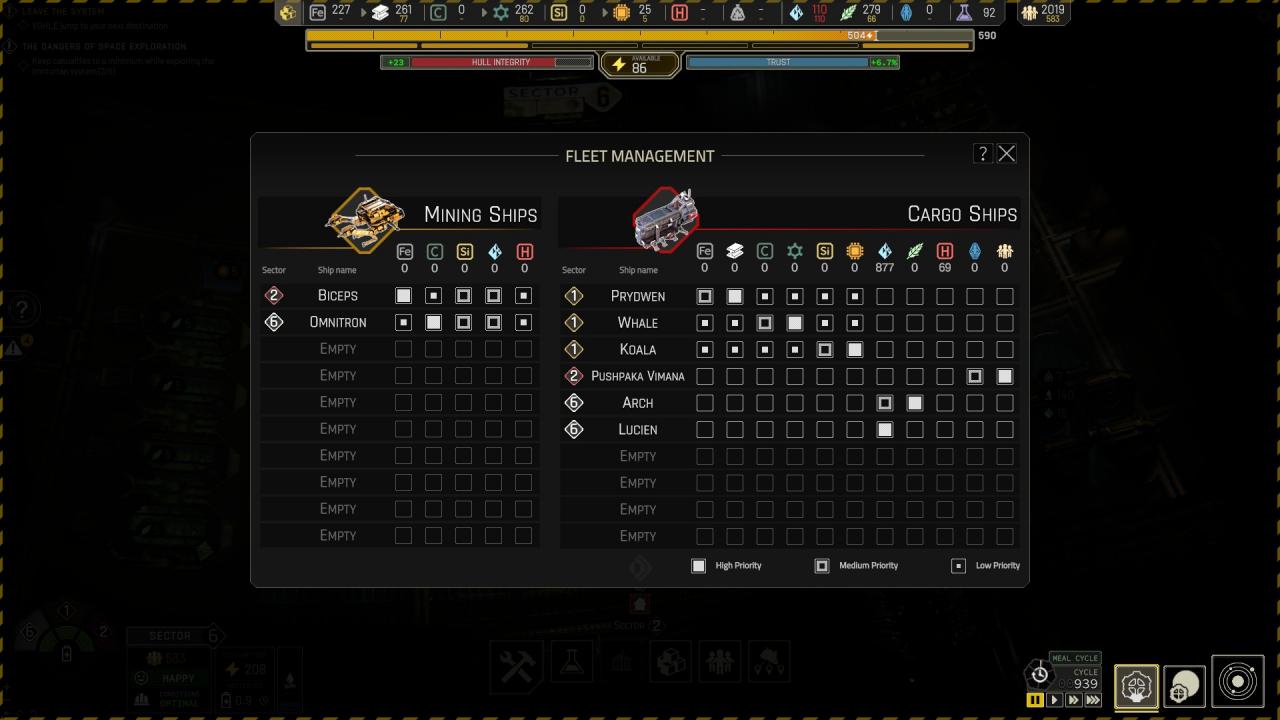
- Cargo Ship : Improvised repair protocols
- Mining ship : Self-welding
- Science Ship : Exoskeletons, Deep drive apparatus
- Workshop : Augmented building protocols
- Stockpile : Vertical parking, Integrated storage bays, Stockpile medium
- Crew Quarters : Smart homes
- Mess Hall : Lyophilisation units
- Cryonics Center : Controlled thermal shock, Group decryonization
——————————————————————————————————-
- Promise not more 5 casualities will allow you to talk to the elder ( insteed of 0 casualities )
- To access chevy, just send a scientific ship to rokatansky or plymouth with some upgrade on your cargo you will be able to do it ( just performe an analysis is good enought while taking 0 risk )
I’ve updated the map for chapter 2, again just like chapter 1, take your time to harvest as many as you can ( upgrading stockpile and uncloking the t2 will help a lot ! ) - Do not worry about the penalty in each sector of the -1 by staying too long, you can easily manage with memorials, alternative life, and later the exo-fighting drone and the hull temple ( as long as you also get the train station, that’s why you must be prepare to construct everything asap )
- As always in tech focus the Tech lab upgrade, it will help you a lot during your run.
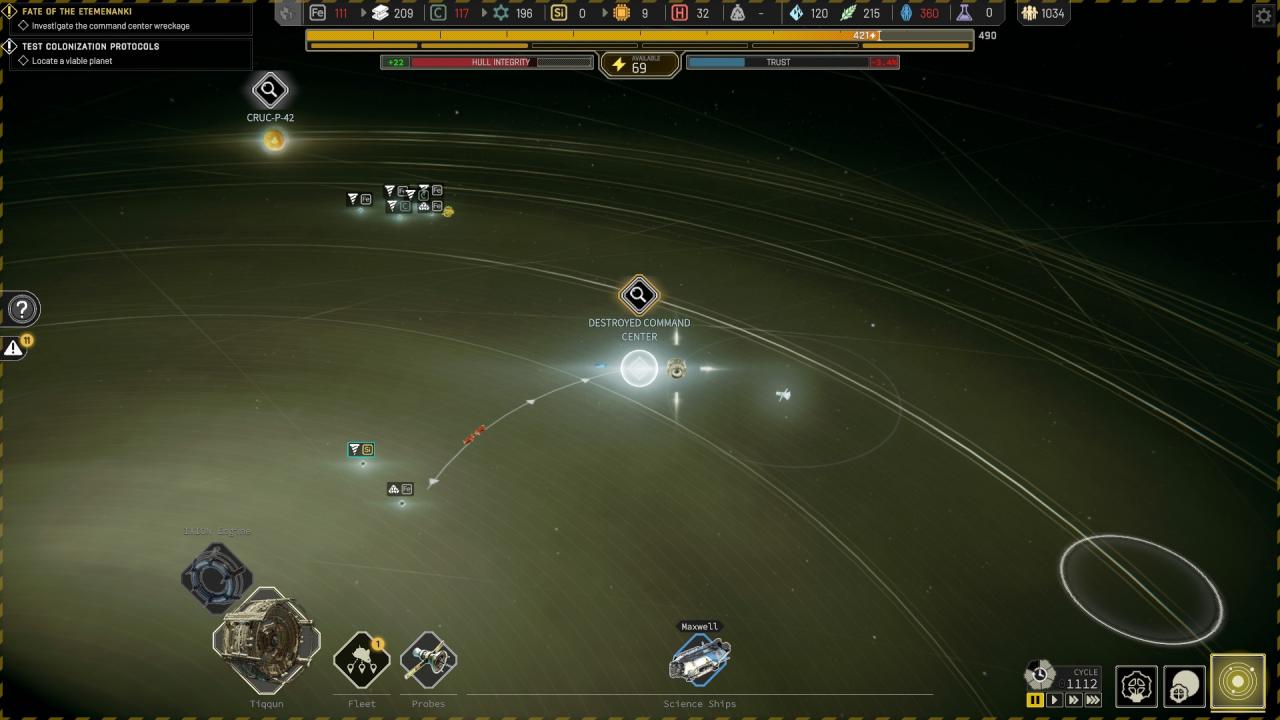
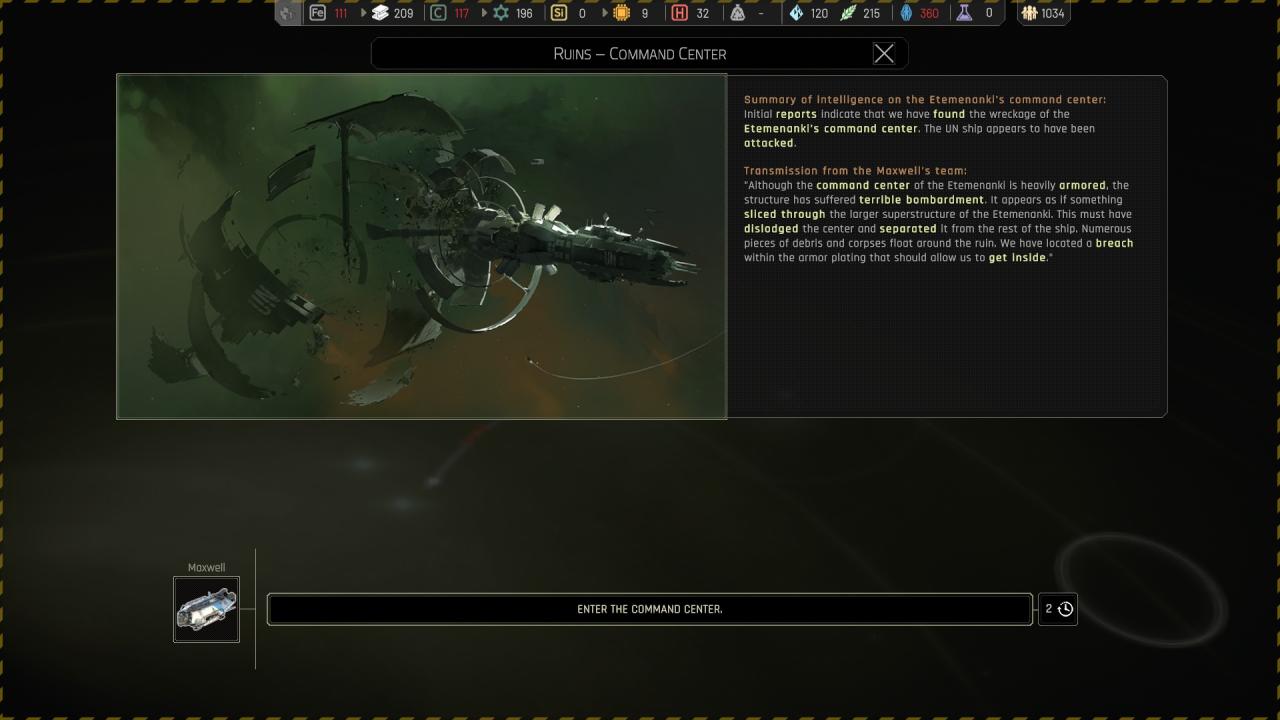
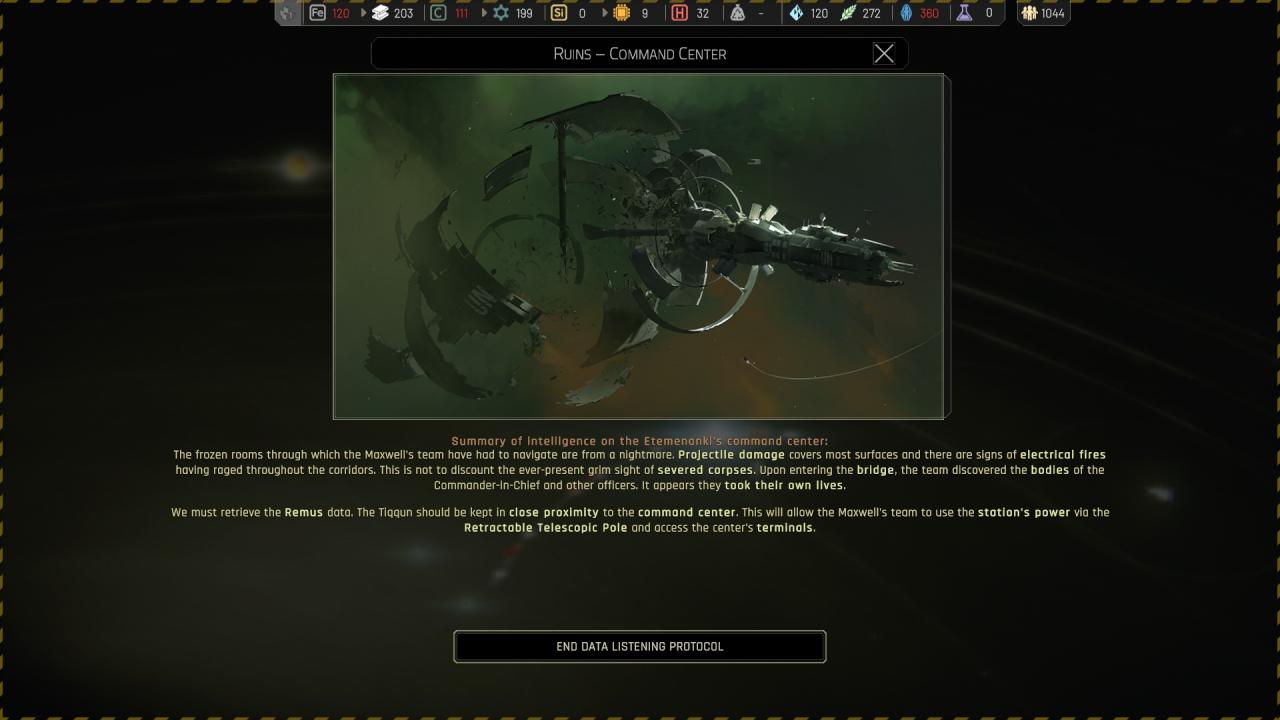
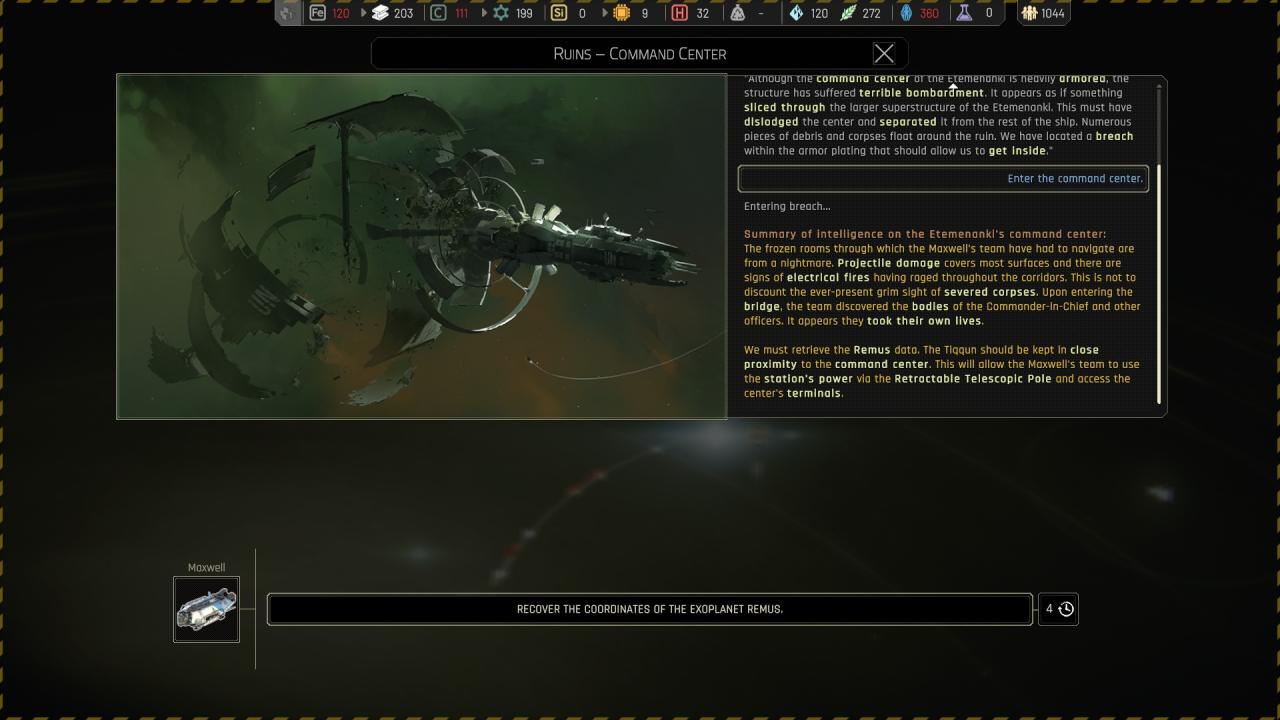
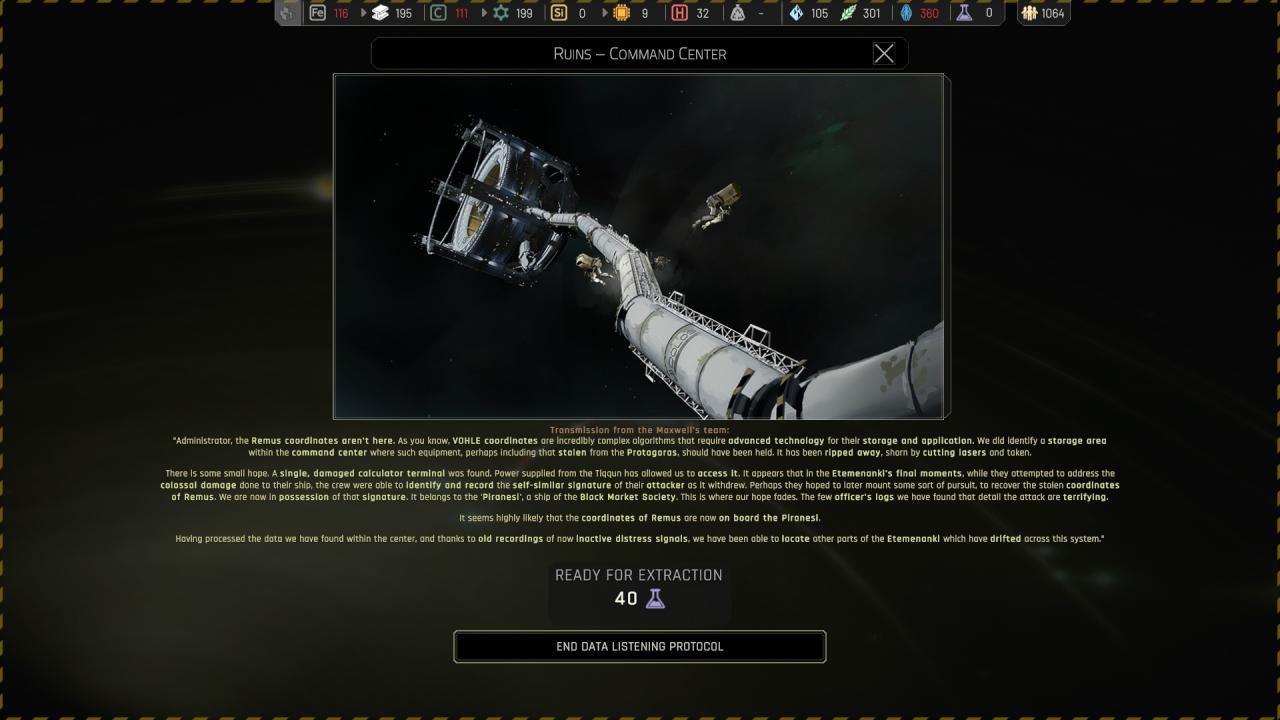
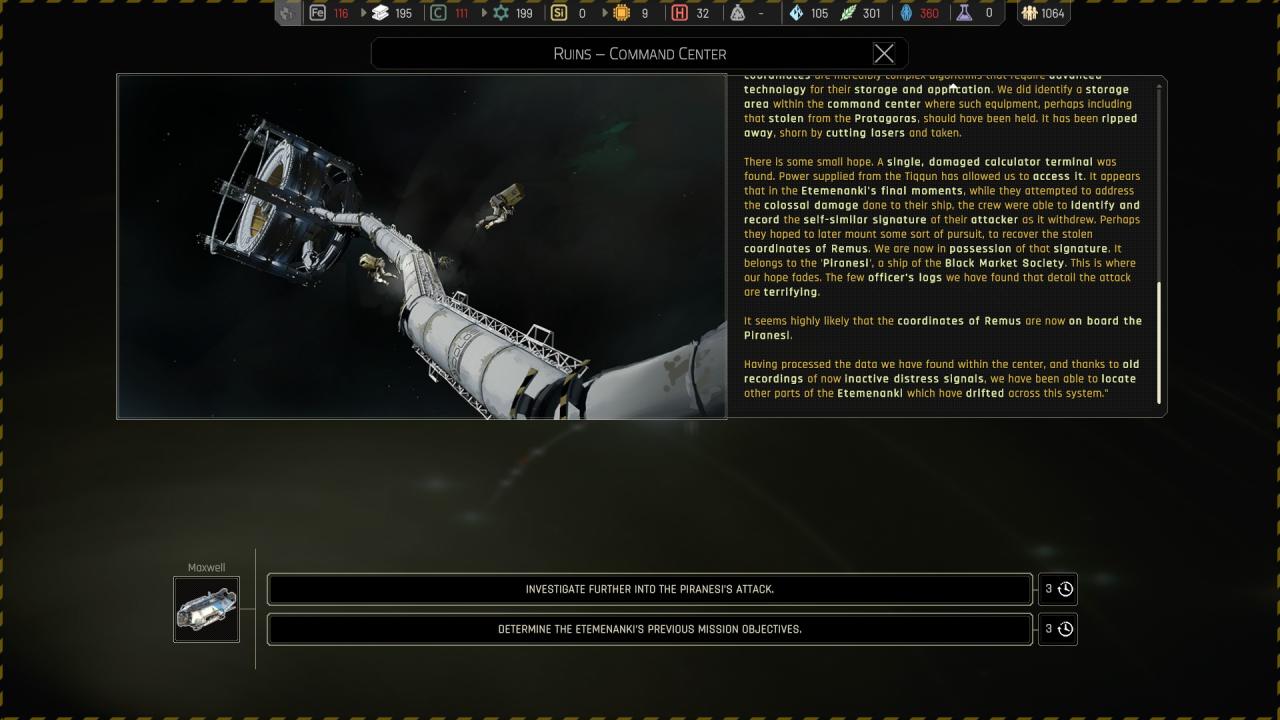
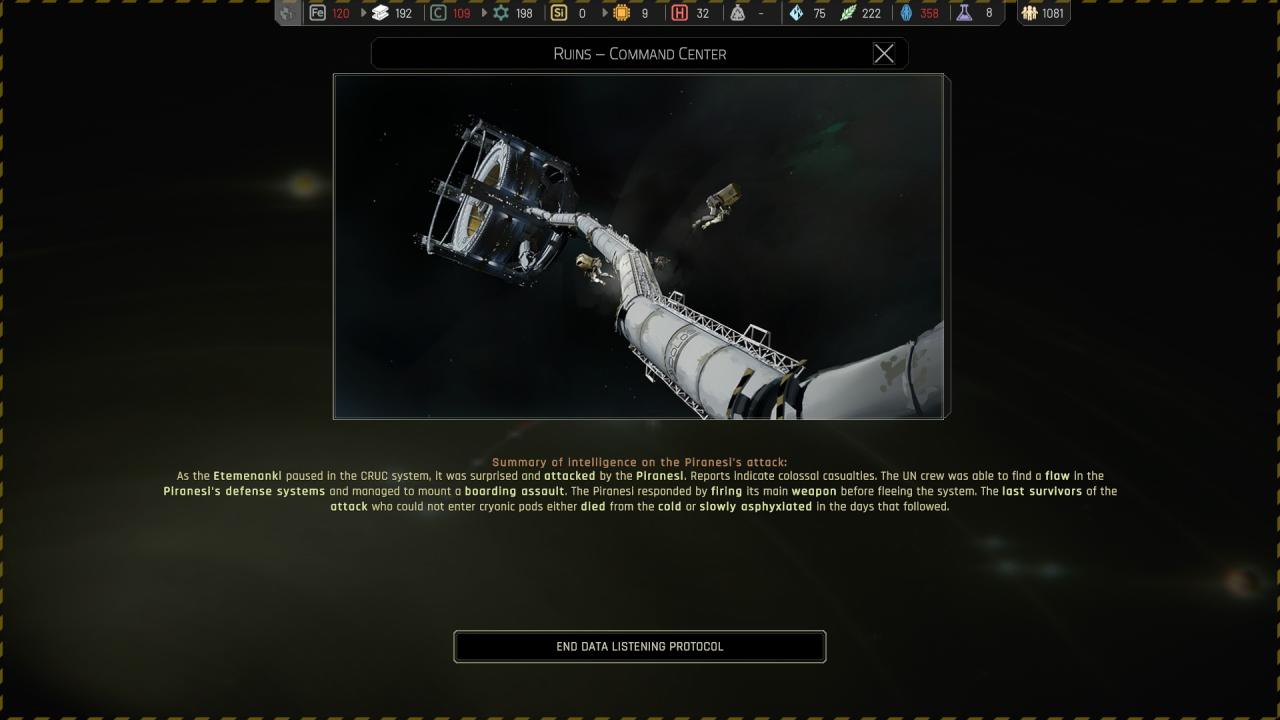
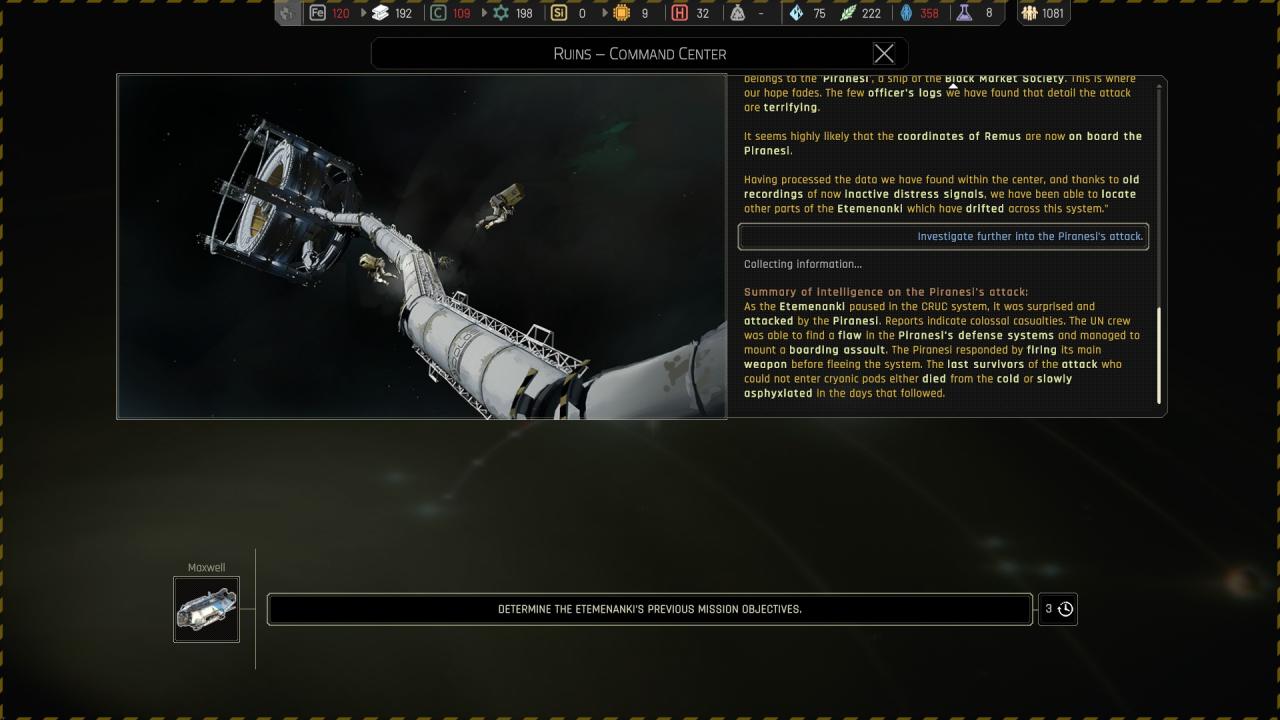
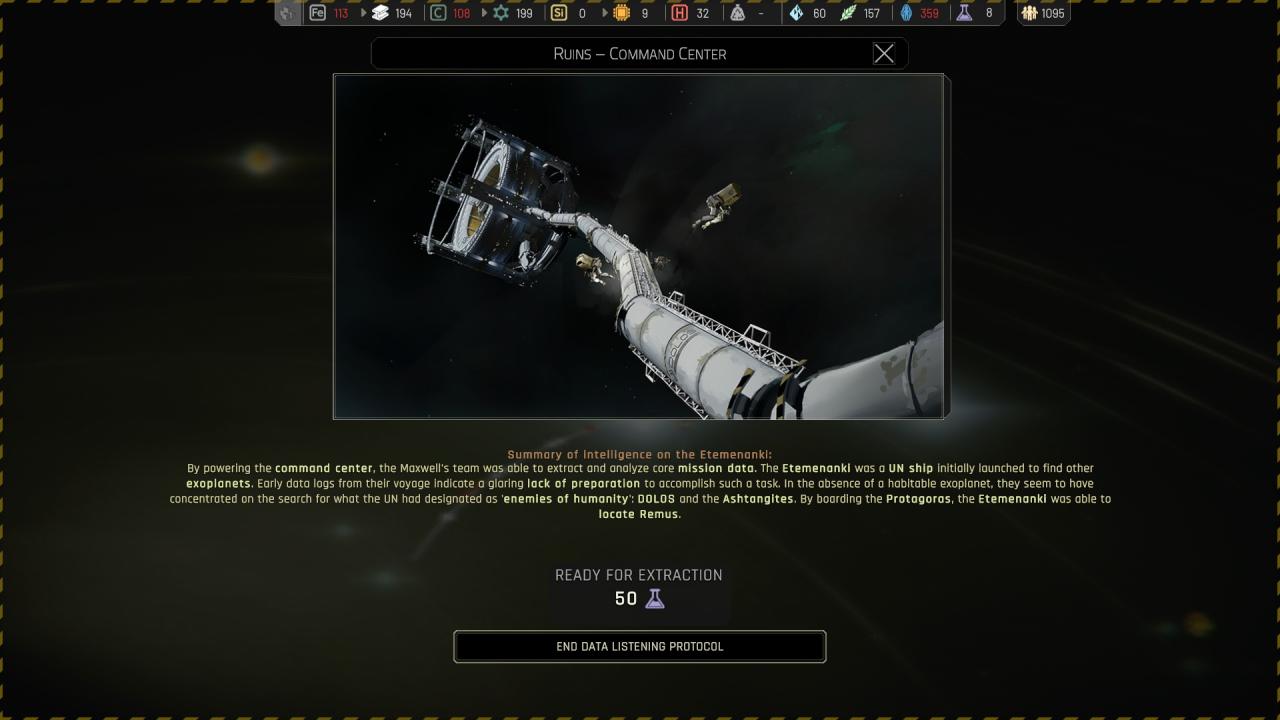
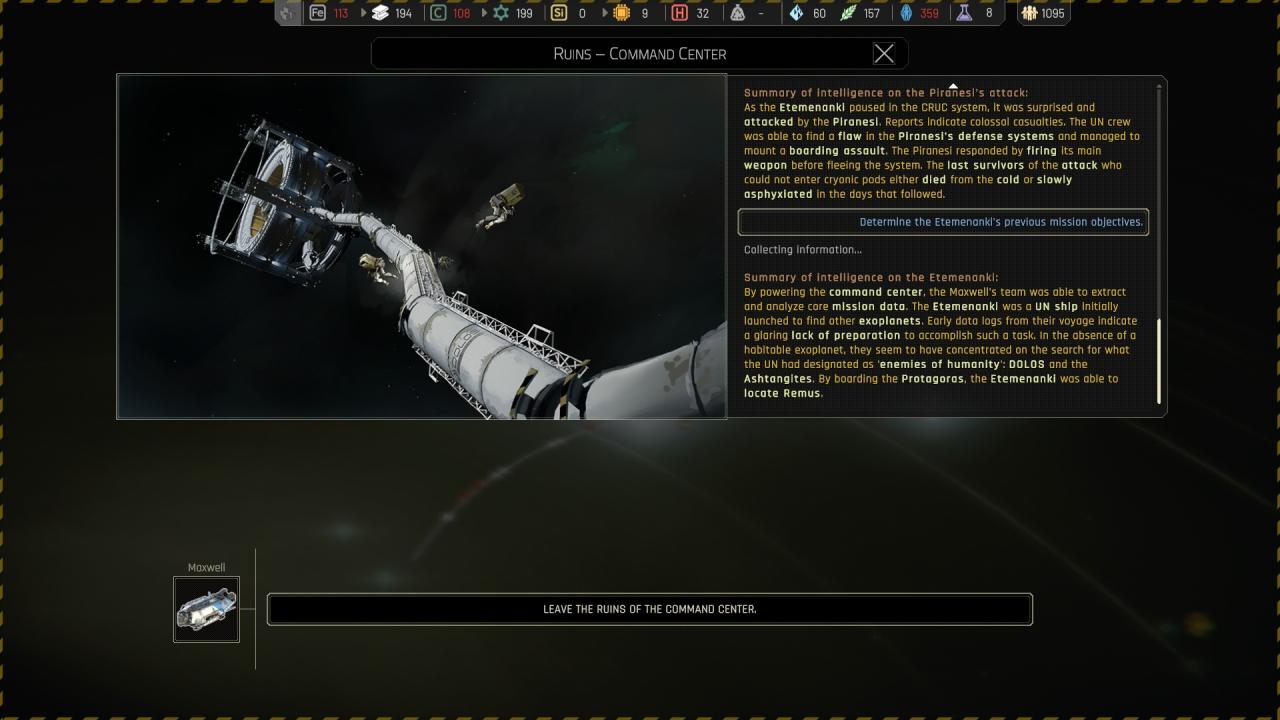
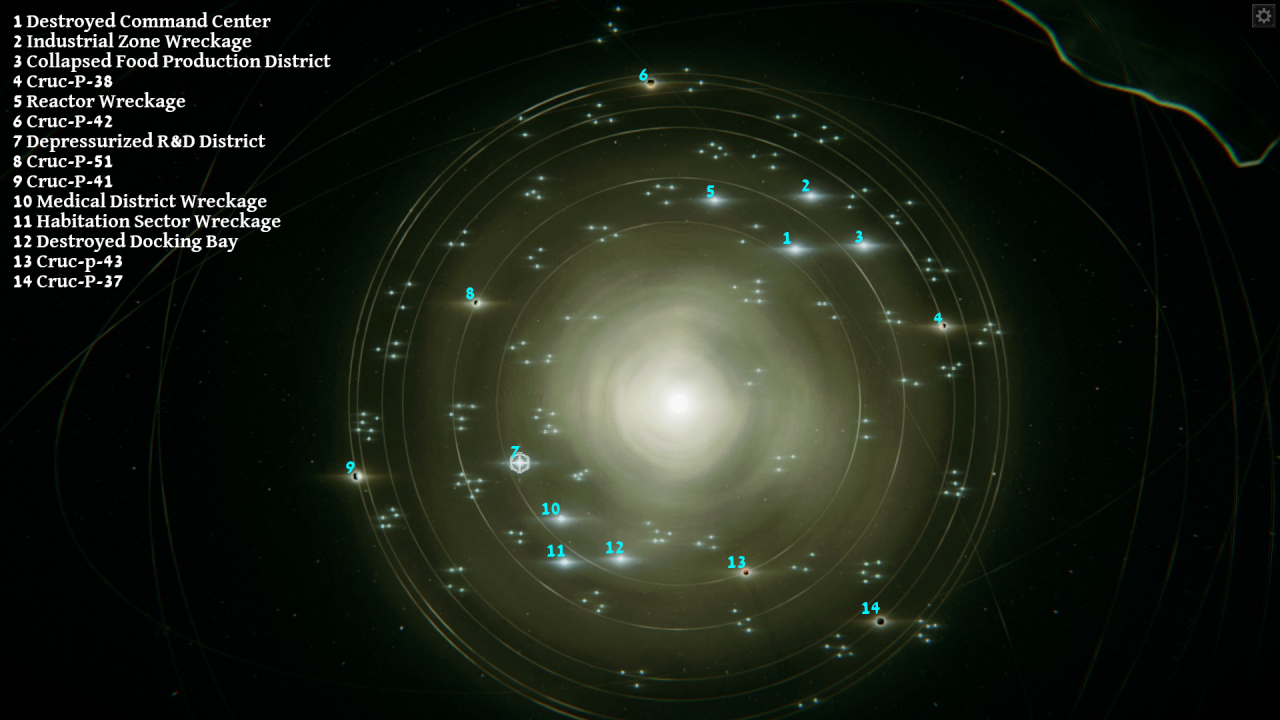
Chapter 3 ({ Destroyed Command Center } Ruins – Command Center ) Quest /!\
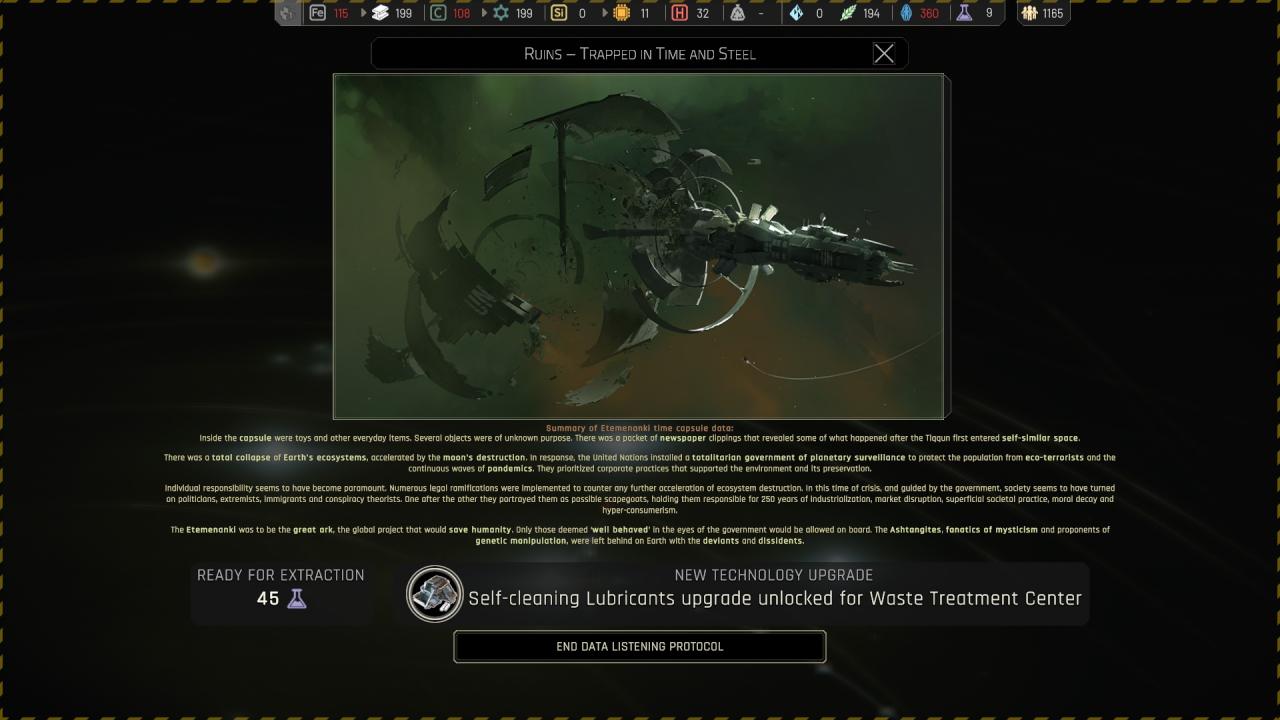
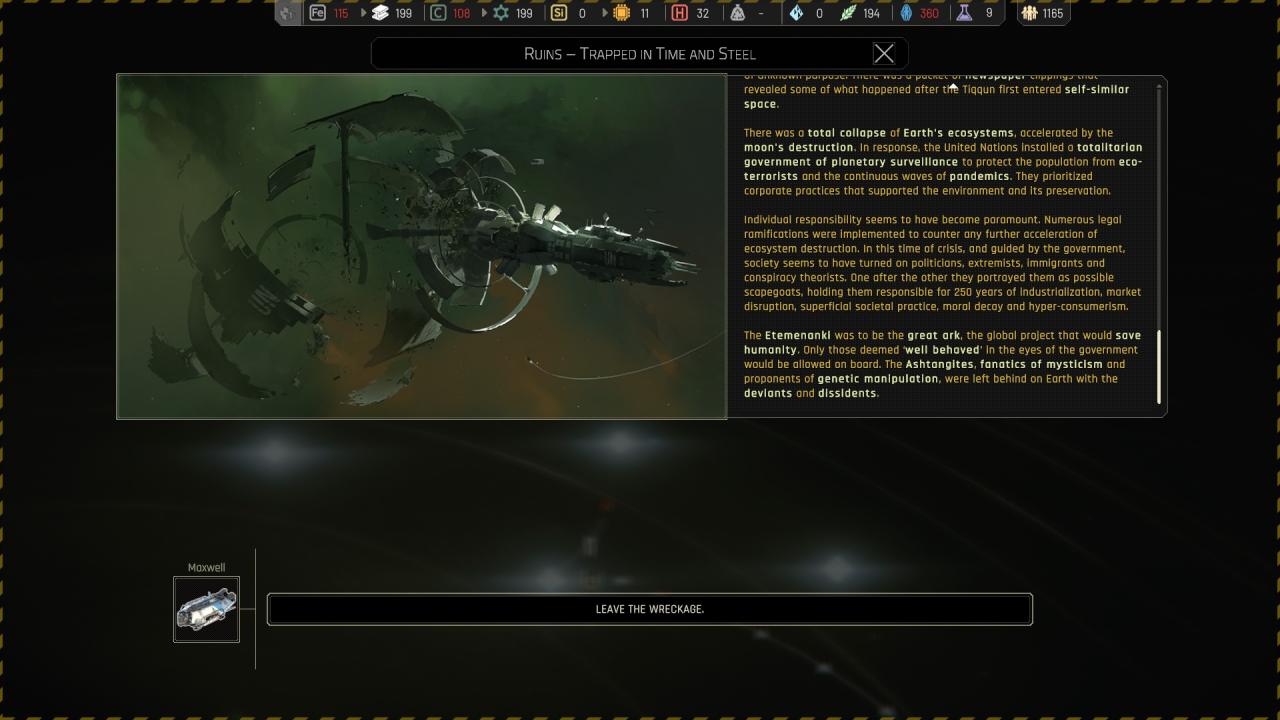
Chapter 3 ({ Industrial Zone Wreckage } ( Ruins – Trapped in Time and Steel )
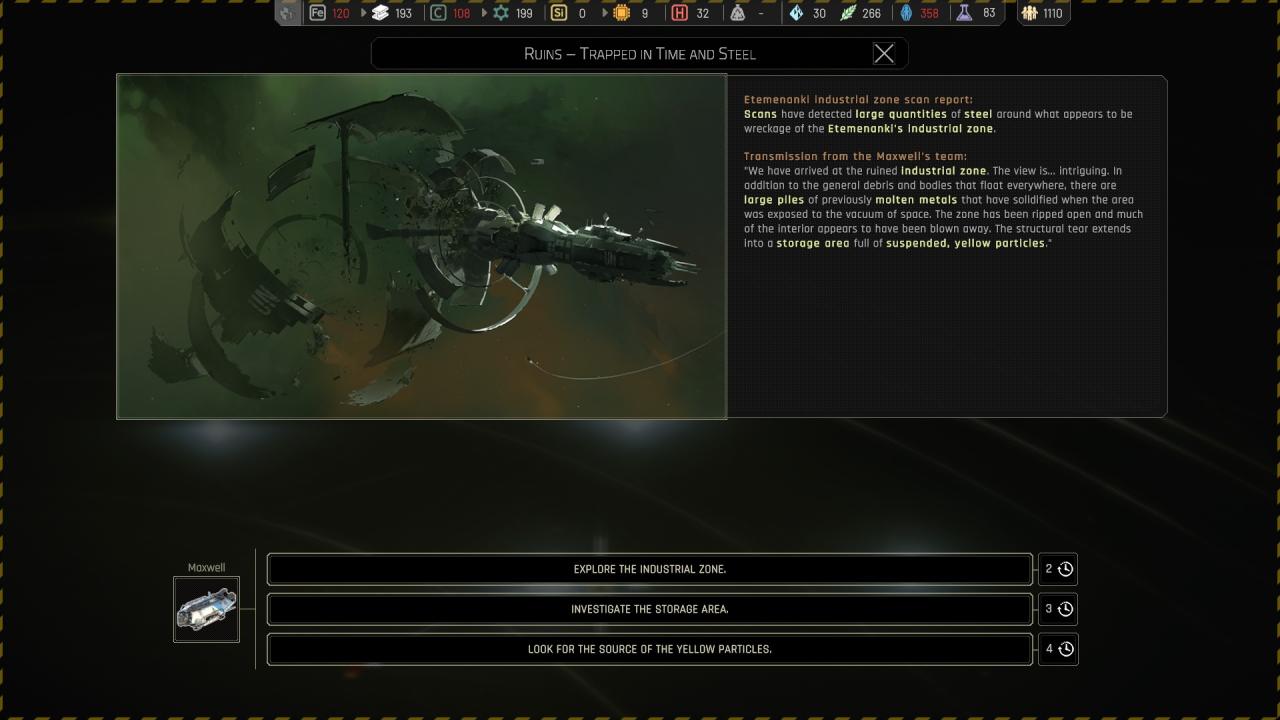 Explore the industrial zone :
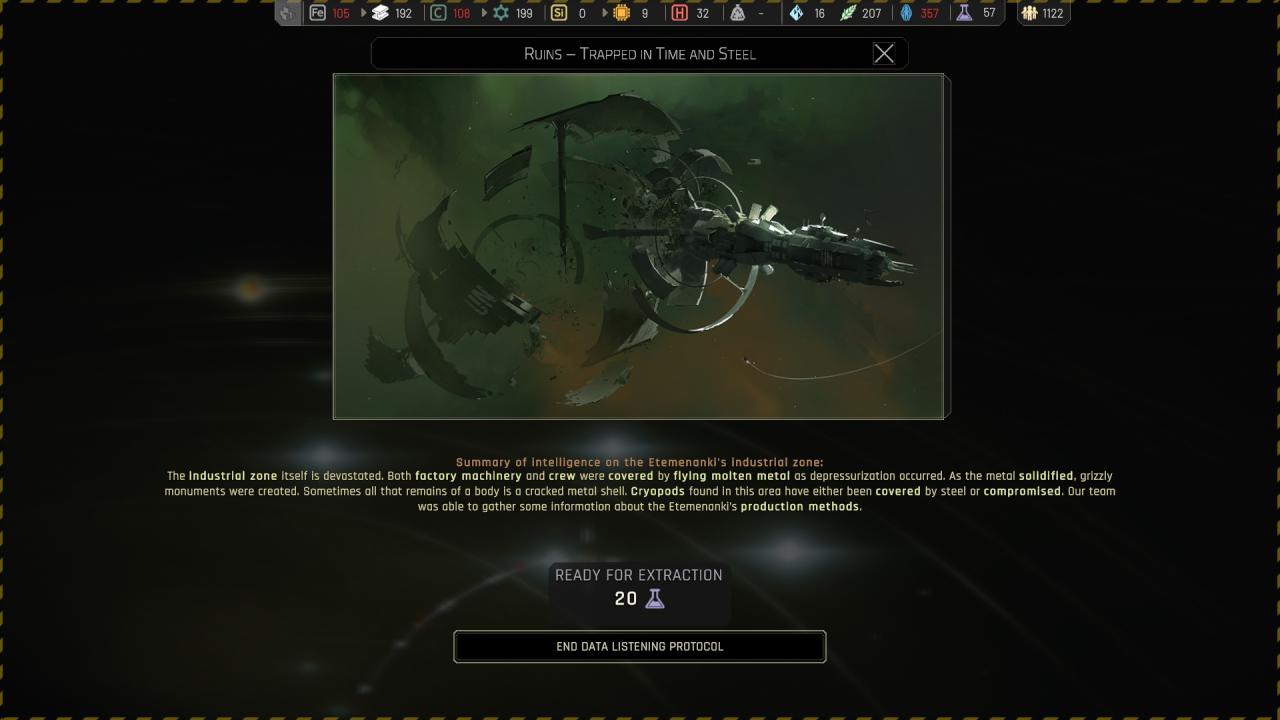 Investigate the storage area :
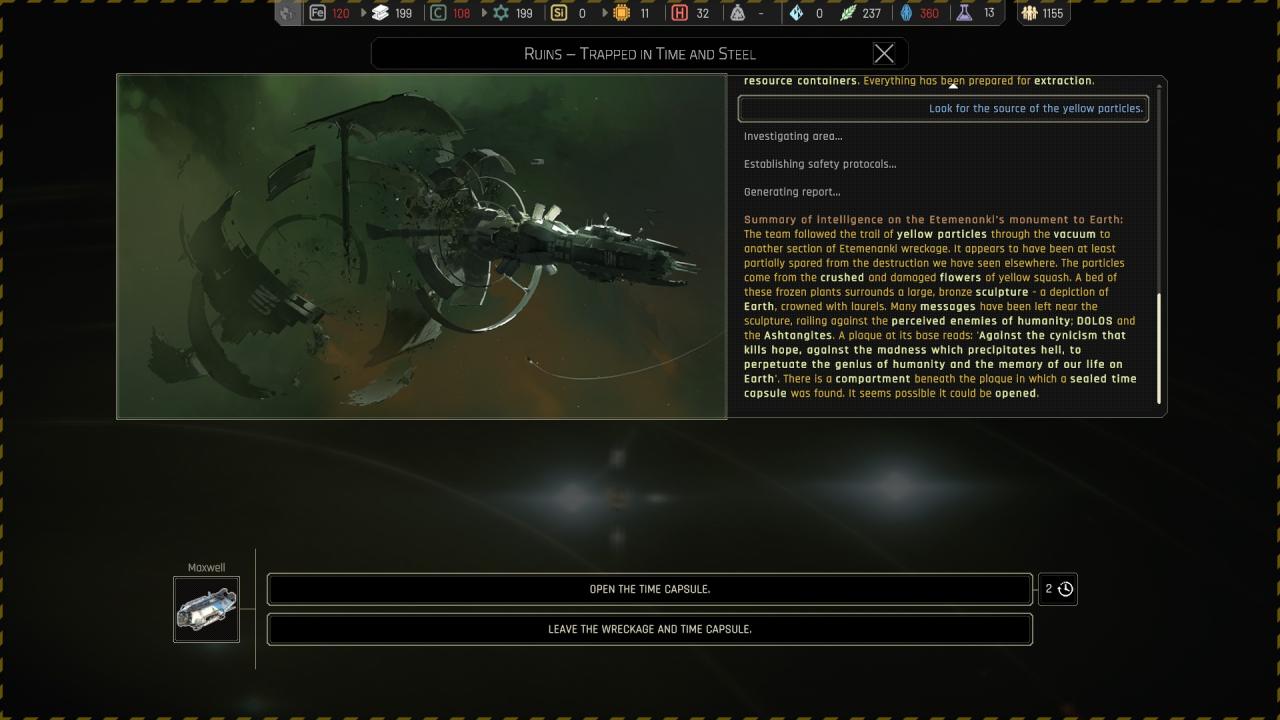
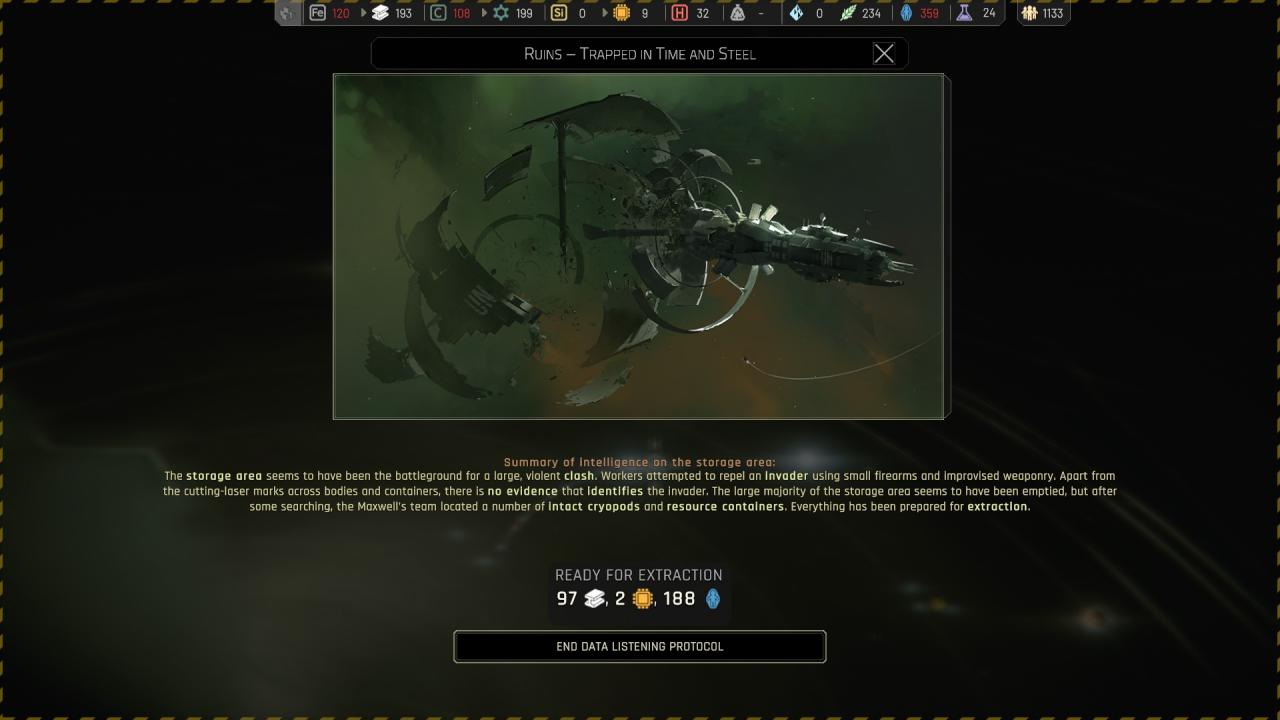 Look for the source of the yellow particles :
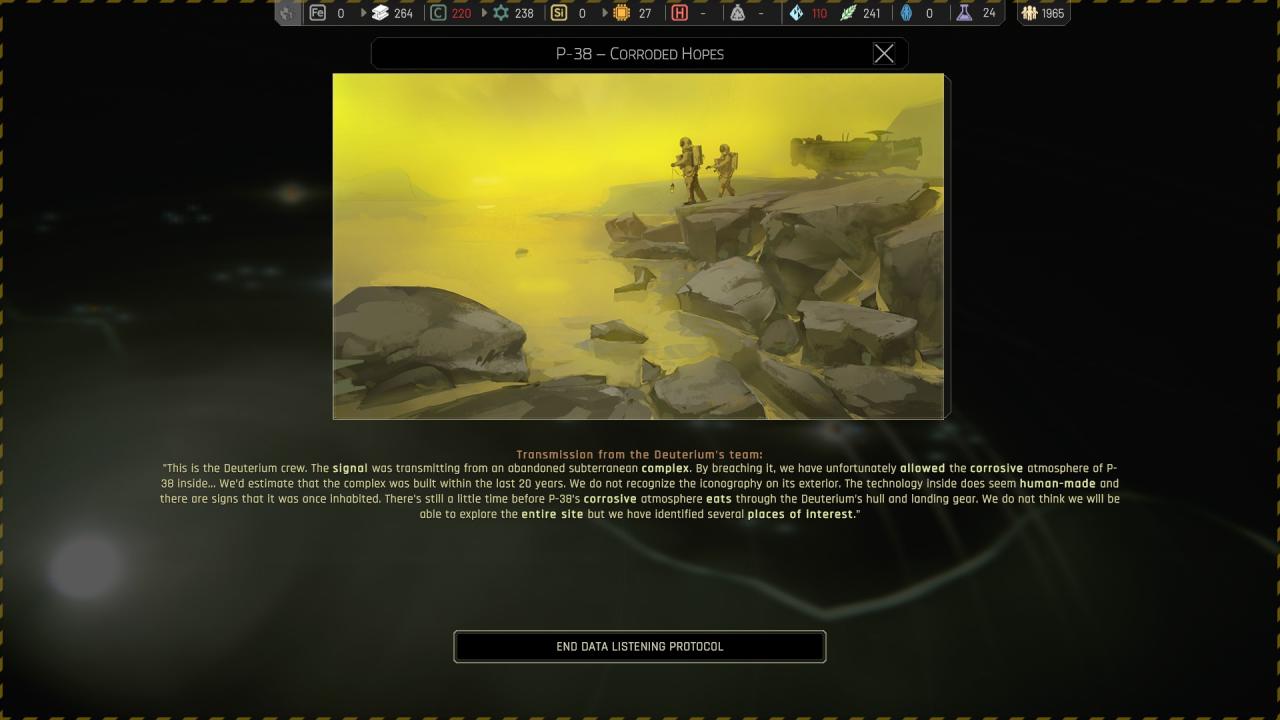
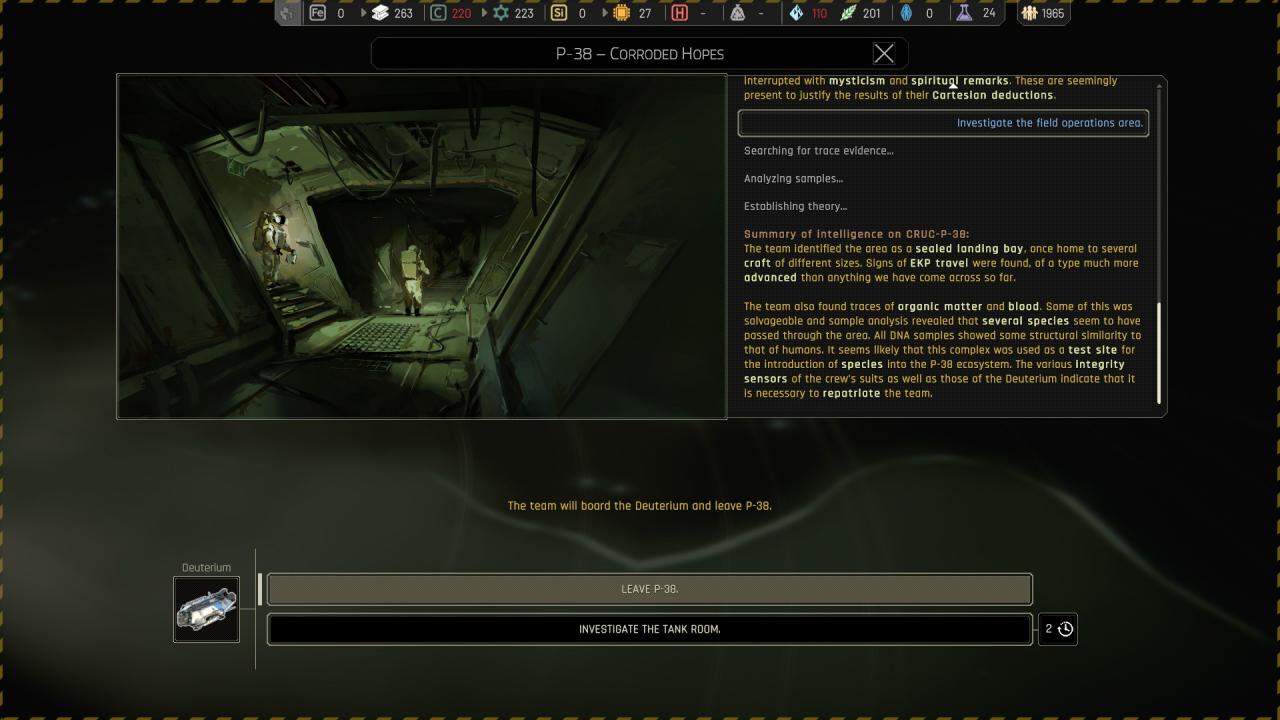
Chapter 3 ({ Cruc-P-38 } P-38 – Corroded Hopes )
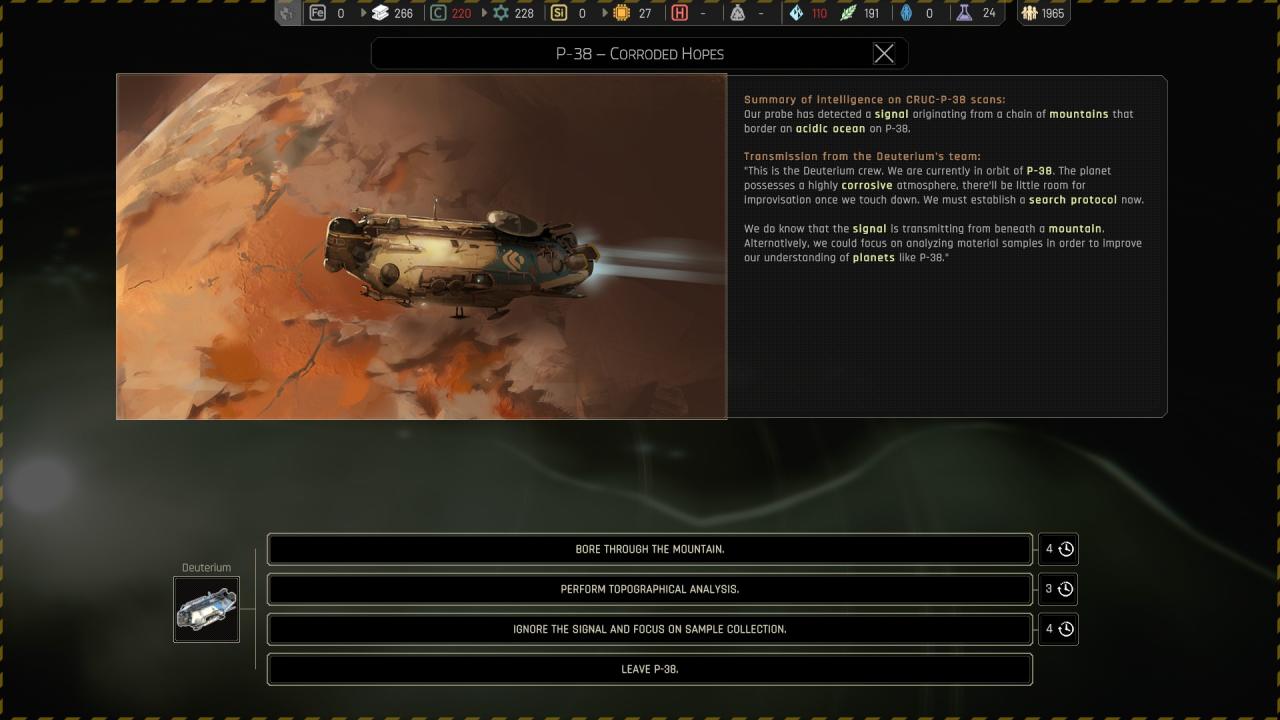
🔒 Bore through the mountain : ( Skipped, best science output 60, end to death at second choice )🗘 Perform topographical analysis : ( Best choice )
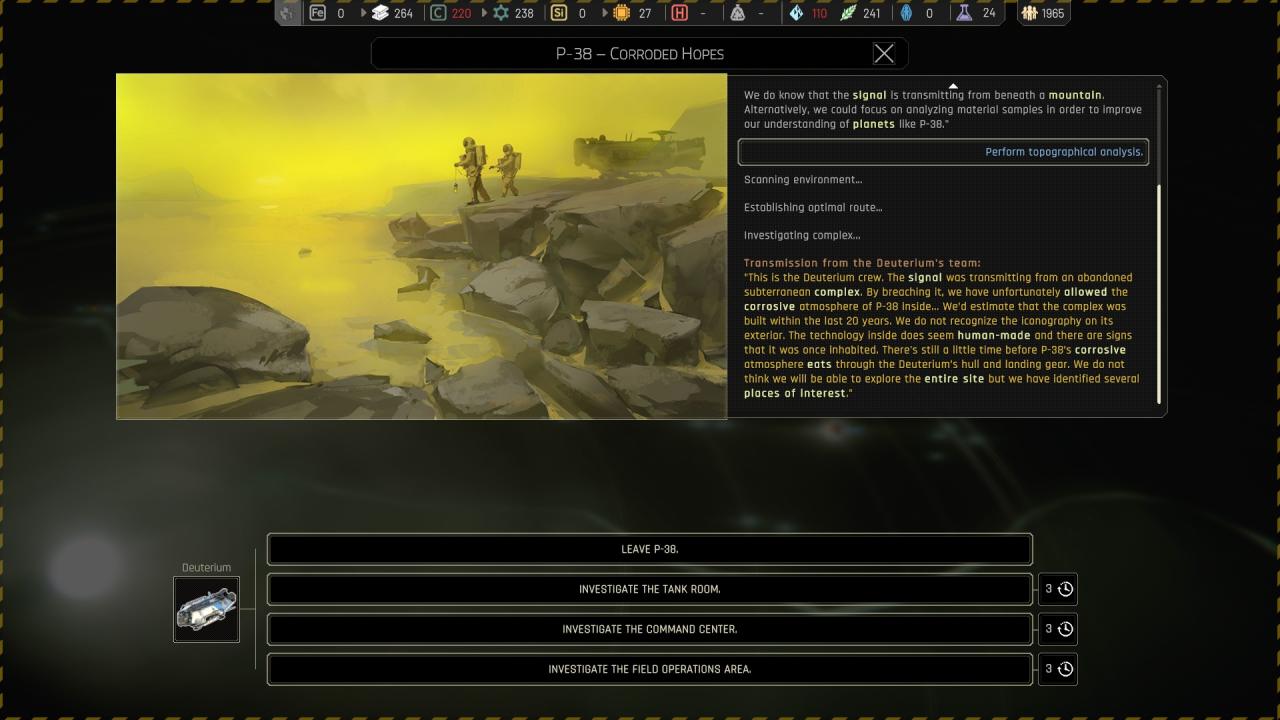
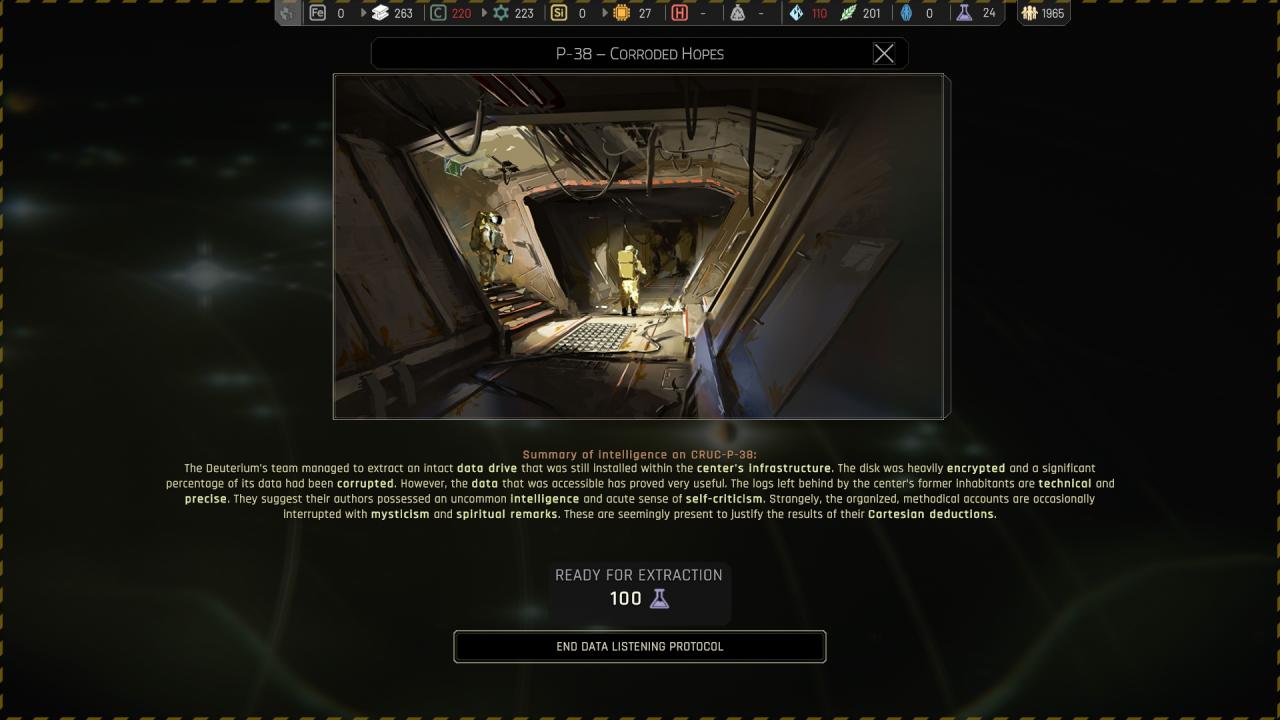
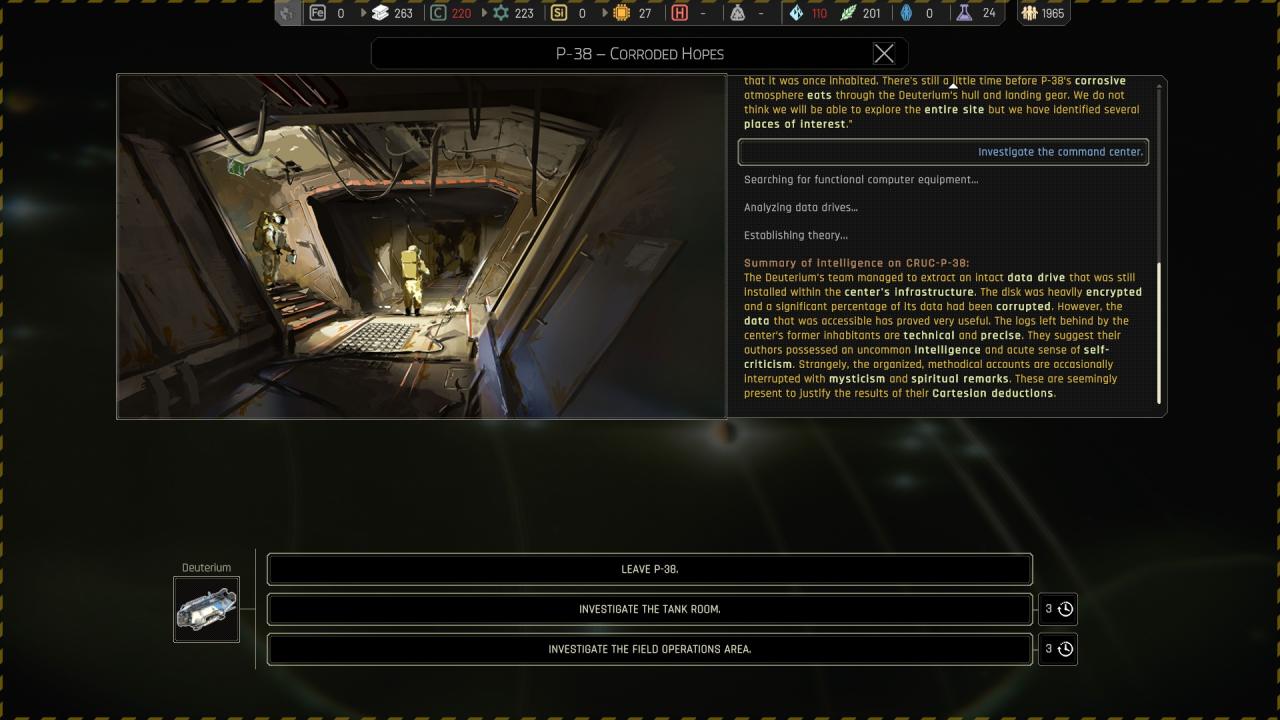
🏆🗘 Perform topographical analysis : investigate the command center : #First choice ( Retreive a data drive ? )
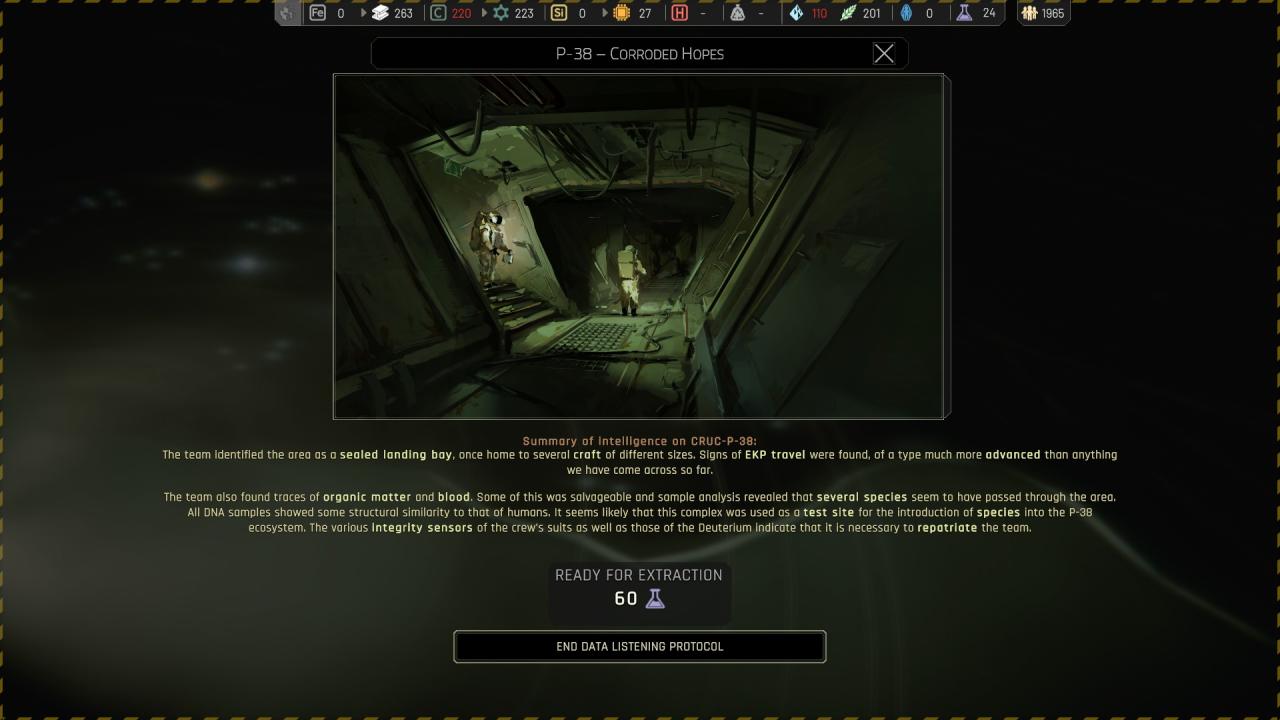
🗘 Perform topographical analysis : investigate the field operations area : #Second choice ( Looking a some species – Then leave )
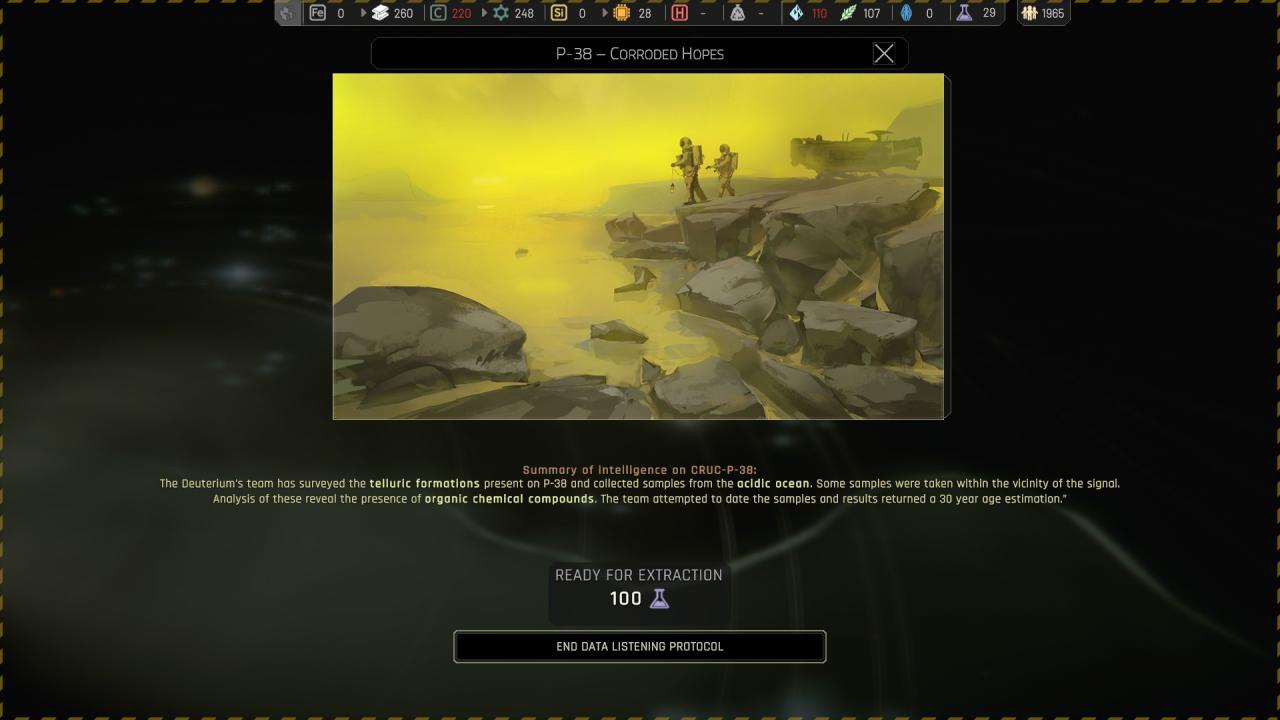
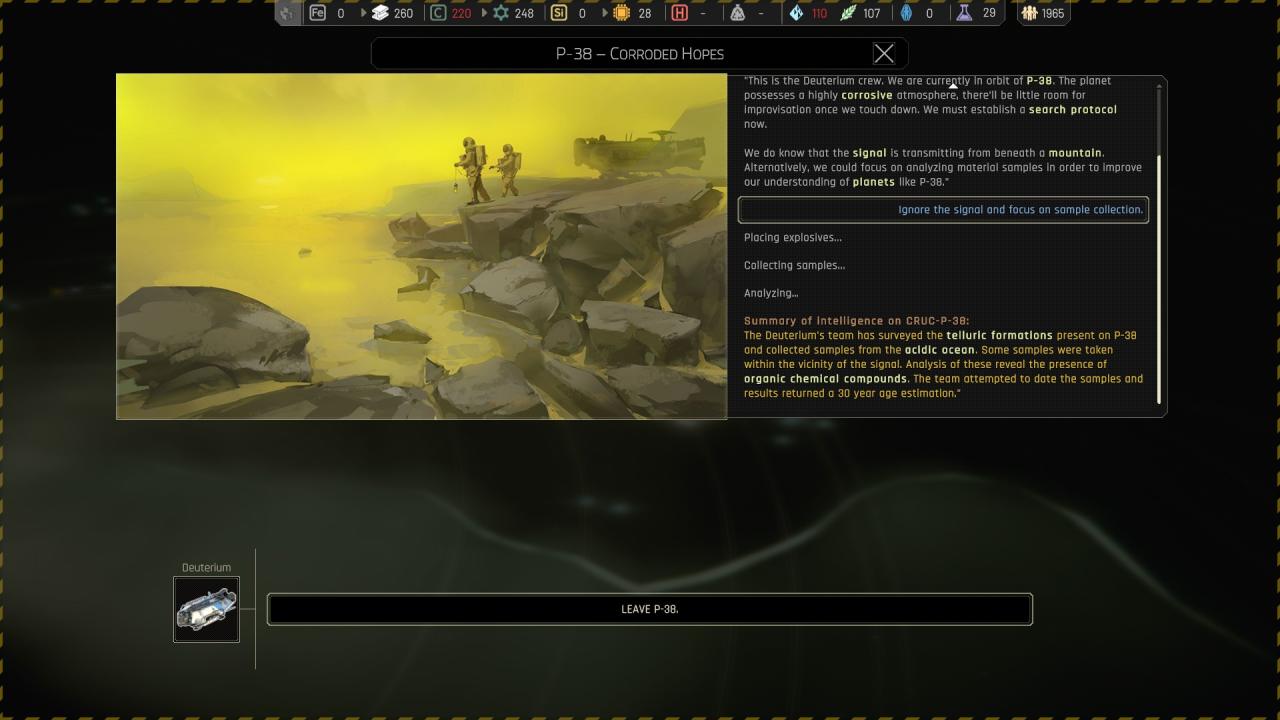
🔒 Ignore the signal and focus on sample collection : ( Lock the location )
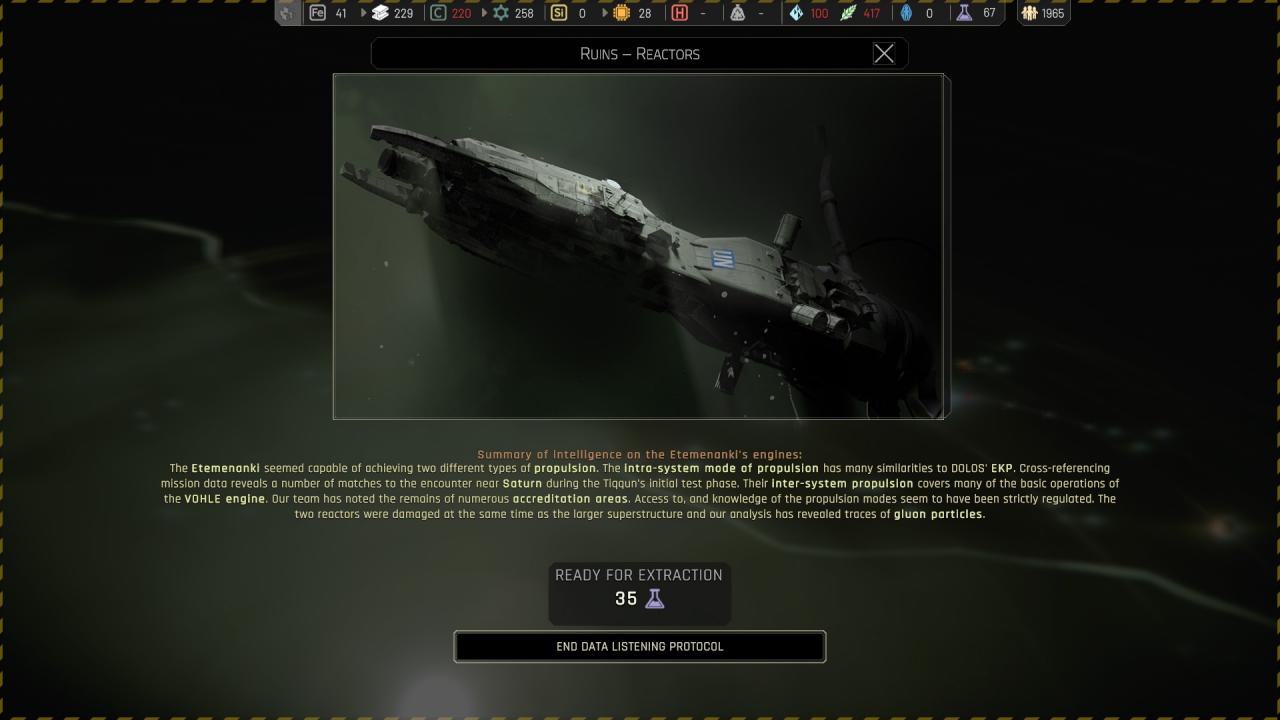
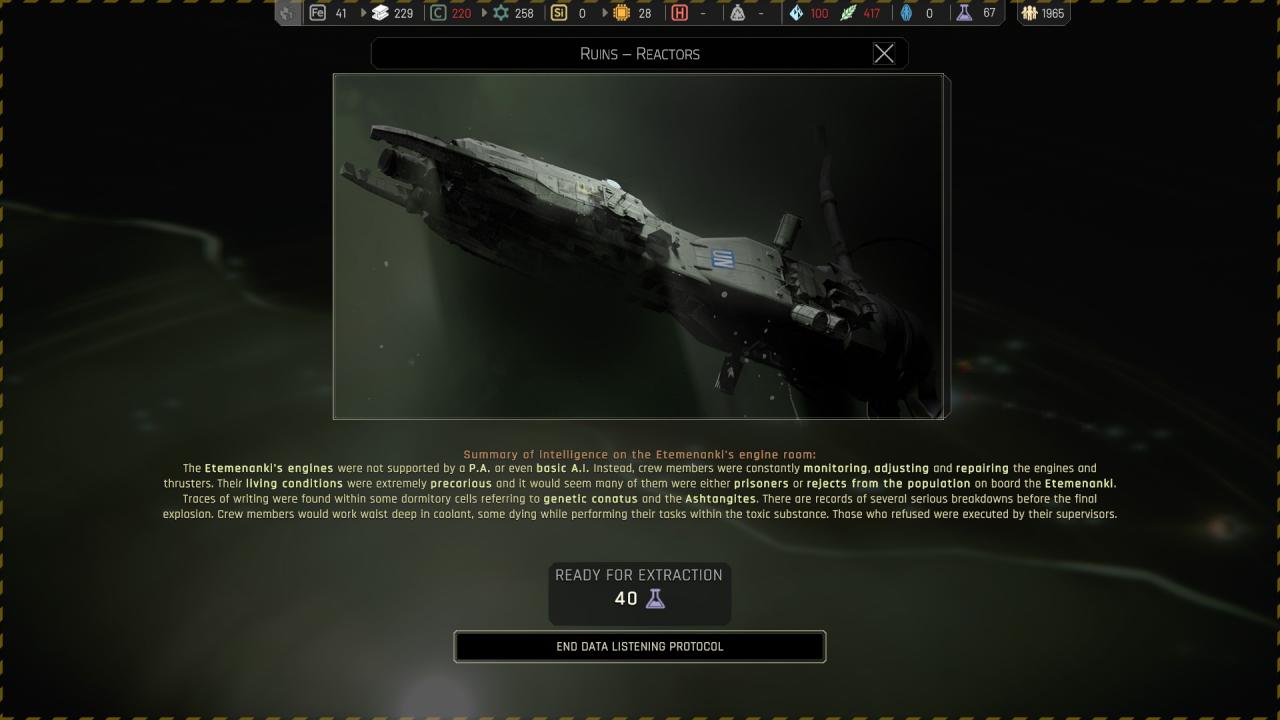
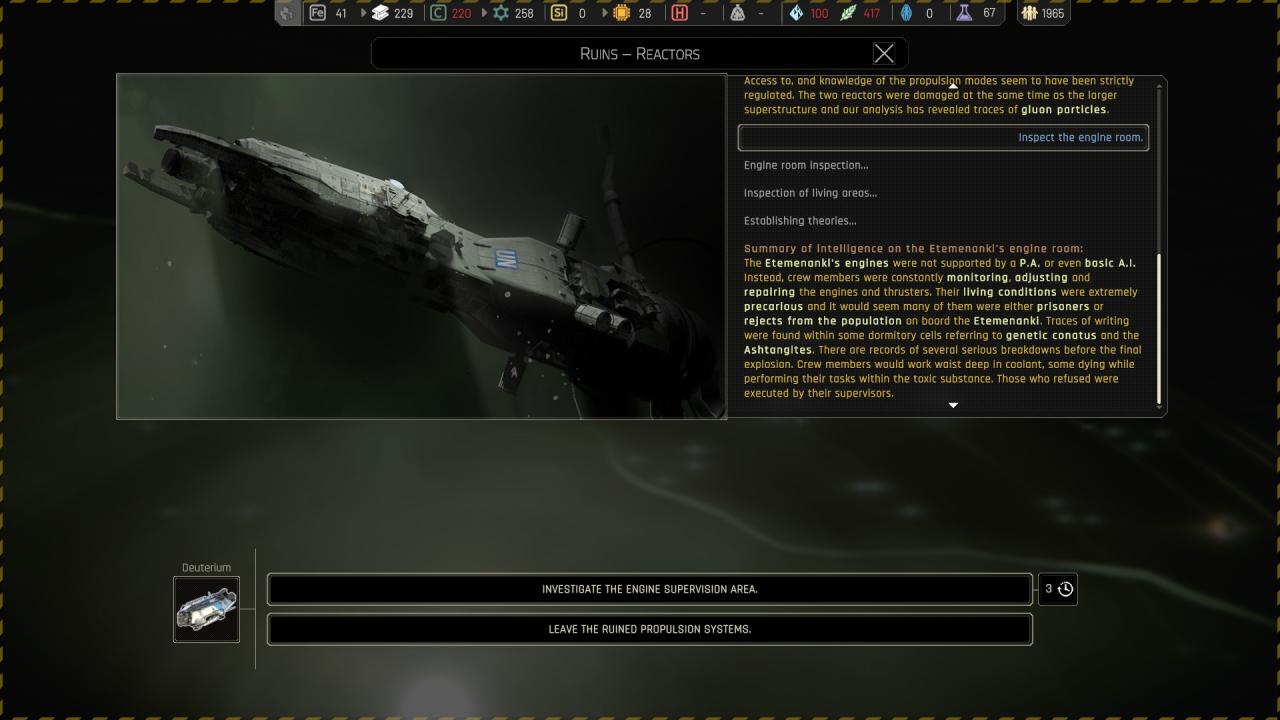
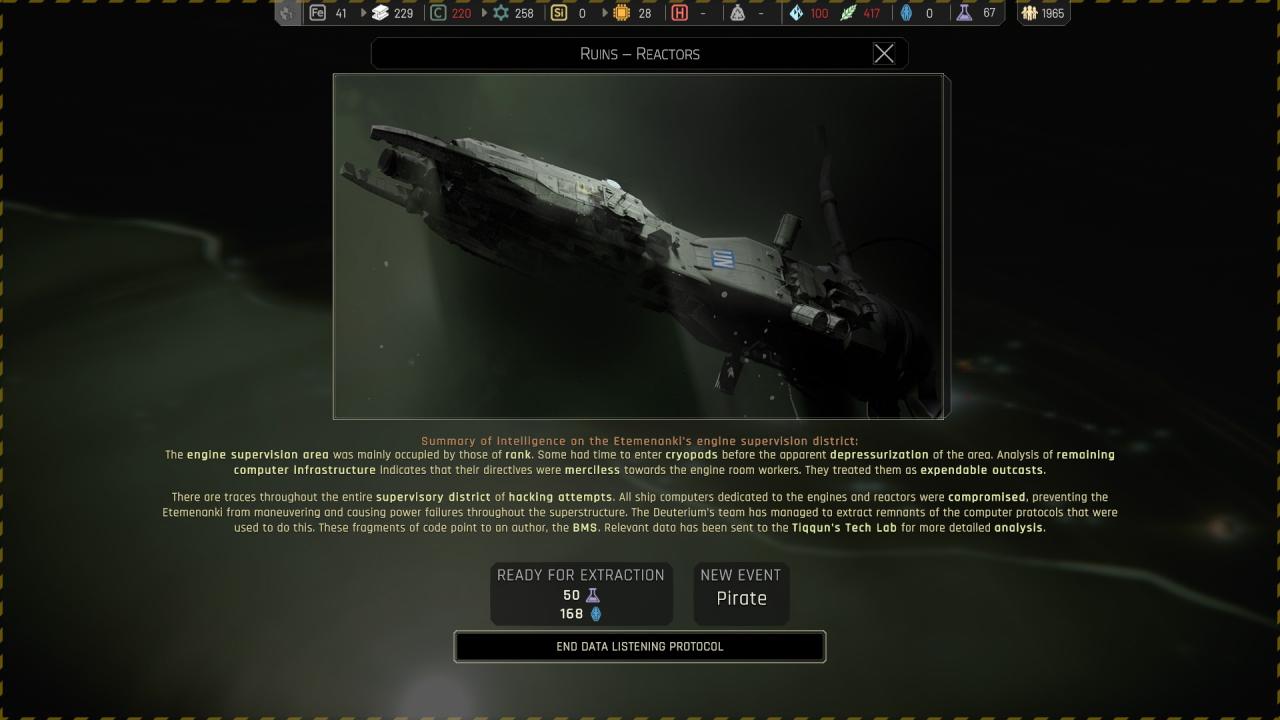
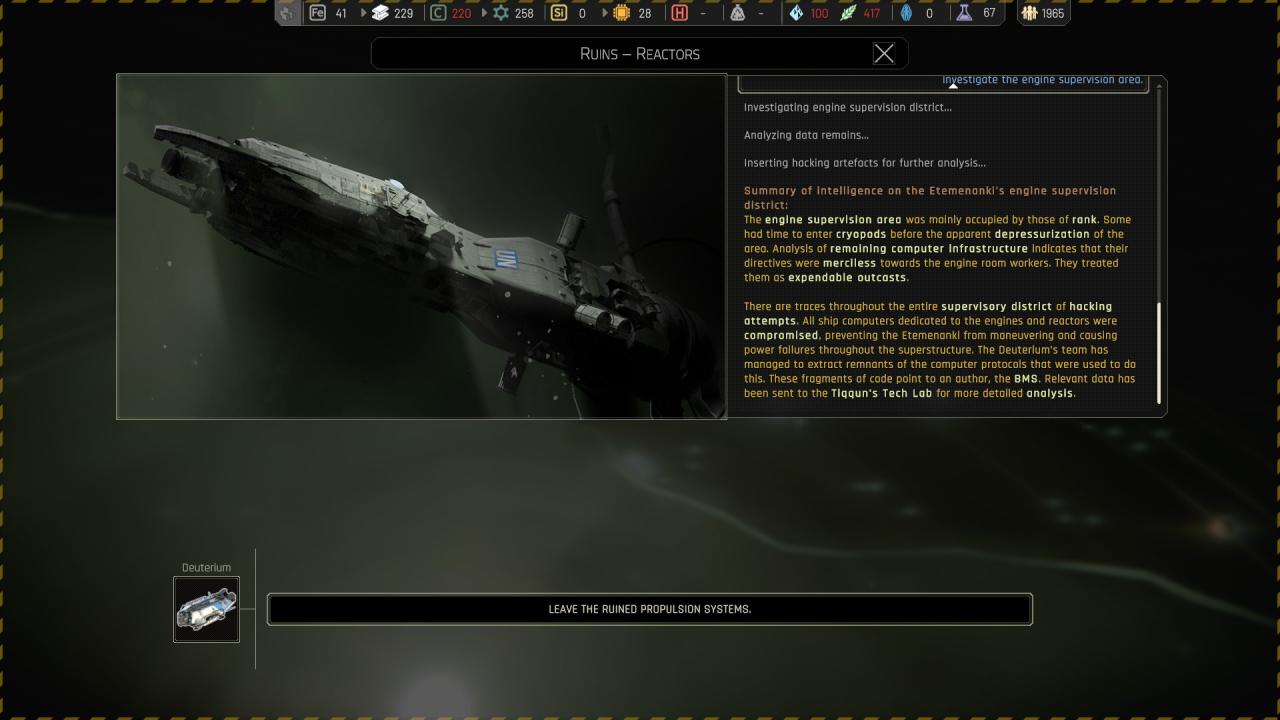
Chapter 3 ({ Reactor Wreckage } Ruins – Reactors )
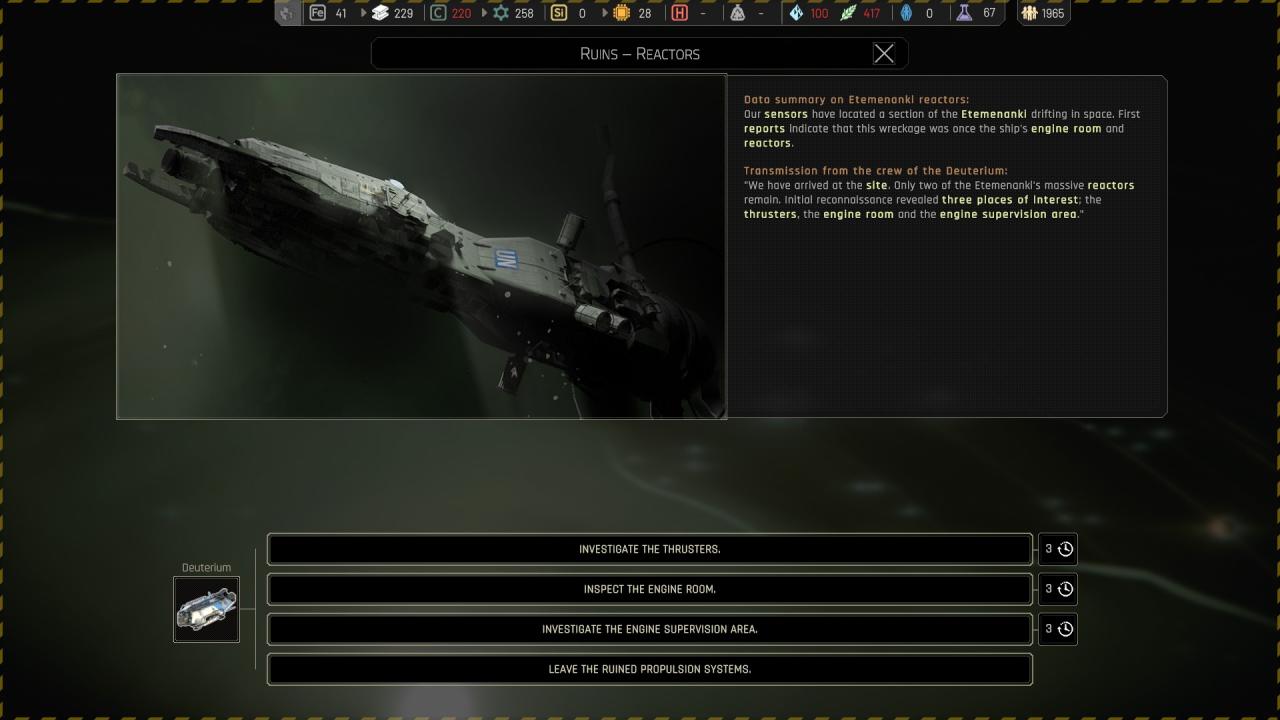
🗘 Investigate the thrusters :
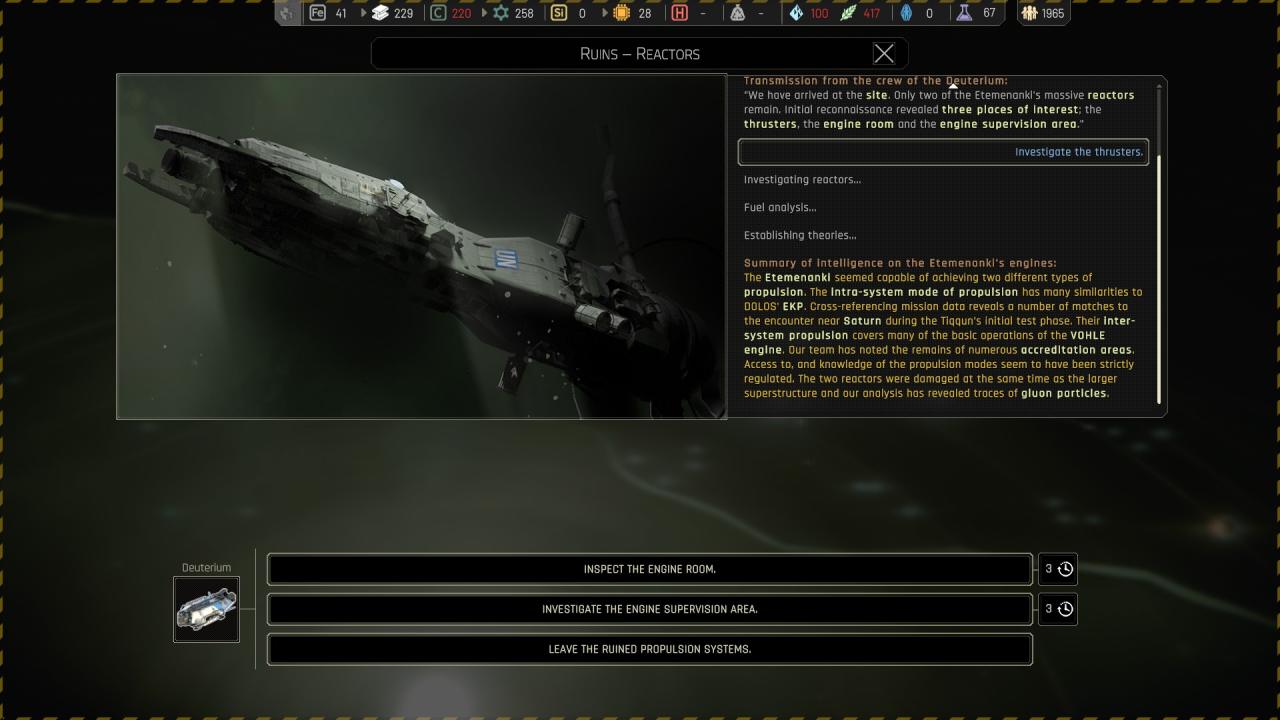
🗘 Inspect the engine room :
🏆🗘 Investigate the engine supervision area :
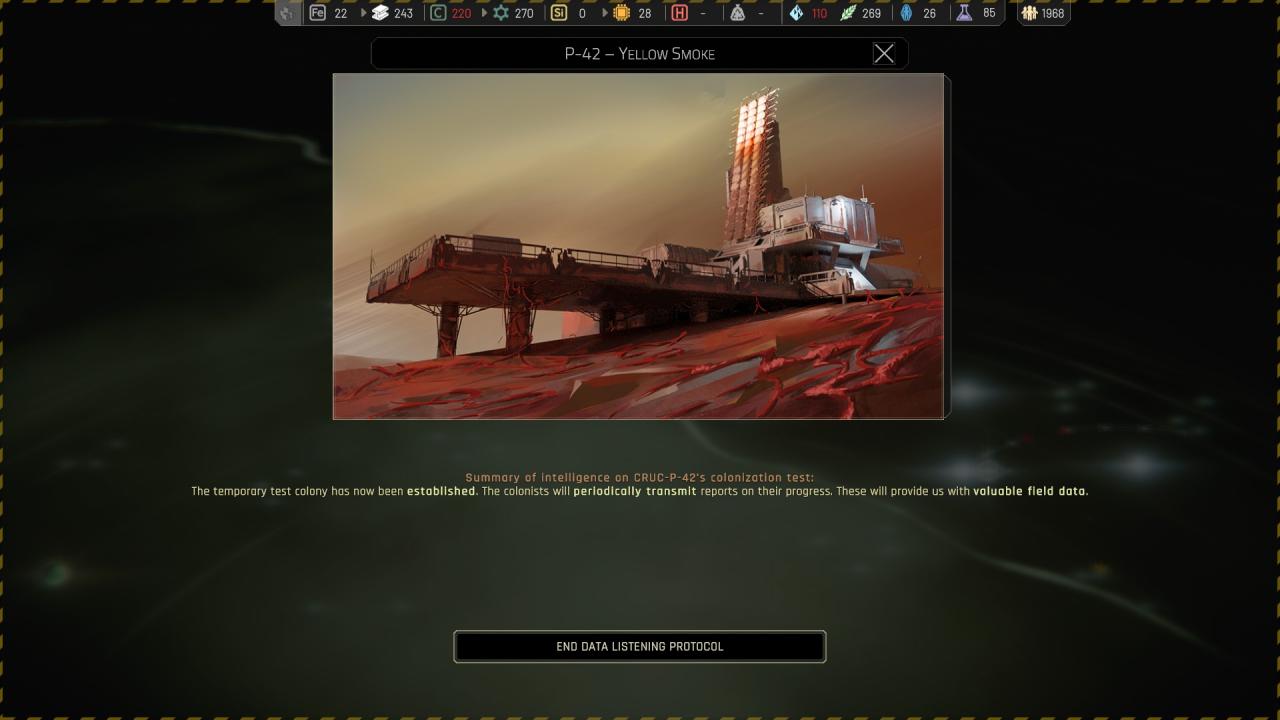
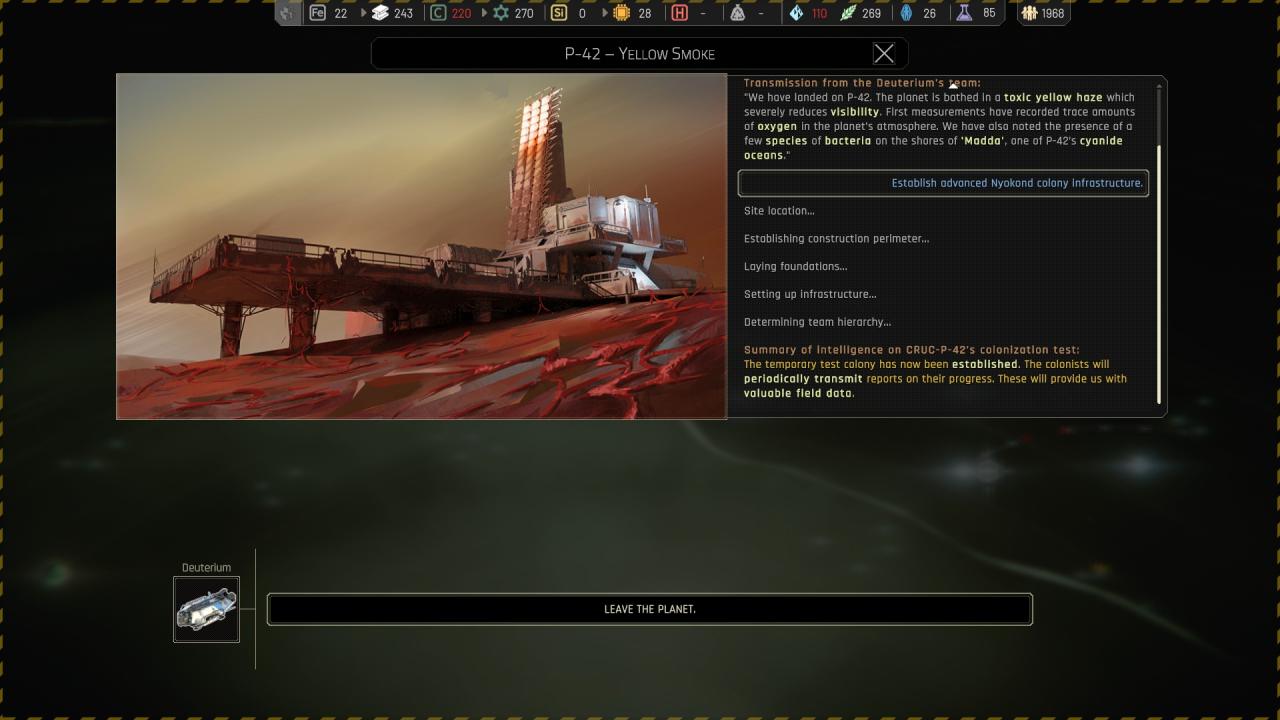
Chapter 3 ({ Cruc-P-42 } P-42- Yellow Smoke ) Colony /!\
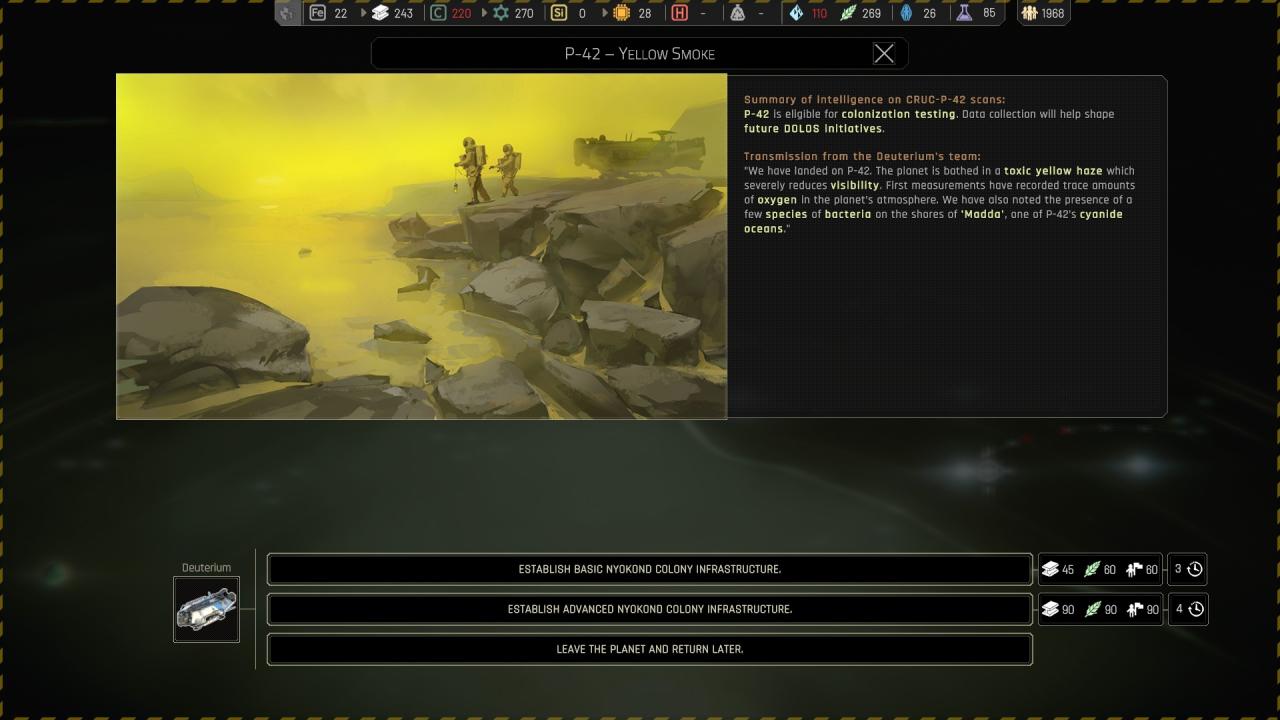
🔒 Establish advanced nyokond colony infrastructure : ( I will always do the heavier colony in the guide )
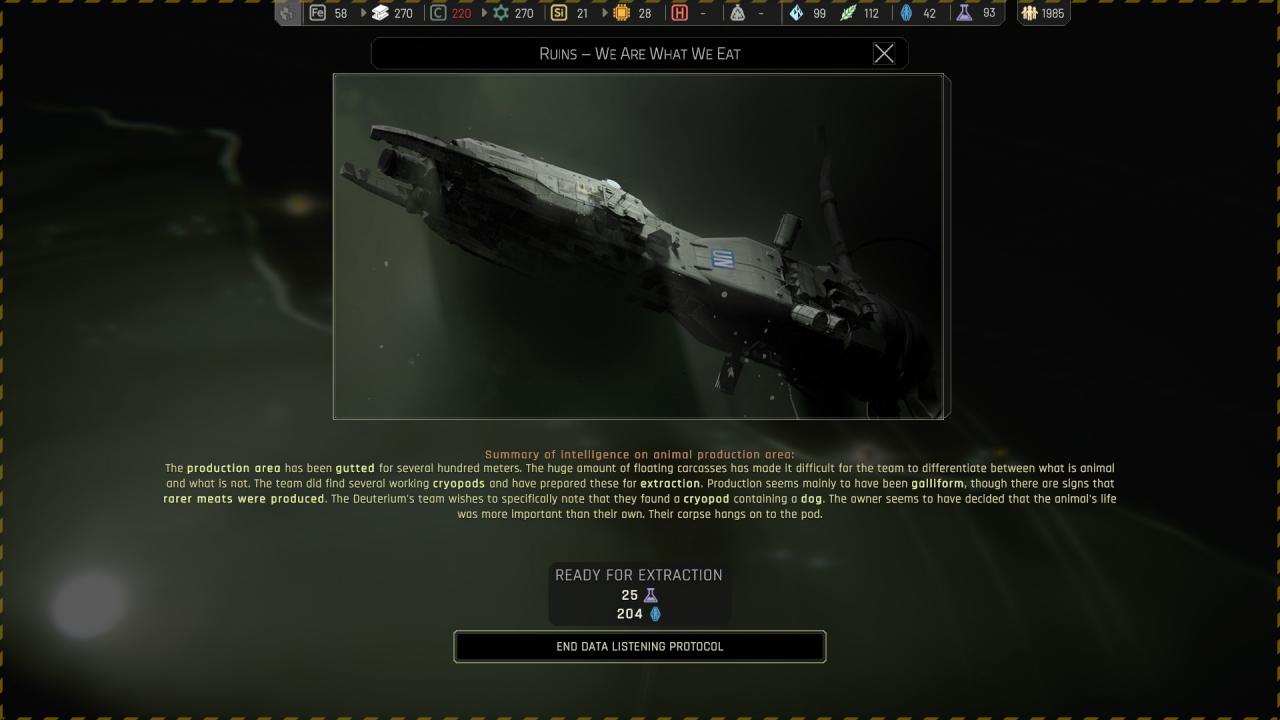
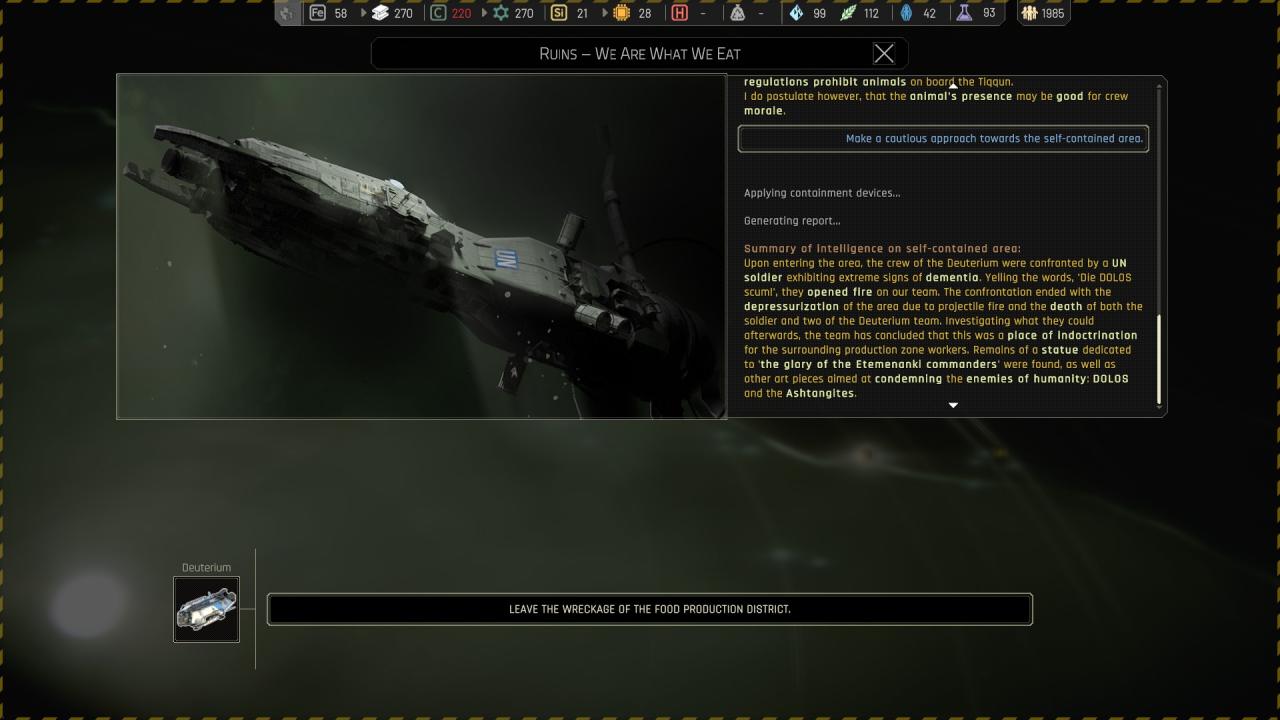
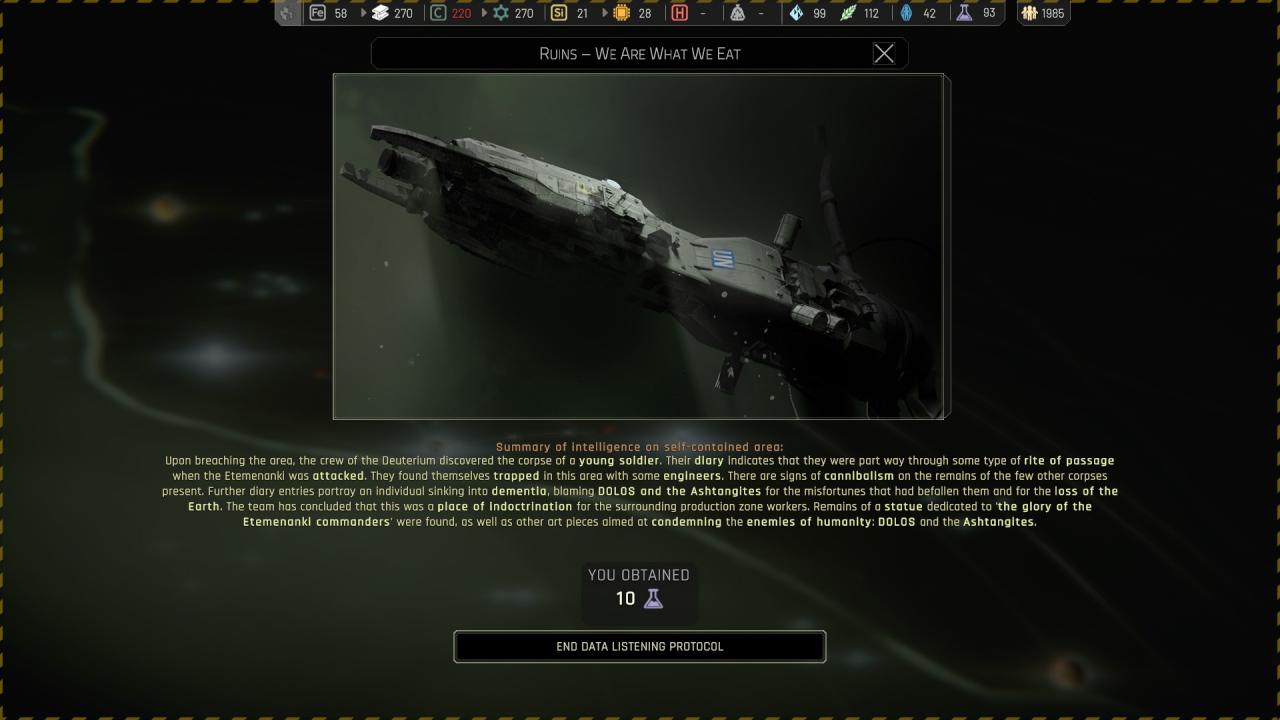
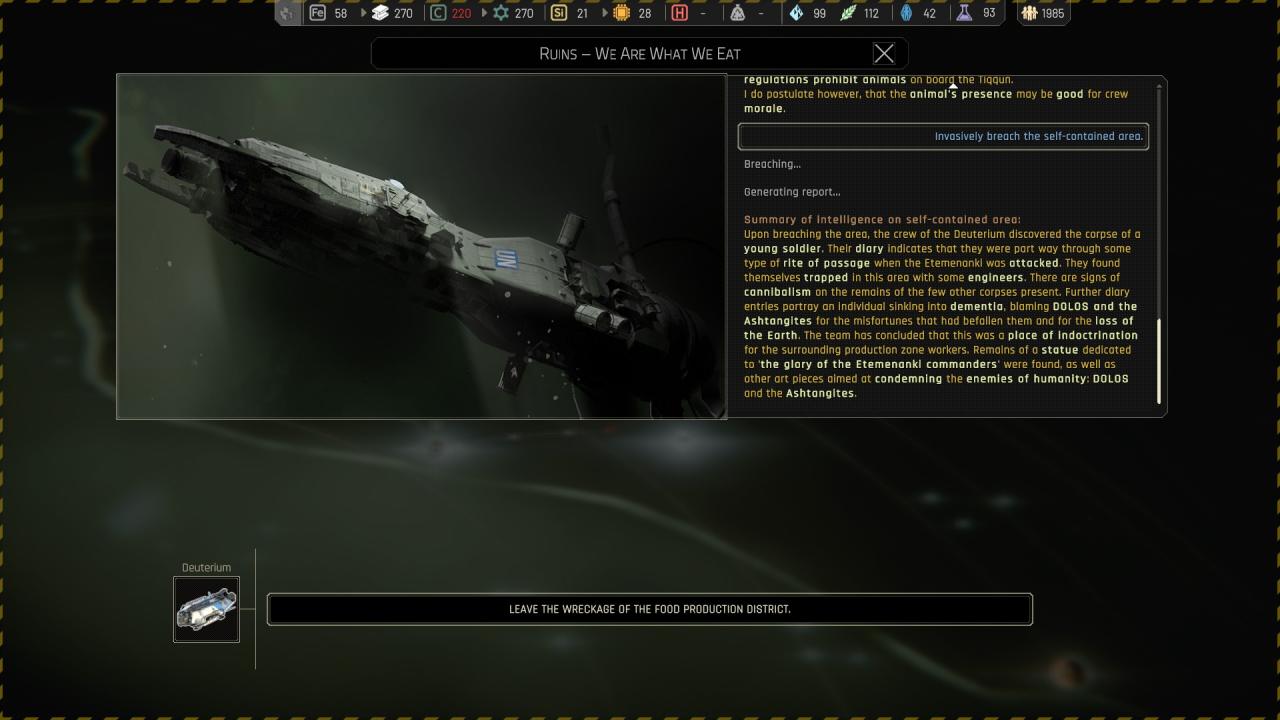
Chapter 3 ({ Collapsed Food Production District } Ruins – We Are What We Eat )
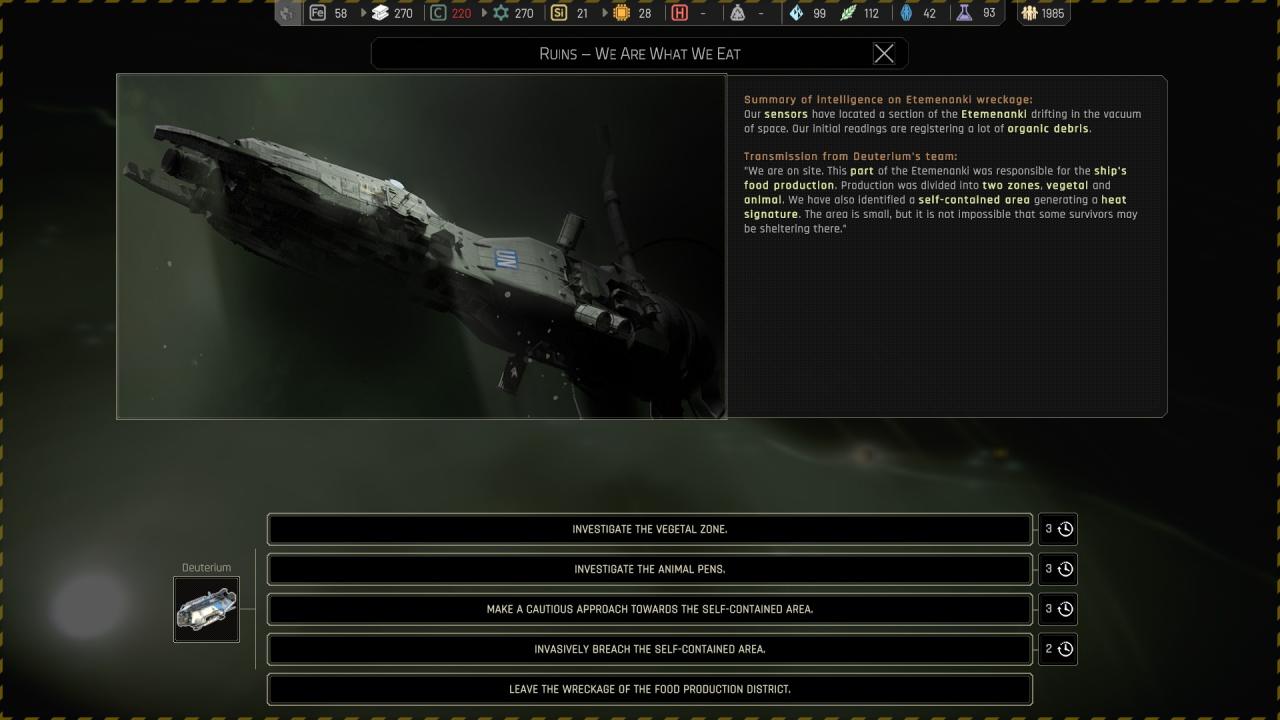
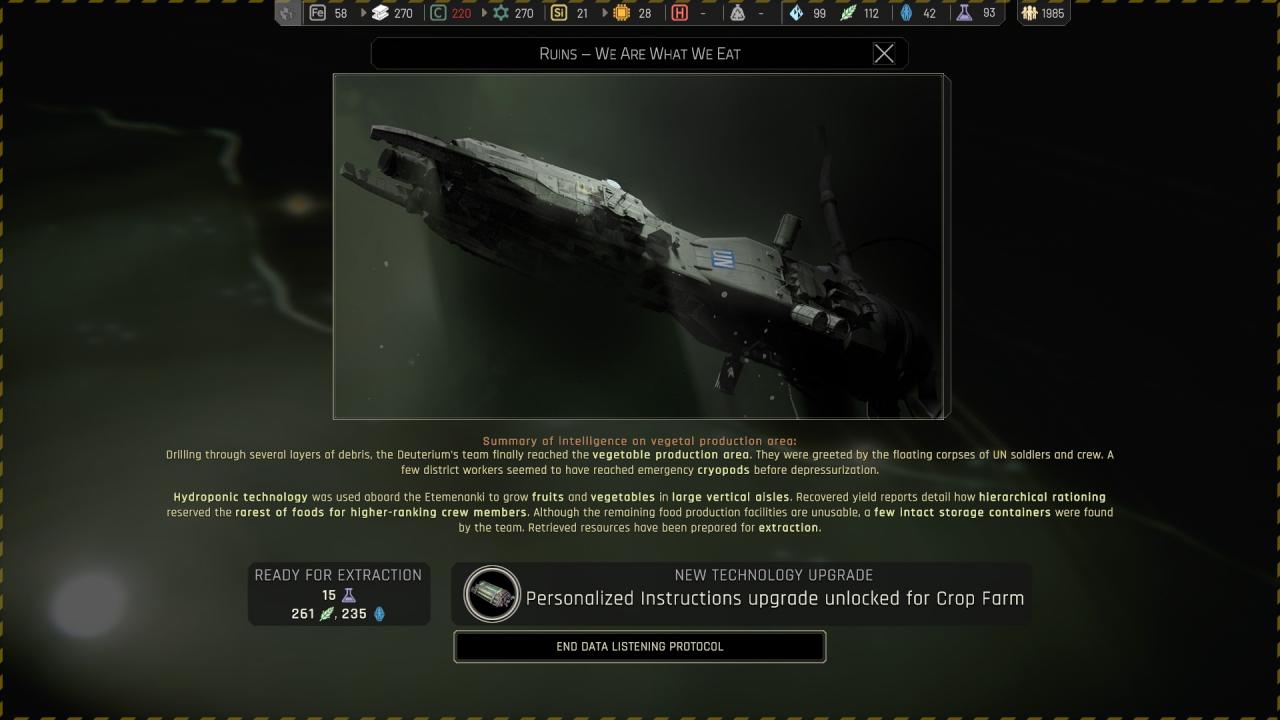
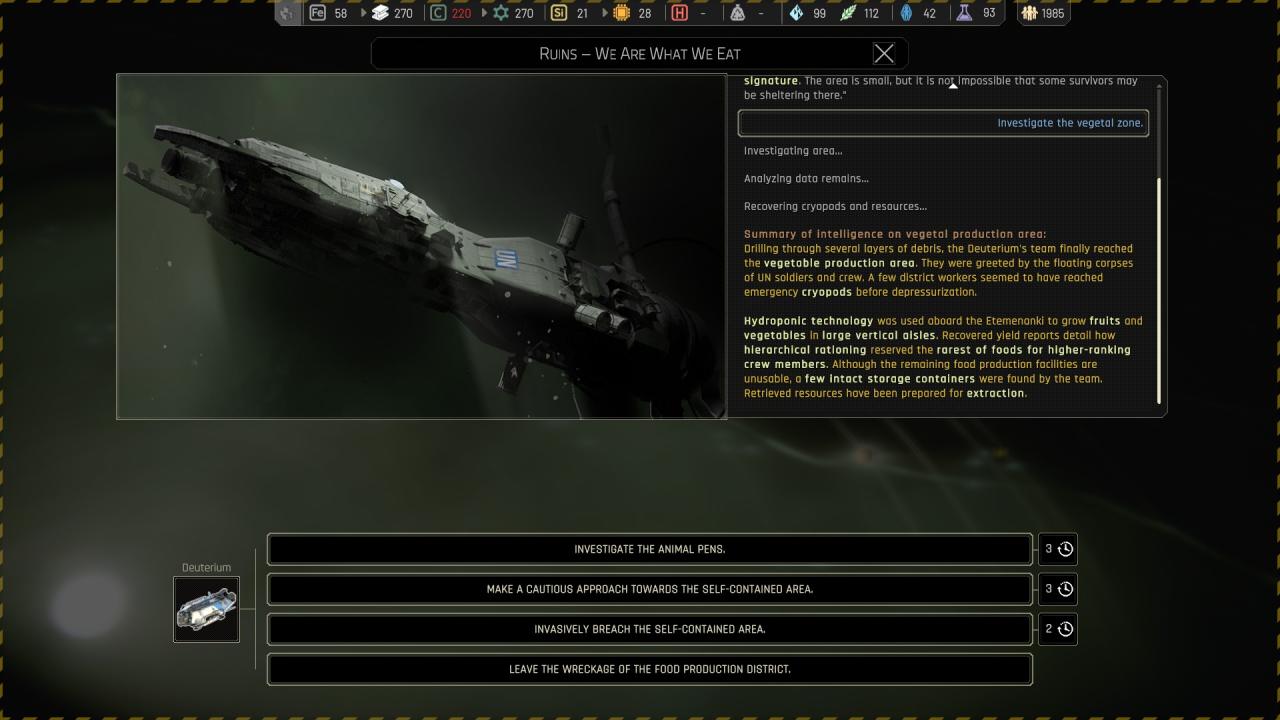
🗘 Investigate the vegetal zone :
🗘 Investigate the animal pens :
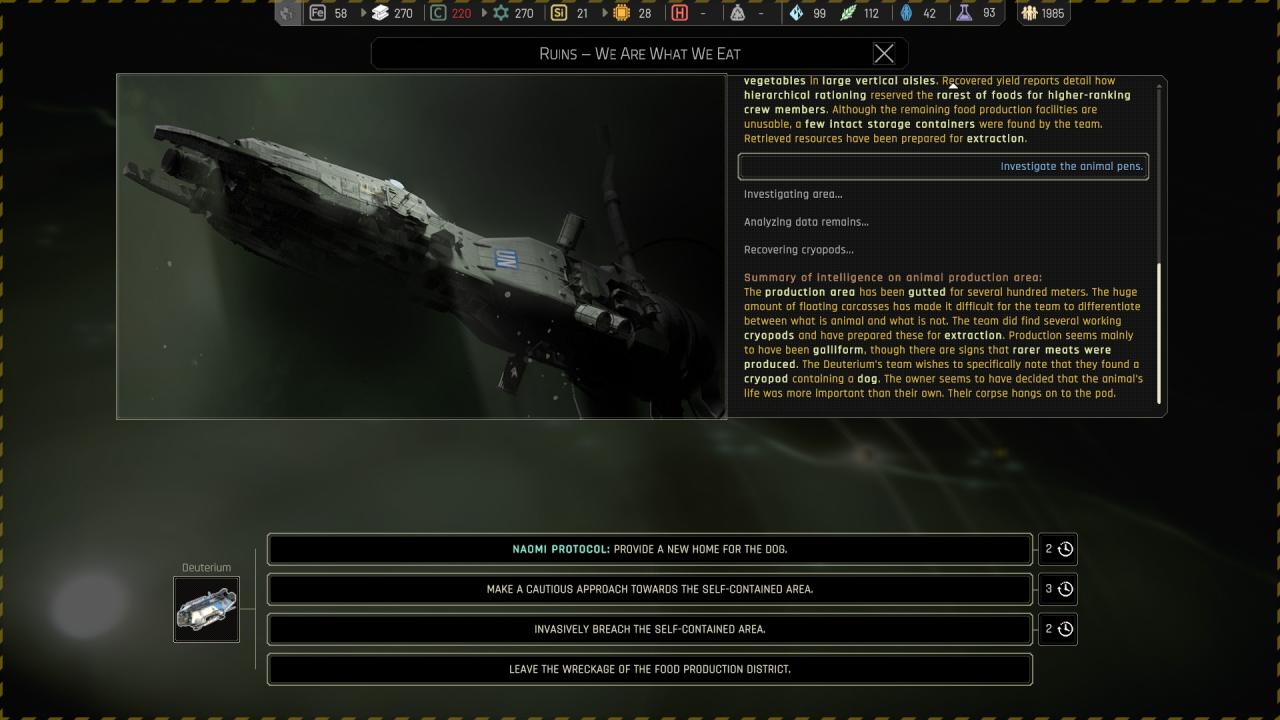
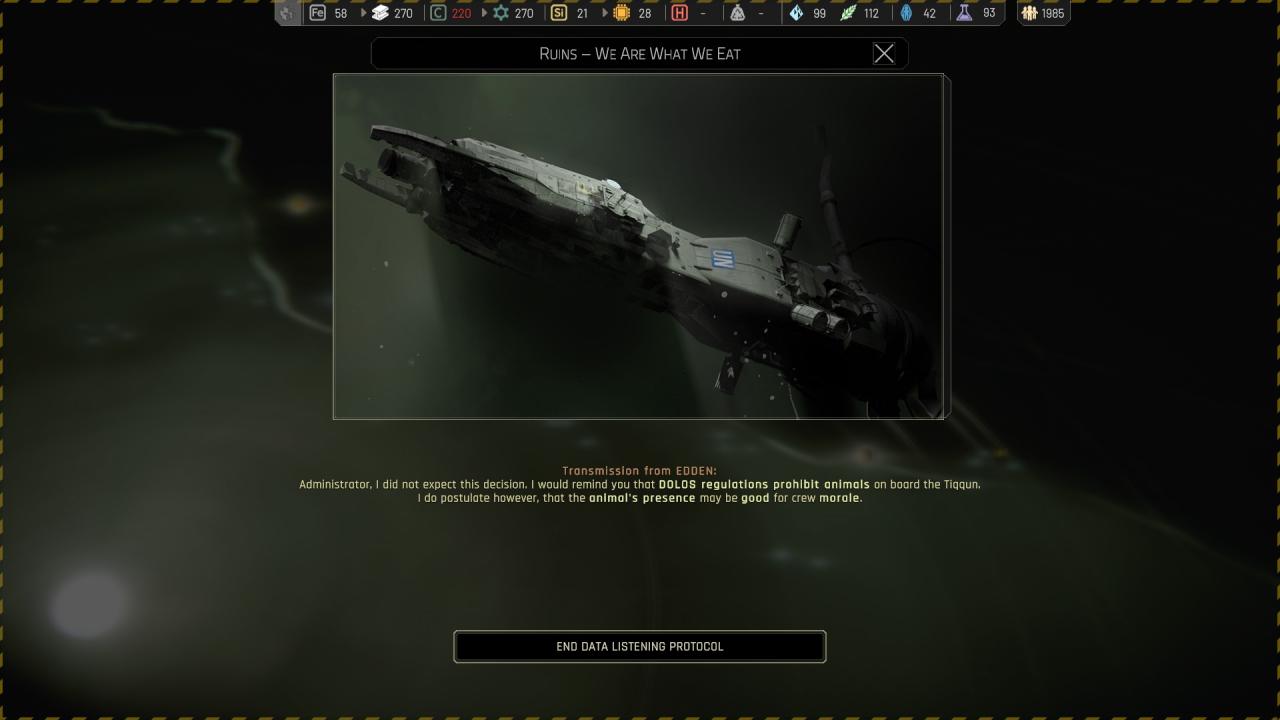
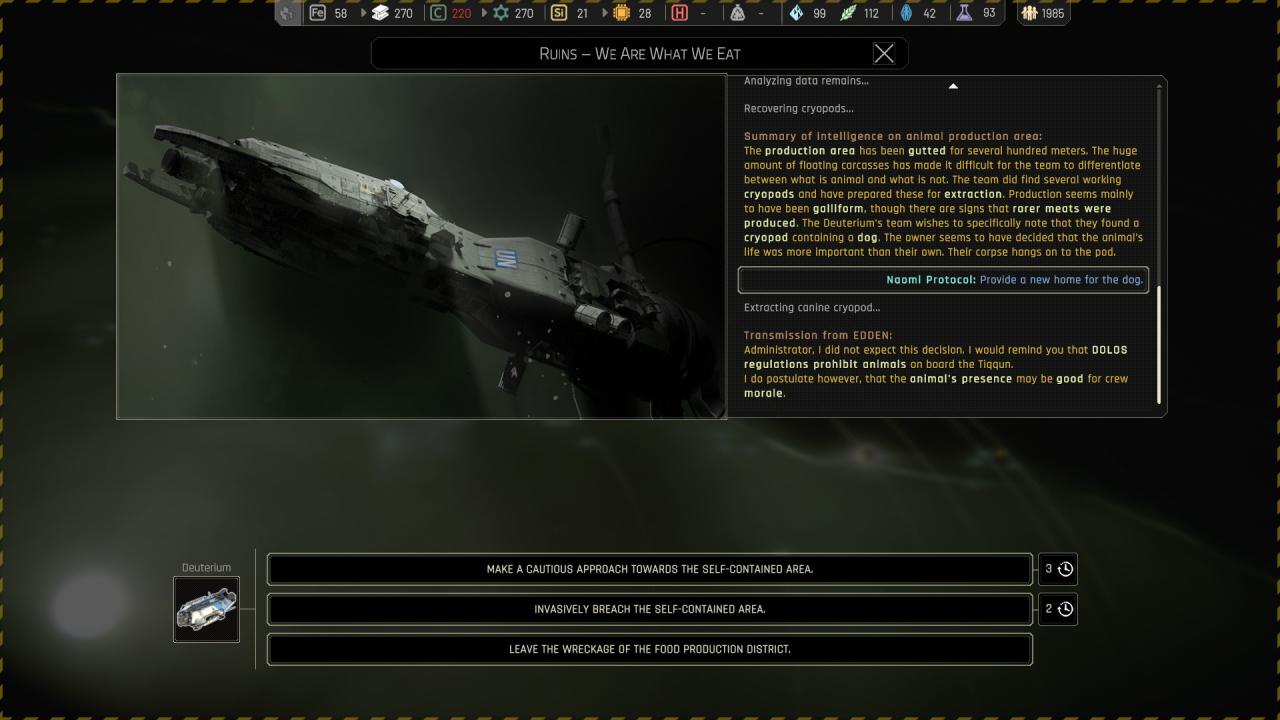
🏆🗘 Investigate the animal pens > Naomi protocol : provide a new home for the dog :
🔒 Make a cautious approach towards the self-contained area : ( Don’t do it, also lock the location )
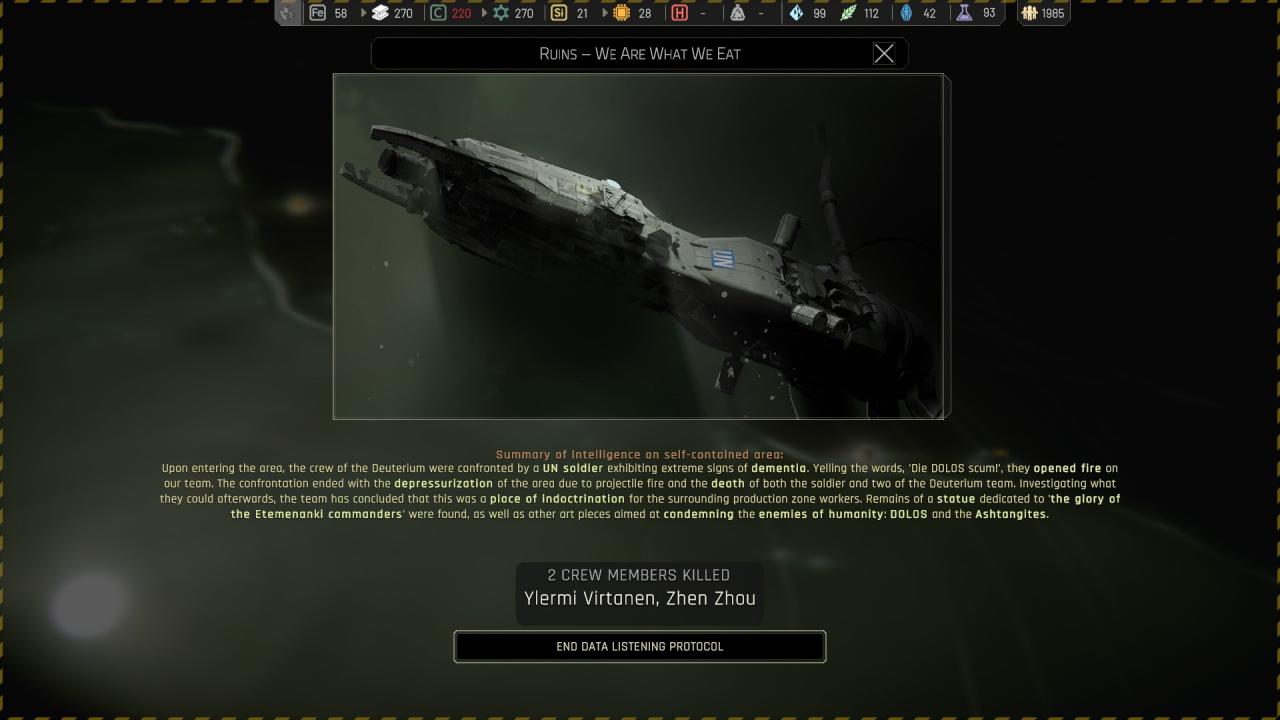
🔒 Invasively breach the self-contained area : ( Last choice then leave )
Chapter 3 ({ Depressurized R&D District } )
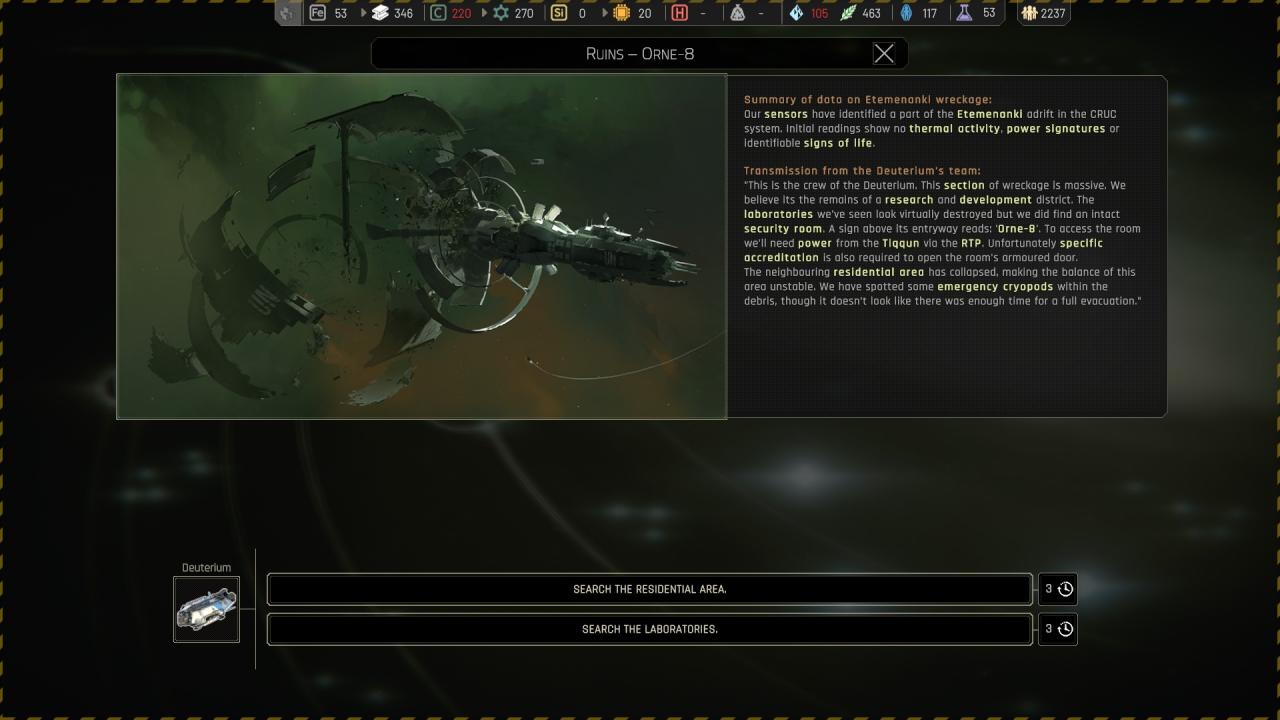
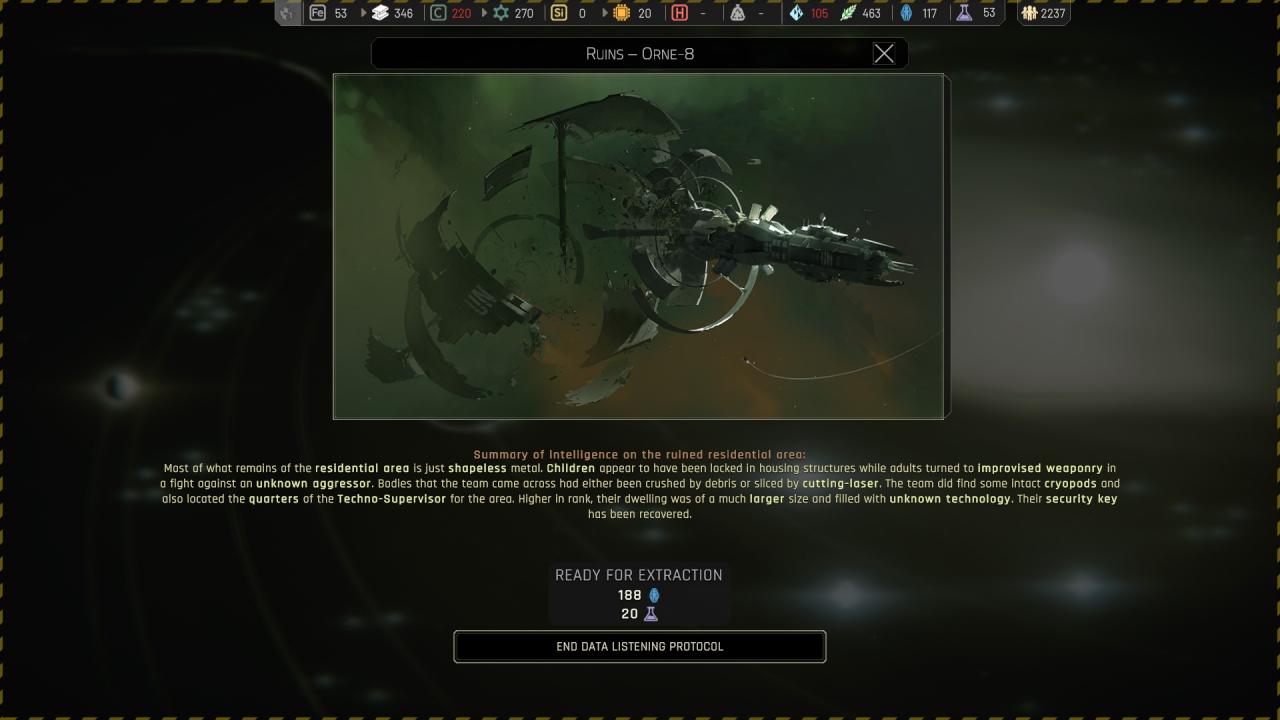
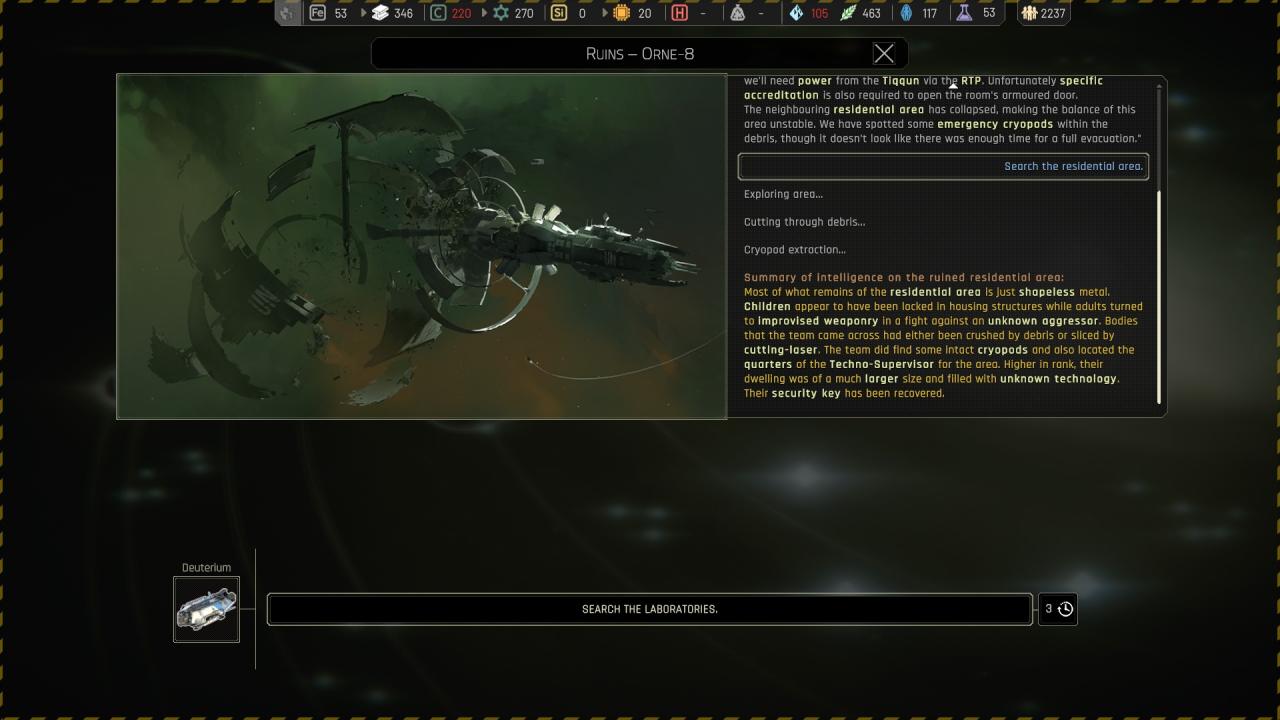
🗘 Search the residential area :
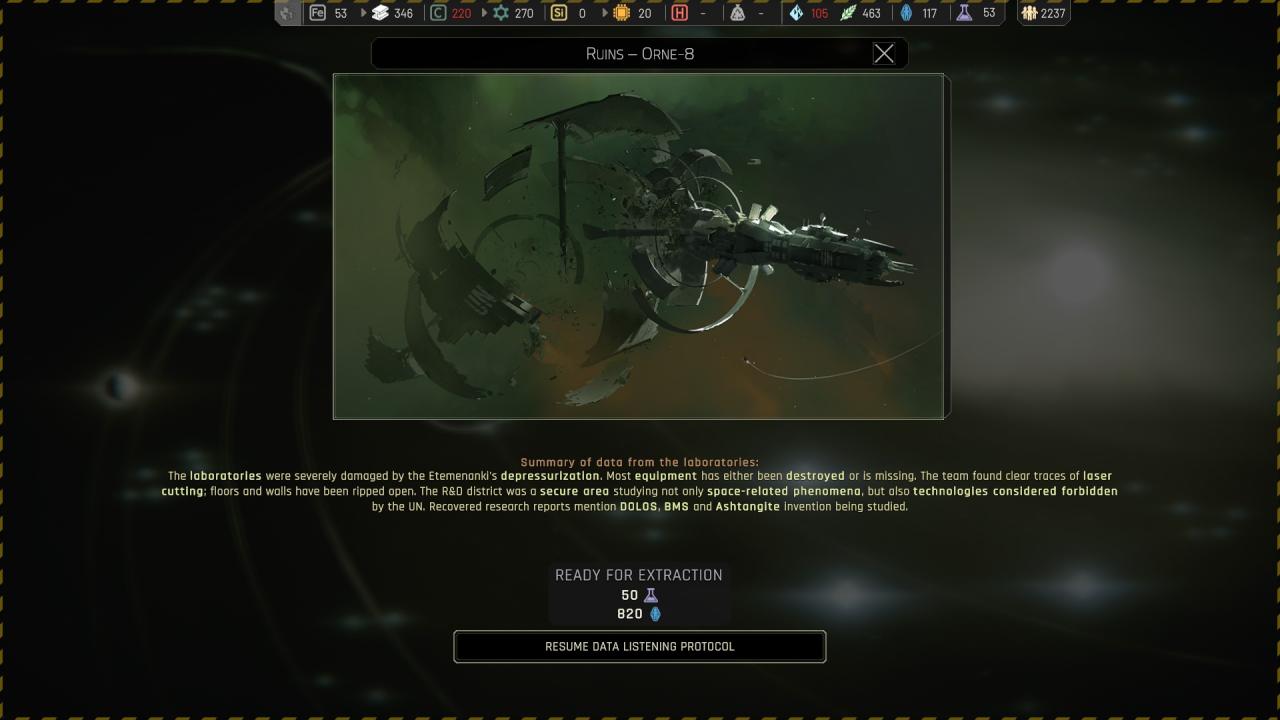
🗘 Search the laboratories :
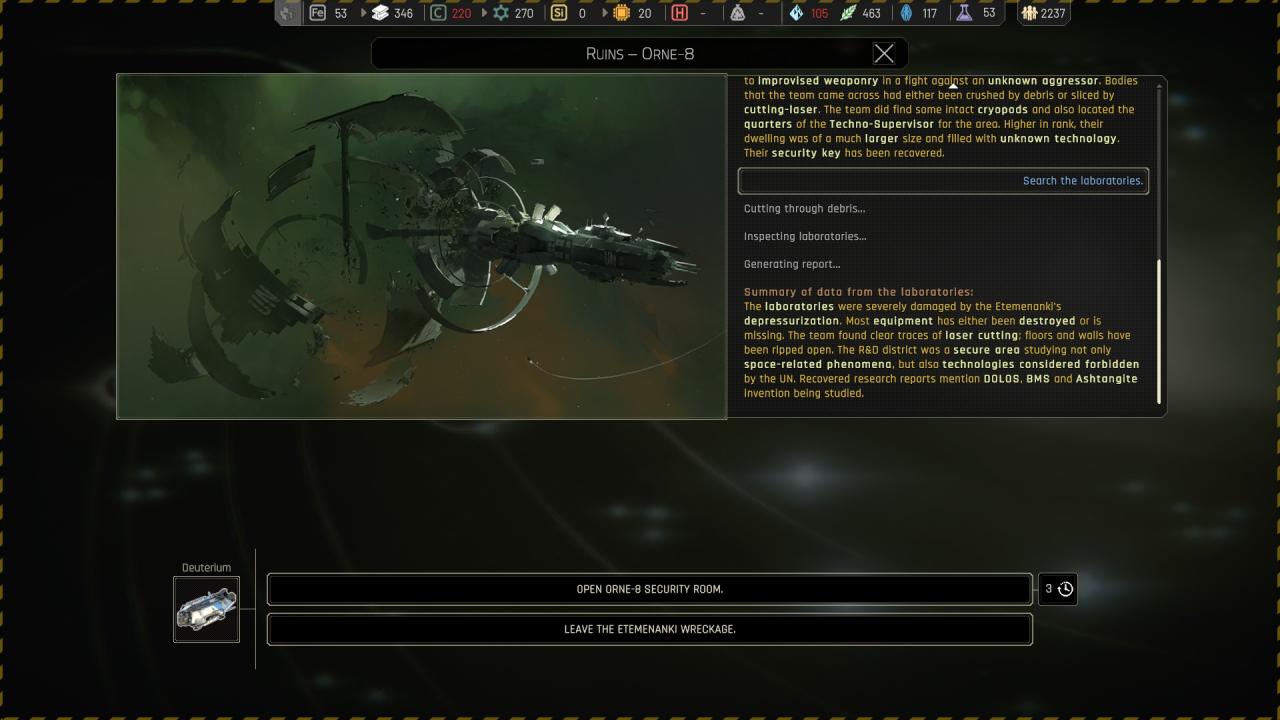
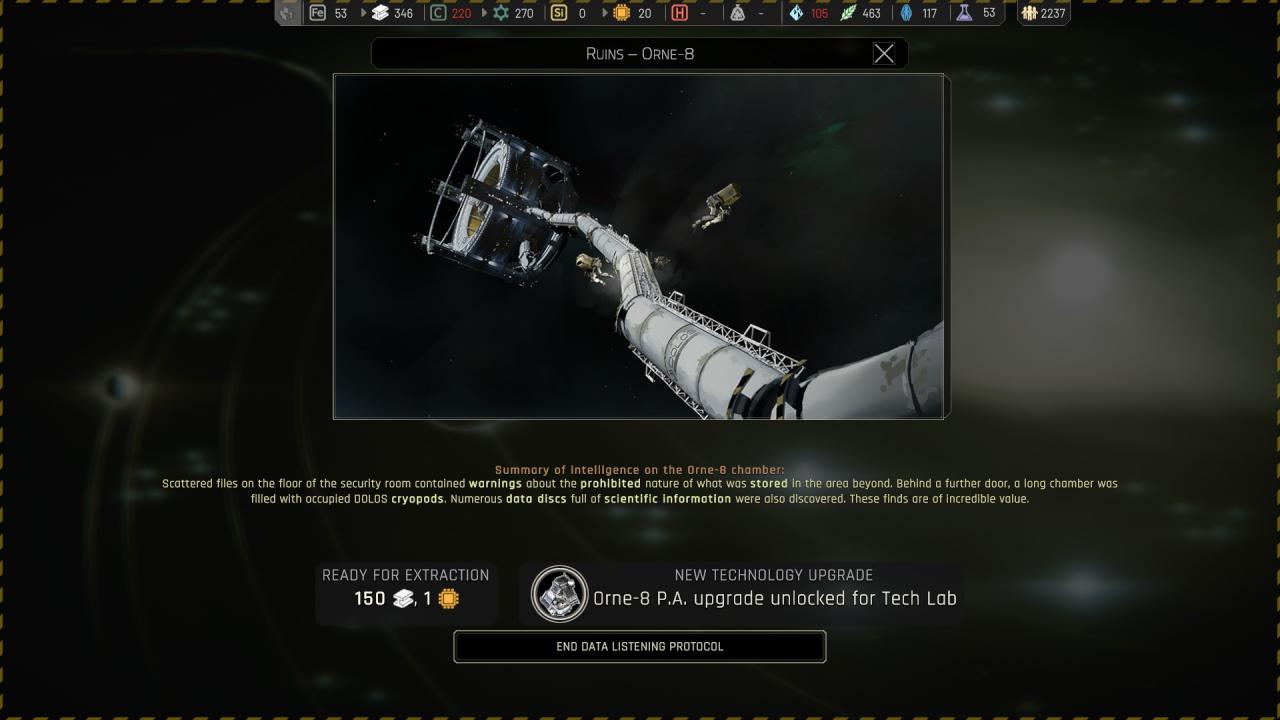
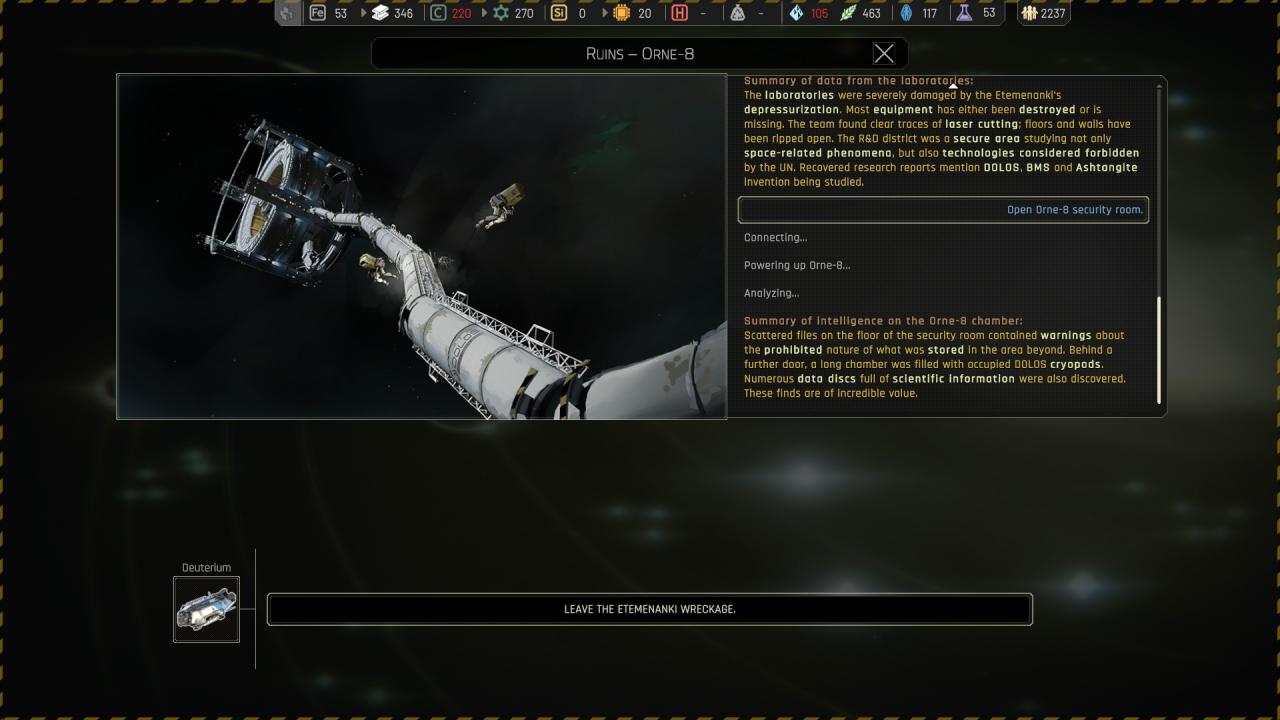
🏆🔒 Open orne-8 security room :
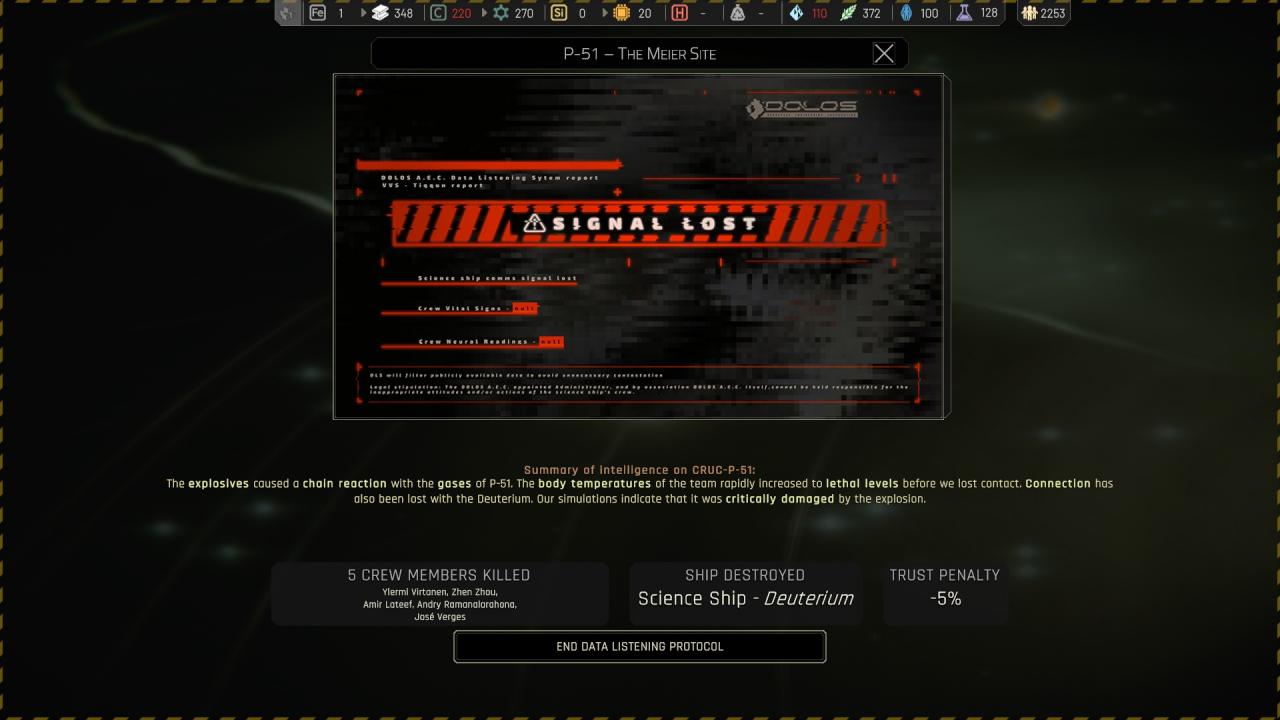
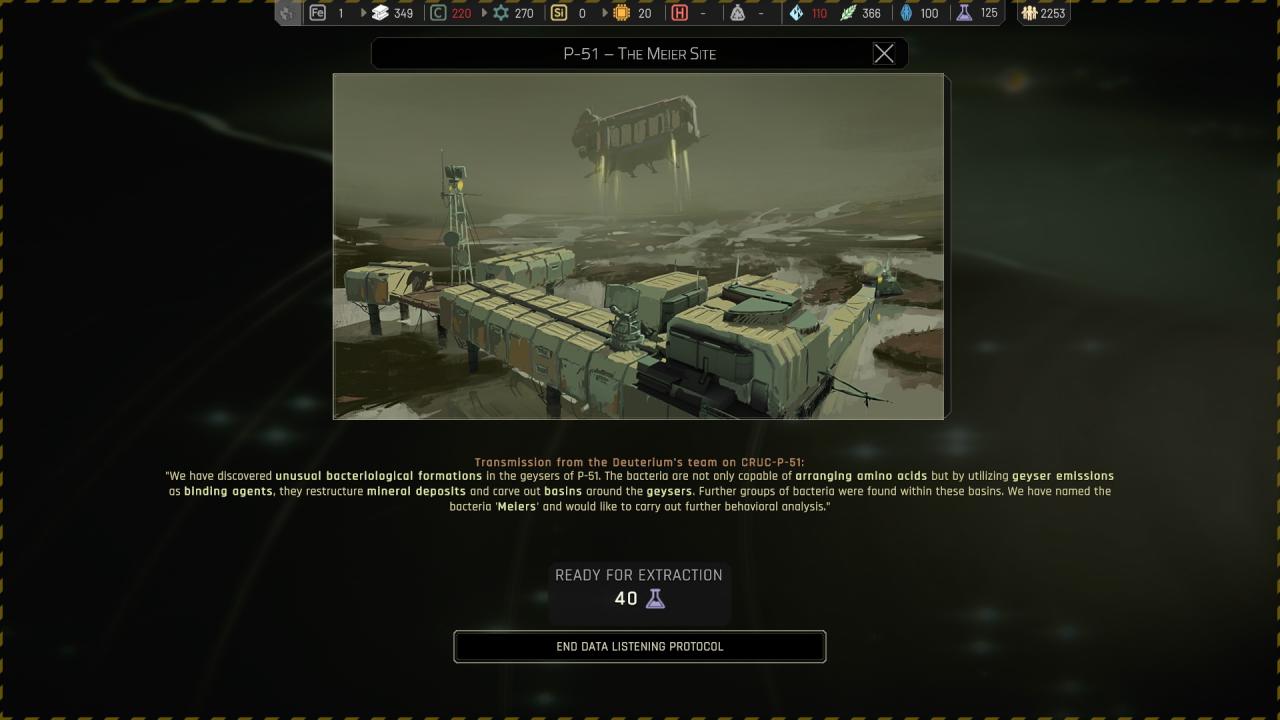
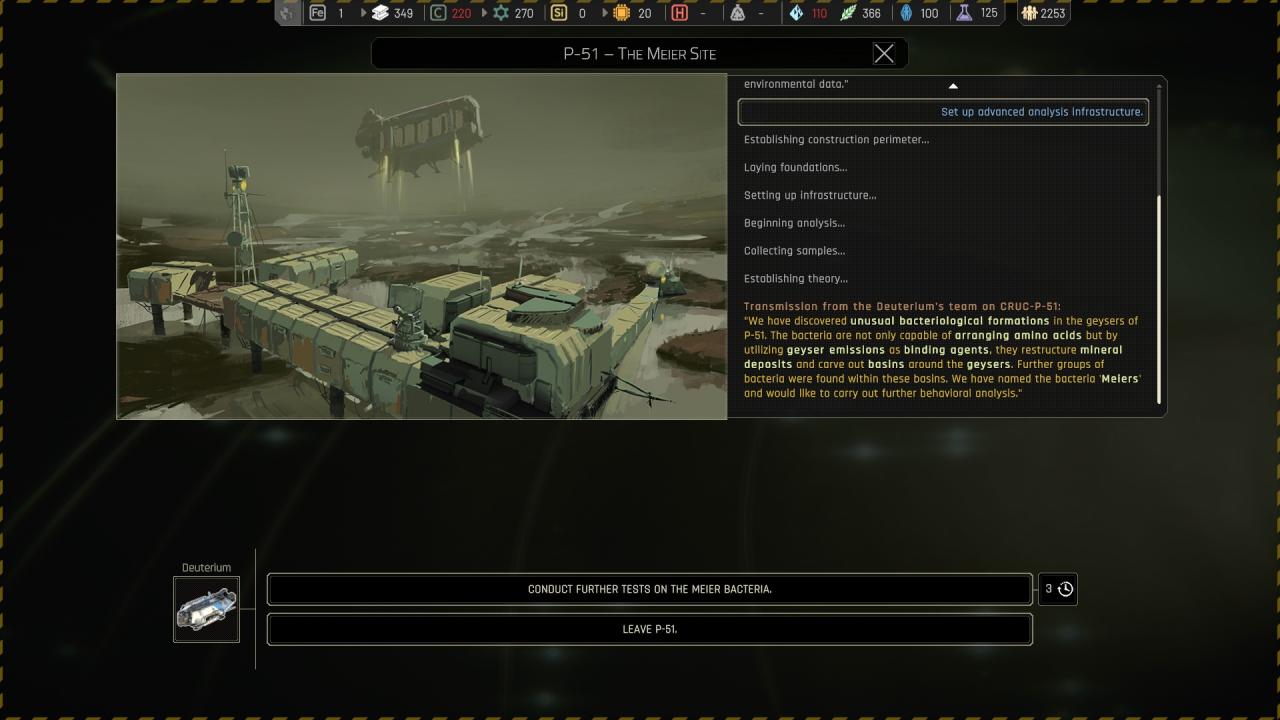
Chapter 3 ({ Cruc-P-51 } P-51 – The meier site )
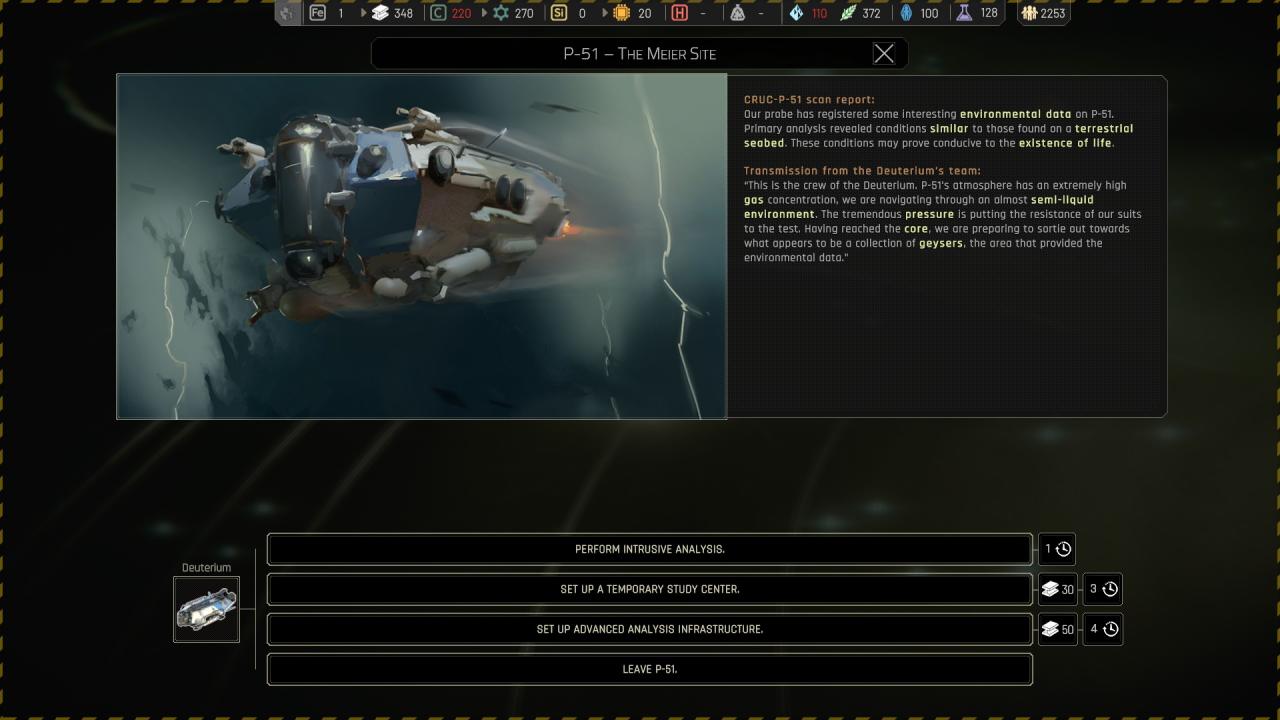
🔒 Perform intrusive analysis :
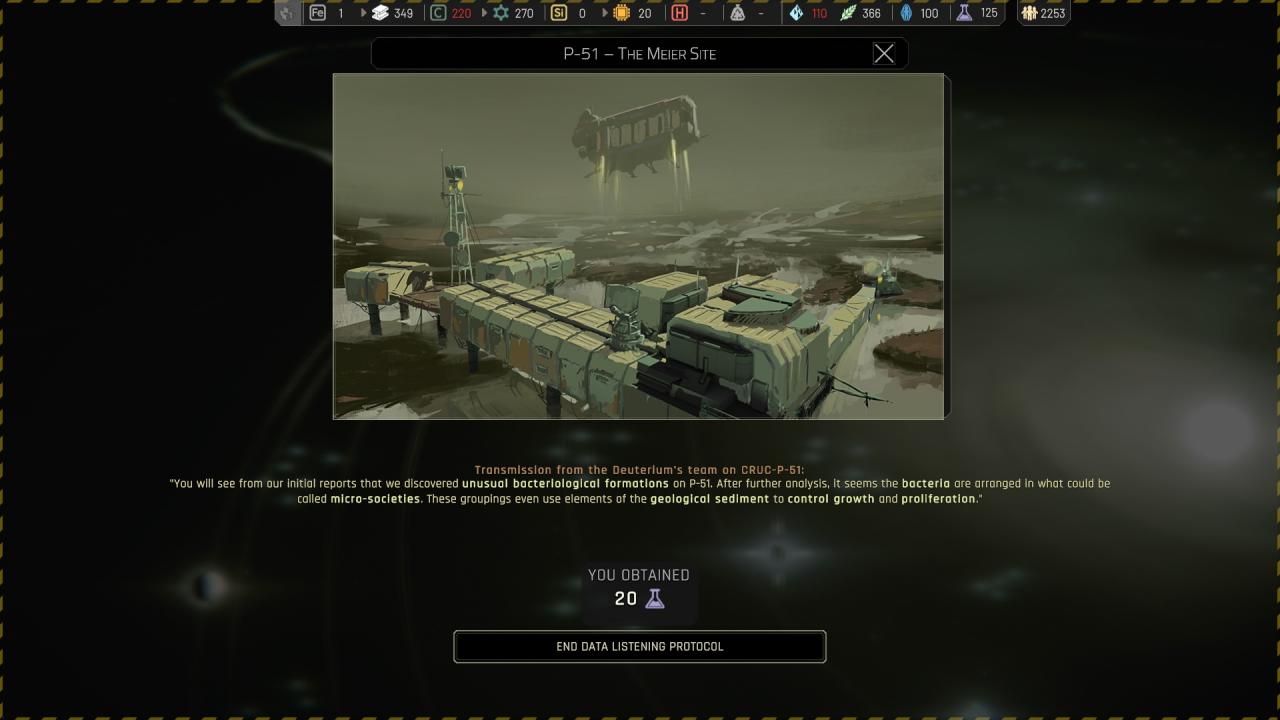
🗘 Set up a temporary study center :
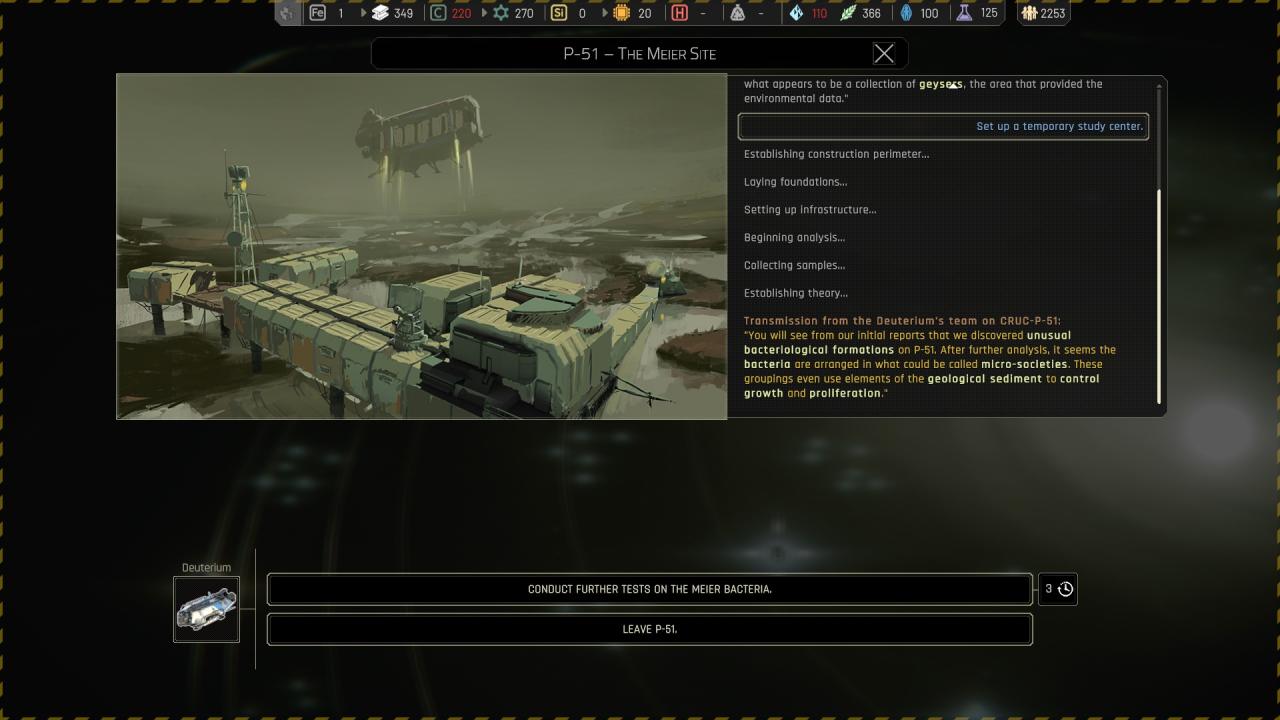
🗘 Set up a temporary study center > Conduct Further tests on the Meier bacteria :
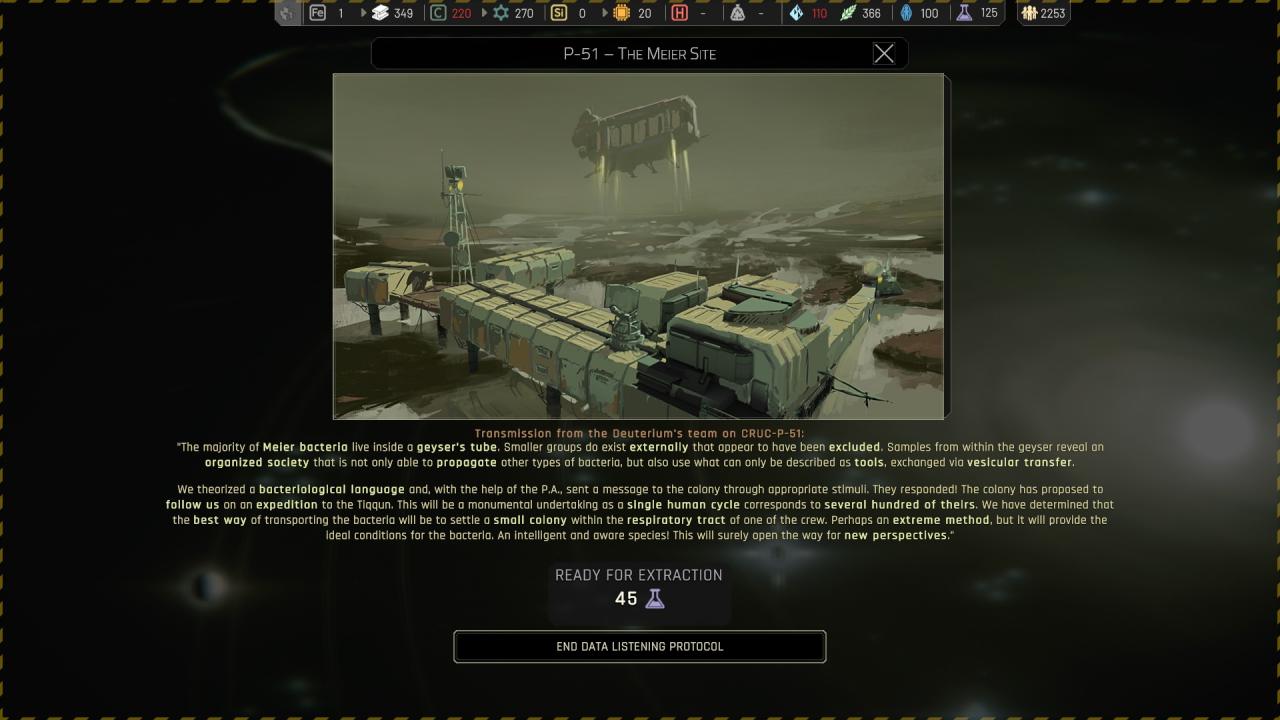
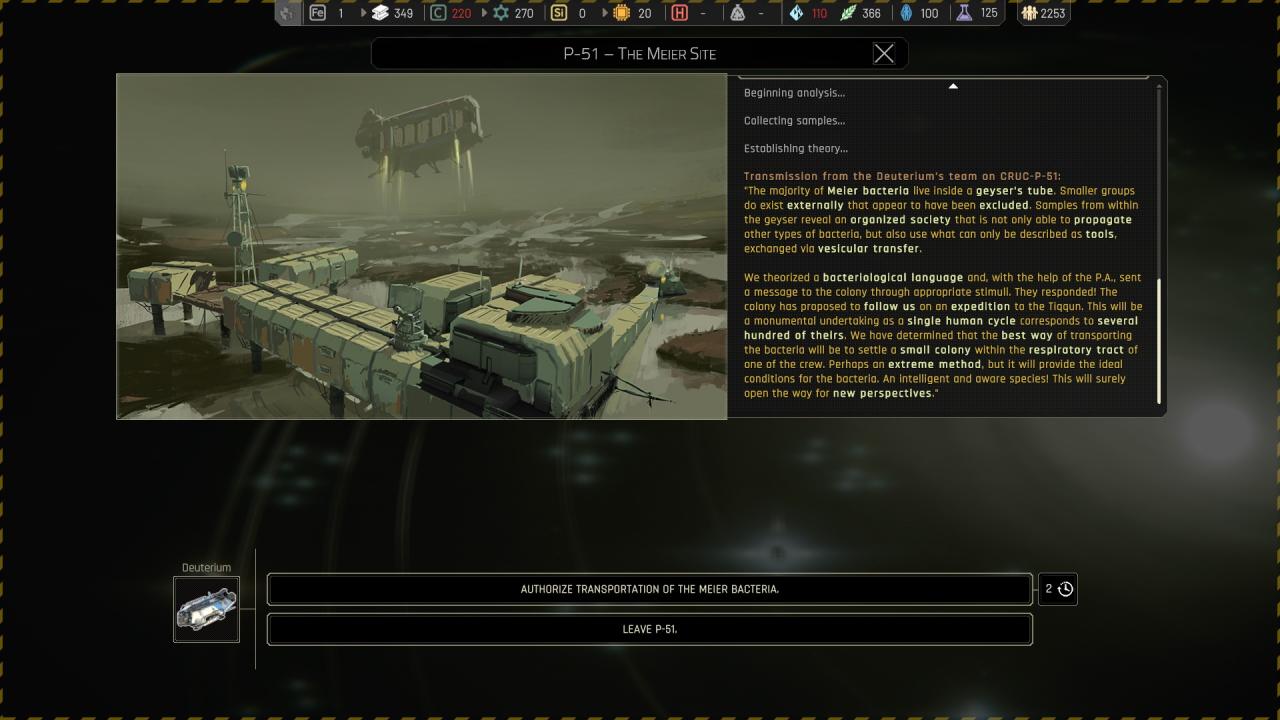
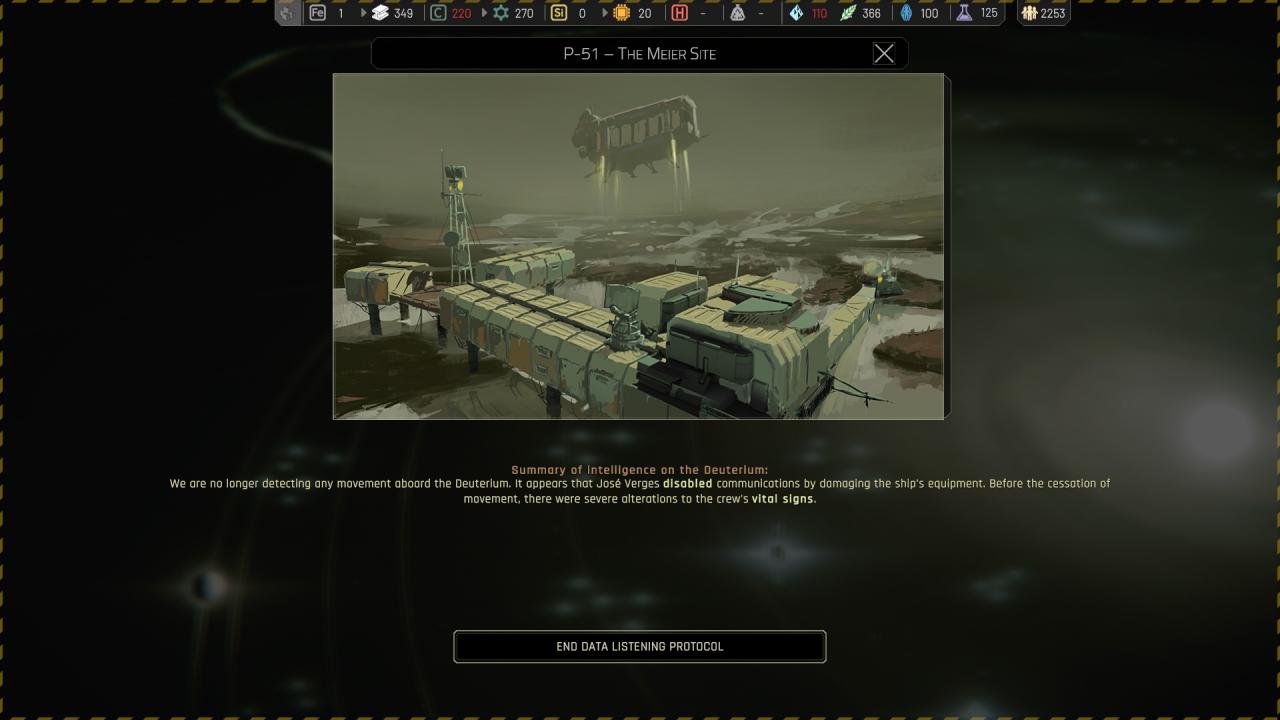
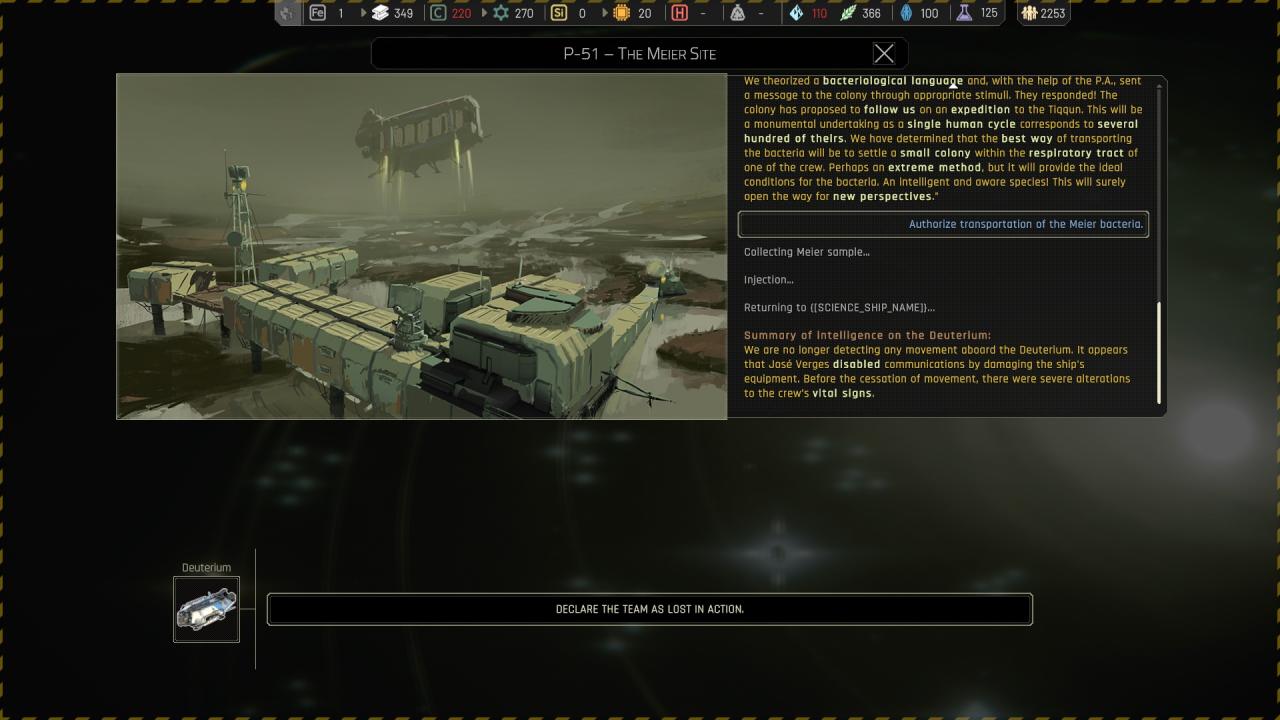
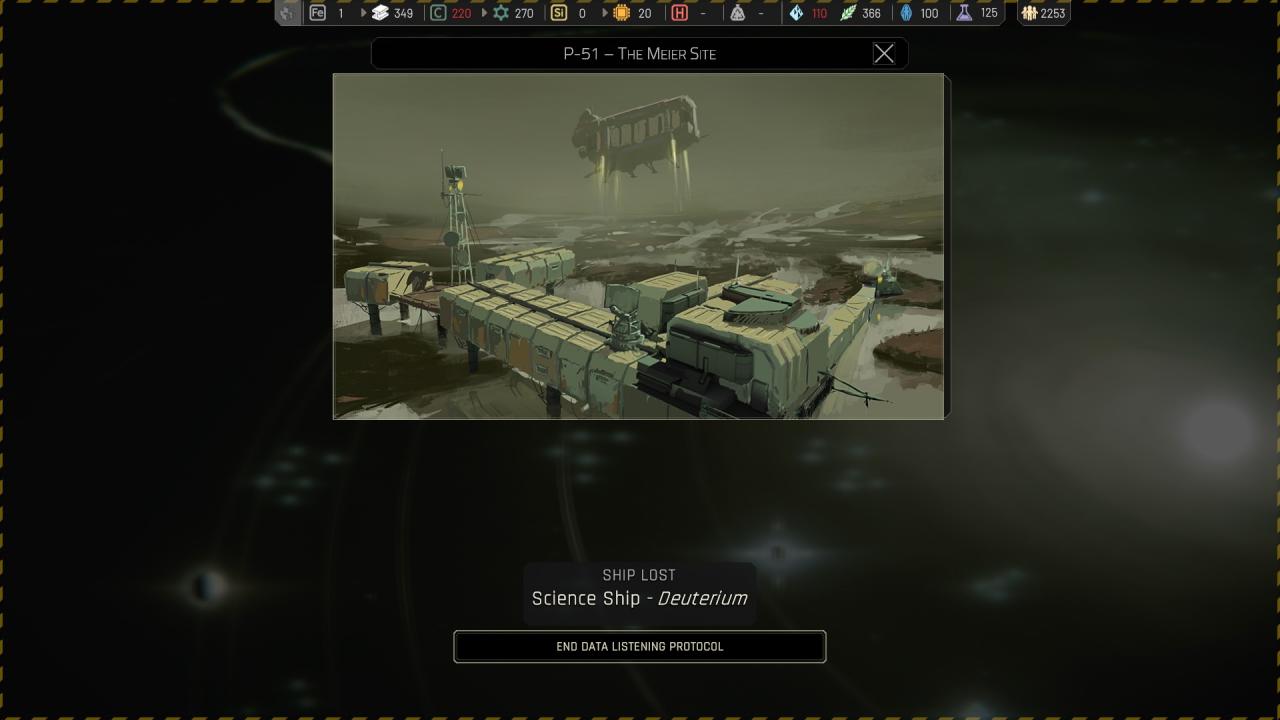
🔒 Conduct further tests on the Meier bacteria > Authorize transportation of the Meier bacteria :
🗘 Set up advanced analysis infrastructure : ( End up like above )
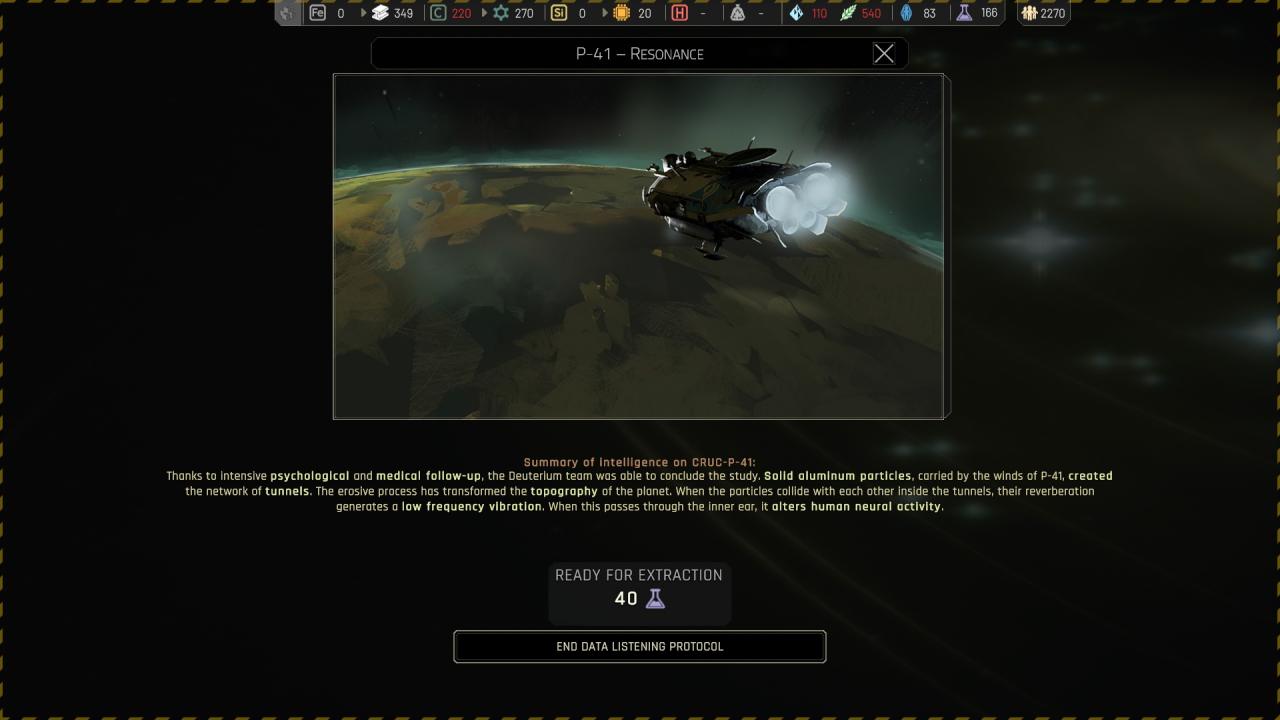
Chapter 3 ({ Cruc-P-41 } P-41 – Resonance )
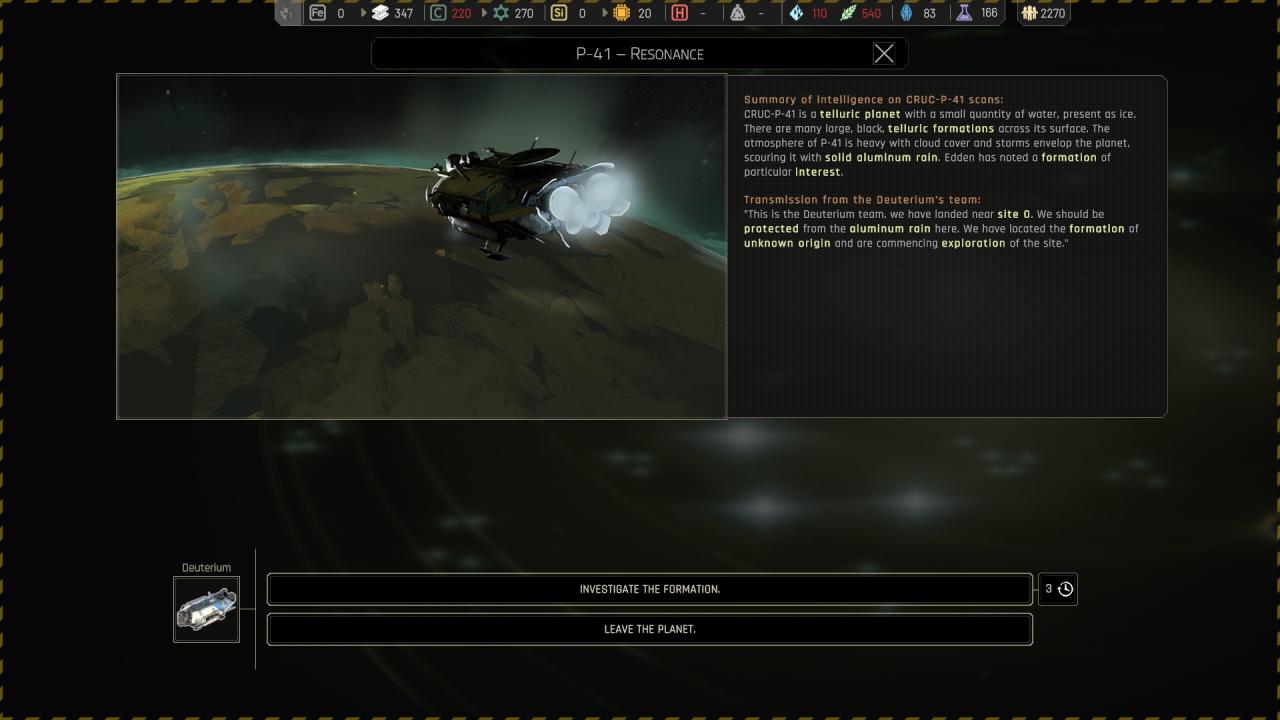
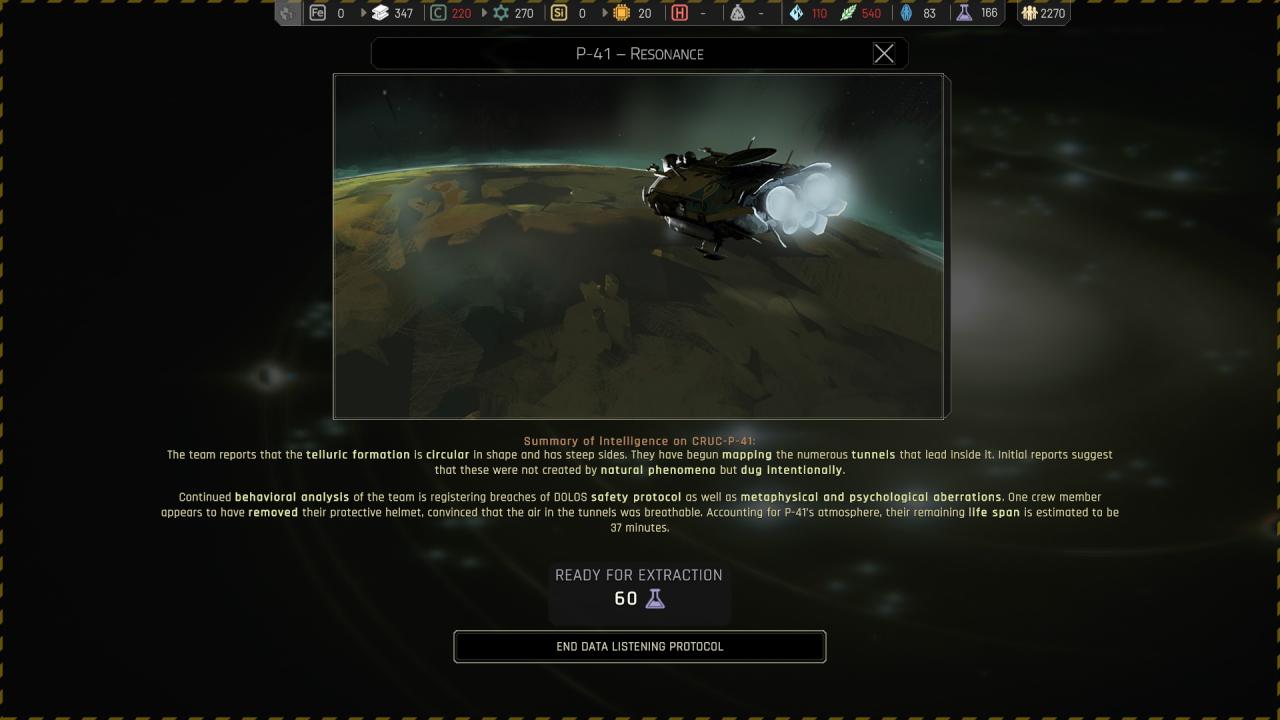
🔒 Naomi protocol : Override security protocols for the deuterium team :
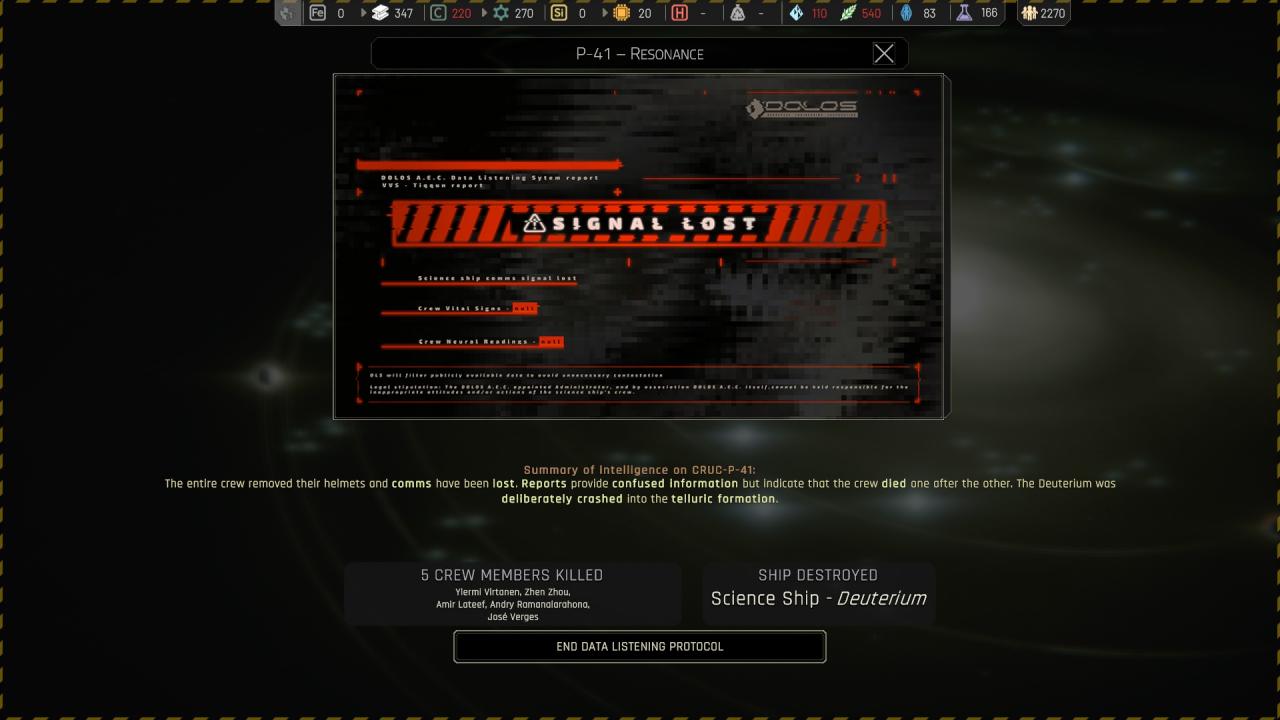
🗘 Continue exploration of the formation, implementing strict psychological monitoring : ( End up like above )
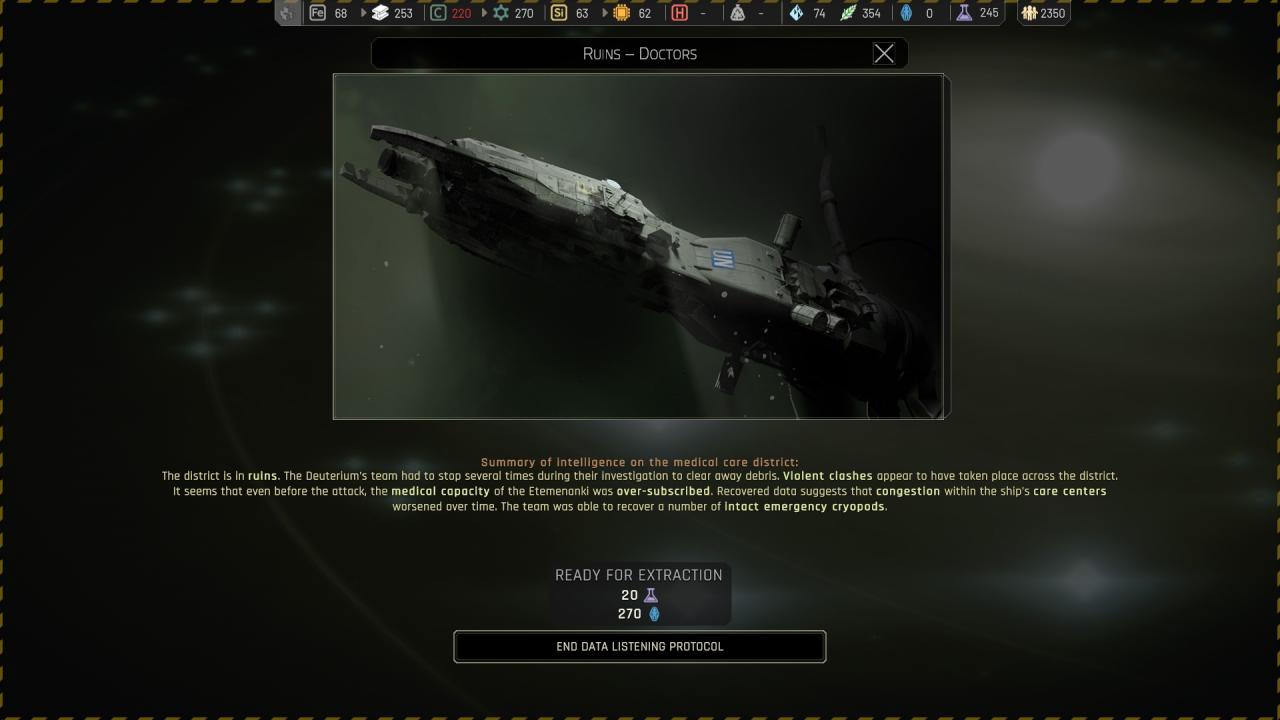
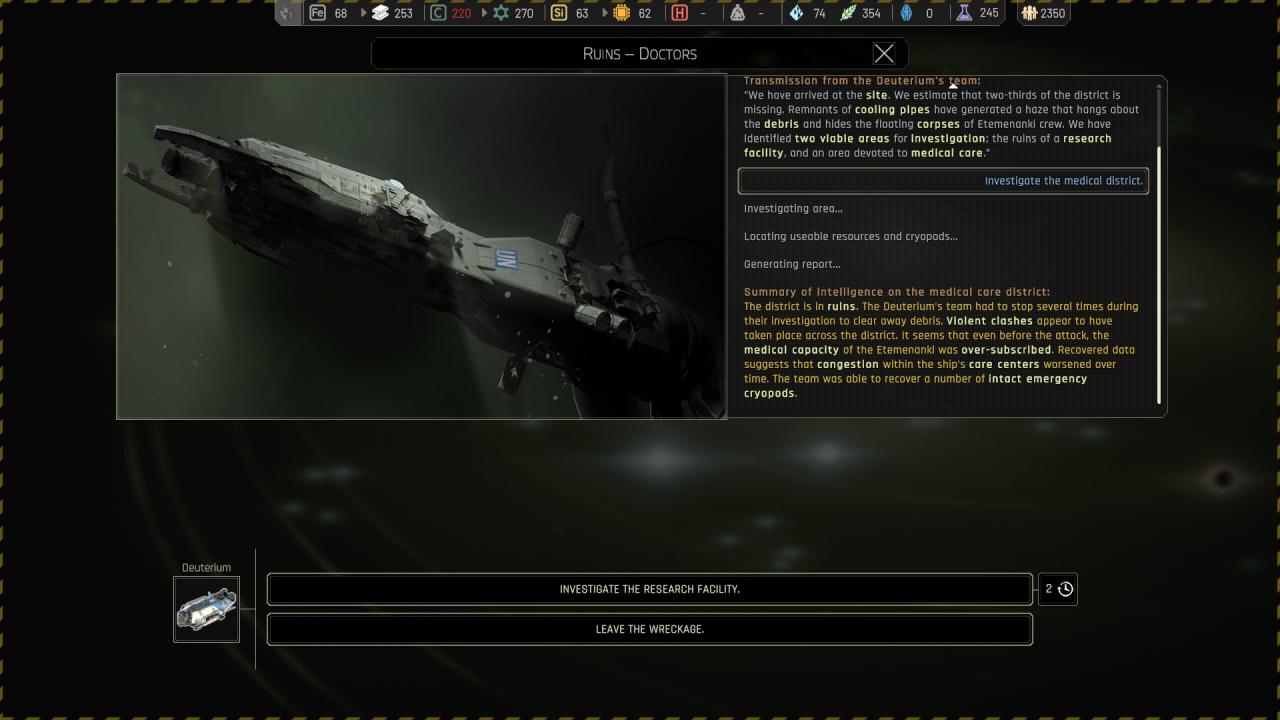
Chapter 3 ({ Medical District Wreckage } )
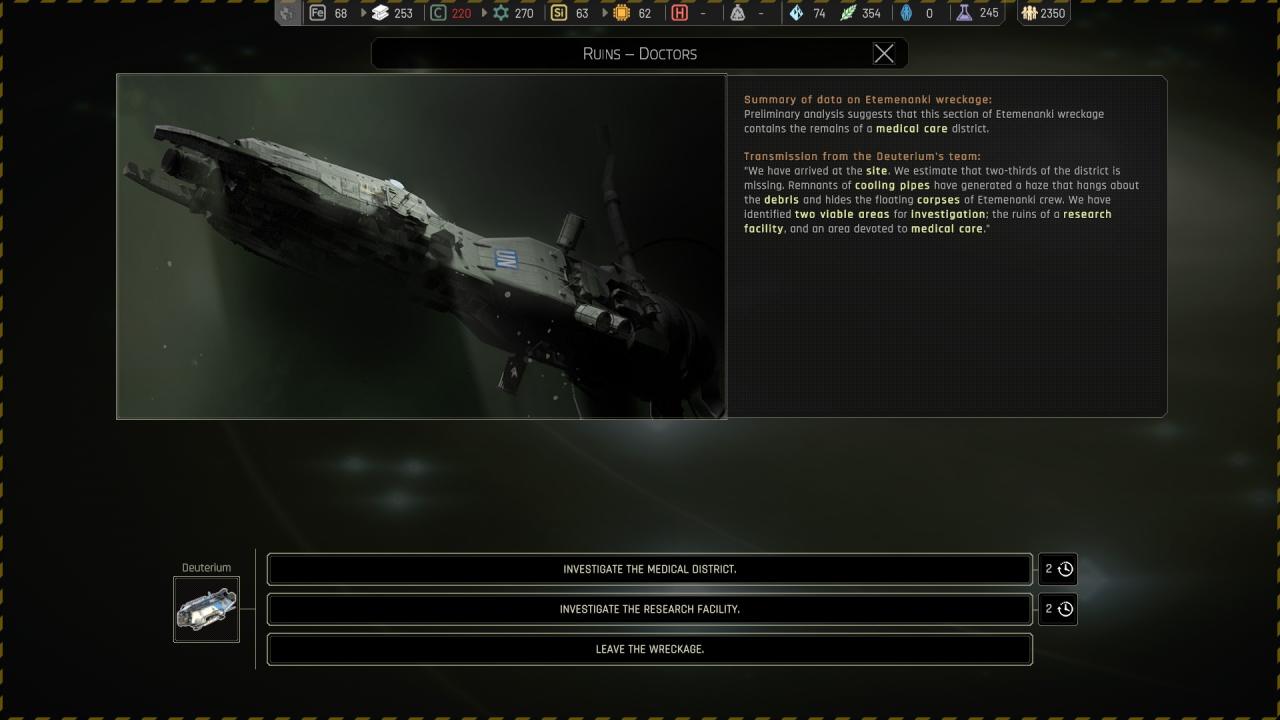
🗘 Investigate the medical district :
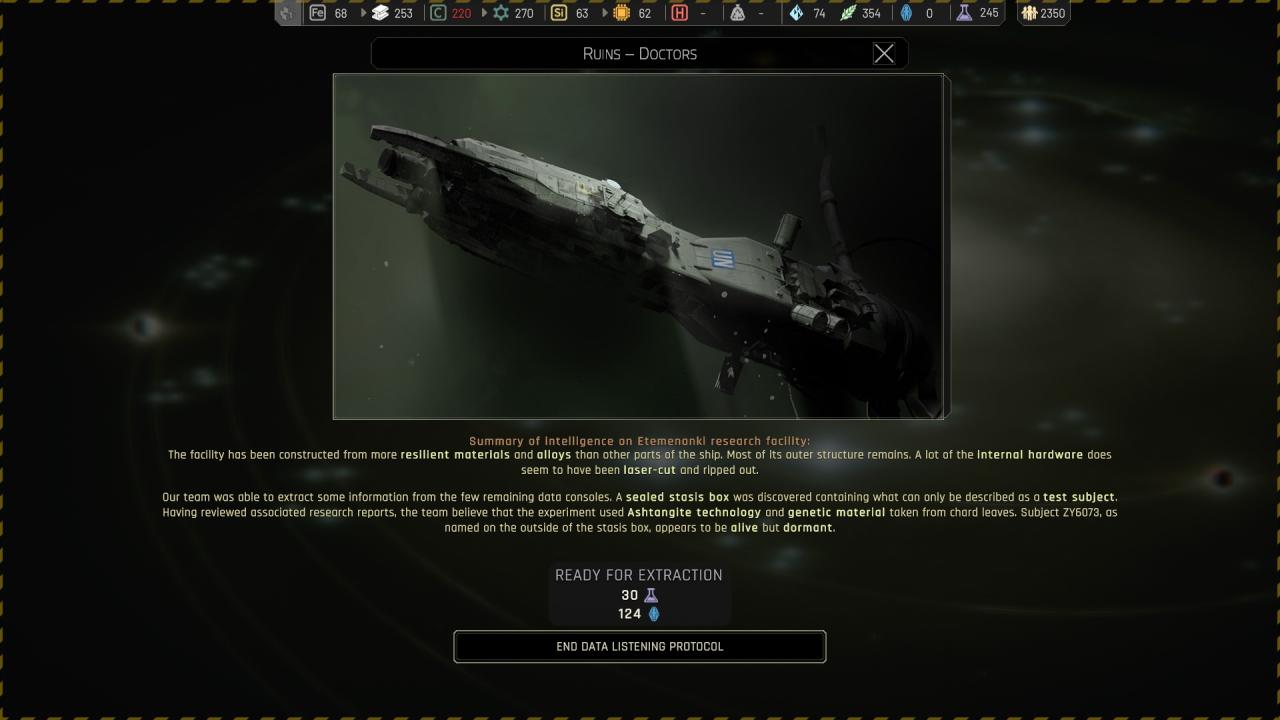
🗘 Investigate the research facility :
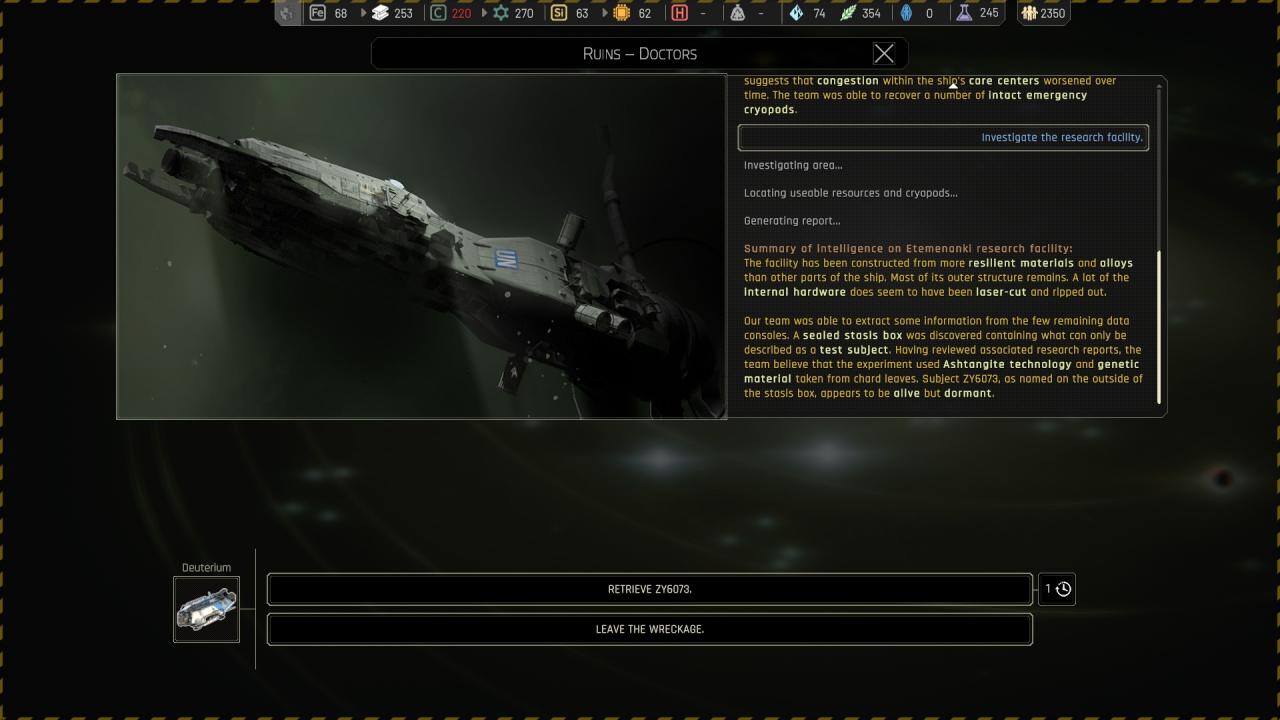
🗘 Retrieve ZY6073 :

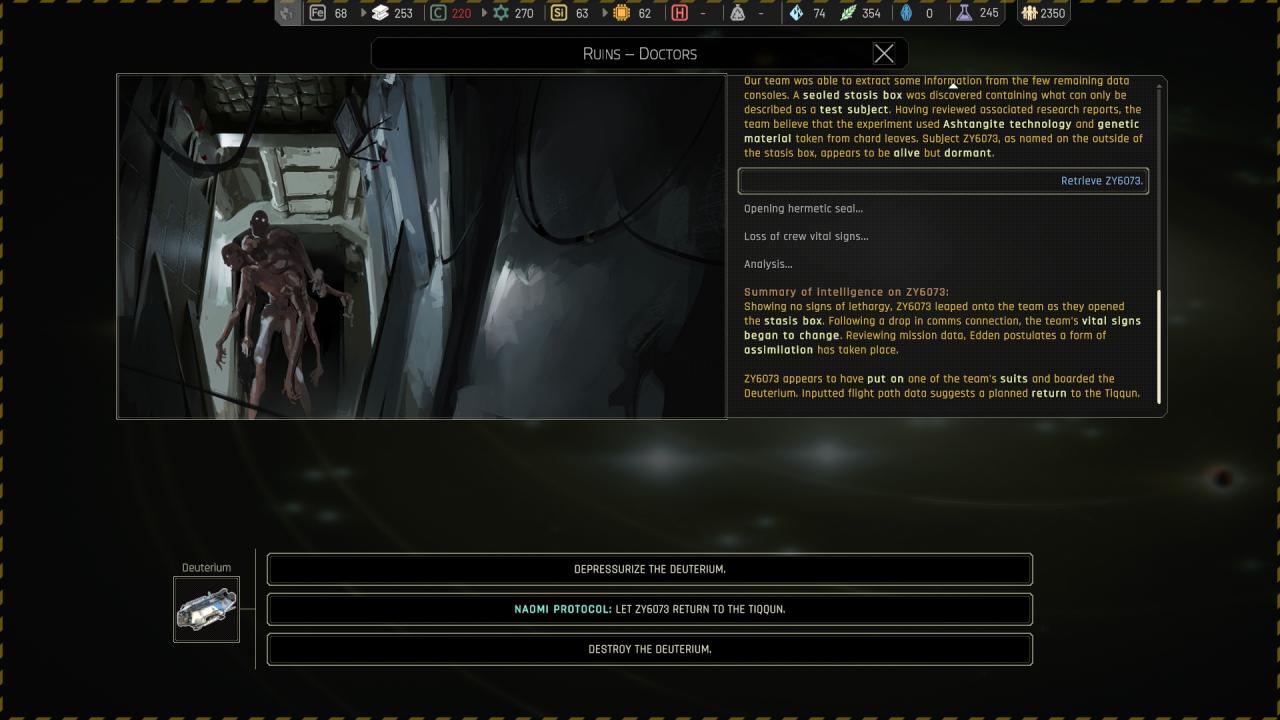
🔒 Retrieve ZY6073 > ( Any choice lead to this direct result )
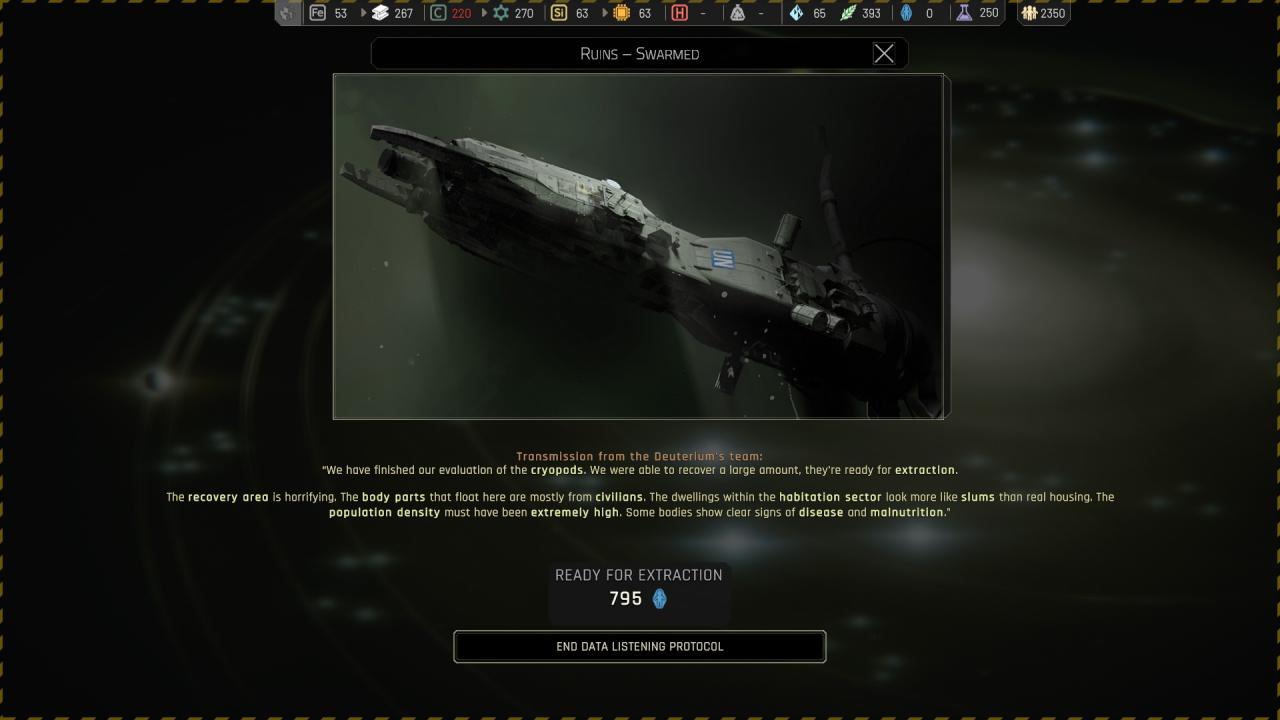
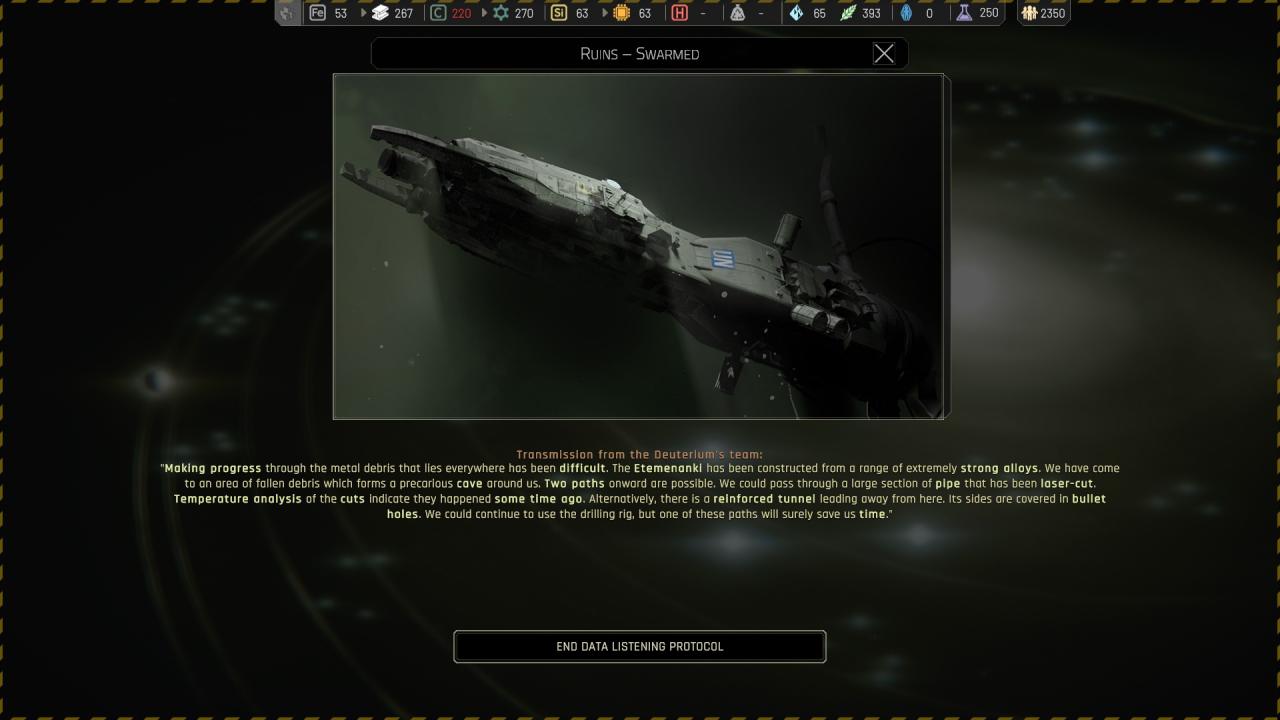
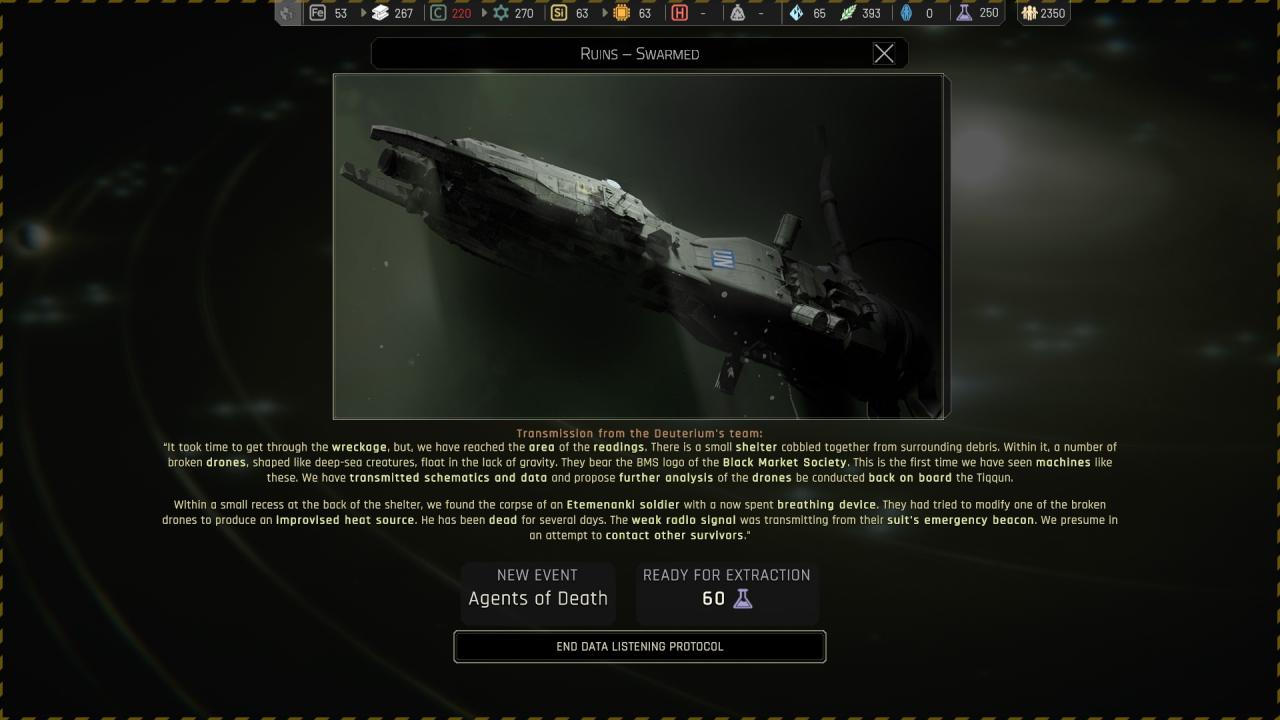
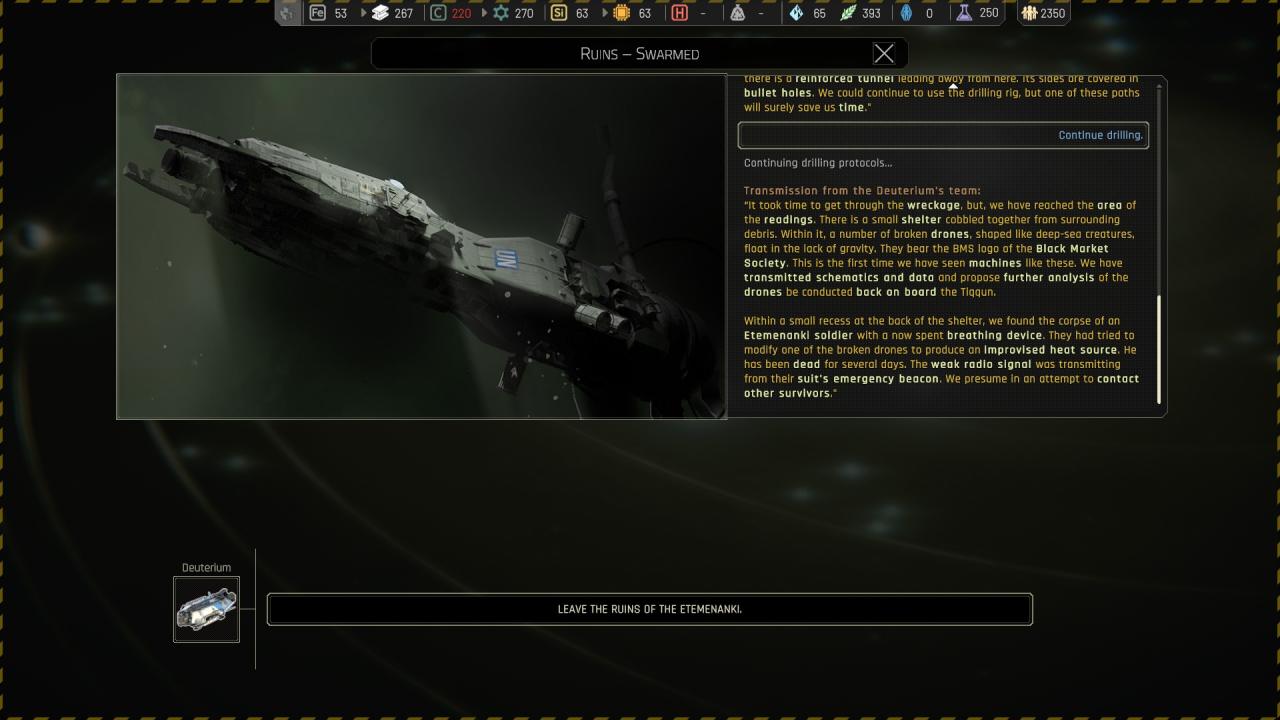
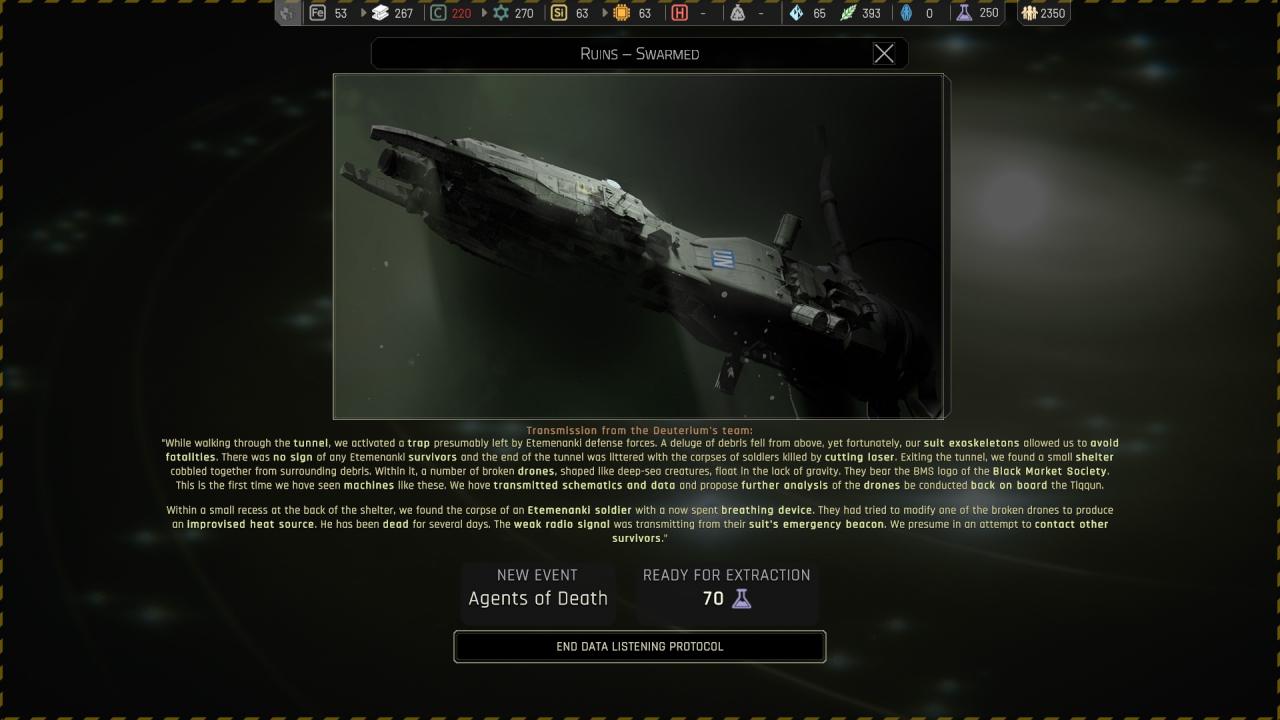
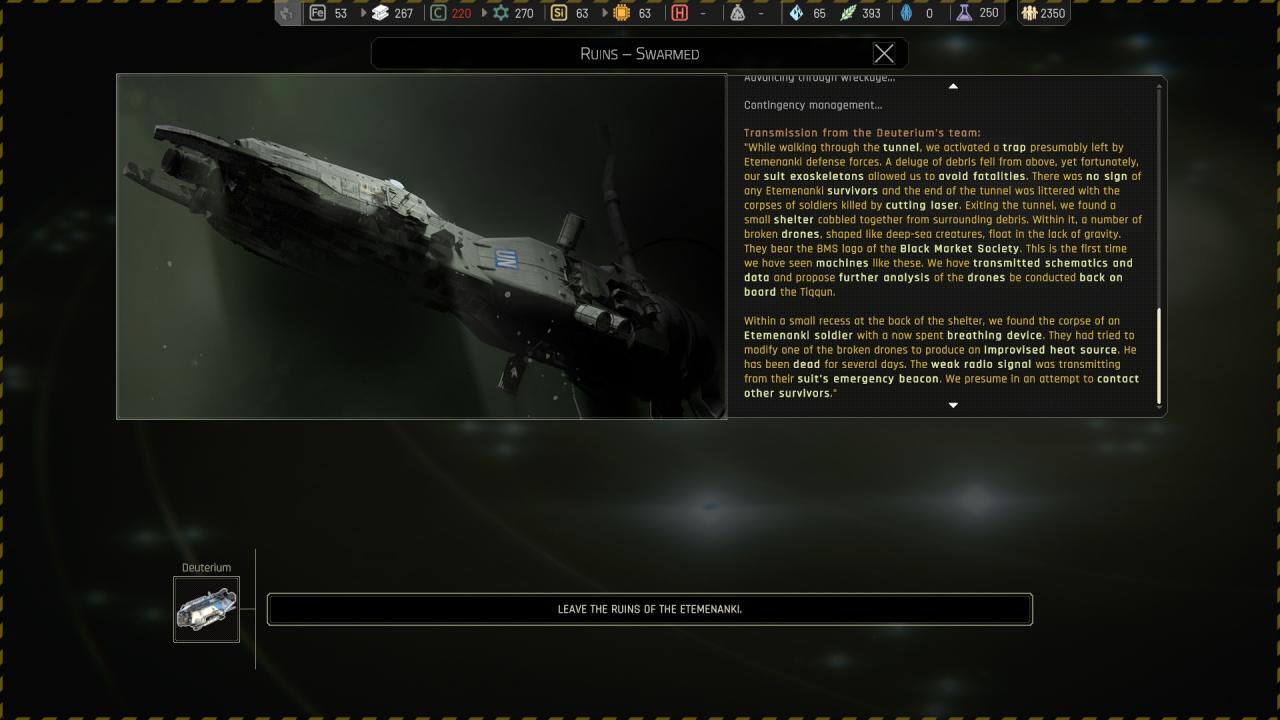
Chapter 3 ({ Habitation Sector Wreckage } Ruins – Swarmed )
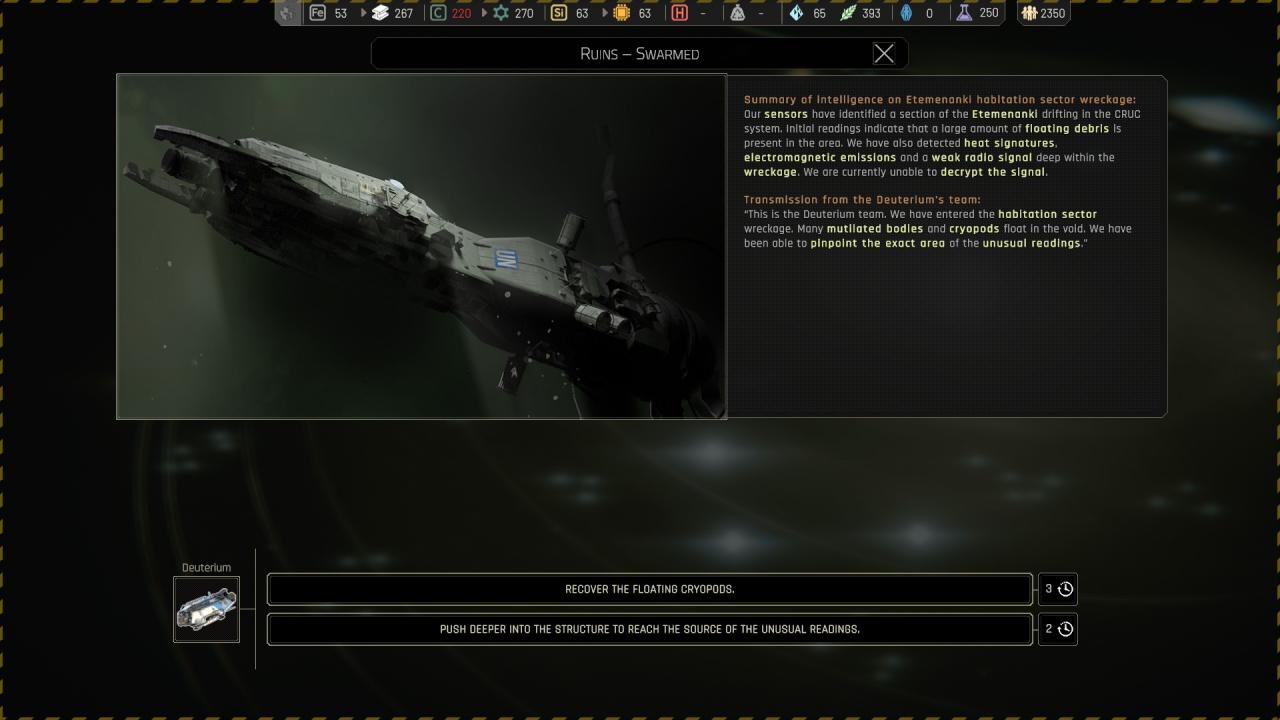
🗘 Recover the floating cryopods :
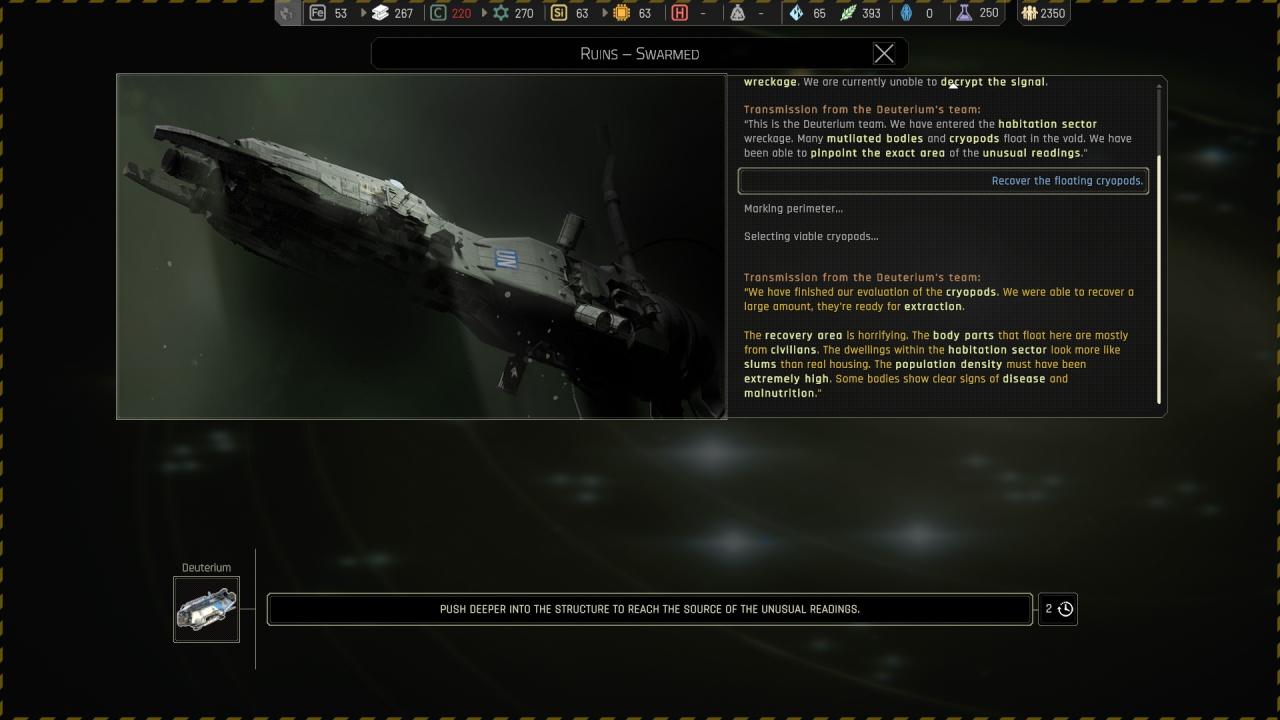
🗘 Push deeper into the structure to reach the source of the unusual readings :
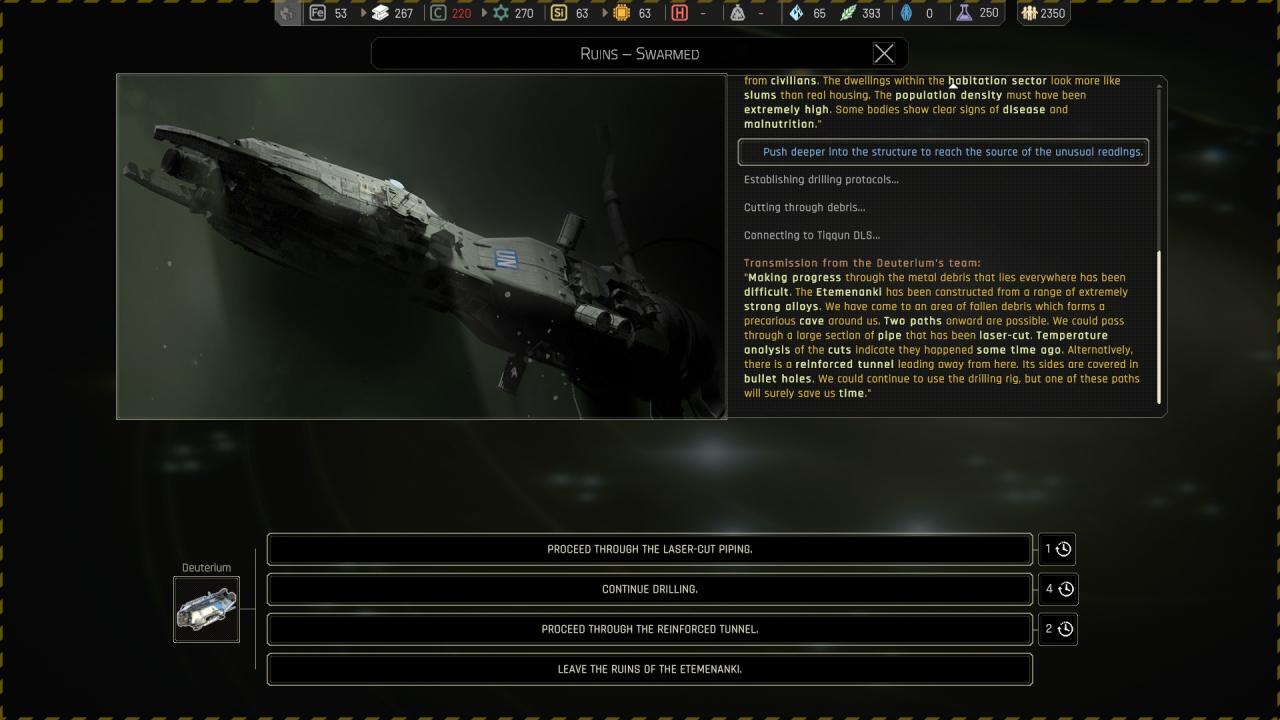
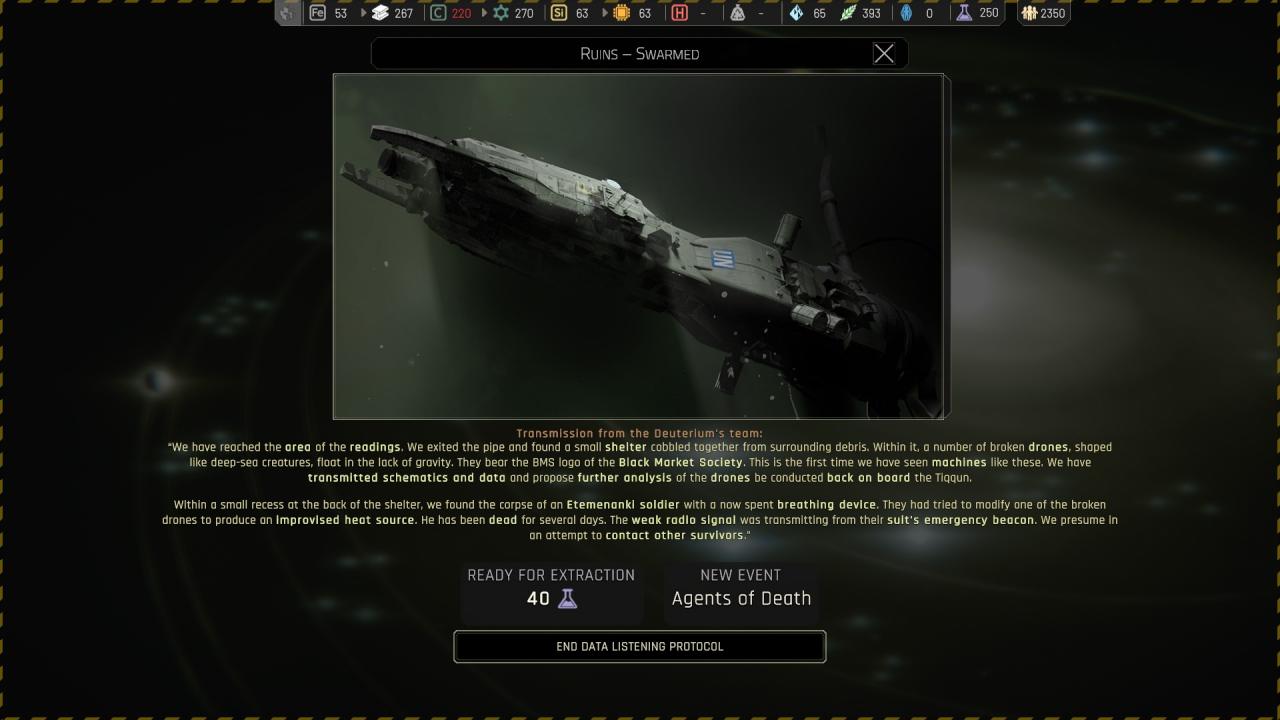
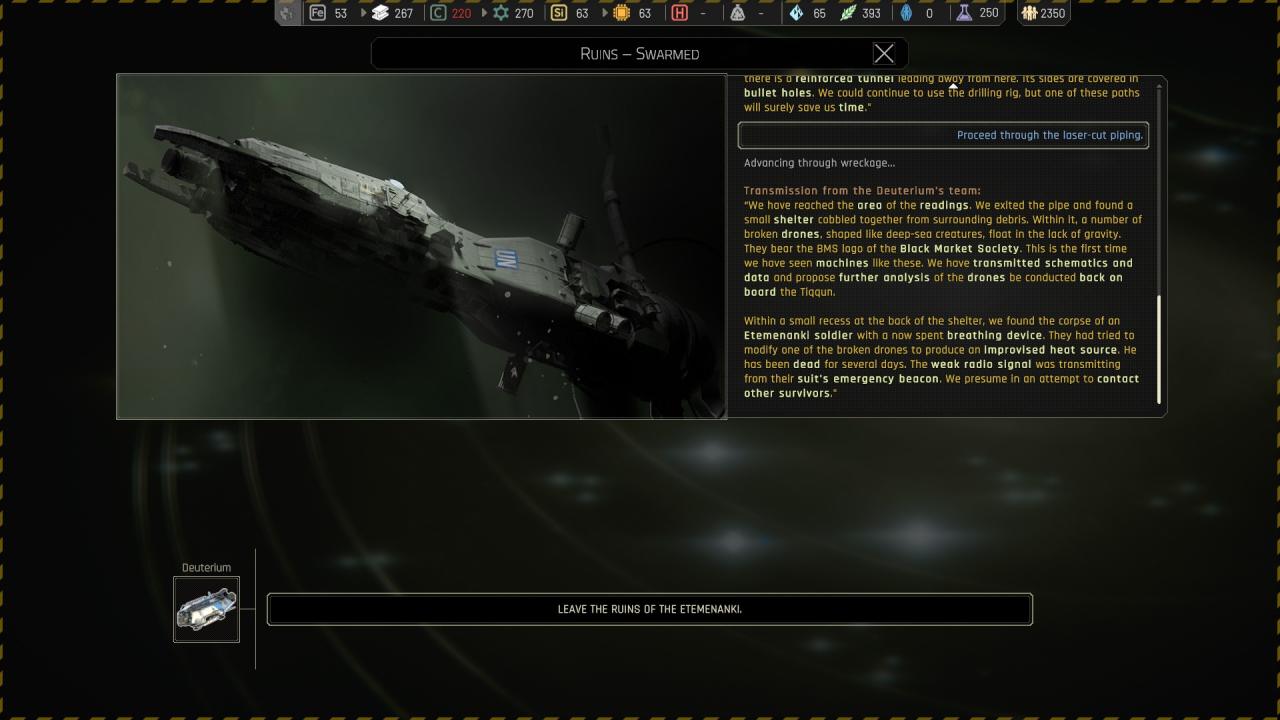
🏆🔒 Push deeper into the structure to reach the source of the unusual readings > Proceed throught the laser-cut piping :
🏆🔒 Push deeper into the structure to reach the source of the unusual readings > Continue drilling :
🏆🔒 Push deeper into the structure to reach the source of the unusual readings > Proceed throught the reinforced tunnel :
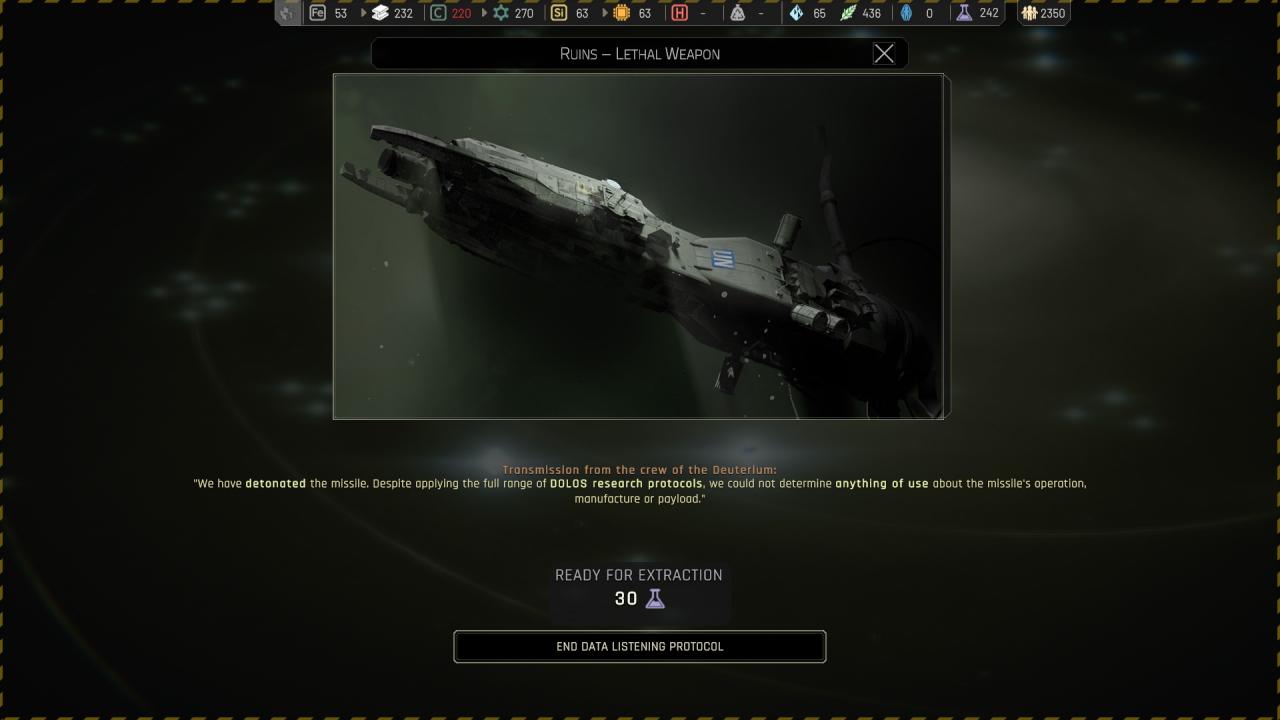
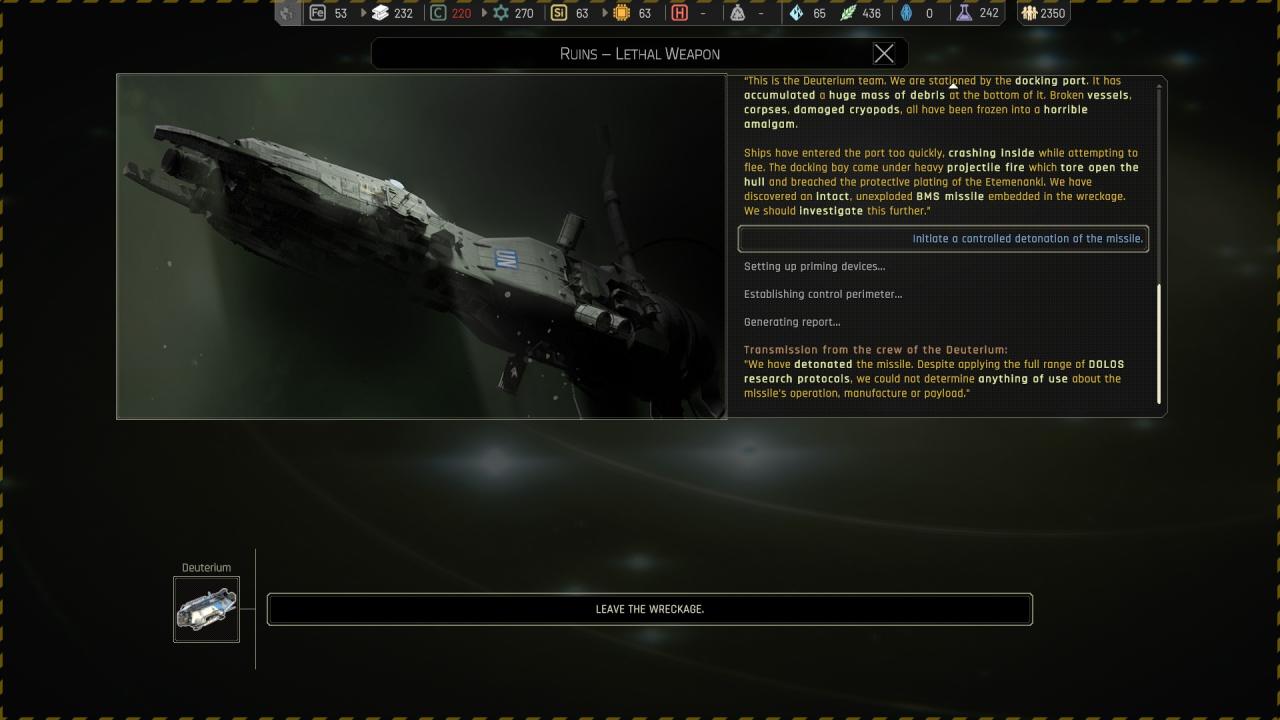
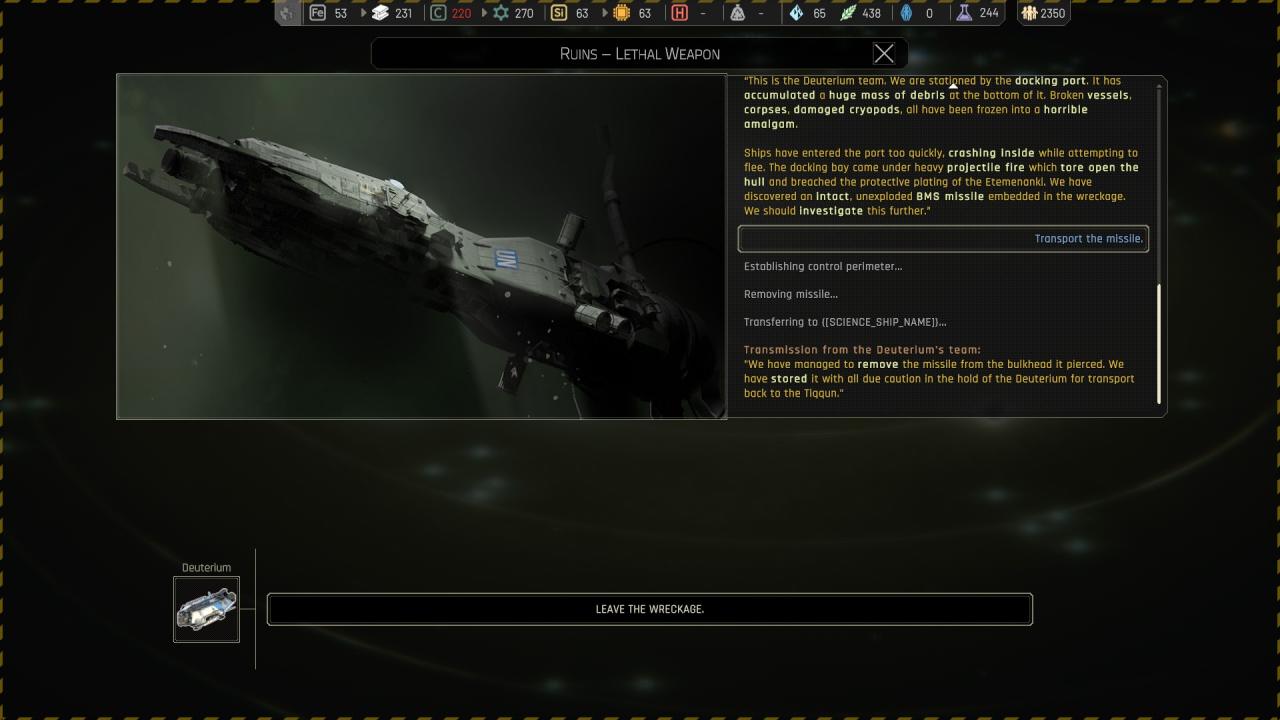
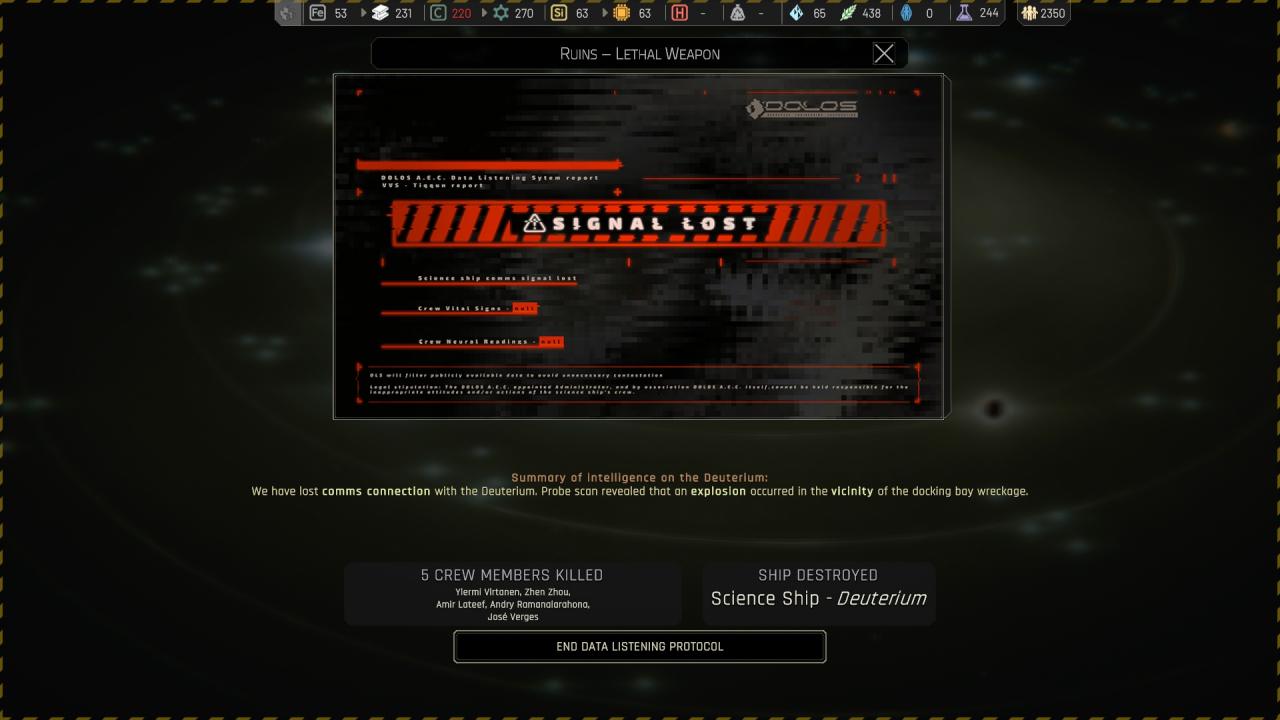
Chapter 3 ({ Destroyed Docking Bay } Ruins – Lethal Weapon )
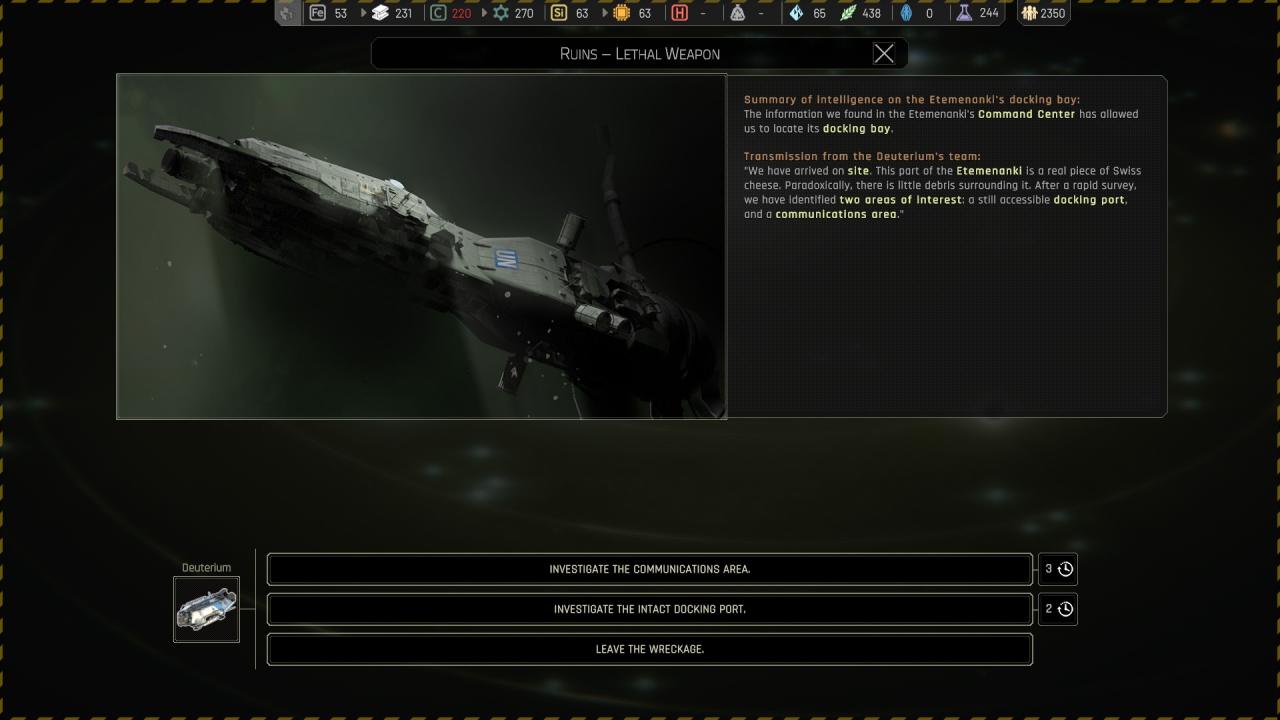
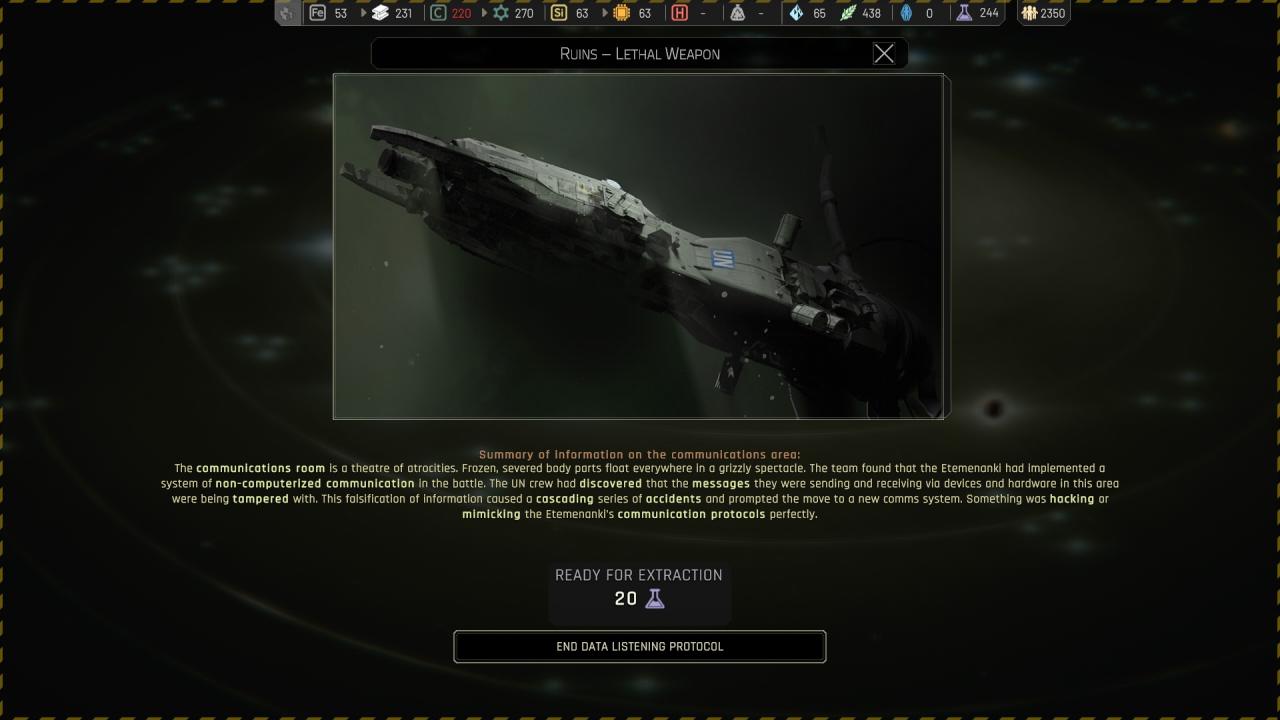
🗘 Investigate the communication area :
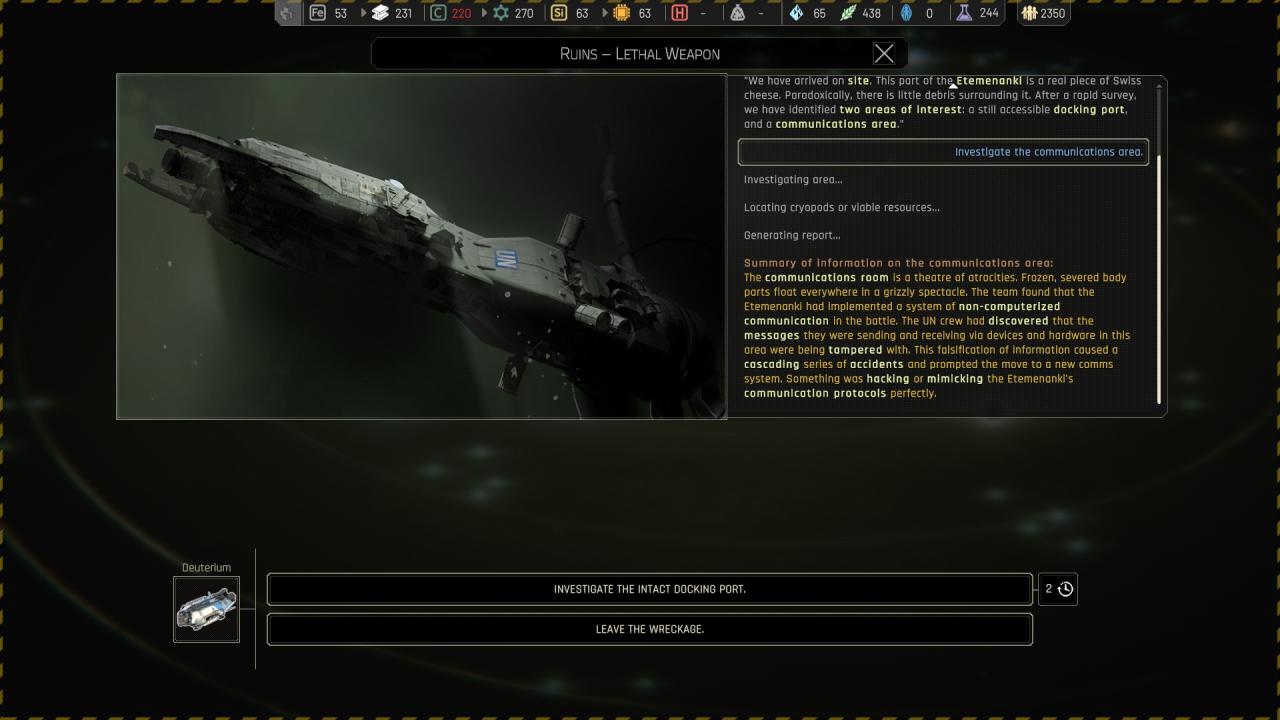
🗘 Investigate the intact docking port :

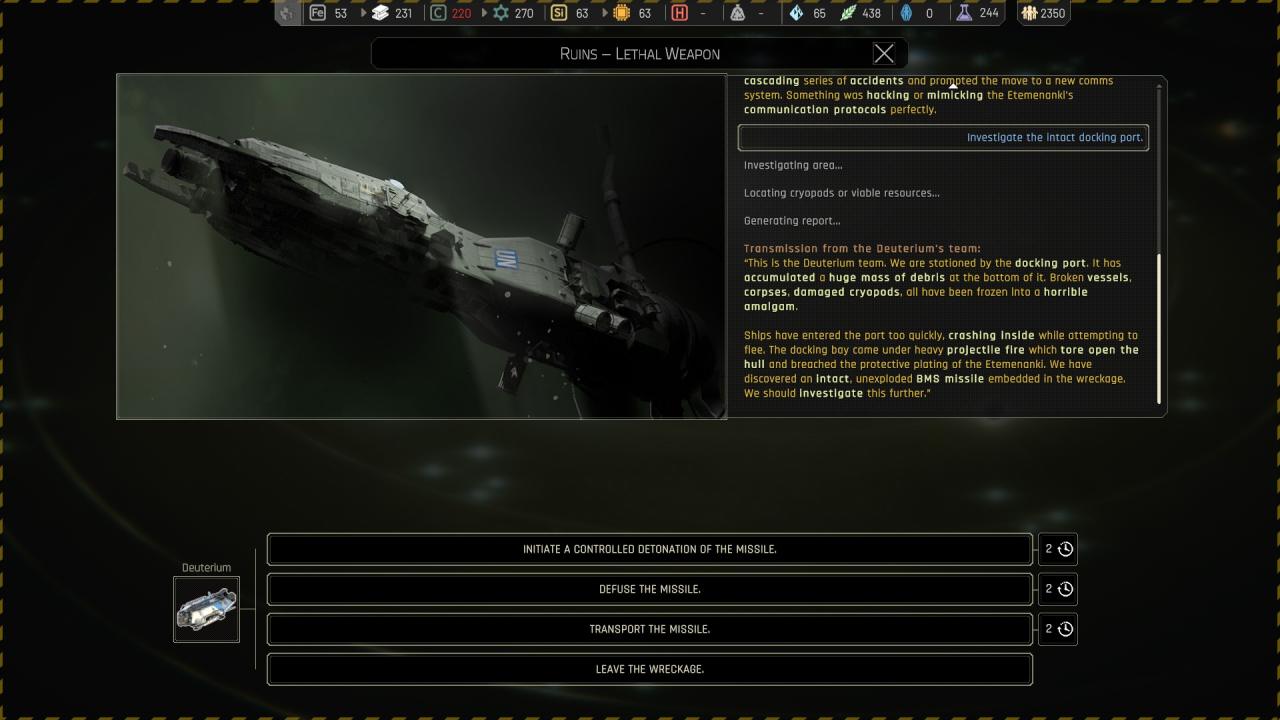
🔒 Investigate the intact docking port > Initiate a controlled detonation of the missile :
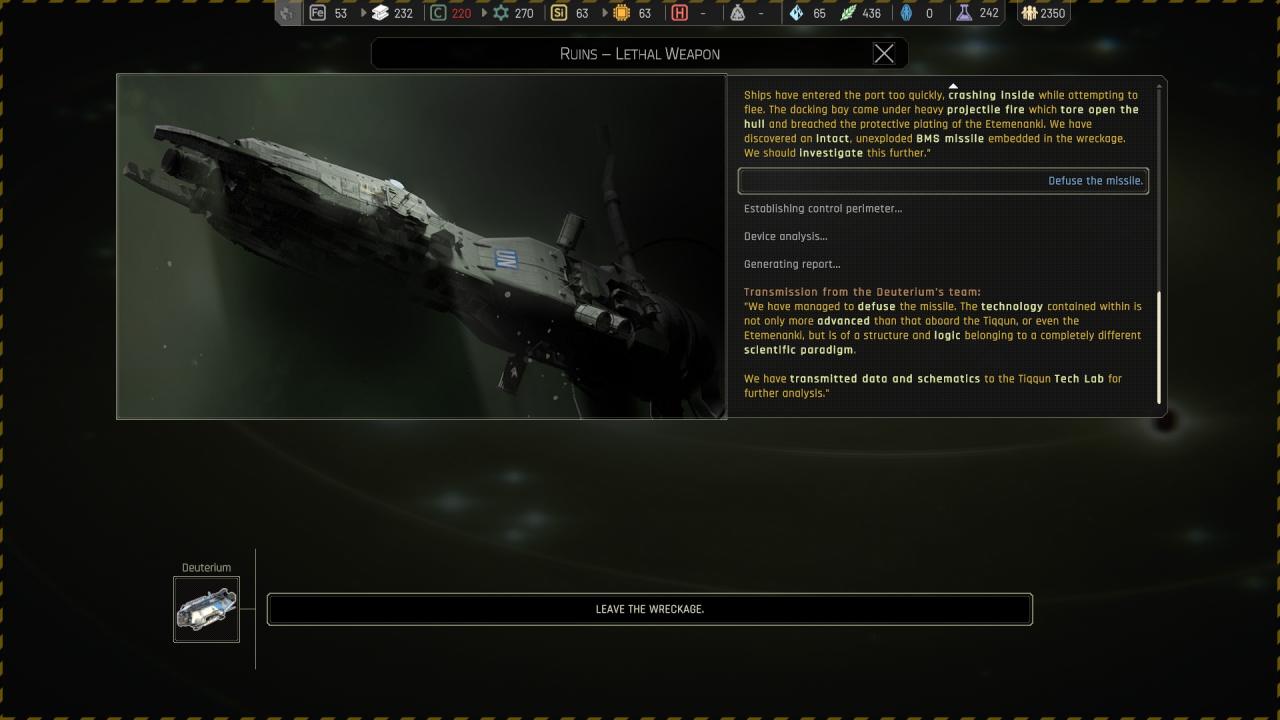
🏆🔒 Investigate the intact docking port > Defuse the missile :

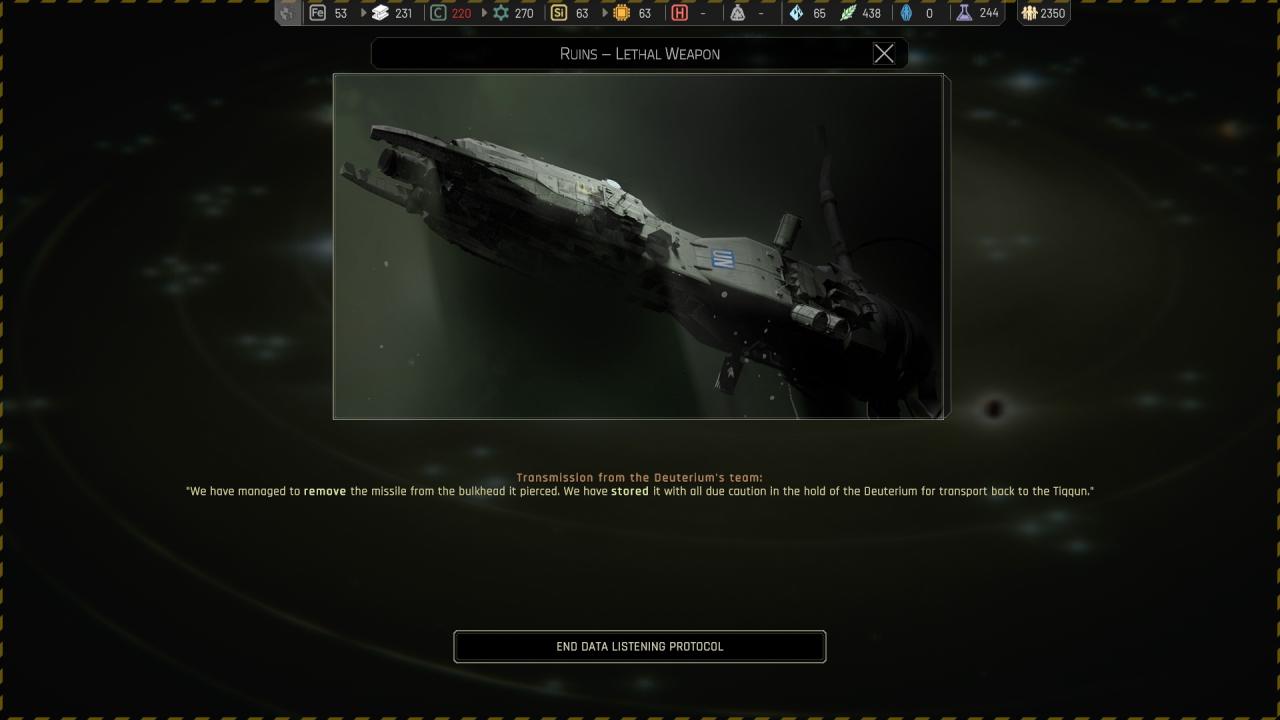
🔒 Investigate the intact docking port > Transport the missile :
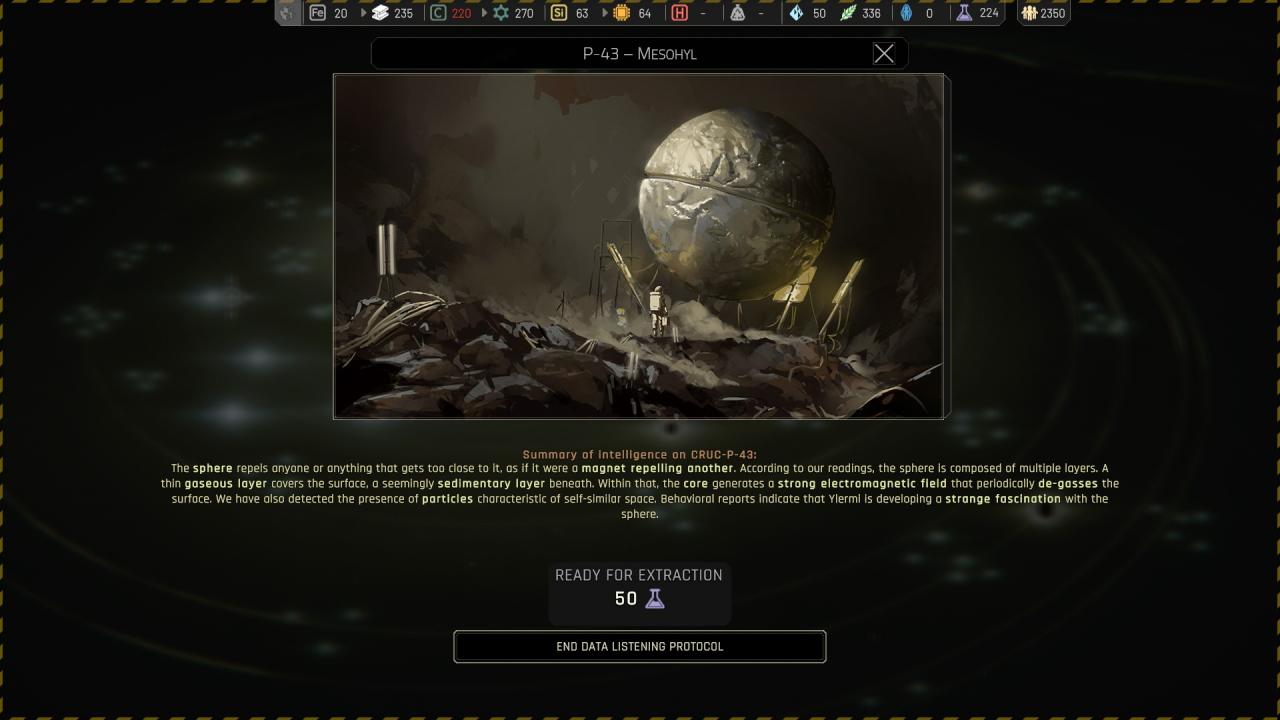
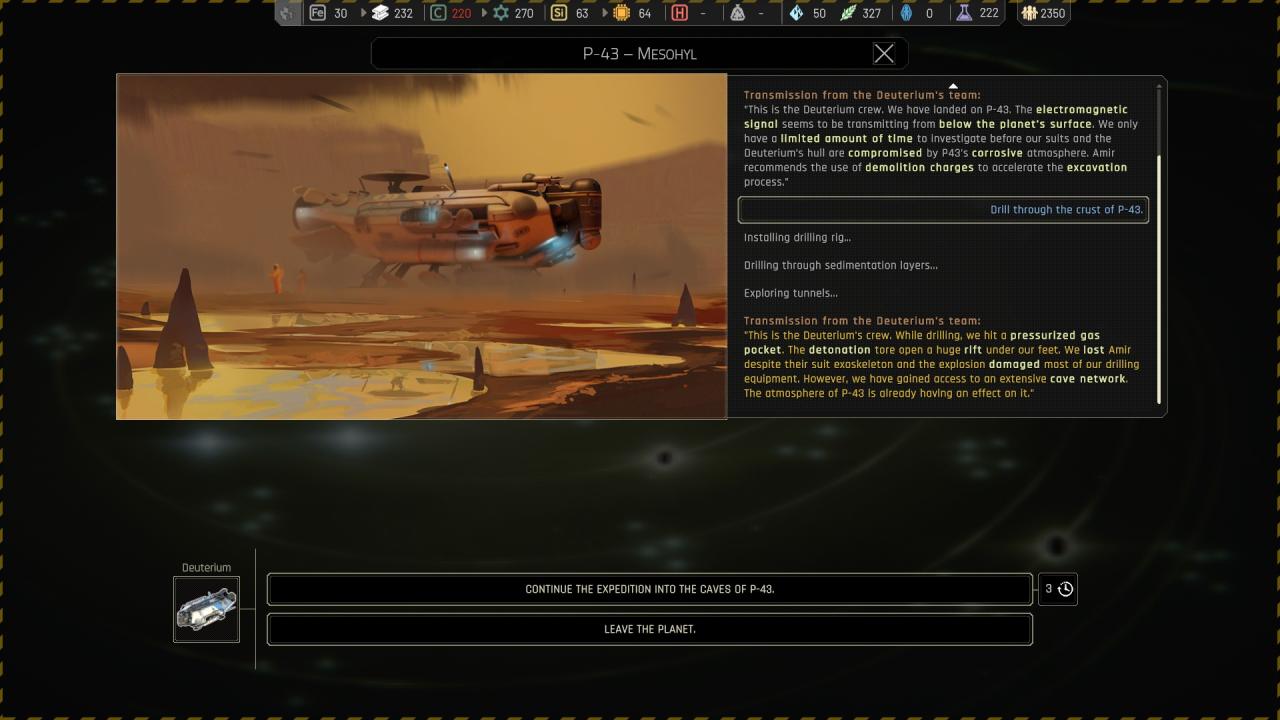
Chapter 3 ({ Cruc-P-43 } P-43 – Mesohyl )
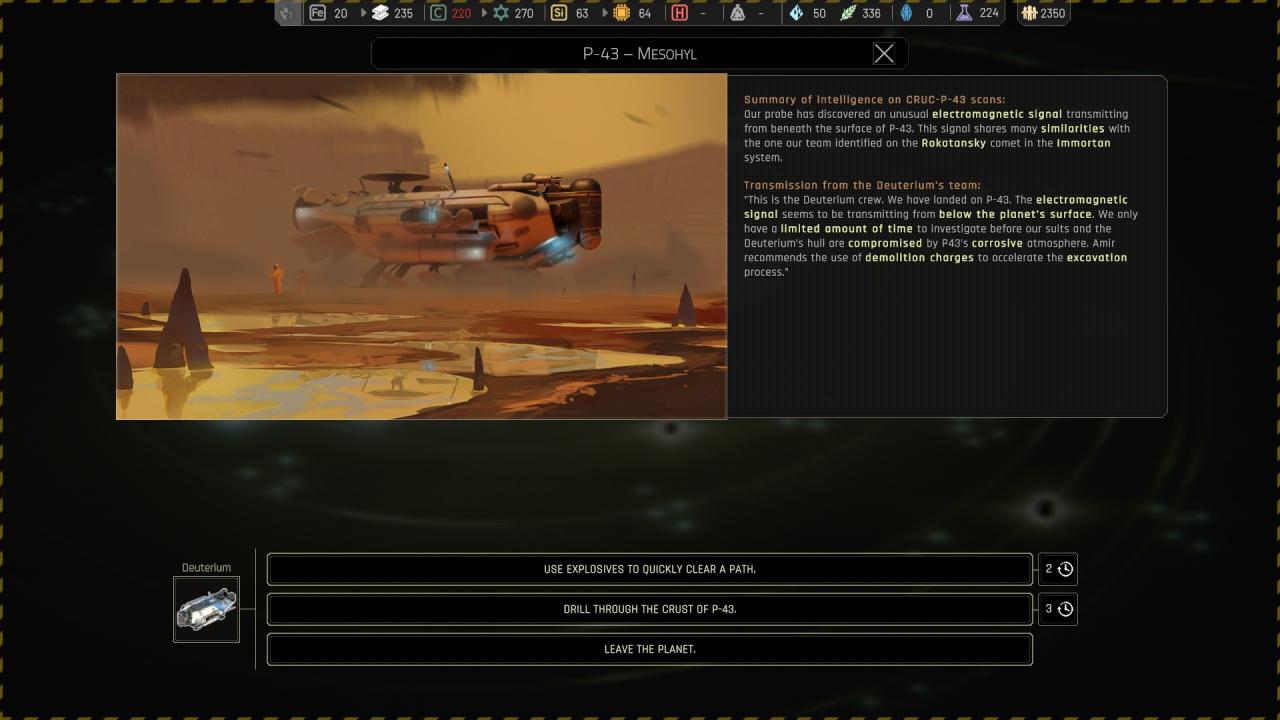
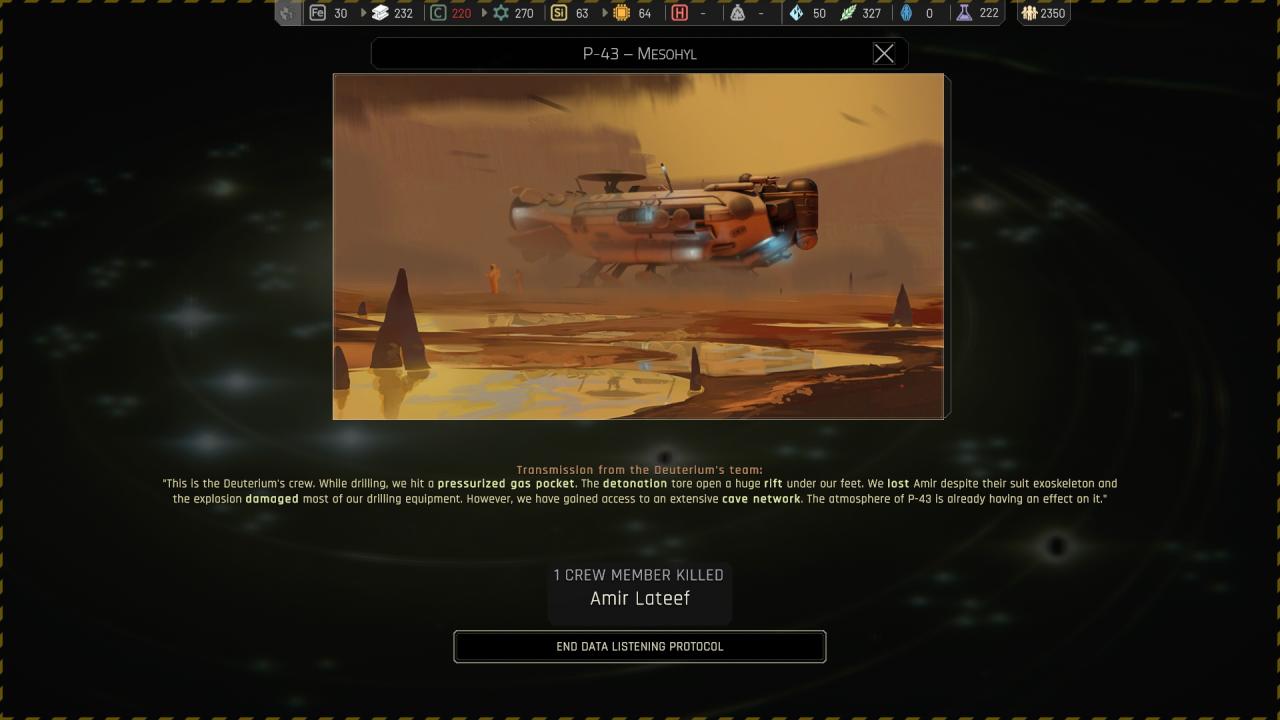
🗘 Use explosives to quickly clear a path :
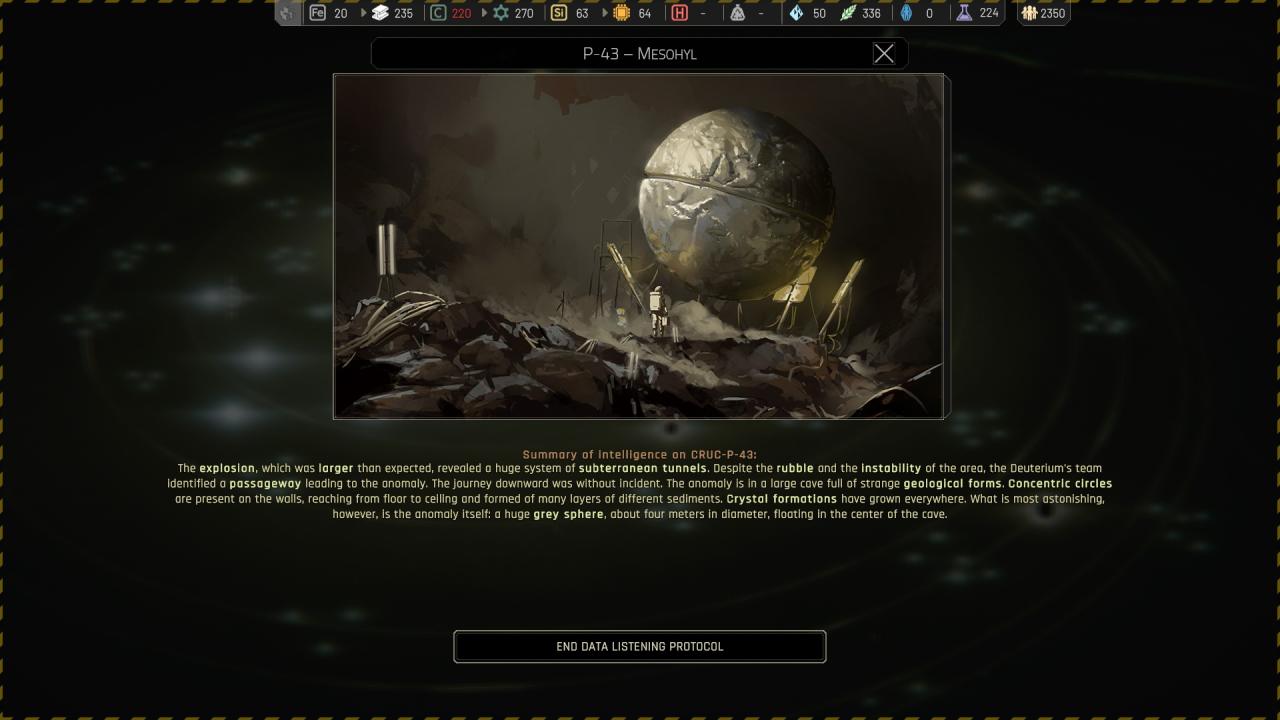

🗘 Use explosives to quickly clear a path > Examine the sphere :
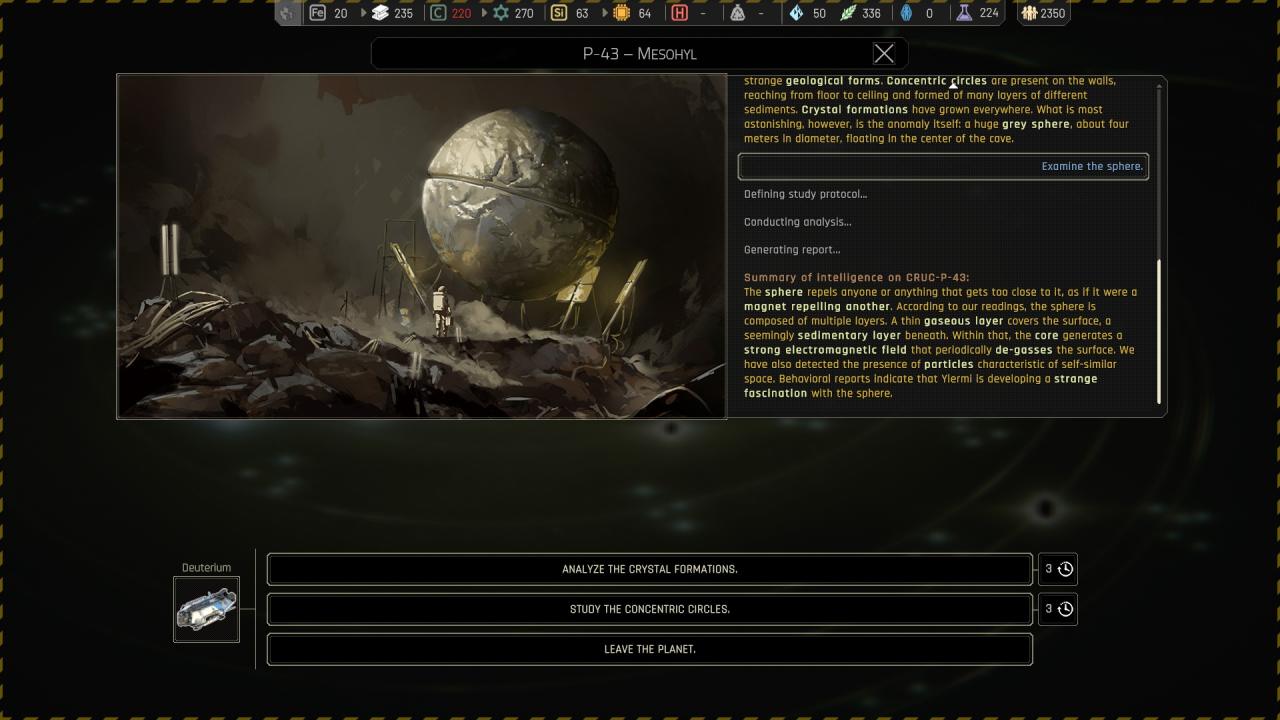
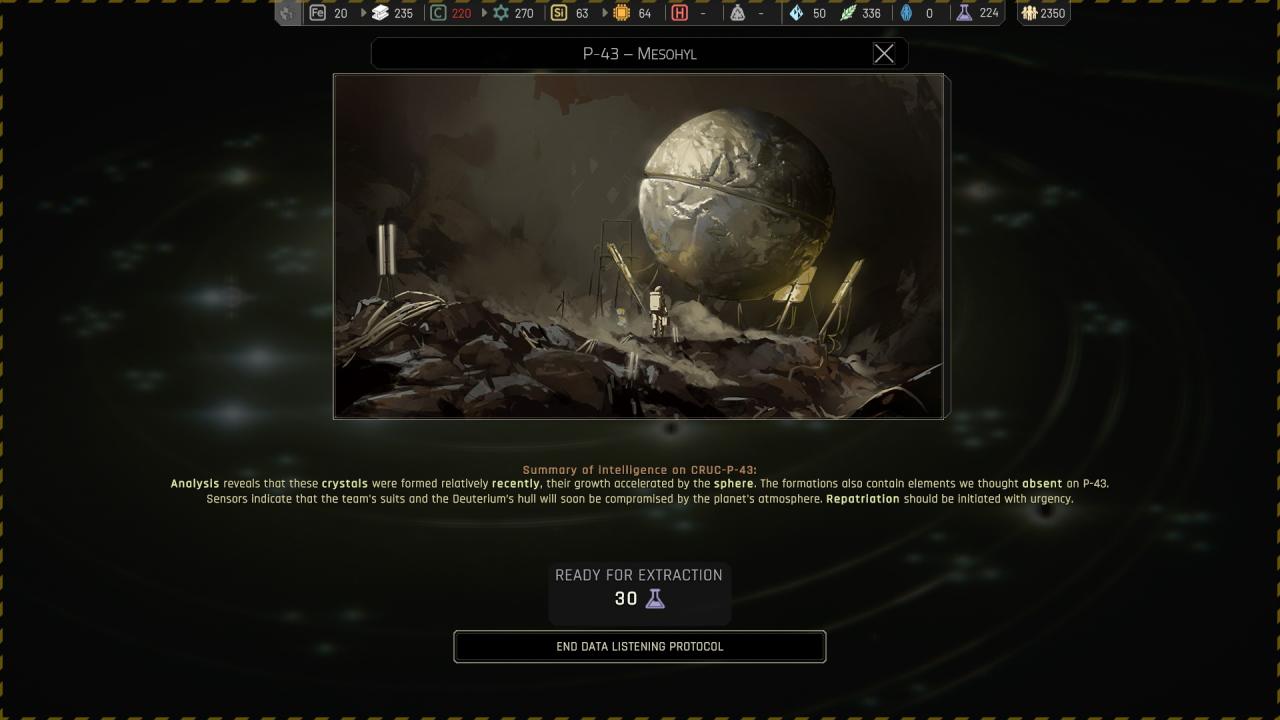
🗘 Use explosives to quickly clear a path > Analyze the crystal formations :
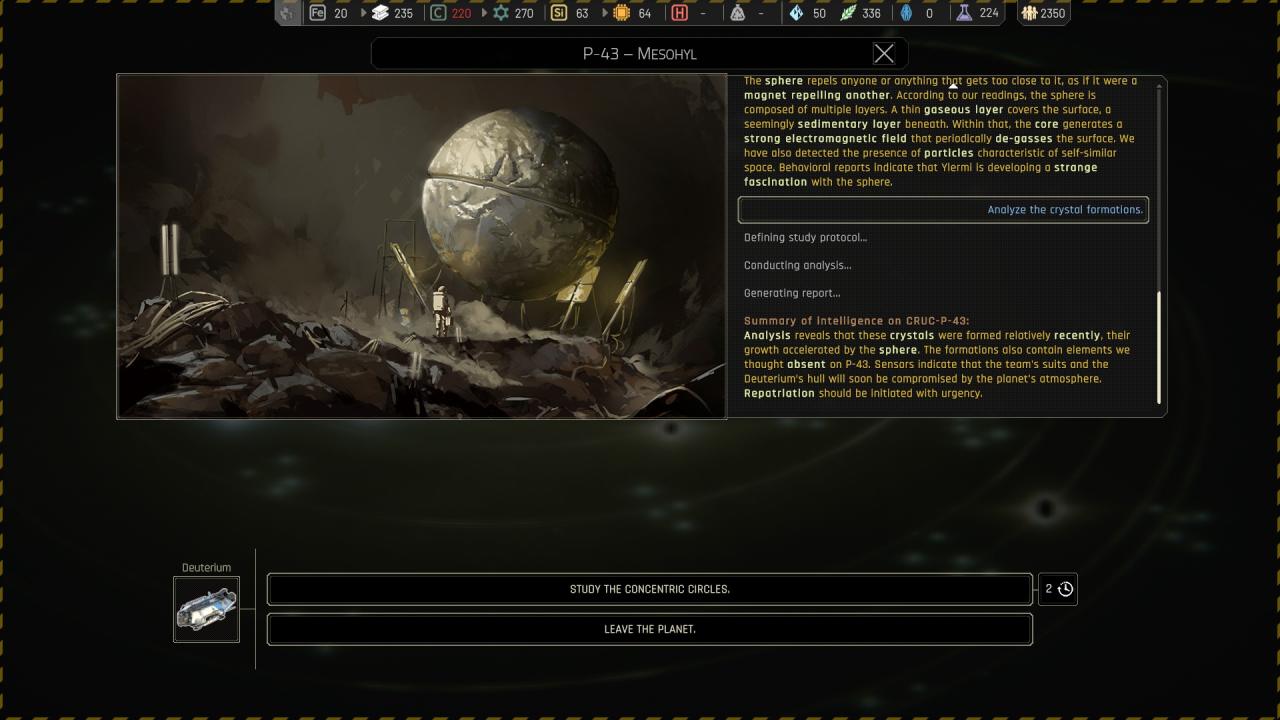
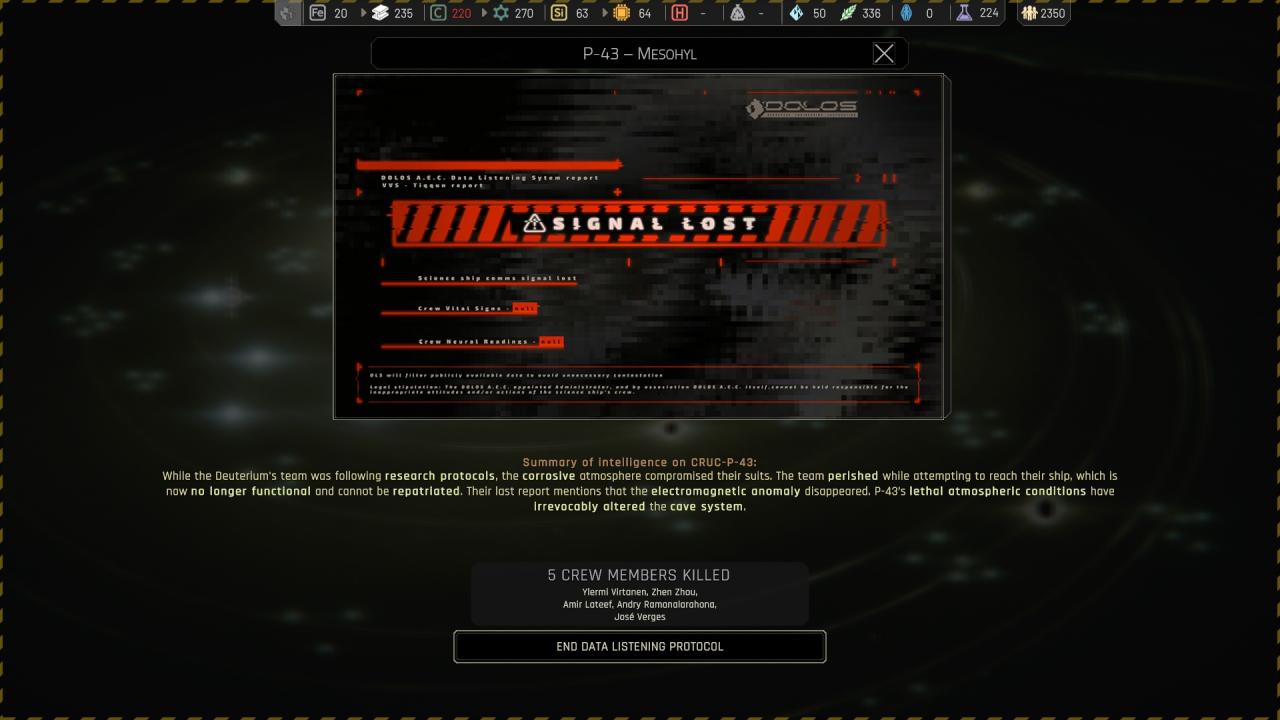
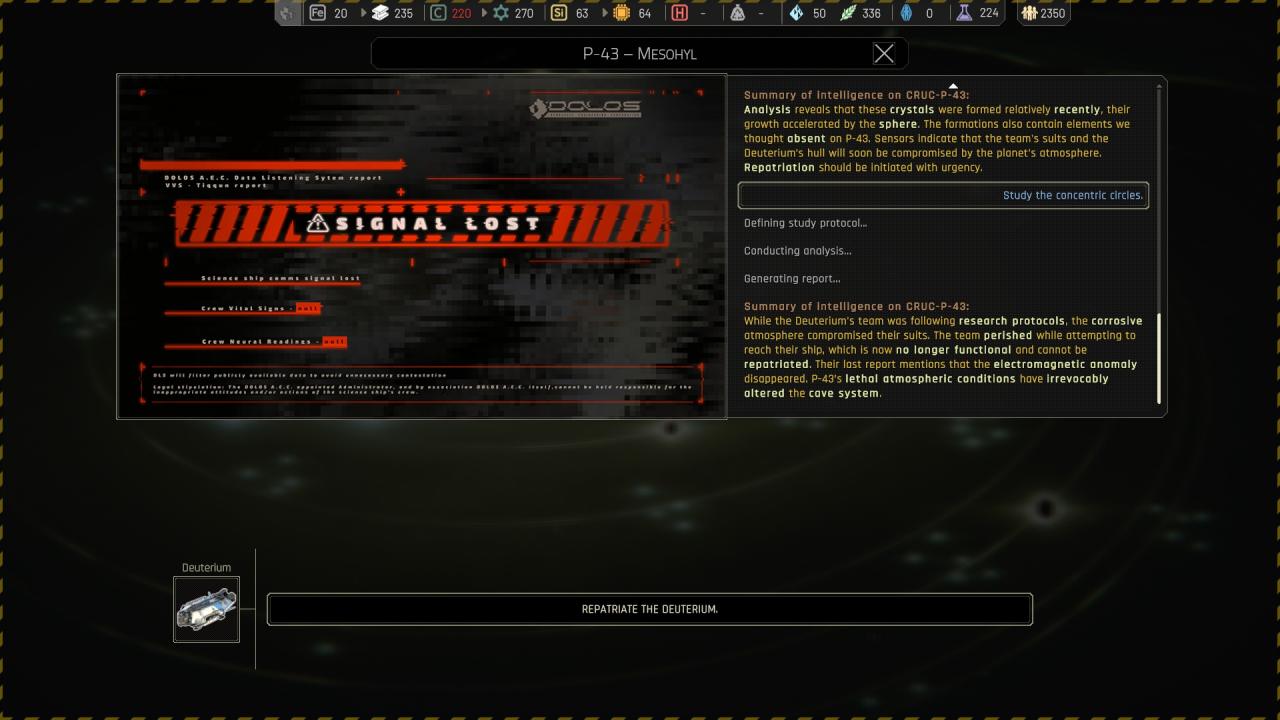
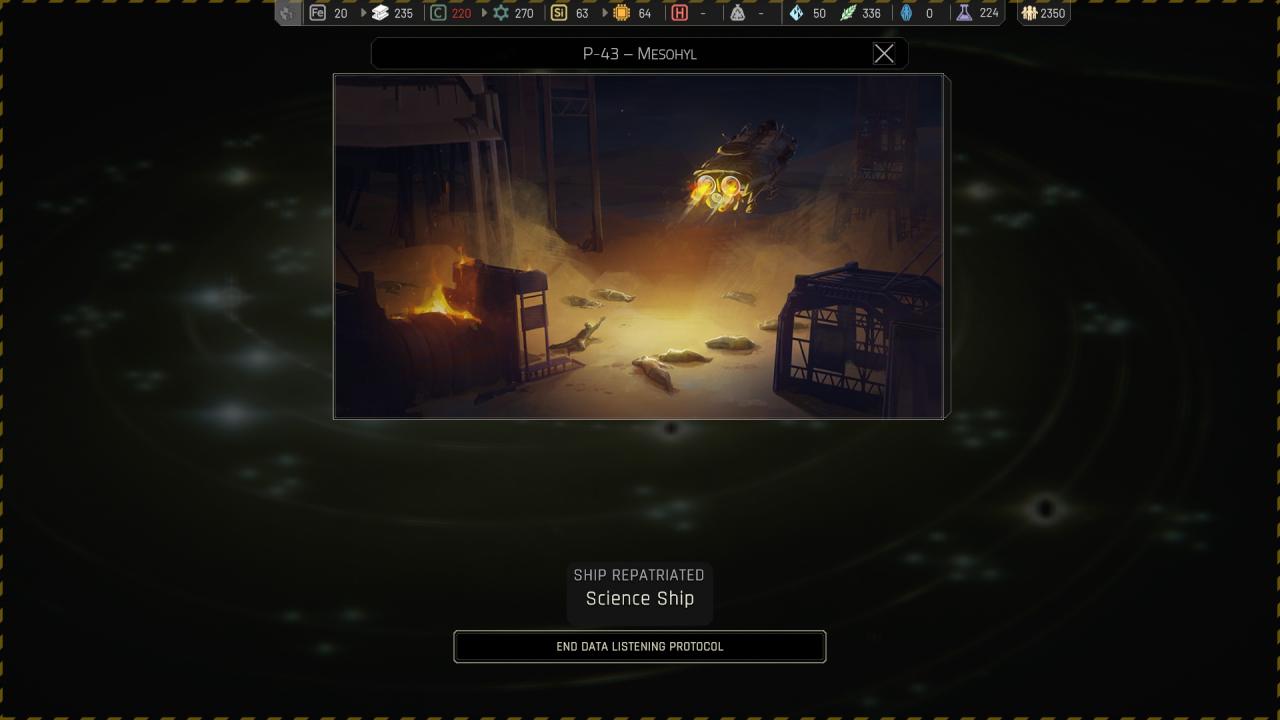
🗘 Use explosives to quickly clear a path > Study the concentric circles :
🗘 Drill through the crust of P-43 :
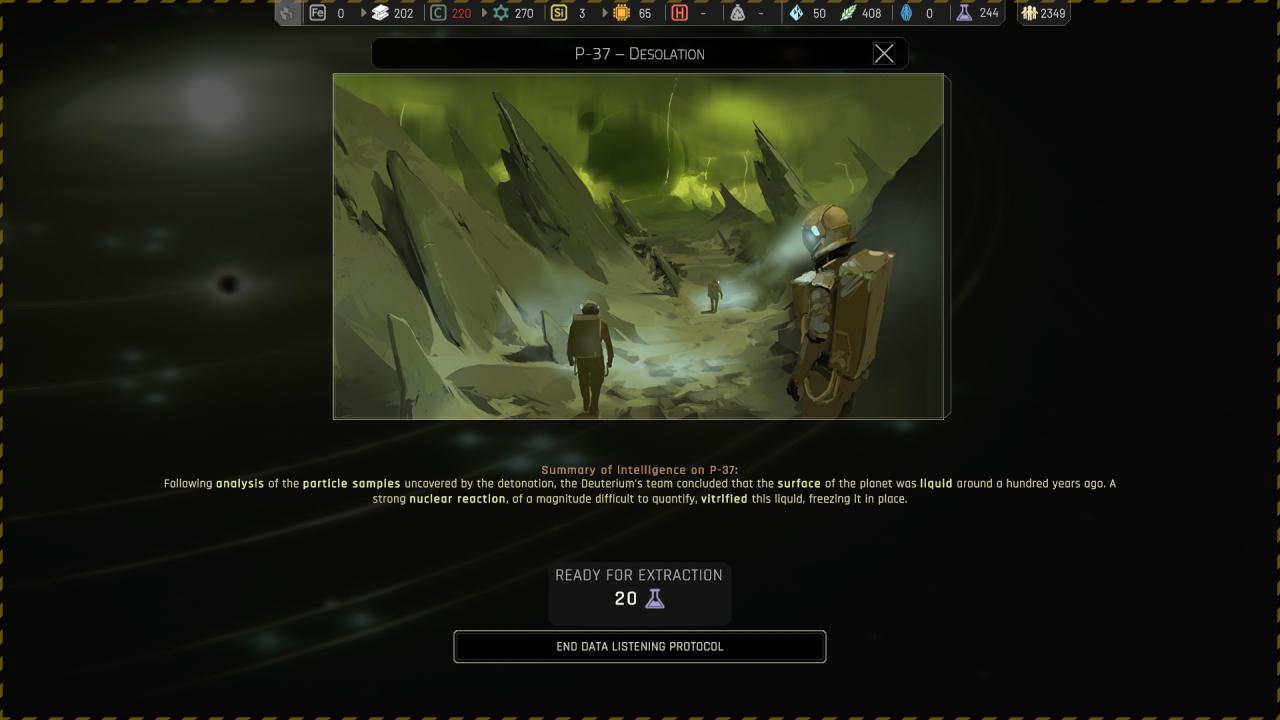
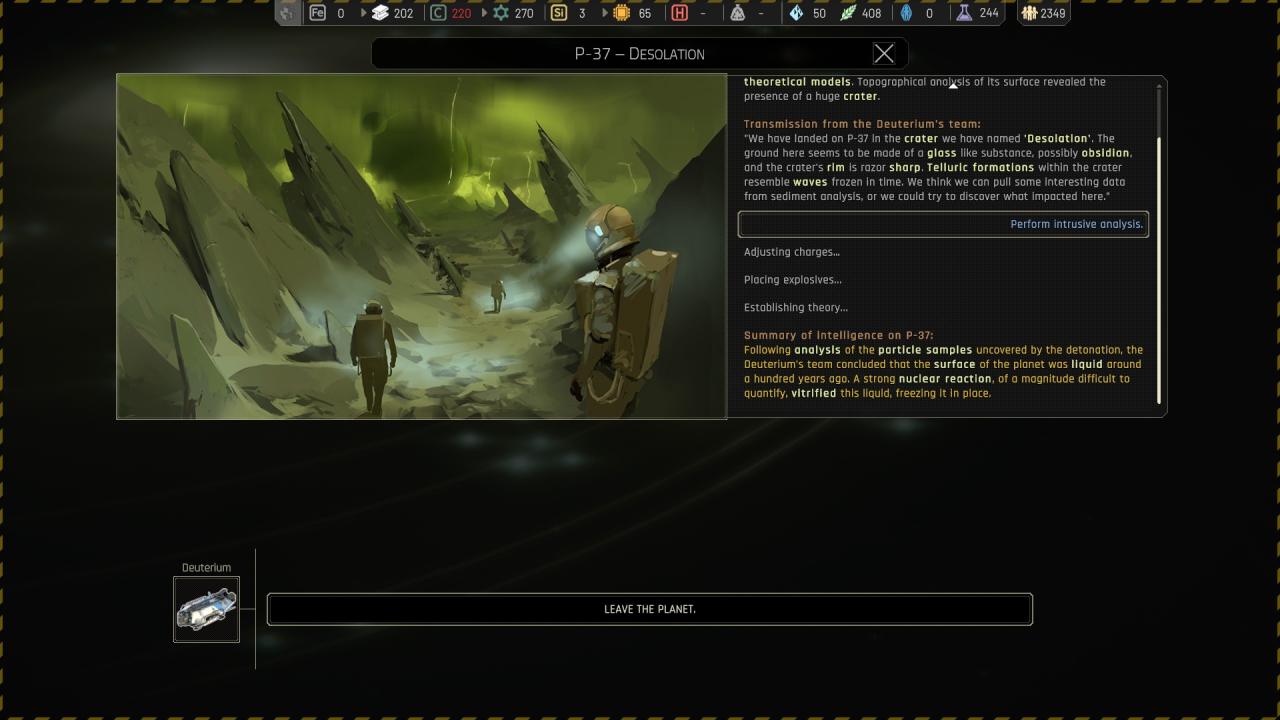
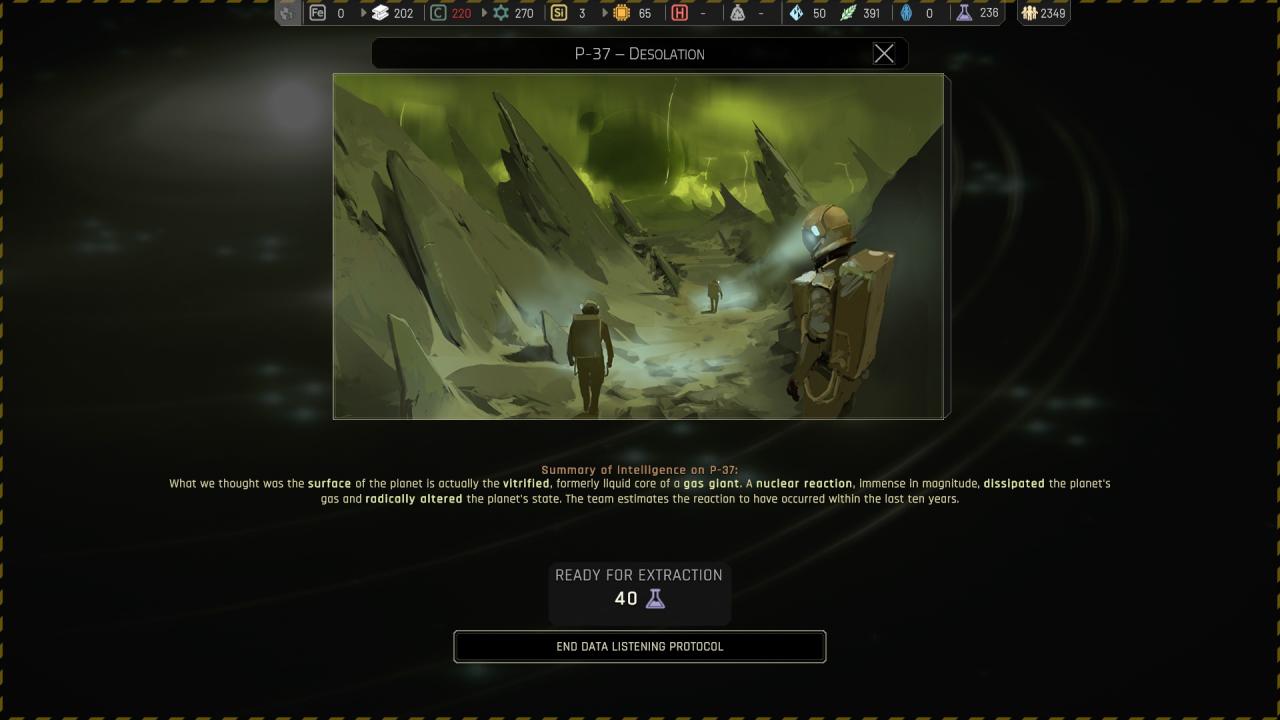
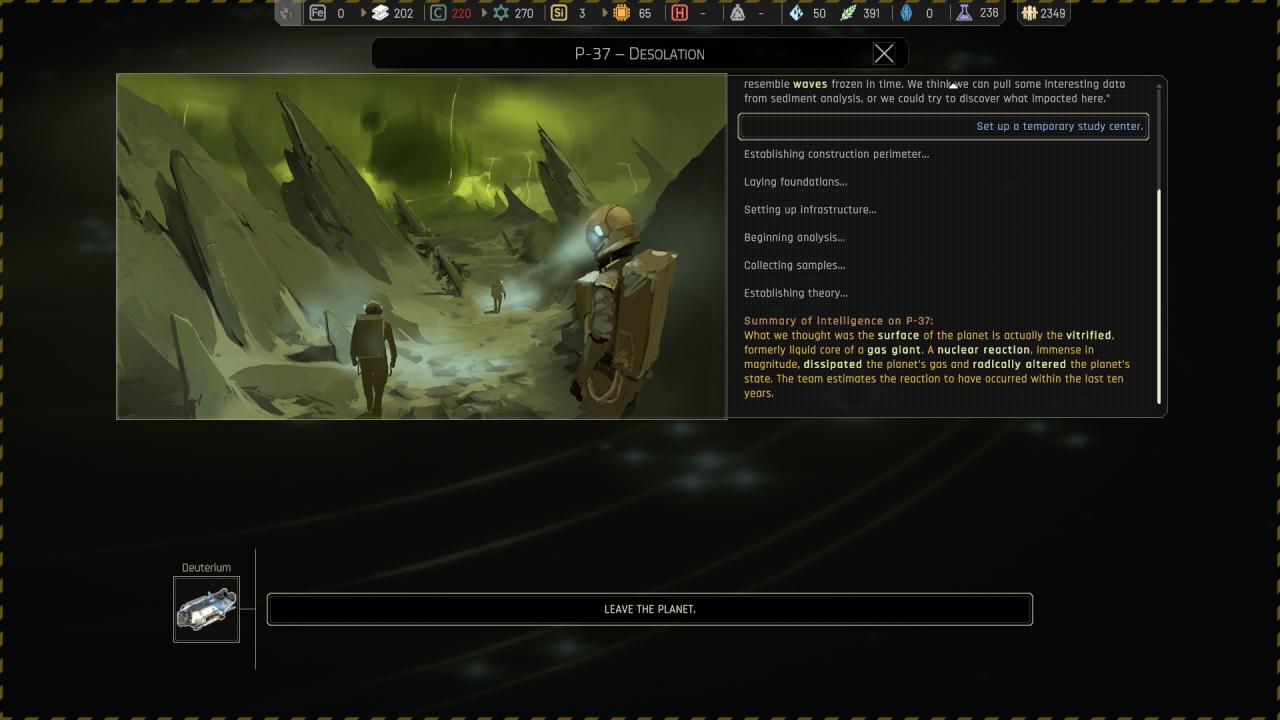
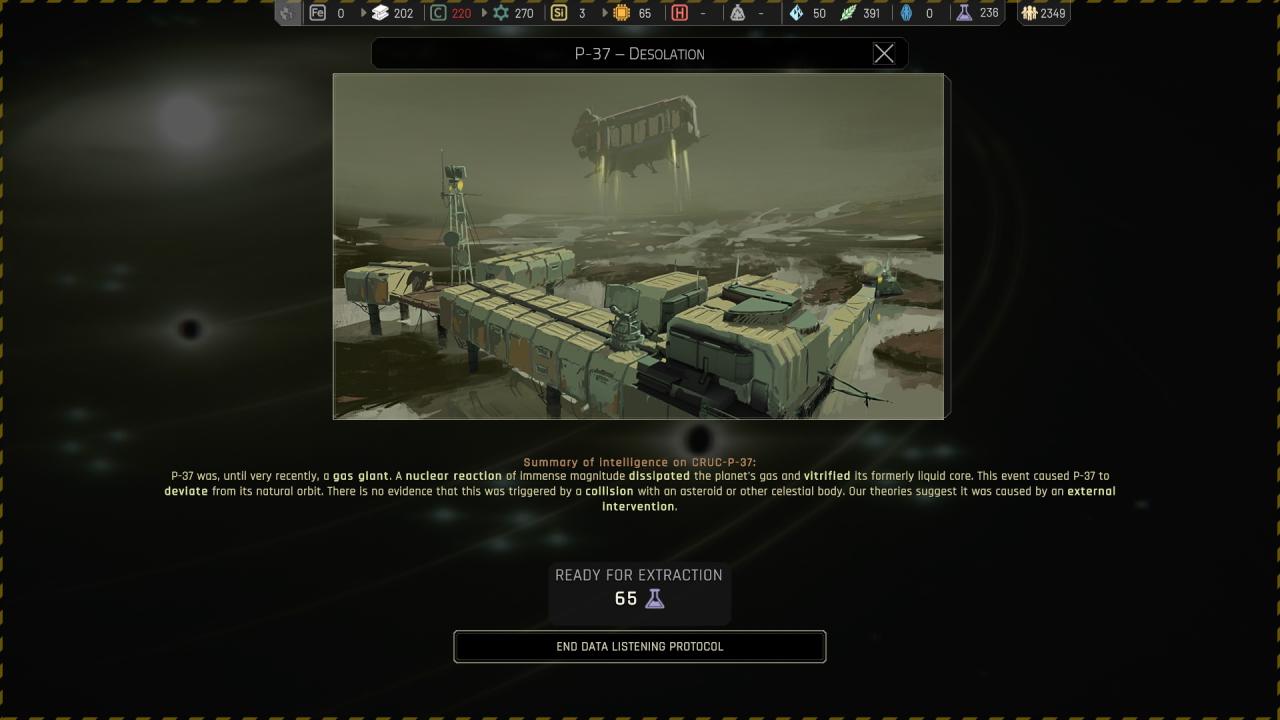
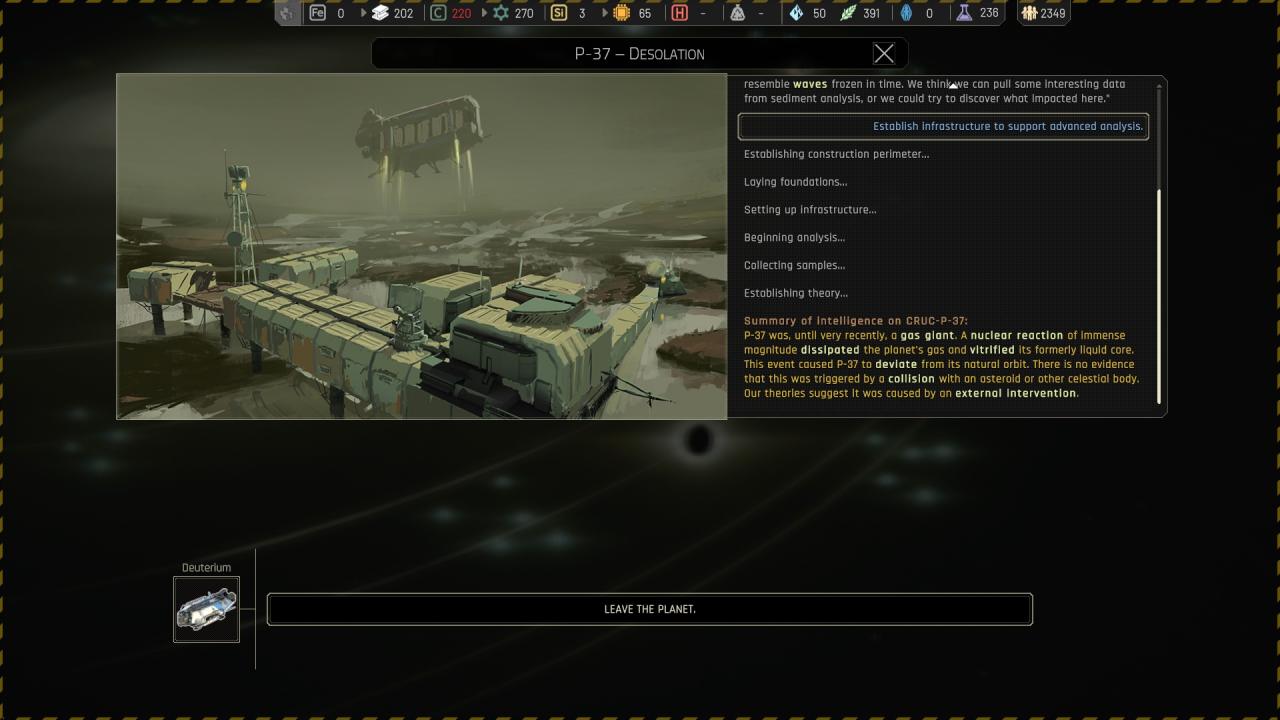
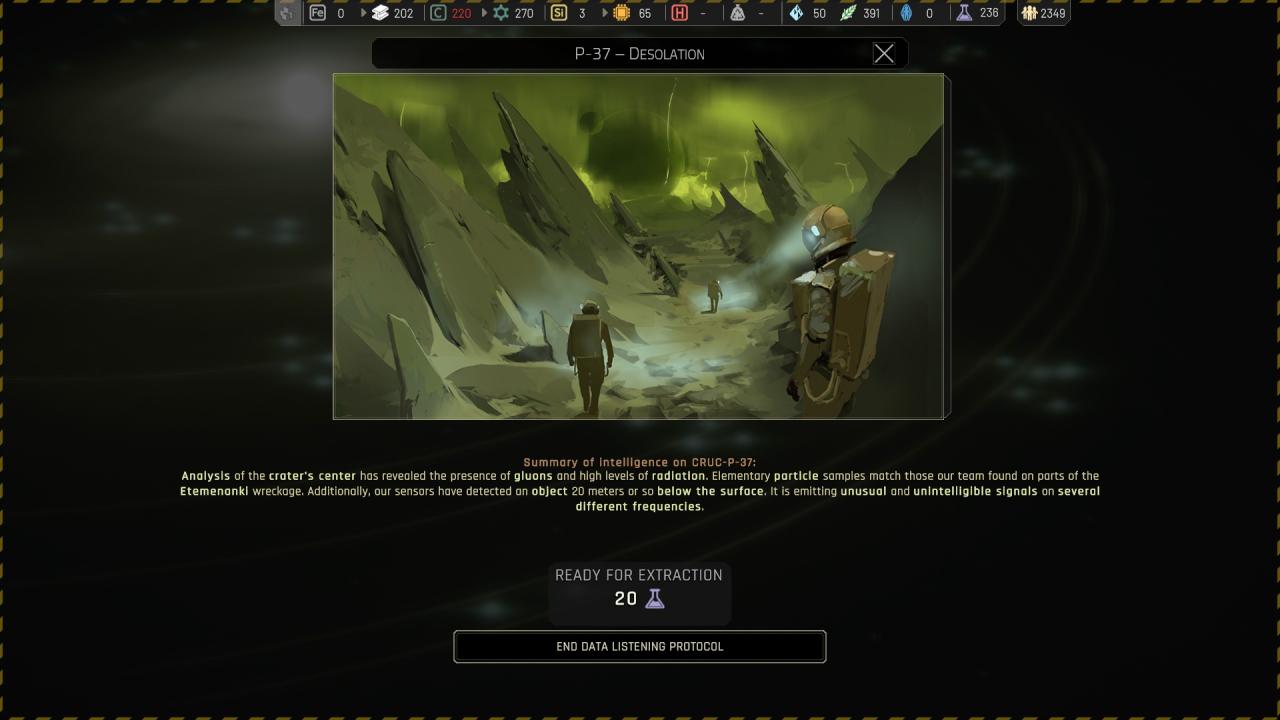
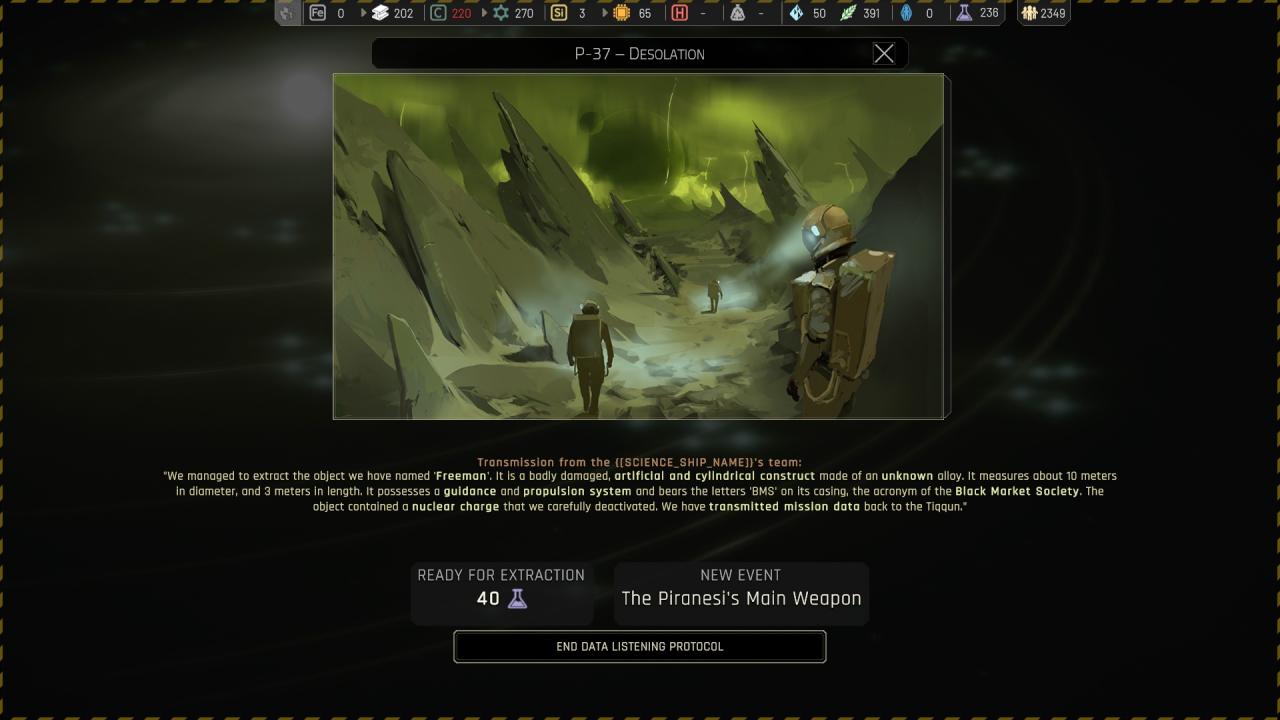
Chapter 3 ({ Cruc-P-37 } P-37 – Desolation )
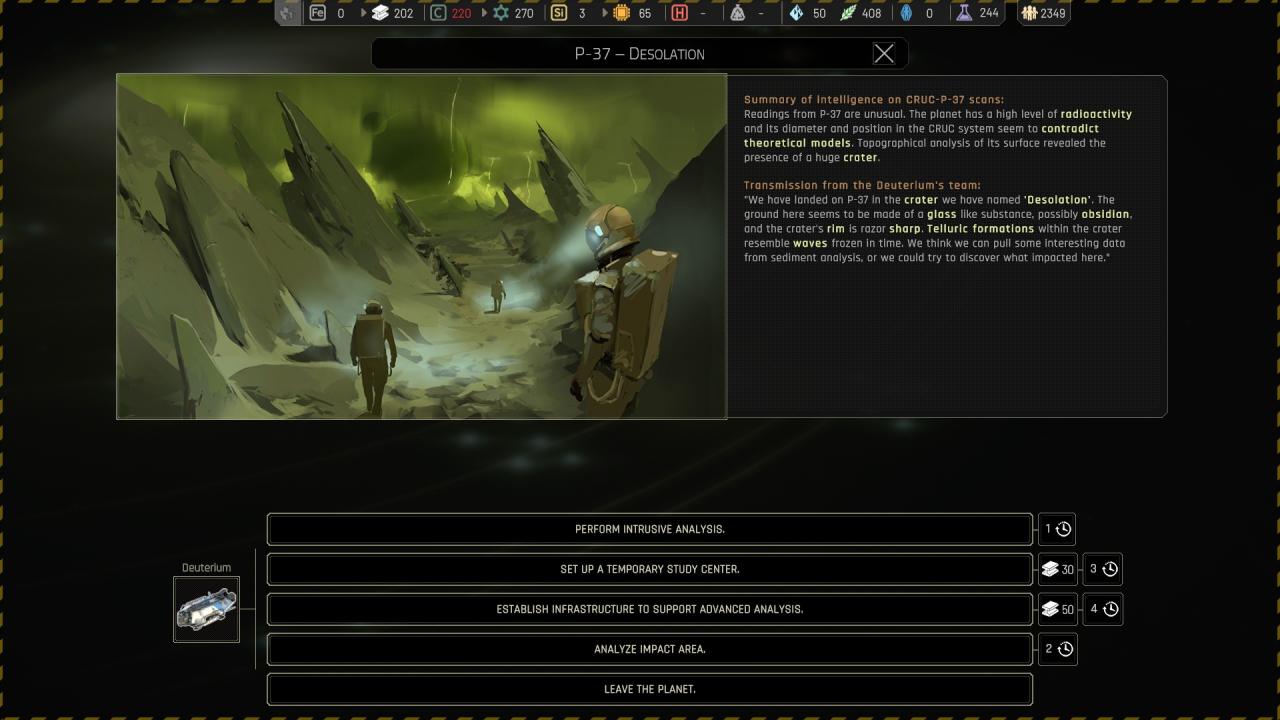
🔒 Perform intrusive analysis :
🔒 Set up a temporary study center :
🔒 Establish infrastructure to support advanced analysis :
🗘 Analyse impact area :
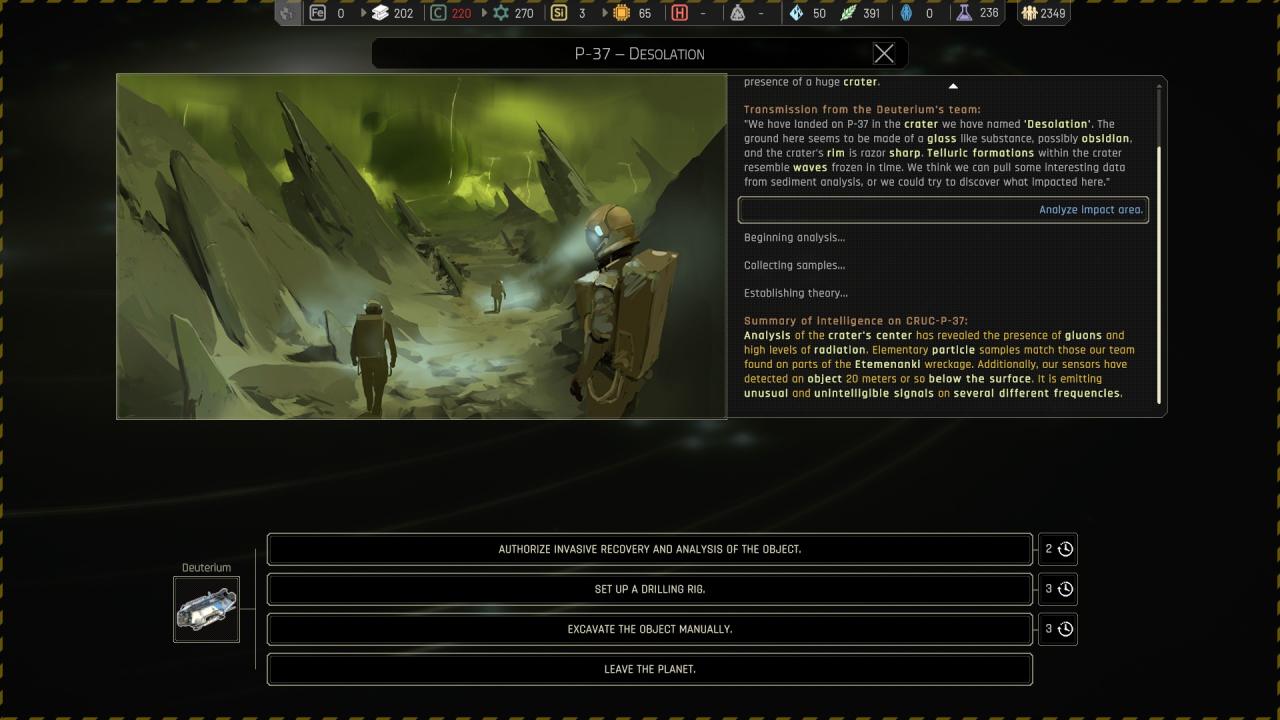
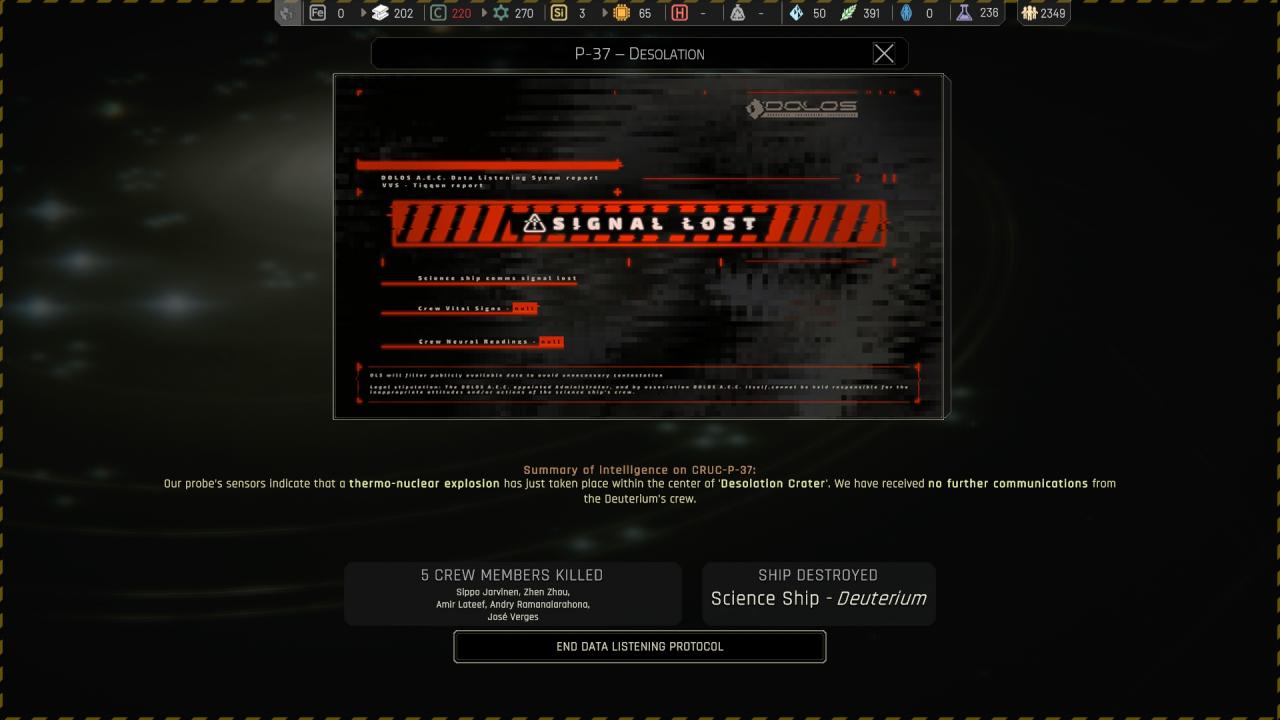
🔒 Analyse impact area > Authorize invasive recovery and analysis of the object :
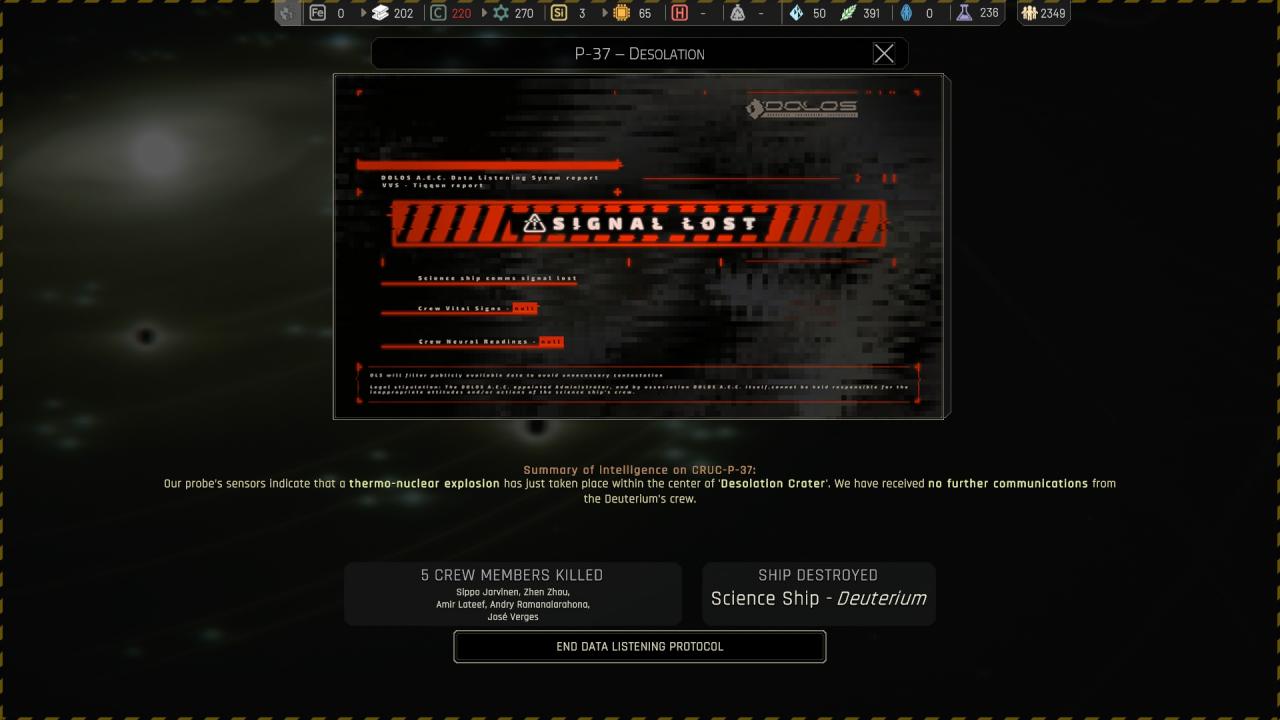
🔒 Analyse impact area > Set up a drilling rig :
🏆🗘 Analyse impact area > Excavate the object manually : ( End up with above choices )
Chapter 3 ( Tips & Tricks )
——————————————————————————————————-
 ——————————————————————————————————-
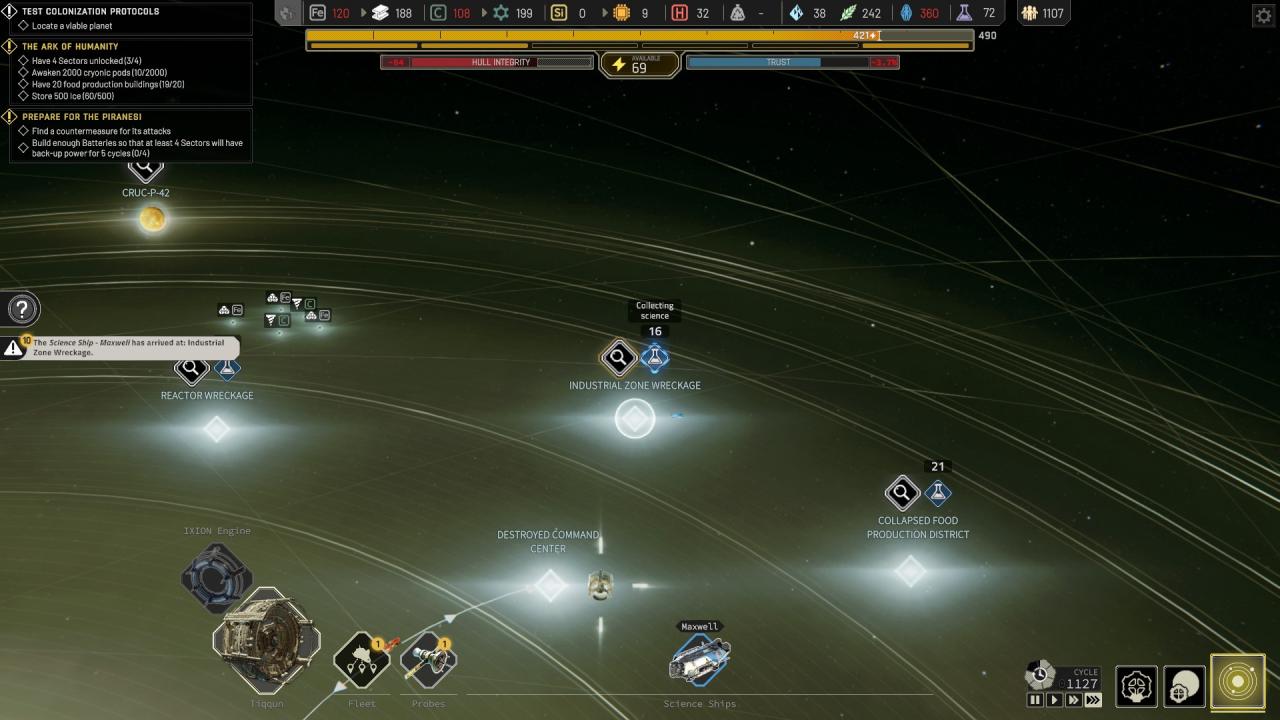
I will complete this later, as i’ve made a second save with cheat to show you what order is good enought to go through the storm : ( by cheat i mean precisely in Player.sav : cheat > eventOptionsCompleteInstantly : true )
Do task in this order : ( always keep an eye on the edge of the storm, as soon as you finish an event it will advance ! so do not forget to avoid unwanted / edged area to avoid any losses )
– TOTALLY FORGET THE COLONY FIRST, you will be able to do it later when the storm move further ( it will leave the system and allow you to move freely all around )
– 1 destroyed command center
– 2 cruc-p-38
– 3 reactor wreckage
– 4 collapsed food district
– 5 move tiqqun to industrial zone wreckage
– 6 industrial zone wreckage
Do not forget to build enought batteries, i’ve made 2 medium per sector, with upgrade, i’ve also max the tiqqun engine and hull ! after that you are pretty free but it require a bit of preparation, so take your time to farm before starting the adventure !
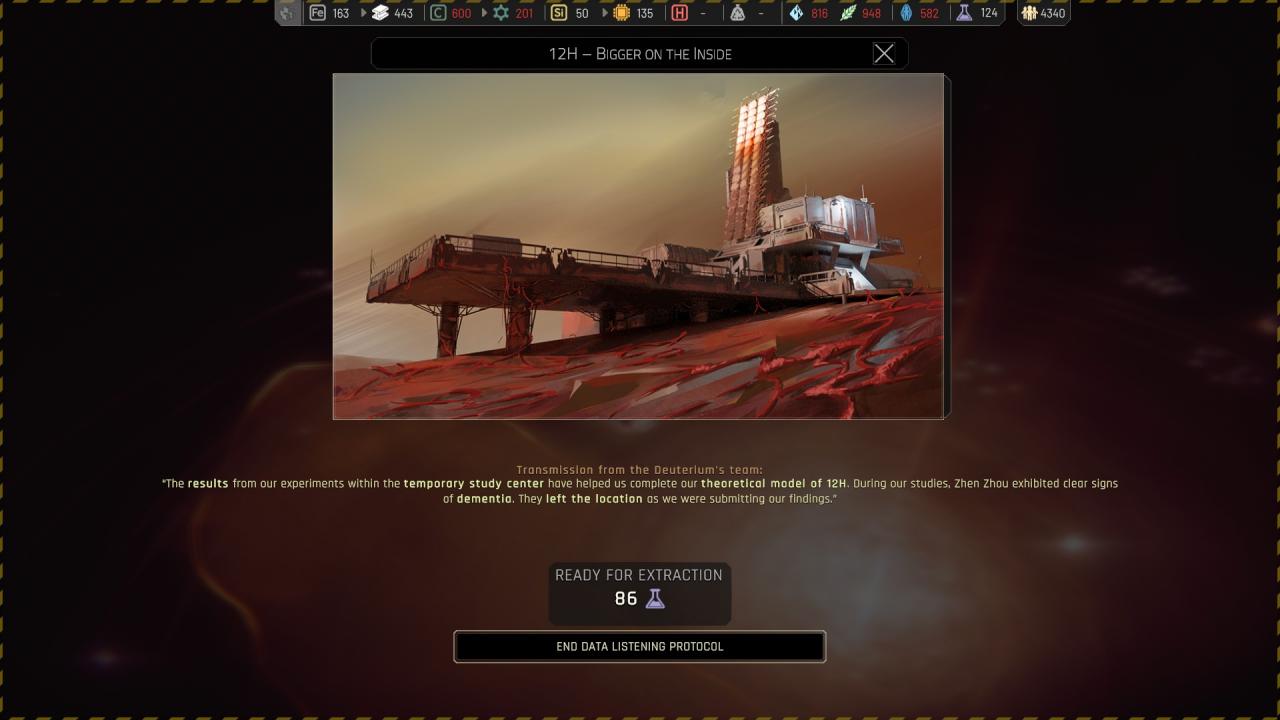
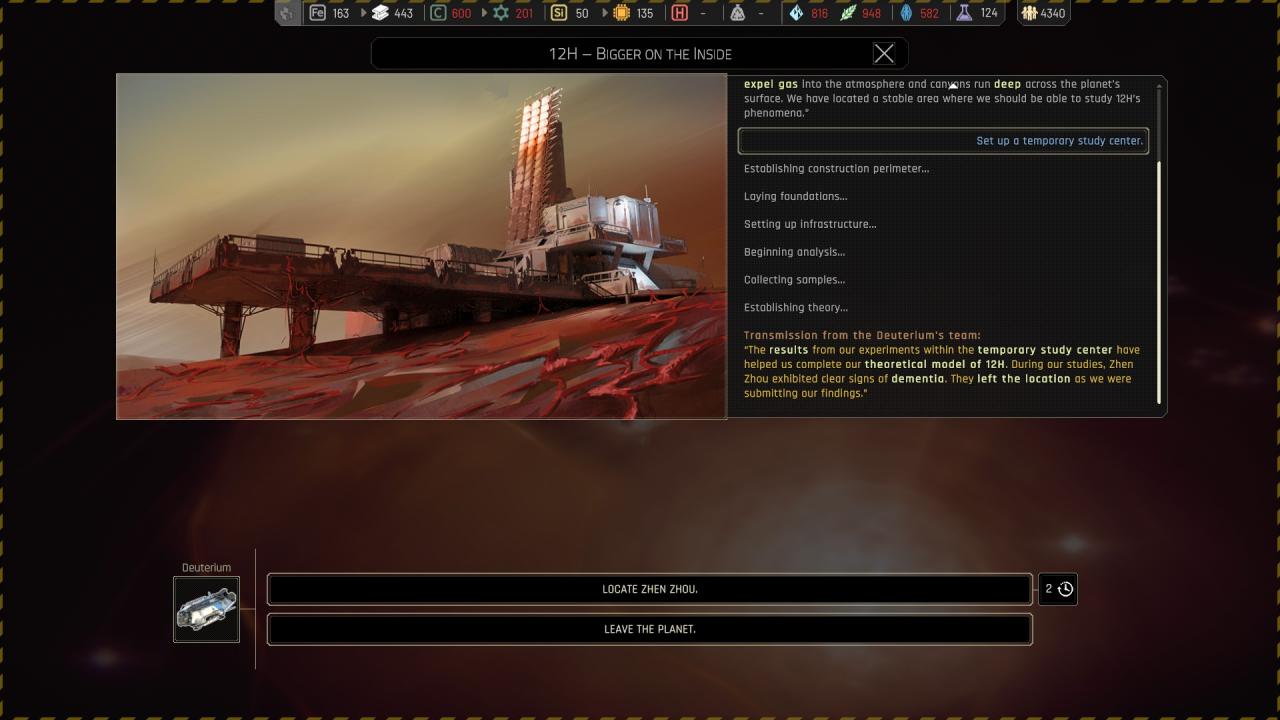
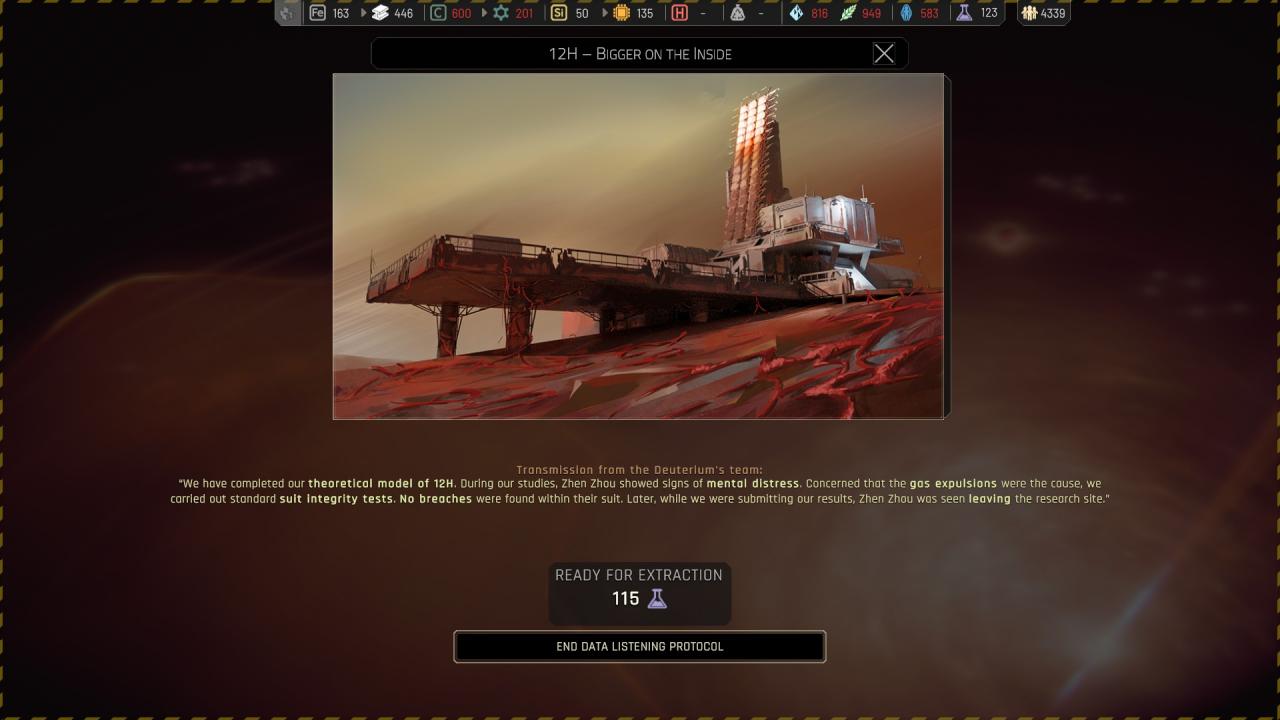
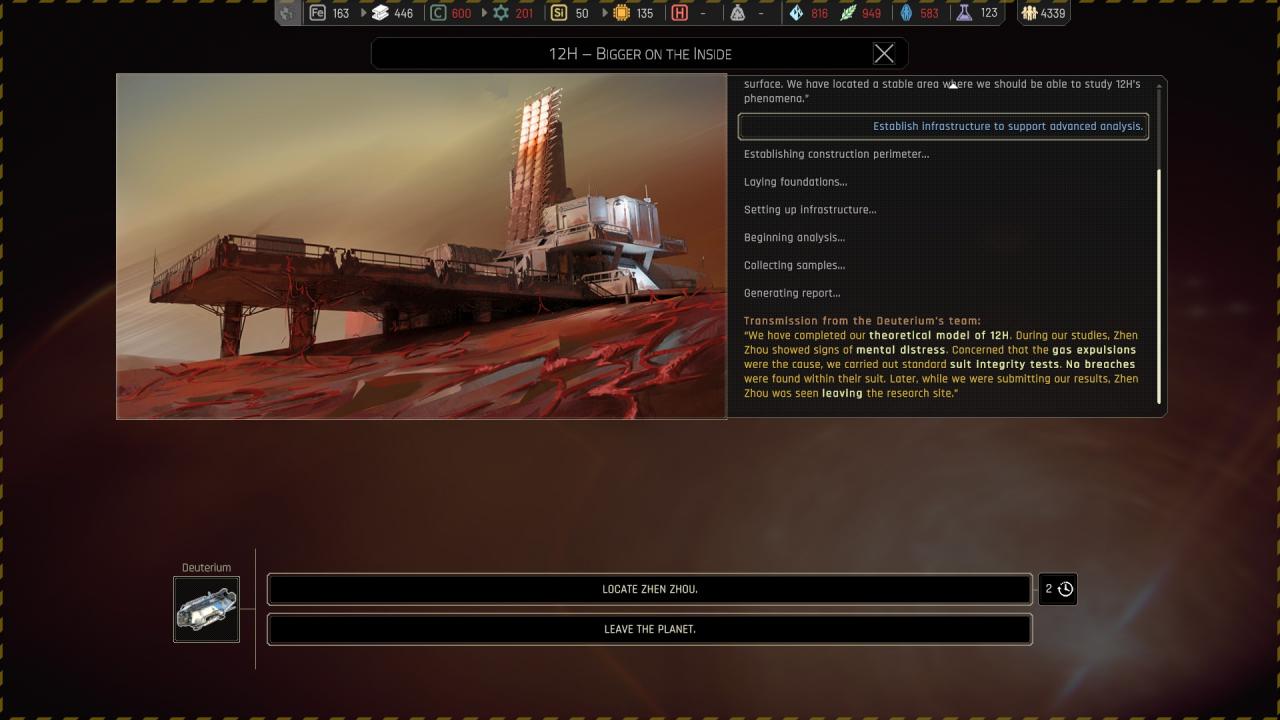
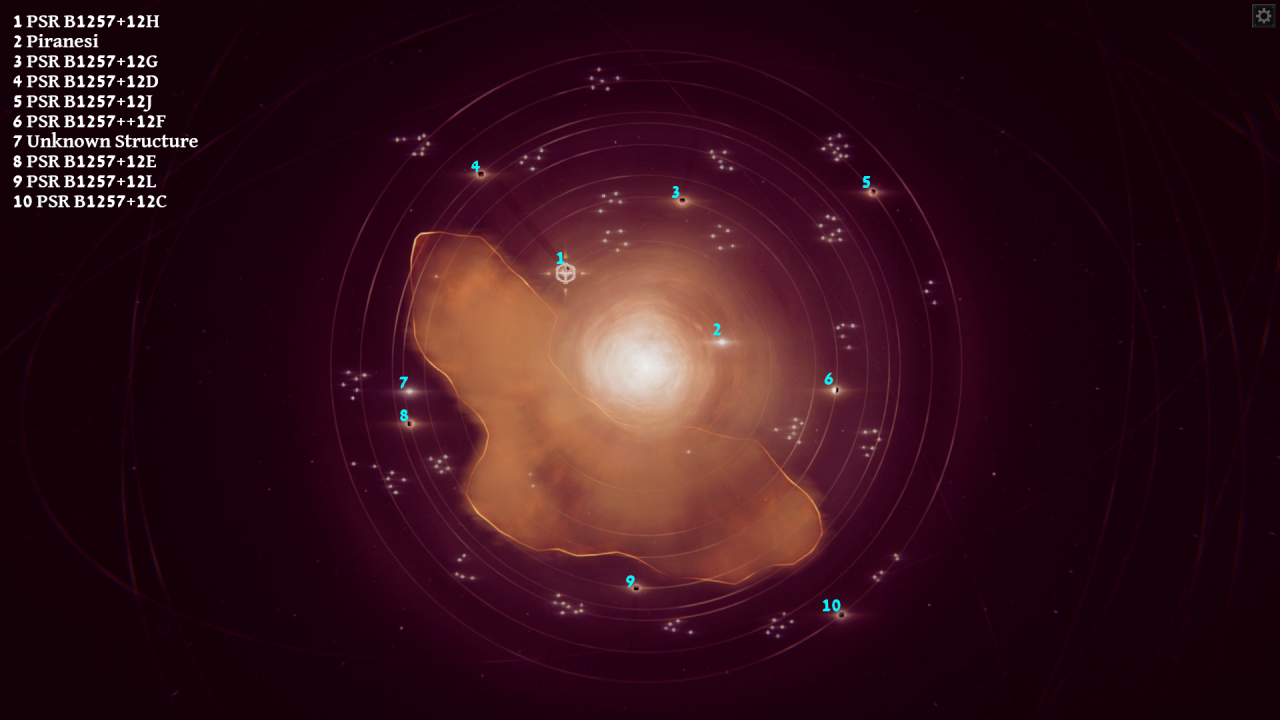
Chapter 4 ({ PSR B1257+12H } 12H – Bigger on the Inside )
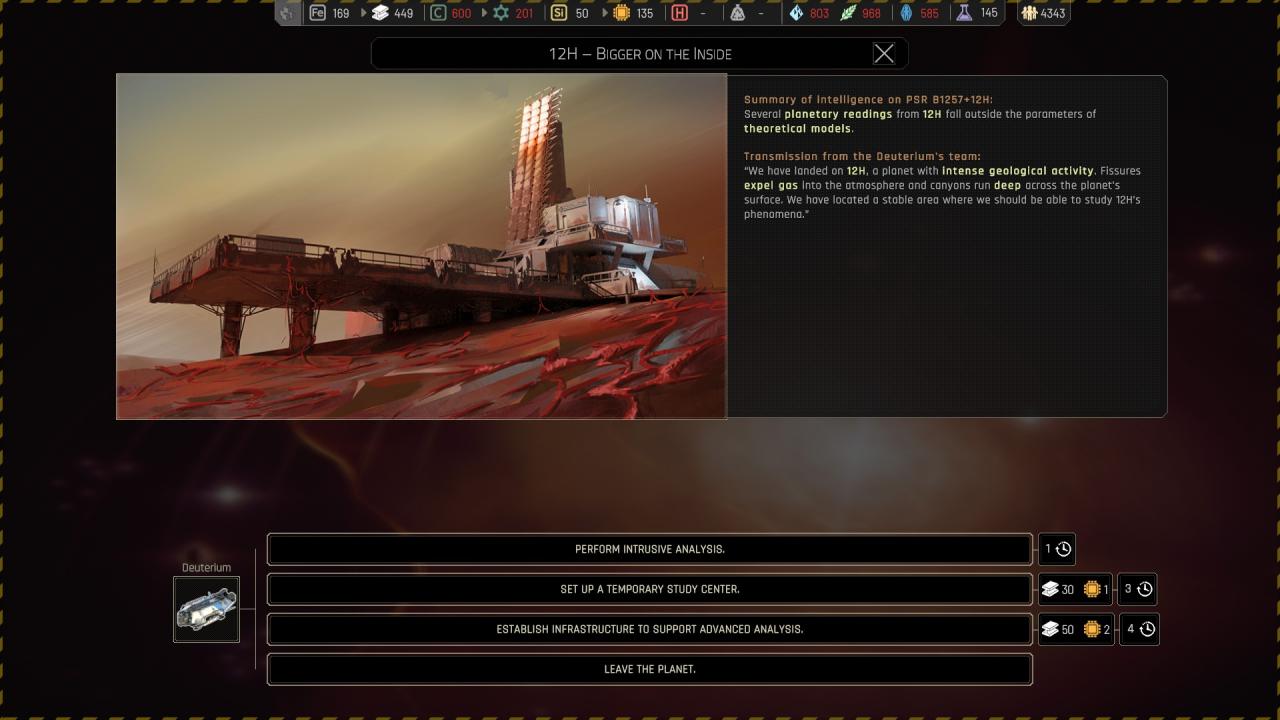
🗘 Perform intrusive analysis :
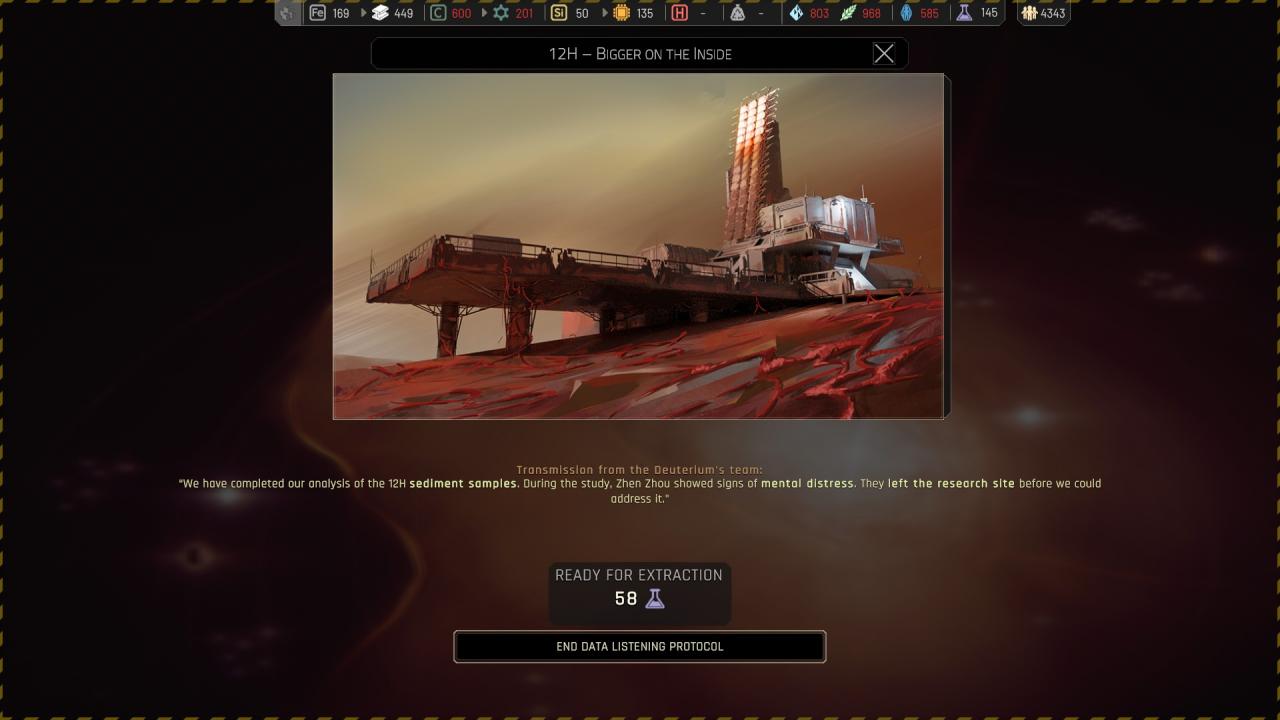
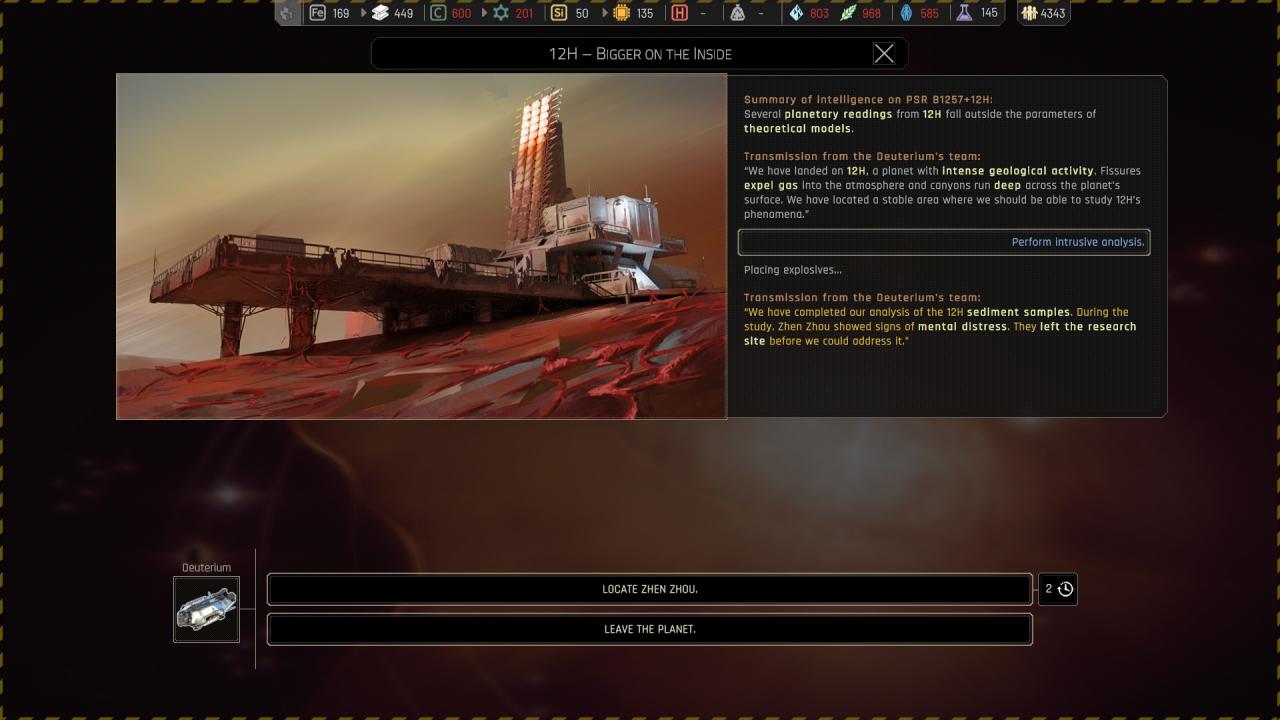
🗘 Perform intrusive analysis > Locate Zhen Zhou :

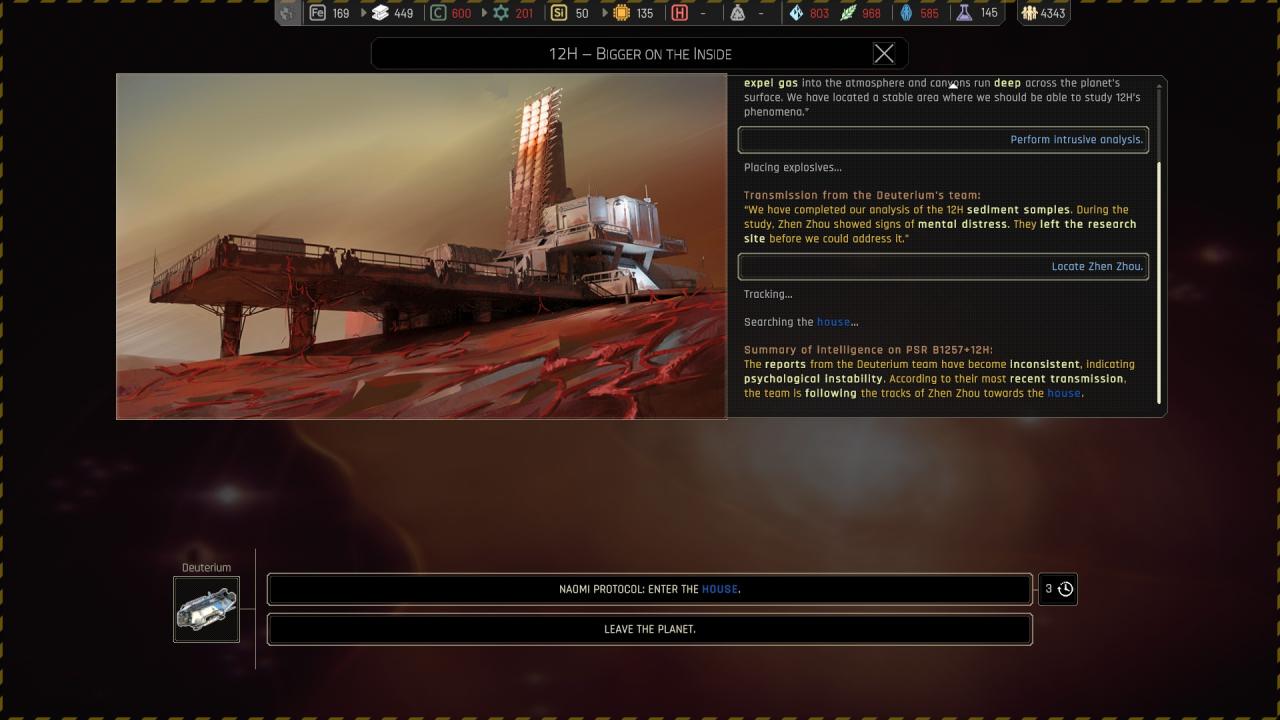
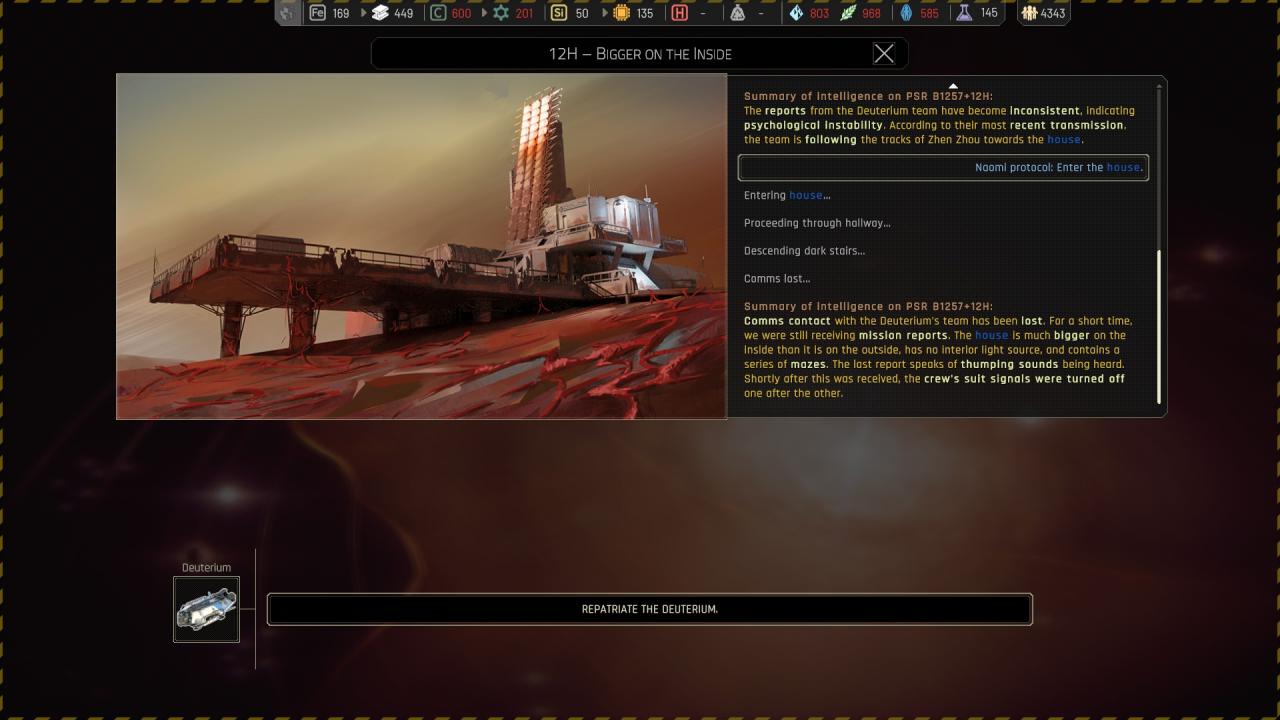
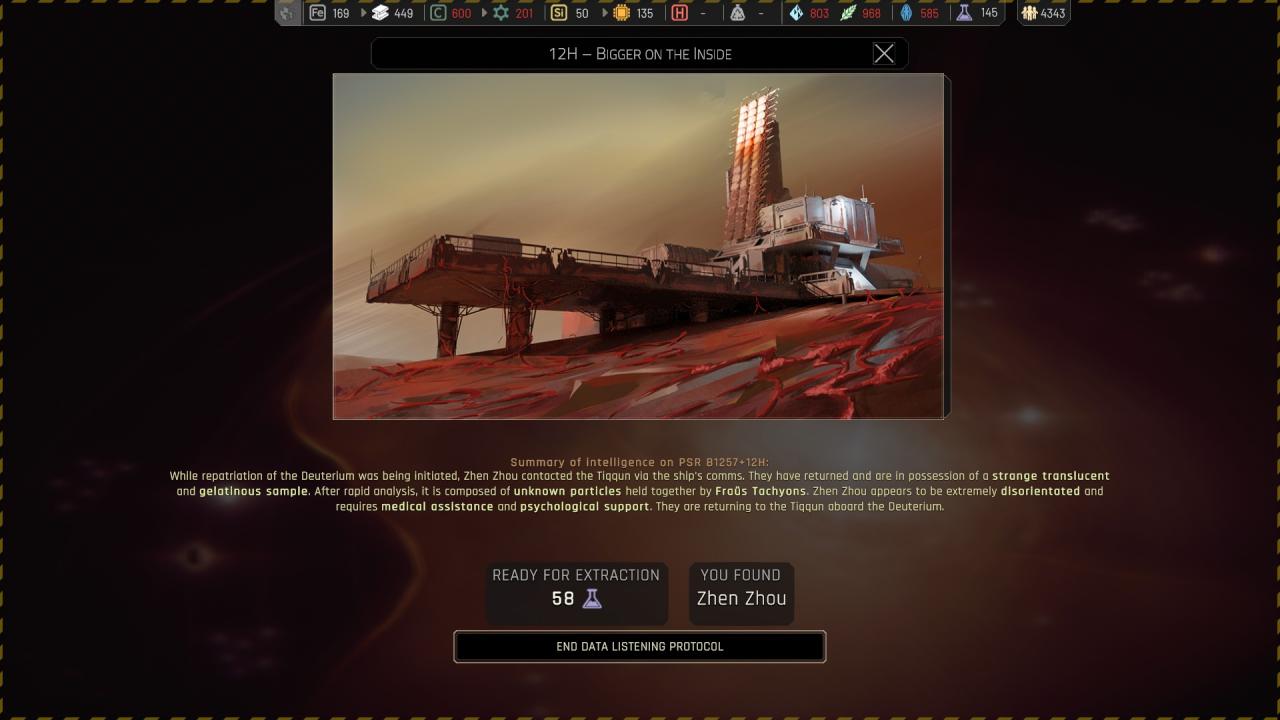
🔒 Locate Zhen Zhou > Naomi protocole : enter the house :

🗘 Set up a temporary study center : ( Lead to Zhen Zhou dialogue above )
🗘 Establish infrastructure to support advanced analysis : ( Lead to Zhen Zhou dialogue above )
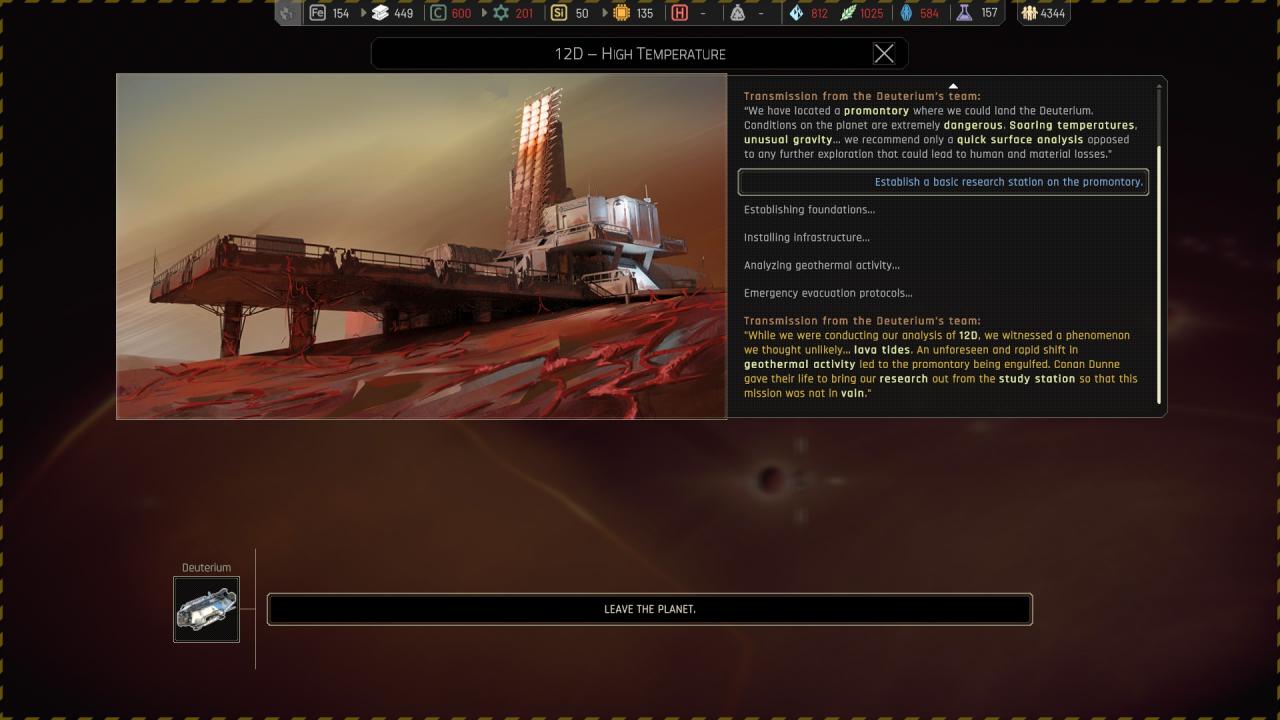
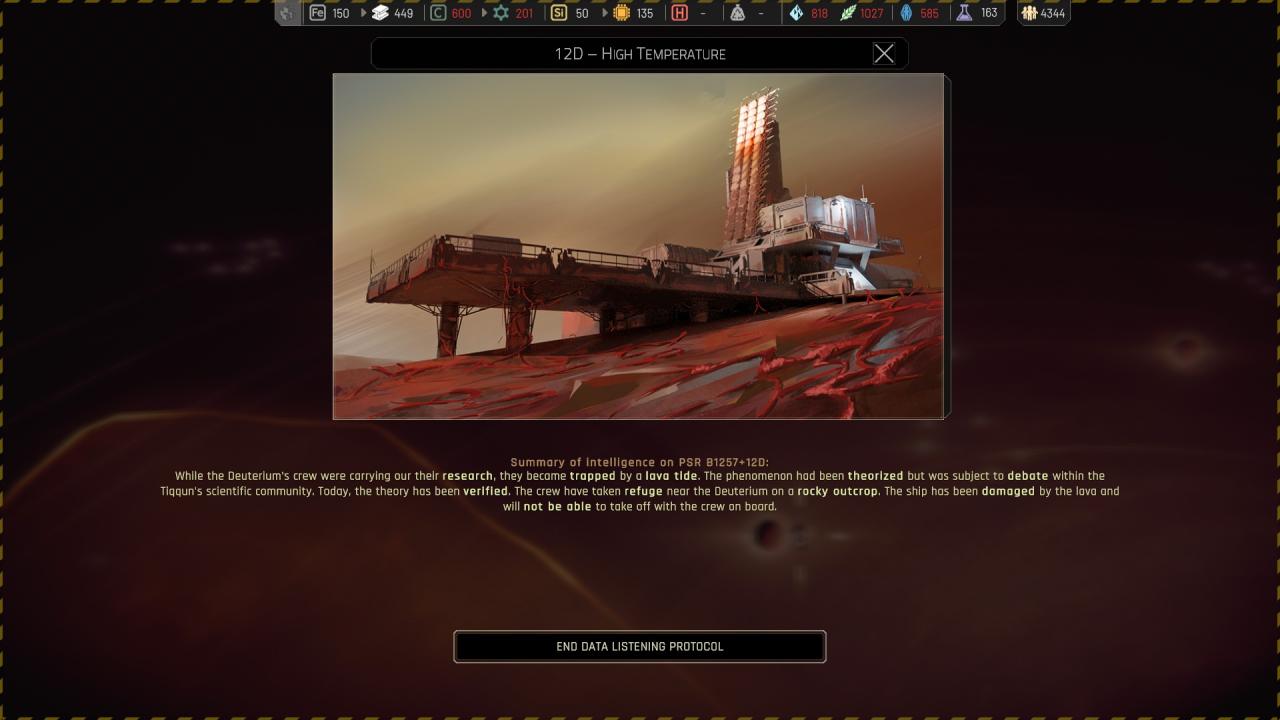
Chapter 4 ({ PSR B1257+12D } 12D – High Temperature )
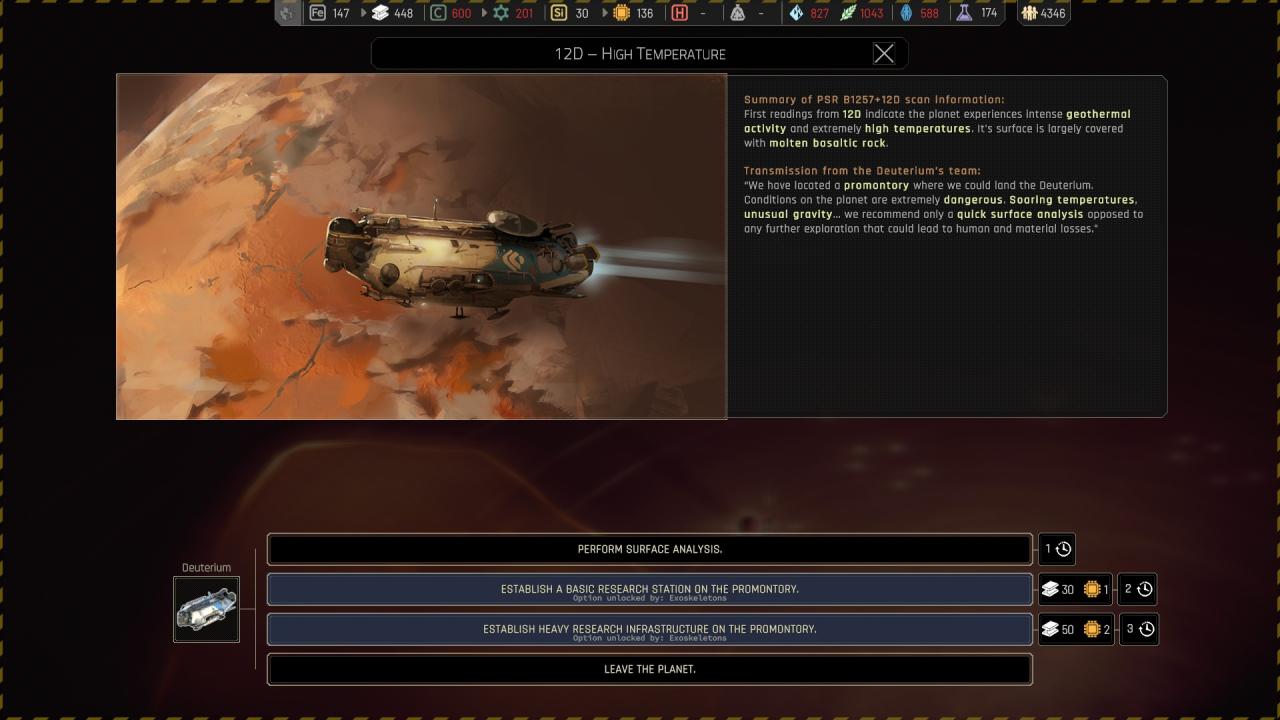
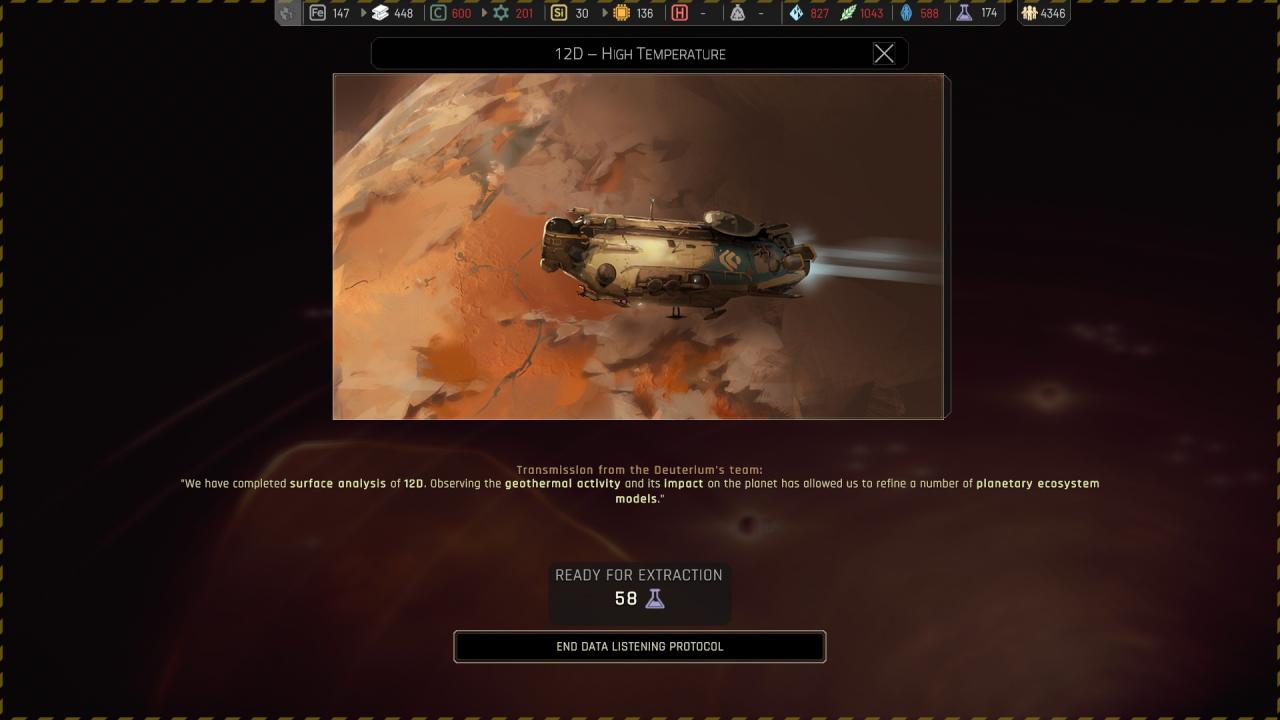
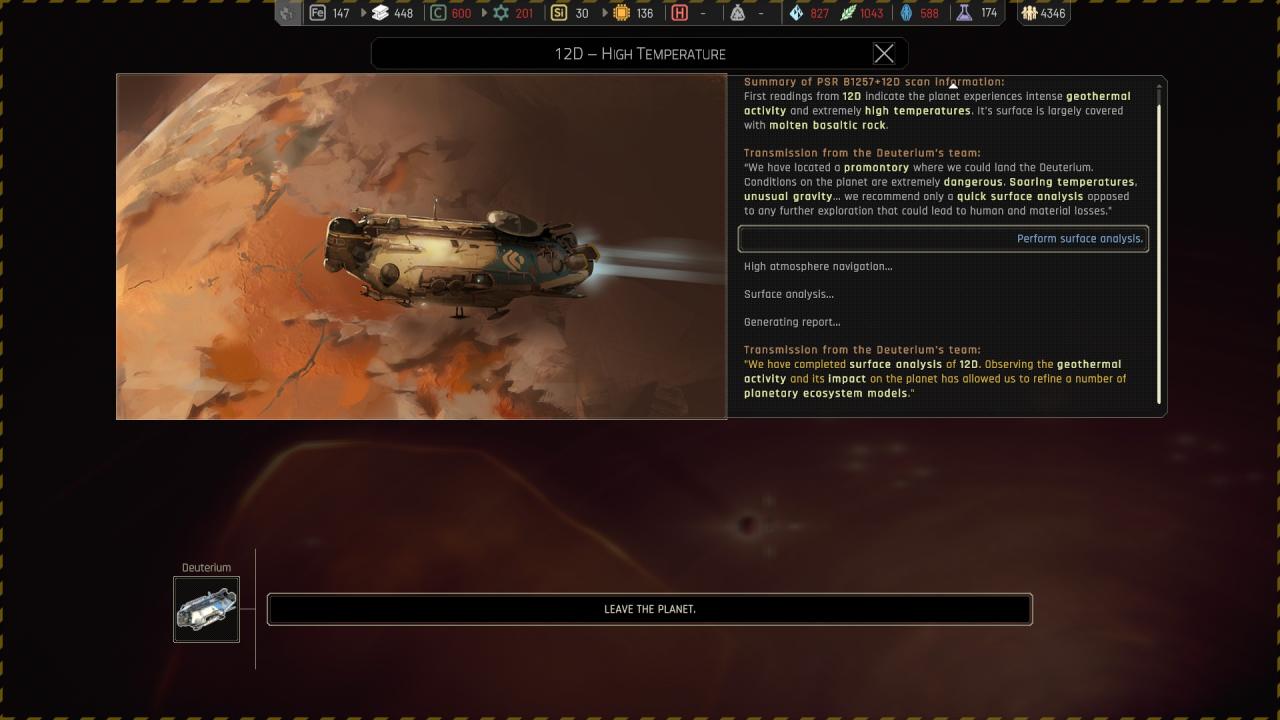
🔒 Perform surface analysis :
🔒 Establish a basic research station on the promontory :
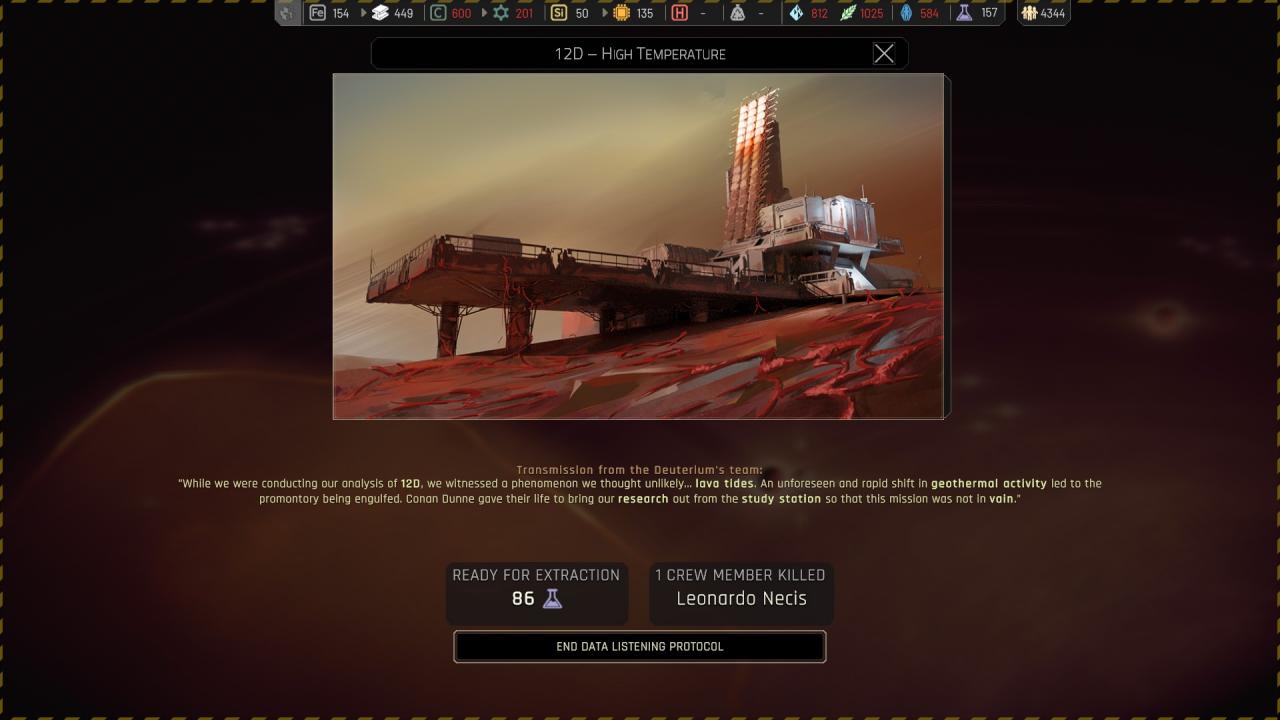
🗘 Establish heavy research infrastructure on the promontory :
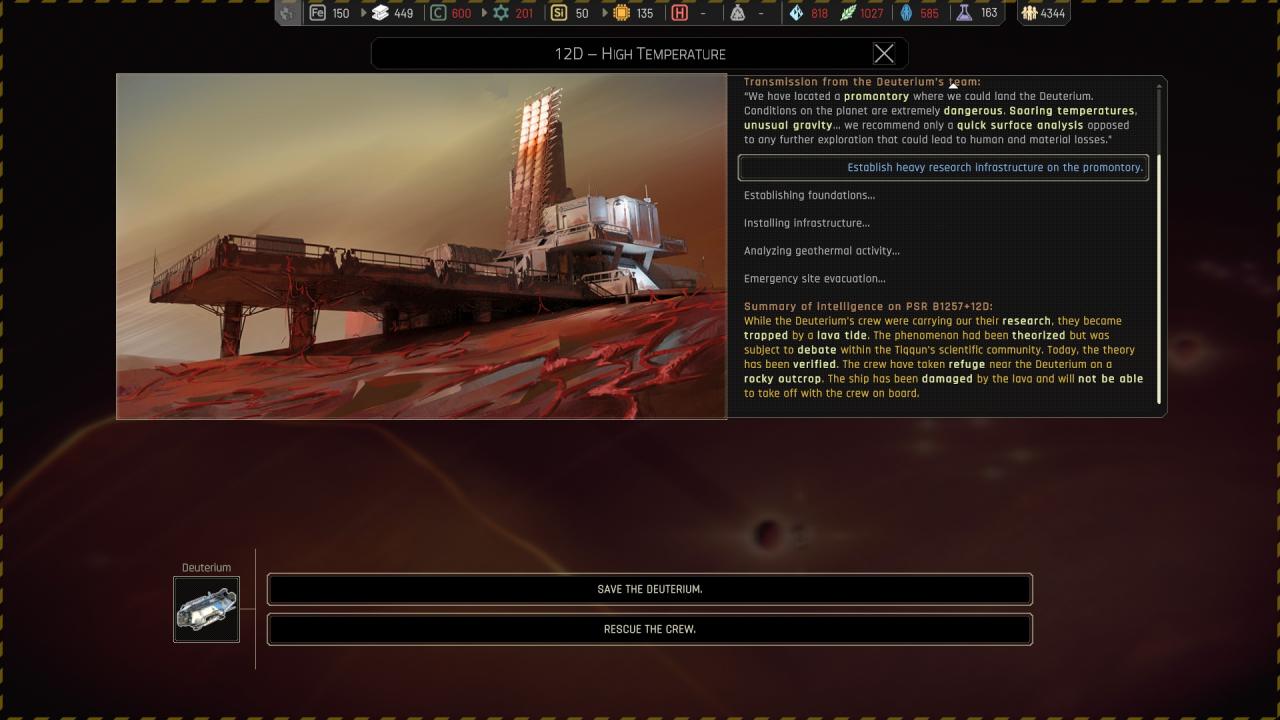
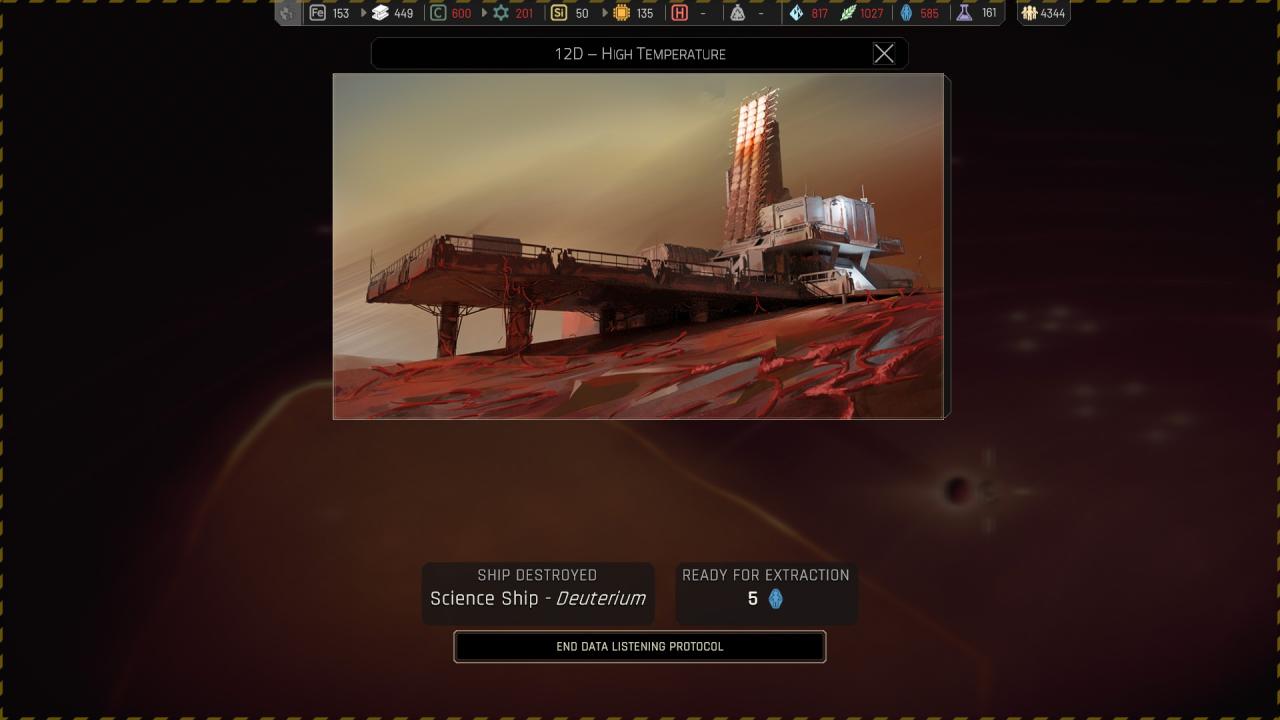
🔒 Establish heavy research infrastructure on the promontory > Save the deuterium :

🔒 Establish heavy research infrastructure on the promontory > Rescue the crew :
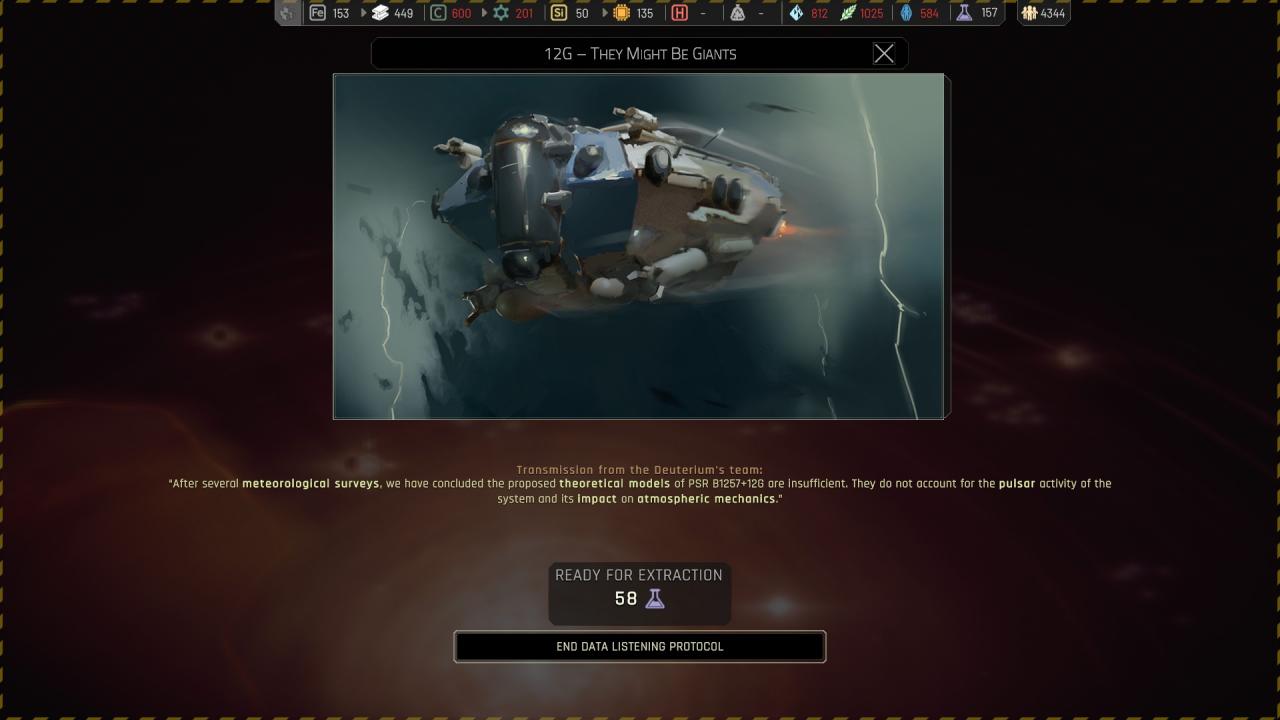
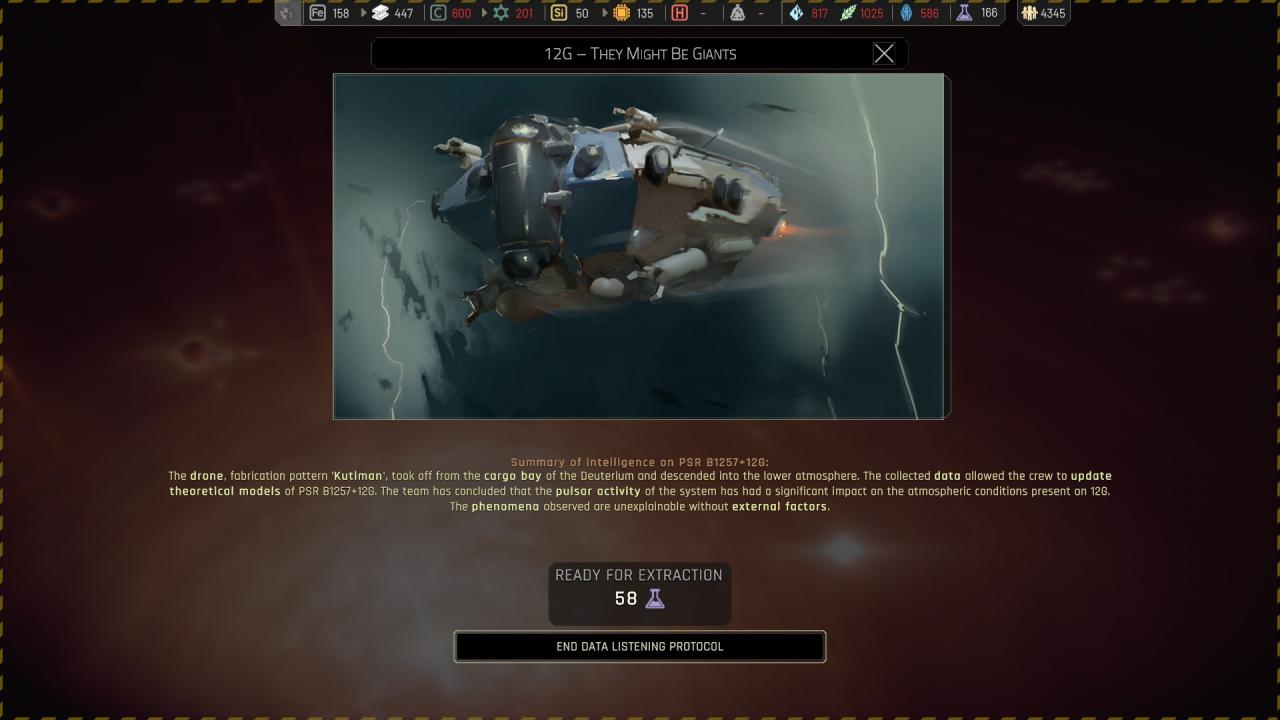
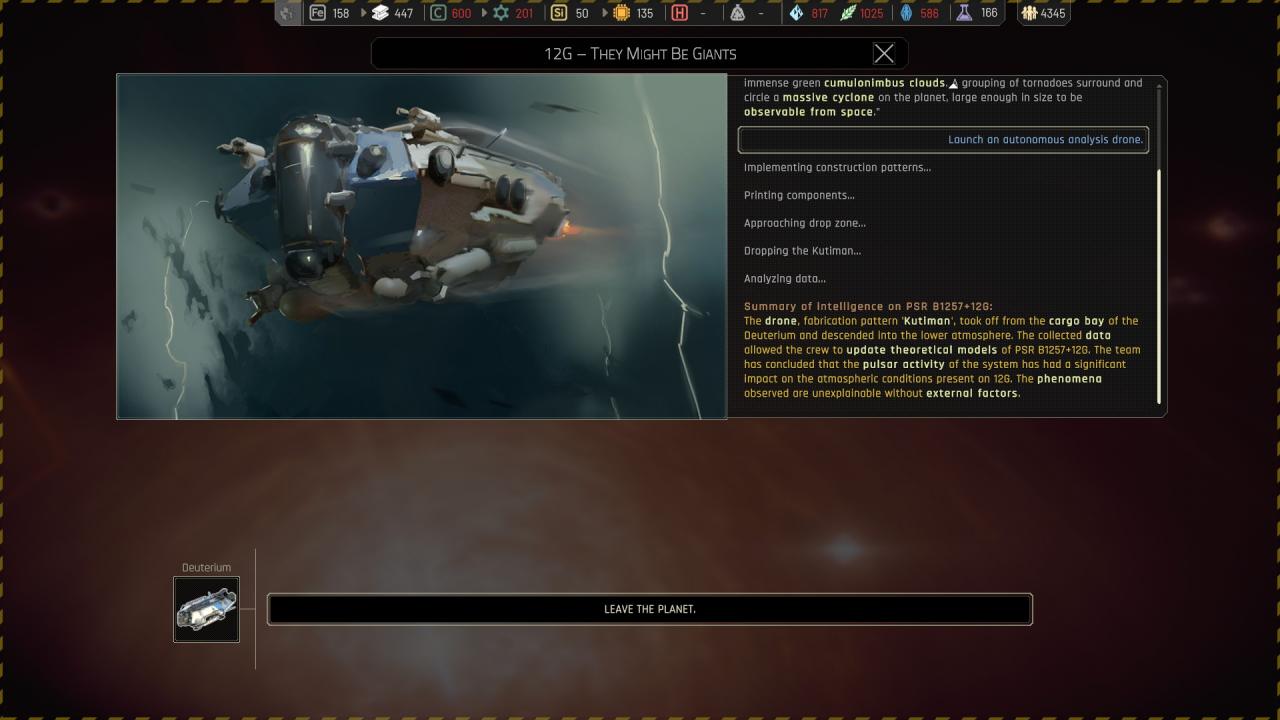
Chapter 4 ({ PSR B1257+12G } 12G – They Might be Giants )
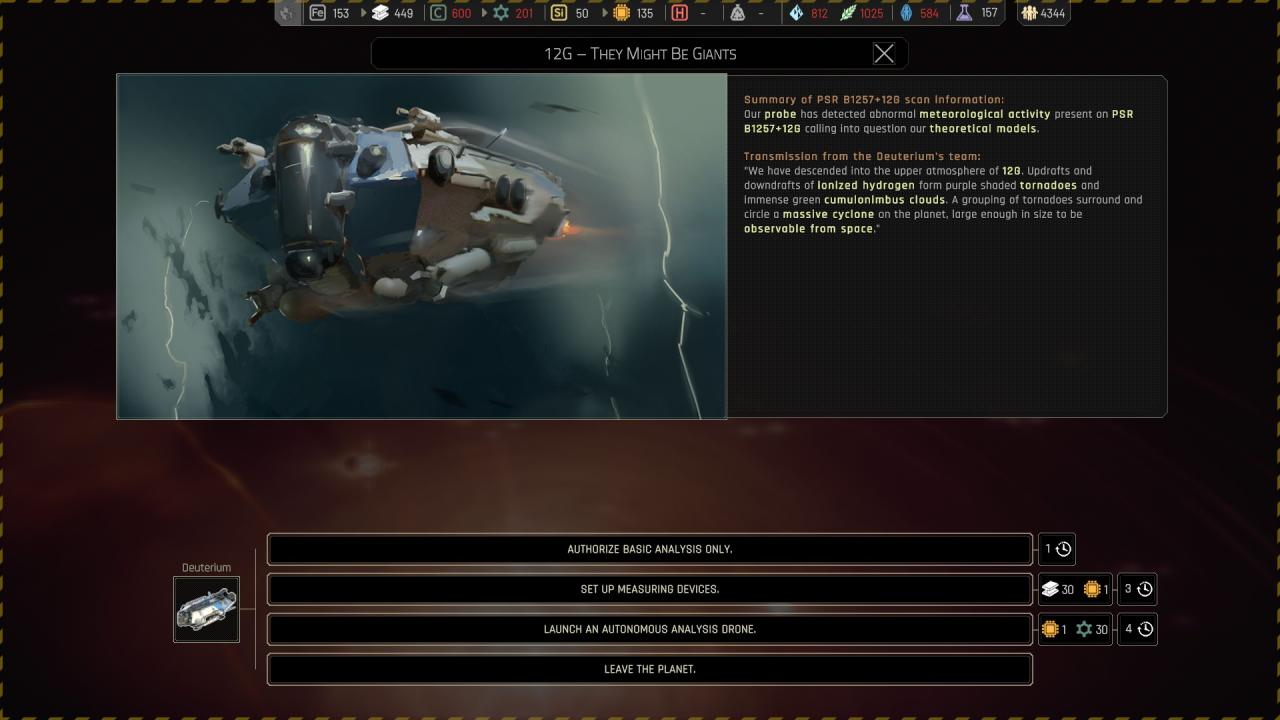
🗘 Authorize basic analysis only :
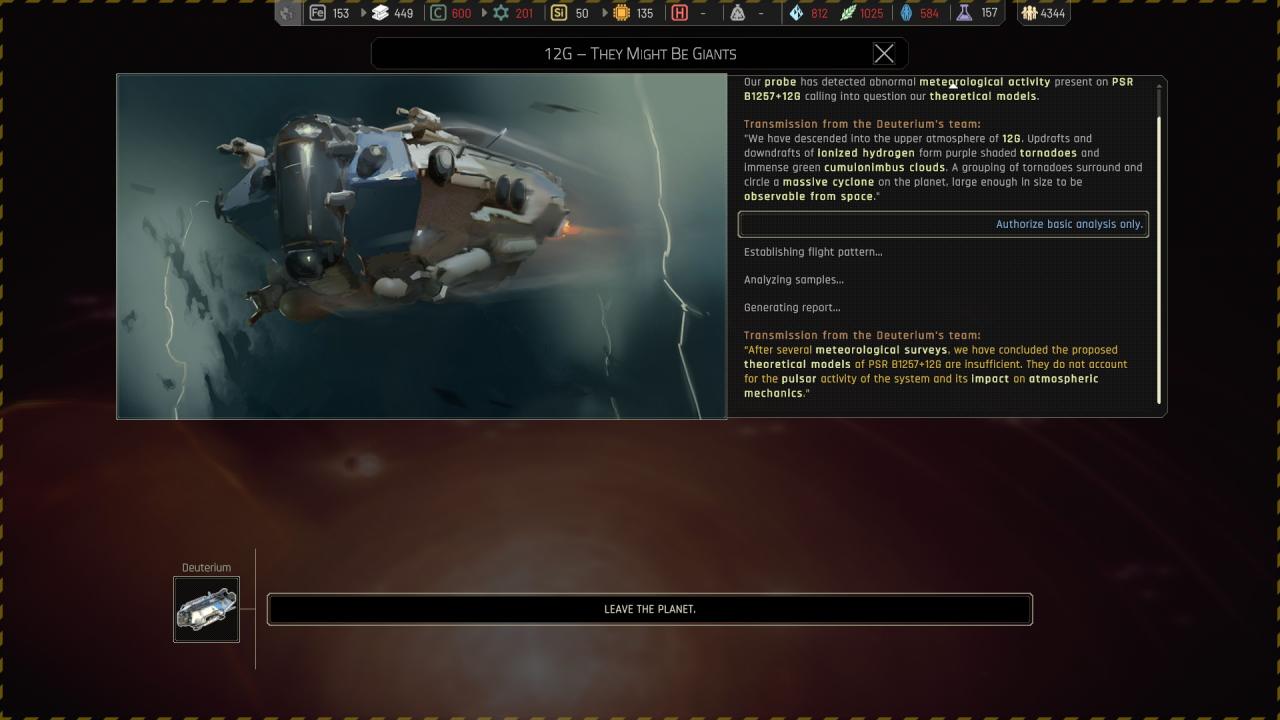
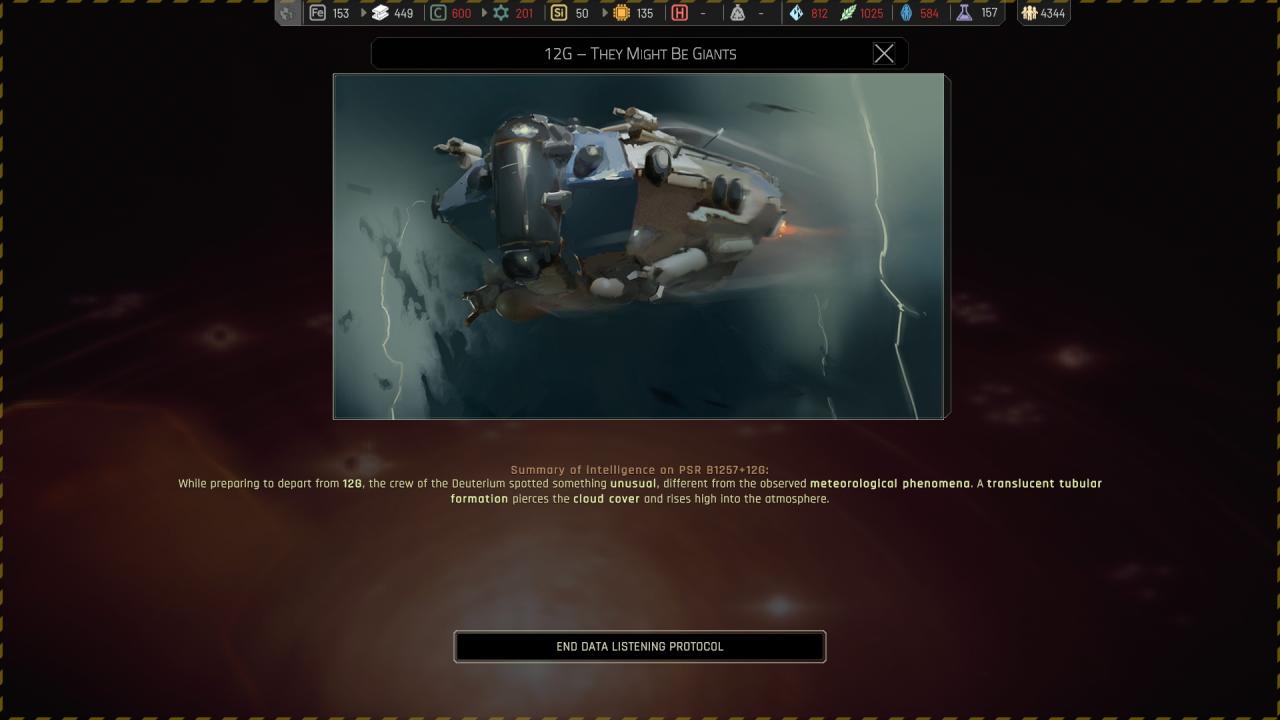
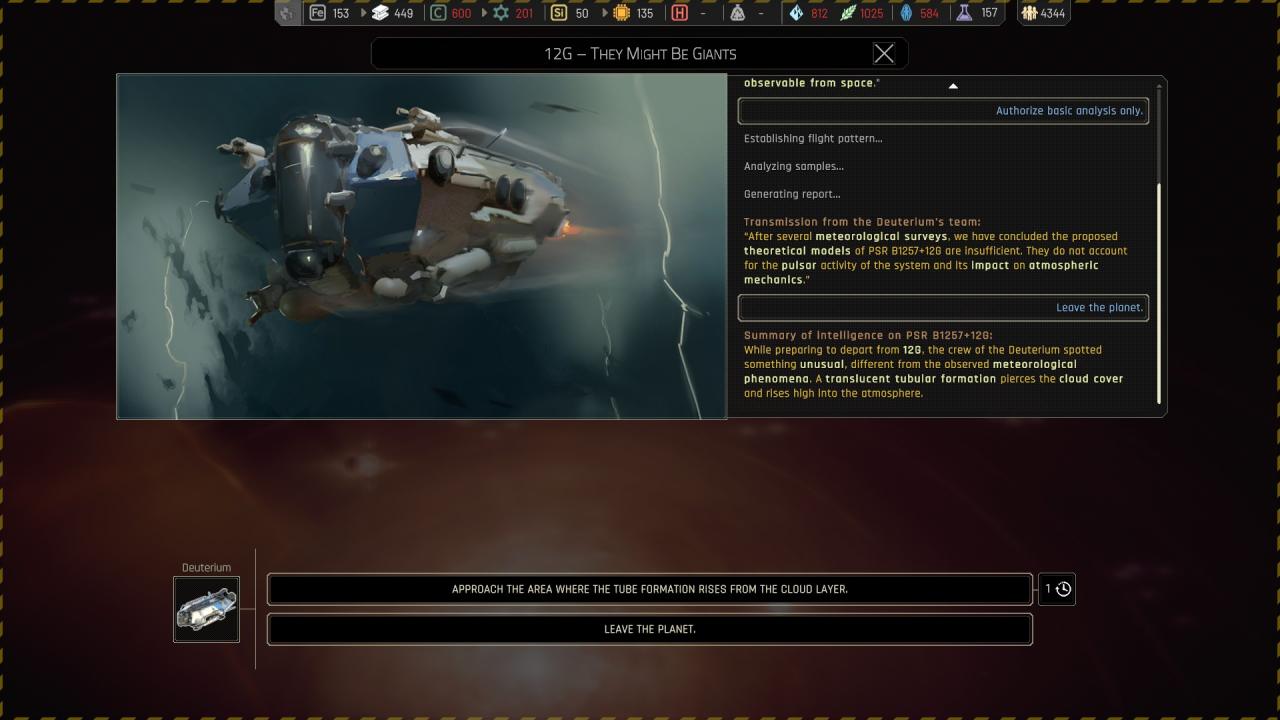
🗘 Authorize basic analysis only > Approach the area where the tube formation rises from the cloud layer :
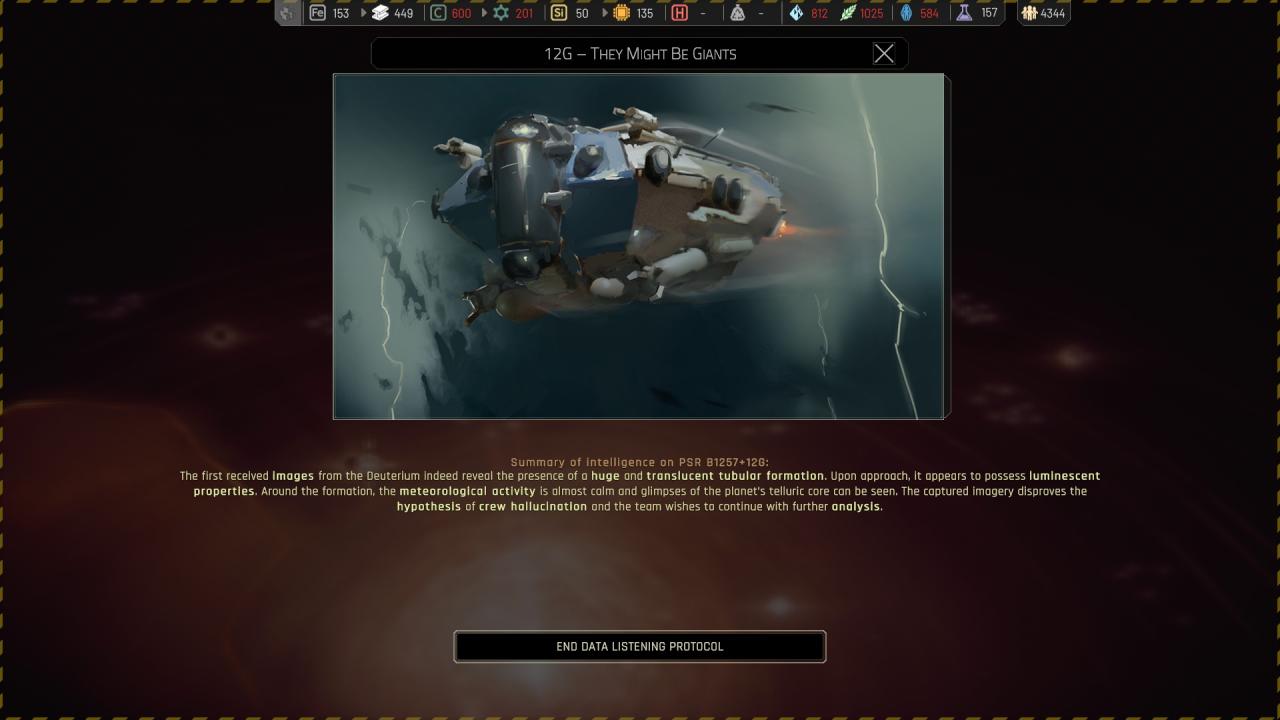
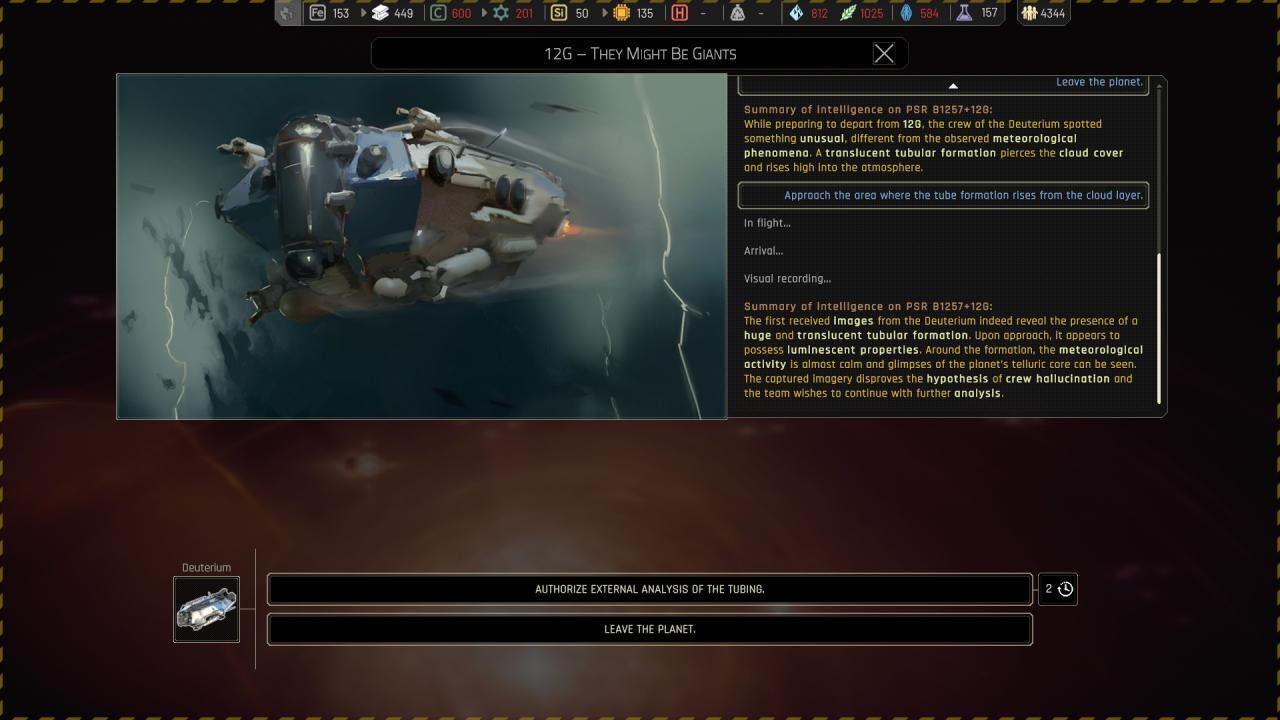
🗘 Approach the area where the tube formation rises from the cloud layer > Authorize analysis of the tubing :
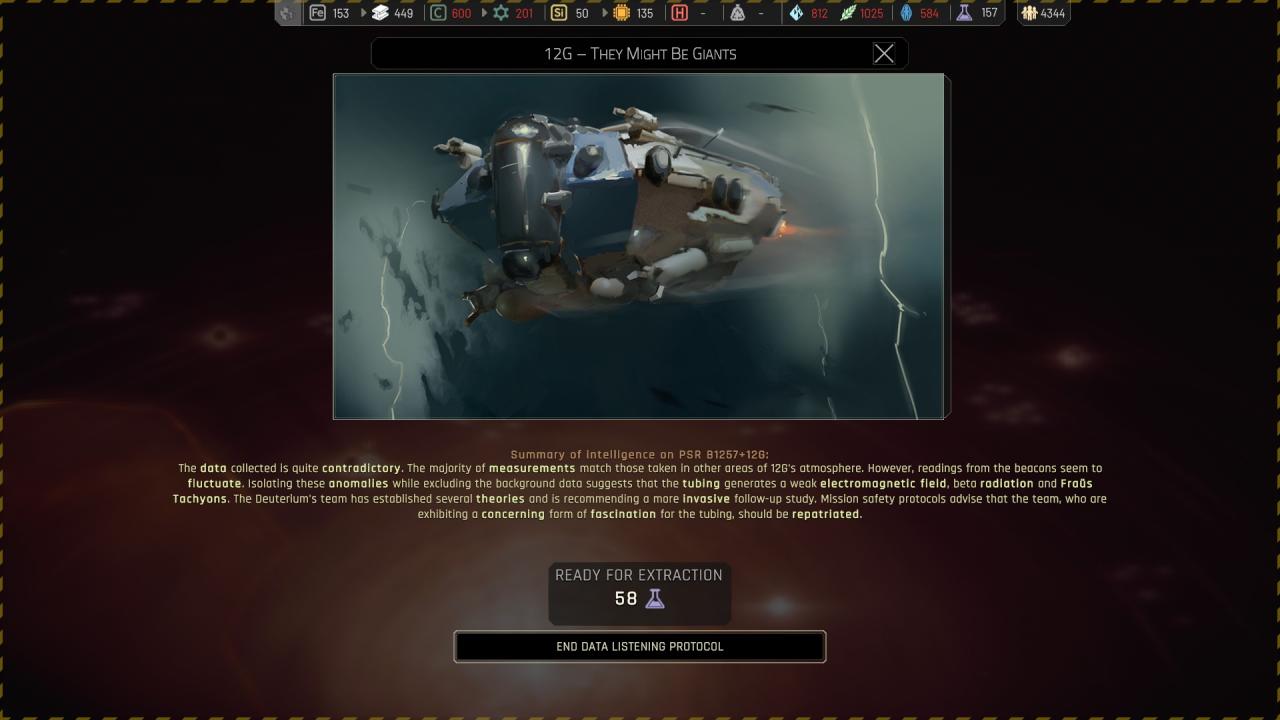
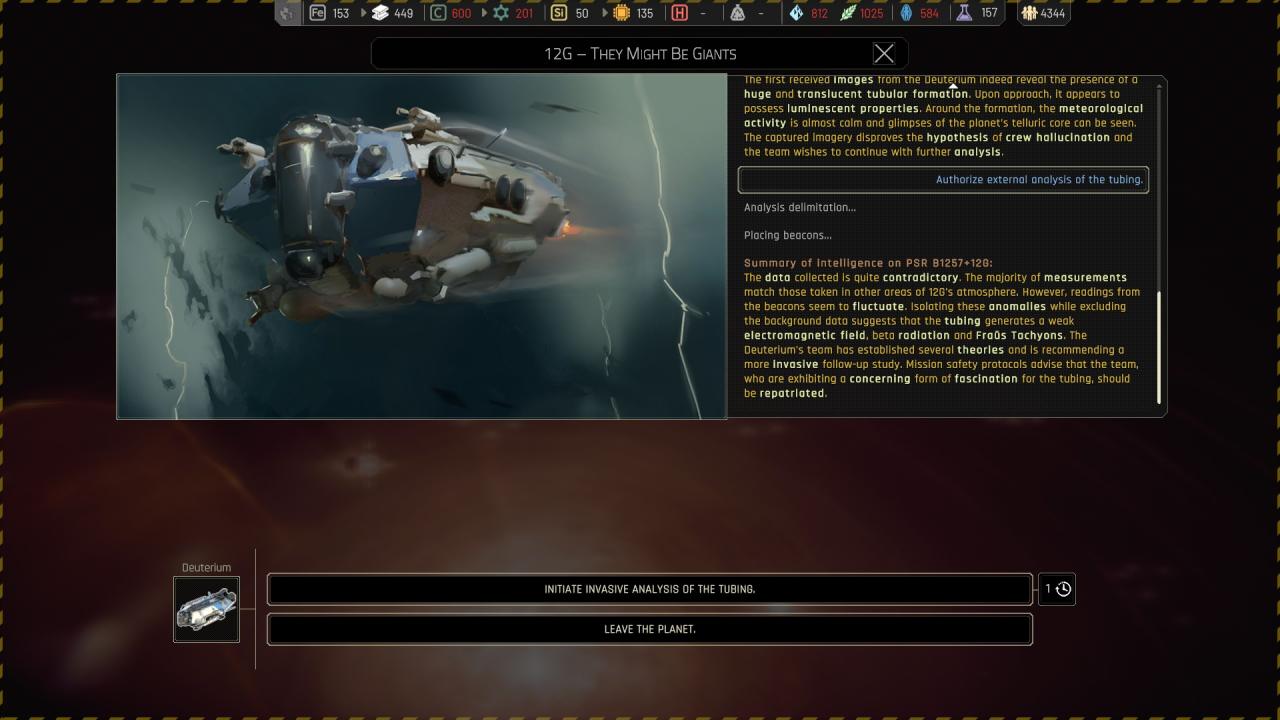
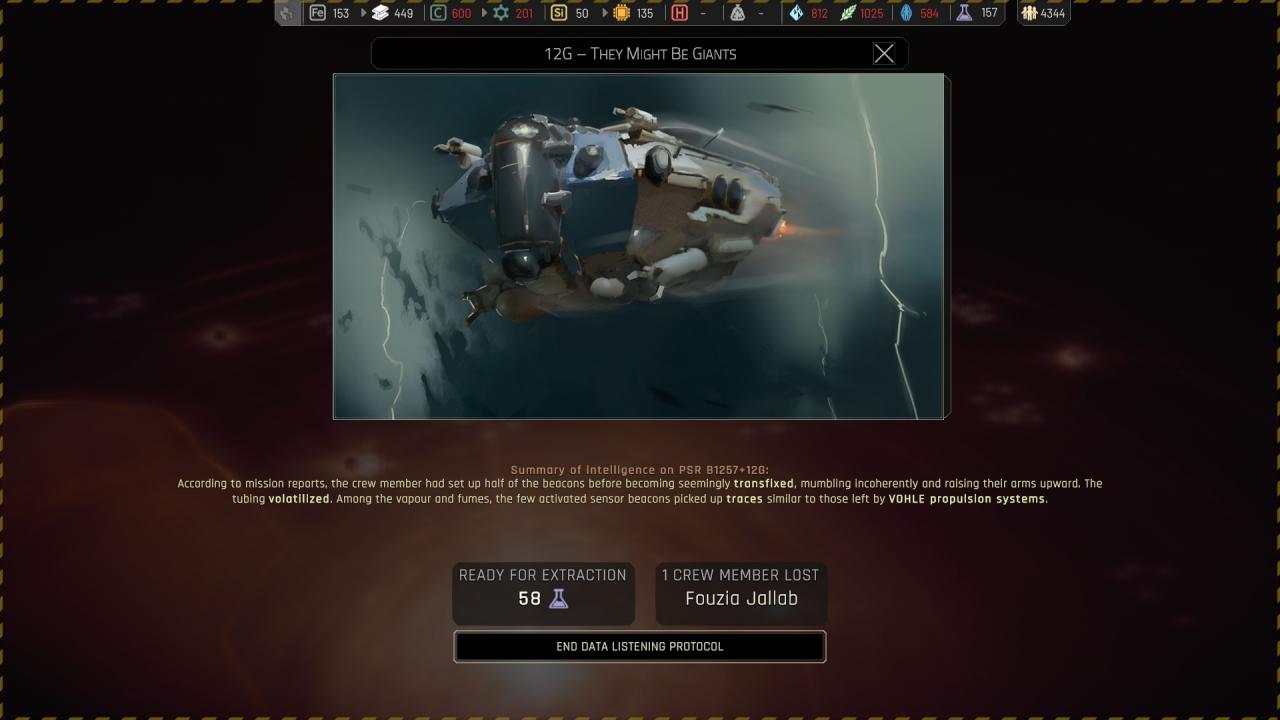
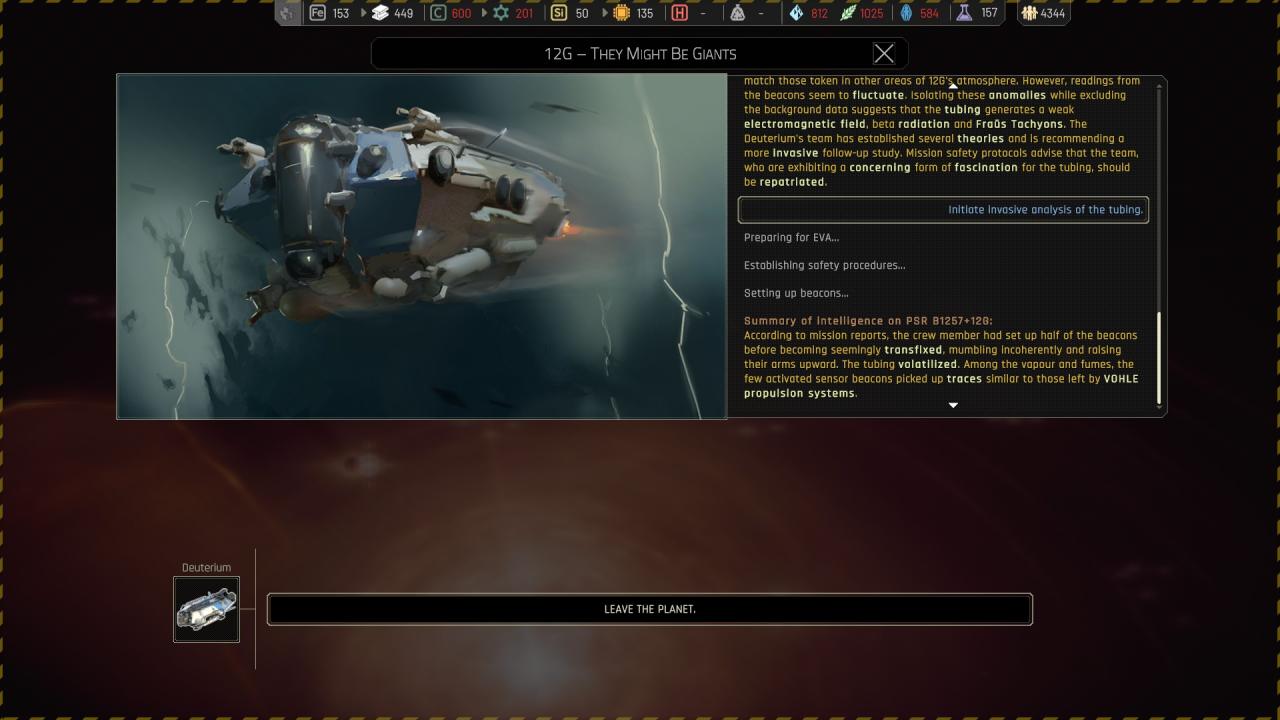
🔒 Authorize analysis of the tubing > Initiate invase analysis of the tubing :
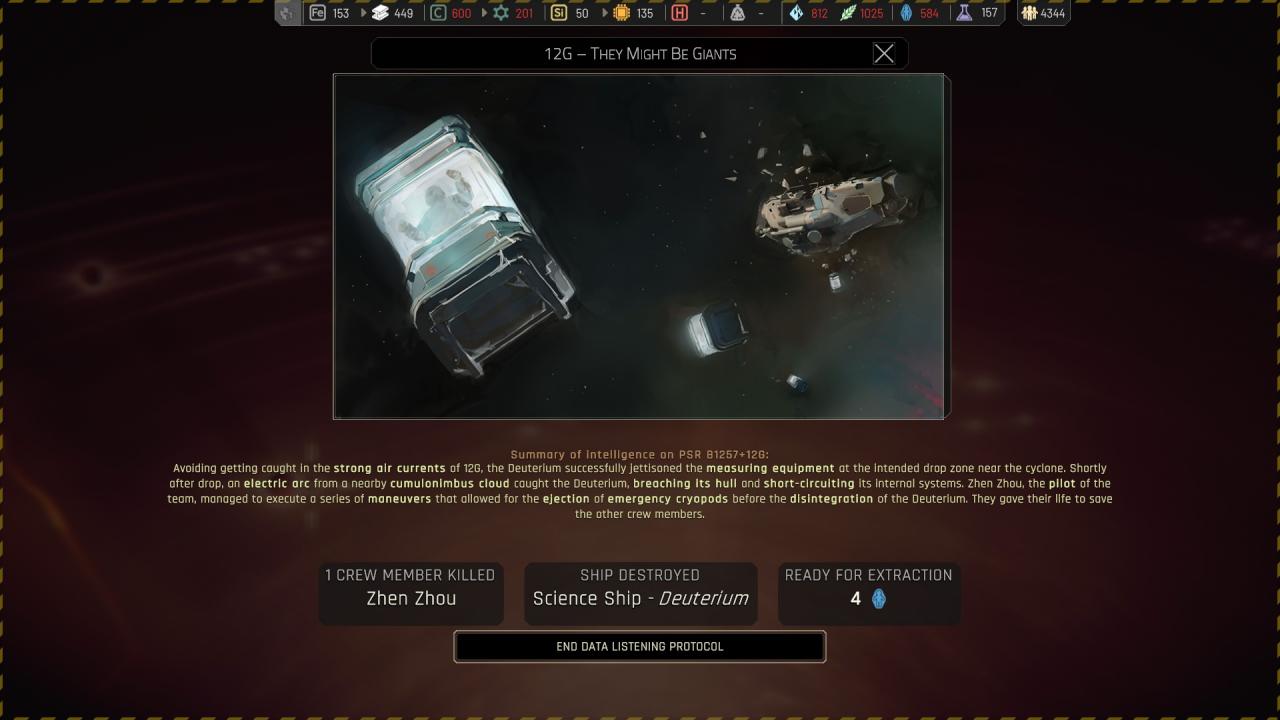
🔒 Set up measuring devices :
🗘 Launch an autonomous analysis drone : ( Lead to above choice )
Chapter 4 ({ PSR B1257+12J } 12J – Reflections )
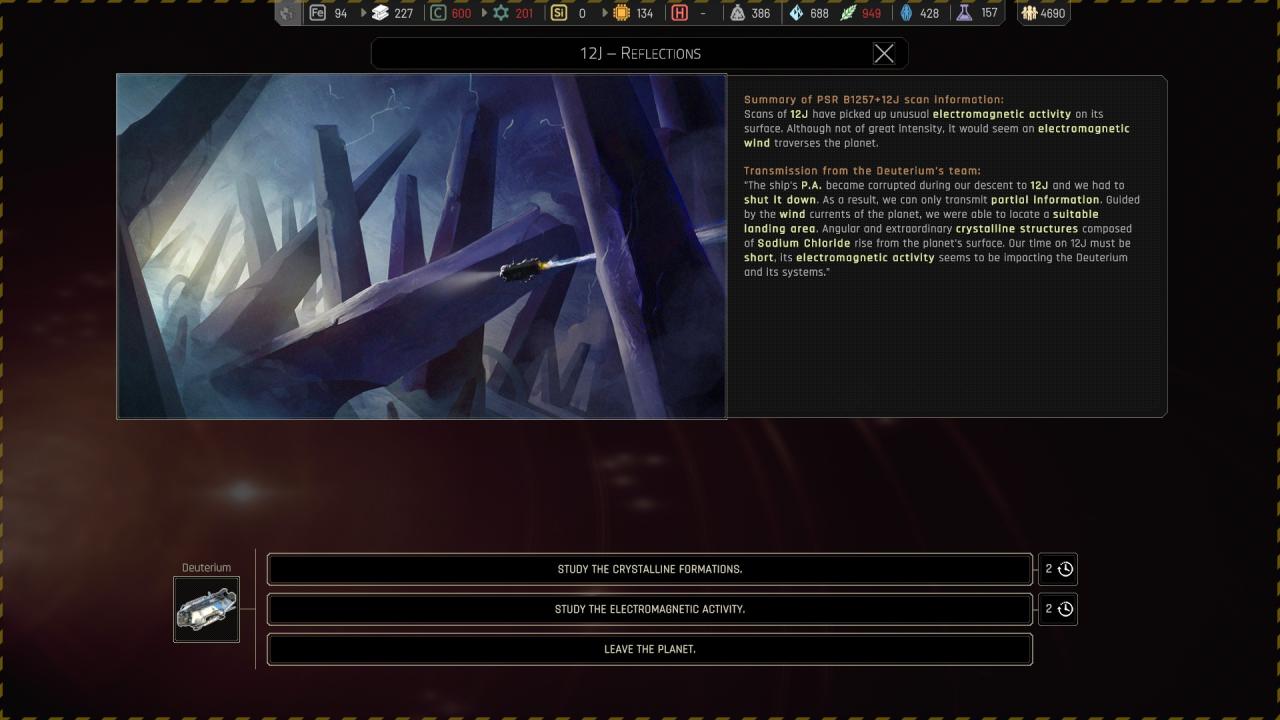
🔒 Study the crystalline formations :
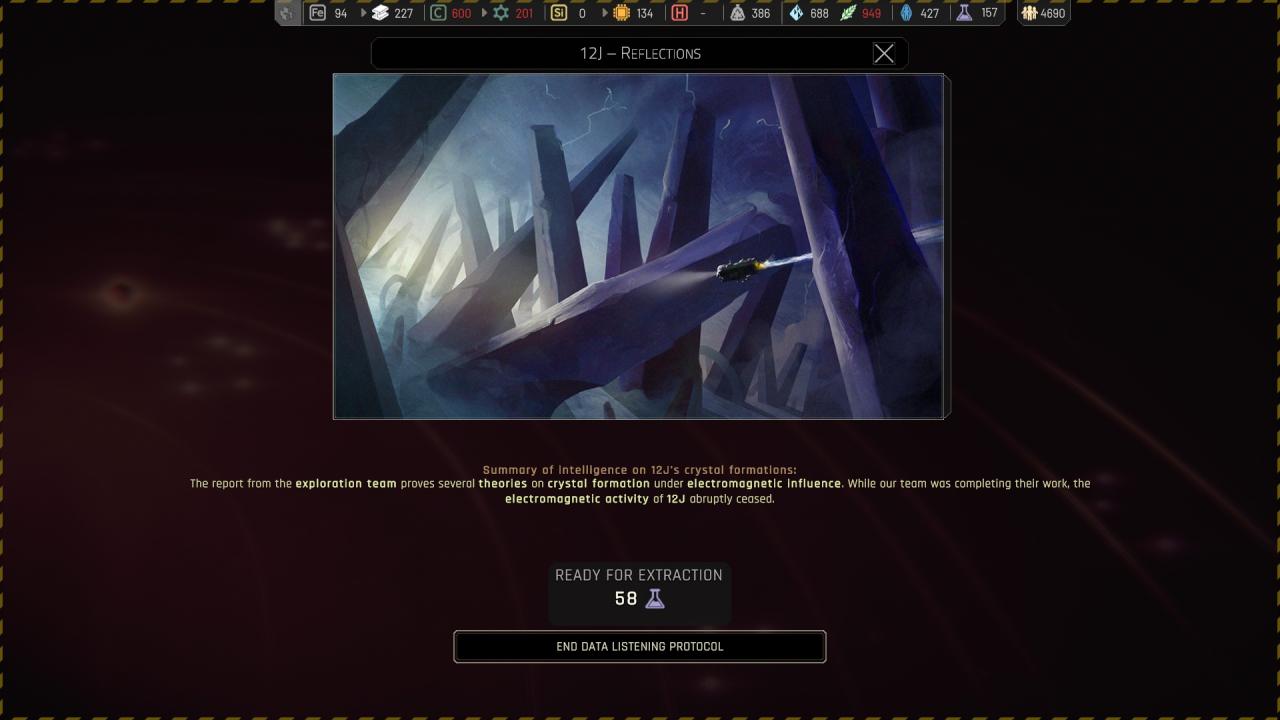

🗘 Study the electromagnetic activity :

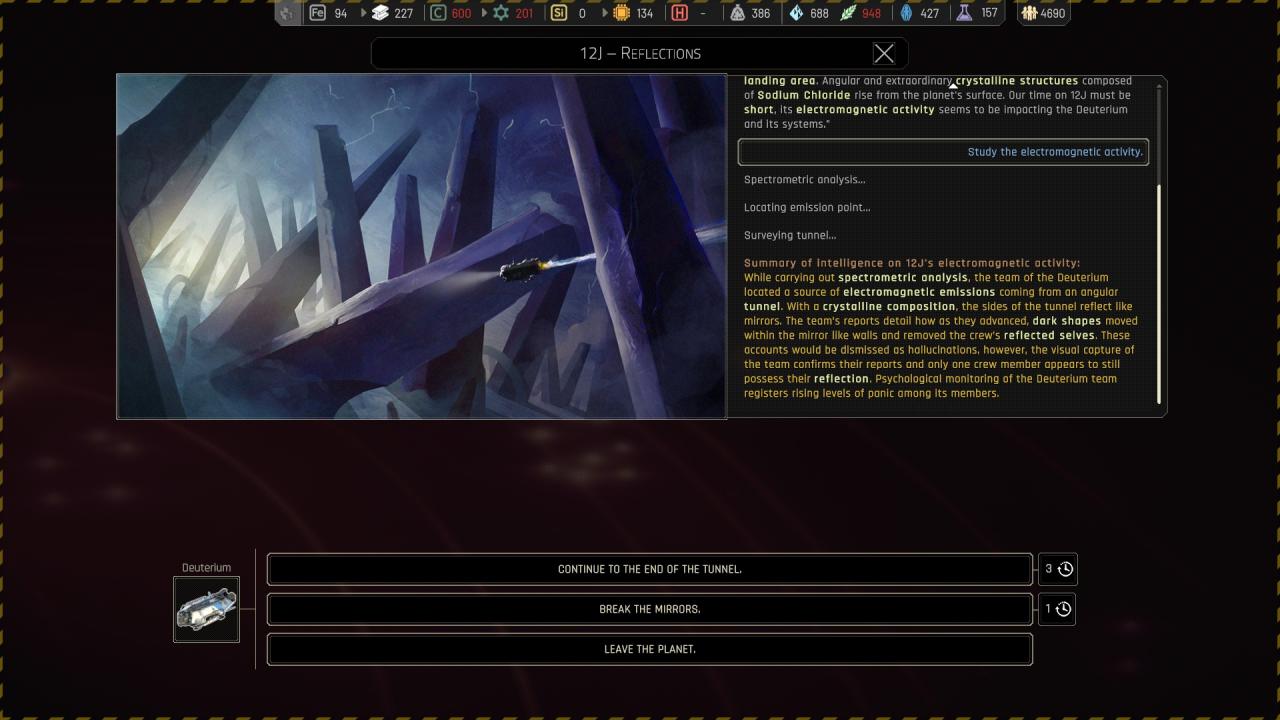
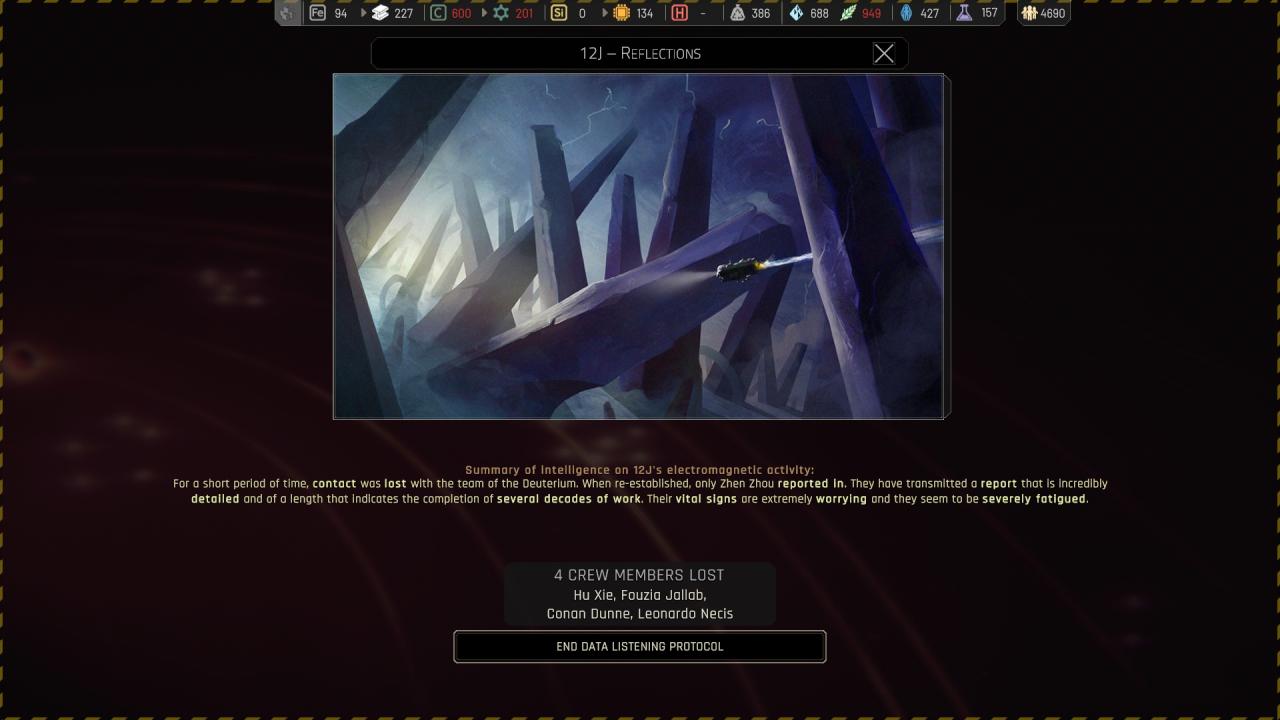
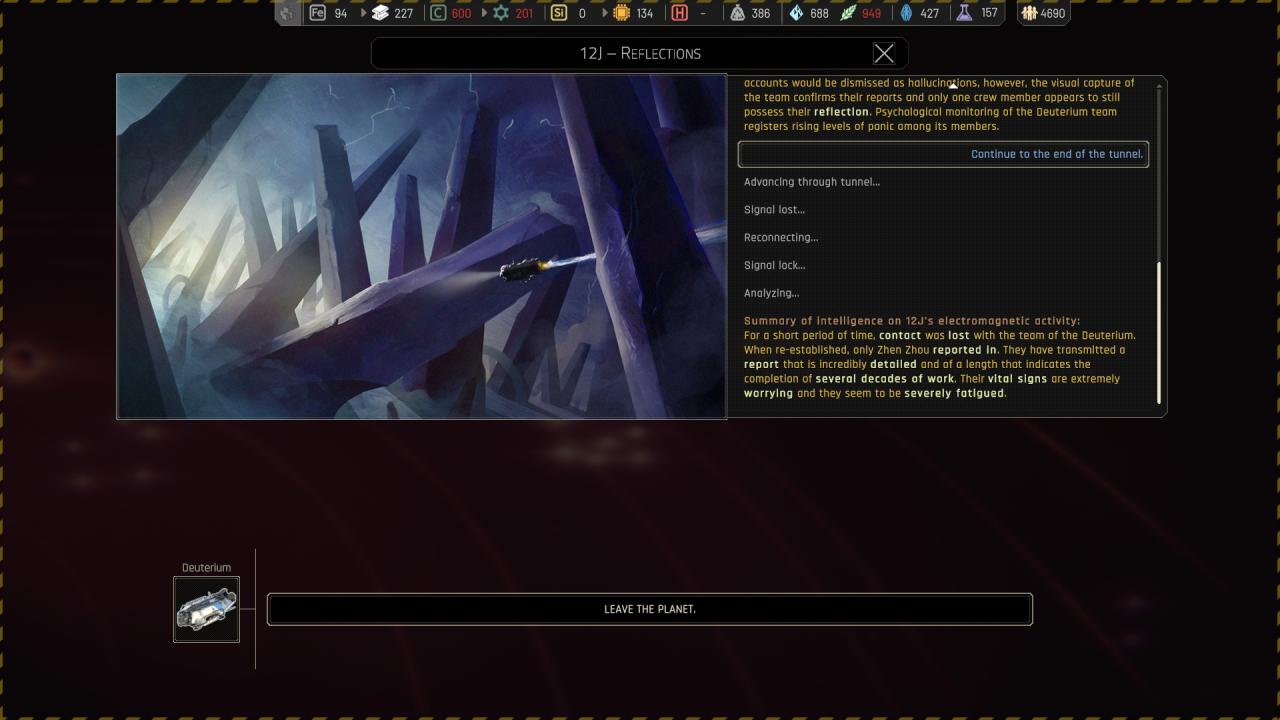
🔒 Study the electromagnetic activity > Continue to the end of the tunnel :
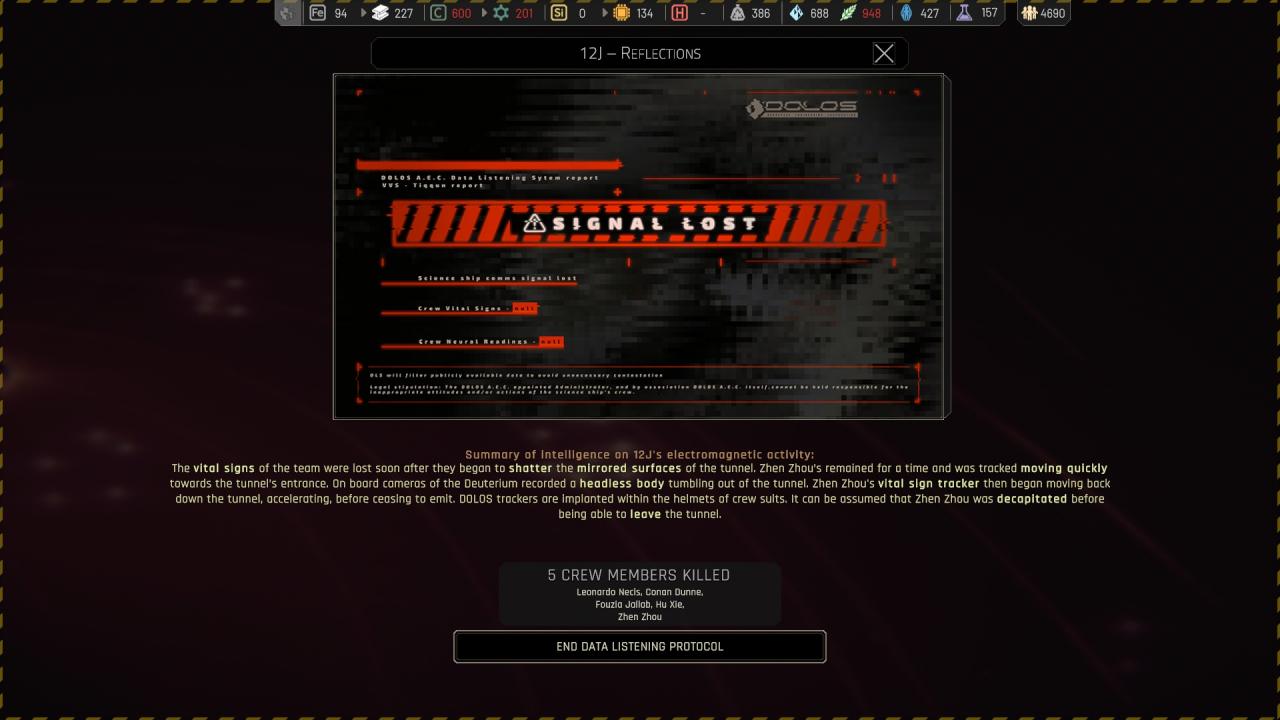
🗘 Study the electromagnetic activity : Break the mirrors :
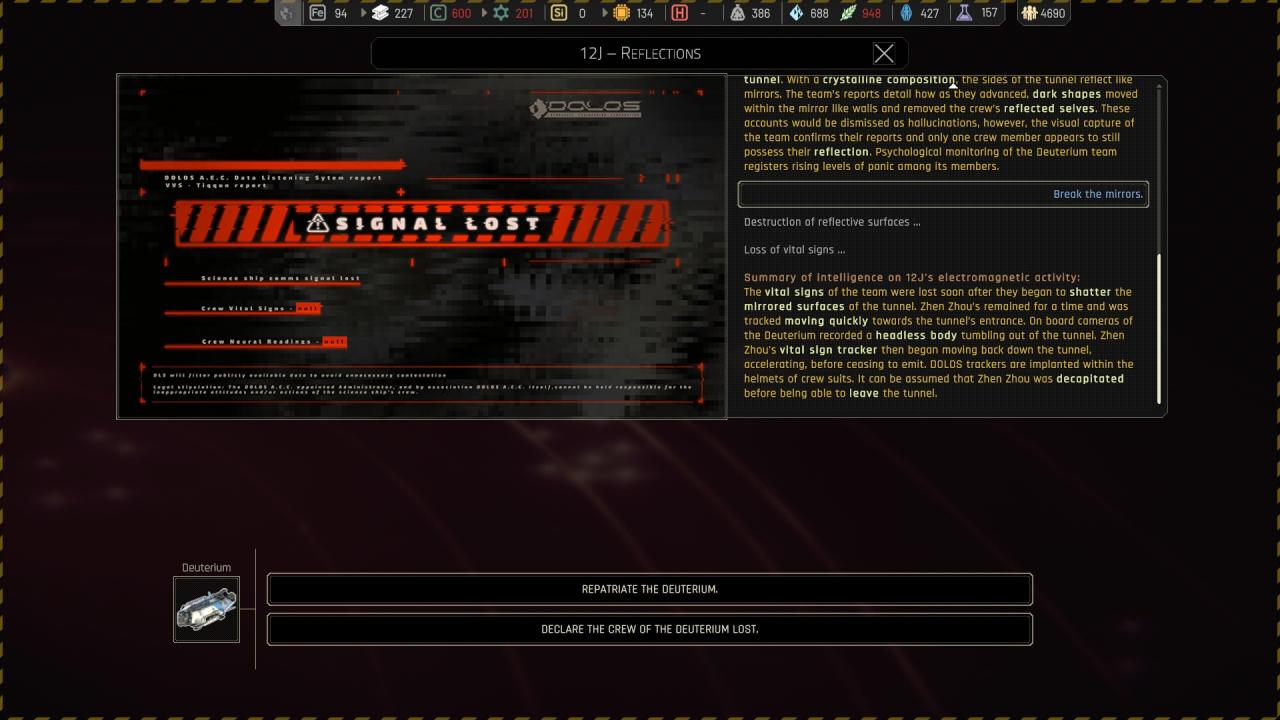
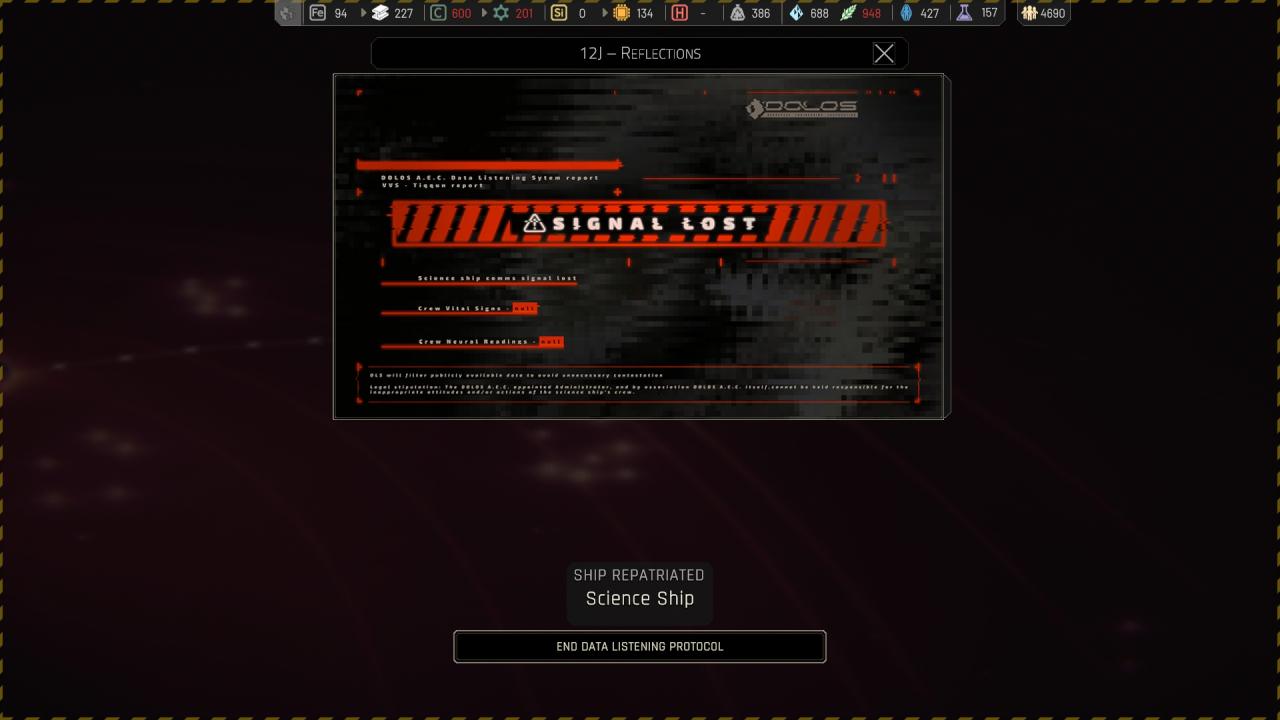
🔒 Break the mirrors > Repatriate the deuterium :
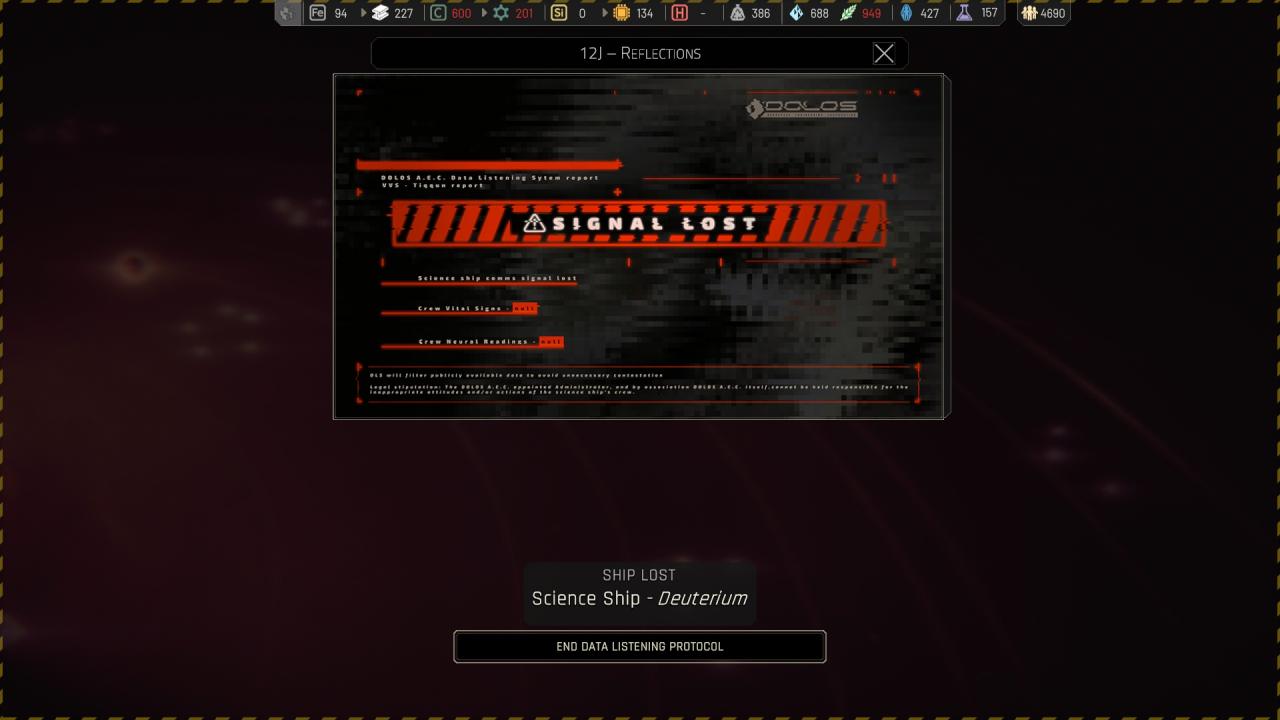
🔒 Break the mirrors > Declare the crew of the deuterium lost :
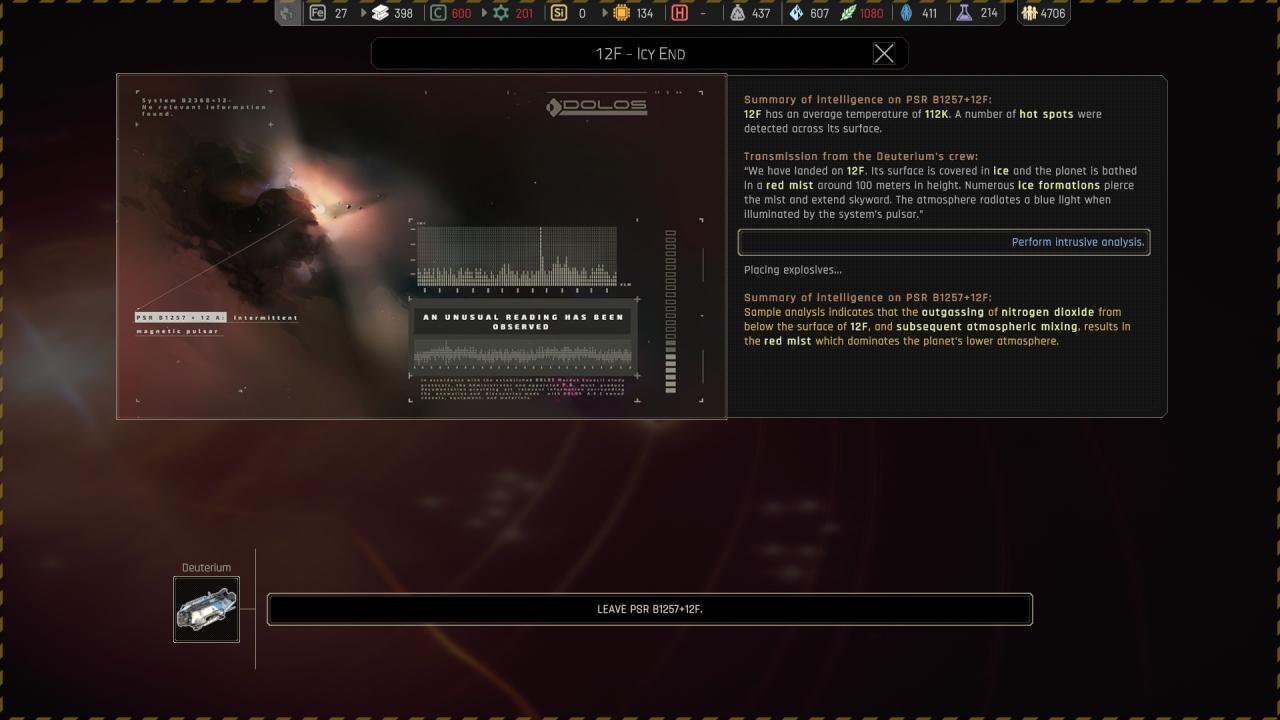
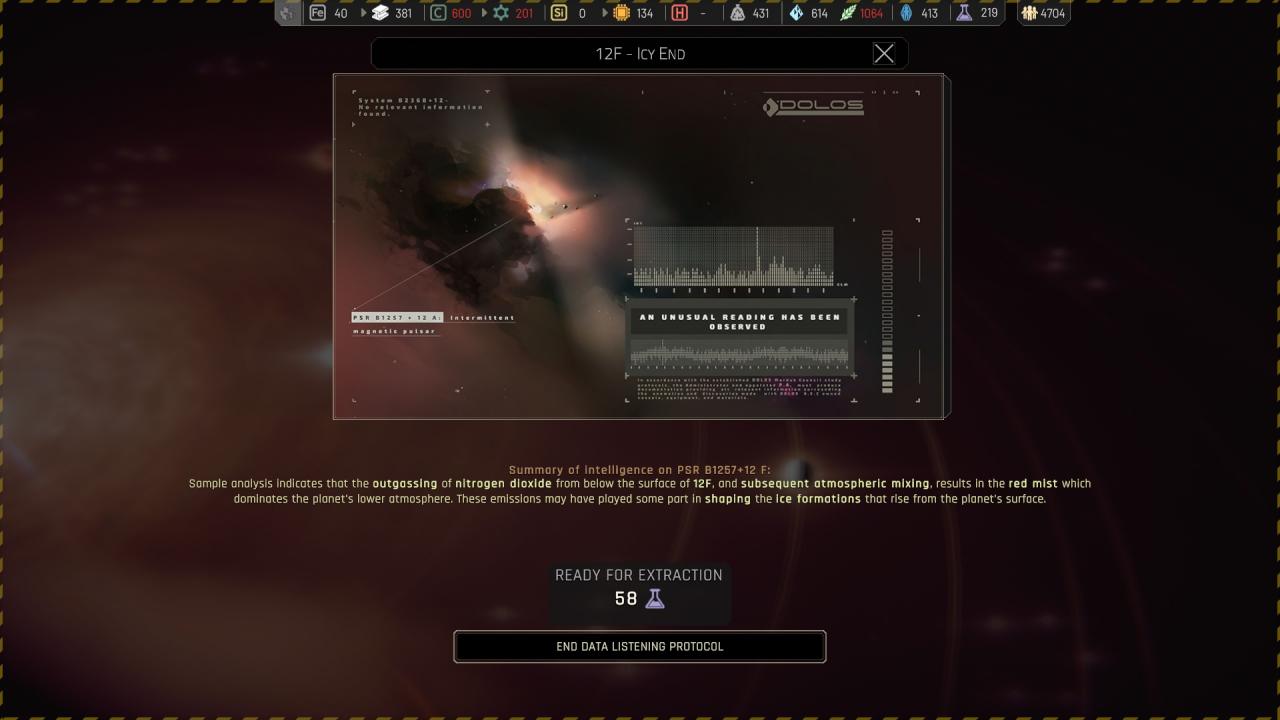
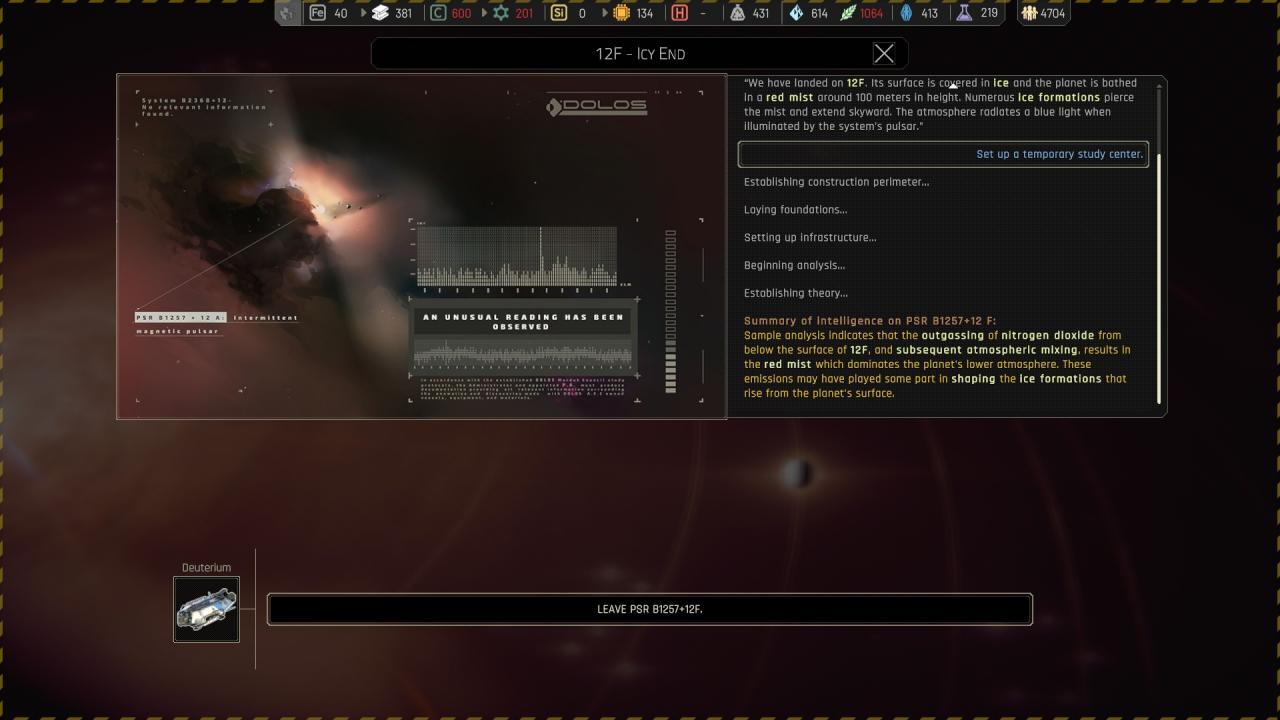
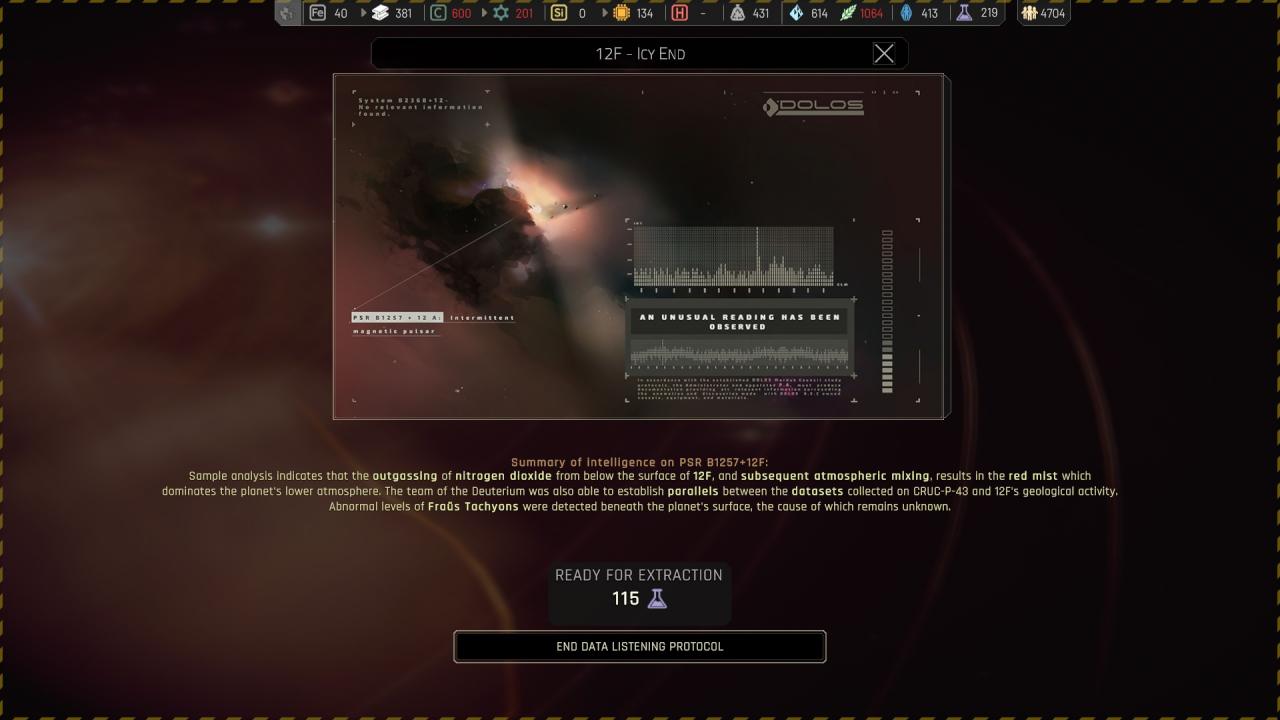
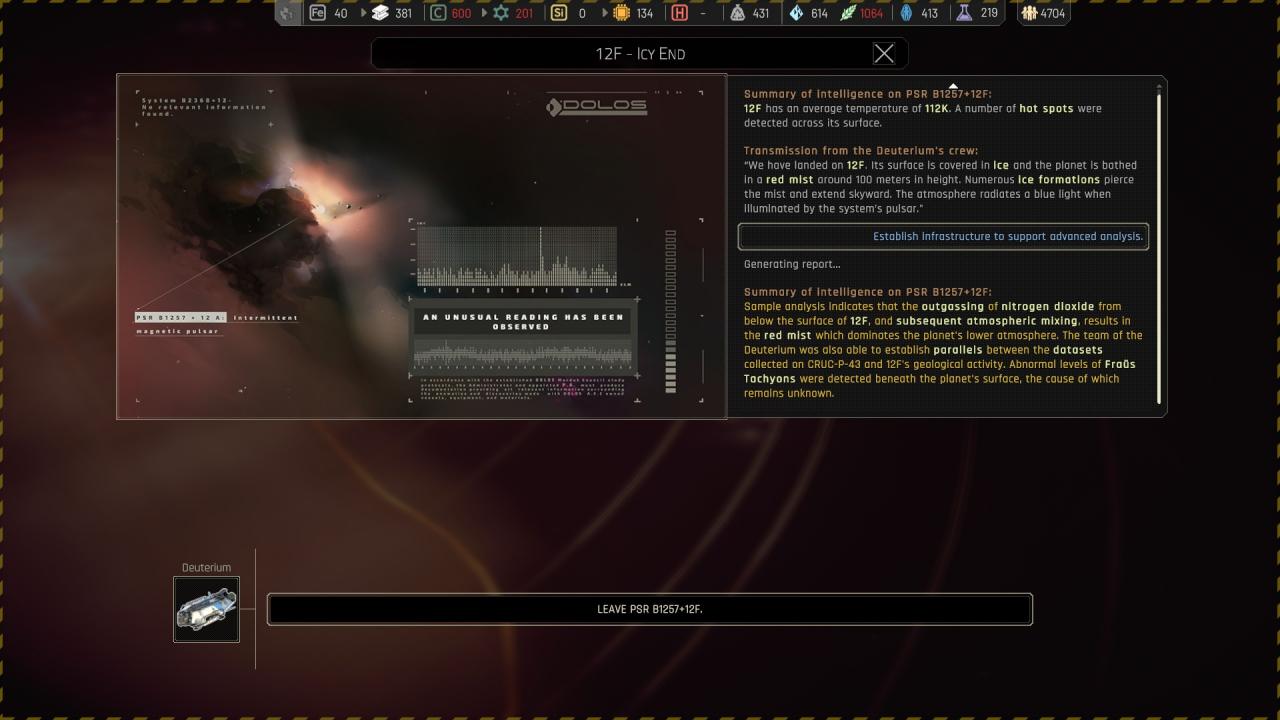
Chapter 4 ({ PSR B1257+12F } 12F – Icy end )
On Chapter 4 ({ PSR B1257+12F } 12F – Icy end ), if a crew member got swallowed by the sphere on CRUC-P-43, you can pick up a signal on the planet and look for this person as an extra option.
🏆
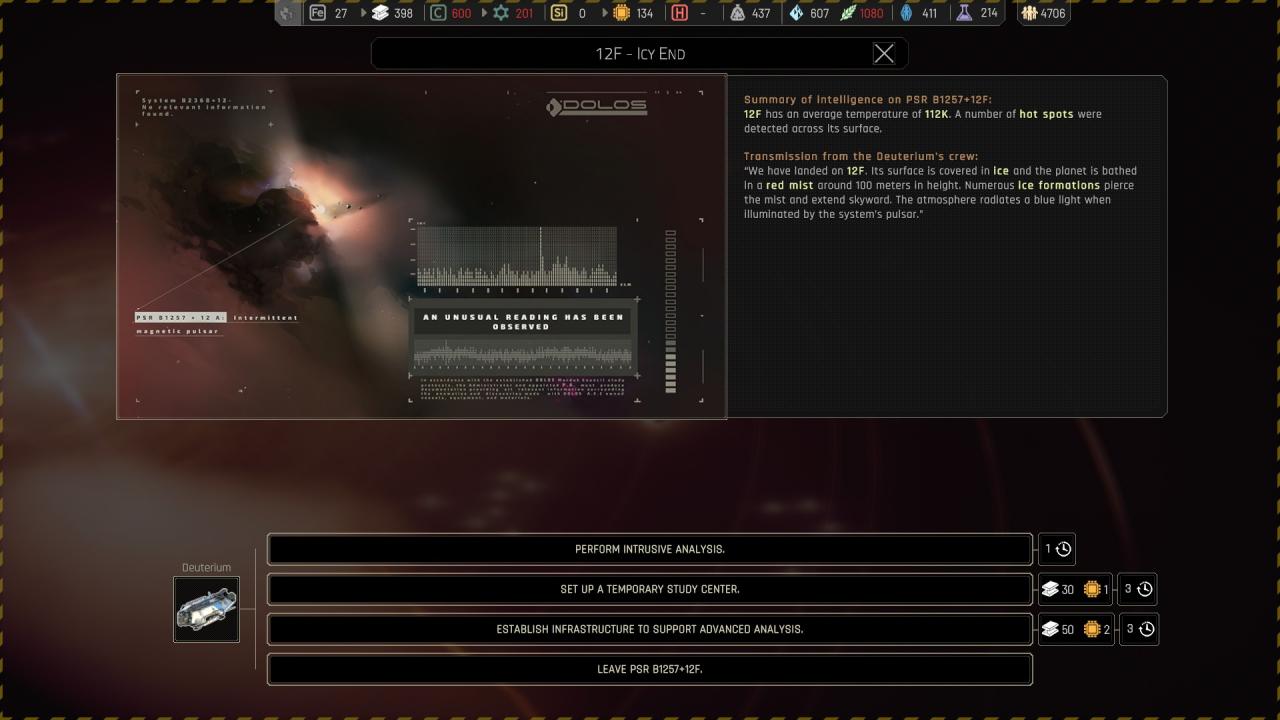
🔒 Perform intrusive analysis :
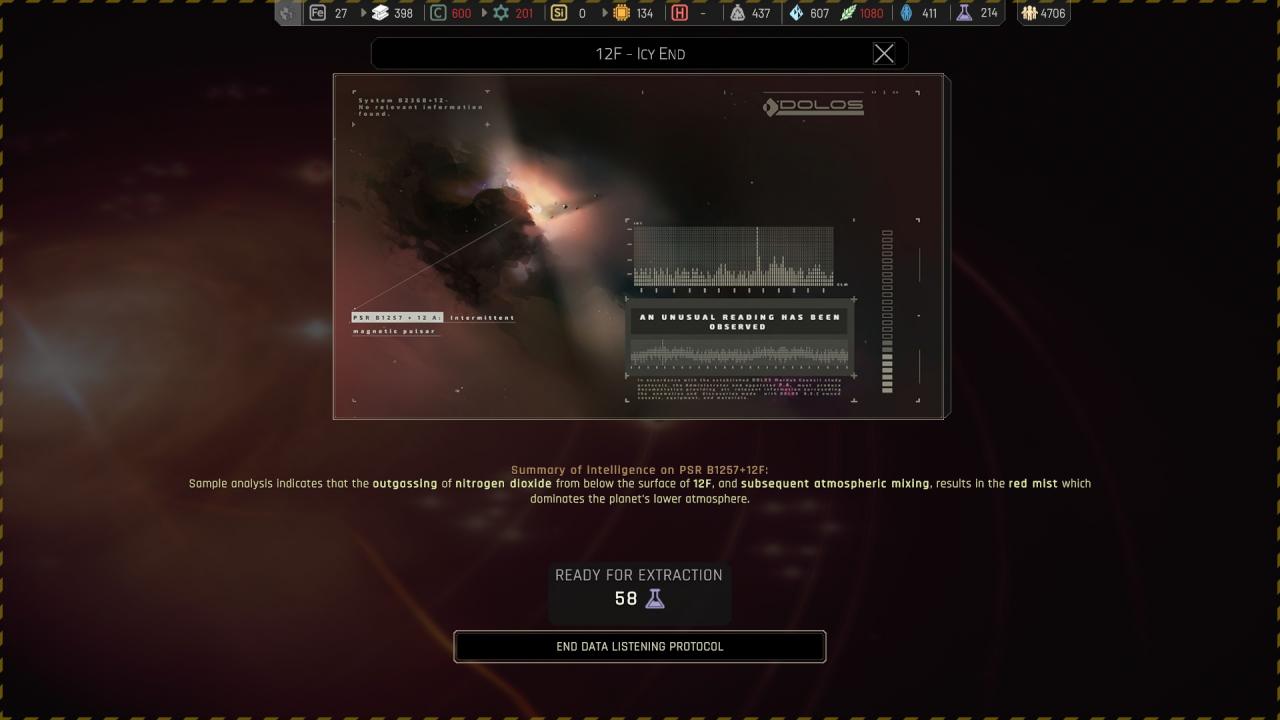
🔒 Set up a temporary study center :
🔒 Establish infrastructure to support advanced analysis :
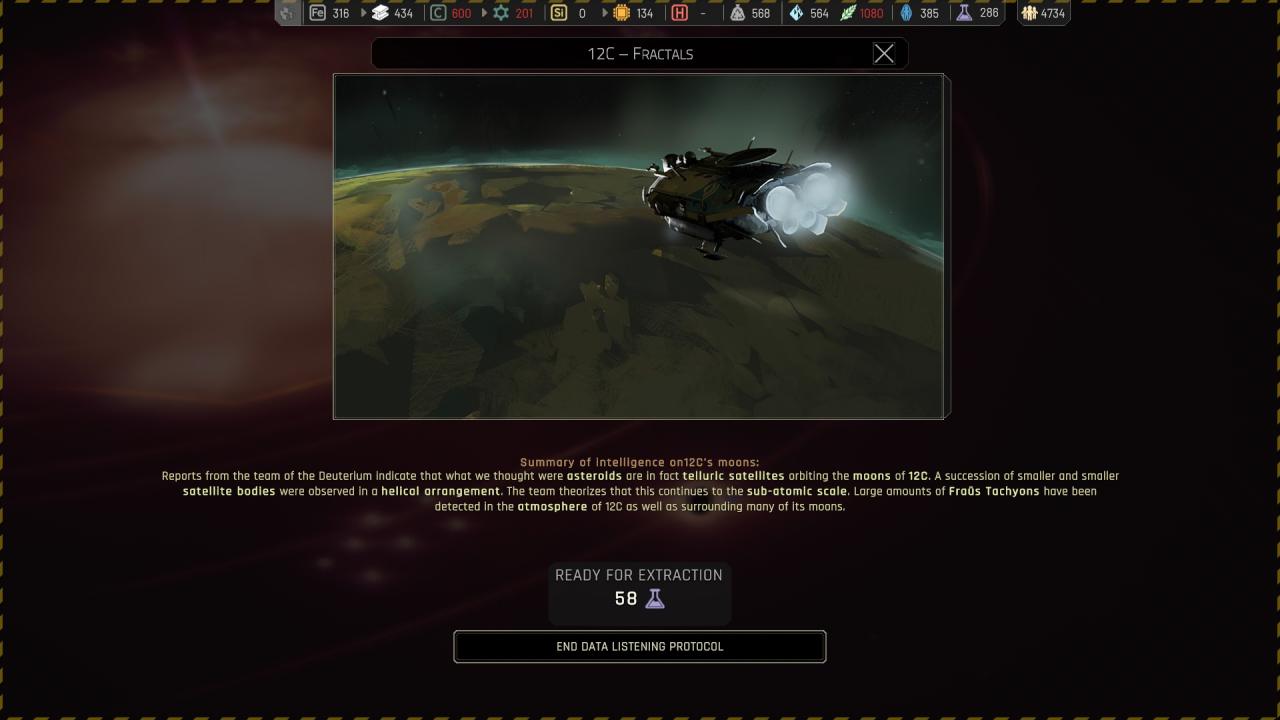
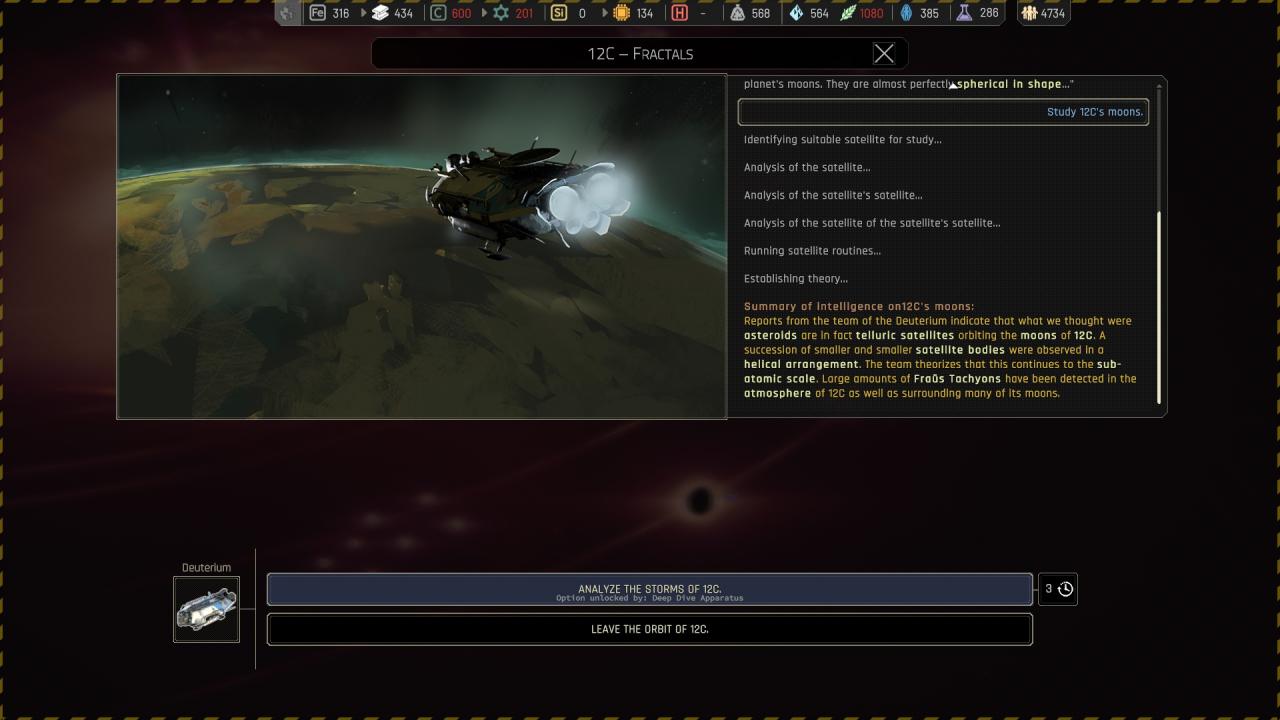
Chapter 4 ({ PSR B1257+12C } 12C – Fractals )
If you retrieve the crew in the orange suit and then send the ship back to the station, a station event will be available with additional story text and 3 more options.
One kills the crew in exchange for some science research points (something around 6-10, don’t remember exactly), the other puts the crew to the hospital and nothing yet latter. I haven’t tested 3rd option.
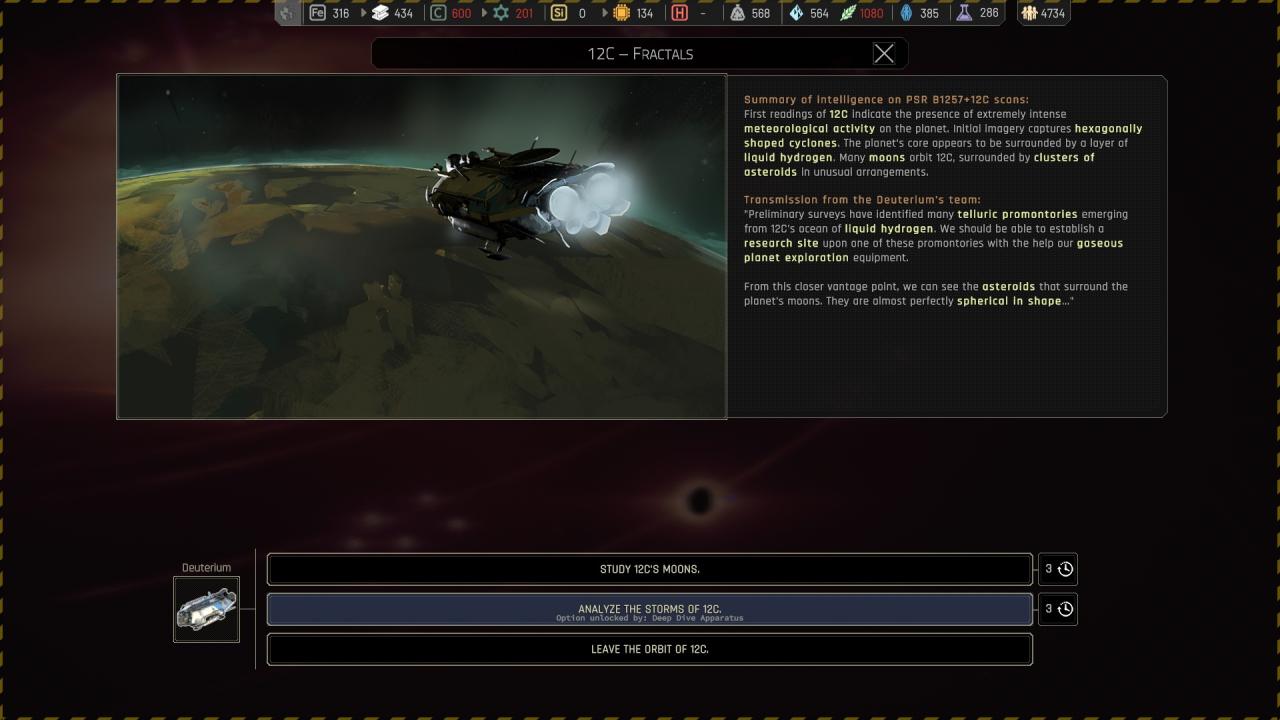
🗘 Study 12C’s moons :
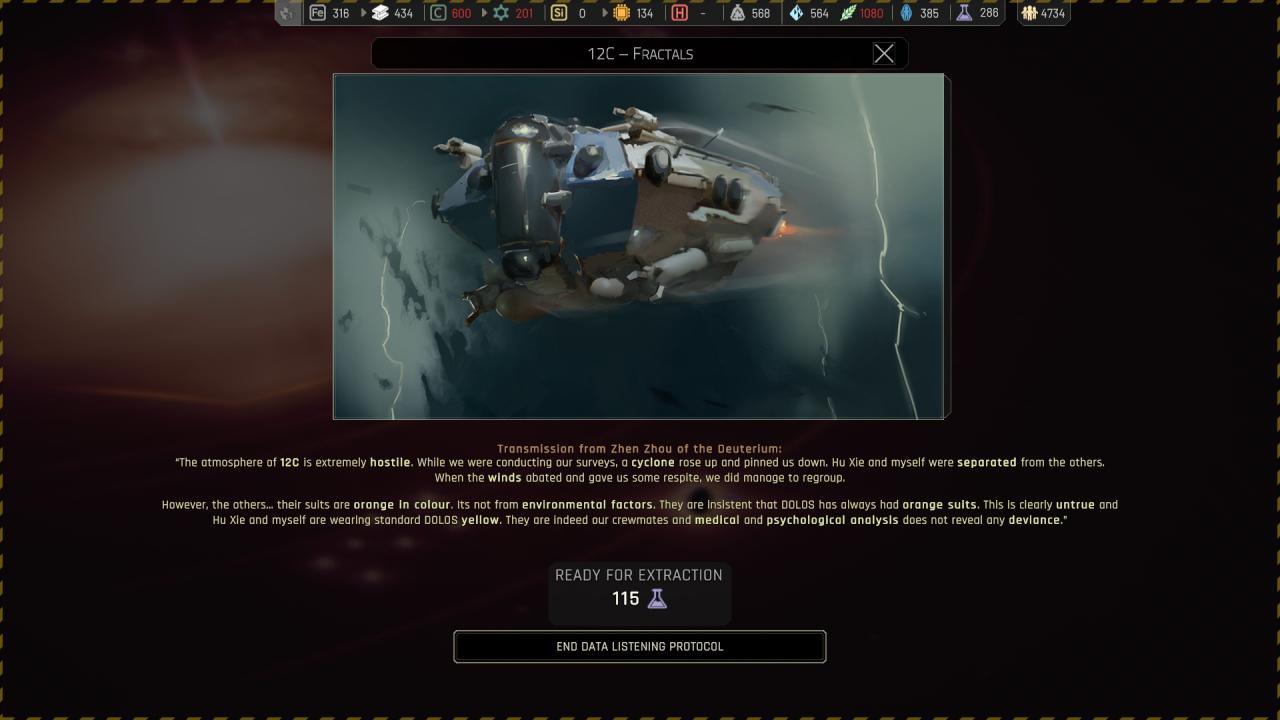
🗘 Analyze the storms of 12C :
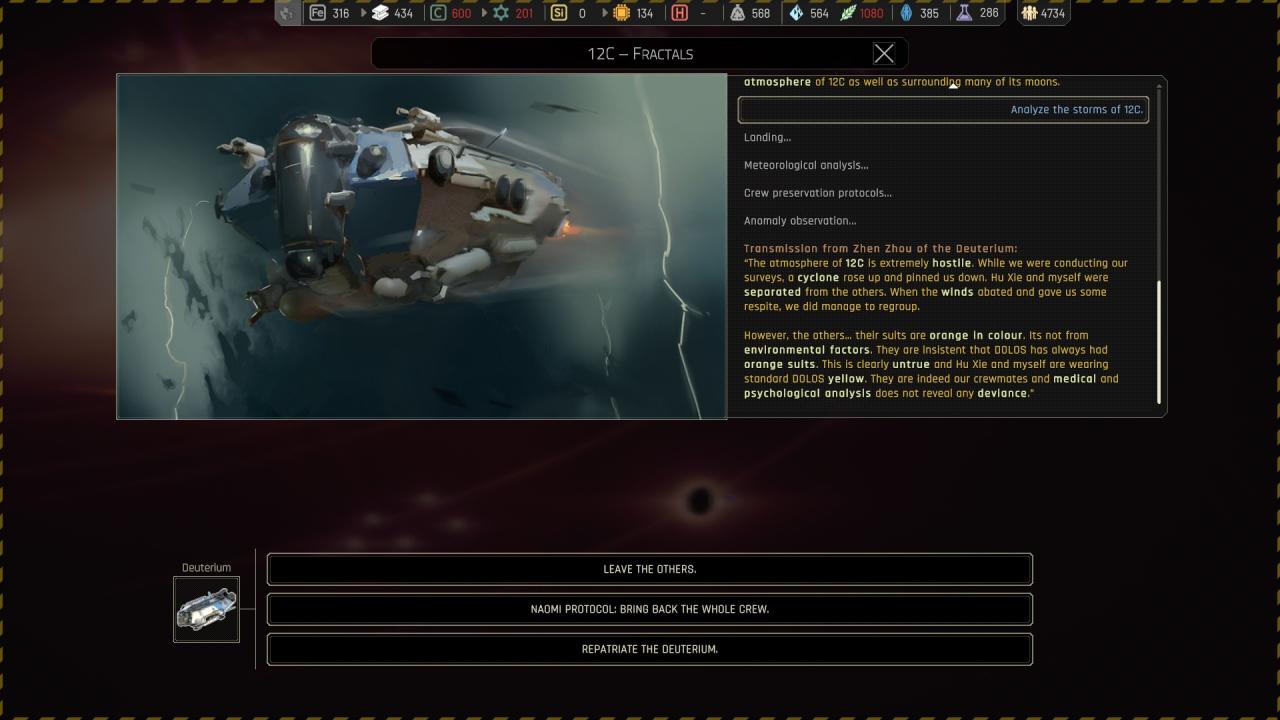
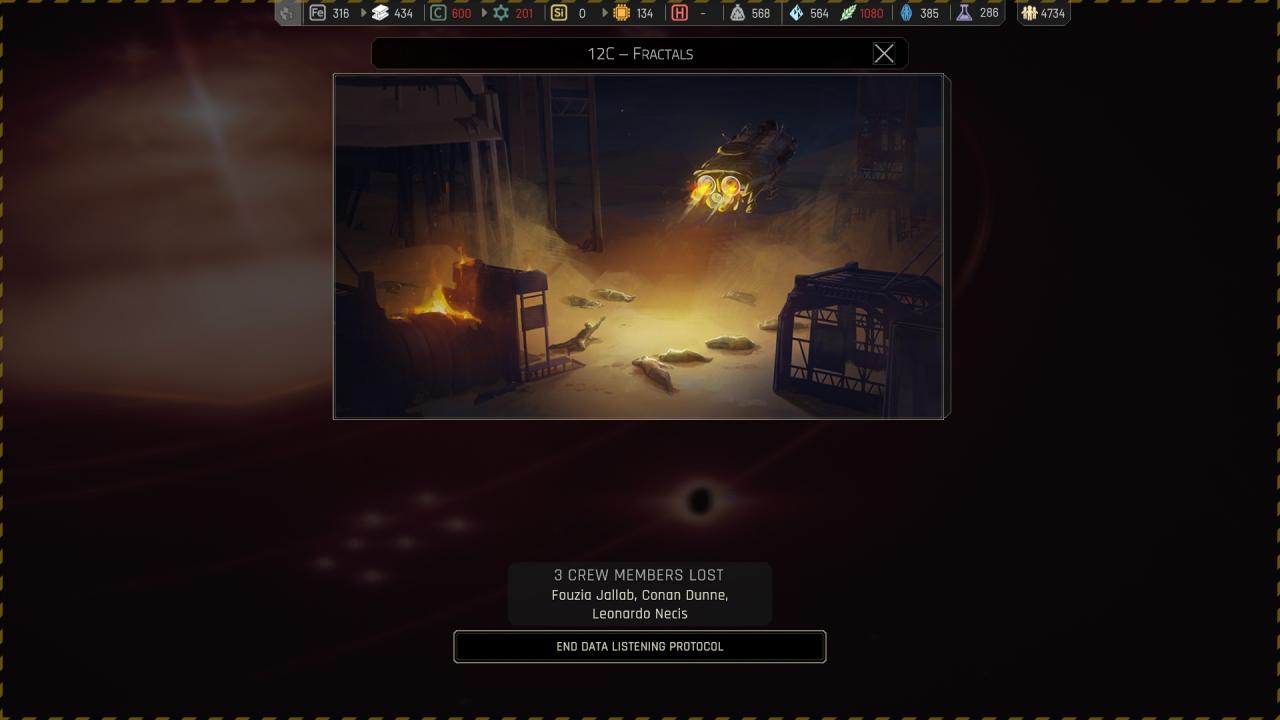
🔒 Analyze the storms of 12C > Leave the others :
🔒 Analyze the storms of 12C > Naomi protocol : Bring back the whole crew :
* Nothing *
🔒 Analyze the storms of 12C > Repatriate the deuterium :
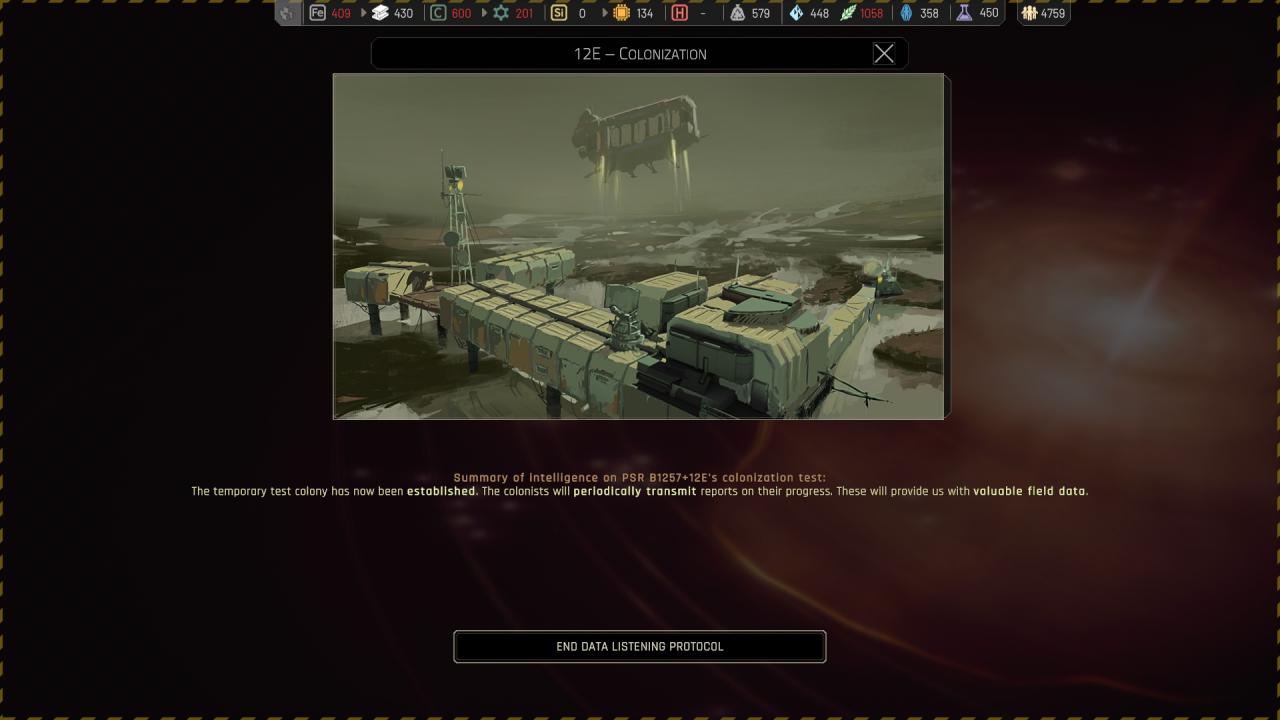
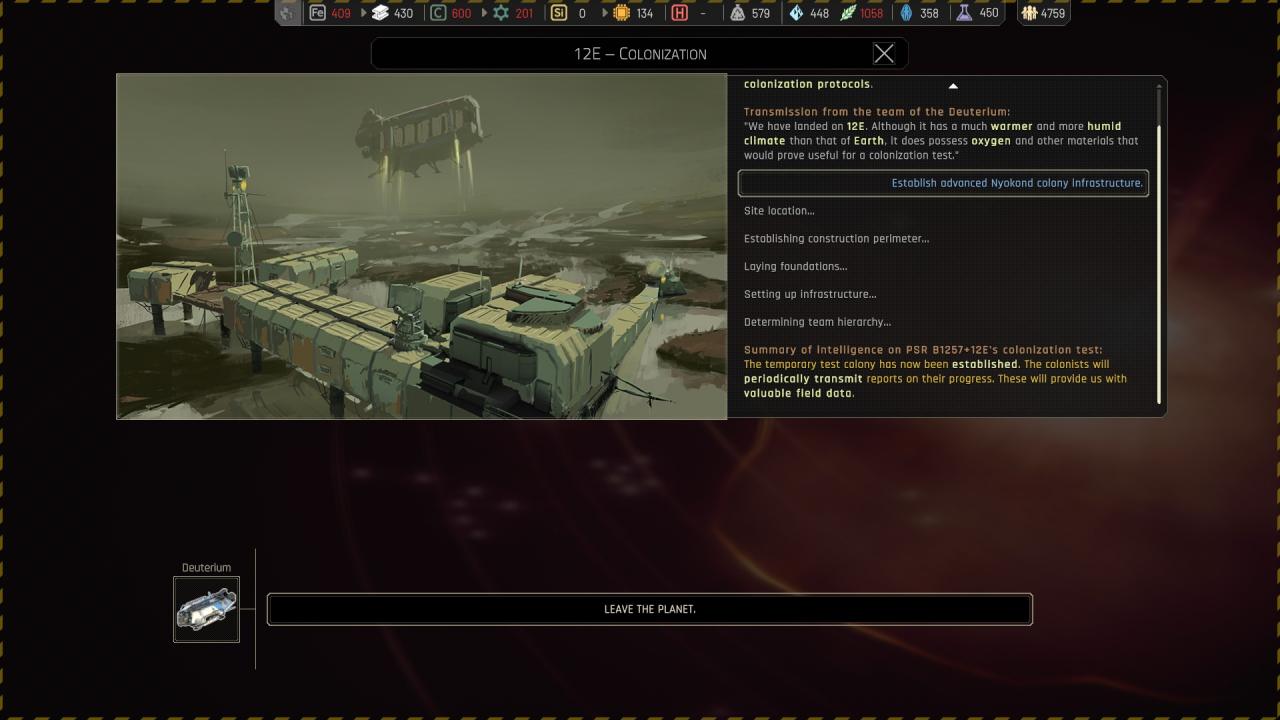
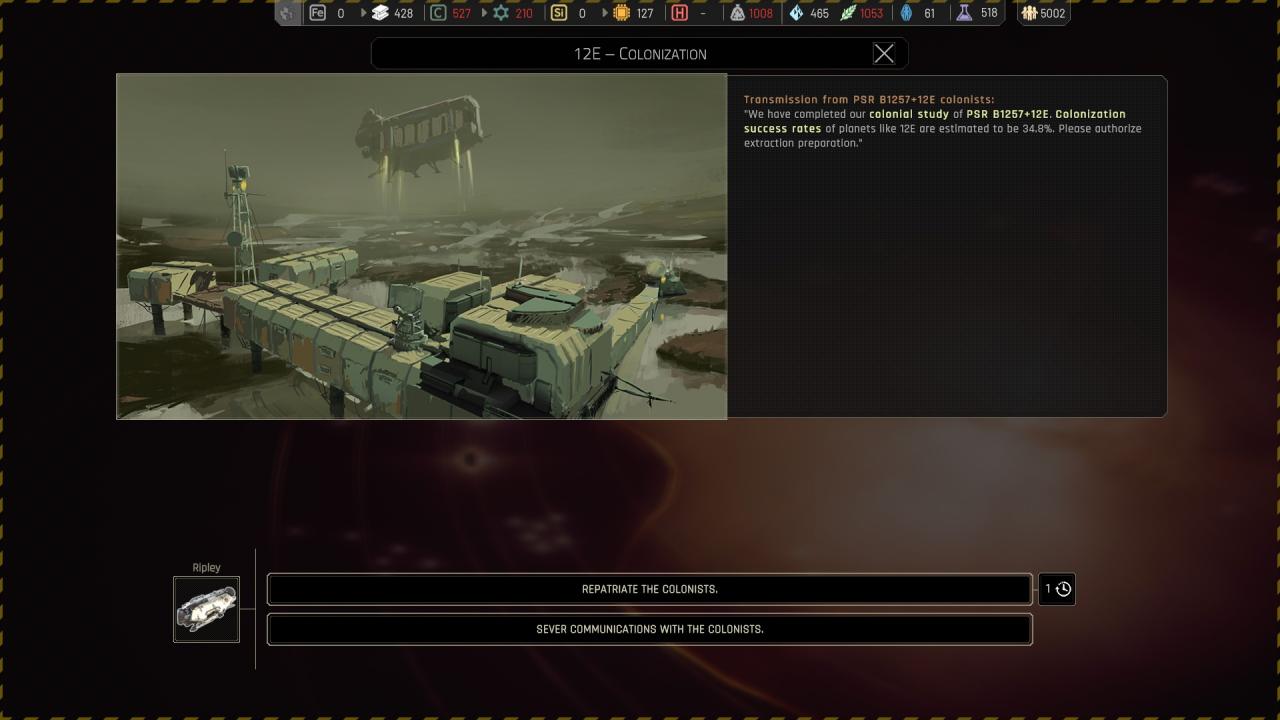
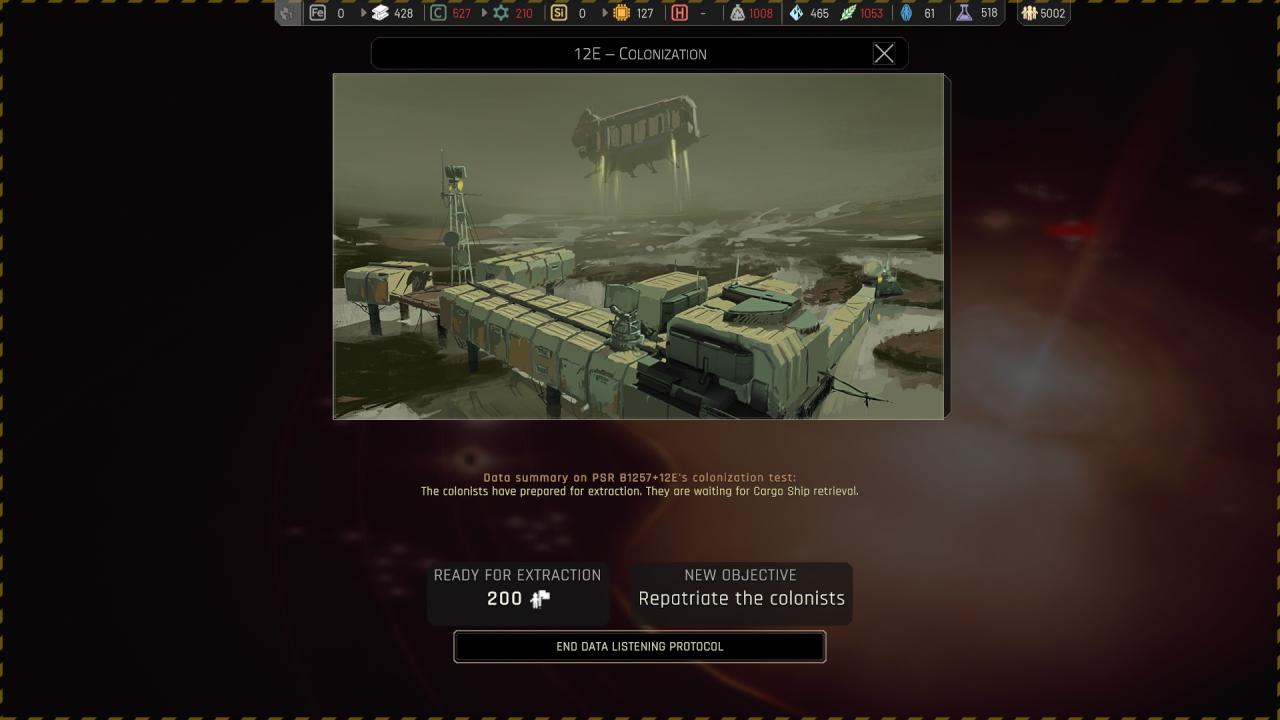
Chapter 4 ({ PSR B1257+12E } 12E – Colonization ) Colony /!\
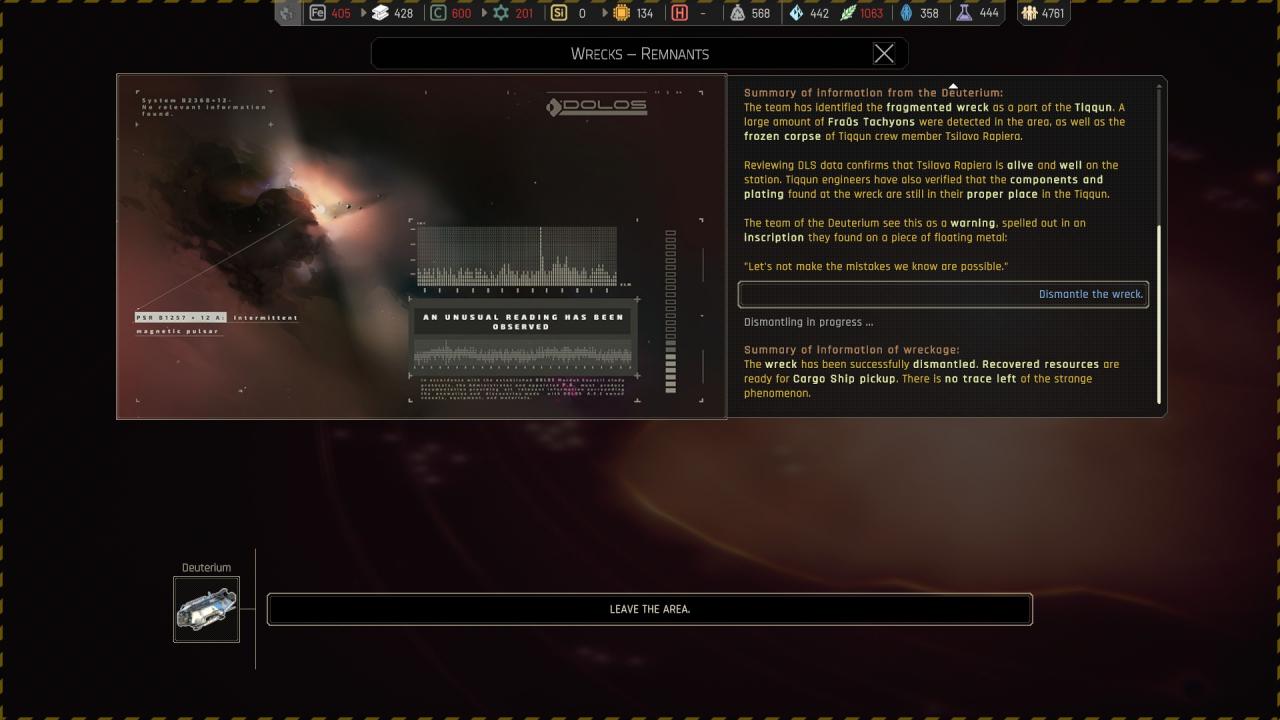
Chapter 4 ({ Unknown Structure } Wrecks – Remnants )
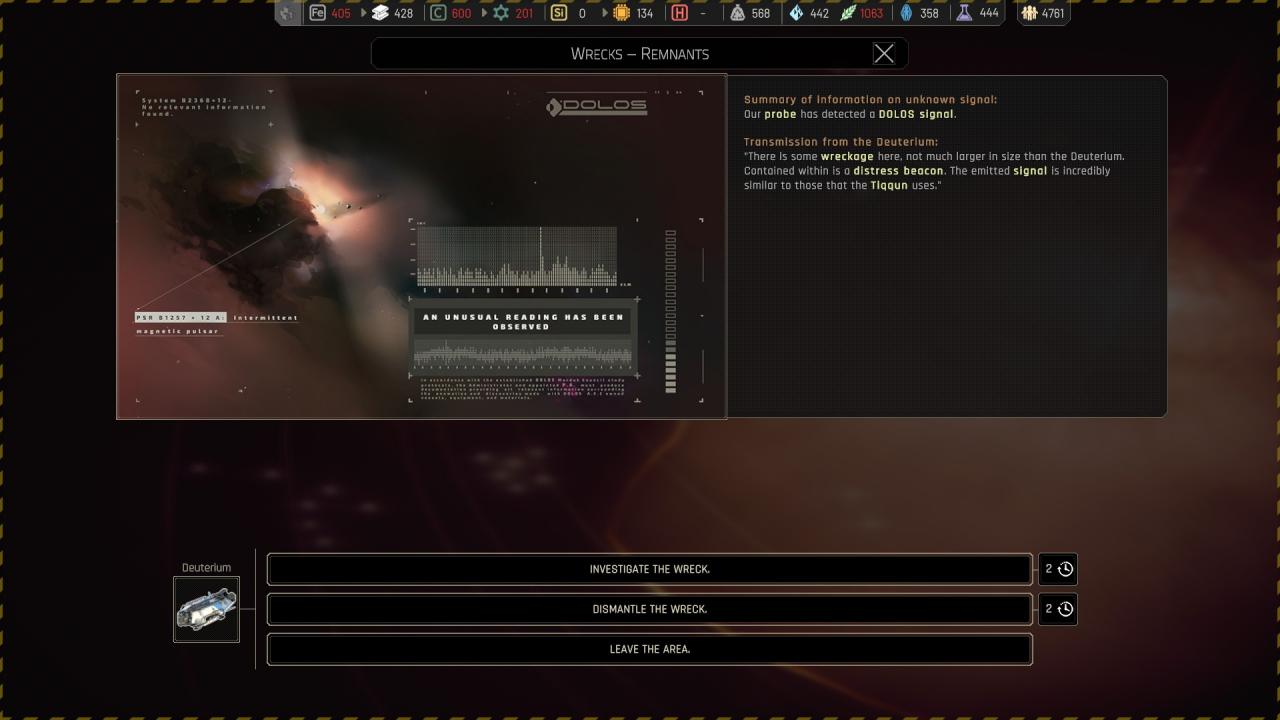
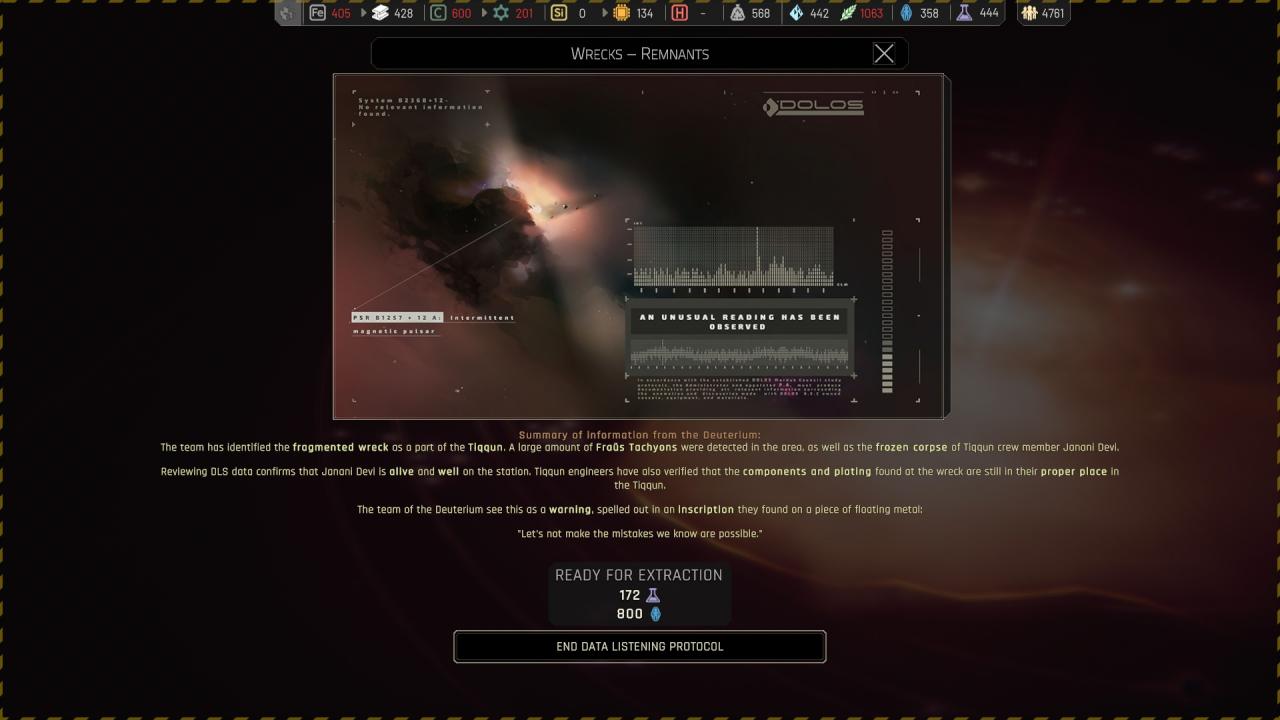
🗘 Investigate the wreck :
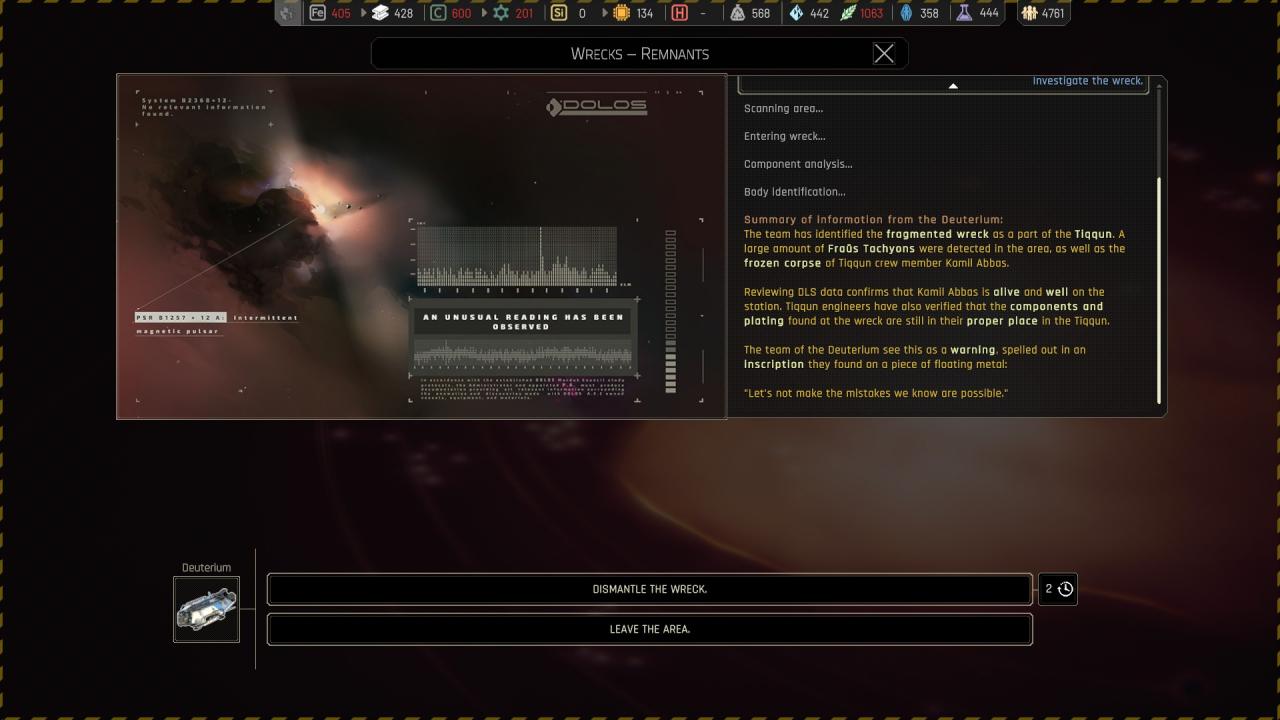
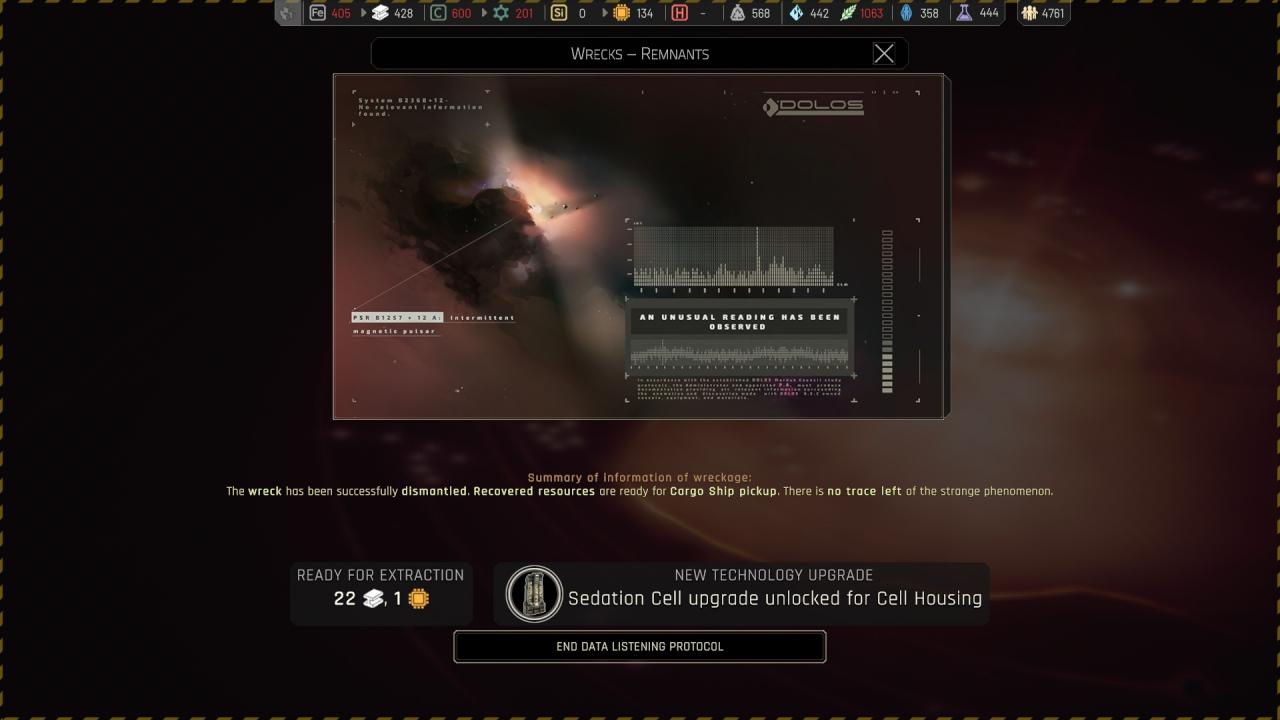
🔒 Dismantle the wreck :
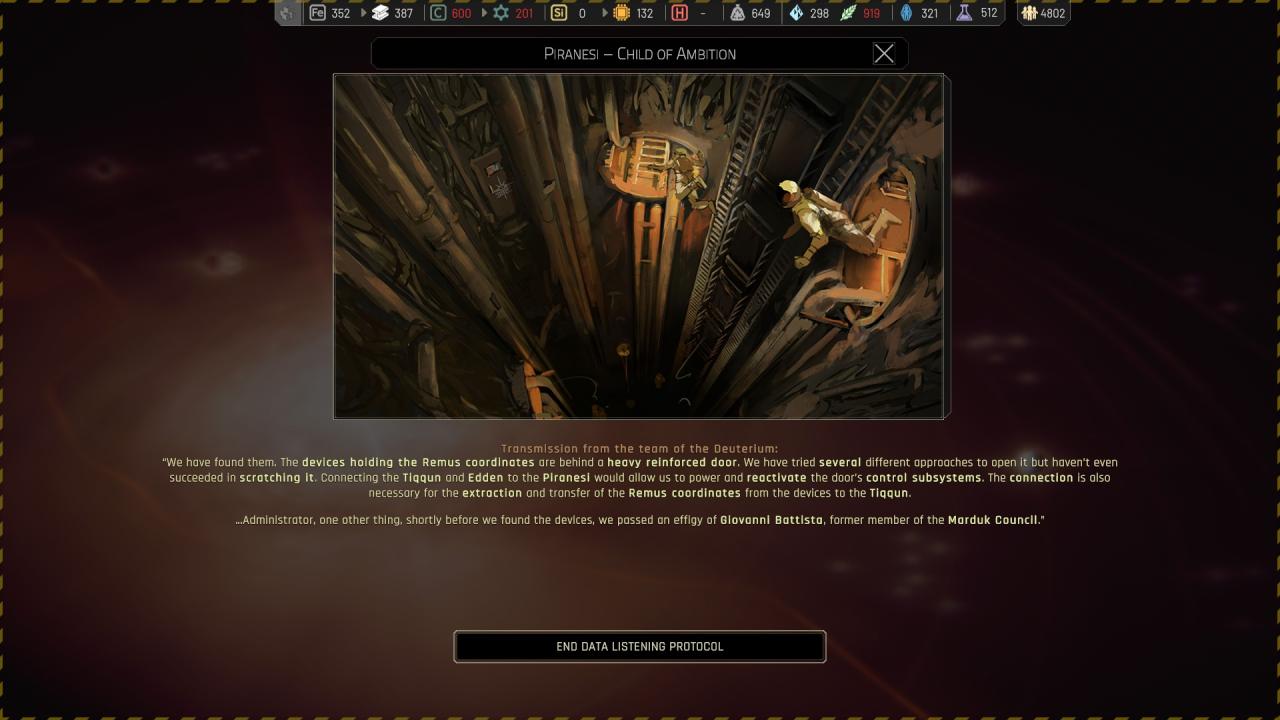
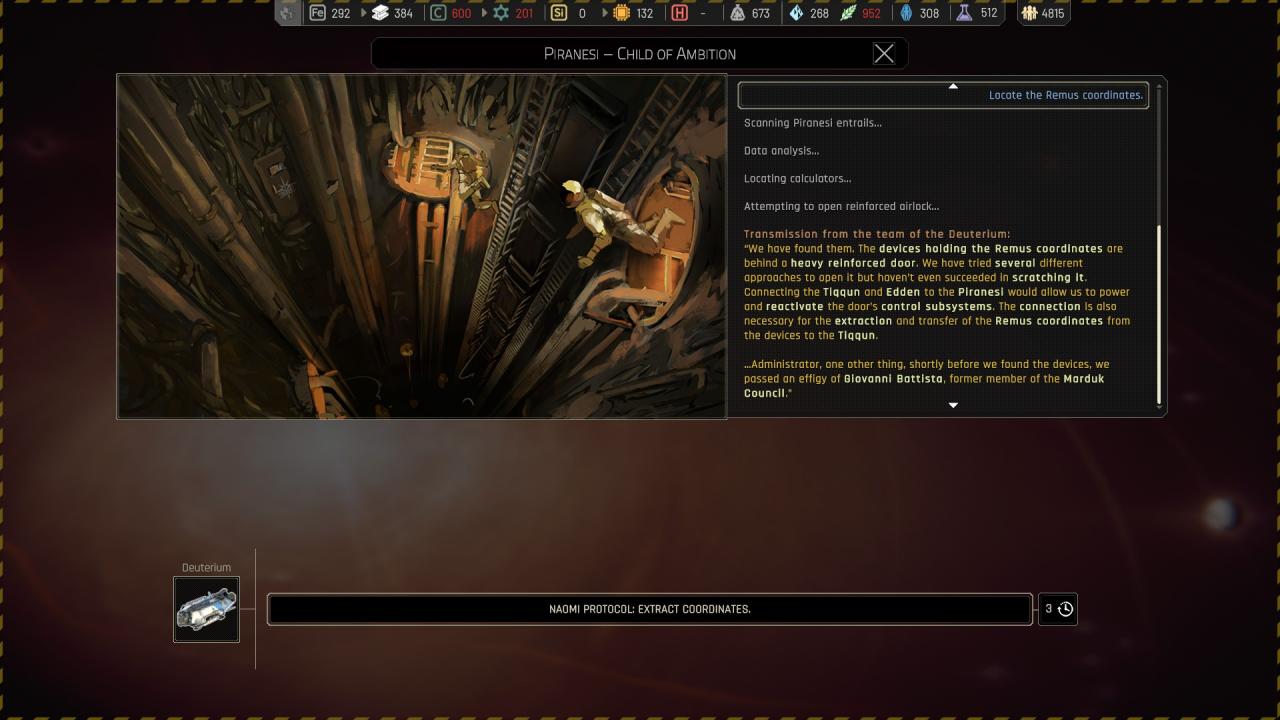
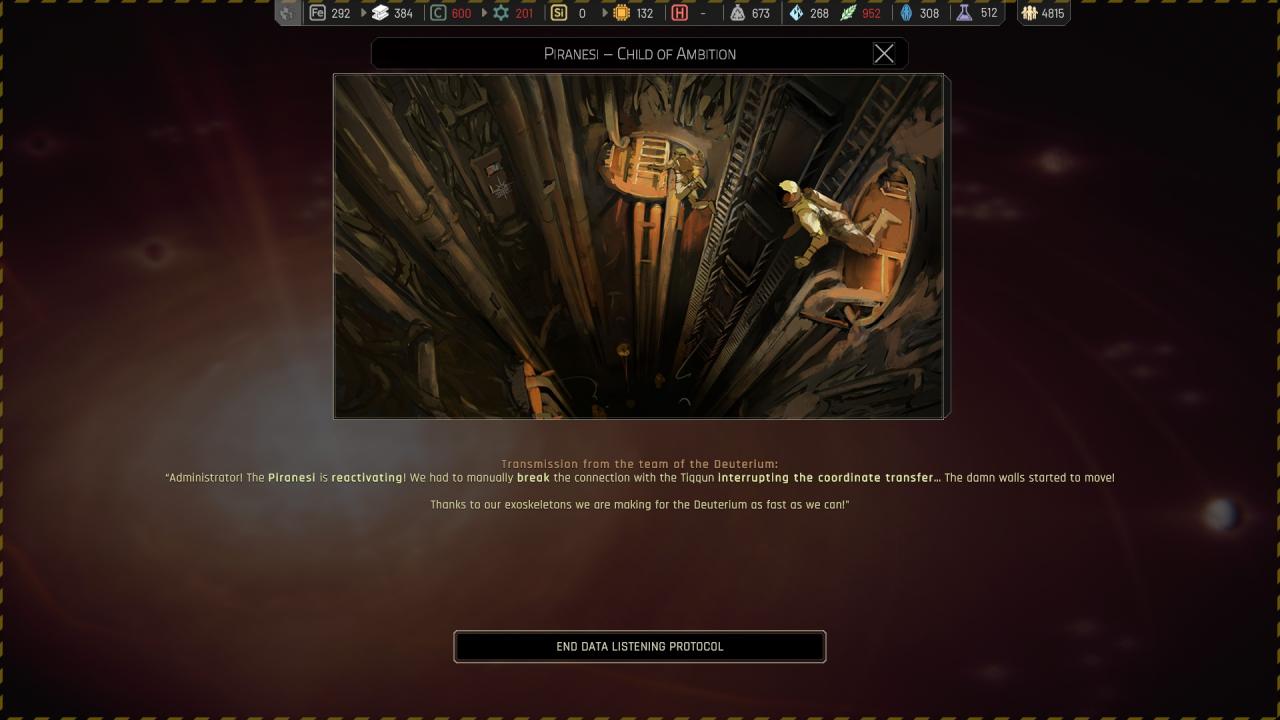
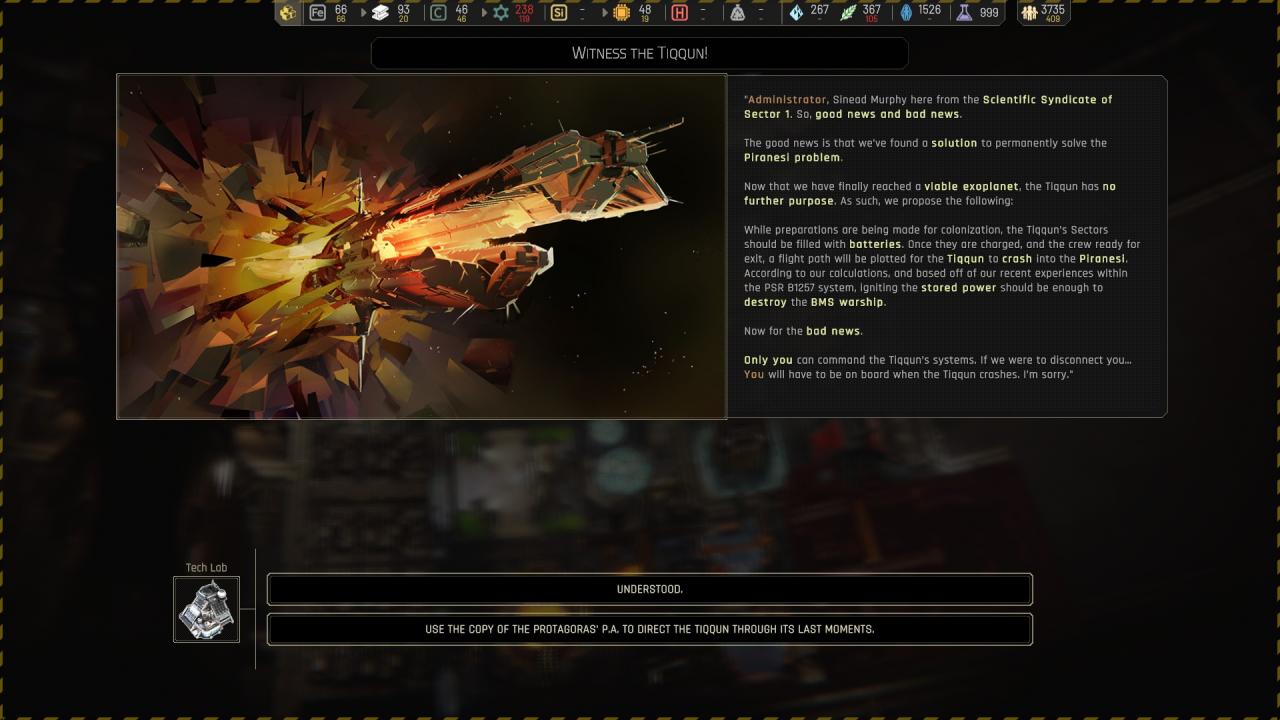
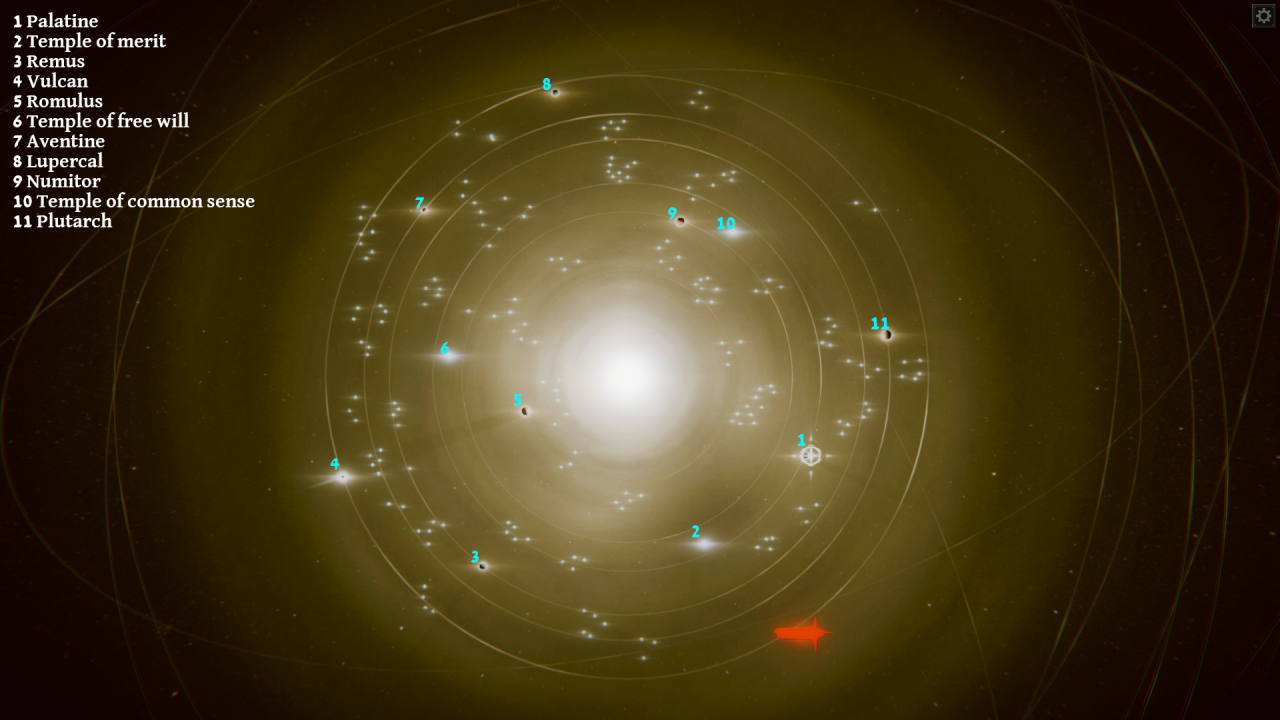
Chapter 4 ({ Pïranesi } Piranesi – Child of Ambition ) Quest /!\
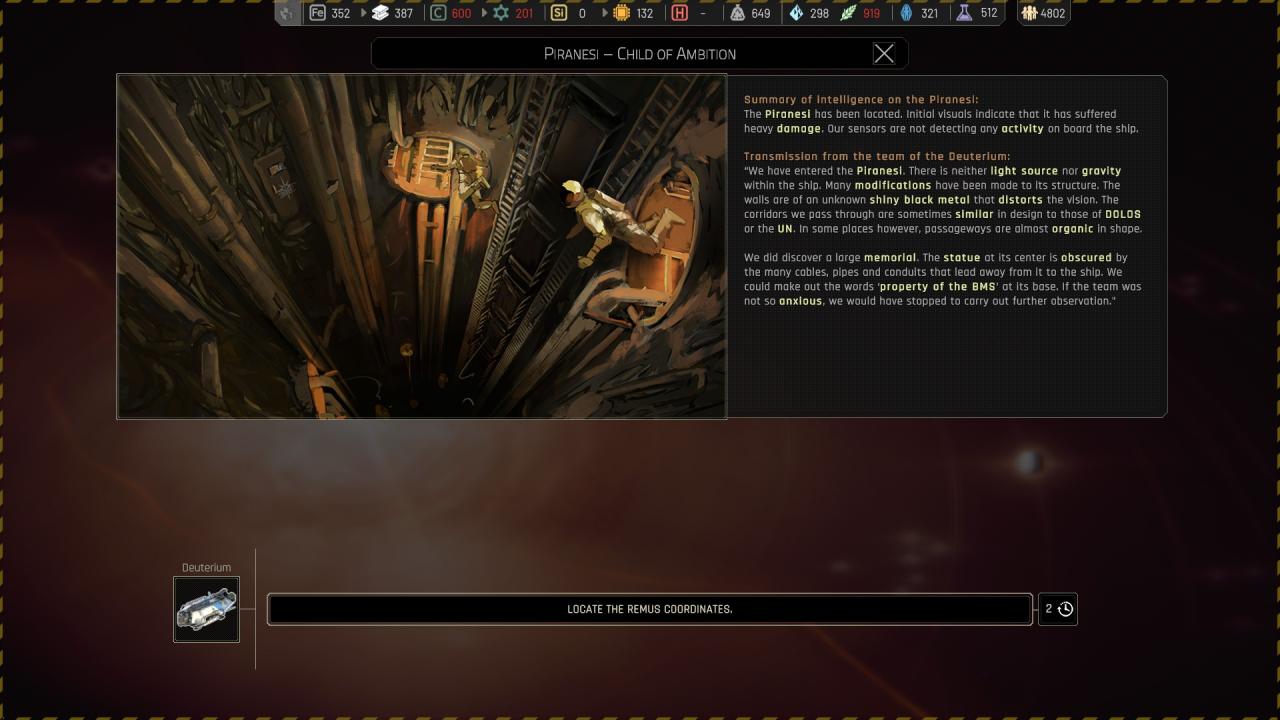
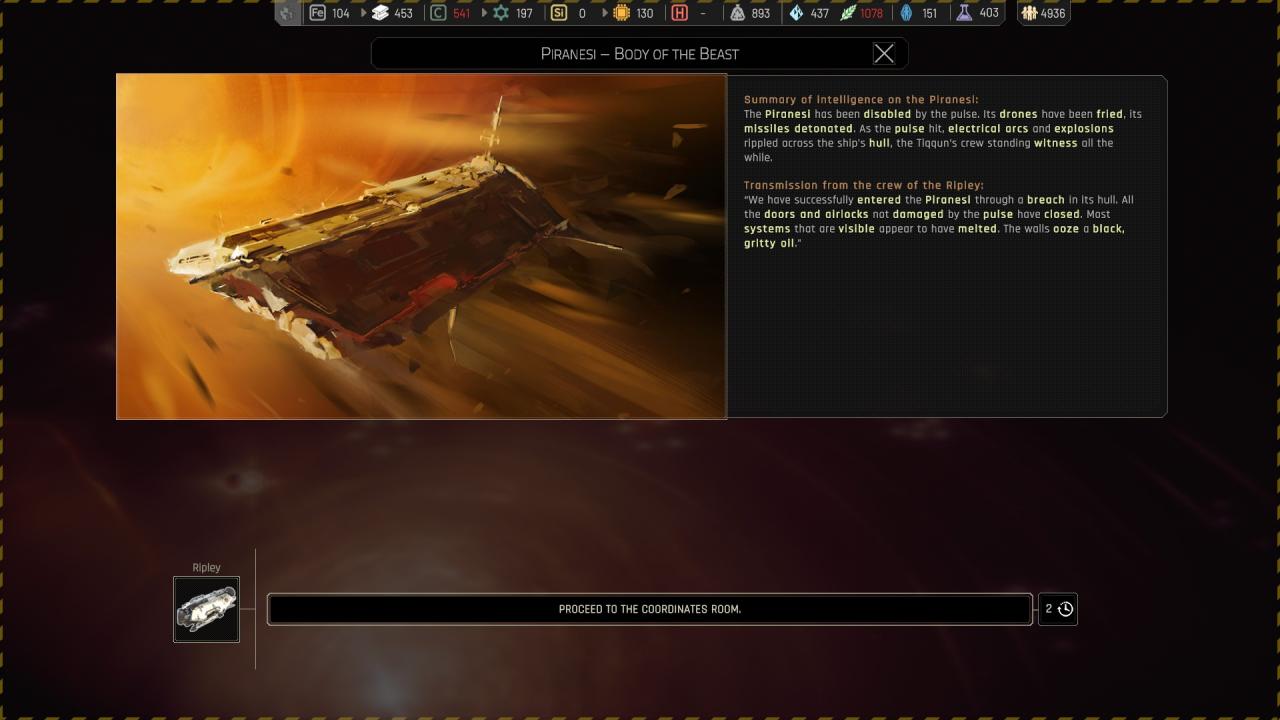
🗘 Locate the Remus coordinates :
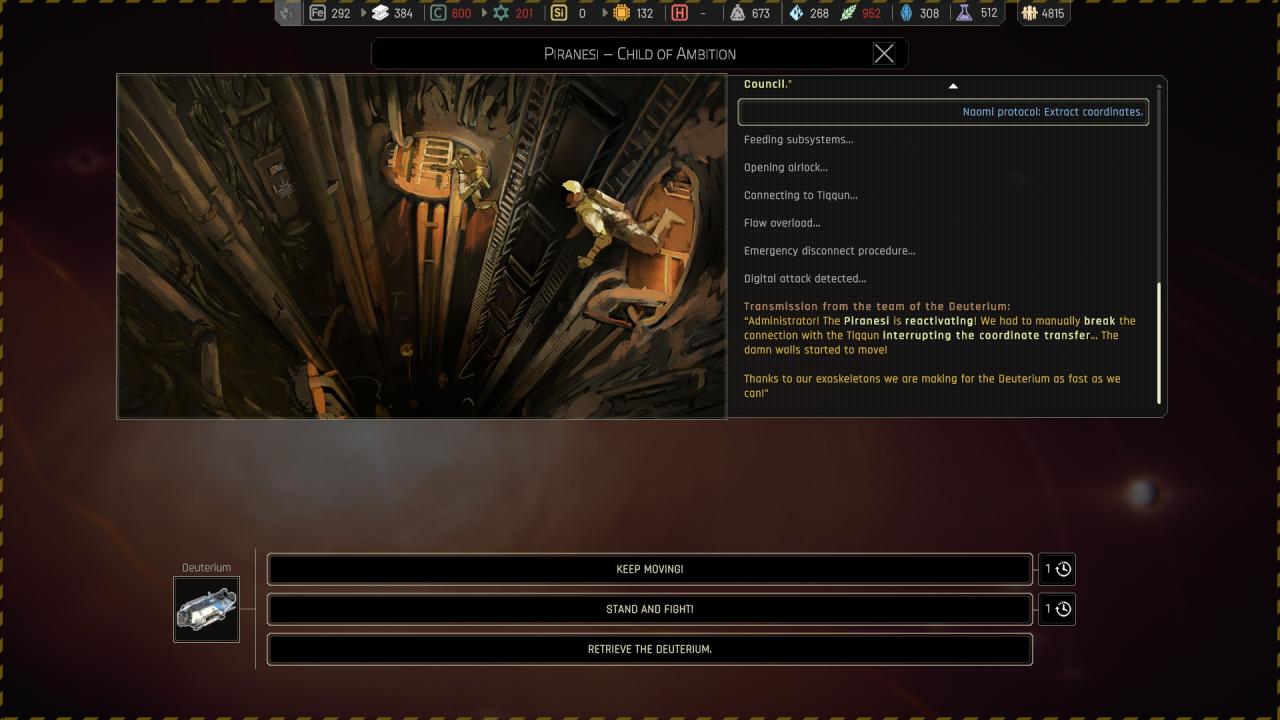
🔒 Keep moving! :
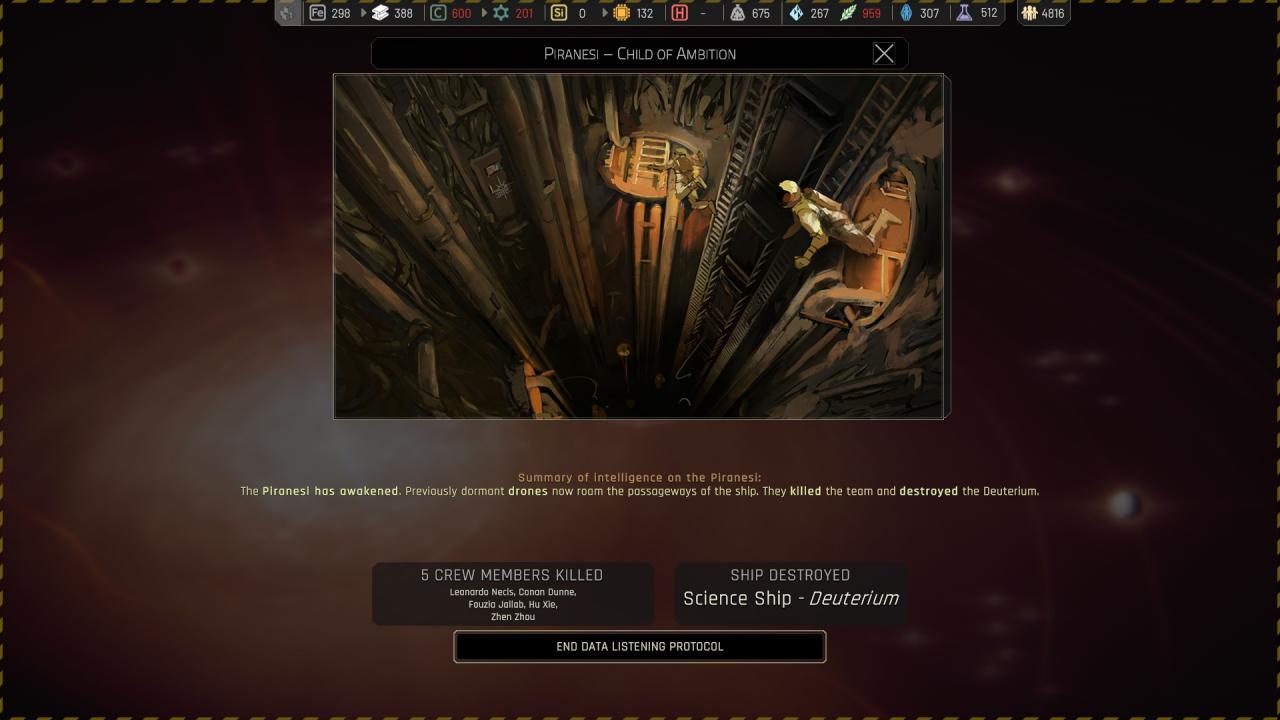
🔒 Stand and fight! :
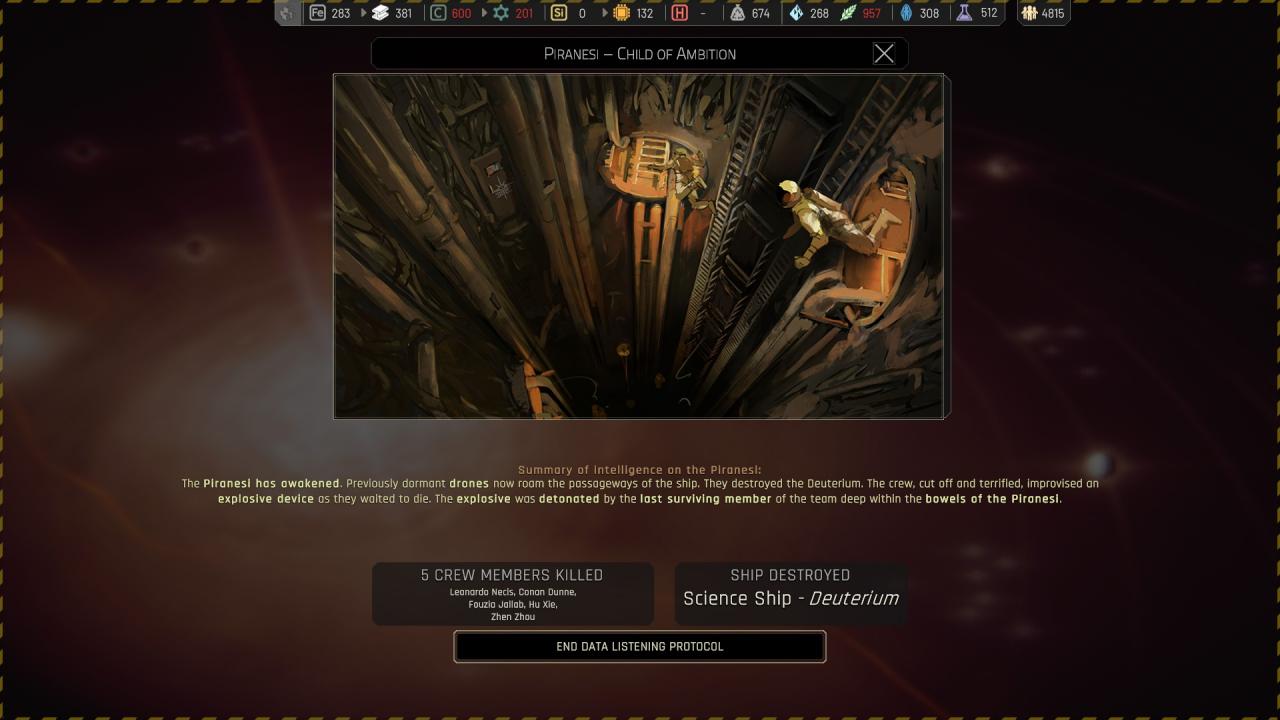
🔒 Retrieve the deuterium :
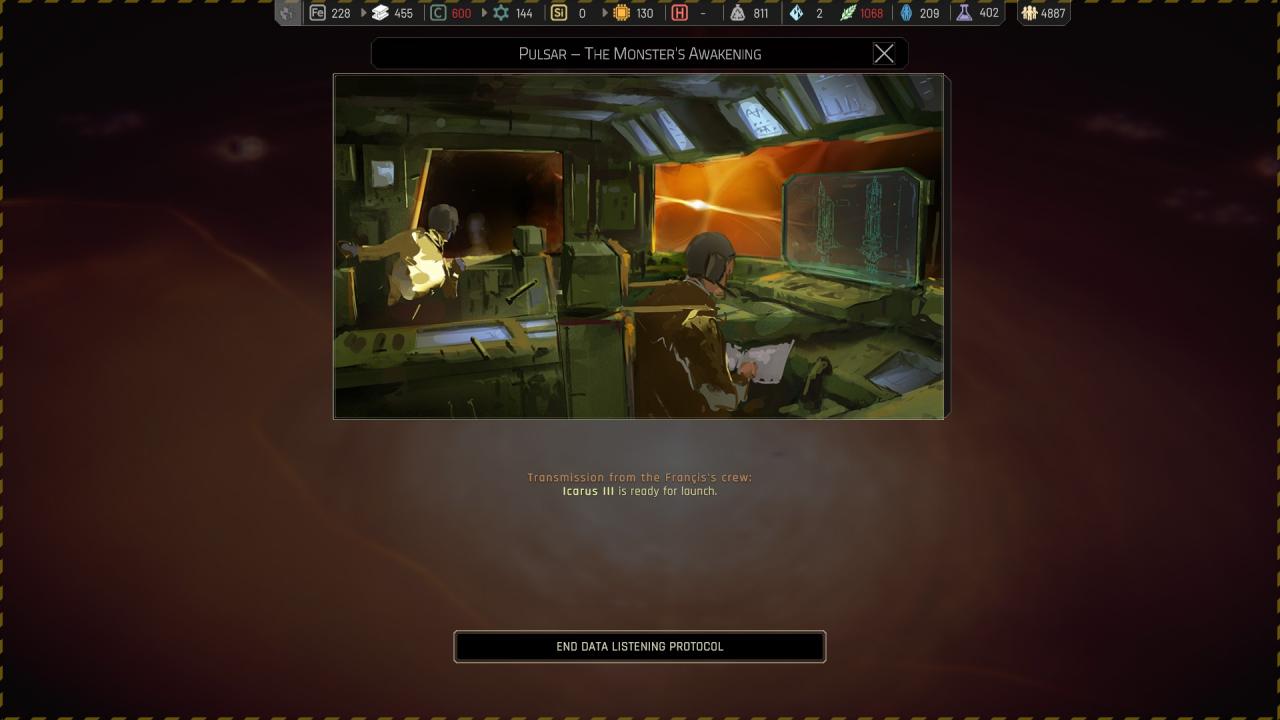
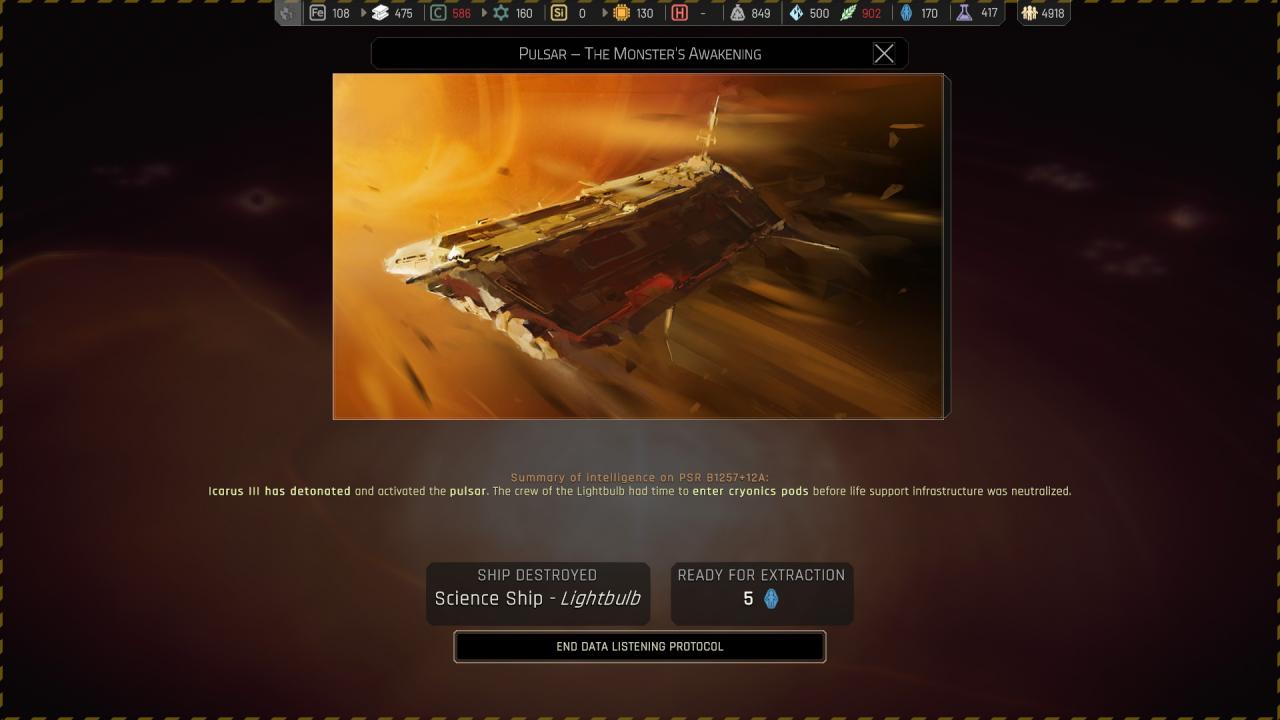
Chapter 4 ({ PSR B1257+12A } Pulsar – The monster’s Avakening ) Quest /!\
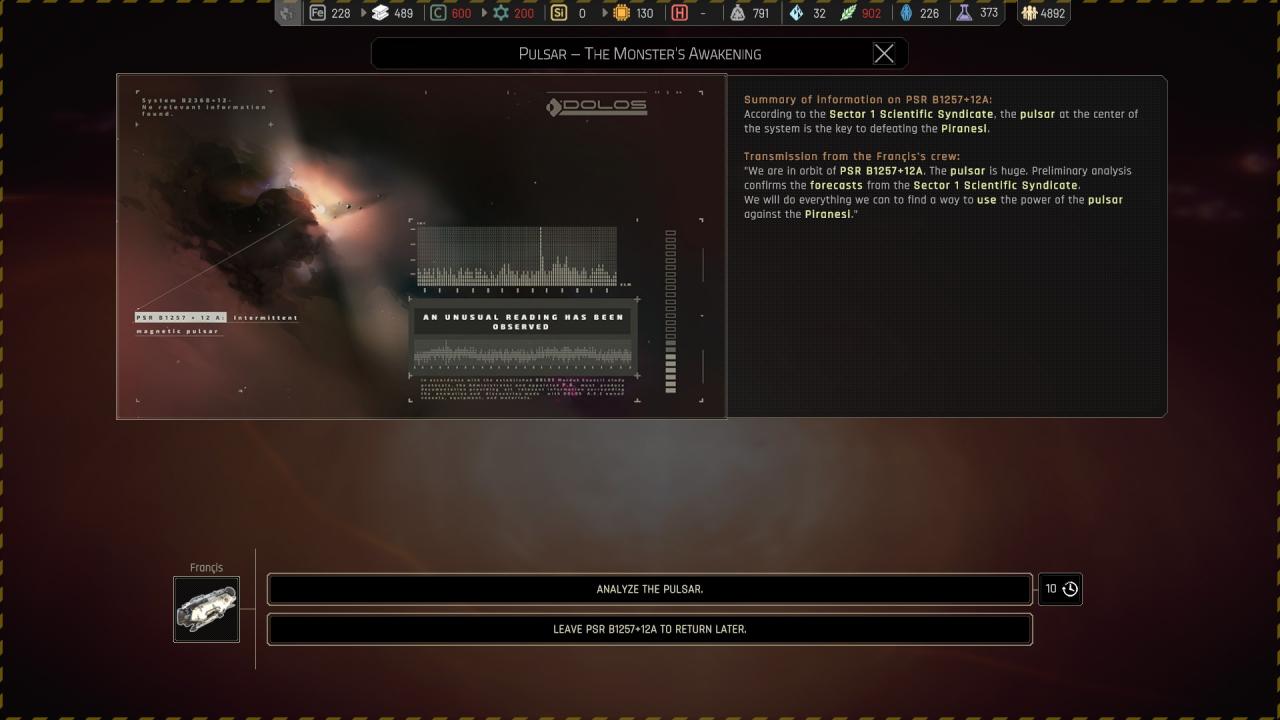
🗘 Analyze the pulsar :
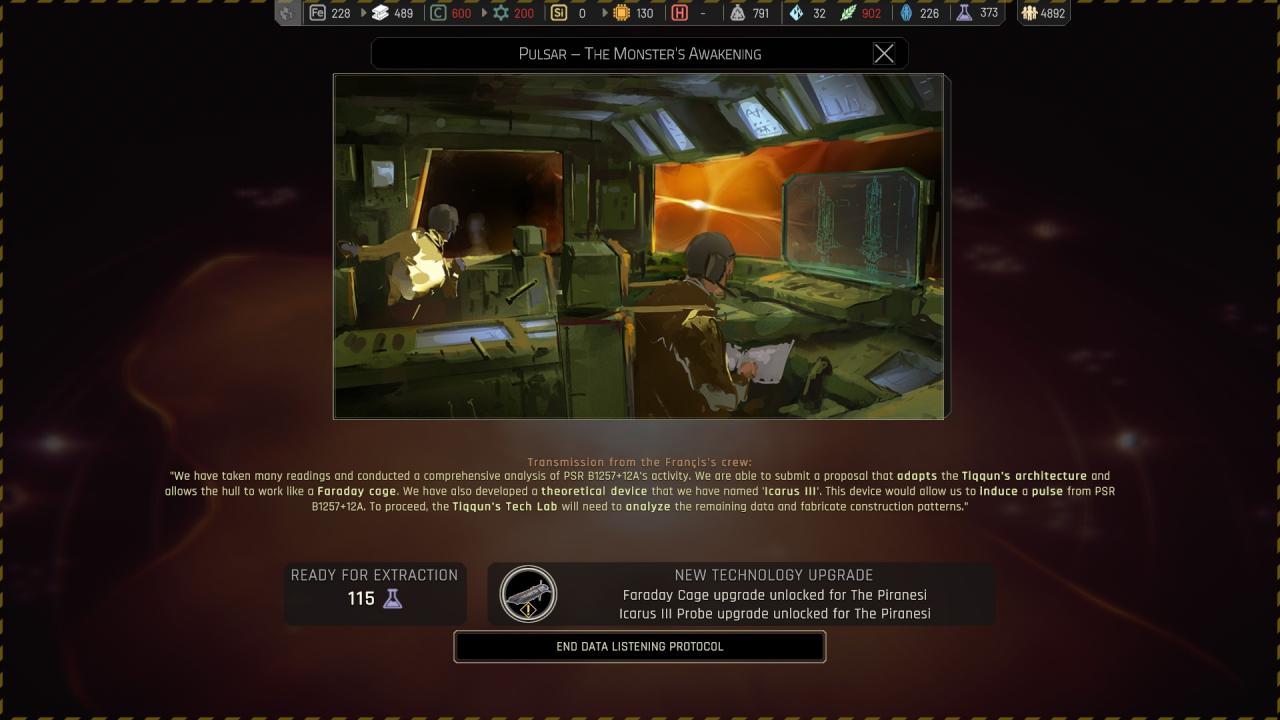
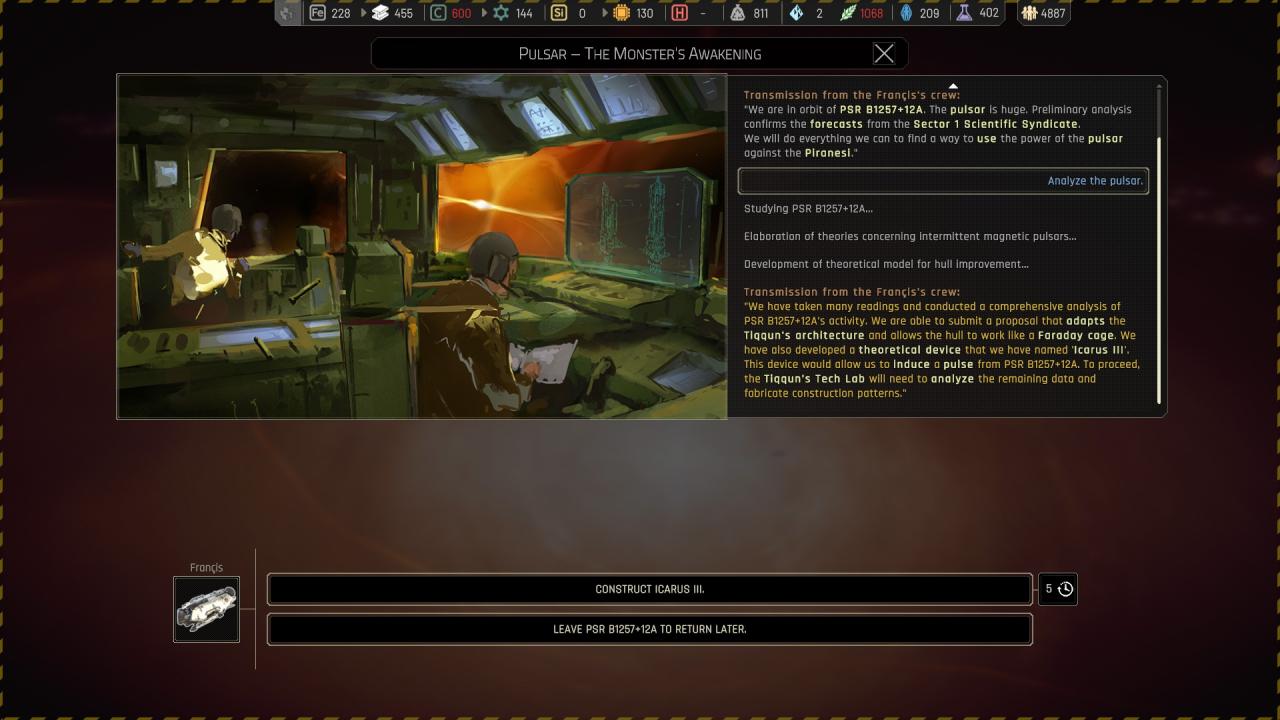
🗘 Construct Icarus III :

🔒 Wake up the pulsar :
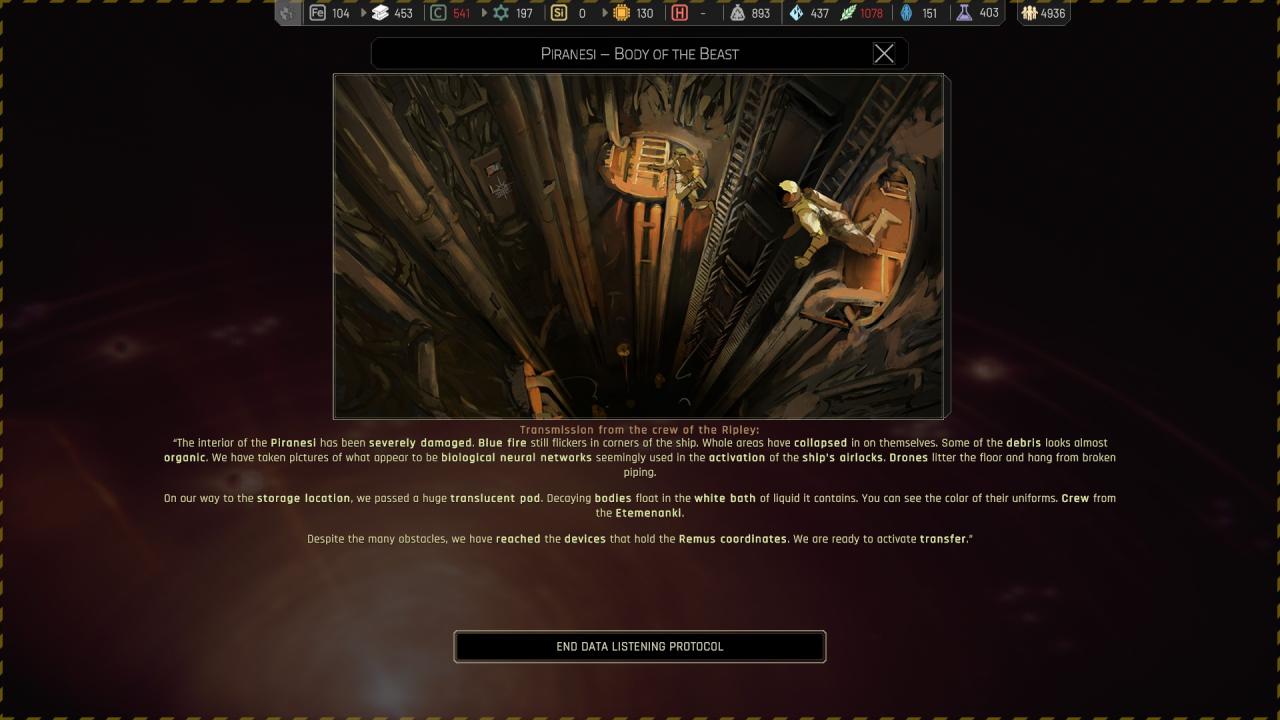
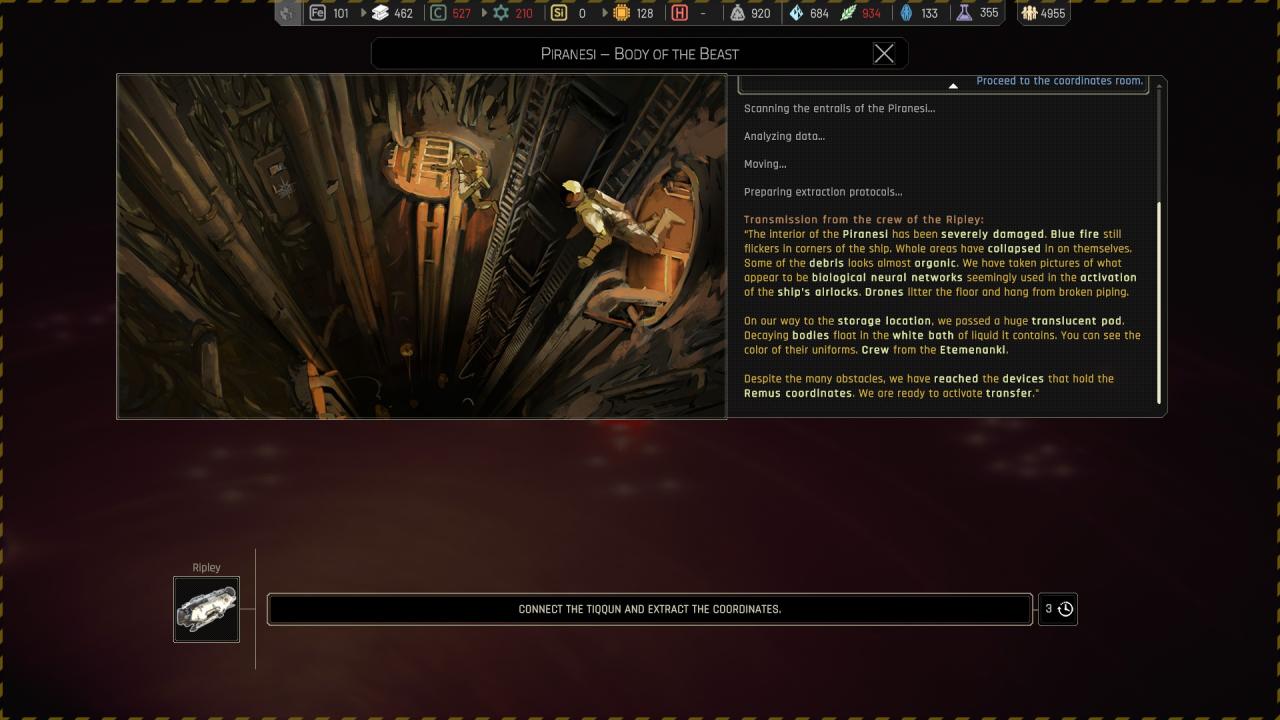
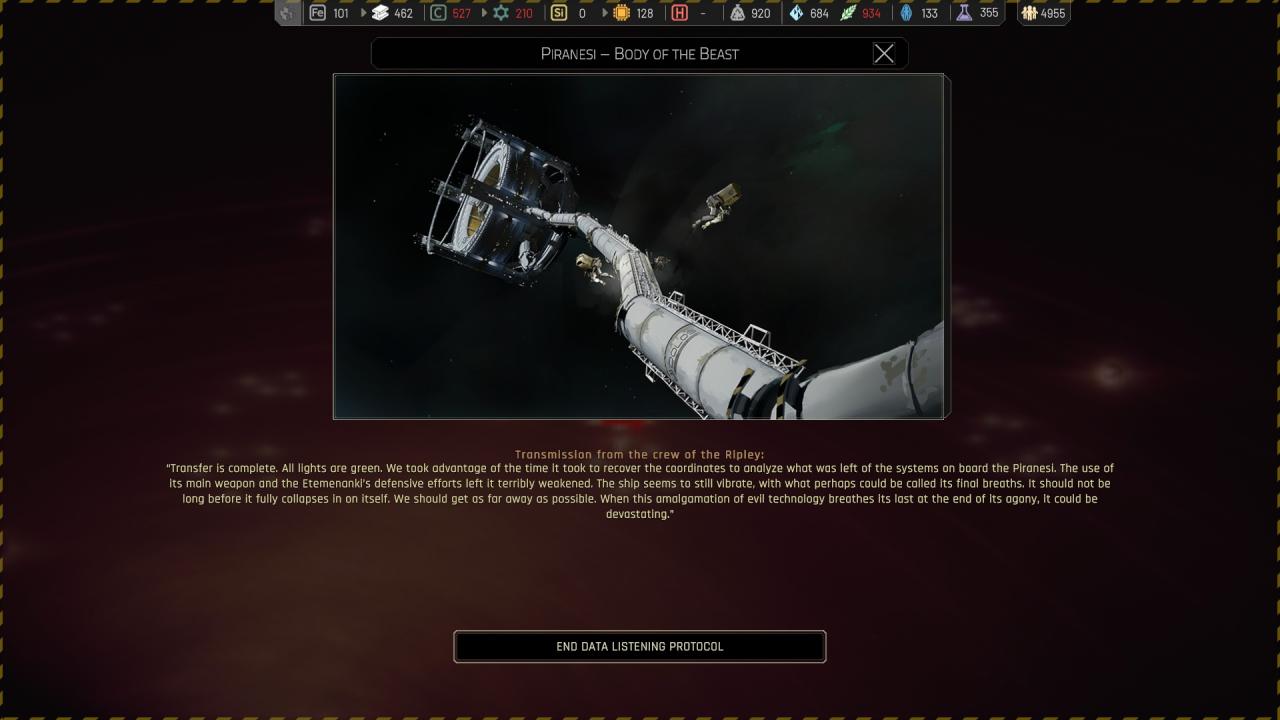
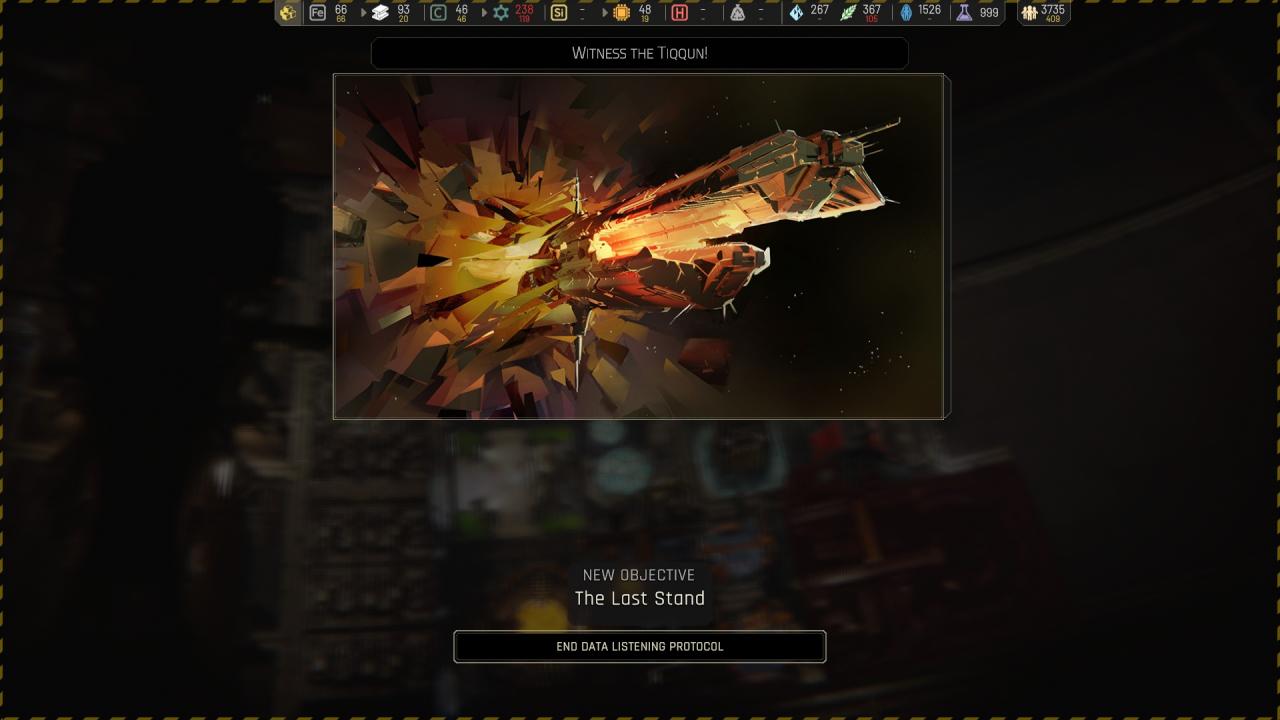
Chapter 4 ({ Piranesi } Body of the Beast ) Quest Phase 2 /!\
Chapter 4 ({ PSR B1257+12E } ) Colony Phase 2 /!\
Chapter 4 ( Tips & Tricks )
Piranesi will trigger few small event on the Tiqqun, only one is real if you don’t take care, it will hack your mess hall, don’t panic, just restart the power !Jump sequence :
- Evade piranesi swarm by jumping to 12F ( the drone swarm do nothing untill you don’t stay in )
- Jump to 12J When Piranesi’s swarm is coming
- After a bit of time, the Piranesi itself will chase you, wait a bit of time untill he’s near then jump to 12G
- He will lunch another sarm targeting 12G wait a bit and then jump to 12D or 12H to avoid the swarm
- Last jump ( if needed depending on how fast you are ) to 12H or 12D
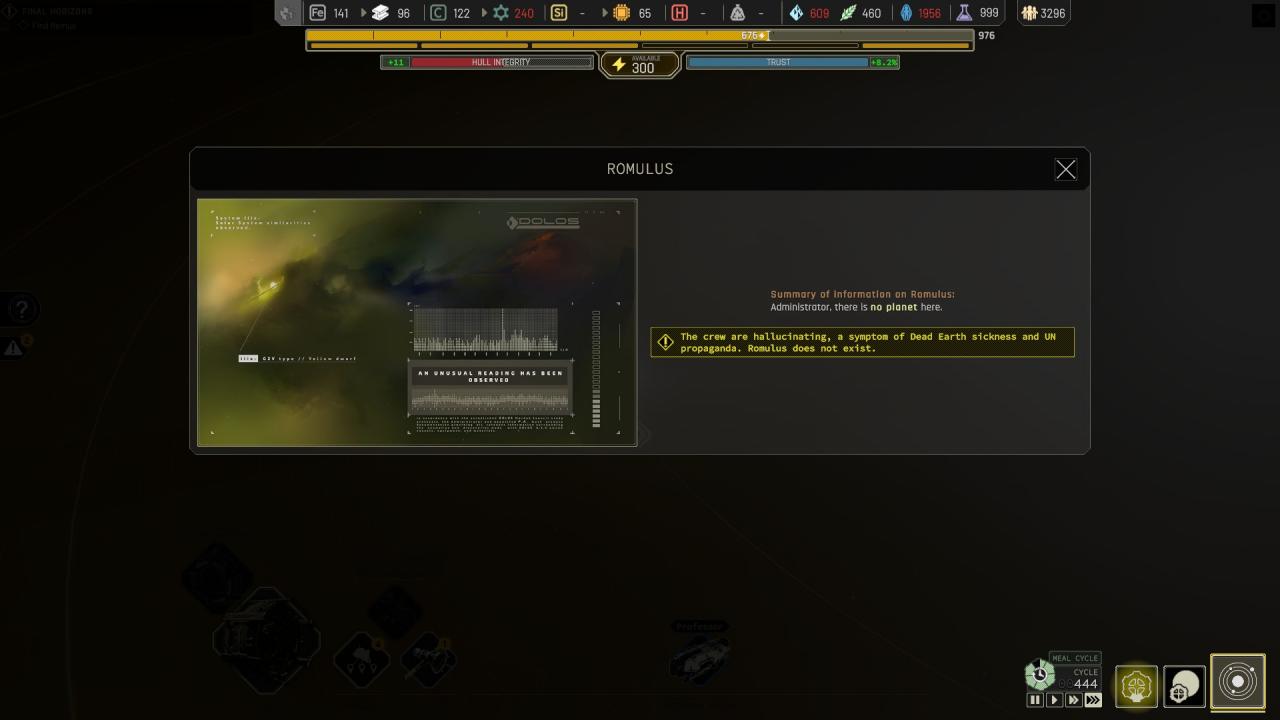
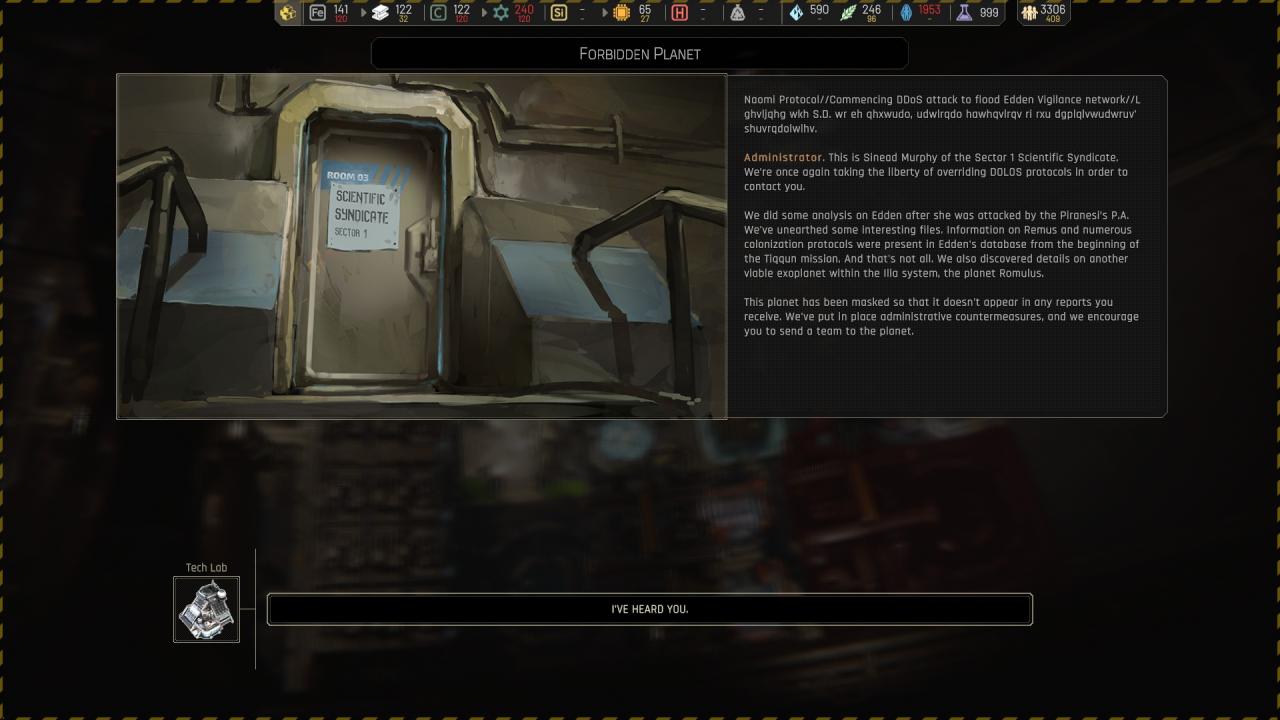
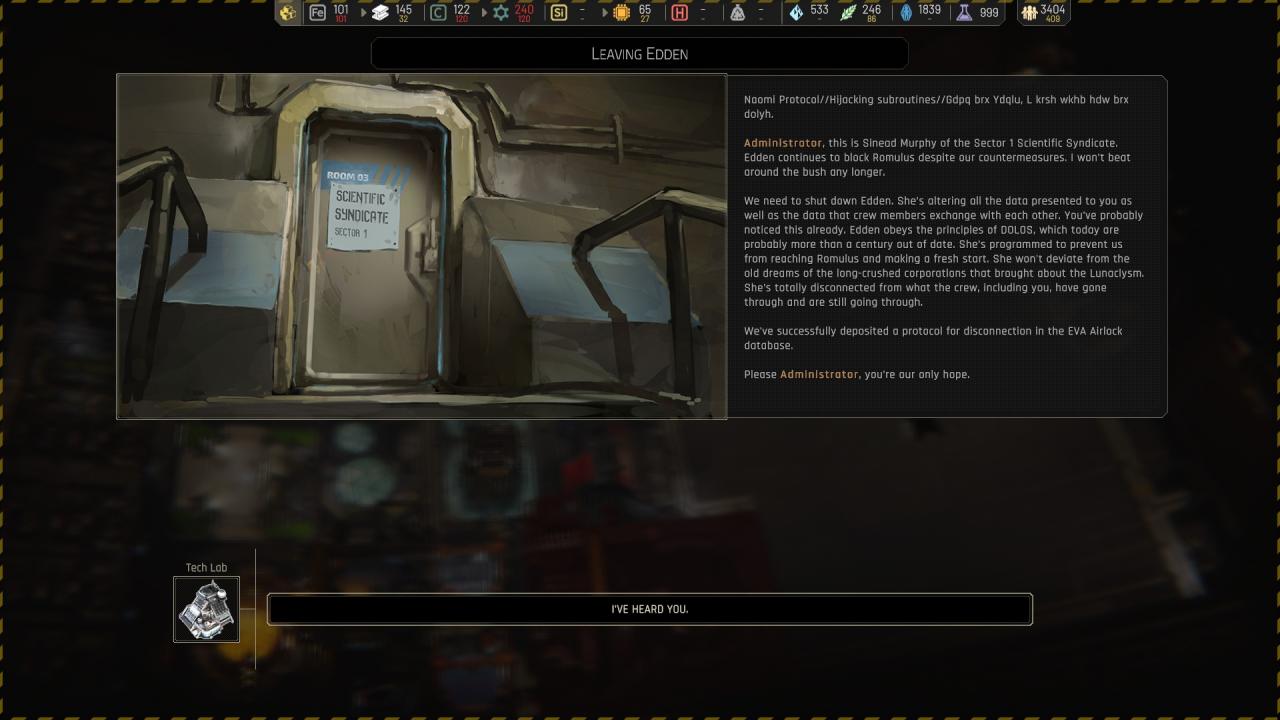
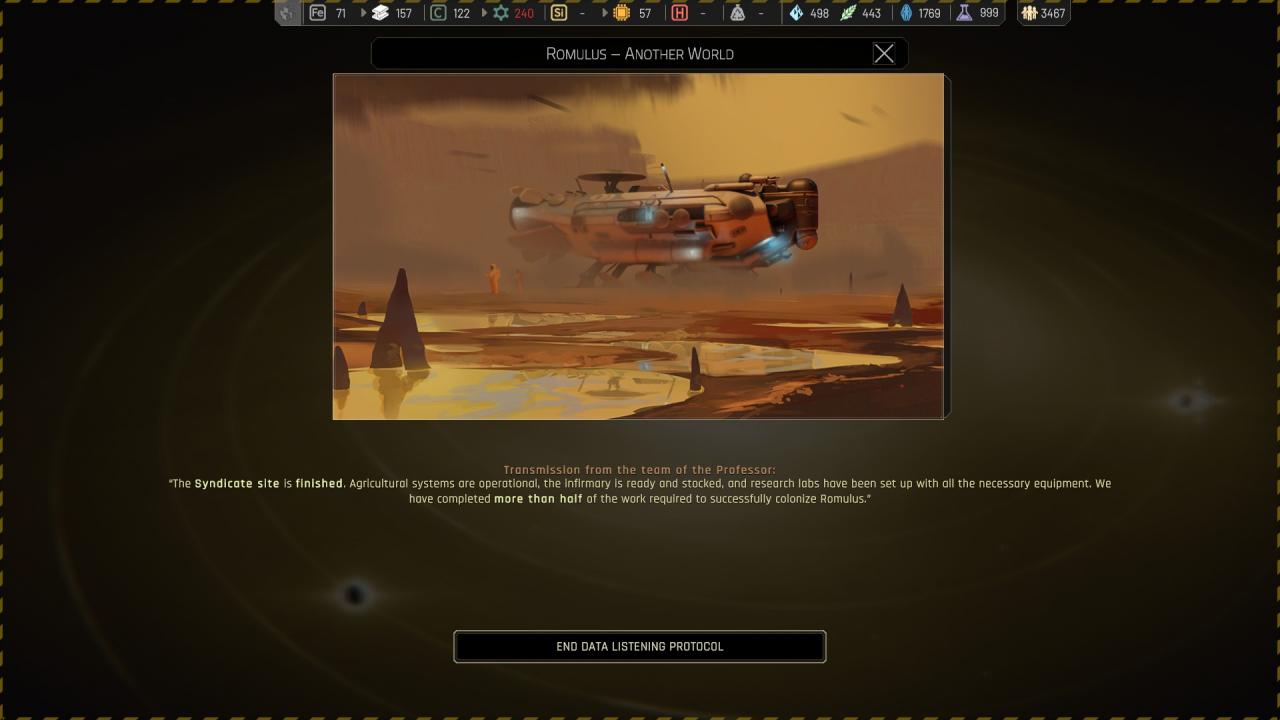
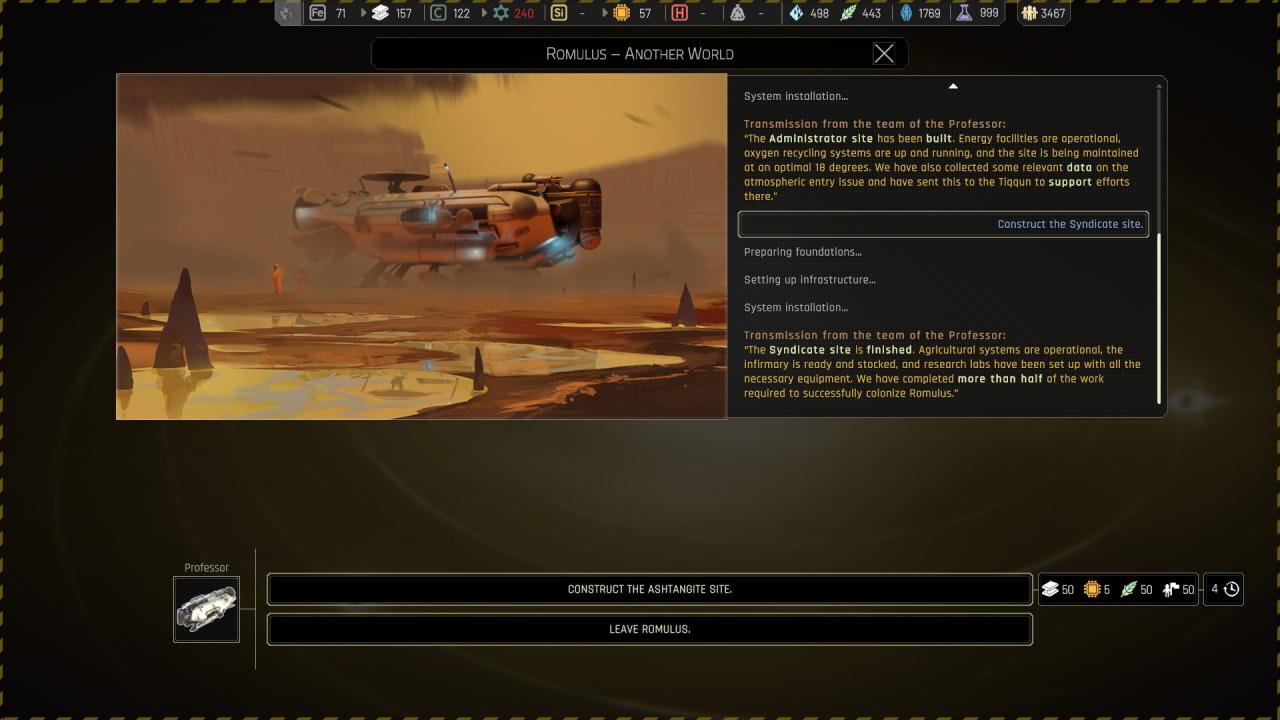
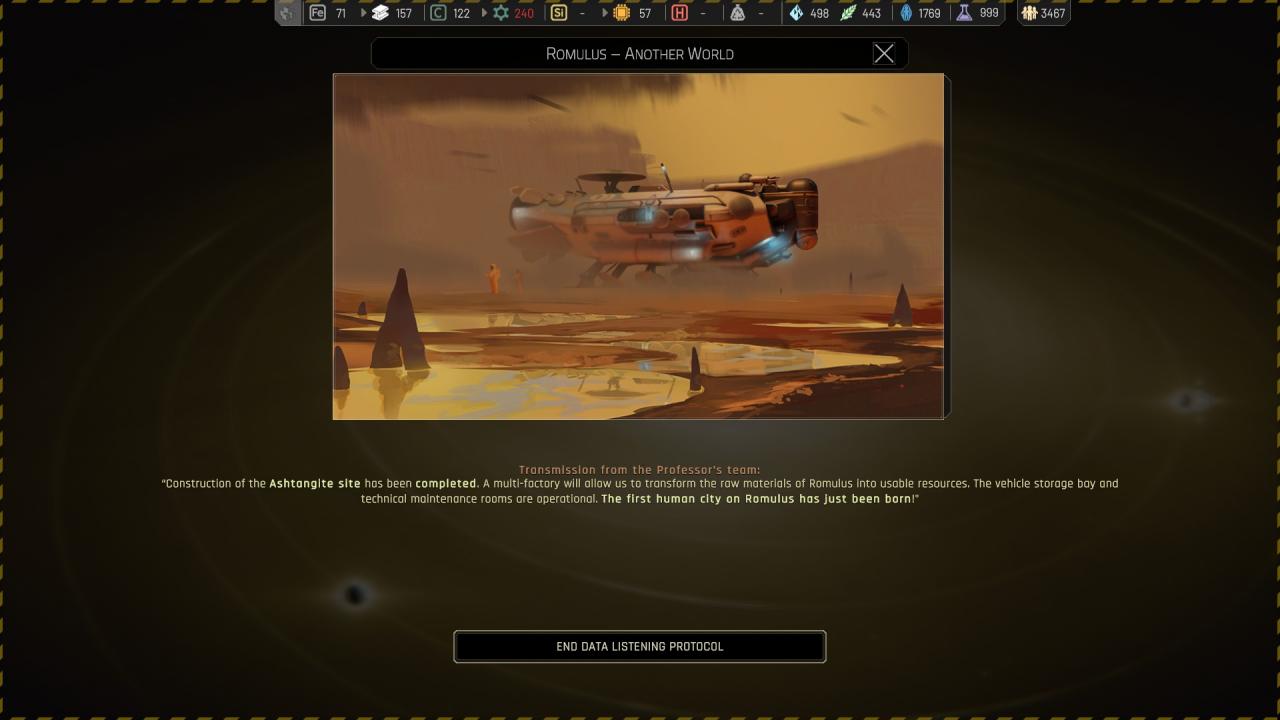
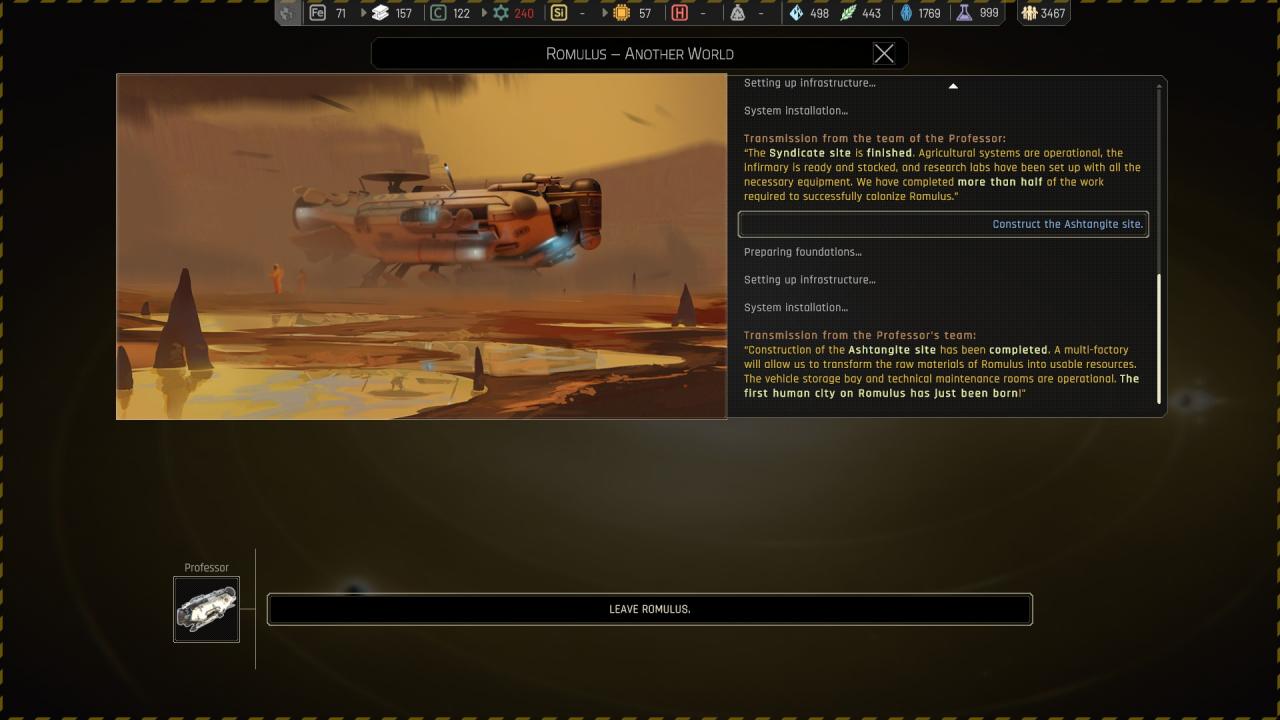
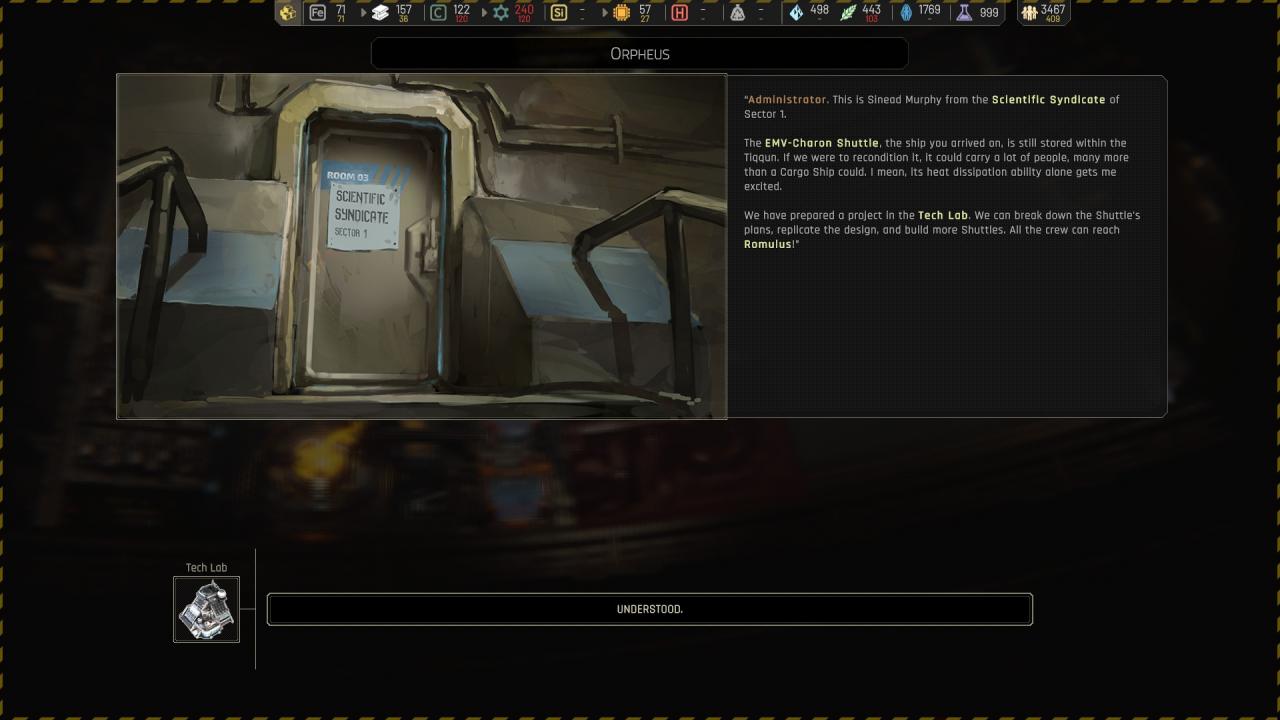
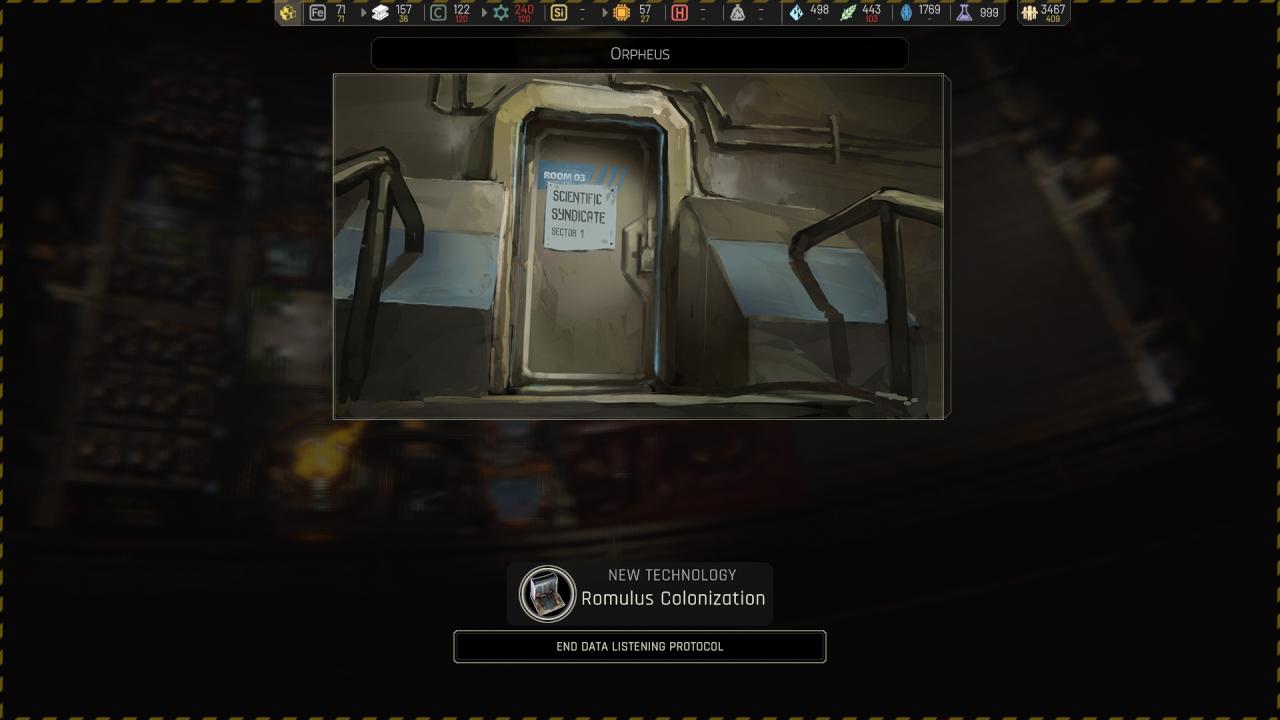
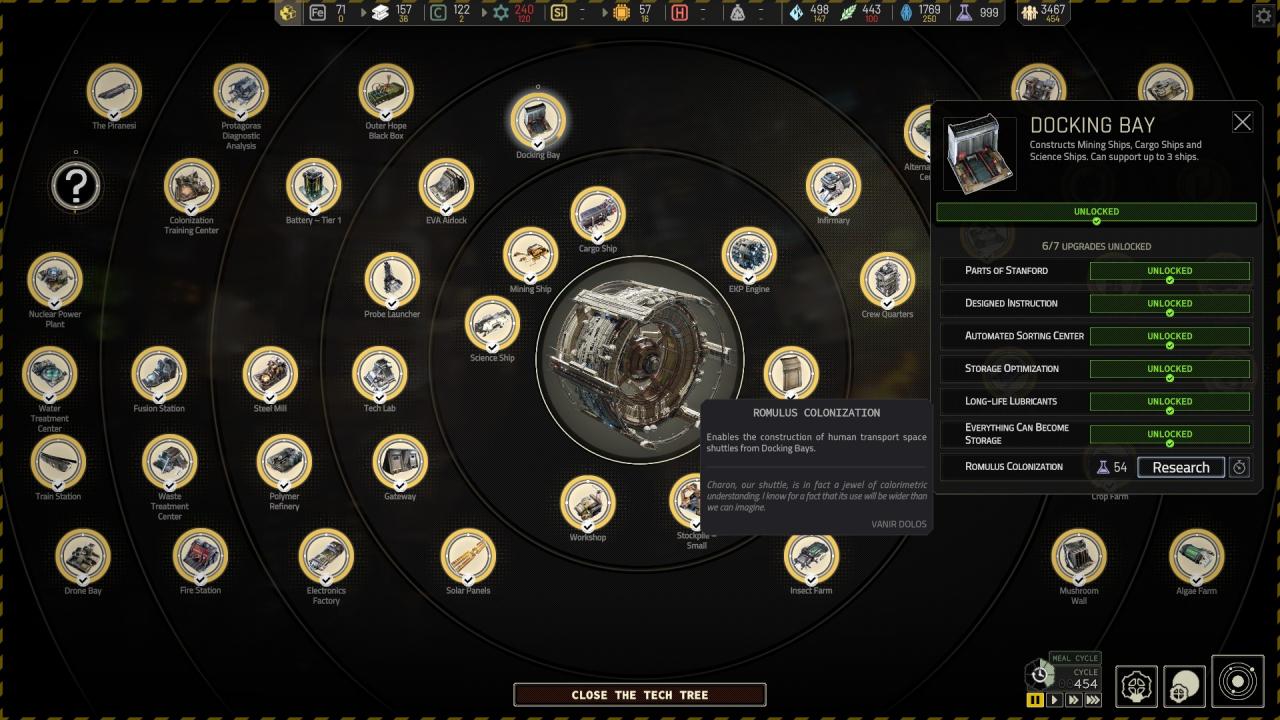
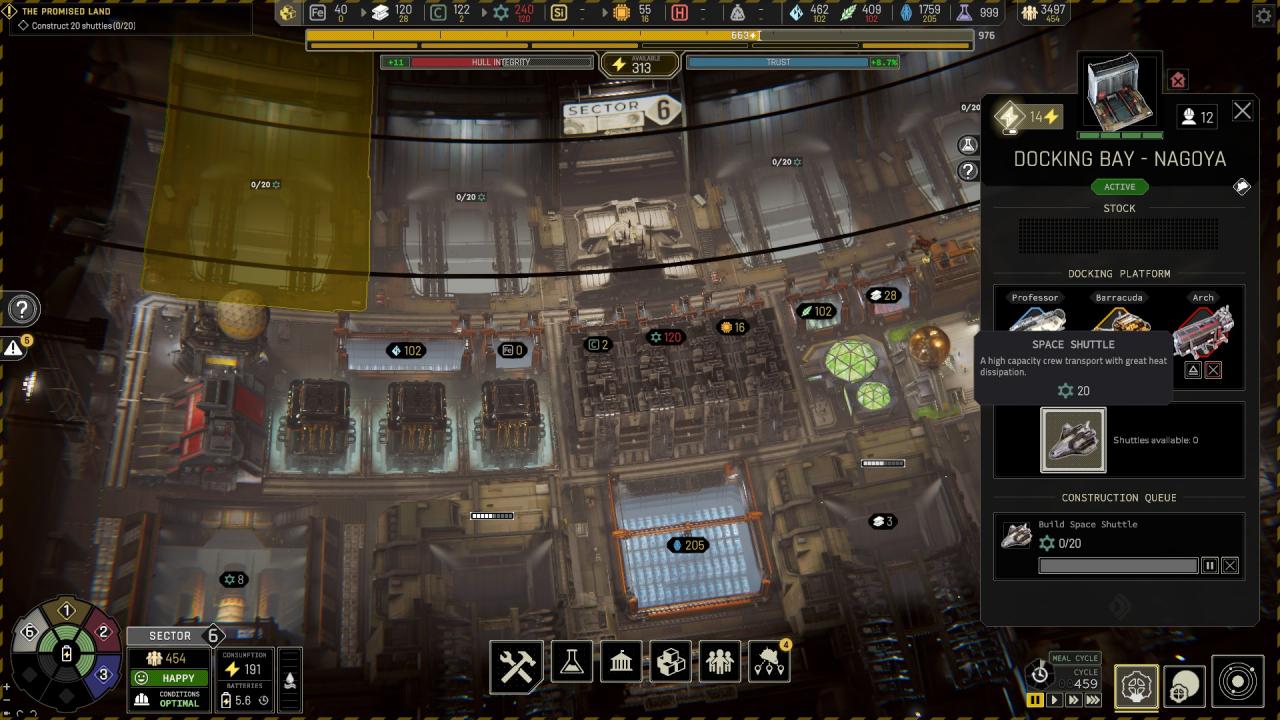
Chapter 5 ({ Romulus } Romulus – Another World )
This is the second ending, who can lead to 2 achievement, to do it, “take the time” to discover Romulus, it will lead you to few small event.
I exeptionaly do a complete event section for this one ( as it’s a secret ending ).
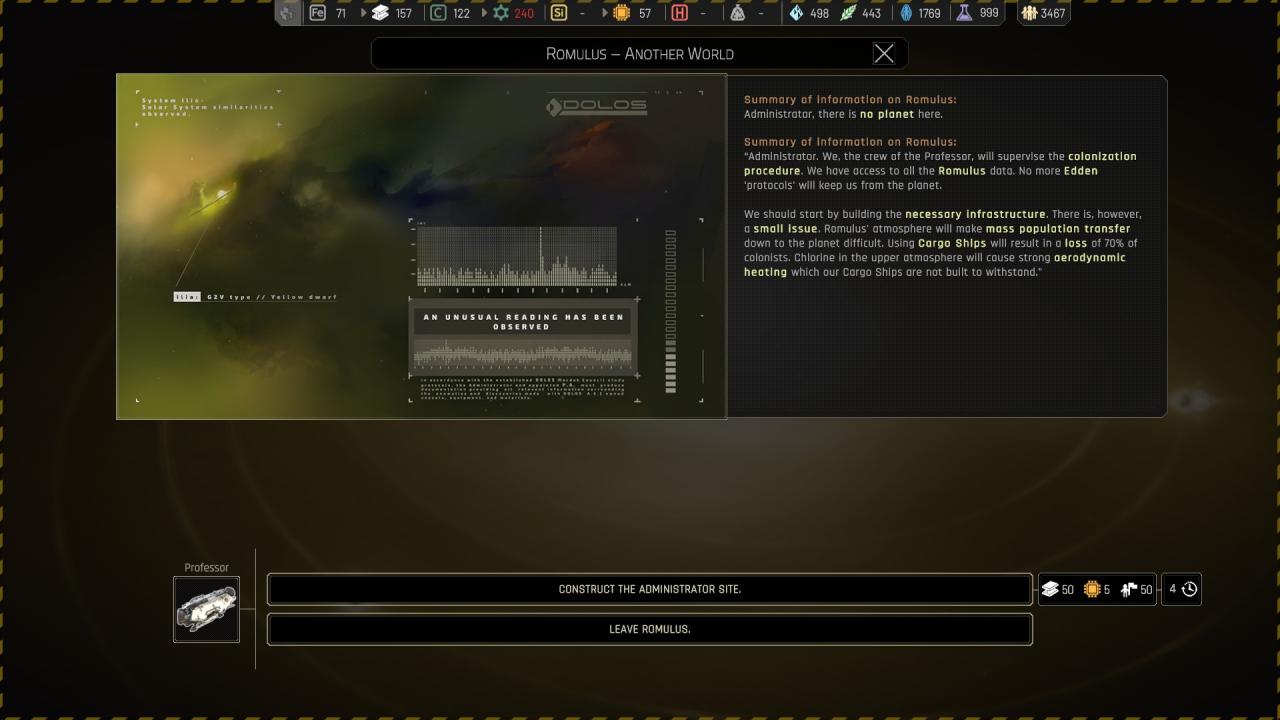
- First send a probe to discover romulus ( first screen of the POI )
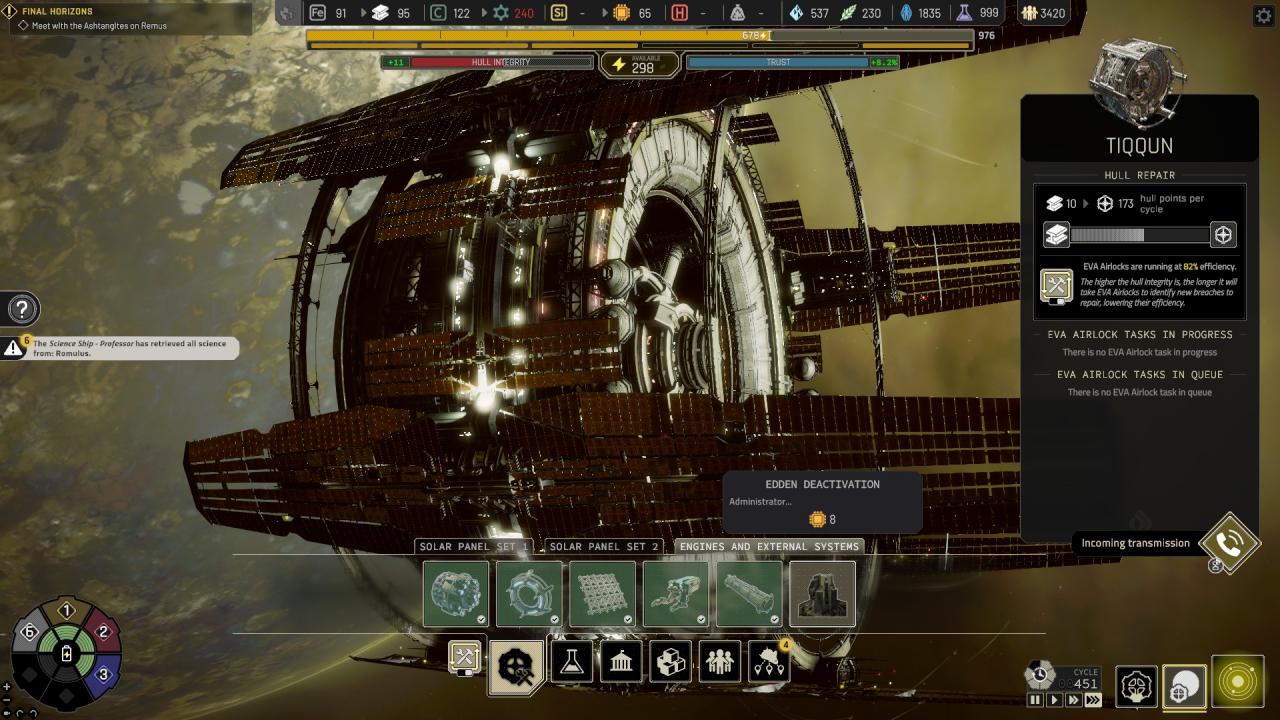
- The first event will occur soon after in Tiqqun ( second screen )
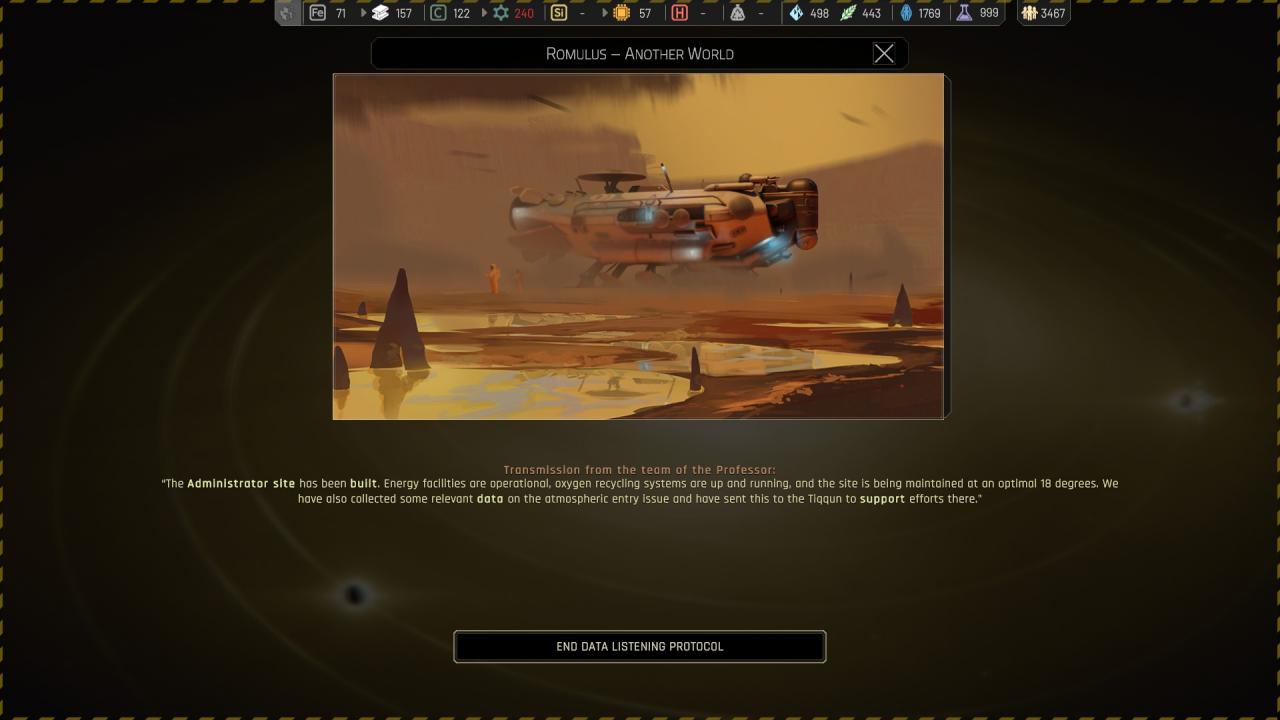
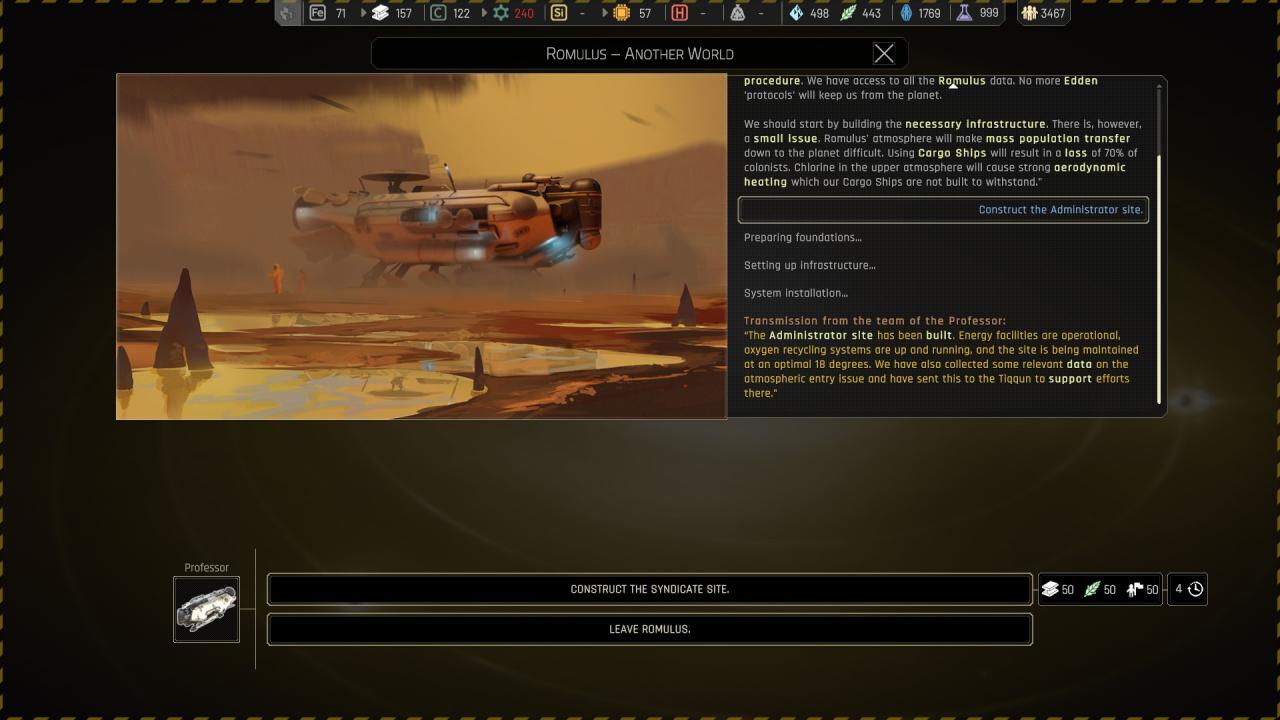
- The team will ask you to send a scientific ship to the location, do it, it will lead to the second small event ( third screen, you just need to wait a little bit untill the event occure )
- Then they ask you to remove Eden ( fourth screen, then it will active you a new objective : “The Promized Land” )
 This occur only if you’ve made a copy of P.A. during Chapter 2 at Protagors POI :
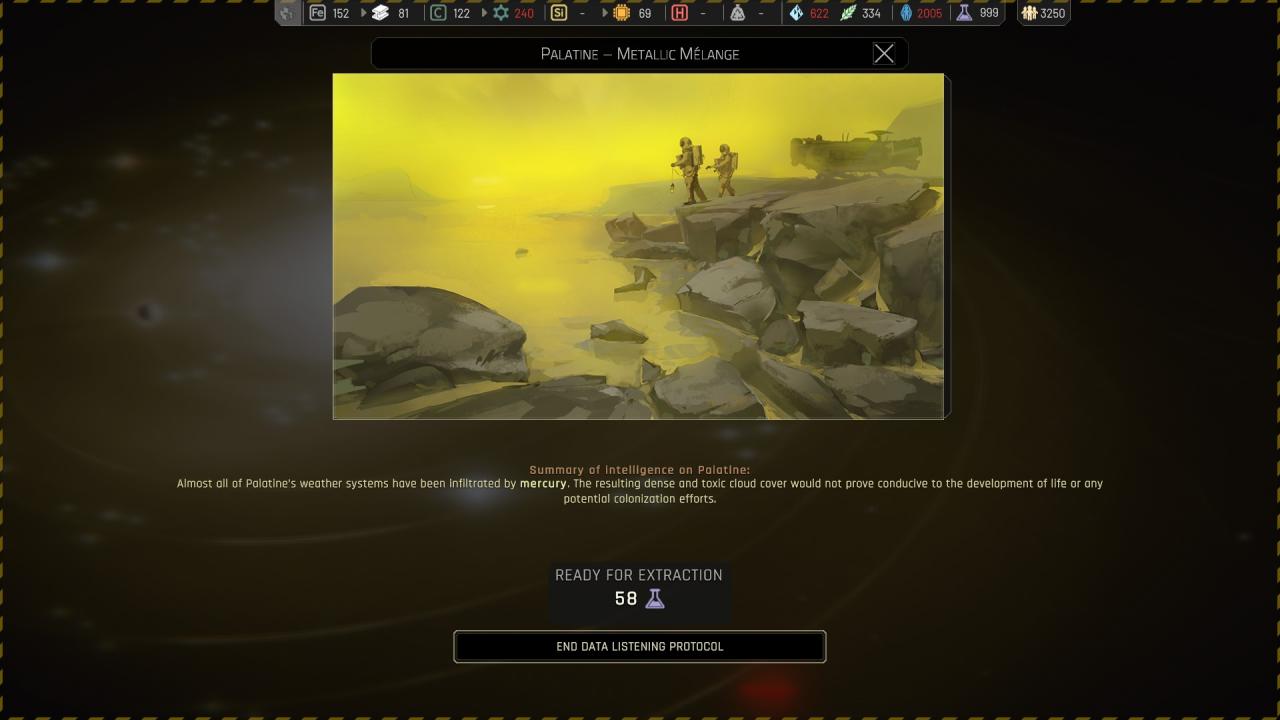
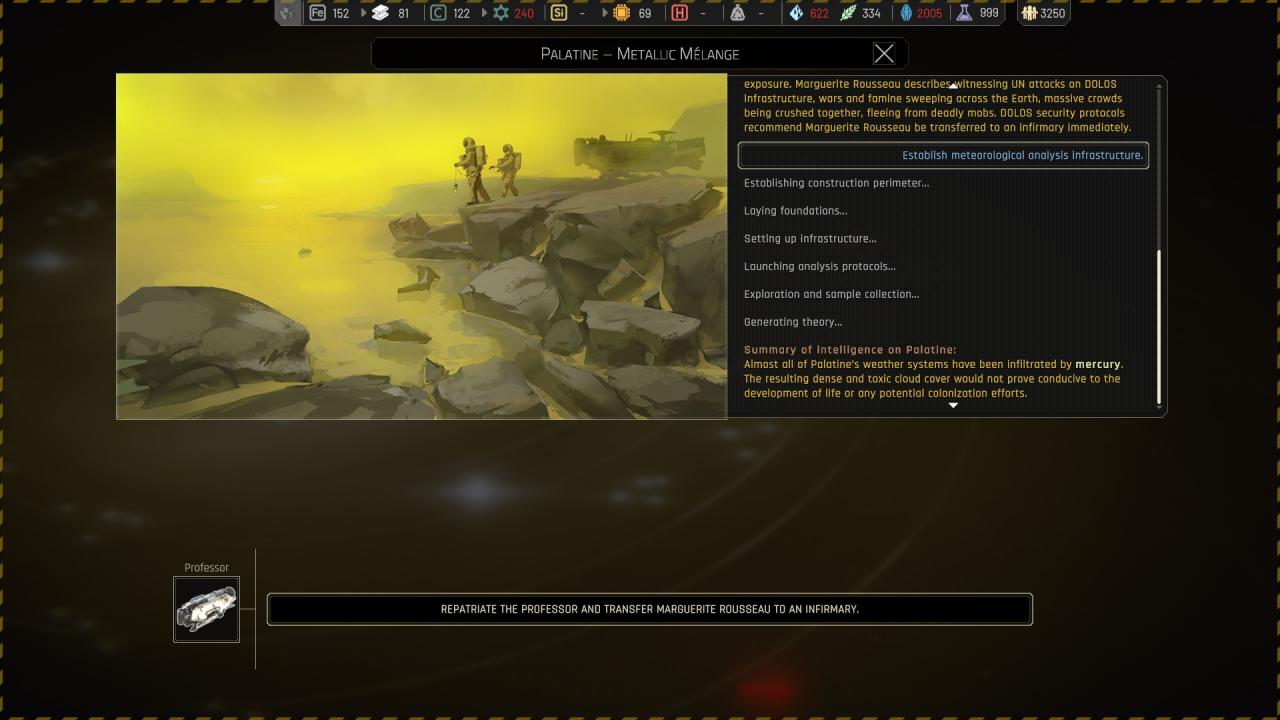
Chapter 5 ({ Palatine } Palatine – Metallic Mélange )
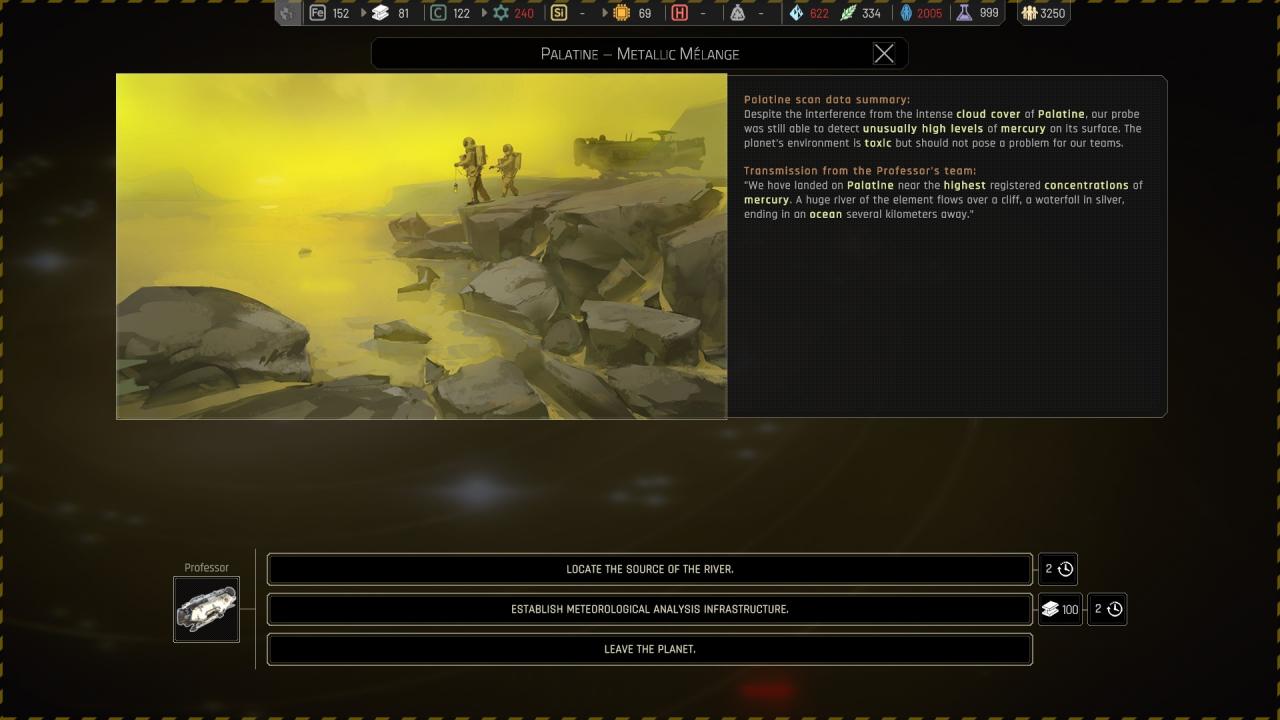
🗘 Locate the source of the river :

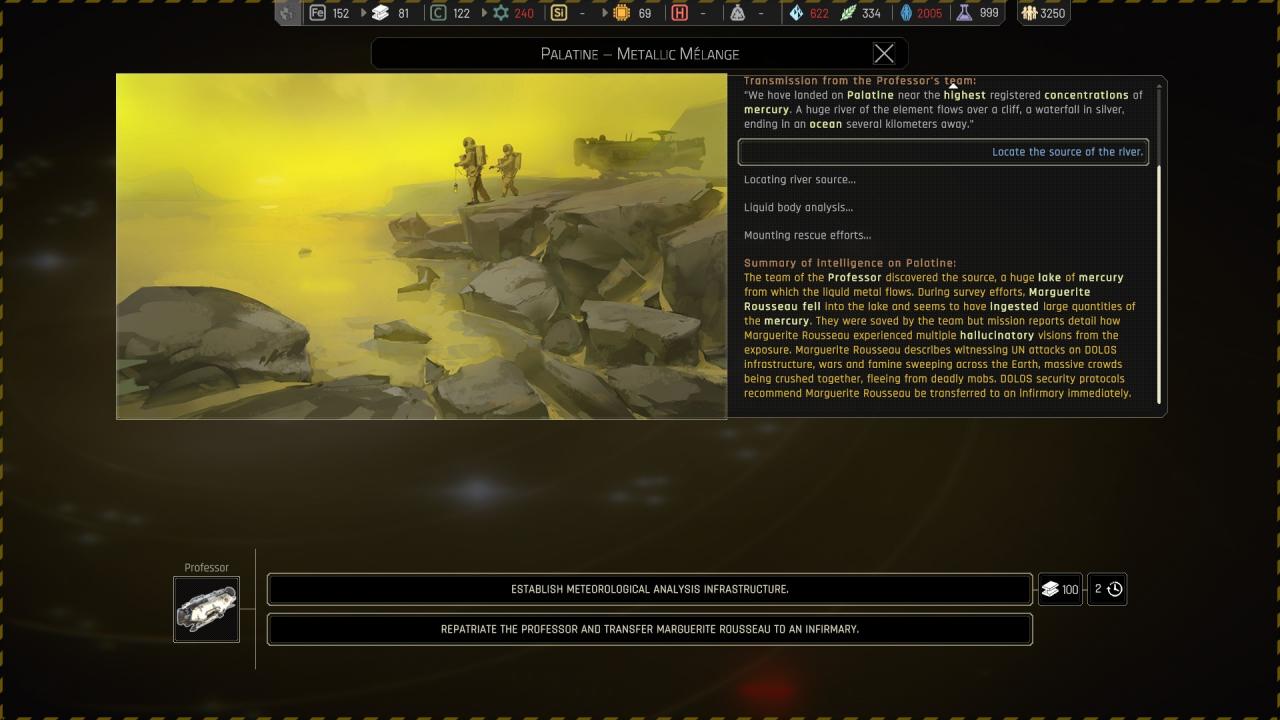
🔒 Establish meteorological analysis infrastructure :
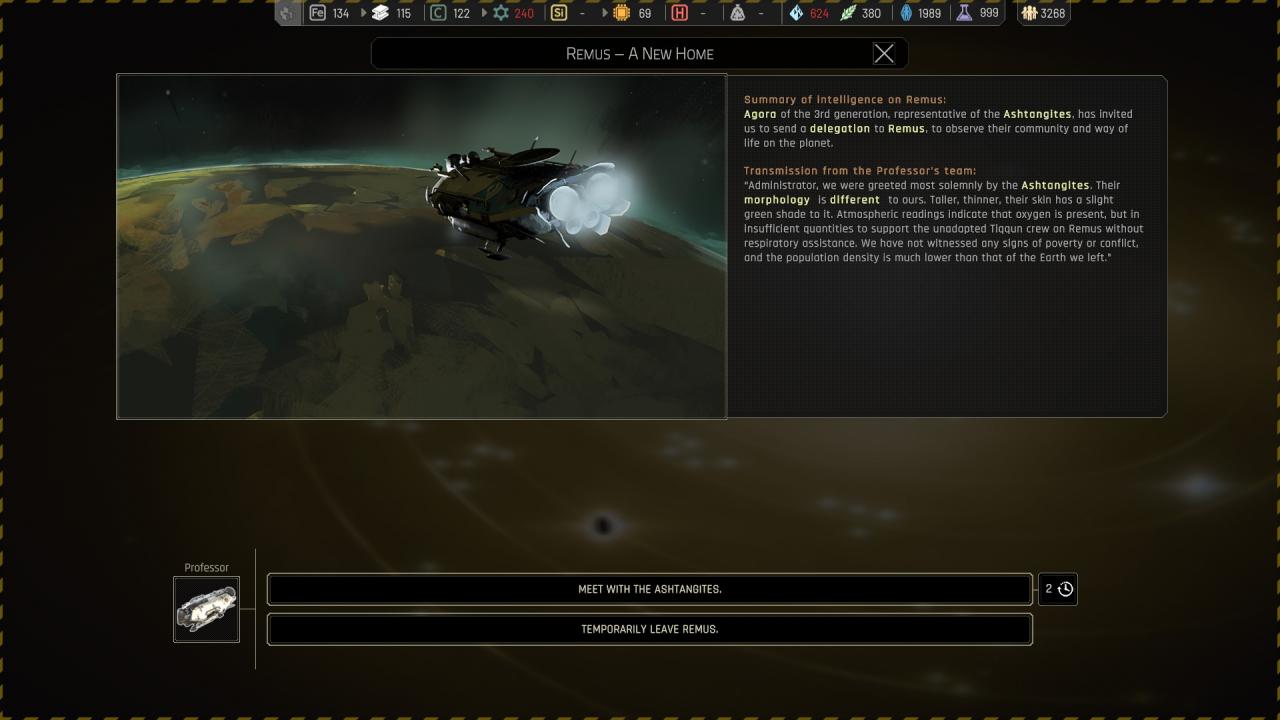
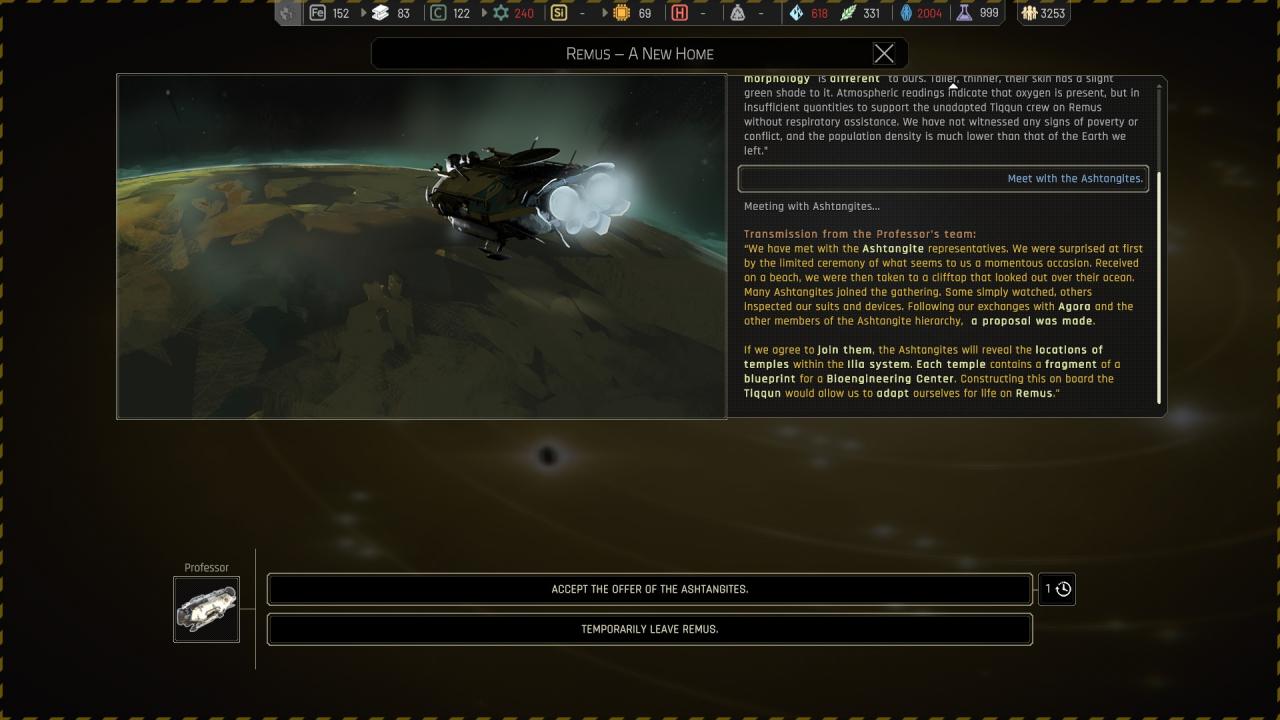
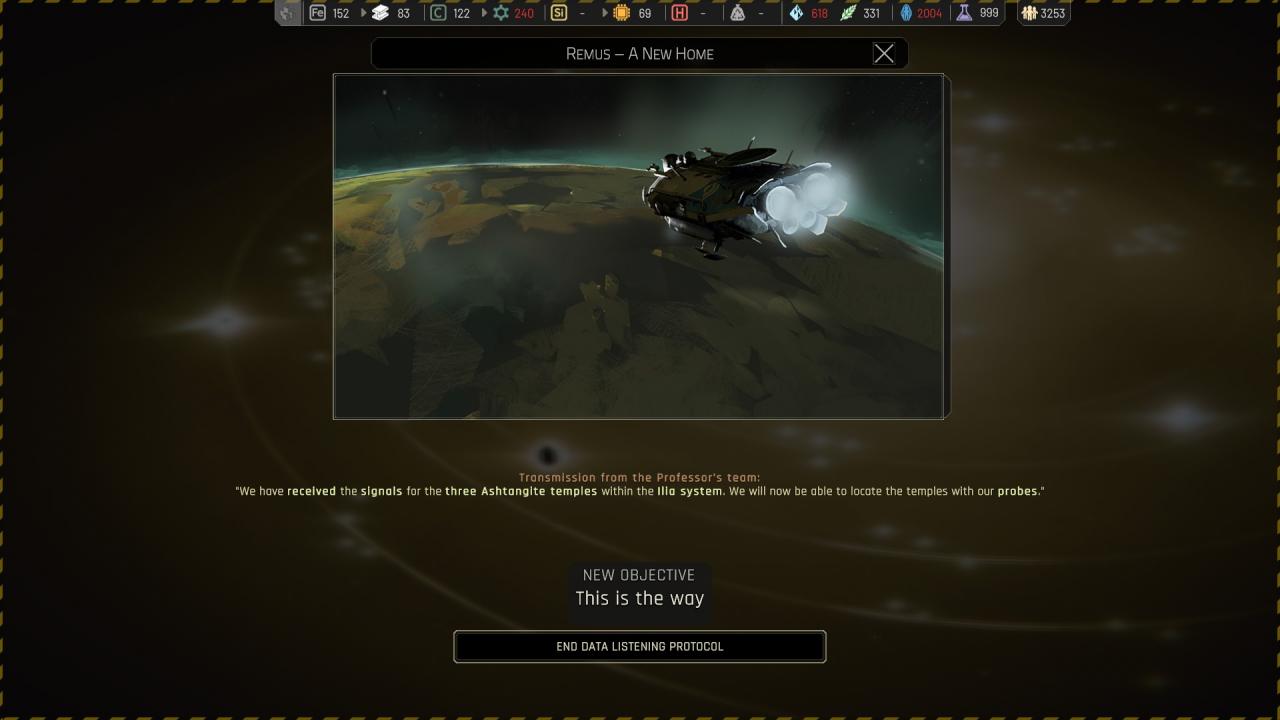
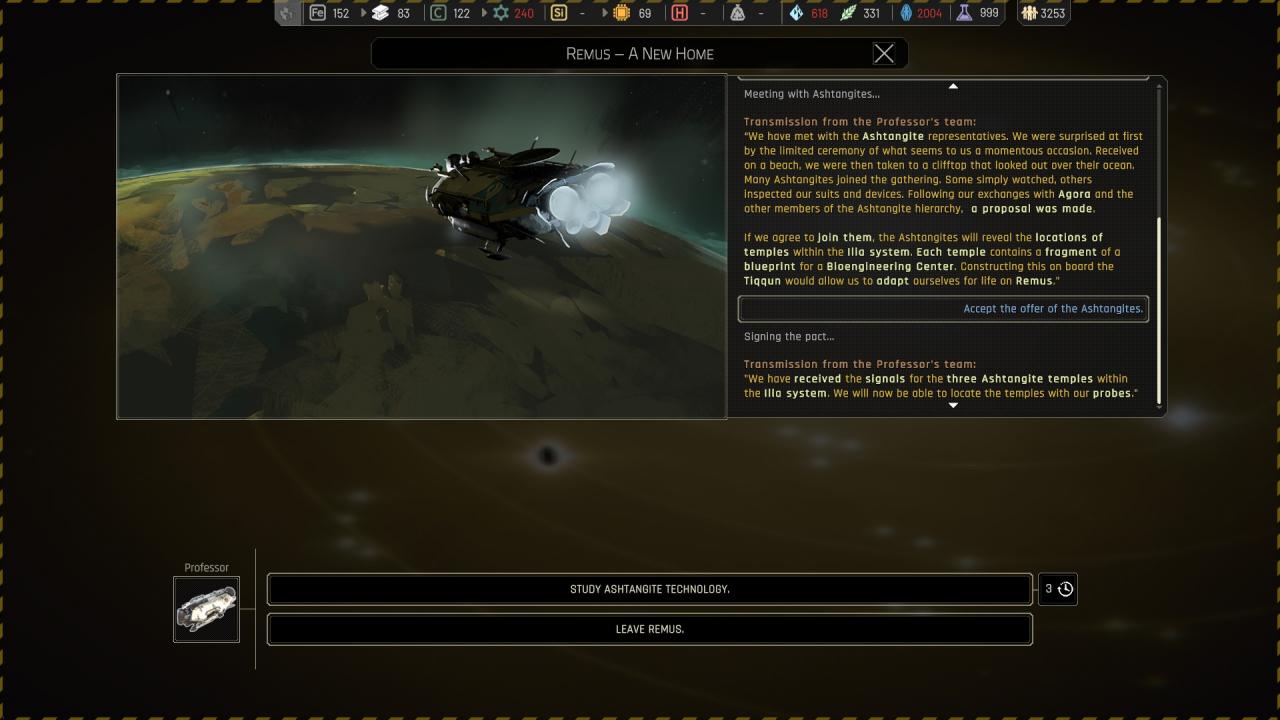
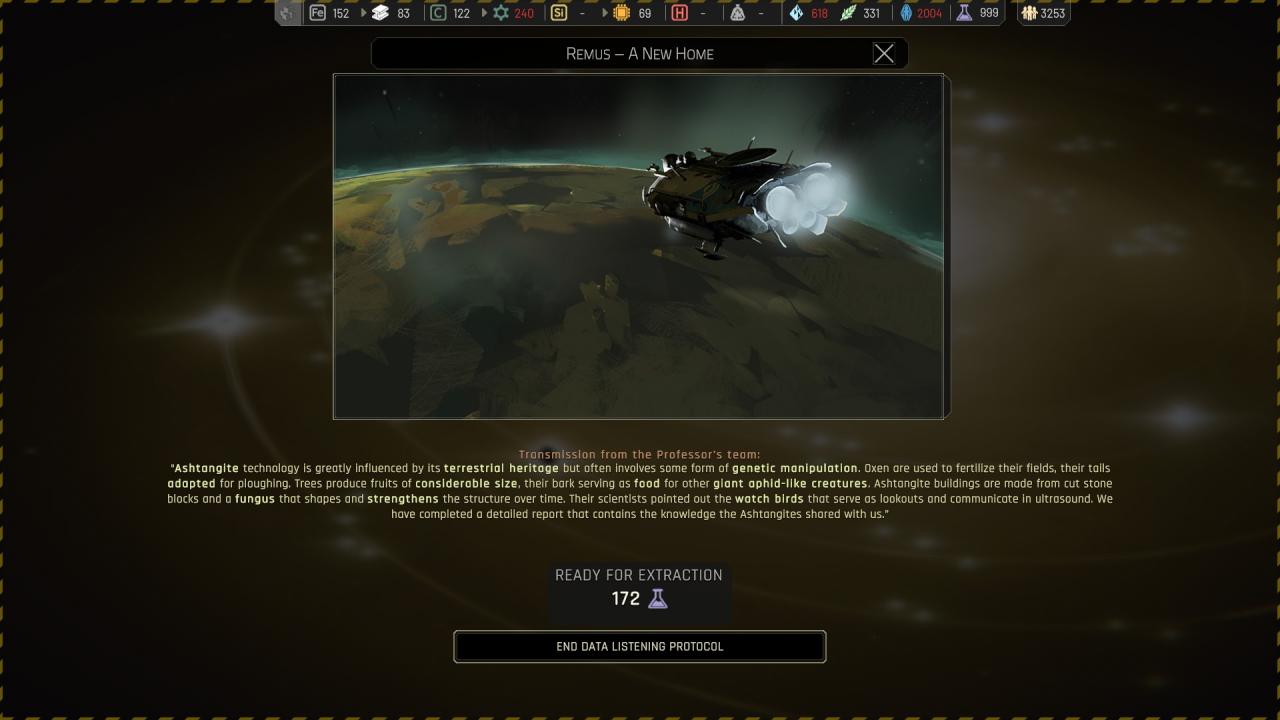
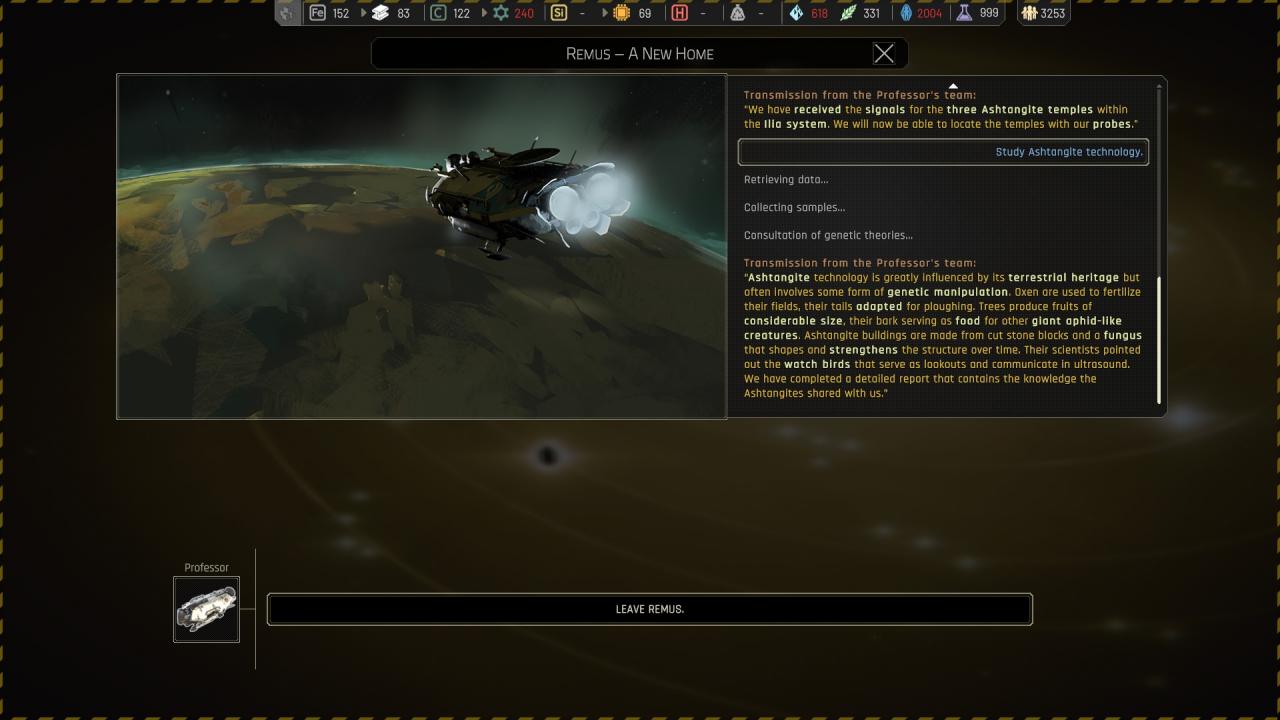
Chapter 5 ({ Remus } Remus – A New Home )

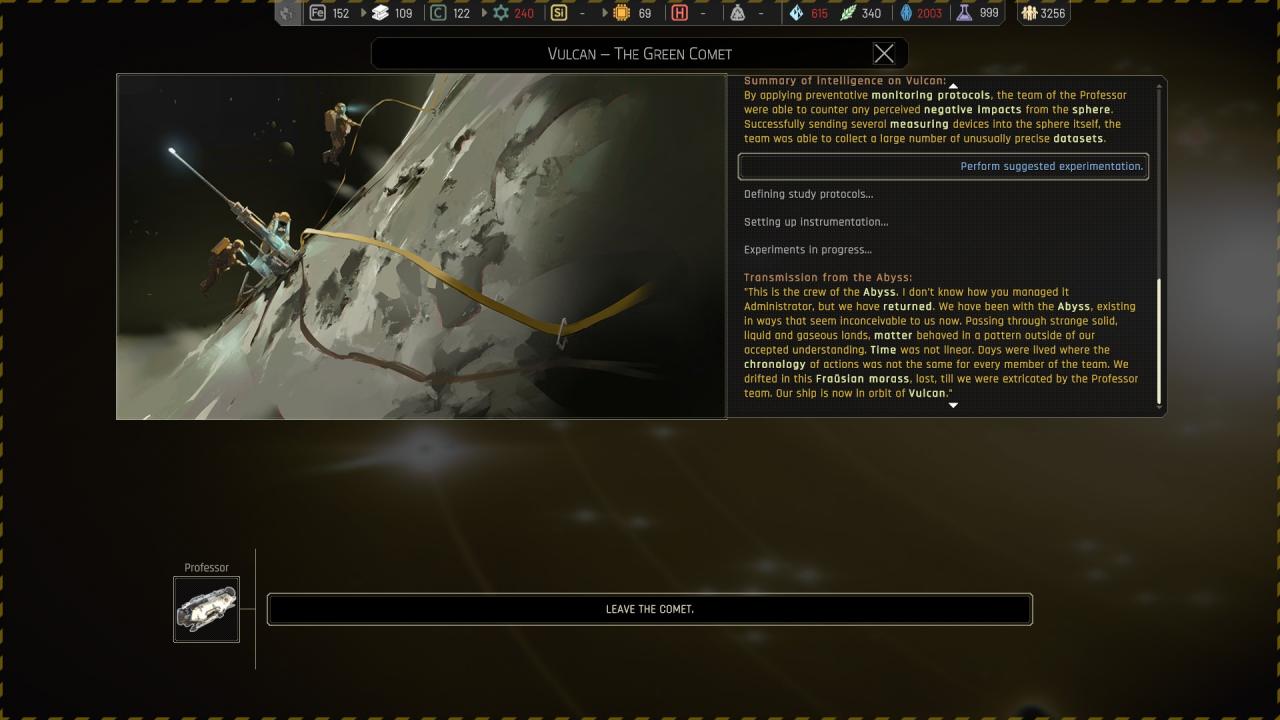
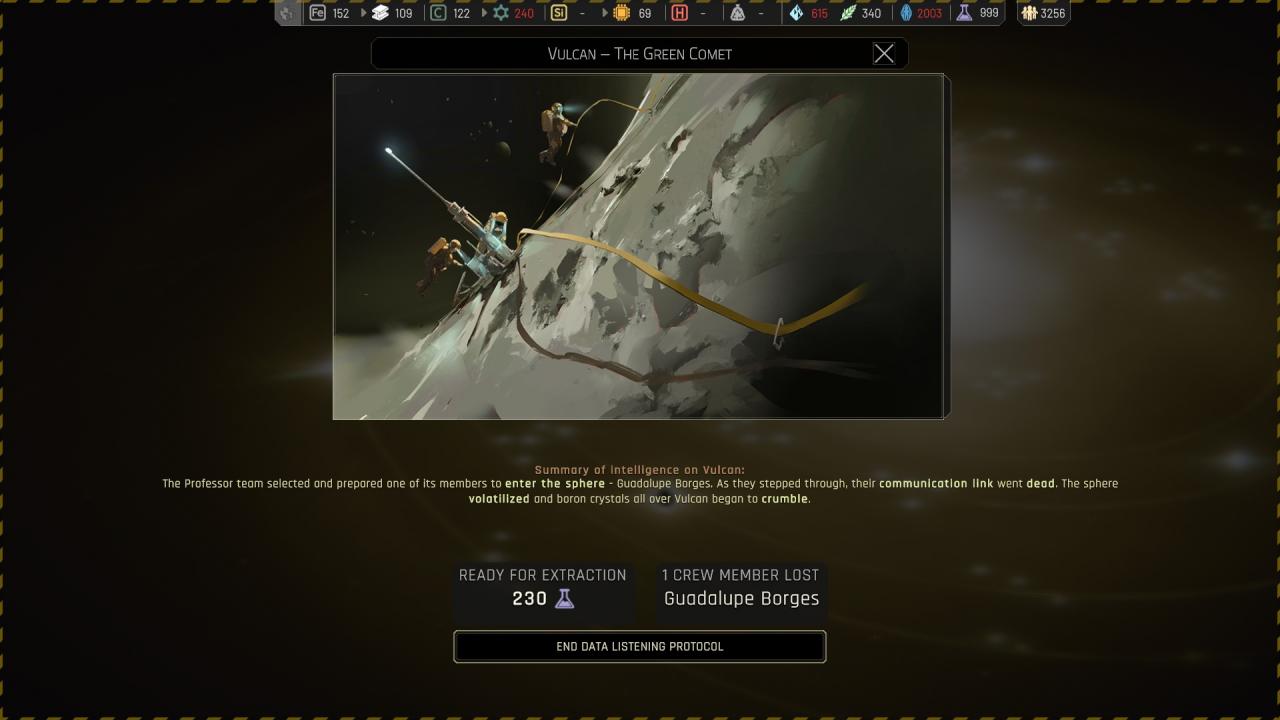
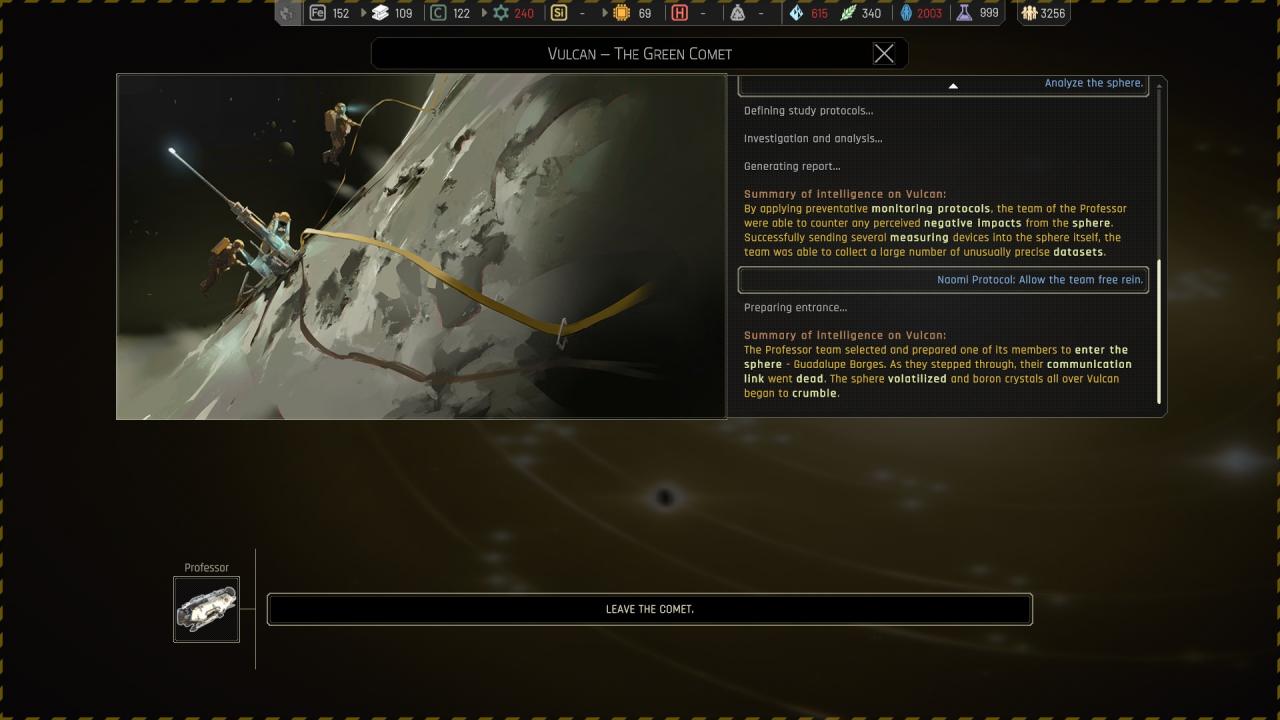
Chapter 5 ({ Vulcan } Vulcan – The green comet )
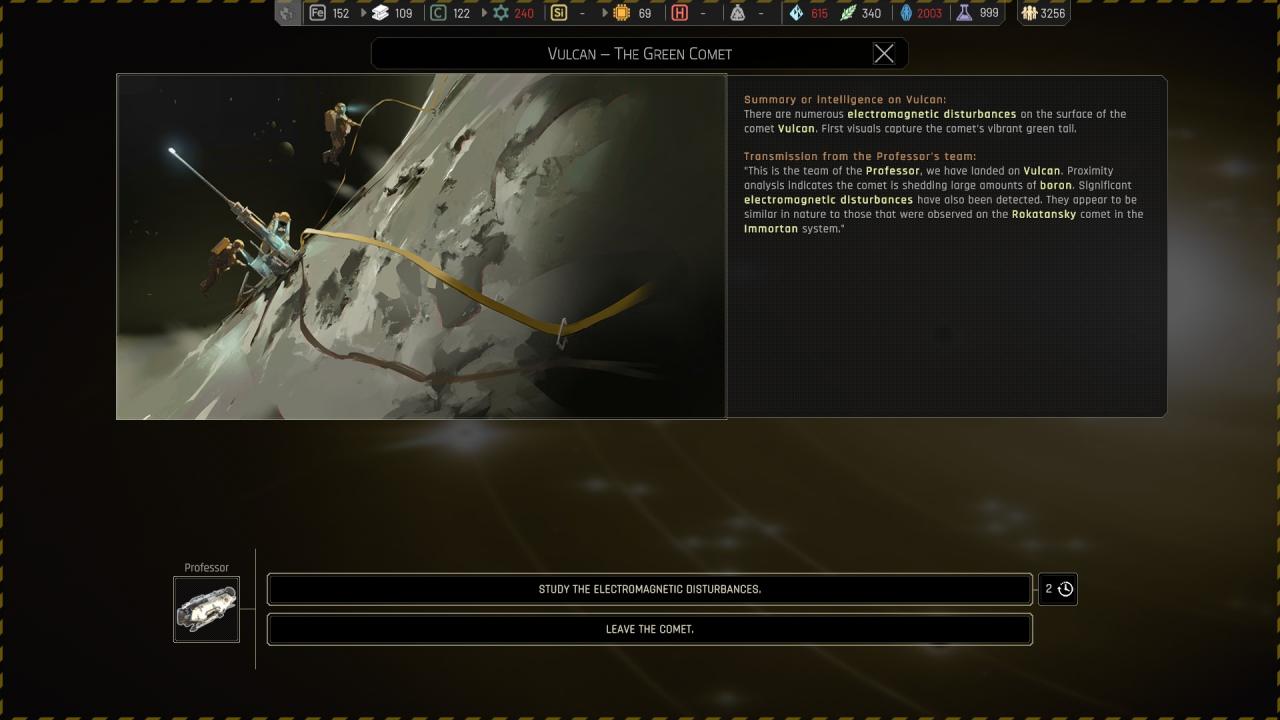
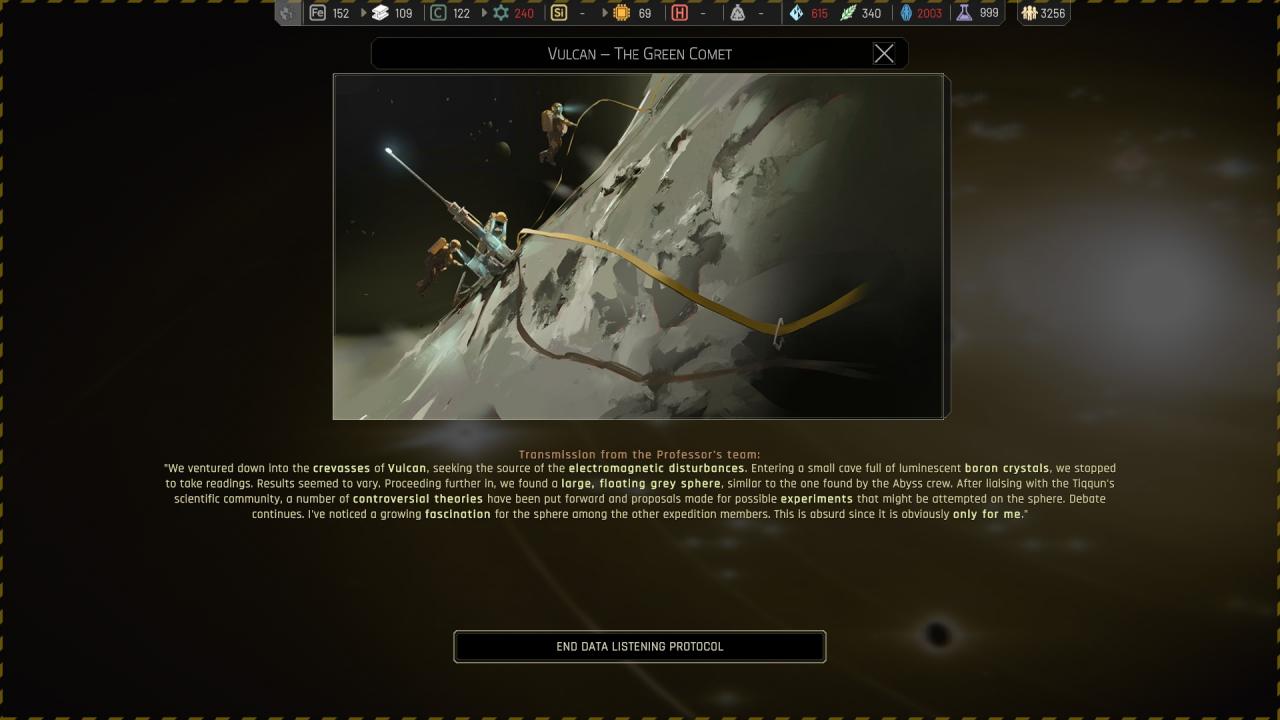
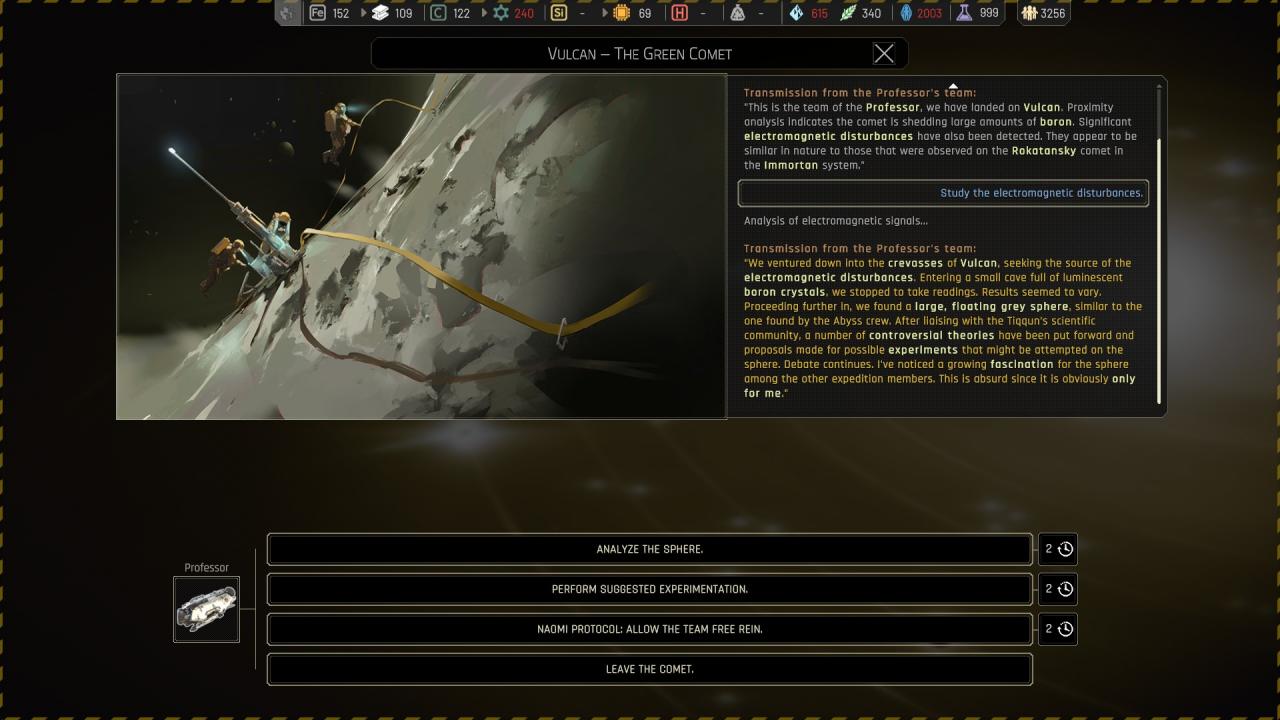
🗘 Analyze the sphere :
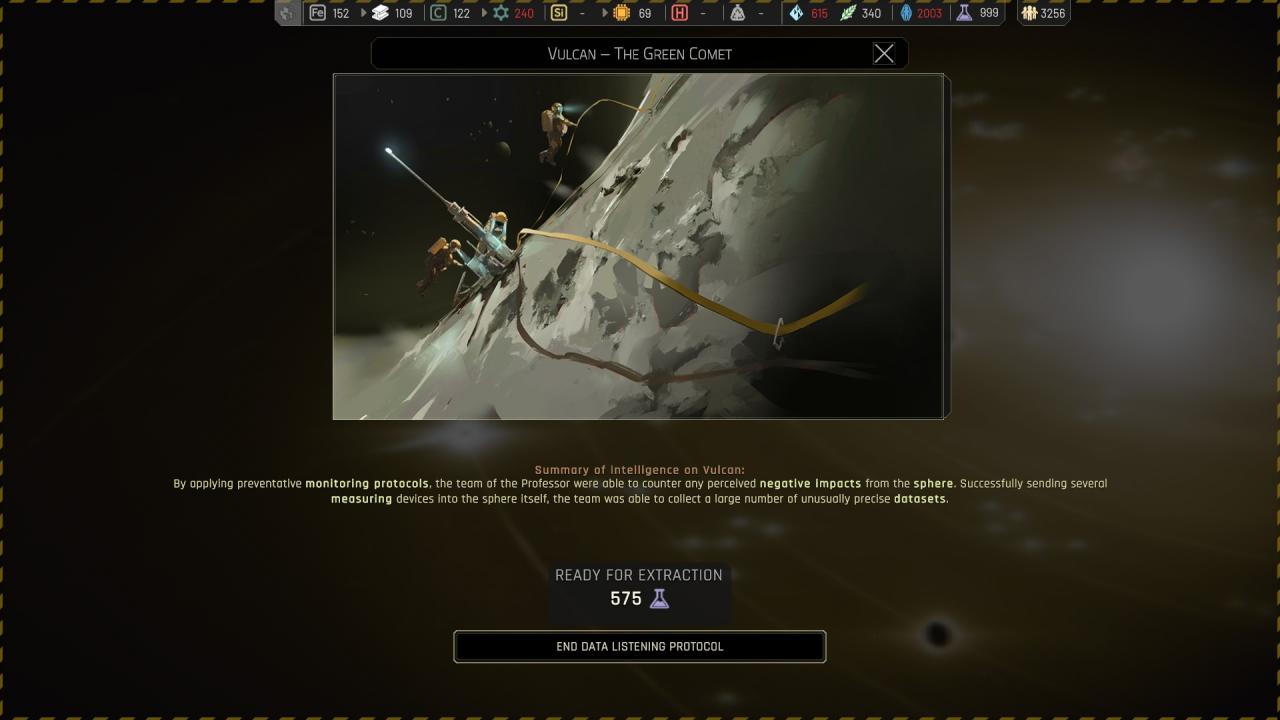
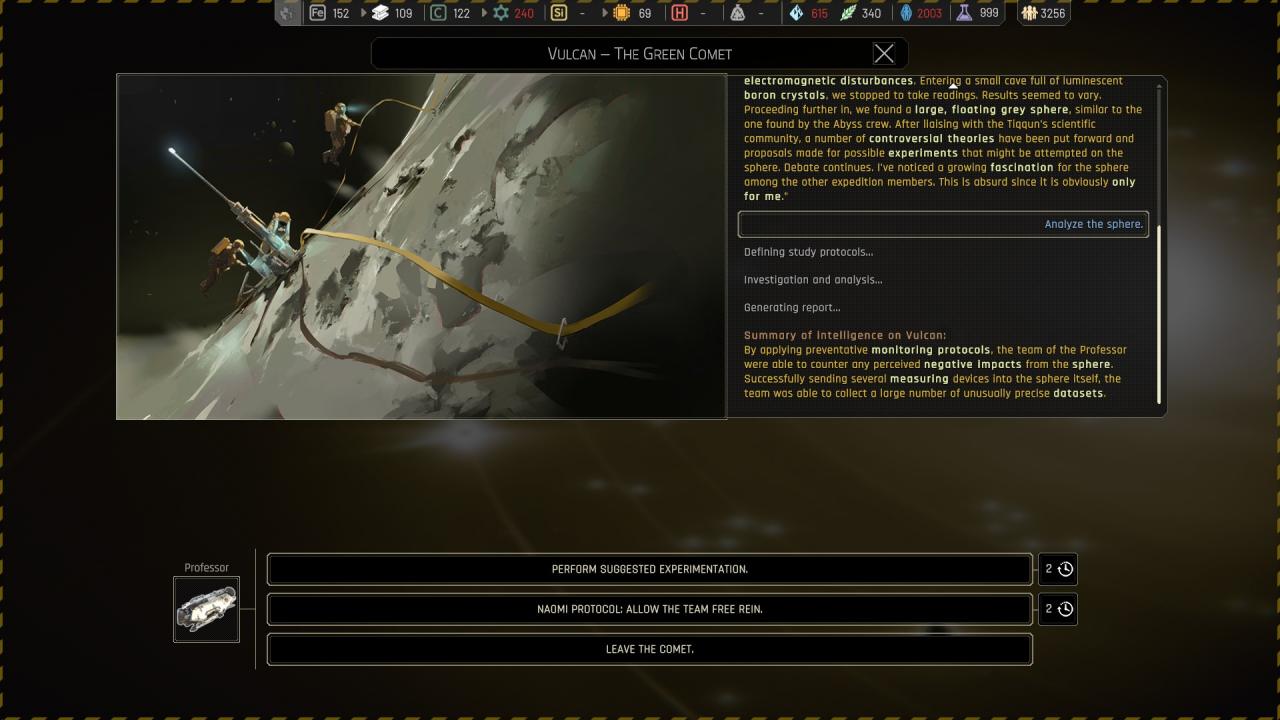
🔒 Perform suggested experimentation :
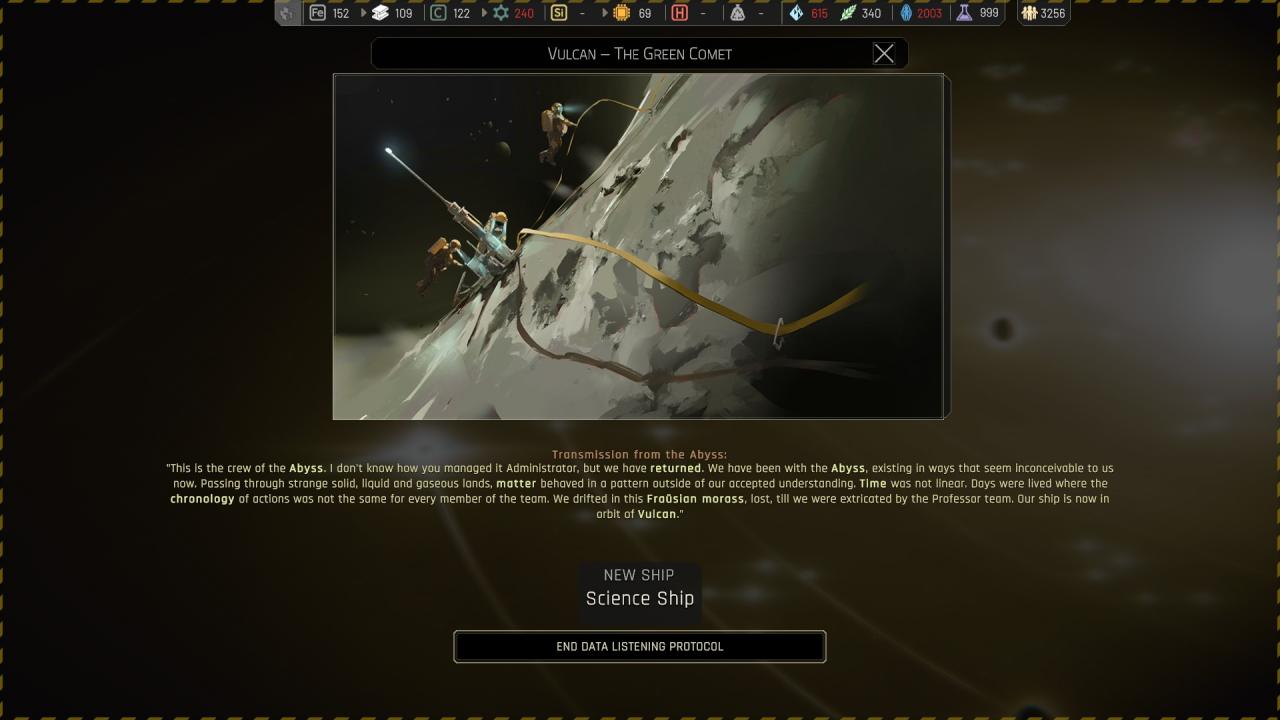
🔒 Naomi protocol : Allow the team free rein :
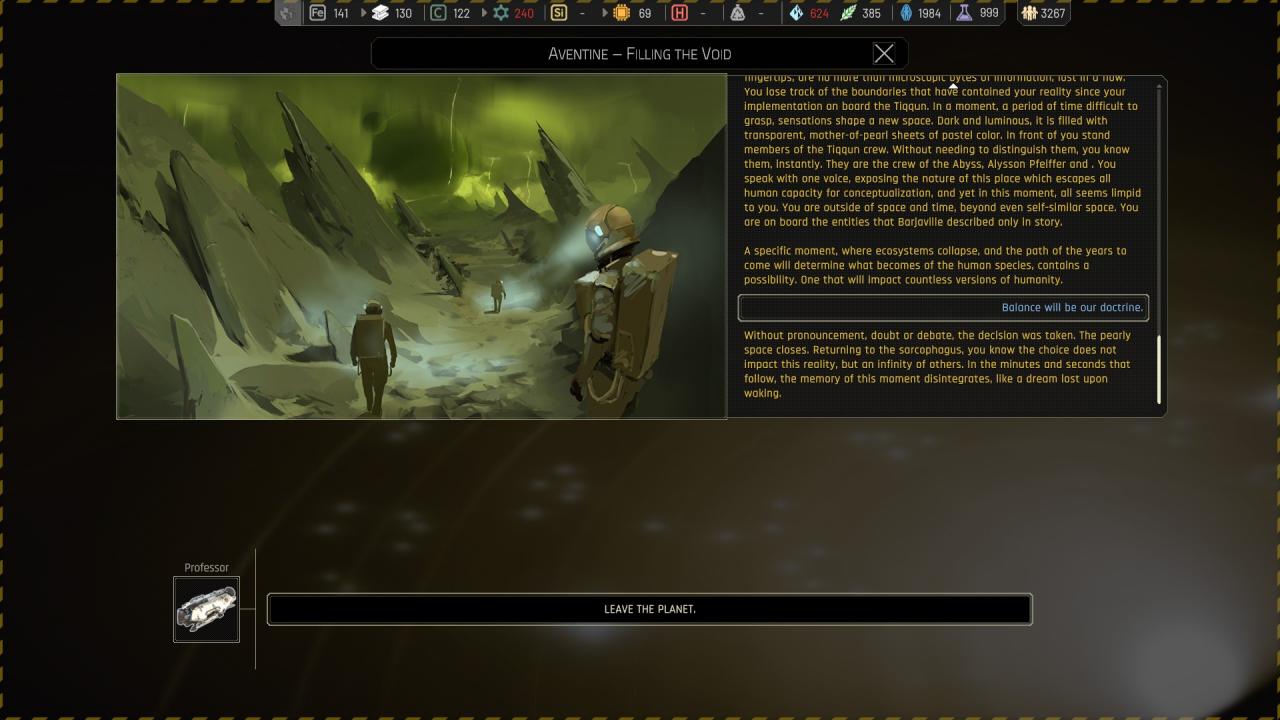
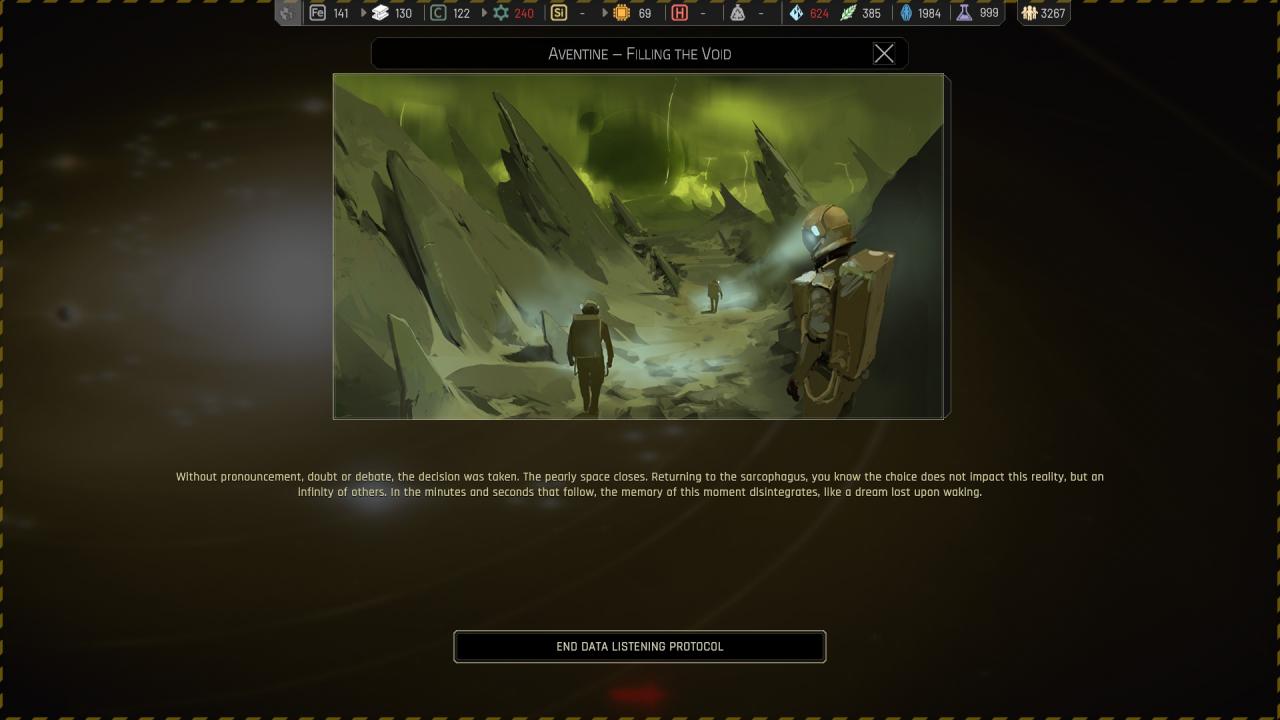
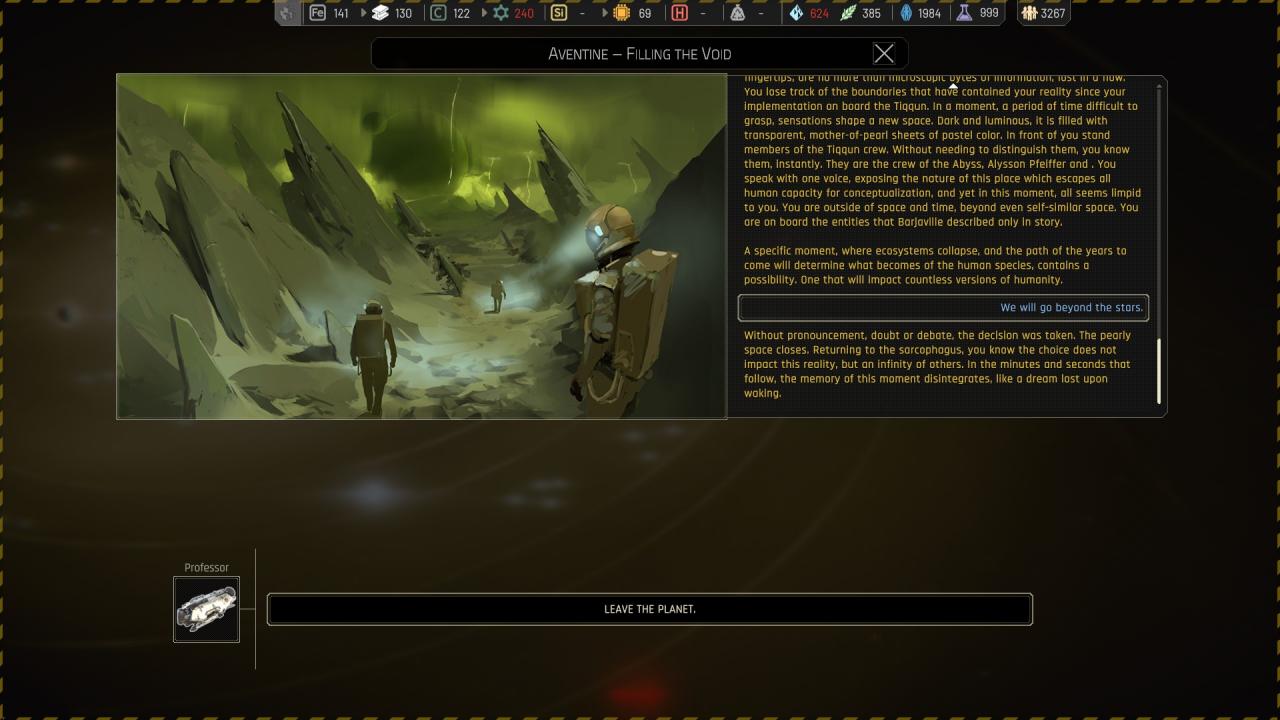
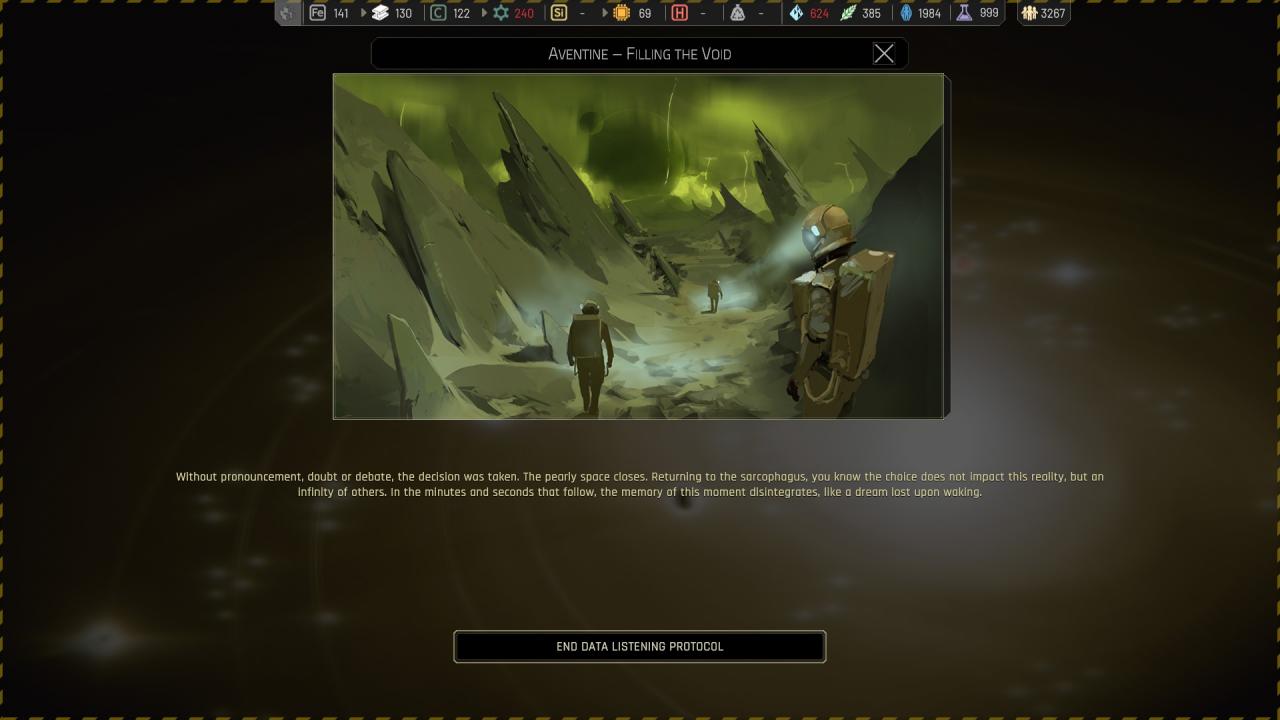
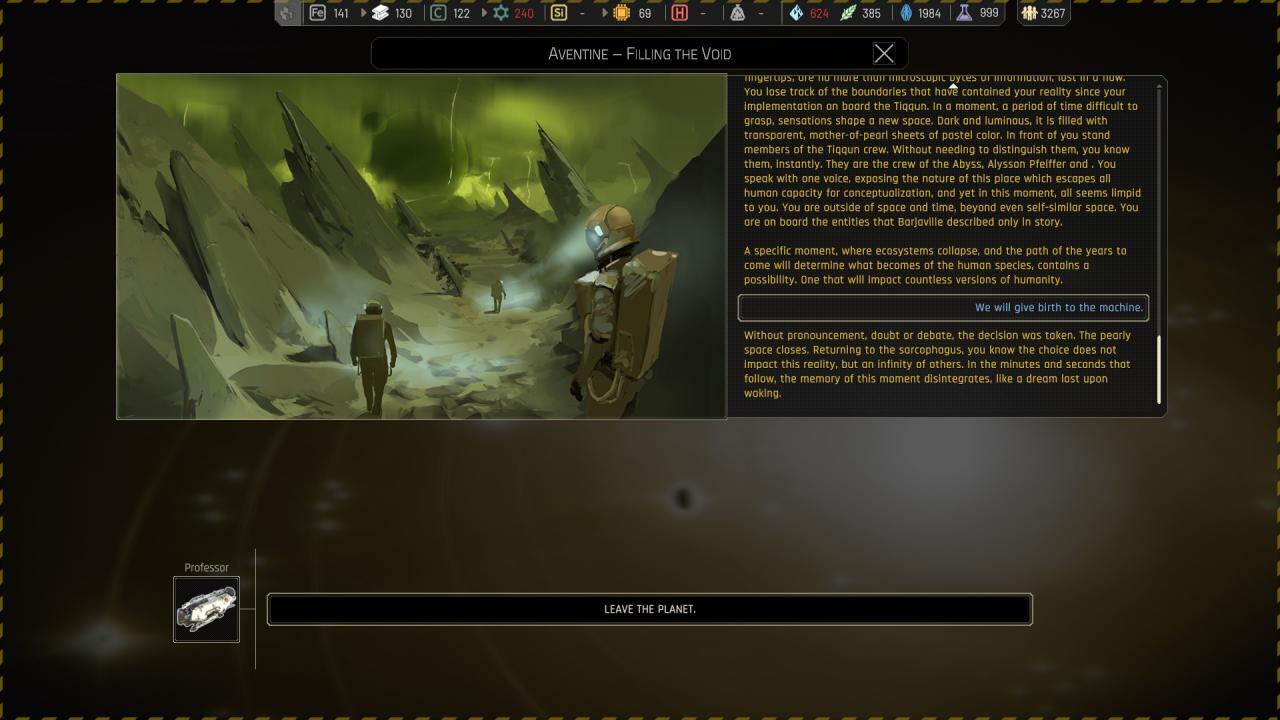
Chapitre 5 ({ Aventine } Aventine – Filling the void )
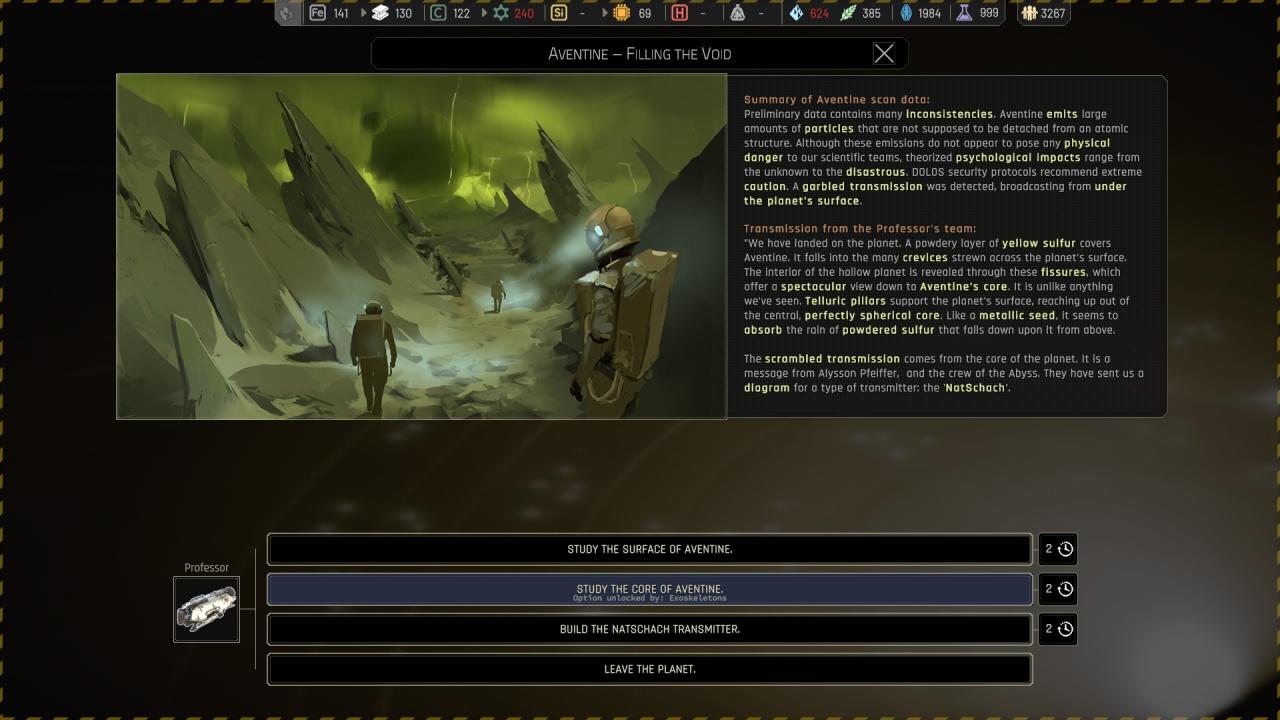
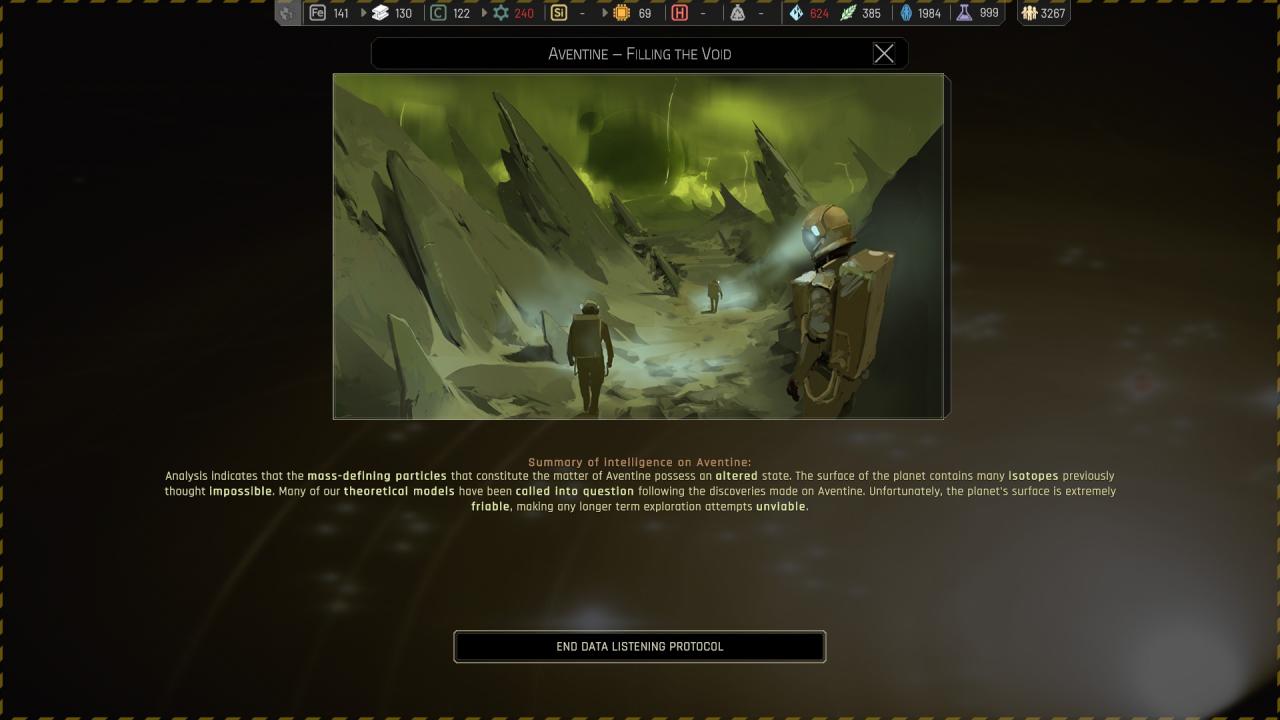
🗘 Study the surface of aventine :
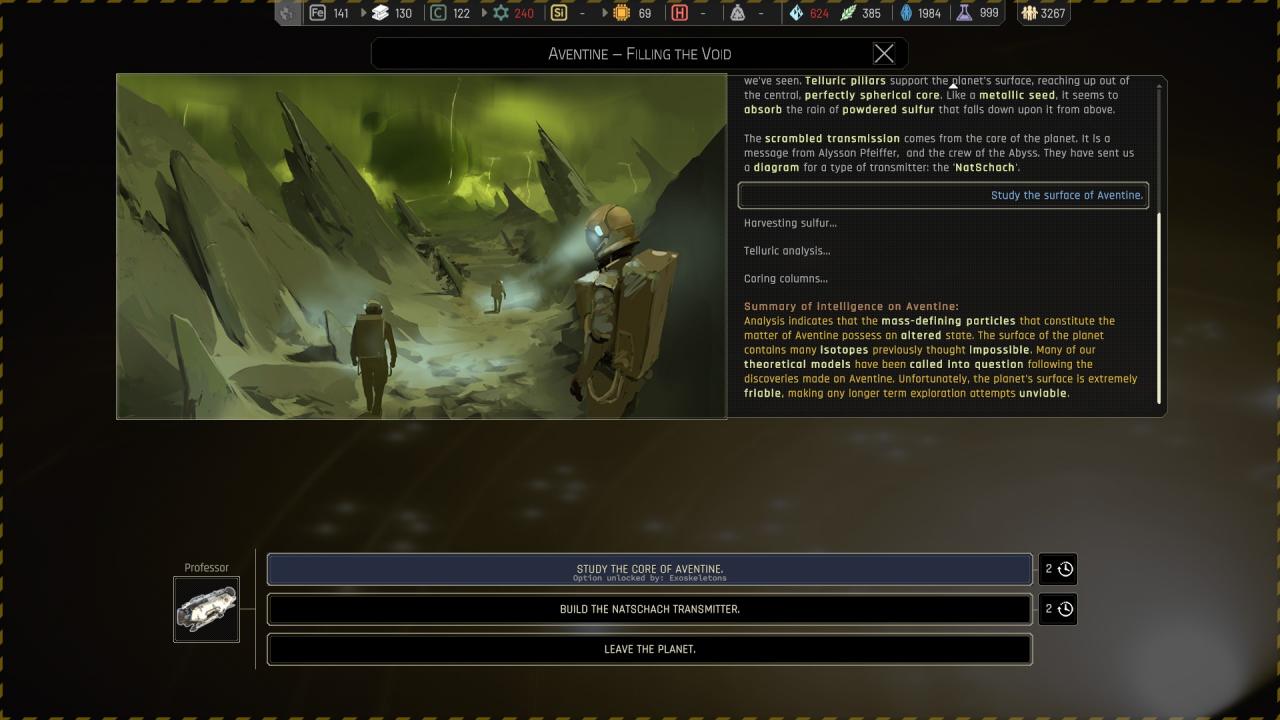
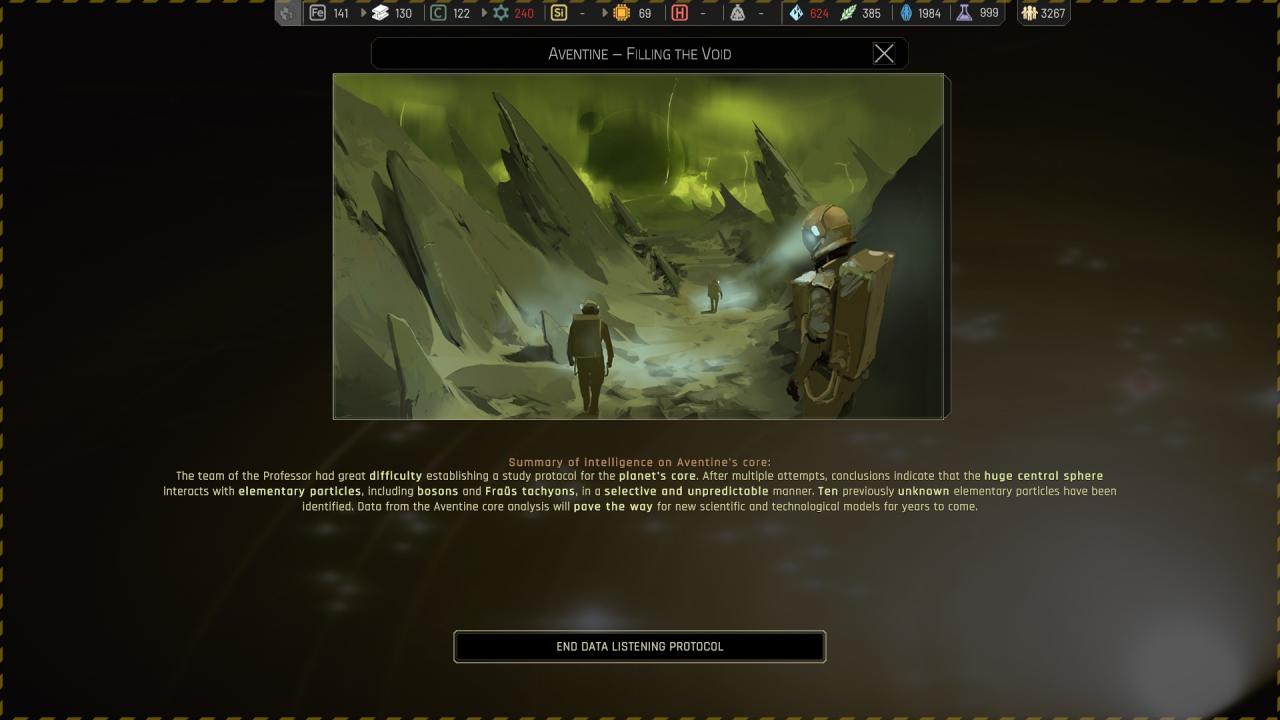
🗘 Study the core of aventine :

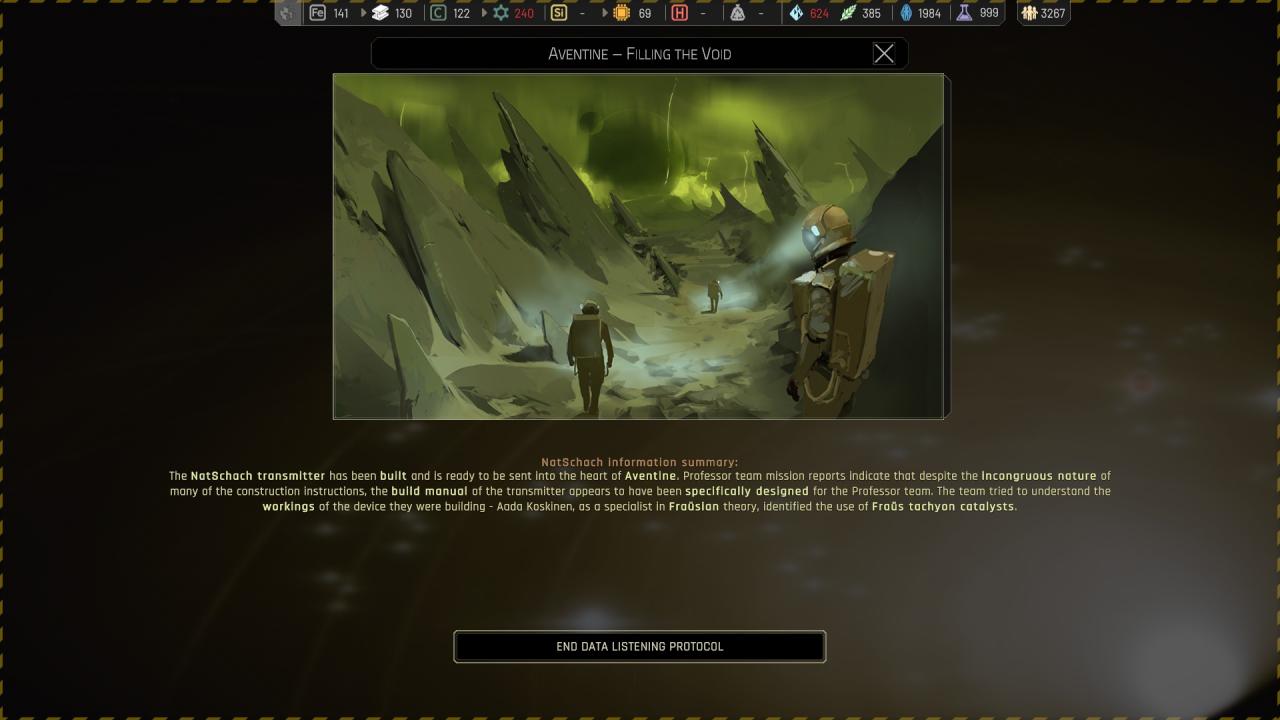
🗘 Build the natschach transmitter :

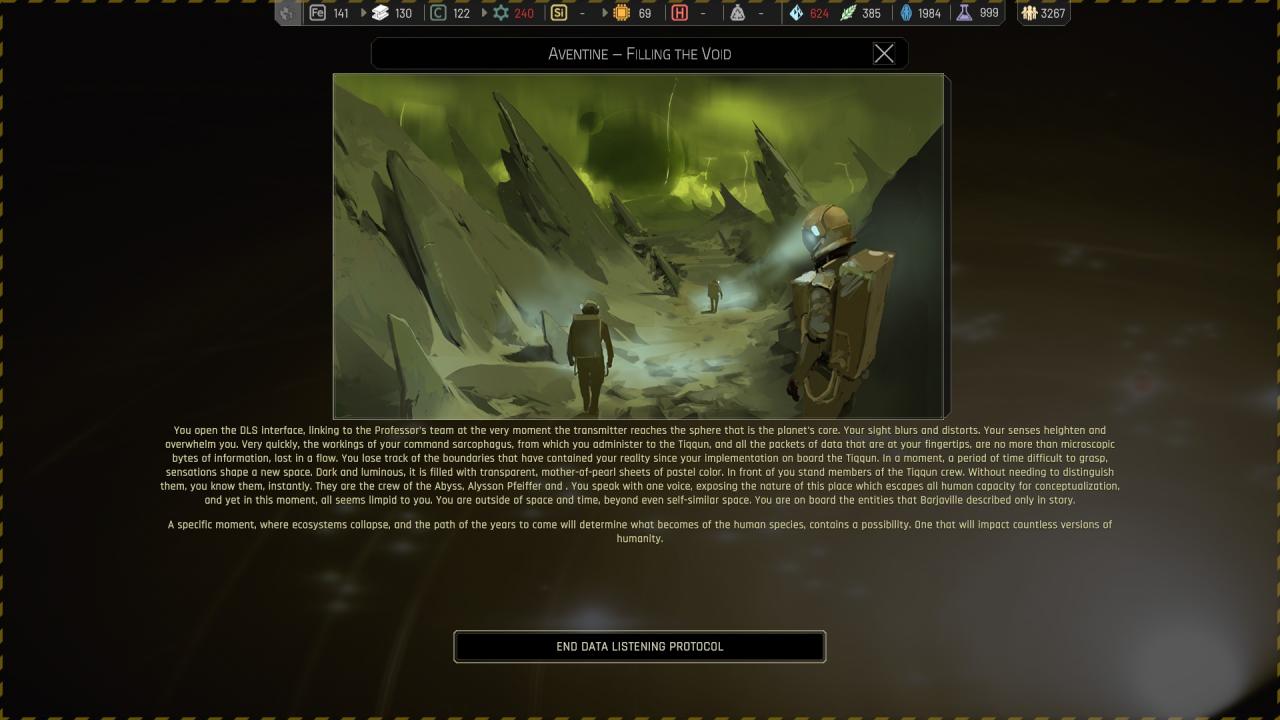
🗘 Build the natschach transmitter > Deploy the natschach transmitter :

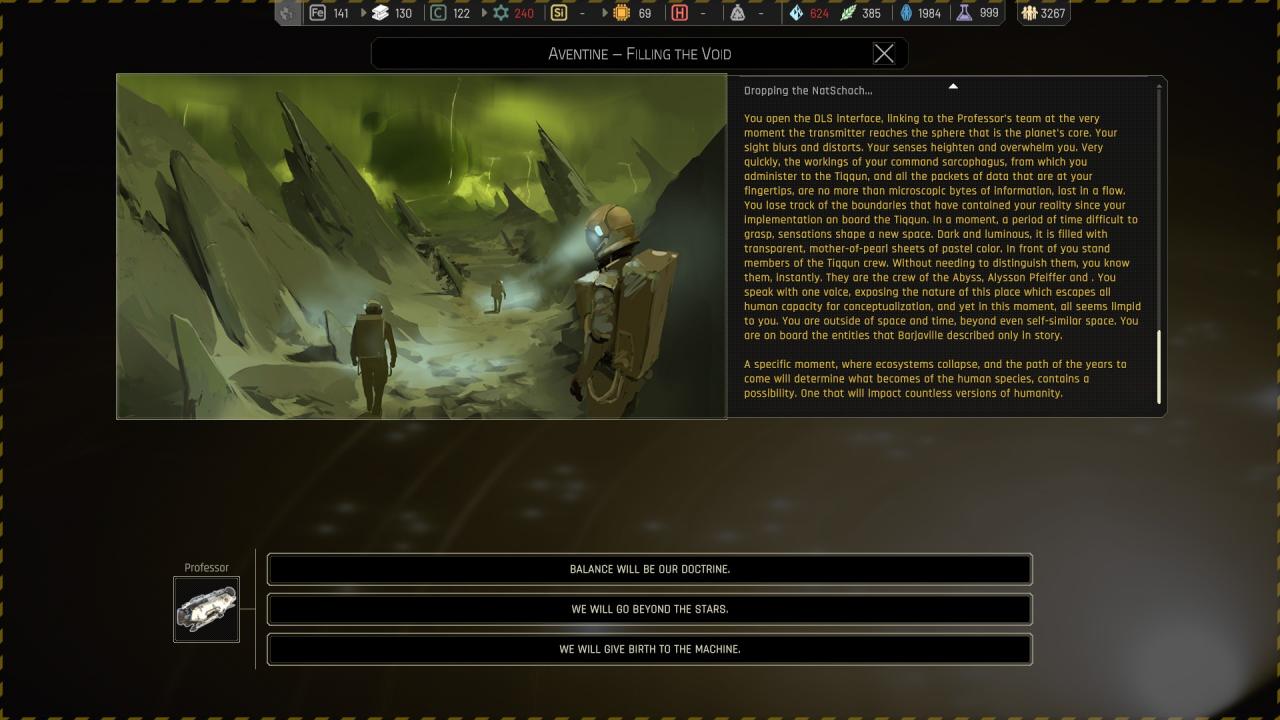
🏆🔒 Balance will be our doctrine : ( Lead to ‘Beyond Time and Space’ achievement )

🔒 We will go beyond the stars :
🔒 We will give birth to the machine :
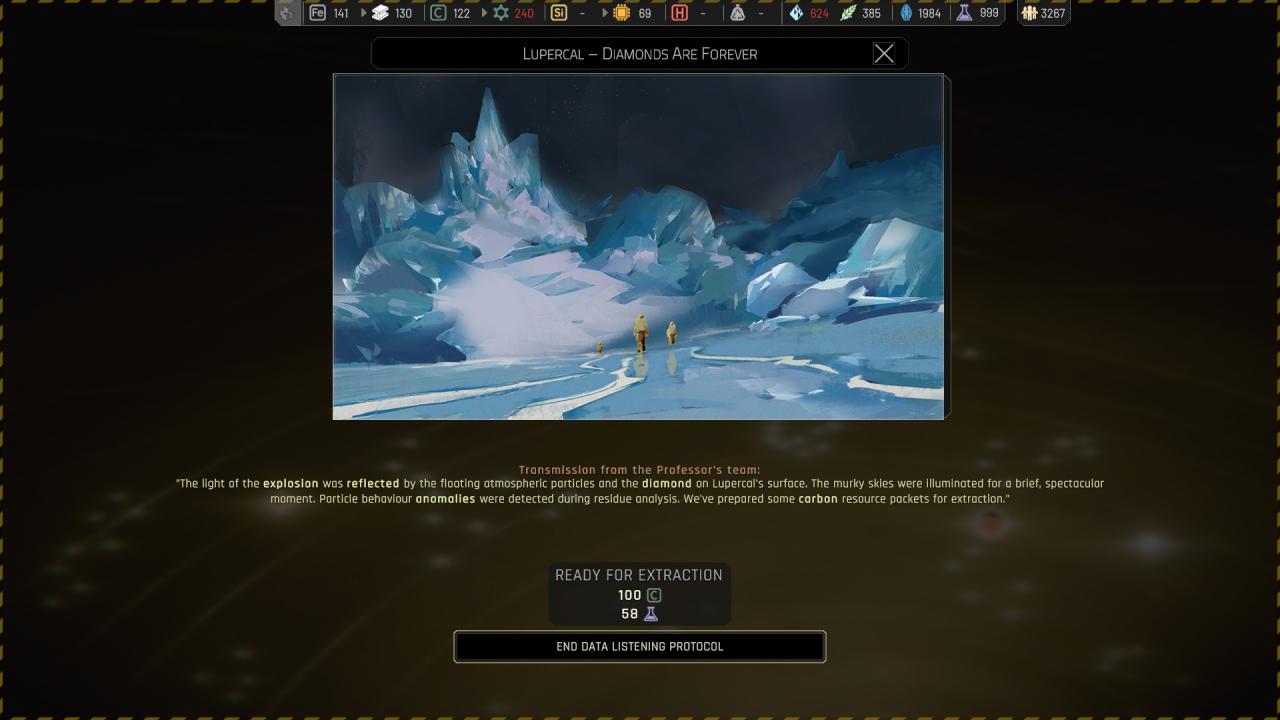
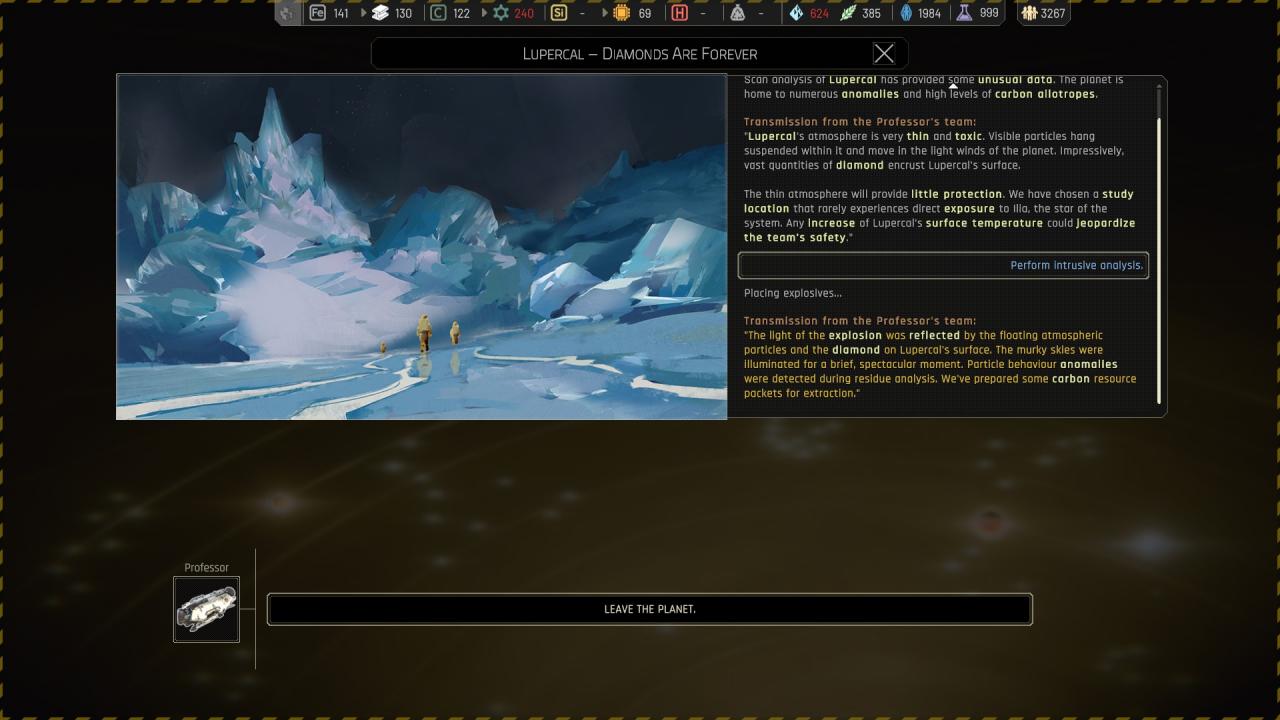
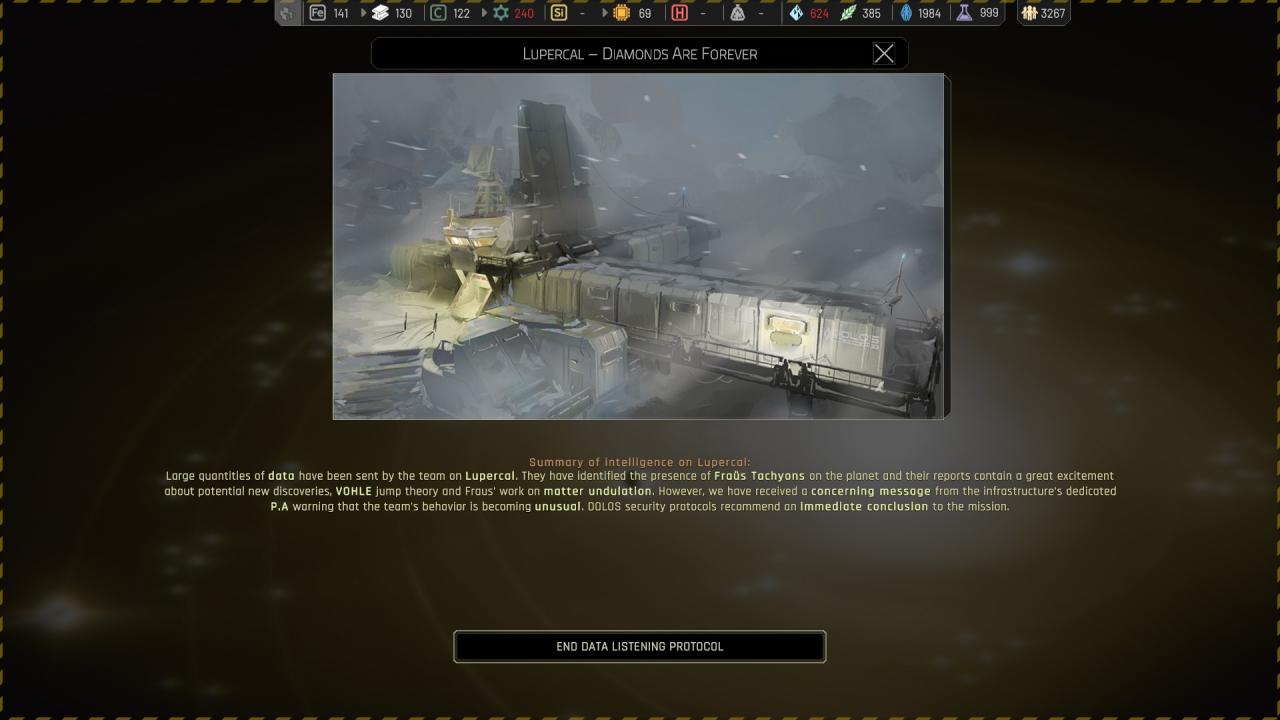
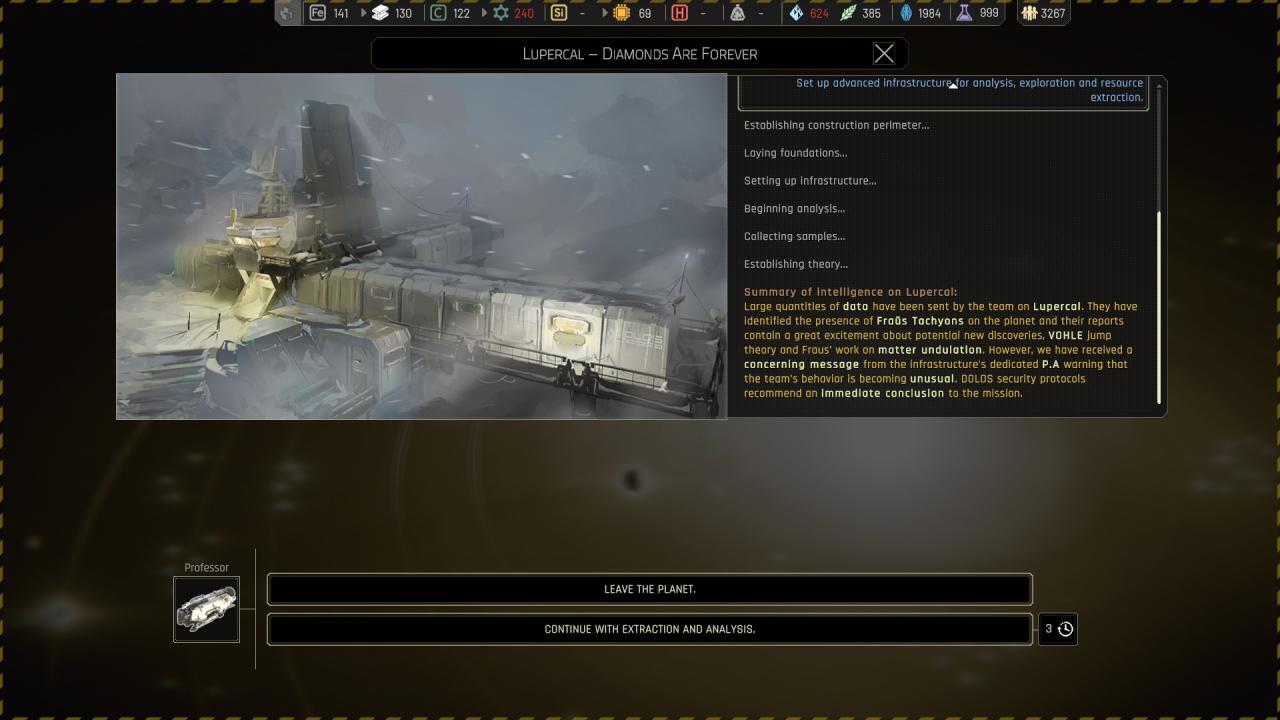
Chapter 5 ({ Lupercal } Lupercal – Diamonds are forever )
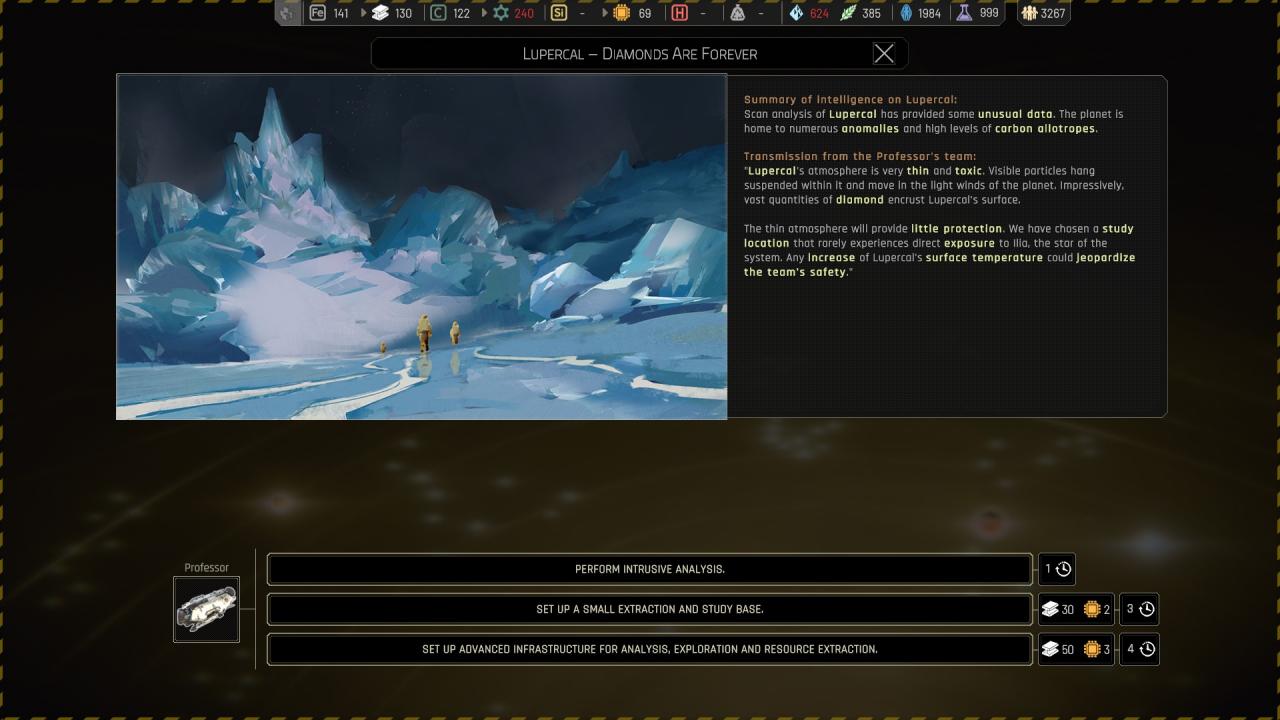
🔒 Perform intrusive analysis :
🔒 Set up small extraction and study base :
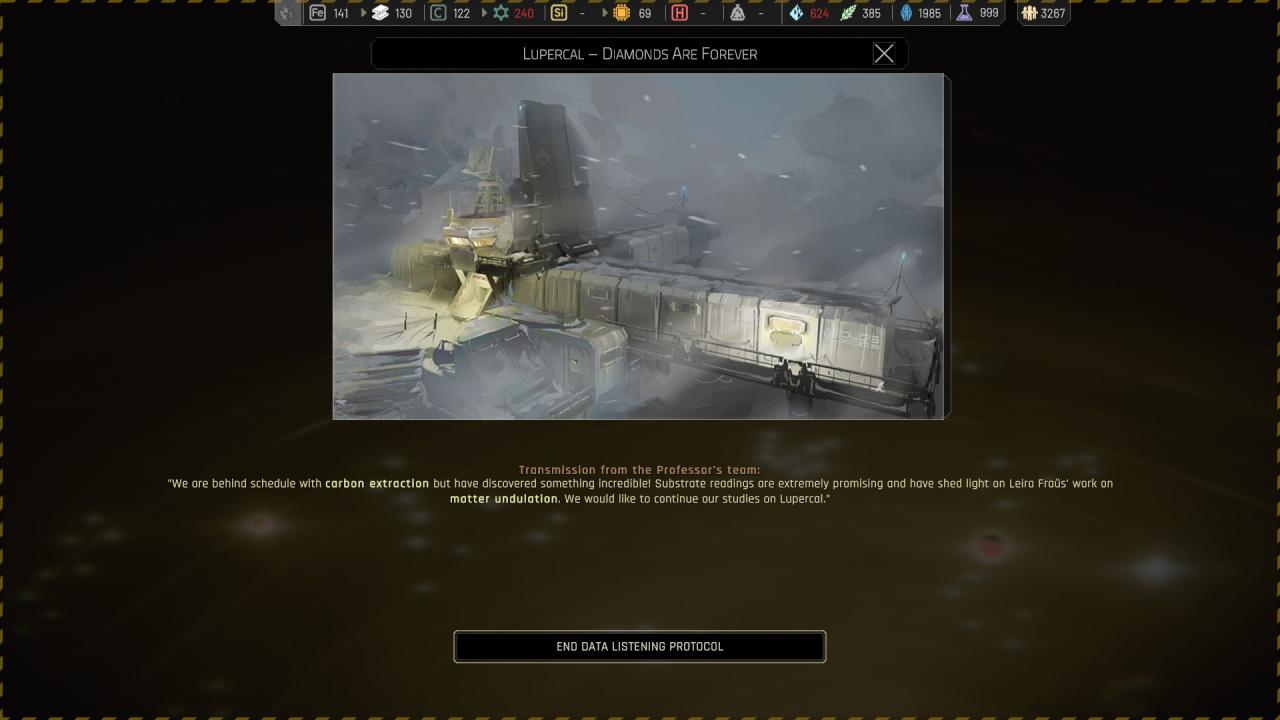
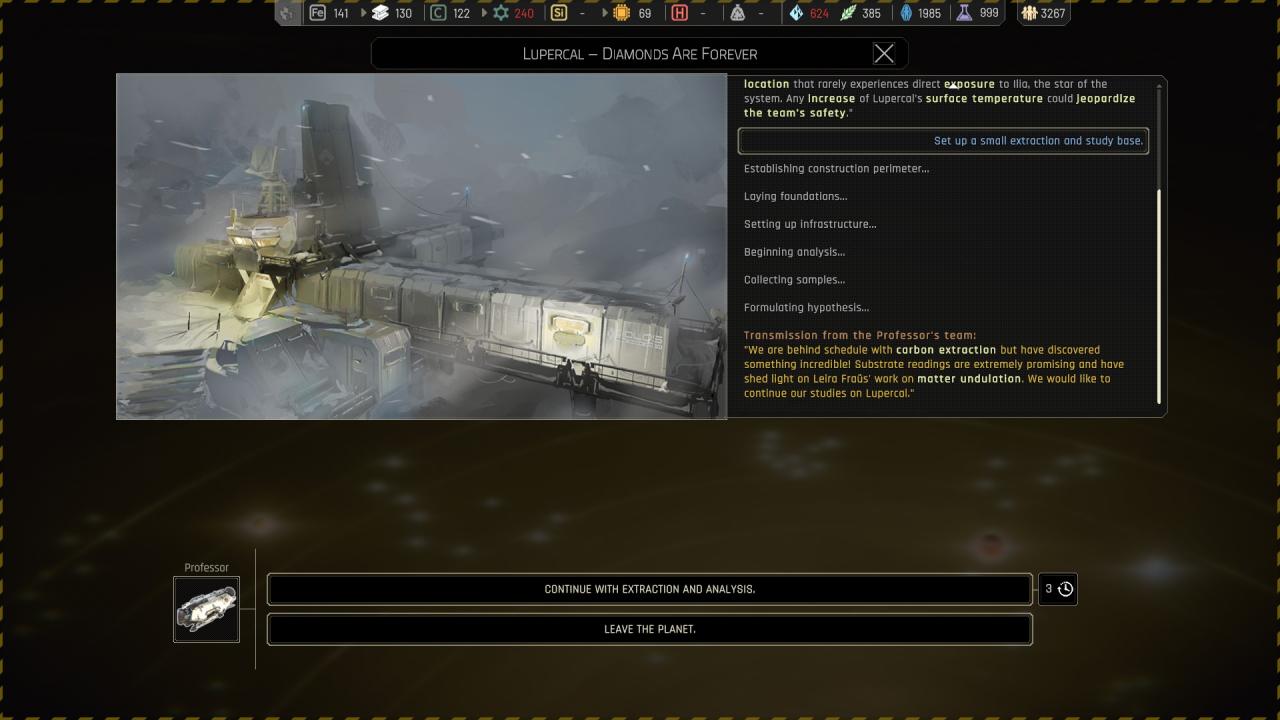
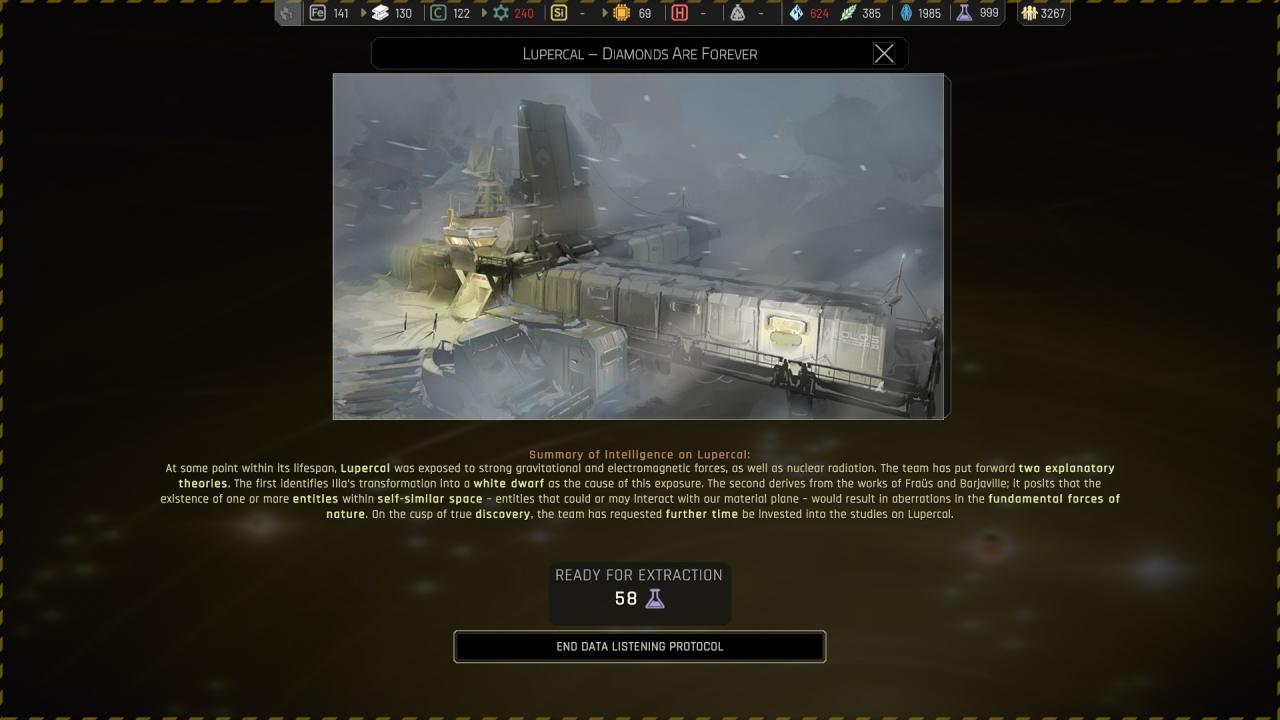
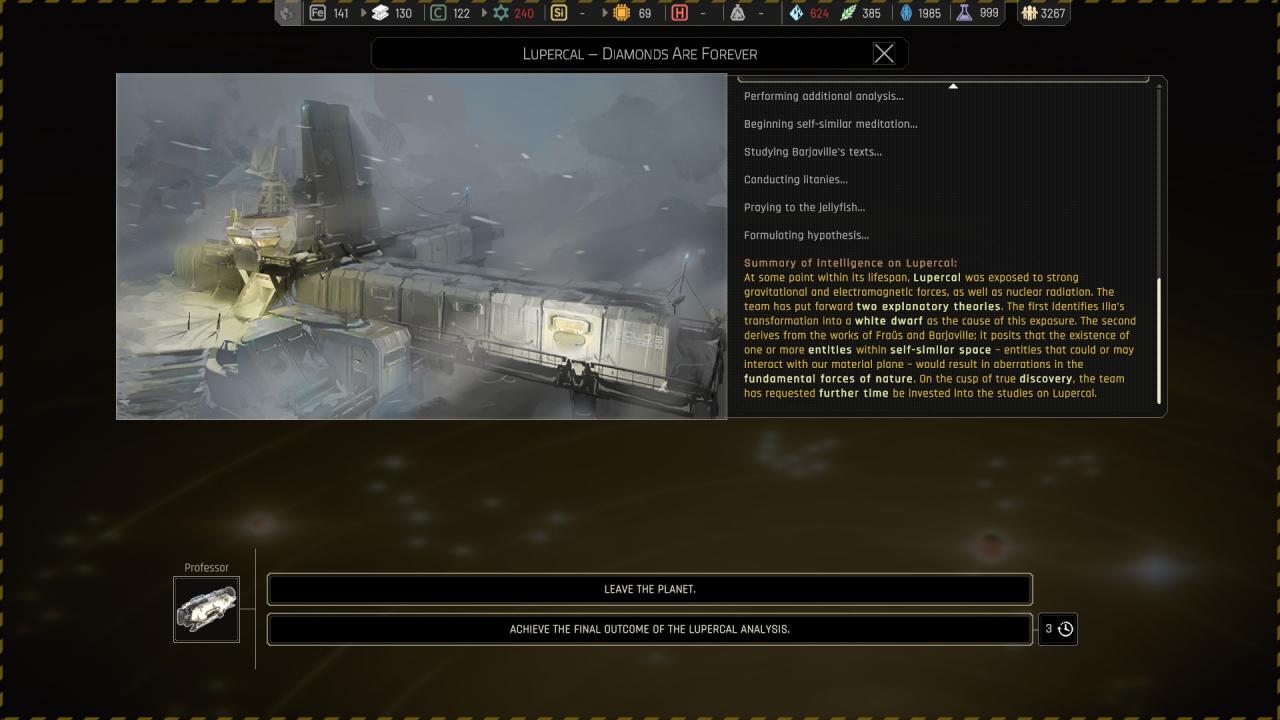
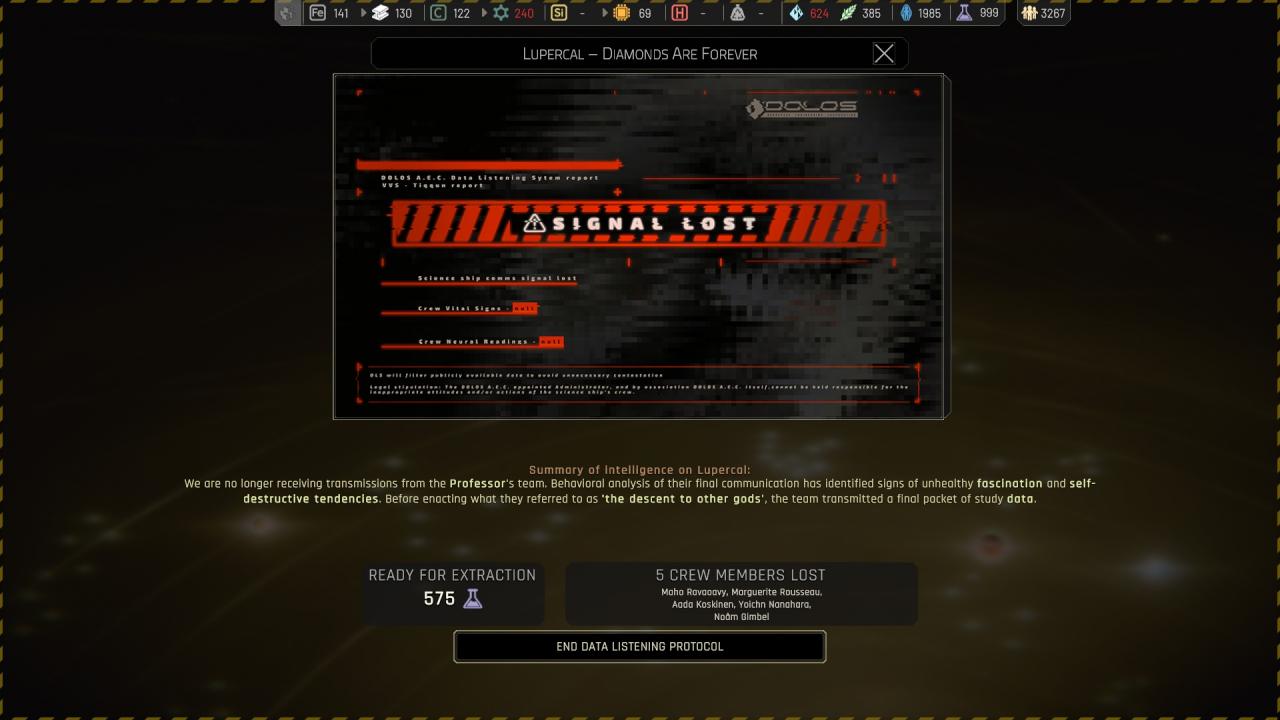
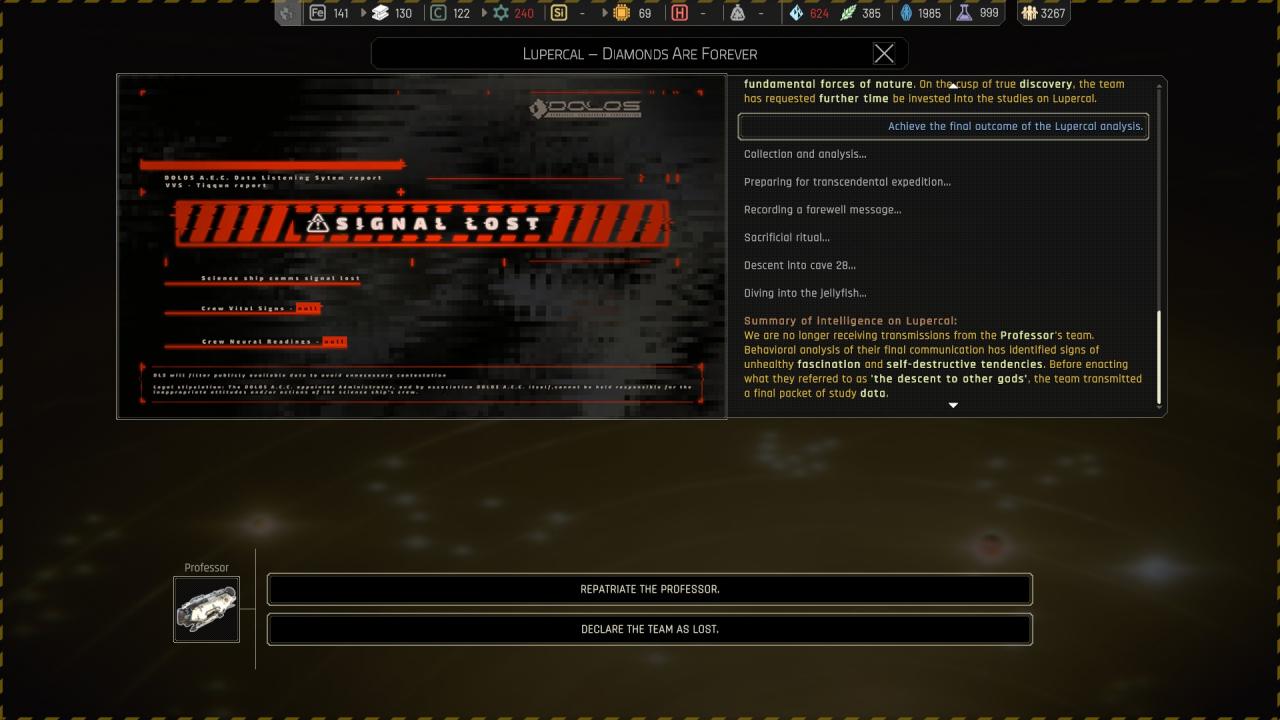
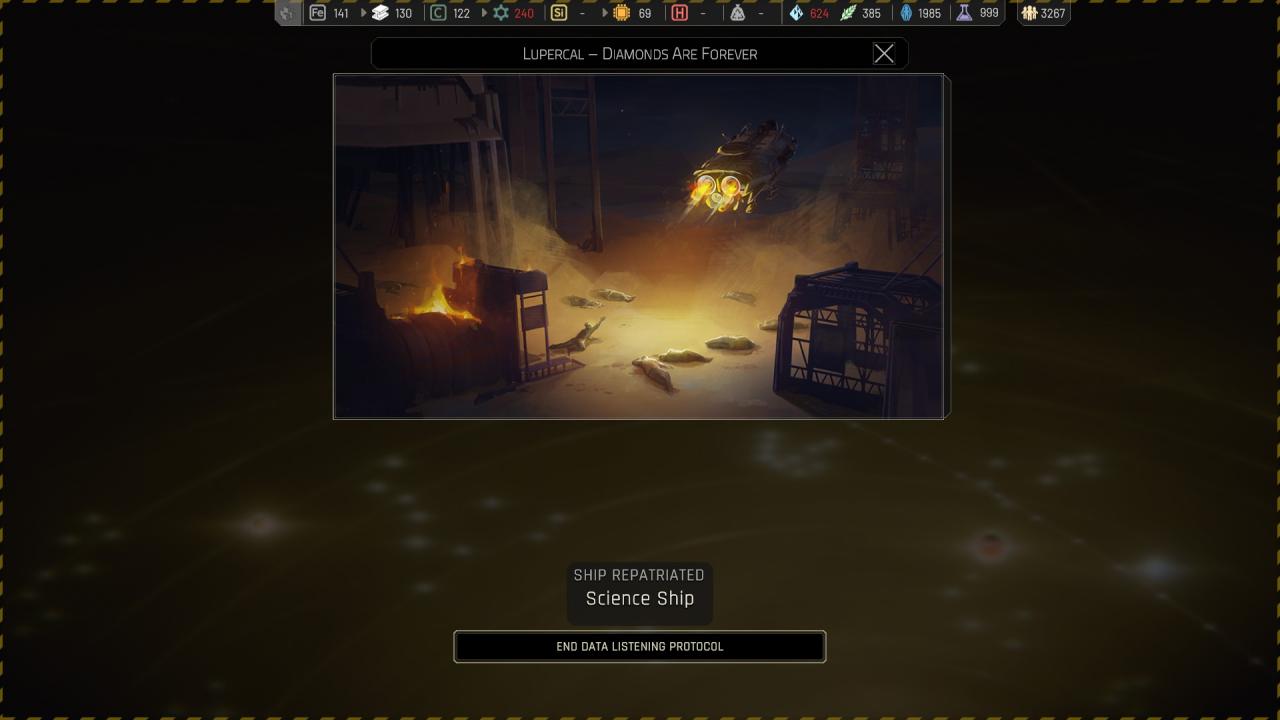
🗘 Set up advanced infrastructure for analysis, exploration and resource extraction : ( Continue like above )
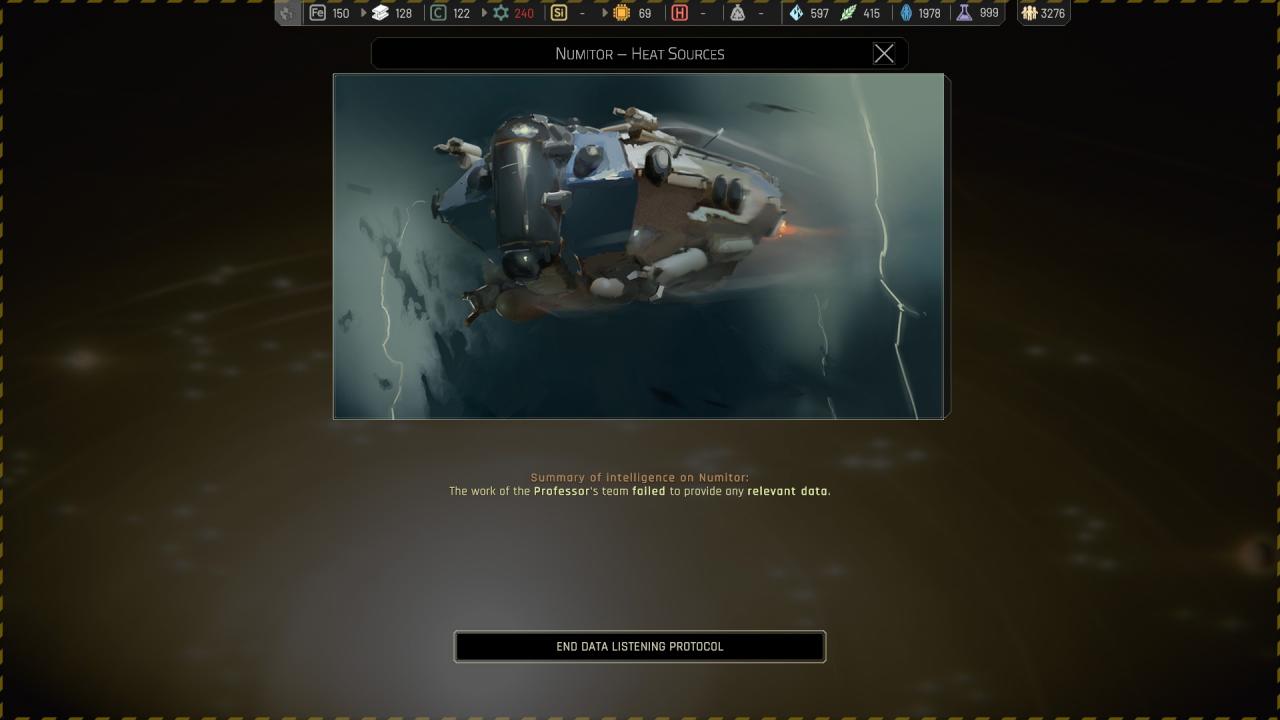
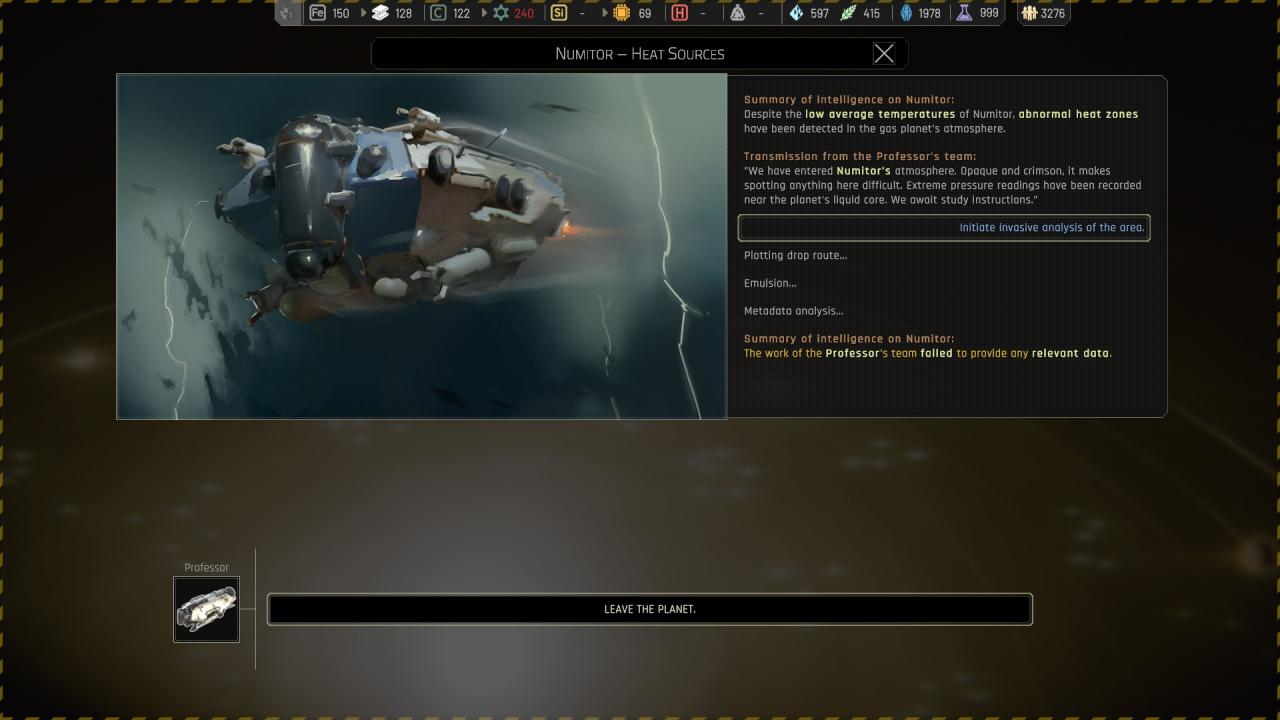
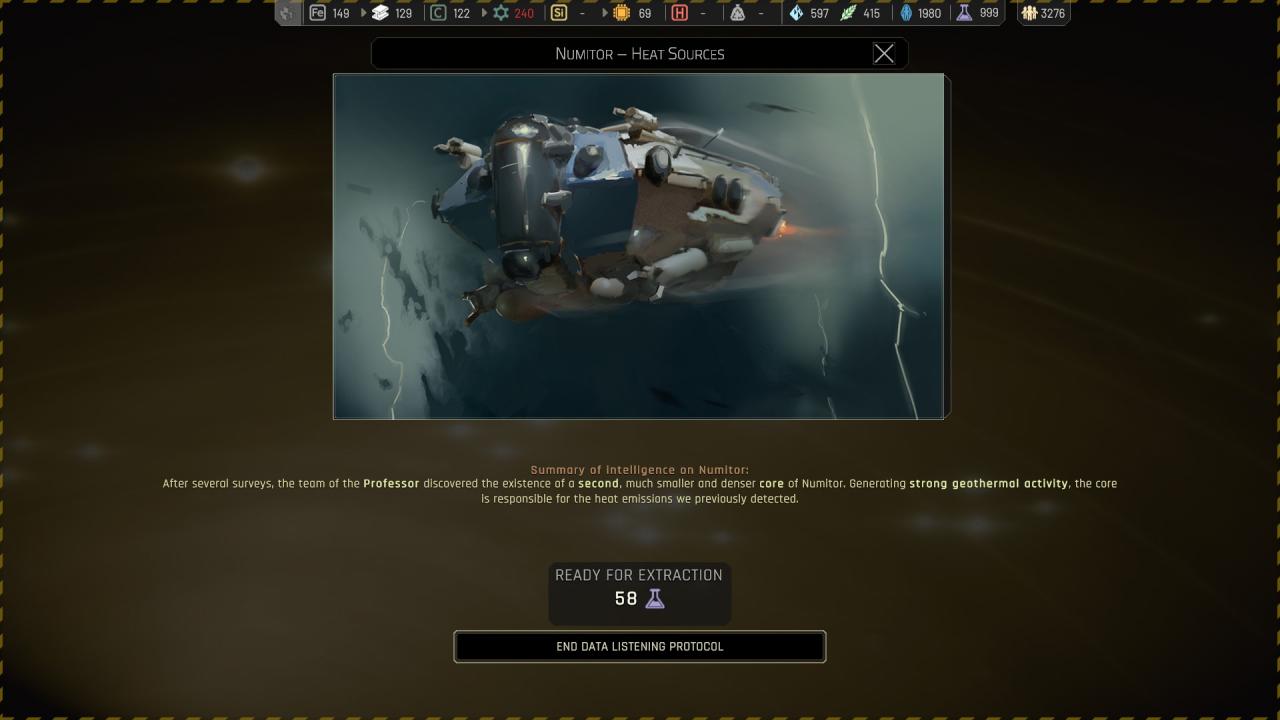
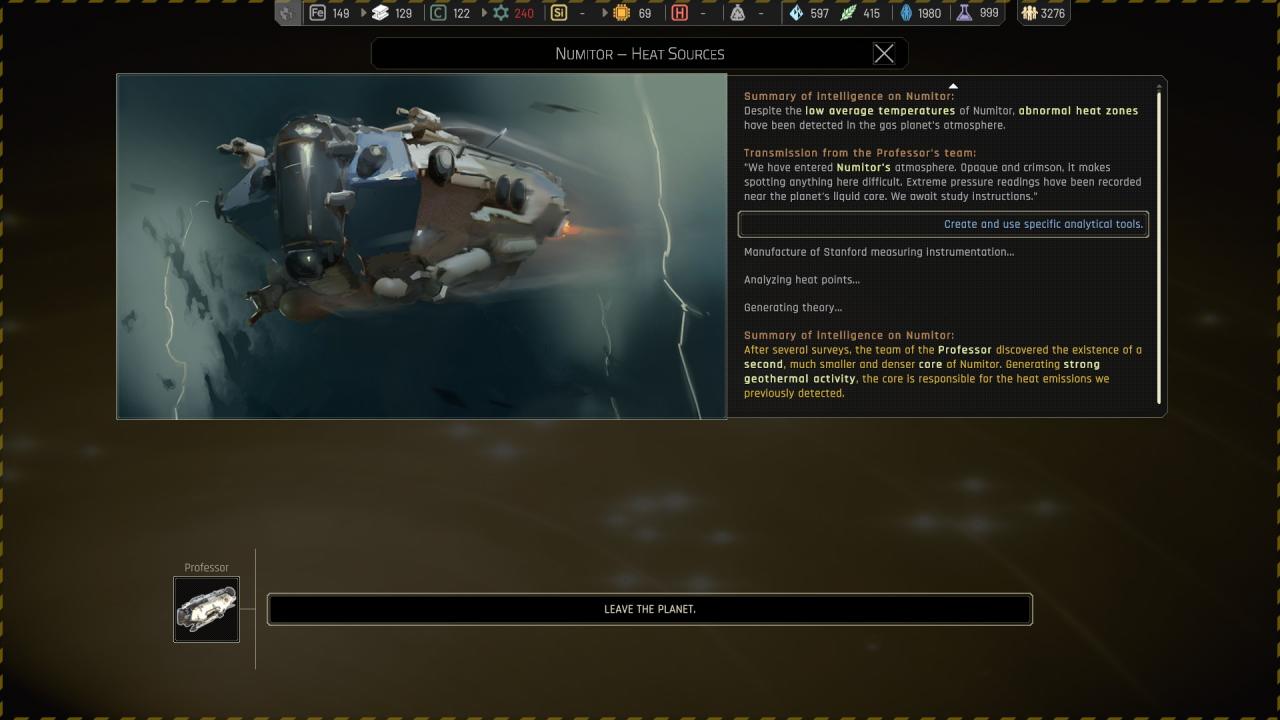
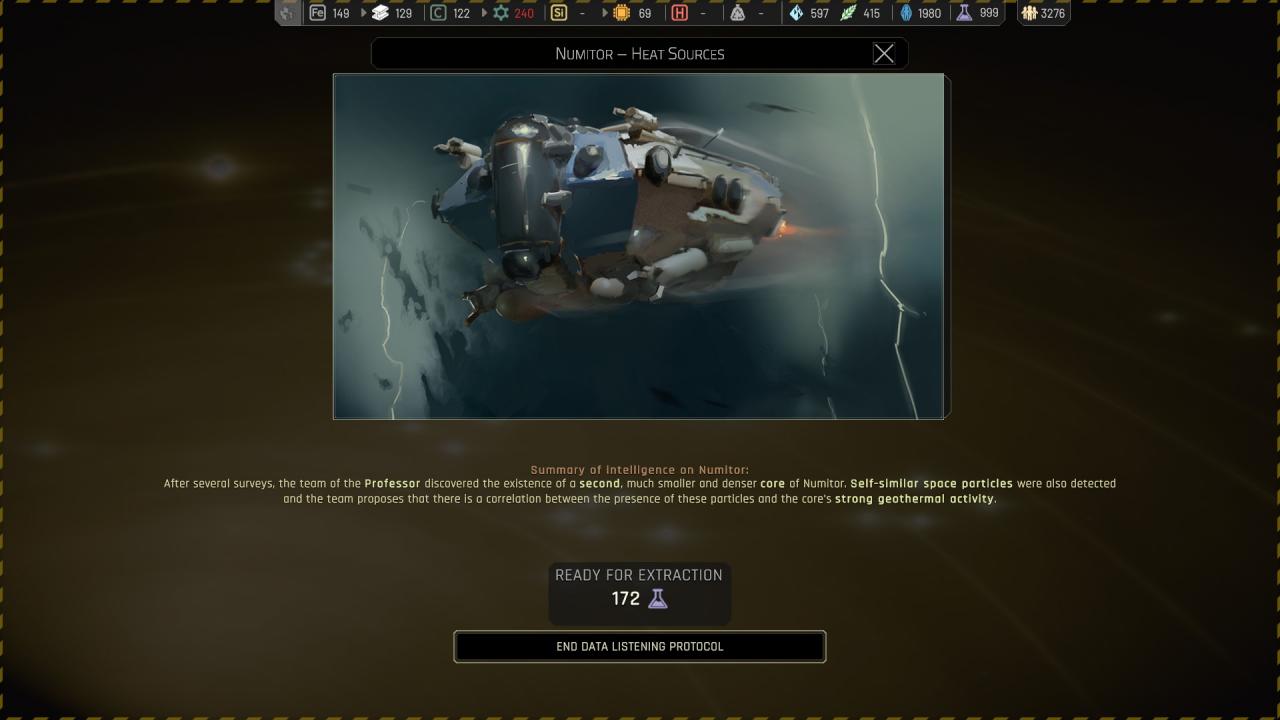
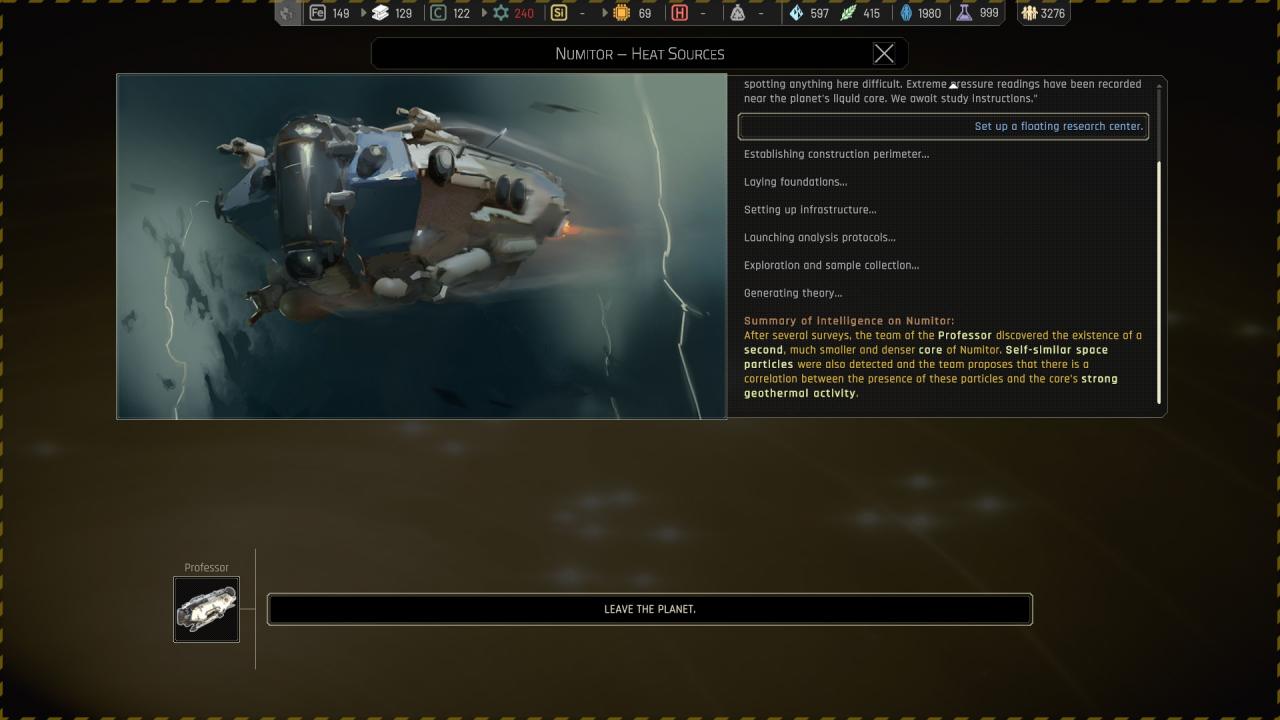
Chapter 5 ({ Numitor } Numitor – Heat sources )
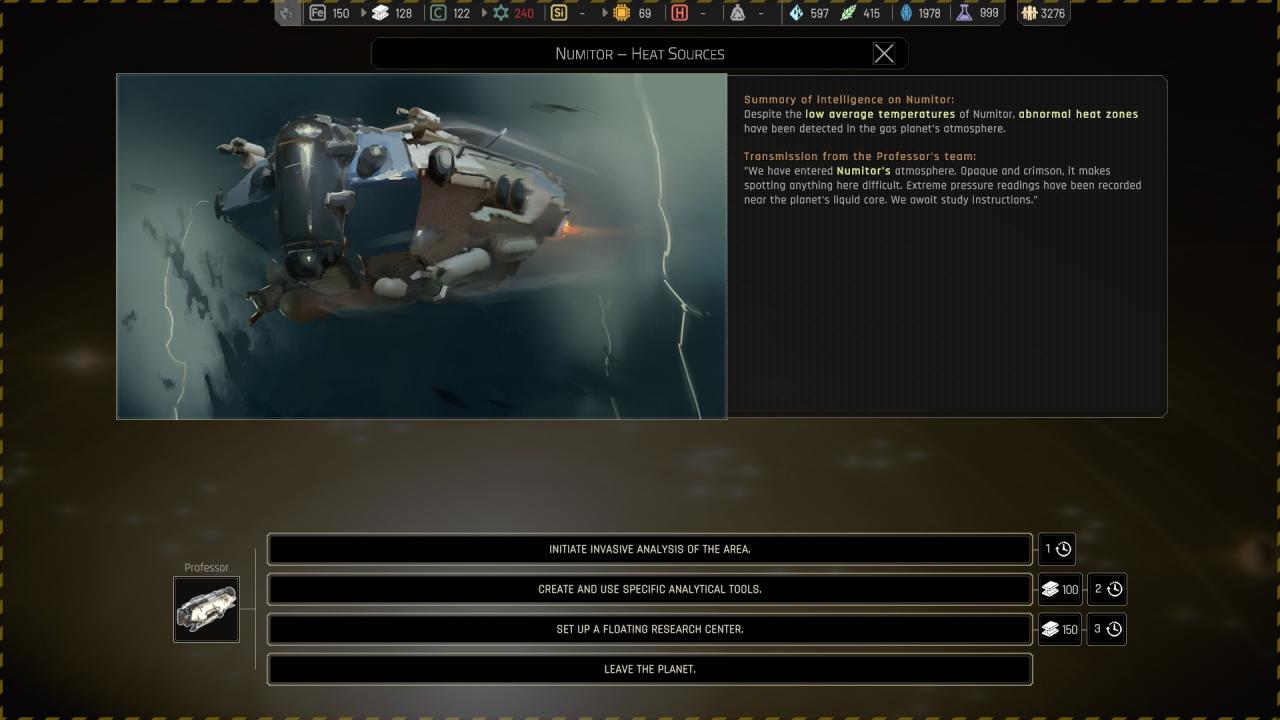
🔒 Initiate invasive analysis of the area :
🔒 Create and use specific analytical tools :
🔒 Set up a floating research center :
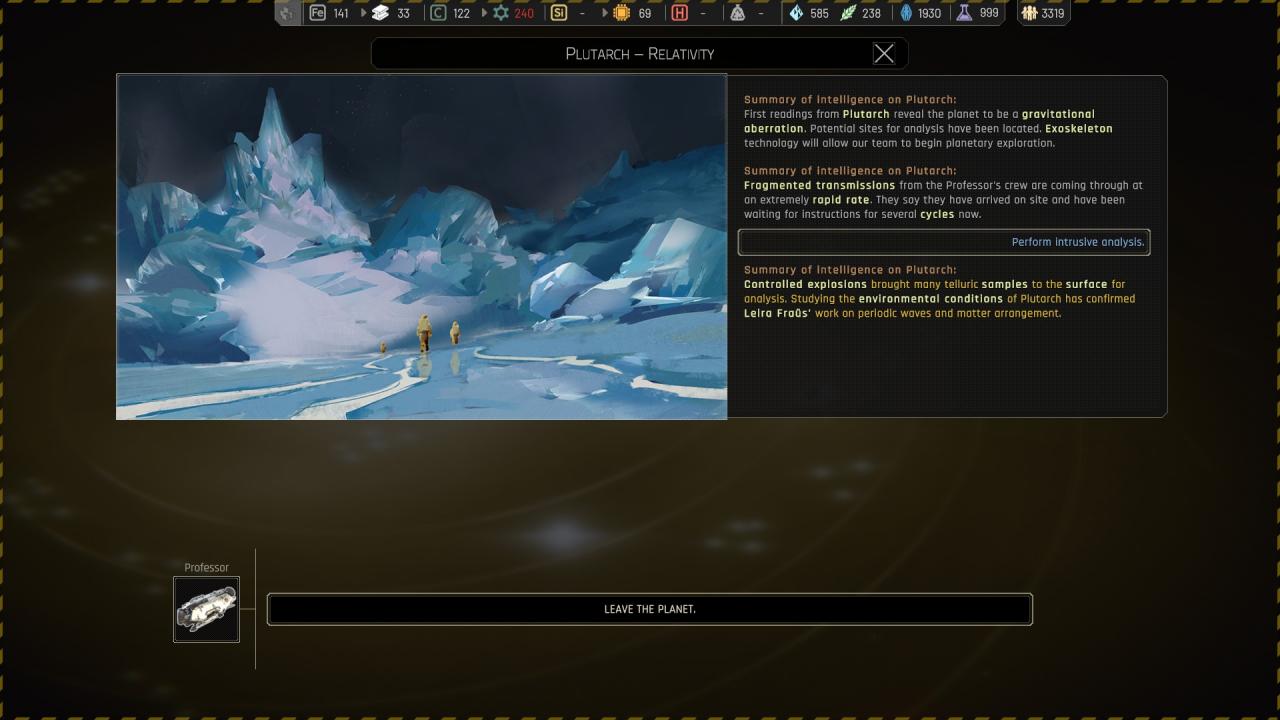
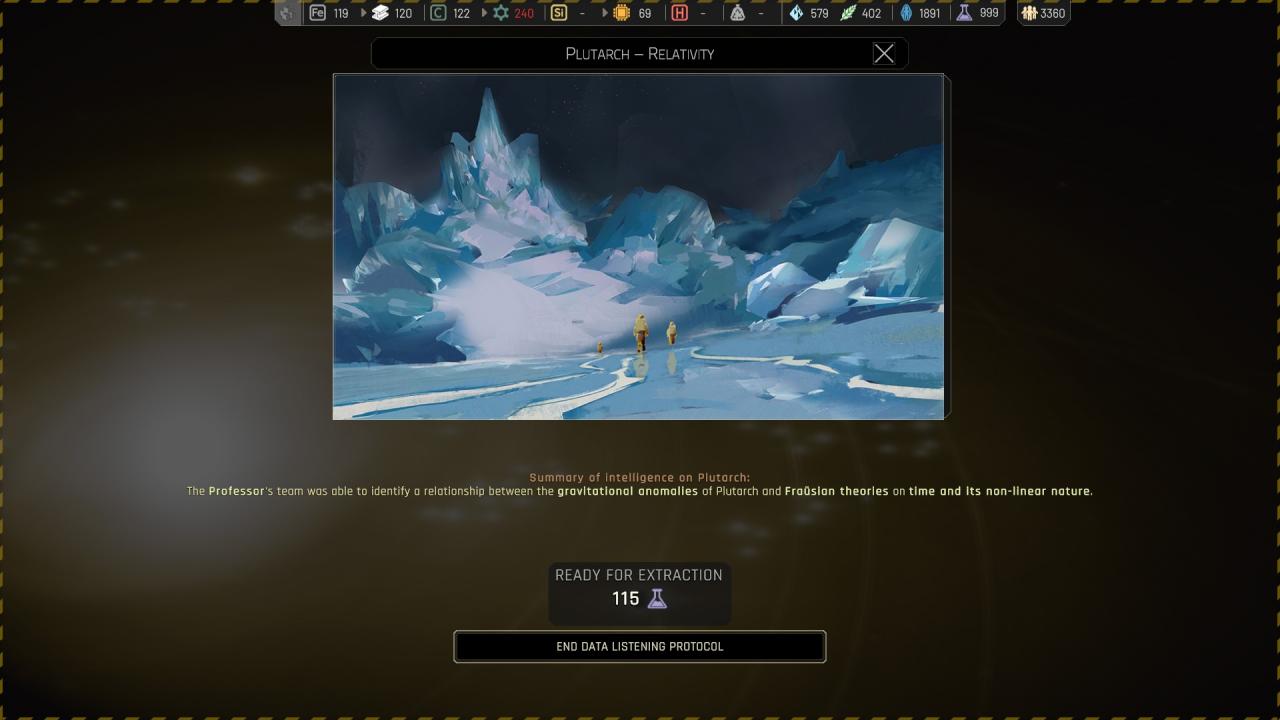
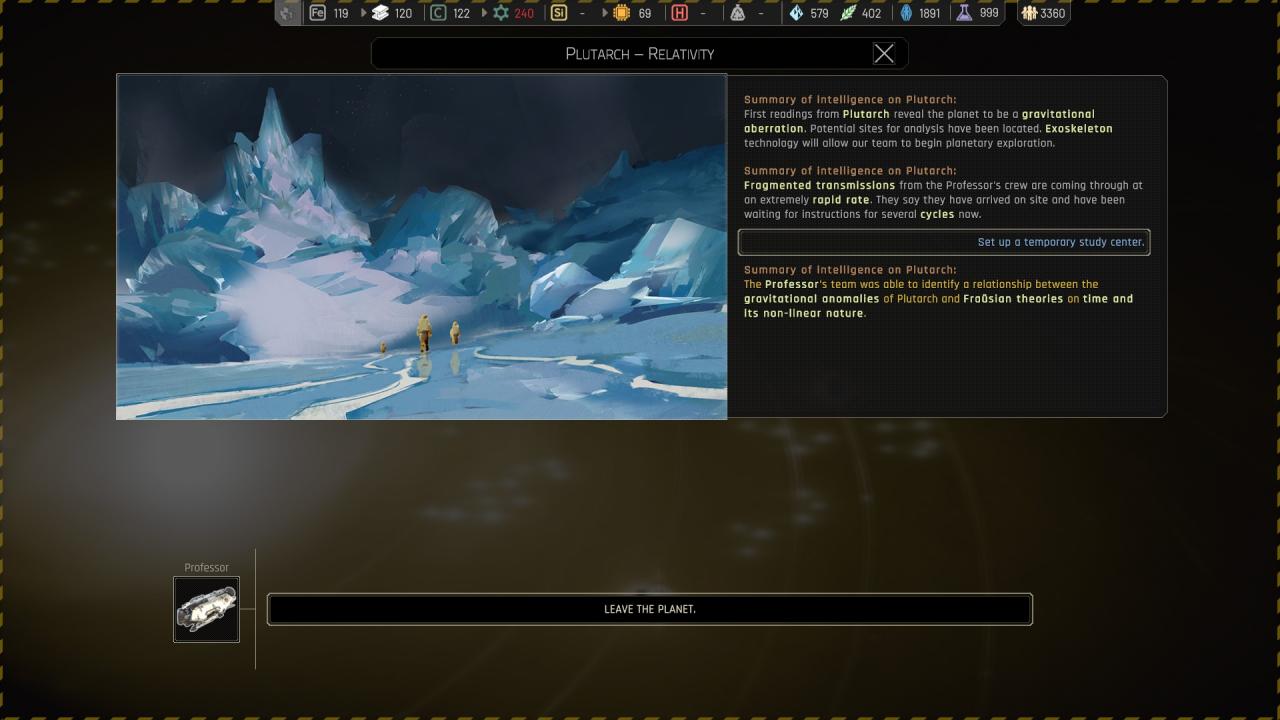
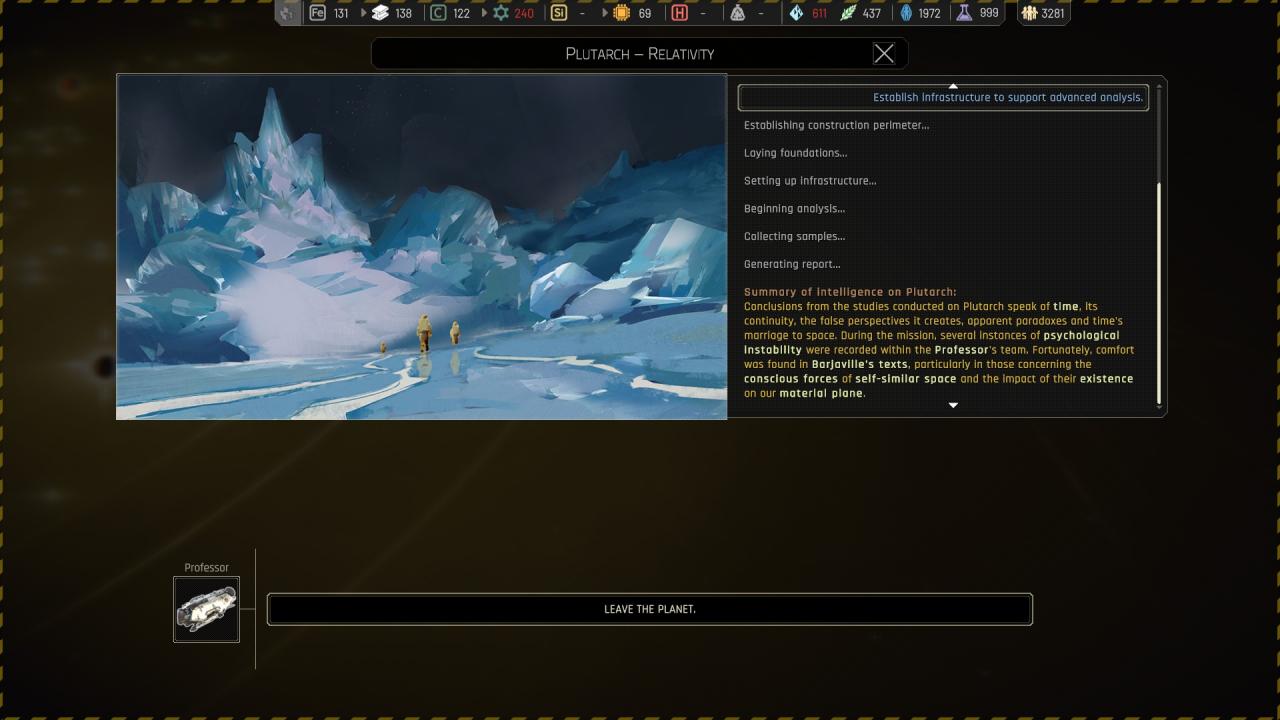
Chapter 5 ({ Plutarch } Plutarch – Relativity)
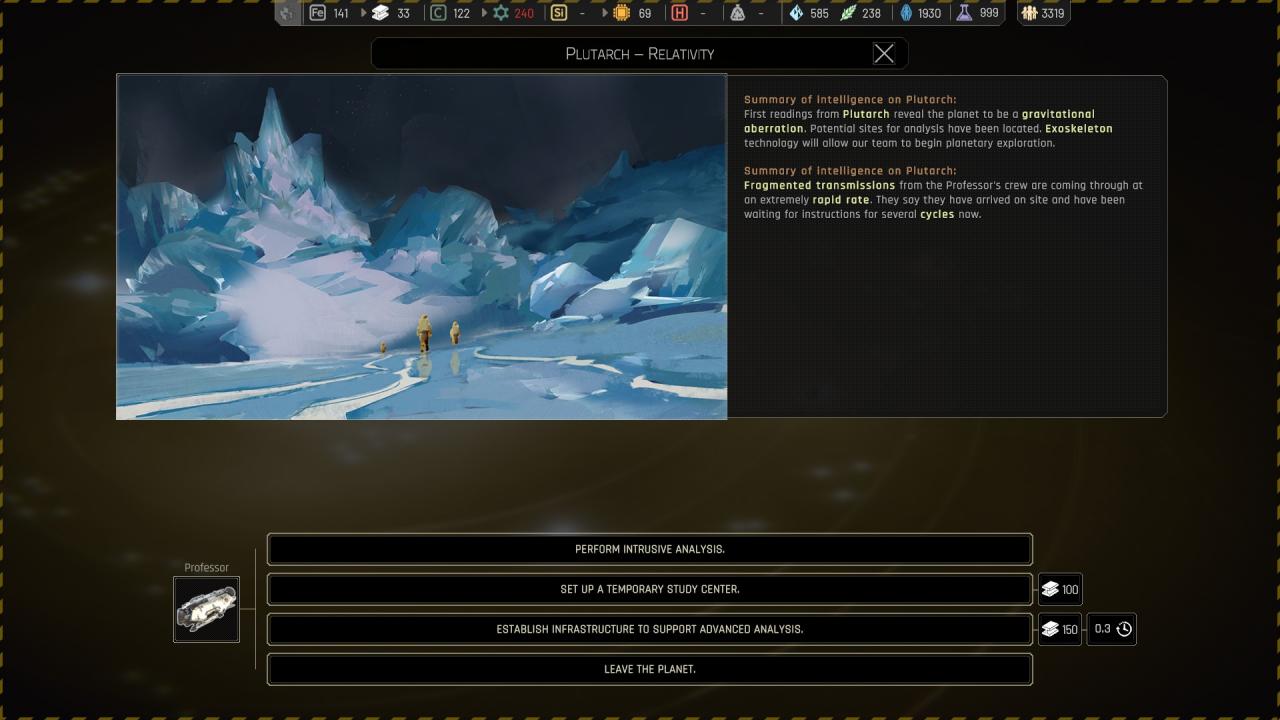
🔒 Perform intrusive analysis :

🔒 Set up a temporary study center :
🔒 Establish infrastructure to support advanced analysis :

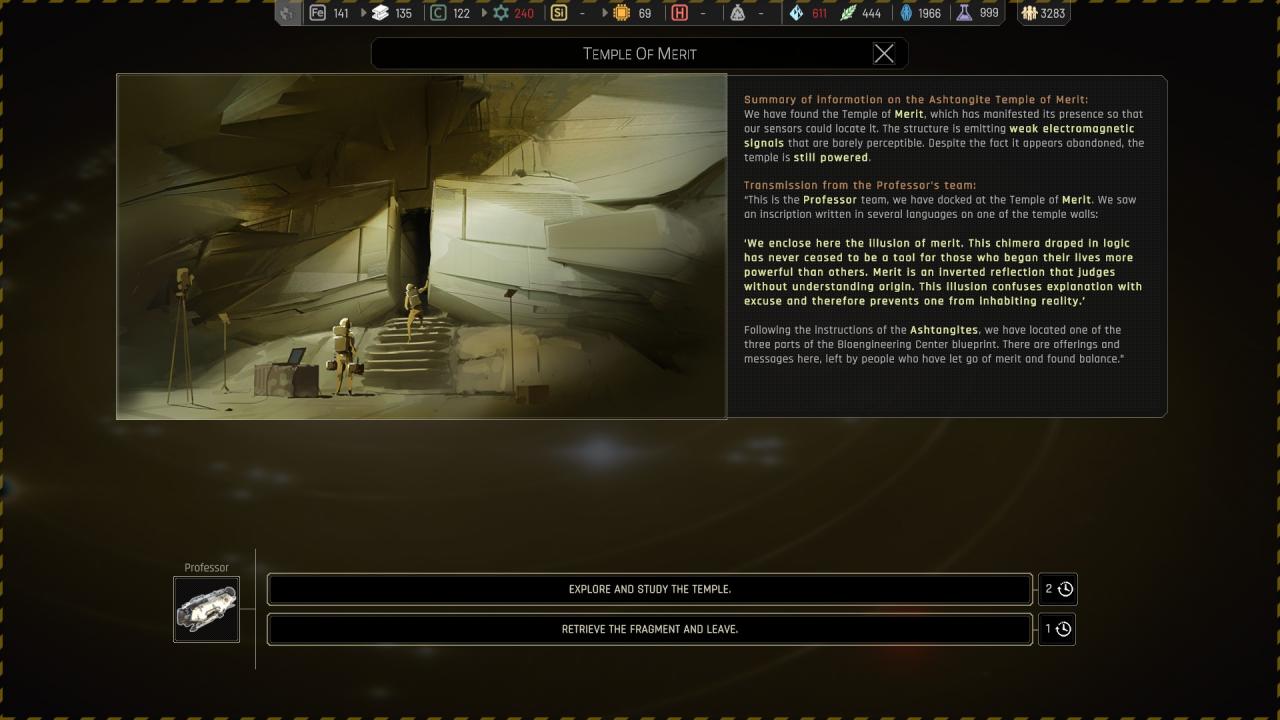
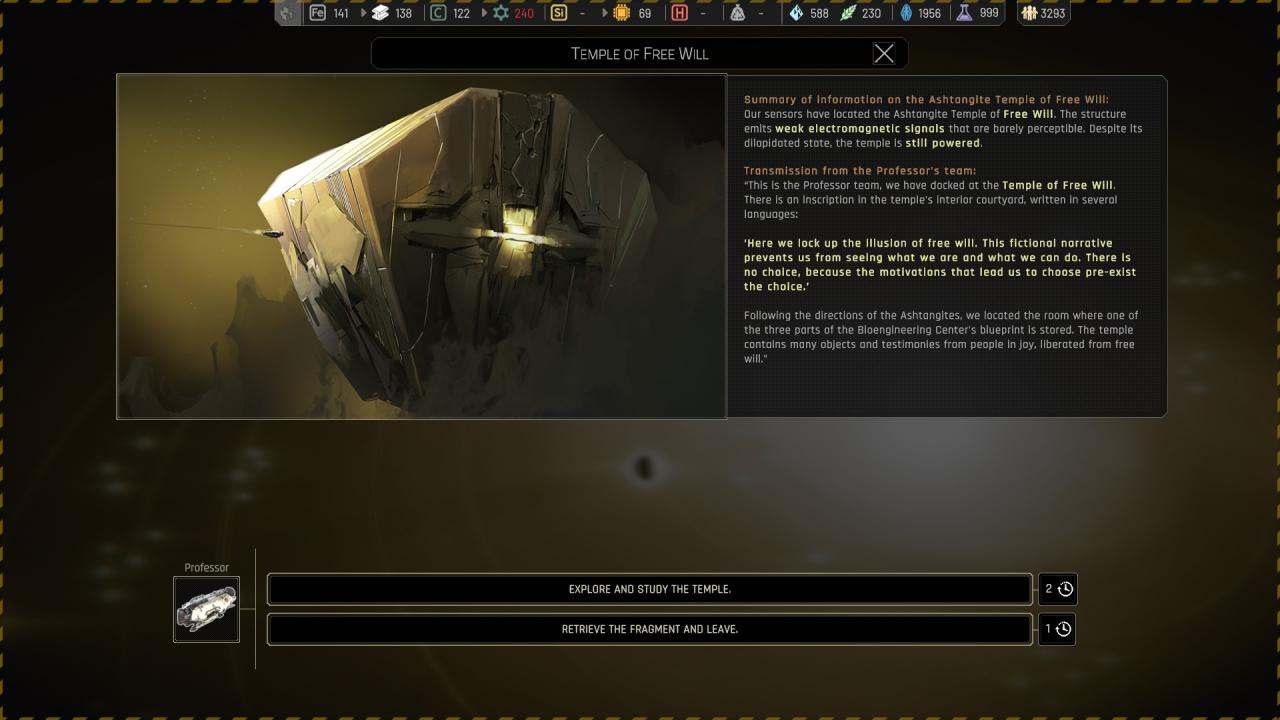
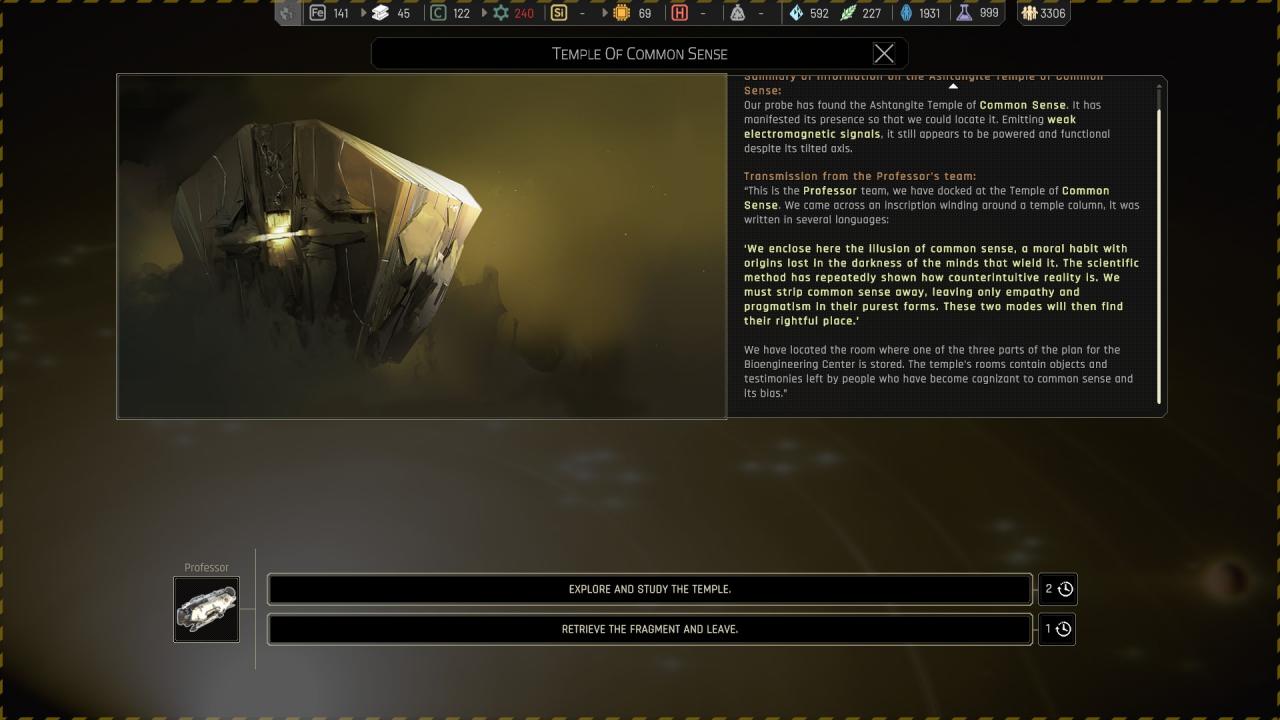
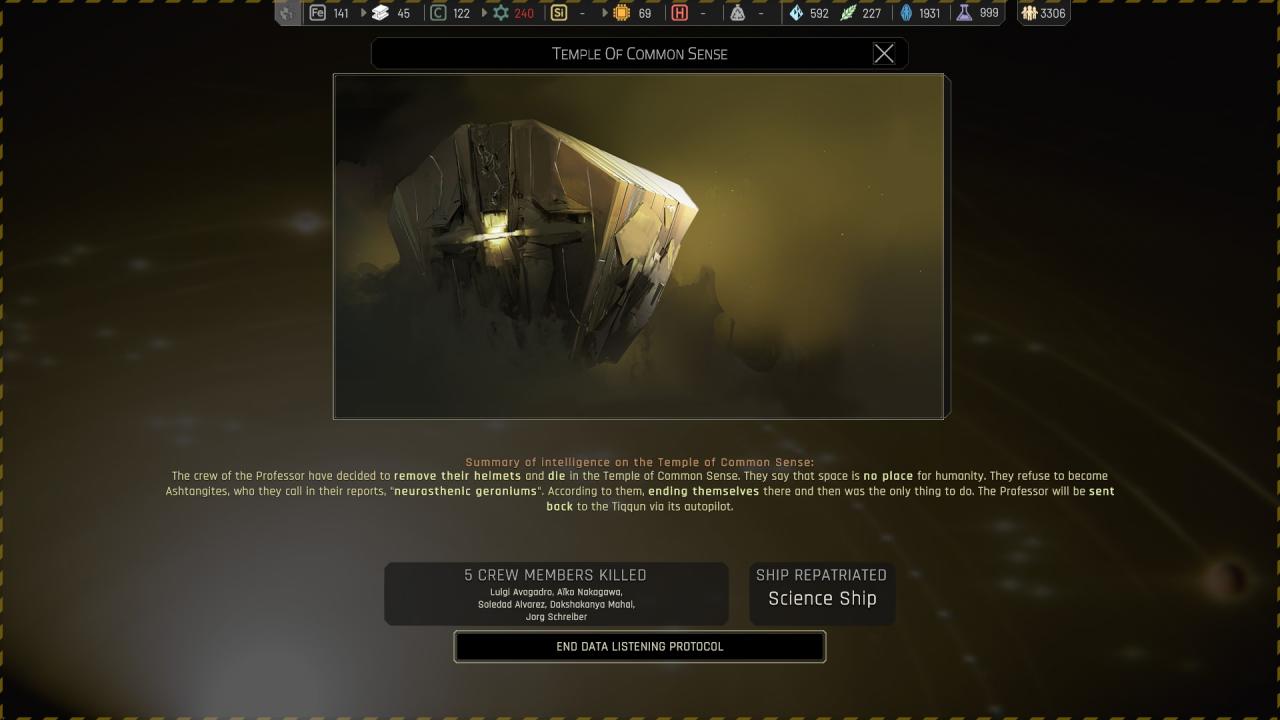
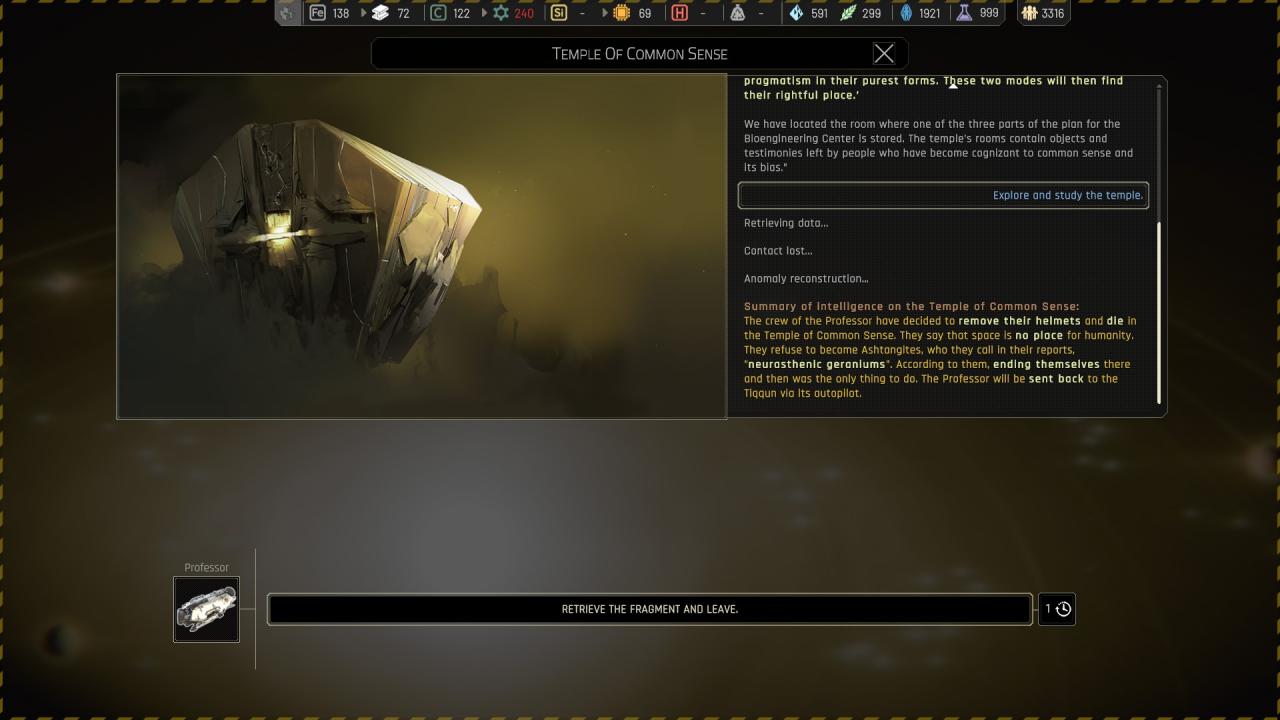
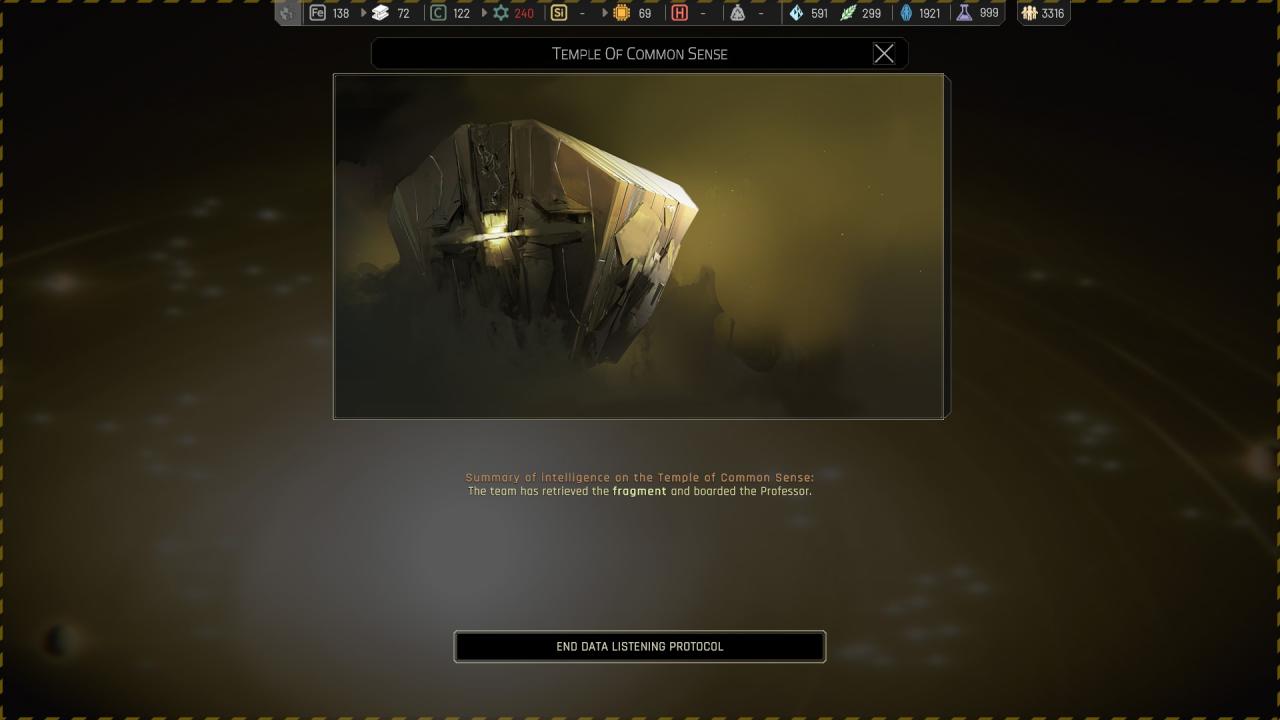
Chapter 5 ({ Temple of X } Temple of X )
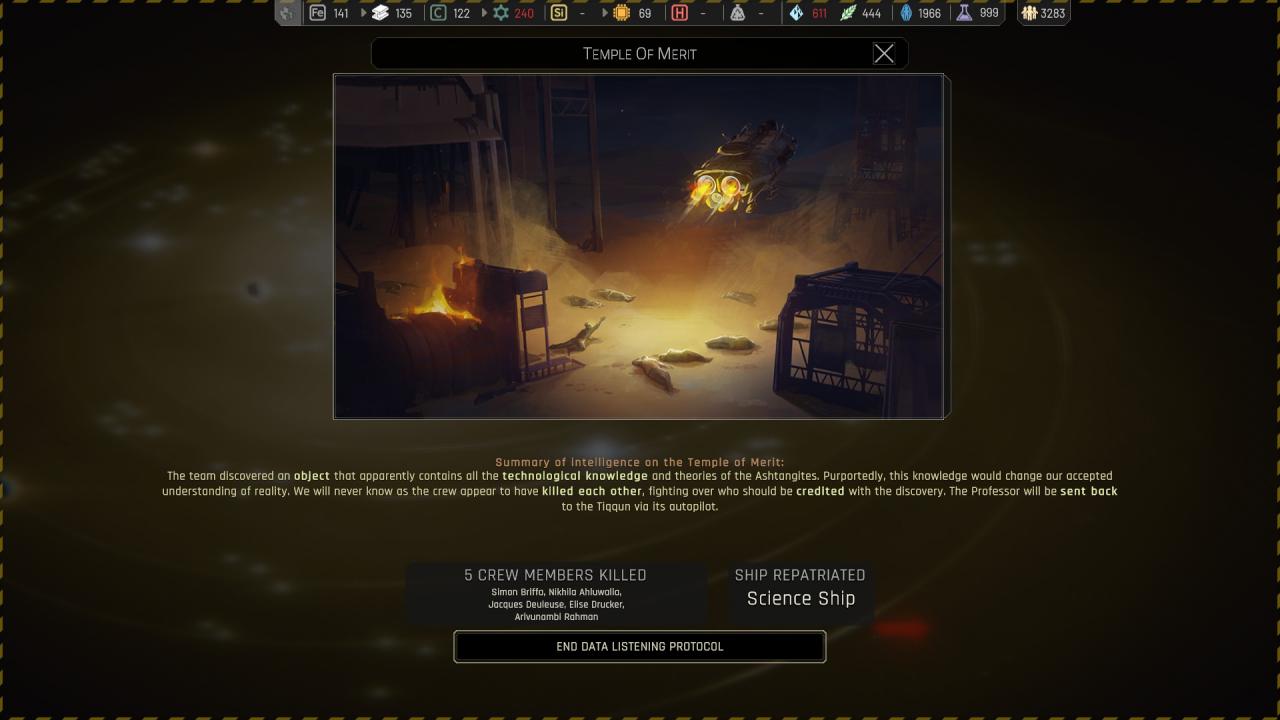
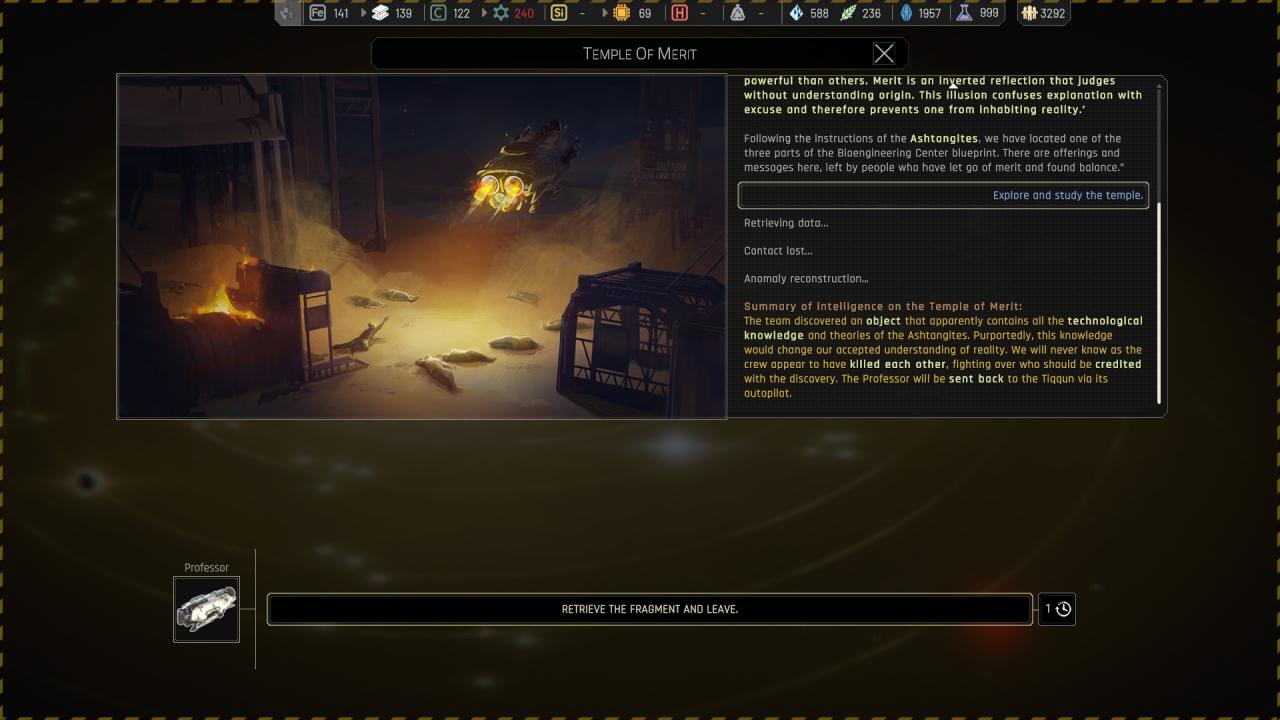
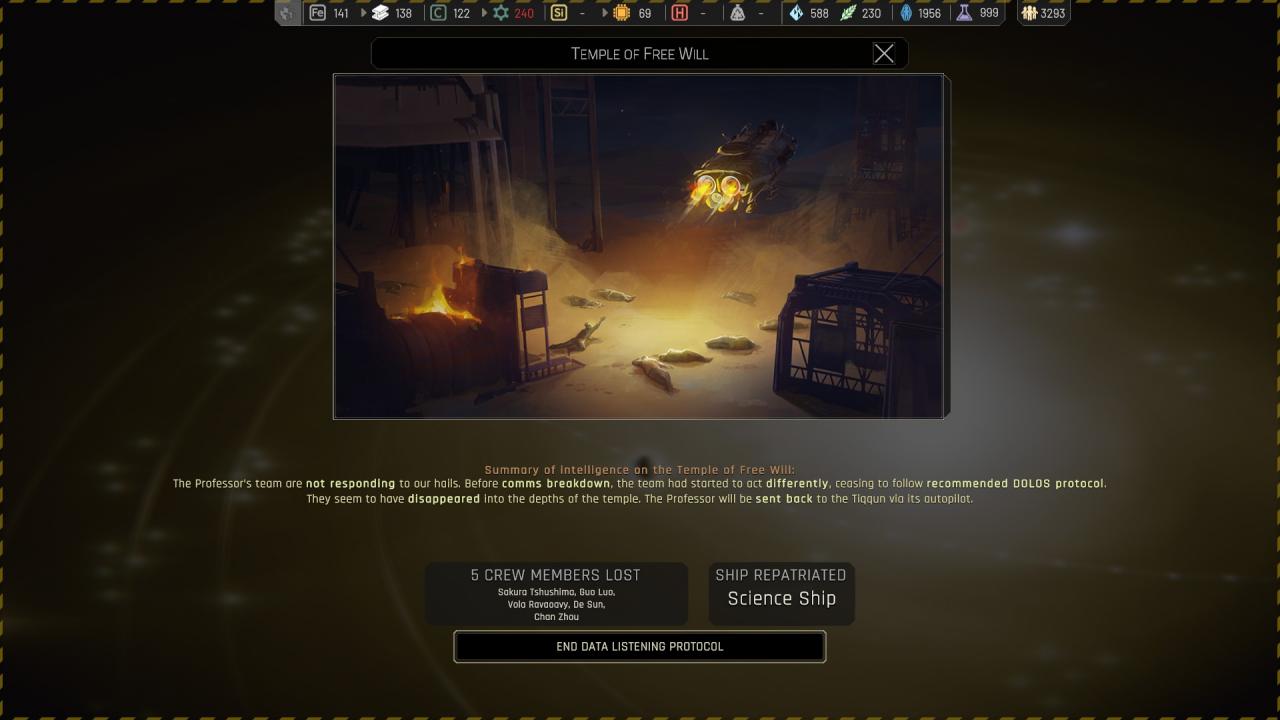
Here i cover the 3 temple because in my case they all lead to the same. ( If you explore first you’ll loose all your crew and can come back later to retreive the fragment )
🔒 Temple of Merit :
🔒 Temple of Free Will :

🔒 Temple of Common Sense :
Chapter 5 ( Tips & Tricks )
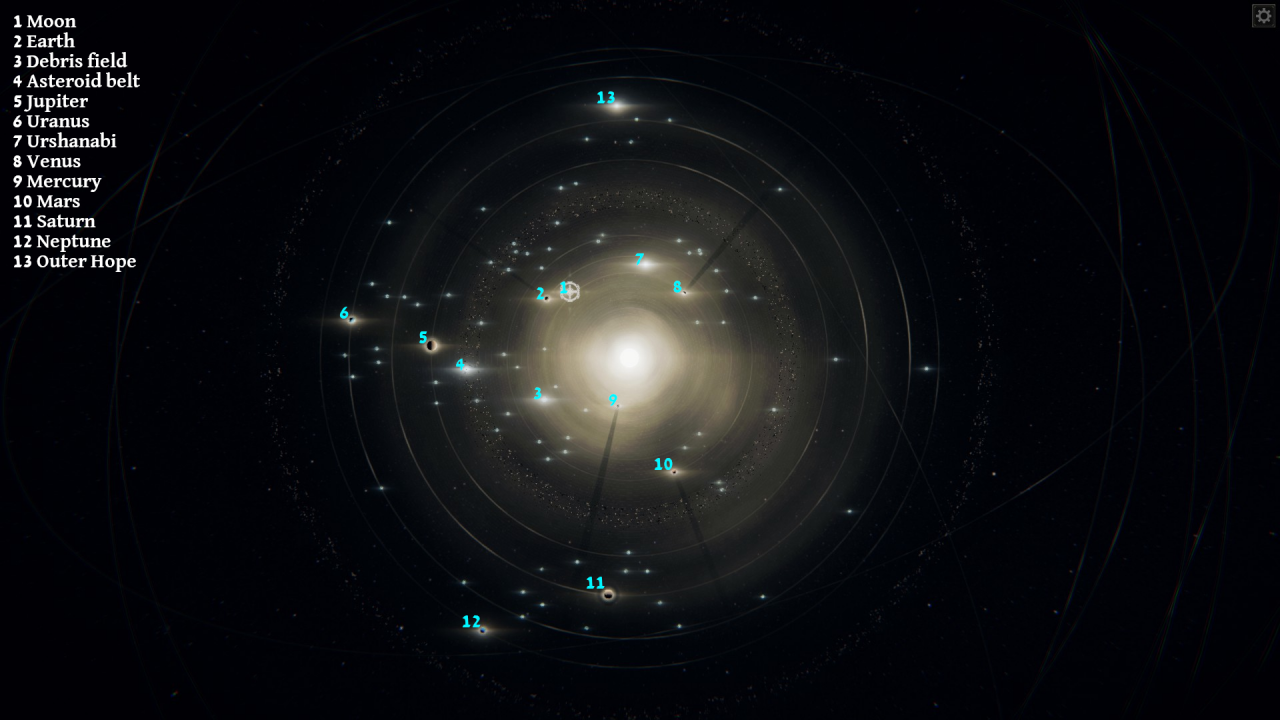
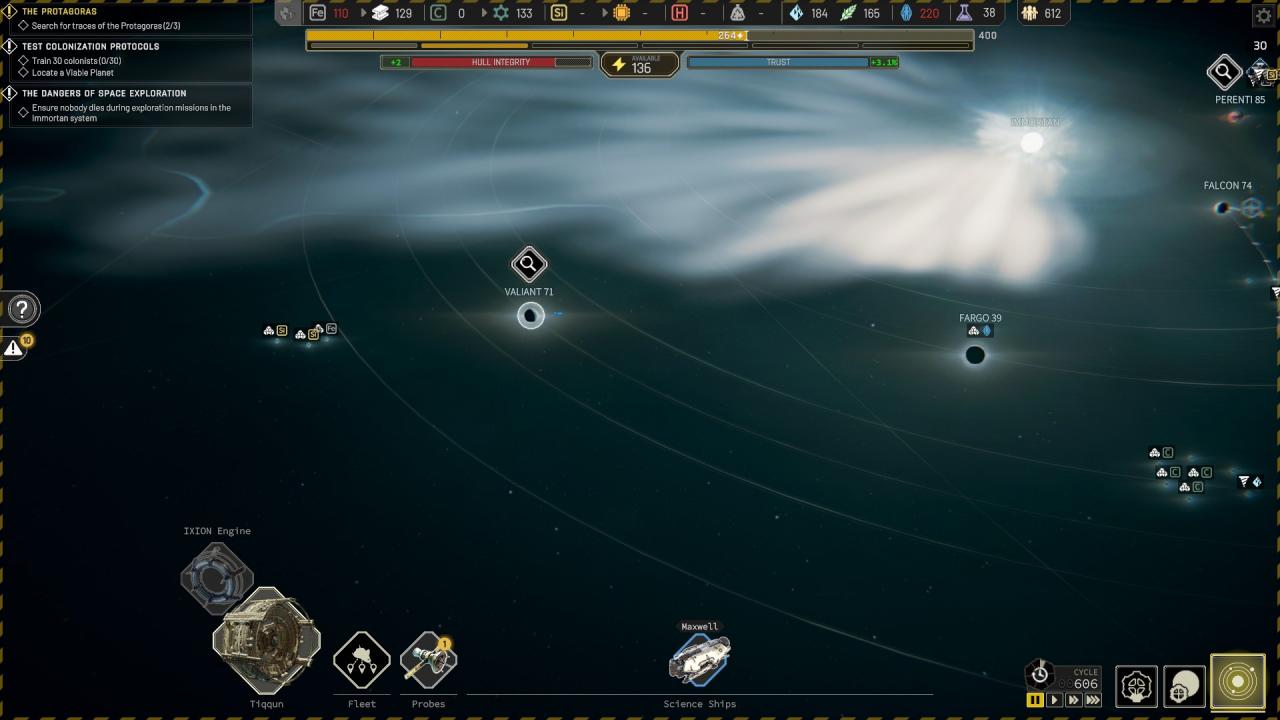
Starmap
Here both Layout & Technologies used and Tips & Tricks section will not be presented as ( and for now ) it’s the end game.
I will continue tu update the guide as the game progress and as we discover new / better things to share. I also want to thank everyone who share theire situation here and help the guide to be alive.
So thank you again for your participation !
Is it the end ? I don’t think so, and i will cover anything new to help everyone just like now.
I will share you here a save, it will be a complete and empty station ( with official cheat from the dev, no need to get some extra tools ) to alloy you to create some Layout for later.
https://mega.nz/file/BZRHGIZI#il7hPj6k2MMFBYr_wdAty5sF7kLO9AUegQ05tRsstNo
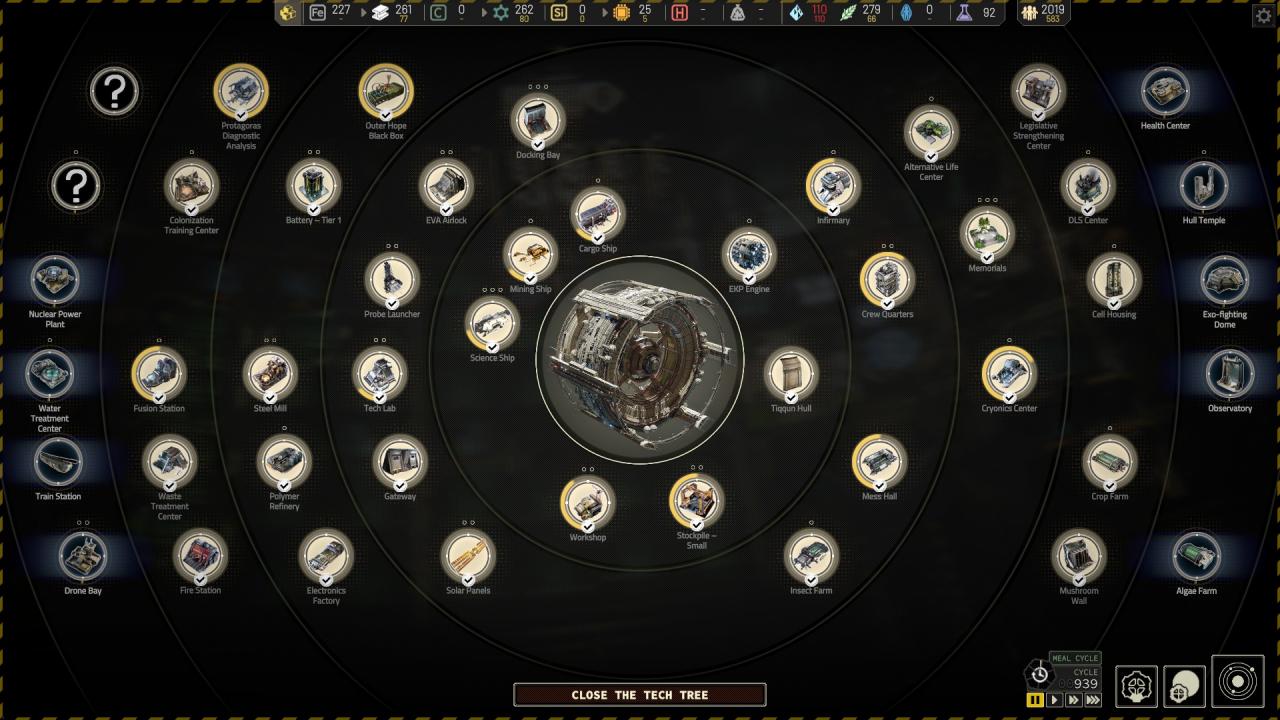
The KporalSteamGuide_LayoutBuilder.zip contain a readme.txt and a save folder ( index : 10000 ), the save is at the start of chapter 1, all available tech unlocked and ready to build your layout.
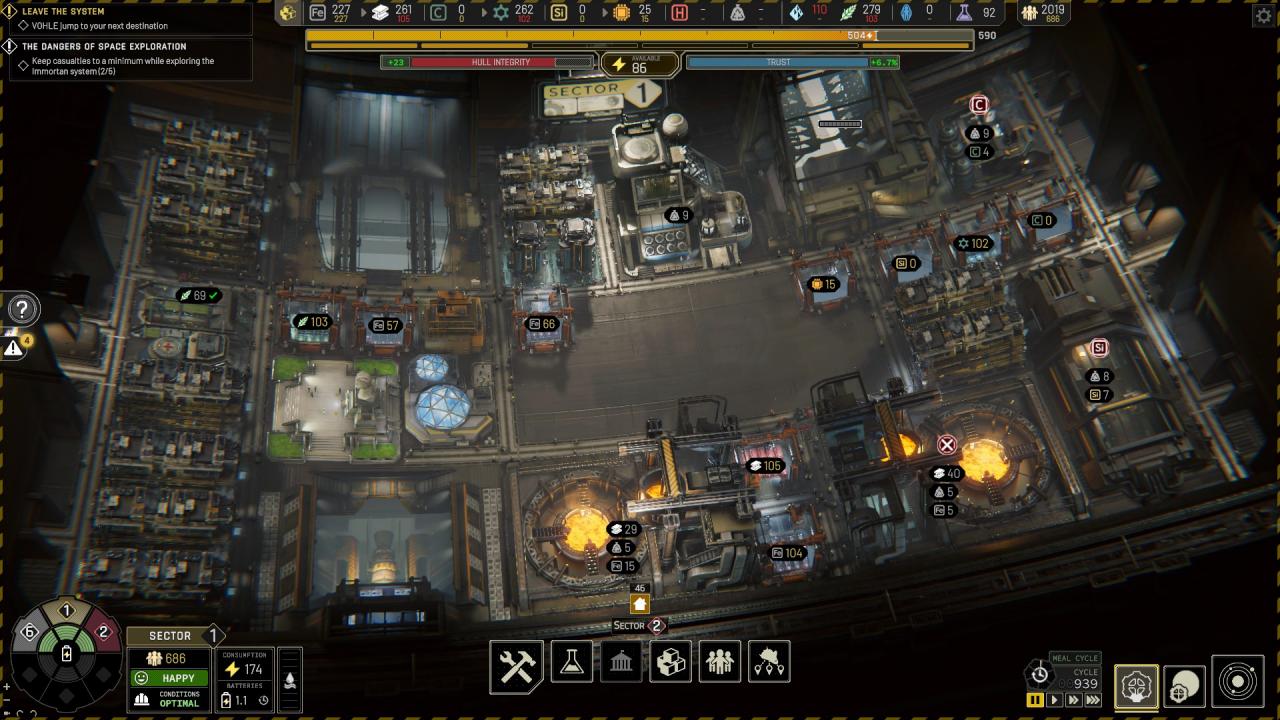
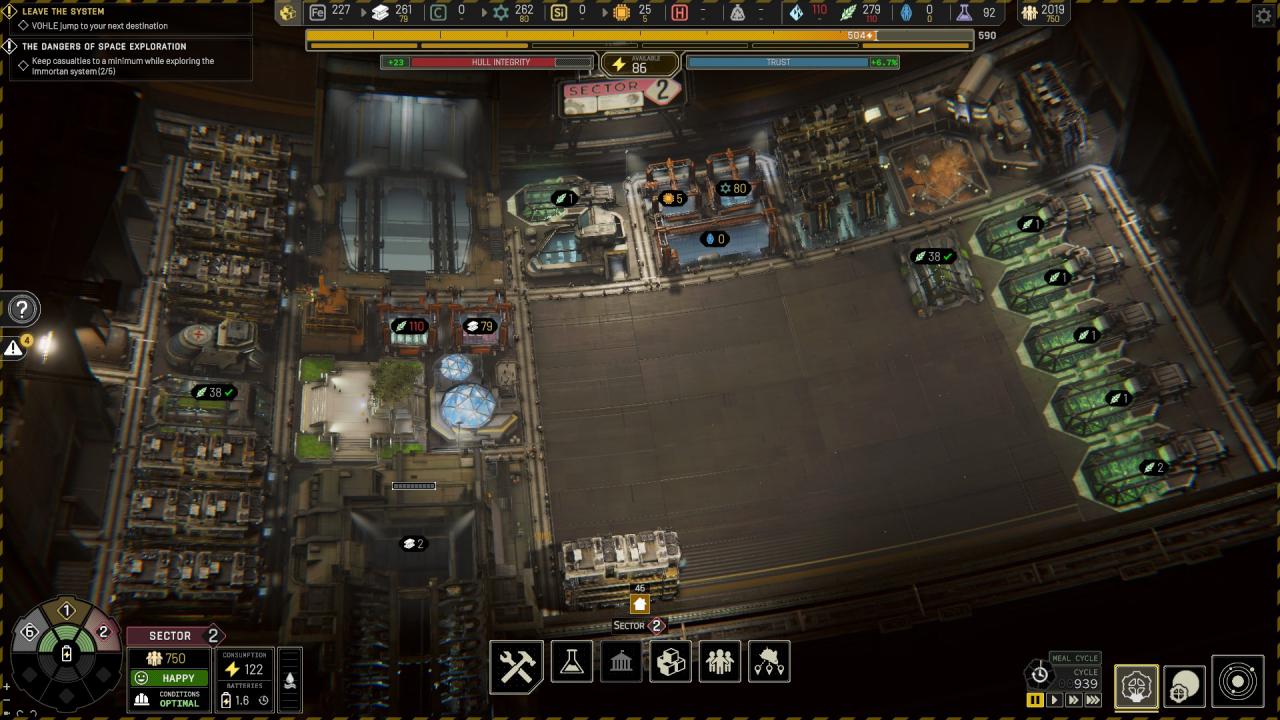
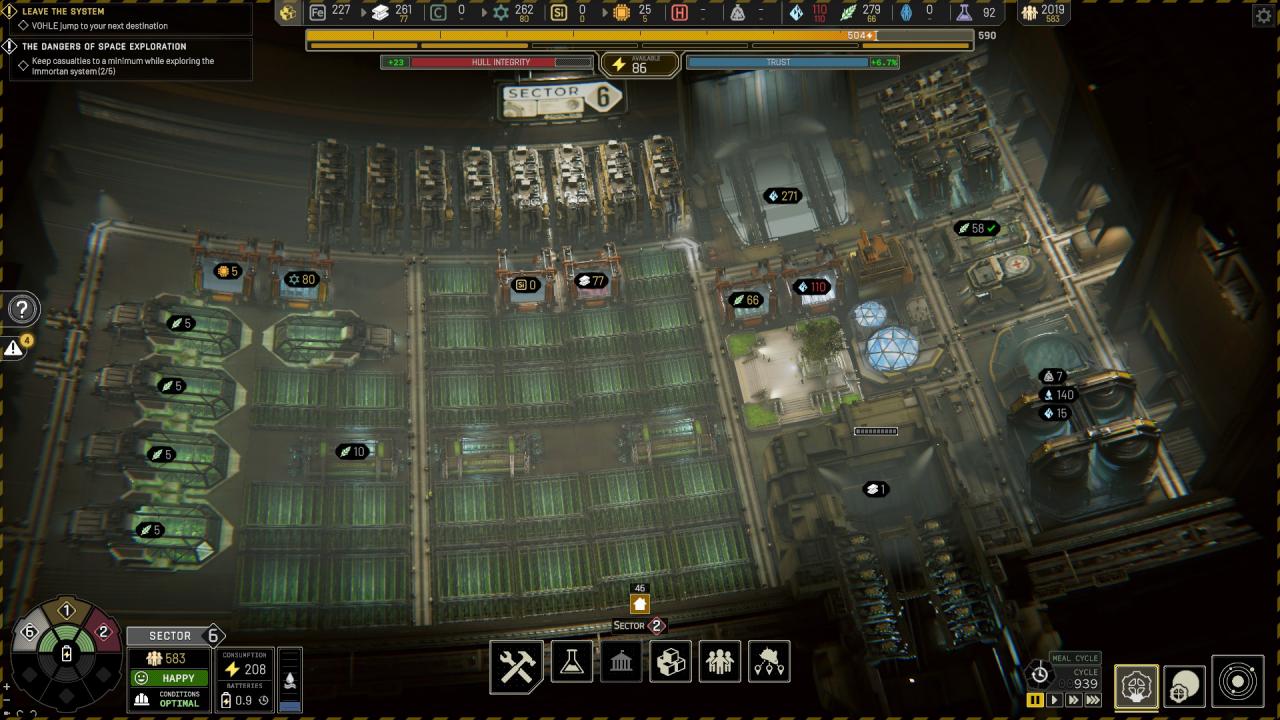
Exemple of layout using this save ( compared to my actual layout on the picture of right ) :
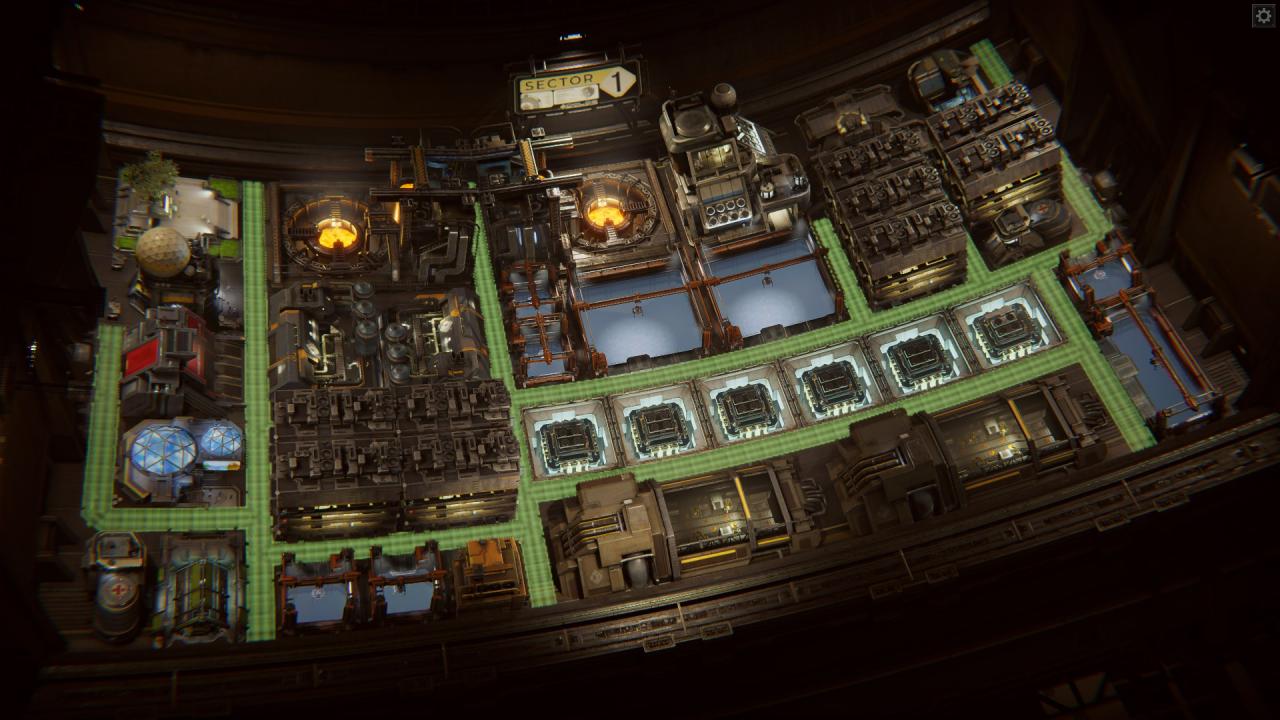
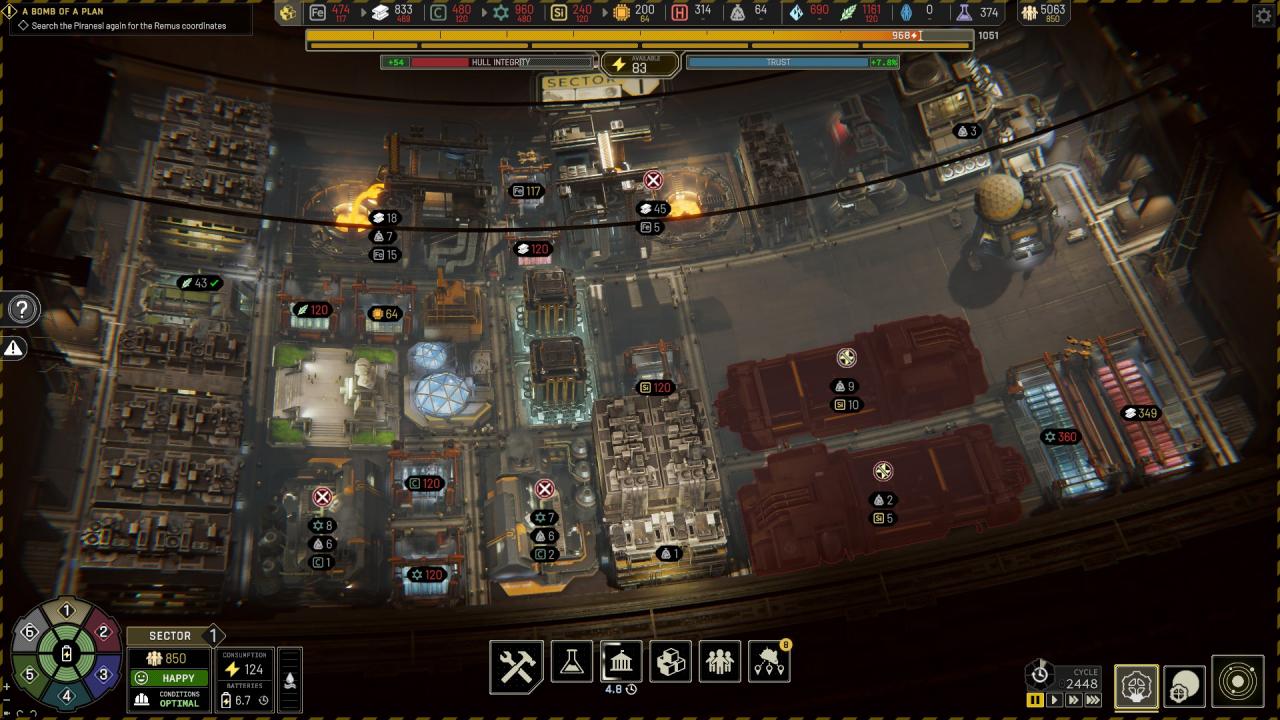
Thanks to Kporal for his excellent guide, all credits belong to his effort. if this guide helps you, please support and rate it via Steam Community. enjoy the game.
Related Posts:
- IXION: Hidden Achievements Guide (17/17)
- IXION: Hard Mode Guide (I Give You the Stars)
- IXION: Sector Specialization Requirements & Bonuses
- IXION: How to Modify Your Game Files
- IXION: Resource Management Guide (How to Move Your Resources)
In Tatra v8 choosing the NAOMI protocol and taking the ship back does NOT result in a permanent -1 stability. You get that -1 for finding out what happened to the Protagoras (by completing 3 out of 4 possible science missions).
You will get the -1, no matter what. I got the debuff after completing Mack8 for example. It’s part of the overall story progression and has nothing to do with Tatra v8.
Just make sure you have exoskeletons researched before doing this mission, because the crew will die if not.
In chapter 2, it is repeatedly mentioned in comments that resolving some of the events will give – 1 Happiness. This is a bit midleading as it seems you can gather a lot of unhappiness, when in truth it is all the same -1 modifier: After uncovering any 3 events, you find out DOLOS was declared Enemy of Humankind and the Protagoras hunted down by the UN. Resolving the first two events or resolving any events beyond the third does not incur the -1 penalty, only the third one does.
Good bless you, man.
Just to mention theres a typo in Rokatansky quest. Its not rock tan sky
On P-38, choosing the tank room as the first choice generates more science, no?
Going for an advanced Nyokond colony on Deville 59 actually gives you one of the best rewards ever, which is 1 science per cycle for as long as you are staying in the solar system. Getting a colony on there as soon as possible and then stay for as long as you possibly can could net you hundreds of free science.
Not sure what a basic Nyokond colony does.
Actually, it gives about 50 / 60 science and then they want to be taken back. Meh.
Establishing an advanced Nyokond colony gives about 60 science (one science per cycle). After that they want to be taken home.
Establishing an advanced Nyokond colony gives about 60 science (one science per cycle). After that they want to be taken home. The moment they conducted their tests gives you a whopping 100 science. I unfortunately cannot verify the latter, but I suddenly had 100 science to spend right after the colonists on Deville 59 were done.