Are you trying to get the “Smooth Operator” achievement and it’s just too difficult? Are you just trying to finish a masochist run with no kills? This guide will teach you how to get the hardest achievement in the game, which requires you to complete the Abandoned Complex mission with no kills. With this guide, you’ll be dropping Goons left and right in no time.
Preparations
Your load-out should have the following:
- Taser
- Empty Magazine
- Flash-bang
- Handgun (No Suppressor)
- Kevlar Armor (No Ceramic Plate)
Your loadout should look similar to this.
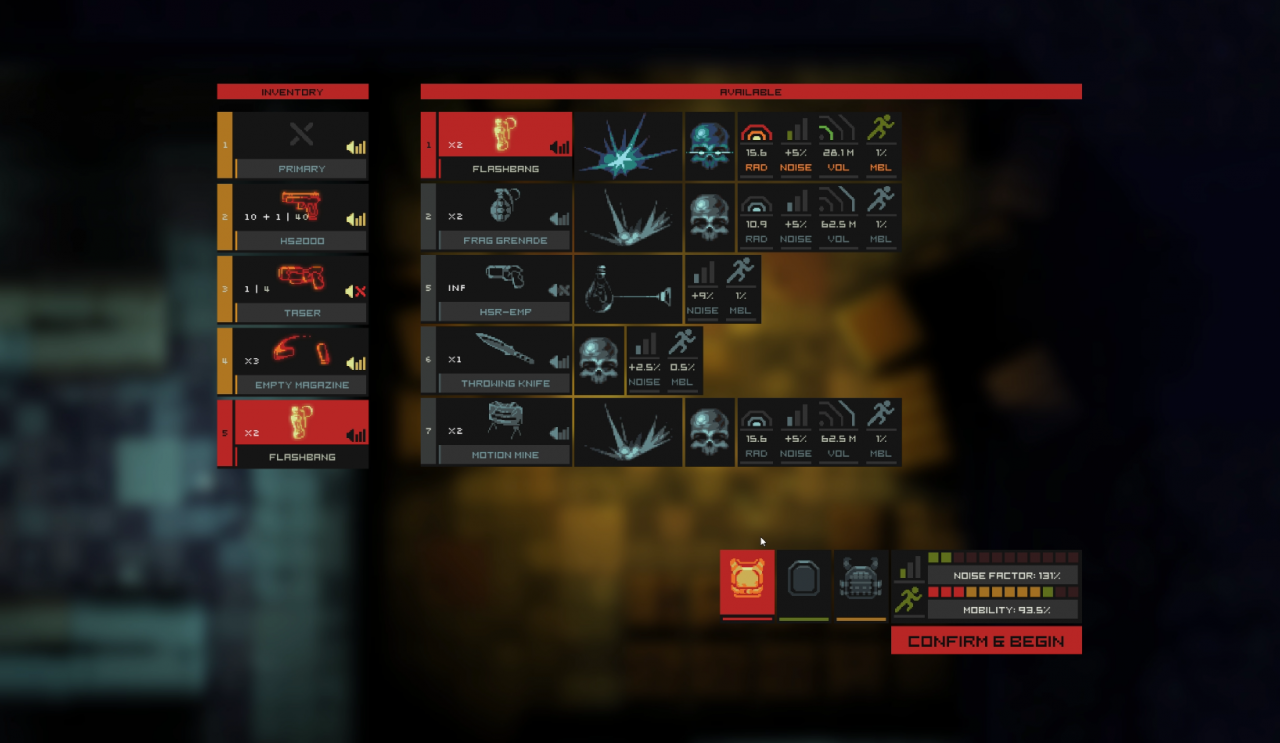
Not every piece of equipment is required, but they make this mission significantly easier. I will explain the use of everything later.
The area you’re going to camp in is very close to spawn. To get there, you have to jump out the window directly in front of the spawn room, then jump into the other window closest to you.
So now you’re in the right building, but you aren’t quite ready. For this to work, all lights must be turned off, and all doors should be opened except for the front door. This is what the building should look like:
Strategy
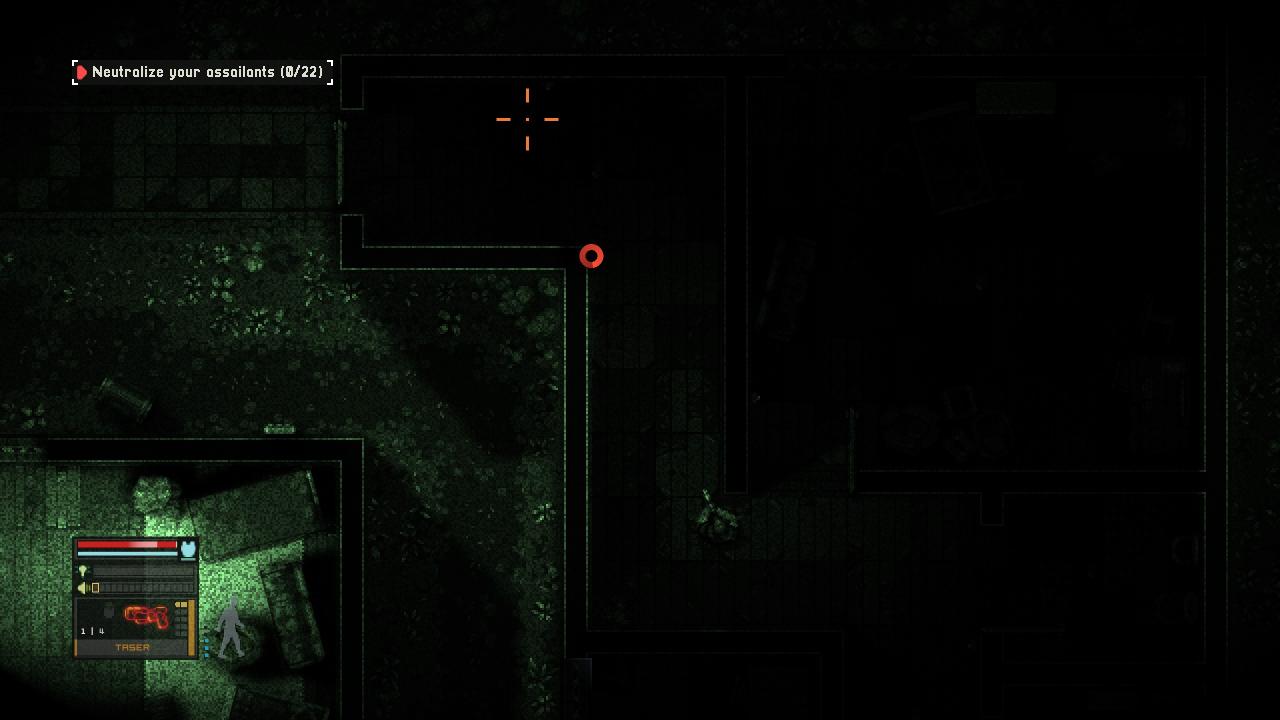
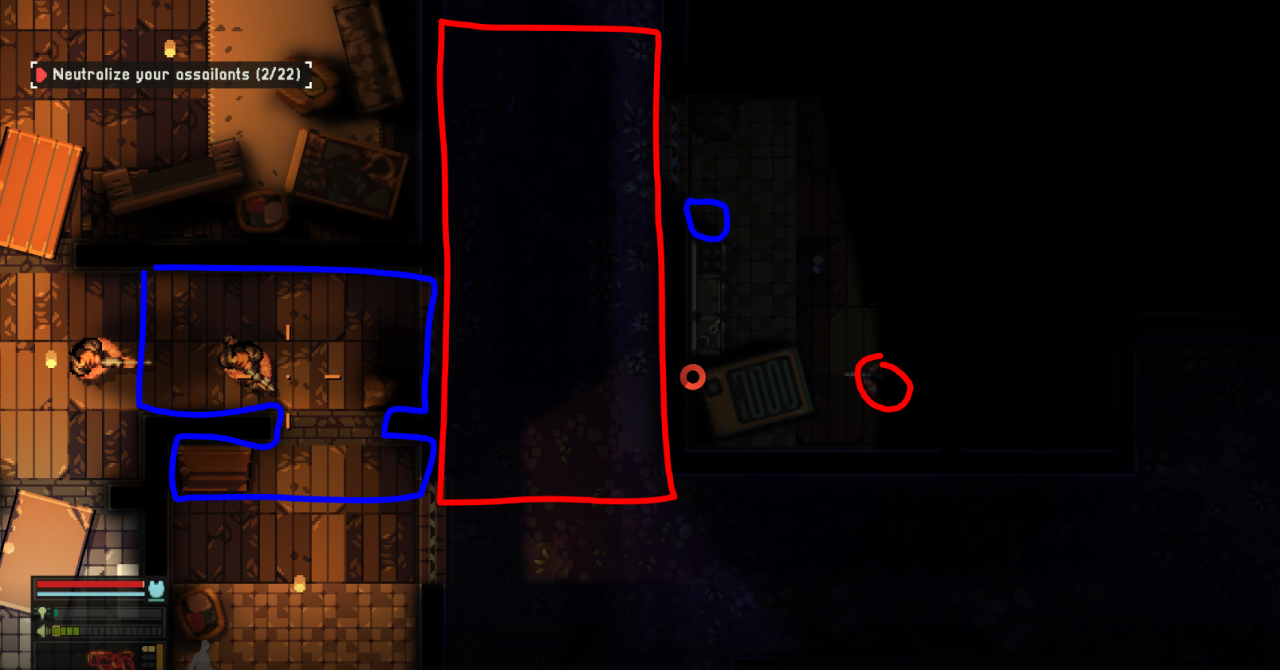
The reason I picked this building is because it’s close to one of the most frequently-searched buildings in the map, which is right in the center. By going into the room with the window on the south western most part of the building, you can use your microphone key (or taunt key if you have no microphone) to lure people from the center building and alleyway into your building.
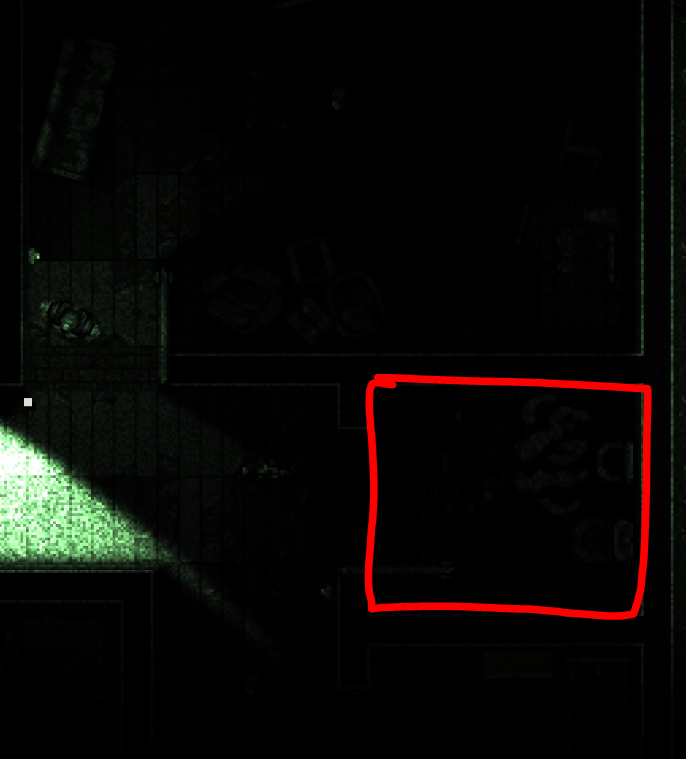
 Stand in the red circle and use your microphone to lure people walking through the red box.
Stand in the blue circle and use your microphone to lure people walking through the blue box.
Additionally, you have three magazines you can throw to lure people close to the alleyway, where you can then use your microphone.
Most of the time you will die due to slow reflexes, and some of the equipment you brought will help alleviate that, however it is finite, so you must use your equipment sparingly. To teach you when to use equipment, I will show you different scenarios, and how to approach all of them.
 After every encounter, dump every body in the bathroom marked by red.
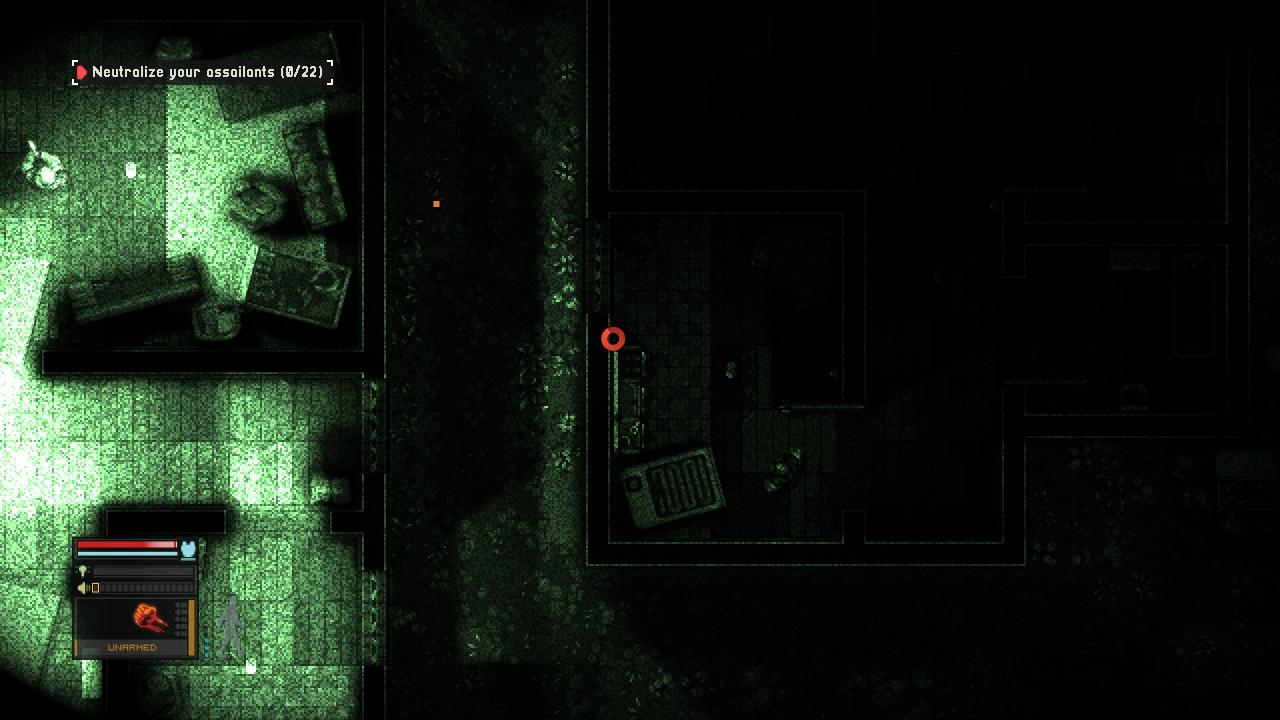
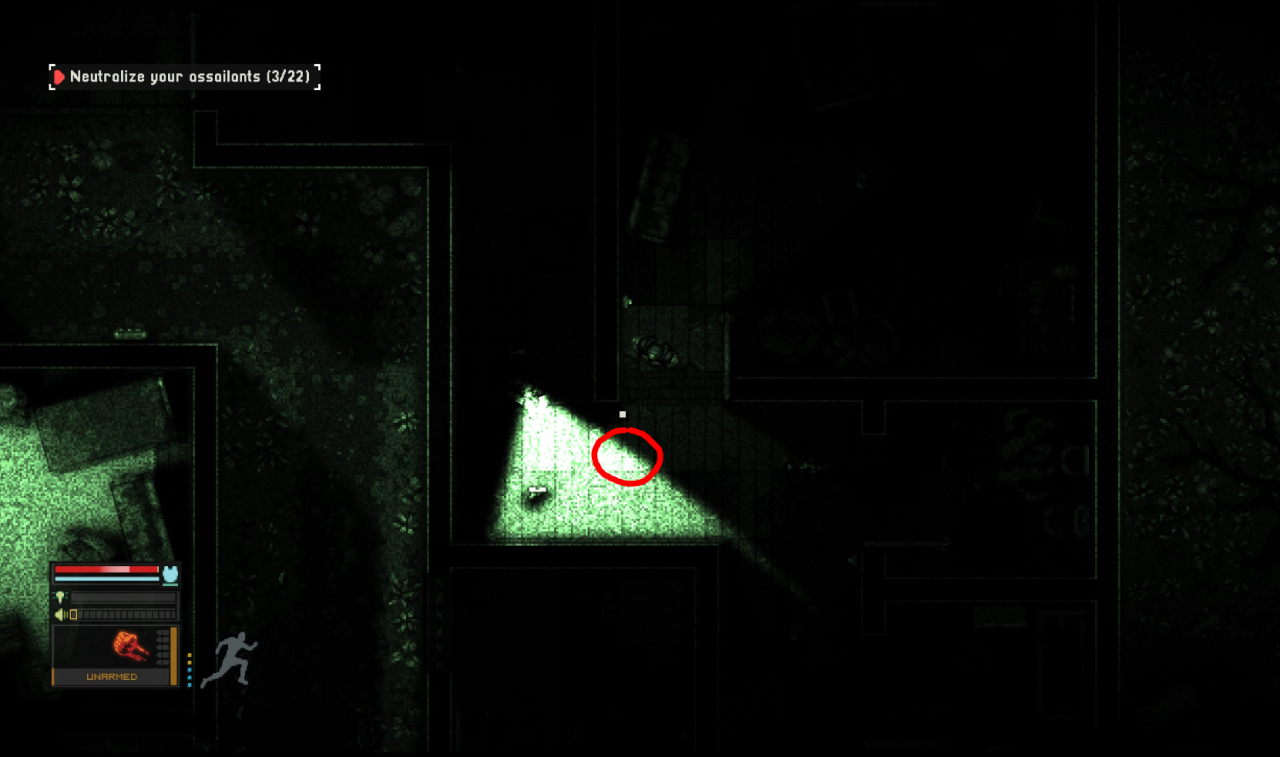 For a single intruder, wait in the northeastern room and wait until he reaches the area marked by the red circle, then punch him out.
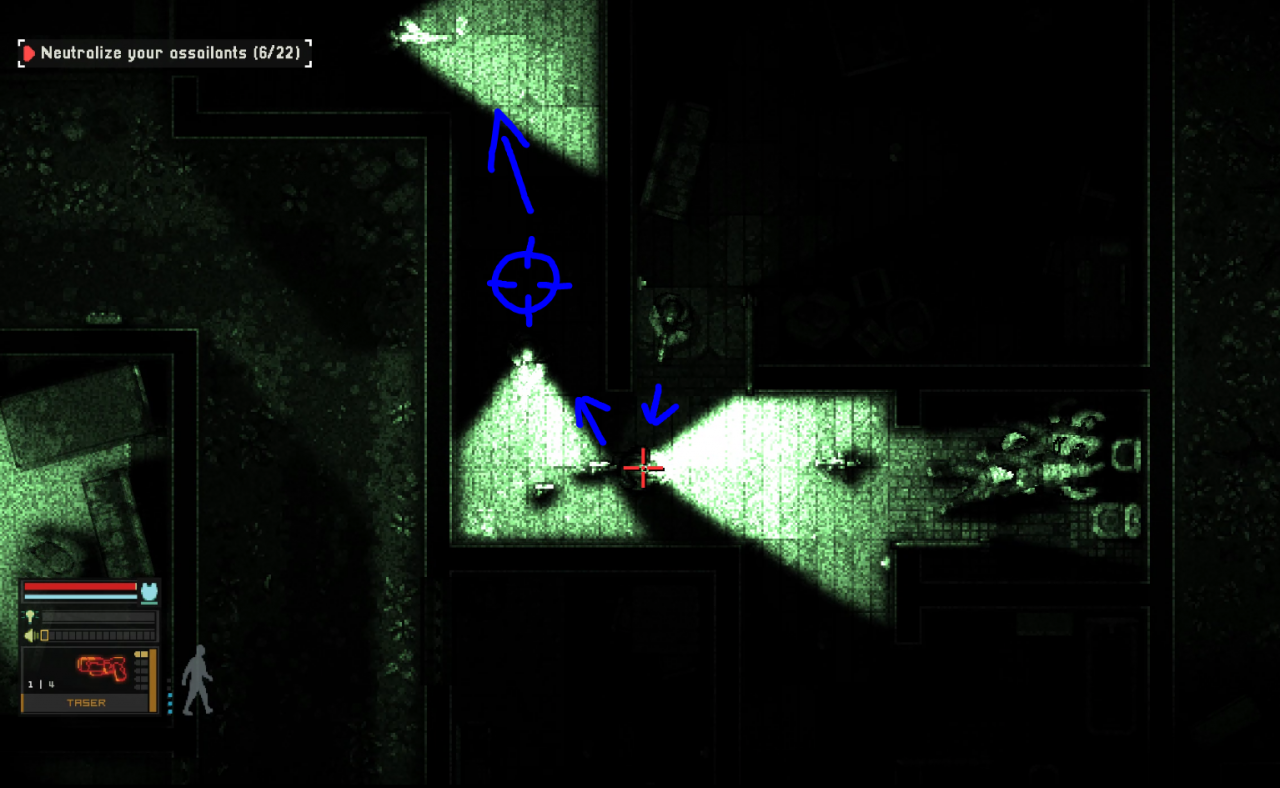
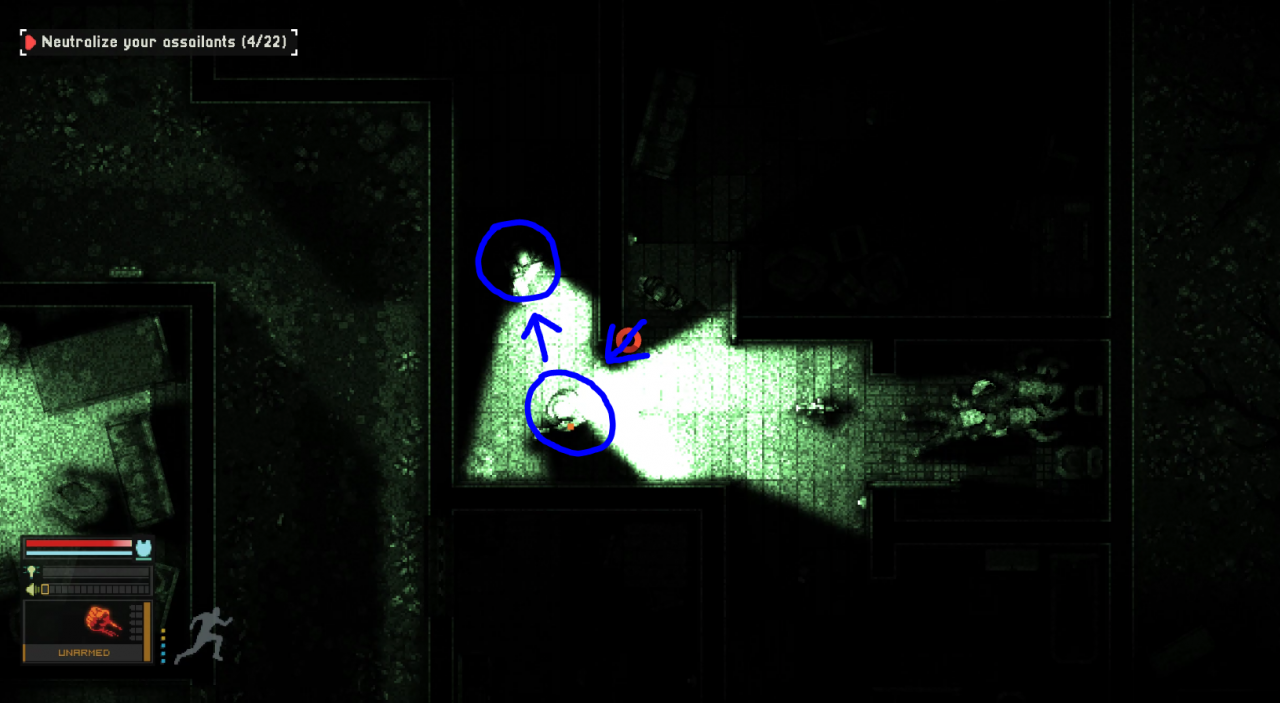 For two closeby intruders, wait in the northeastern room and wait until the pointman is about to detect you, then punch him out and quickly run to his buddy and punch him out too. If they are too far apart then use the taser on the second.
 You can also choose to intentionally let the first man in detect the bodies in the bathroom, which will give you enough time to take out the second and third. In this image there is no third man, but it should work in concept.
Rinse and repeat until you pass the level. Super exciting, I know.
- If there’s only 1 or 2 people left, you can fire a gun and they will come to you. this is risky but faster towards the end.
- Flash-bangs are loud. Before you use one just know that the entire map will be on your ass.
- Under no circumstances can you leave the building. If you do, someone will find the bodies and wake them up, undoing all of your progress.
- On Masochist, the hardest difficulty, you can only use one save per mission. I advise that you use it at 11 enemies neutralized.
- Half of the enemies on this map will carry pistol caliber guns and the rest will carry rifles and shotguns. Your vest will be able to stop one pistol bullet before breaking, after which you will die in one shot.
Thanks to connor for his great guide, all credit to his effort. you can also read the original guide from Steam Community. enjoy the game.