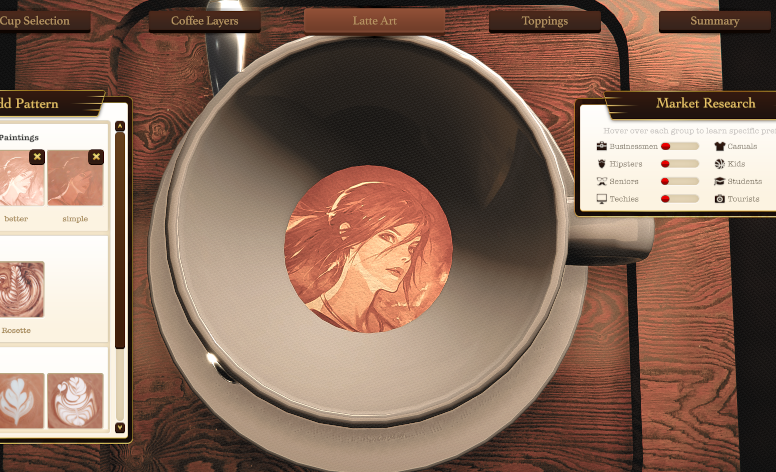
This guide explains how to prepare and use your own png image as a custom latte art.
Preparation
To begin with if you haven’t already done so, you need to prepare one “Custom Latte Art” and save the game. It can be any pattern or even completely empty, we just want the game to create a correct directory in the save files.
You can do this by pasting this path in the explorer or using run window (shortcut: Win+R).
%appdata%\..\LocalLow\DreamWay Games\Espresso Tycoon\GameState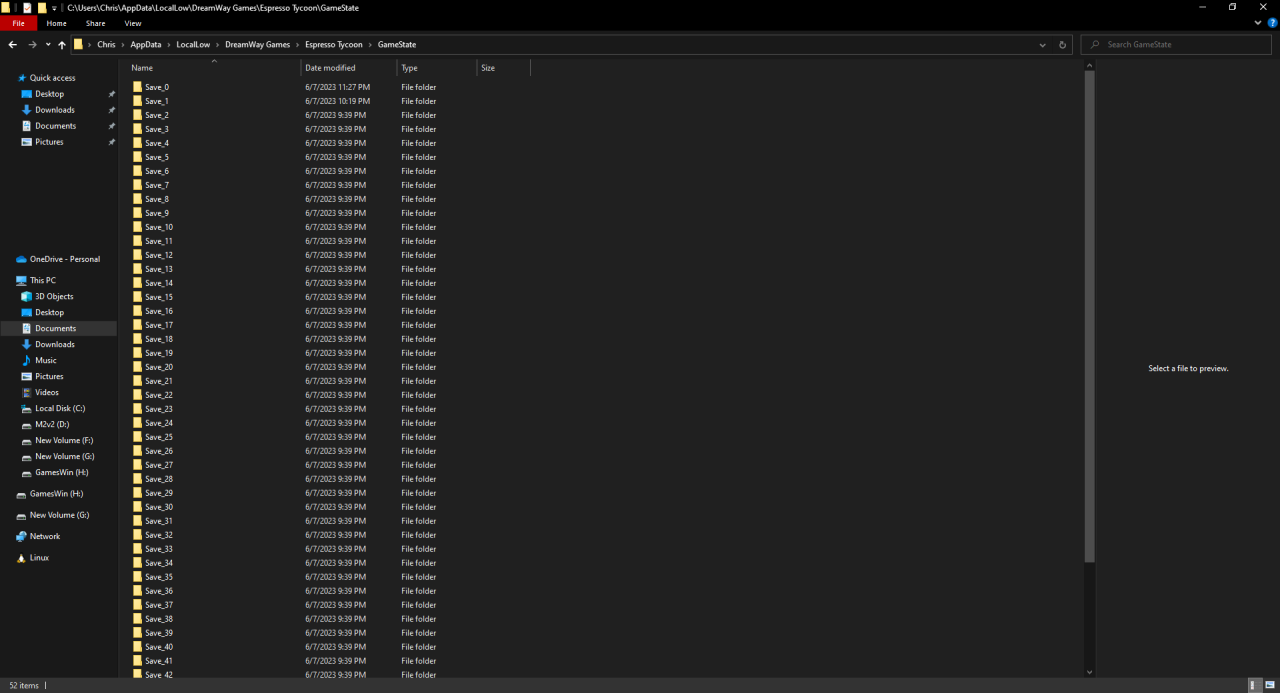
You need to find the save file you just created. You can use either the modification date or by counting the slot on which you saved the game counting from the top in the save menu where Save_0 is the autosave.
Inside you will find the folder “CustomLatteArts” this is the one we care about.
Simple Method
- Just copy the image to the game folder.
- Load the save
Ideally, the image should be a 512×512 square because the game uses this size and otherwise may scale and stretch the image.
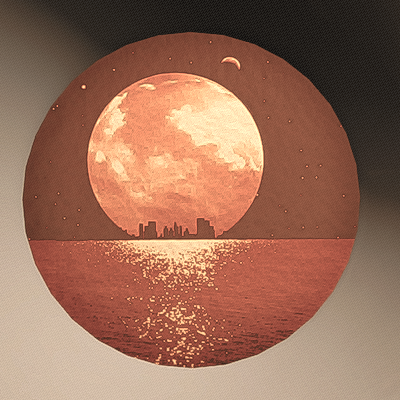
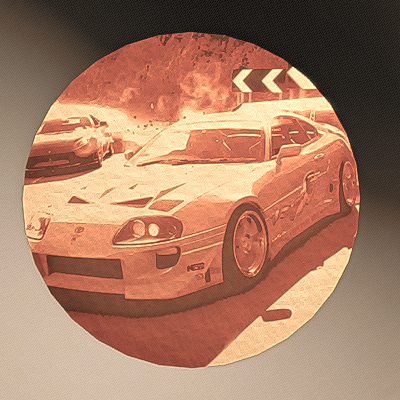
Here is the final result.
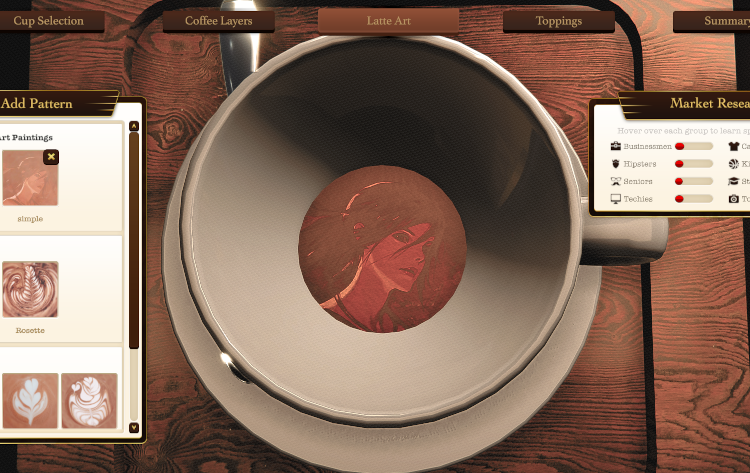
As you can see, it doesn’t look very good. We will try to improve it in the next step.
Better Method
- GIMP
- Or any other image editing software you are familiar with
After loading the image, the first thing we need to do is convert it to grayscale.
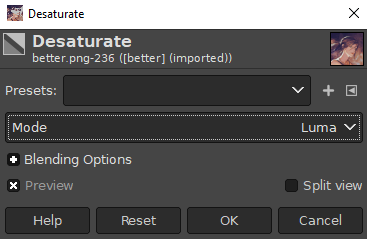
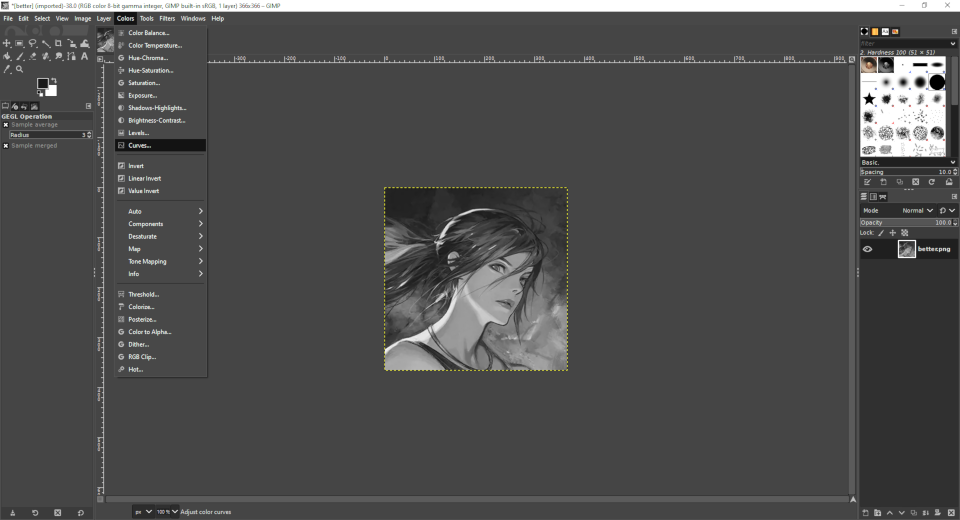
In the toolbar, select Colors -> Desaturate -> Desaturate…
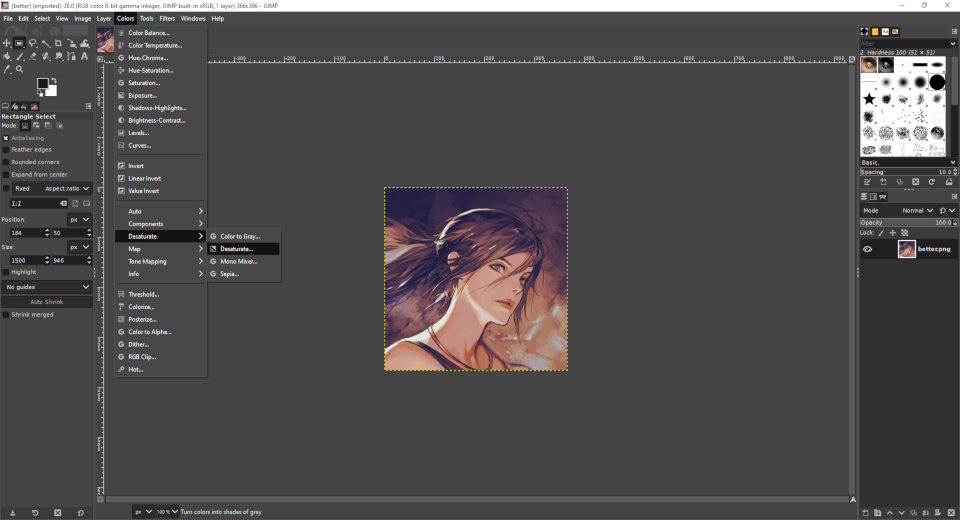
Then select “Luma” mode and confirm with OK button.
Next we need to adjust the colors. The game treats everything below about 70% brightness as one color so we need to shift our color values to not lose dark details.
In the toolbar, select Colors -> Curves…

Click LPM on the curve to add a new point and then set the following values:
- Input: 30
- Output: 170
- Type: Corner
Confirm with OK button.
(All these values were tested by trial and error, and I chose them because they are fairly universal. For brighter images you can try a higher input which should give a little better detail. I encourage you to experiment.)
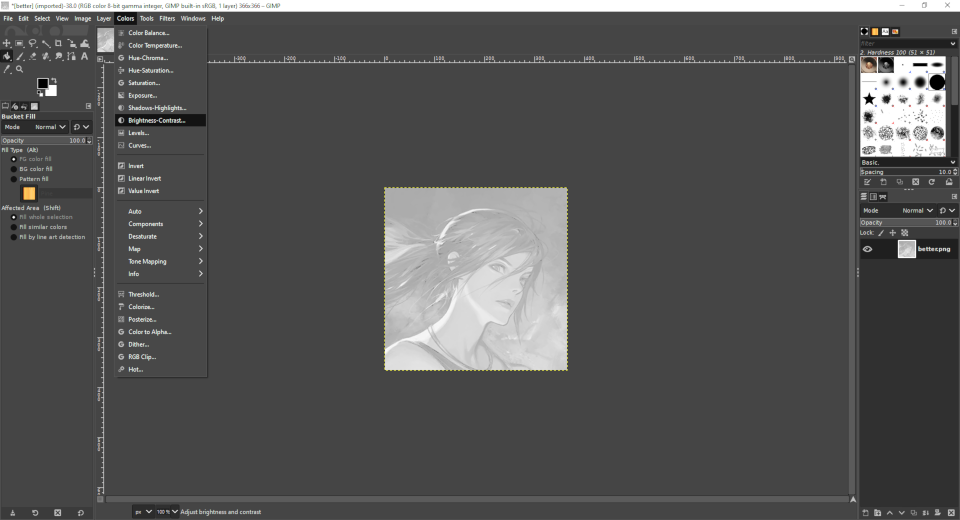
As a final step, I like to raise the brightness and contrast of the whole image a bit.
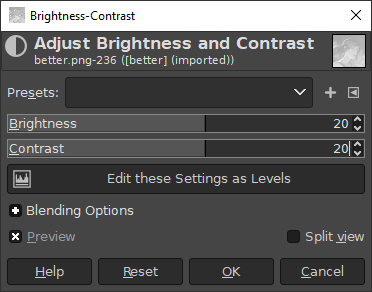
To do this, in the toolbar select Colors -> Brightness-Contrast…
Set both Brightness and Contrast to 20 and confirm with OK button.
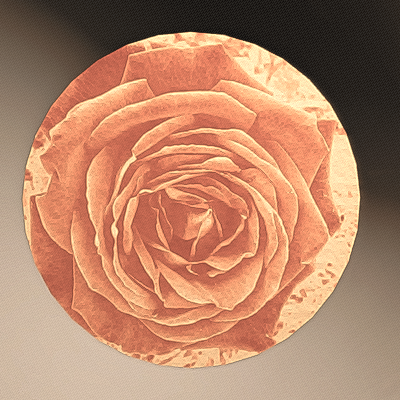
Now export as a PNG, put it into the save folder and let’s see the end result.
Thanks to 0Chris0 for his excellent guide, all credits belong to his effort. if this guide helps you, please support and rate it via Steam Community. enjoy the game.