
The Official Guide for ‘Dread X Collection 5’, Spoiler Alert!!!
Launcher Guide
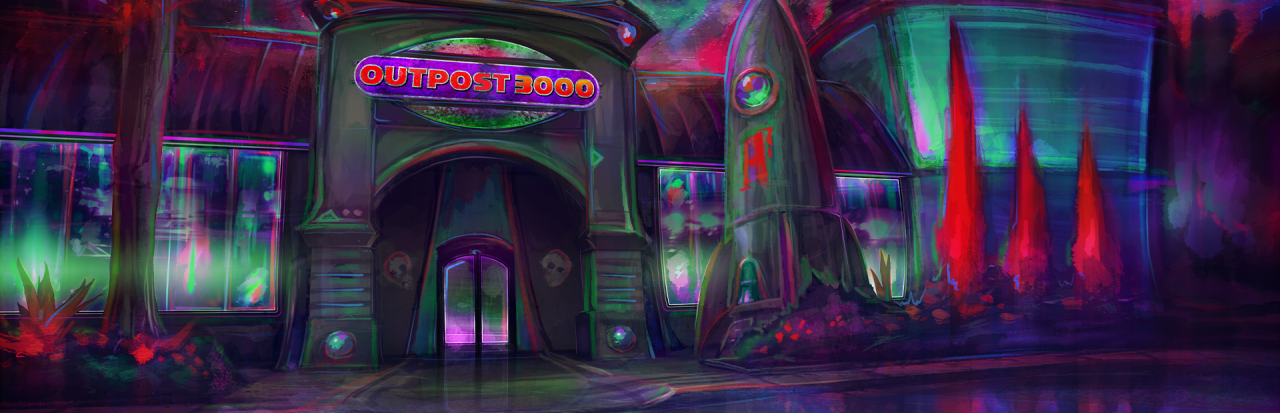
The aim of the launcher is to explore the secluded Outpost 3000 for pages for your comic book and presents to unlock meta-games at your birthday table.
Present Guide:
- 1st Present: It’s in the bathroom on the right, in the last stall.
- 2nd Present: Go to the front of the building. Click the light by the door three times, and count the amount of times the light across the street flashes. Subtract that number by 10 and flicker the light that many times.
- 3rd Present: Go into the arcade and play through the Zorlok game to get a present.
- 4th Present: Go back into the arcade room and climb the stairs into the now open door. Go down the path and into the theater. Complete the film reel puzzle in the projector room (Hint:The posters in the theater entry hallway). The present is down the moon path.
- 5th Present: Go to the door by the band and put the alien appendages back on the drummer alien. After that, click the red switch in front of the podium.
- 6th Present: Go to the open bar adorned with green neon lighting in the back left of the main room. Follow the orders listed on the bar’s computer terminal and place the completed drink on the counter when you’re finished. There are four drinks to make, so get cracking!
- 7th Present: Go to the Ballpit Zone and walk to the end to collect the present. Your new friend will arrive, and you’ll have to go from platform to platform without getting caught by them. (Hint:Sprint jump (SHIFT+SPACE by default) from the platform you’re on to get the most distance, keep jumping while traversing to the next platform to get the most speed, and wait for the monster to be far from you and the next platform you’re heading to during their patrol route).
- 8th Present: Go to the cafeteria and put the food objects in the stove in a certain order. (Hint:Pizza, Fish, and Pie. The creature will make a return, and you’ll have to use the center table to dart around it and back out the way you entered. When you do, the creature will fling open the previously closed door in the kitchen and leave.
- 10th Present:
- 9th Present: Go to the locker room door and go to the room in the back, with the lockers. Inspect the items inside the lockers to find out the code for the next. (Hint:1234 for Carl, then 1986 for Erin, then 2261 for Jill, then 0720 for Chris. The present is inside Chris’s locker.)
- 10th Present: Go to the back hallway where the locker room door is and go up the stairwell to the office. There will be a safe in the corner and a computer you can interact with. Use the computer’s files to find out the combination you’ll need to enter in the Safe program on the bottom left (the one with the lock icon). (Combination Answer: 2856)
- 11th Present: Go to the hallway behind the kitchen and into the alley outside. Interact with the meat knot on the dumpster and walk back in the hall. Now you’ll go down a new path that leads you into a maze that’ll eventually lead to the lighter you need to burn off that meat knot. Oh no! The monster’s returned! You’ll have to dart around them to get back to that dumpster. (Hint: Wait until you’re at a path between two major routes and wait for the monster to come barreling down one of the paths. Take the other one and you should be fine.) Burn the meat knot and grab the present within.
- 12th Present: Go to the opened playground and traverse up the play area to get the present. You’ll have to utilize crouching to get through this section (CTRL by default). When you do, the monster will come back and bring down the tube you took to get up there. You’ll have to make your way back with an alternate path, taking care to put as much distance between you and the monster before they notice you.
Ludomalica Guide
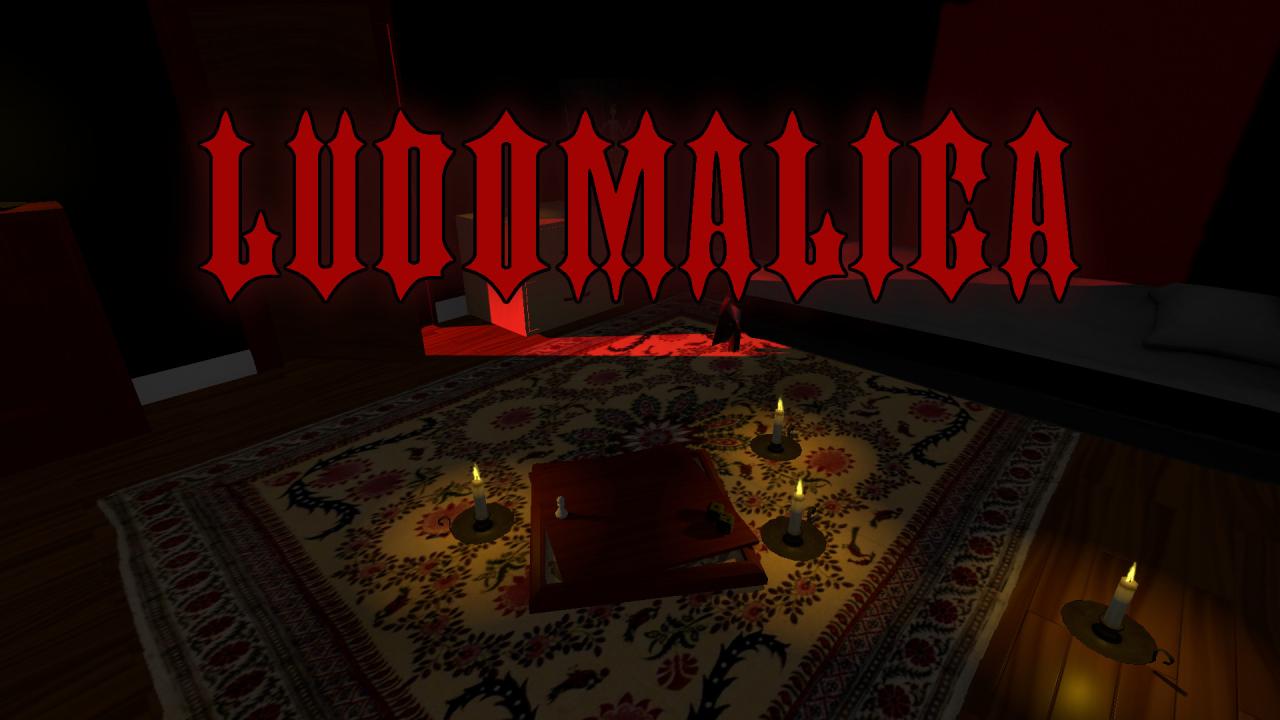 *The game has three simple rules that mechanics revolve around:*
- 1: Be Alone (Spoooooky).
- 2: Turn off all the Lights (That includes the light in the bedroom as well).
- 3: Close the Door (The bedroom door, that is).
When the creature is stationary and not chasing you, you can crouch to avoid alerting it. When it’s patrolling around and not alert, do not get within it’s line of sight. If it catches you, you’ll be reset to the beginning of that particular event.
Resver Guide
- Leave the apartment.
- Go into the Deli.
- Speak to the Deli owner, go through the door that opens and walk into the elevator. Click the button inside said elevator.
- Talk to your friends and walk to the center of the party, all the way down at the center.
- Wait a while for the pile of viscera to rise and the doors in the chamber to open. Go through them and follow the path of liquid gunk.
- After falling down again, keep moving forward. Go down the hole that the creature creates and look for another dropdown with piping on the wall.
- Go down the elongated hallway. Keep going down it. Yes, keep going.
- When you’re in the room with the large object spinning around, go to the left and drop down the hole in the center of the floor.
- From there, go to the door and walk down the hall.
We Never Left Guide

*Guide Written by FYRE Games*
Main Game:
- The game contains numerous cassette tapes that can be listened to for more story. To listen to these, first pick up the tape player. This can be found in the bathroom behind the shower curtain.
- After you examine the house key, go to the kitchen.
- Pick up the bedroom key from the counter.
- Unlock the bedroom door. Inside is a computer and a chest. The chest is locked with a 3-digit code, and the computer requires a “data storage device”
- Find the 3-digit code by picking up the journal entries and turning them around to view the back. These journals are located in the dining room, the coffee room, and the bathroom (the digits will be arranged in order of the notes’ chronological order).
- Use the 3-digit code to unlock the trunk. Open the trunk and take the “MASSACRE: 1983” video game floppy disk.
- Interact with the computer to sit down and play the game.
MASSACRE:1983 Guide
- To play the text adventure game, you must use your keyboard to type phrases in order to progress. You’ll type your phrase, then press enter. There’s a note on the dresser in the bedroom that goes over some rules about how to play these kinds of games efficiently.
- When you first behind “MASSACRE: 1983”, go to the car (one working command is “go to the car”).
- After approaching the car, break the window with your axe (one working command is “break window with axe”).
- Take the keys from the car (one working command is “take the keys”).
- Go back to the first screen (one working command is “go back”)
- Move to the backyard (one working command is “go to the backyard”)
- Once in the backyard, you’ll need to go to the door. (one working command is “go to the door”)
- After you’ve successfully approached the door, you’ll need to use the keys to unlock it (one working command is “go to the door”). Upon completing this, the power will go out.
- Stand up from your computer and walk to the coffee room. This is where the circuit break is located. Use it to turn the power back on.
- Return to the computer
- The game will now have new text loaded. You’ll need to go up the stairs (one working command is “go upstairs”)
- Once upstairs, you must approach the bedroom (one working command is “go to the bedroom”)
- Doing this will take you to the bedroom door, which is cracked open. You’ll need to walk inside (one working command is “go inside”)
- From here, you’ll find the couple laying in bed, sleeping. The game prompts you to look closer (one working command is “look closer“)
- After you’ve approached the couple, you have to murder them using your axe (one working command is “kill couple with axe”)
- Upon kill the couple, a final piece of text will appear. As it’s being typed out, you’ll hear a knock at the front door. Get up from the computer and walk to the front door of the house.
- At the doormat, you’ll see there’s a new floppy disk, “WE NEVER LEFT”, as well as a new cassette tape. Take the floppy disk and return to the computer.
- Insert “WE NEVER LEFT” and begin playing.
WE NEVER LEFT Guide:
- Upon opening the game, you’ll be greeted by a piece of text. You’ll need to start by going to the car (one working command is “go to the car”)
- Once at the car, you need to pop the tires (one working command is “slash tires with axe”)
- Now that the car is sabotaged, you can go inside the house. Type “go back”, and then approach the front door (one working command is “go to the door”)
- You’ll now have to enter the house (one working command is “go inside”)
- Once inside, you’ll need to make your way to the garage. To get there, you’ll need to follow one of these 2 paths. Laundry room > coffee room > kitchen, OR dining room > kitchen. Inside of the kitchen is the garage door (simply typing the name of the room will take you there. Note that the room must be next to the one you are currently in. These are all given in the text prompt).
- Break down the boards on the garage door using your axe. To start, examine the garage door (one working command is “examine garage door”)
- Break down the boards with your axe (one working command is “break boards with axe”)
- You should hear the boards break and fall. Once this is done, you’ll need to get up from your computer and walk to the garage.
- Go inside and walk around the car. On the other side, you’ll find the key to the attic. Pick it up
- Leave the garage and go to the hallway. On the ceiling, you’ll find the attic door. Open it
- Climb up the ladder into the attic. There, you’ll be met by another computer.
- Go to the computer and sit down.
- A new text game will load up. It takes place in the same house as before. You’ll need to cut the power. To get to the circuit breaker, you’ll have to go to the coffee room. Follow this path from the living room: laundry room > coffee room.
- In the coffee room, examine the circuit break (one working command is “examine breaker box”)
- Once you’ve examined the circuit breaker, cut the power (one working command is “flip the switch”)
- From here, you want to go to the attic. Take the following path: laundry room > living room > hallway > attic
- Once you’ve climbed into the attic, the text will read that there’s a man sitting at the computer. You’ll want to get closer (one working command is “get closer”). You’ll be prompted to do this multiple times
- Once you’re close enough to the man, kill him with your axe to complete the game (one working command is “kill man with axe”)
Cassette Tape Locations:
- Hallway end table
- Laundry room table
- Dining room side table
- Front doormat (appears after knocking)
- Garage work table
- Chair in the attic
Interim Guide

Main Guide:
- Put stuff away in the Storage Room until the power’s out.
- Flick the switch by the Storage Room to get the lights back on.
- Inspect what happened to your boss upstairs
- Go into the green screen to teleport to the next area.
- Follow the stranger down the sewer hole and keep going down the path.
- After you’ve reached the second Green Screen, go to the exit door at the far side of the room, then upstairs to your boss’s office to collect the keys.
- Use the wooden boards to scale up the shaft, while taking care not to fall into the void of blood inching closer beneath you.
- Take the left path to win the game, take the right path to get a bad ending that’ll put you back to right before you went down one of these paths.
Beyond the Curtain Guide
 Puppet Chamber Guide
- When you reach the chamber with a lot of puppets, you’ll eventually have to contend with a puppet armed with a knife following you. If you look at it, it will not advance, but if you break line-of-sight with it (and you will due to tight corners), it will quickly creep to you to give you a good stabbing.
- There are also stationary puppets armed with knives that’ll give you a love taps if you get near them, so avoid the following puppet while also not getting too close to these stationary wooden folks.
Chase Guide
- When you eventually come across those good ol’ knife puppets while getting chased by the monster, dodge them like you did previously in the Puppet Chamber. Don’t slow down too much though! You’ve got a rather large monster on your tail.
The Book of Blood Guide
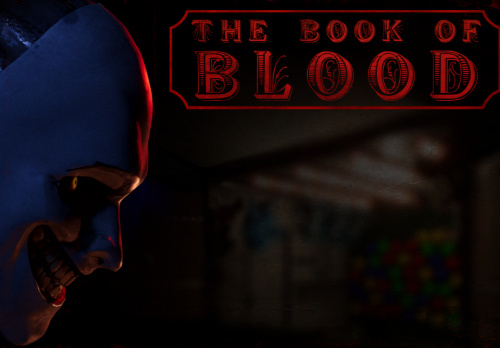
Power Outages: To deal with generators when the power’s off, look at which numbers on the generator box are highlighted red. Those are the ones you’re going to have to go to in-person to flick back on. You’ll find out where each set of generator switches are from the map right next to the main box. Each box has three switches that need to be flicked before it’s considered completed.
Venturing Outside: You’ll have to keep track of how much noise and visibility you’re bringing onto yourself whenever you exit your caravan. The levels of both will be indicated by a sound and eye icon, respectively. For audio, crouching is the quietest while sprinting is the loudest. For sight, having your flashlight on makes you the most visible, while having it off while in darkness is the opposite.
Items: First Aid Kits are placed all around the fair for you to retrieve and use as needed. Do note that you can only carry one at a time though. Flashlights are located in both your caravan (next to where the money from the intro was) and at the back of the Psychic’s station. There’s also a white spray can in the booth located at the center that you’ll need later.
Fending Off the Monster: While you’re working in the book, keep an eye on your front and rear caravan door locks. If you leave them unattended, they’ll eventually unlock themselves and the monster will get inside and attack you. Whenever you have to leave the caravan (for example, when the power’s out), look out the window next to the two doors to see if it’s safe. If the monster is standing right outside the door, take the other one, as taking the occupied door will lead right into an attack. If you do get attacked, hit the Left Mouse Button when the cursor hits between the two lines. The number in the center represents how many times you have to get it right before he’ll leave you alone.
*Book Guide written by Darkstone Digital!*
Solving Puzzle Pages: To solve a puzzle page, rotate the wheel on the card so the symbol found on the previous page is at the top. This symbol is the KEY for the next page. For example: The first solved puzzle reveals the sun symbol to be the next pages’ KEY so the next page will require the sun symbol to be at the top of the card. This will also set the four holes at the bottom of the card to a configuration that matches certain dots on the next page. Line up the bottom card holes to these dots. (Any dots that the holes in the card line up to will align the card with an answer circle in the center of the card’s ring.) Next, rotate the wheel on the card until the line in the answer circle is pointing to the KEY. This will cause a symbol to become burned into the page. Repeat this process until all symbols are burned into the page revealing the next KEY. HINT: There are a number of dots at the top of each page that show how many circles there are to uncover.
Revealing Symbols Within the Book: Once you have a KEY symbol; it will not only be used to solve the next page but will also be used to reveal the symbols on the blank pages of the book. When you discover a KEY symbol, a set of page numbers will appear on the ninth page of the book. Turn to these pages and set the card to the correct KEY then slide the card over the page. A red symbol will appear somewhere on the page within the center ring of the card. Hold the card in that position for a moment until the book automatically turns back to page 9 where a symbol can now be seen burned into the diagram. Repeat this process for each set of pages until all symbols are found.
The Final Symbol: There’s a paper at the end of the book that you can pick up and interact with. It’s noted that it needs some form of ultraviolet light in order to see what’s on the paper. Go to the attraction all the way to the right of your caravan (the one with the giant clown face on it) and hold the paper out while traversing it. Eventually, you’ll see a marking of the last symbol you need on the top to complete the ritual set.
KARAO Guide
Part One
- Talk to bartender, get code 145
- Insert code by the door by the stage
- Follow corridor to end
- Use toilet
- Follow corridor
- Follow tunnel
- Interact with karaoke machine
- Interact with hole
- Follow tunnel, enter house
- Group the stairs, follow tunnel
- Interact with karaoke machine
- Interact with hatch on floor
- Talk to janitor, get code 789
- Go back up, Interact with hatch.
- Enter code 789
- Take left tunnel, pick up shotgun and ammo
- Go back, take right tunnel
- Interact with karaoke machine
- Shoot 3 ladies, get code 589
- Enter code 589 by door in corridor
- Follow corridor, shoot ladies
- Go down to janitor, get the code 367
- Go back up the stairs, enter red door
- Enter code 367, to open big gates
Part Two
- Walk on platform, climb stairs and cross bridge
- Talk to Stieg
- Continue along the platform
- Walk into forest
- Interact with karaoke machine
- Go to spotlights, shoot five ladies
- Walk to big hatch on the far end of forest
- Enter code that is written on the wall
- Enter tunnel, follow tunnel, shoot ladies
- Interact with karaoke machine
- Go down dam slope, shoot ladies
Part Three
- Climb stairs
- Talk to golfer Maria on top of hut
- Walk in direction of her shooting
- Find creature lying on ground, climb ladder
- Approach Maria, get code 5558
- Follow train tracks
- Enter code 5558, enter tunnel
- Follow corridor, shoot ladies
- Interact with karaoke machine
- Shoot ladies in spotlights
- Shoot ladies in windows
- Follow train tracks, jump down on balcony
- Climb stairs, follow corridor
- Interact with lever in Stiegs hut
- Enter tram, ride to the bottom
- Walk towards red light from window
- Climb stairs
- Walk to end of corridor, interact with cage door
- Walk up the stairs, interact with lady
Spirit Guardian Guide
 *If you are caught by Granny, she will place the items you were currently carrying in the CONFISCATED cabinet, located in the main hallway.
- Enter the Nursery
- Put the correct shapes on their respective spots
- Collect the Flashlight and Battery
- Go down the hall, and hide in a locker when the Ghost informs you that Granny is coming
- Go into the room all the way down the hall
- Solve the Abacus puzzle. (Hint: Look at the objects in the room that share the same color as the balls on the Abacus!) – (Actual Answer: Blue = 8, Red = 6, Yellow = 3, Green = 5)
- Use the Blue Key to unlock the double doors leading into the play area
- Play Hide & Seek (Hint: The hiding Ghost emits a unique sound when you’re getting close to it’s current hiding spot)
- After you’ve won the game of Hide & Seek, go to the arcade game in the main hallway and play it. If you happen to get caught, just collect the Coin next to the machine on the table and try again.
- Back in the play room where you played Hide & Seek, use the green can on the table to push the dominos over, causing the small white ball to go into the chamber. Interact with the chamber to have it move up the rope, then interact with the blade near the suspended box to cut it down.
- Use the White Key to open the locked door in the play room and collect the Spoon in the bathroom stall, use the spoon to bring eggs back to the main altar in the play room. They’re very sensitive to sudden twists of movement, so be careful! (Finding Eggs Hint: They emit a crackling sound when you’re nearby one.) (Carrying Eggs Hint: Crouch before you pick one up and stay crouched the entire trip back.)
- Use the key you get from the egg puzzle to open the locked door in the bathroom, then enter that room.
- To defeat the Boss, interact with the mirror that the blue line is shooting into once to direct it to the next mirror you have to interact with. Eventually you’ll get the final mirror that’ll defeat him. If you stay on the electricity field he summons, Granny will arrive and catch you.
- Take his soul and put it on the altar back in the play room.
- Exit the Nursery
- Interact with the Newspaper to complete the game
HUNSVOTTI Guide

- You must collect 7 flowers and put them down the well in the center of the village. They are randomly spread around the village every time you start/restart.
- If you reach a fail-state (where the entire village is fed up with you and chases you), you’ll have to collect the flowers in a darkened state while avoiding them. If they catch you one too many times during this state, you’ll lose and have to recollect all the flowers again.
- If you get struck by a bread projectile, pushed down from the dancing maidens, jostled by the chasing boy, hit by a leaf fan, pissed on by the roof boys, walk into the corn field, or caught by the Monster in said corn field, your fail-state will get ever closer (as indicated by the darkening of your screen).
- If you get caught by Mother, your maximum stamina will go down, making it more difficult to get out of sticky situations. It will not, however, increase your fail-state meter.
- After you collect 7 flowers, kill all of the villagers, Monsters and Mother included. You have a super jump now, so use that to your advantage to find your victims.
Gallerie Guide

Guide to Batteries and Generators: Batteries can come in two variants: Red (Uncharged) and Green (Charged). To charge an uncharged battery, put it into a specific generator in the map. As for generators, some will have a button on them located in the middle of the device. Click that to proceed. It will, however, discharge your battery, so keep that in mind.
Guide to dealing with Monsters: The tall, purple eyed monsters can be halted by looking at them. They start moving after breaking line of sight from them for a few seconds. The other wailing monster can be stunned by flashing them with the battery (right mouse button by default). They can only be stunned once in a while, so use it only if you need to.
Solution to Translation Puzzle: It’s always the top choice.
*Do note that the game has five difficulty levels (with the game defaulting at the 3rd one). If you feel like an aspect of the game is too difficult (whether that be the QTE’s or the speed of the monster), we encourage you to make use of the choices available.
Vestige Guide

Main Game Guide:
- There are four plants to water in total. One is in the kitchen, two are in the entry room, and one is in your bedroom.
- The item to unlock the attic is in the kitchen.
- There’s a Television set in the hallway before reaching the main bedroom.
- Disc 2 is on the front door.
Memo Memori Mini-Game Guide:
- Collect hourglasses to extend your time.
- Drive into the blue spheres adorned with an envelope to deliver a piece of mail.
- The number on the bottom right represents how many pieces of mail you have to deliver.
- If you hit the ground while doing a trick, you’ll fall off and fail the trick, discarding those points.
- The blue arrow at the top of the screen indicates where your next objective is.
Rotten Stigma Guide
To Drain the Pool of Water:
- Tap the left-most switch, then the right-most, then the second-to-last switch. If you hear the blue machine humming, you’ve done it right. Interact with the blue machine to your left to drain the pool.
The Location of the Three Coins:
- Inside the lockbox that’s located in the outdoor restrooms. The code to the lockbox is ‘1982’.
- Inside the bathroom stall that the creature pops out of after you collect the main key at the showers.
- Inside the left cage (the one with the red marking) outside by the courts.
*Look around your environment for supplies (ammunition, health items, and important notes)*
Thanks to Lazarus for his great guide, all credit to his effort. you can also read the original guide from Steam Community. enjoy the game.