Here’s the basic stuff in importing render scenes and turning them into image sequence.
Have You Render the Image?
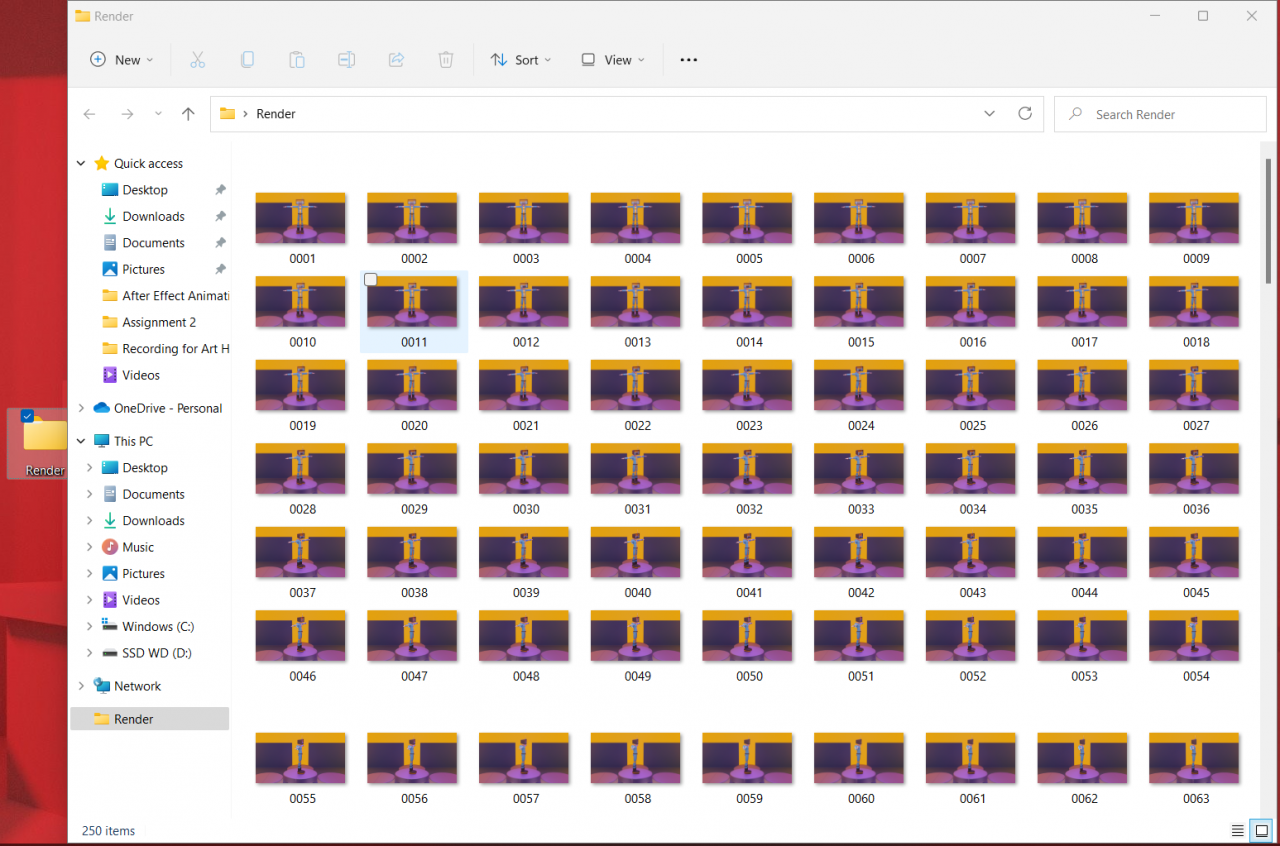
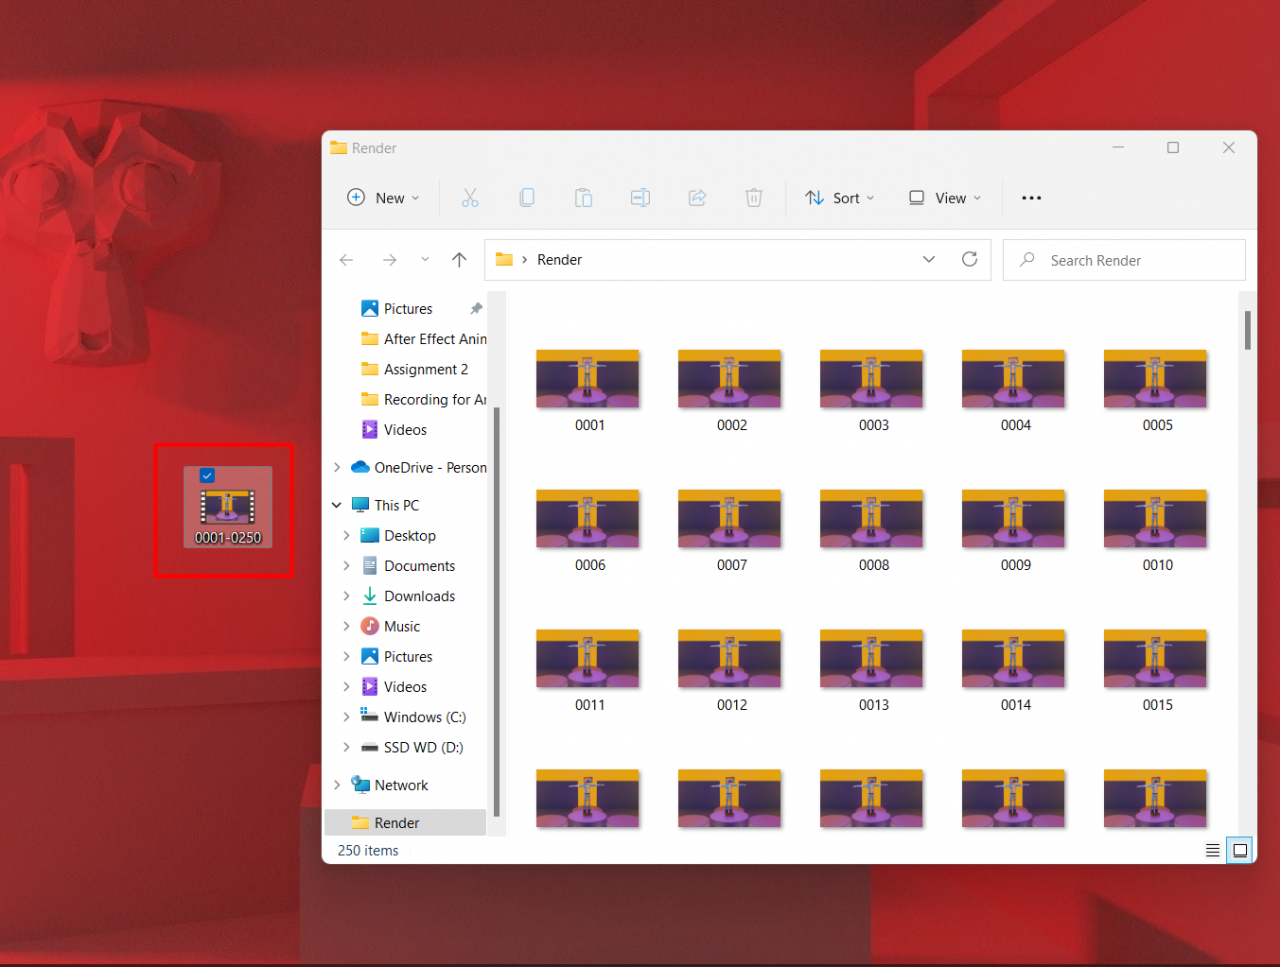
Before we start, make sure you made a file that is filled with the render scene that you render and make sure the location is the same for the next section.
Pick Video Editing from the Start
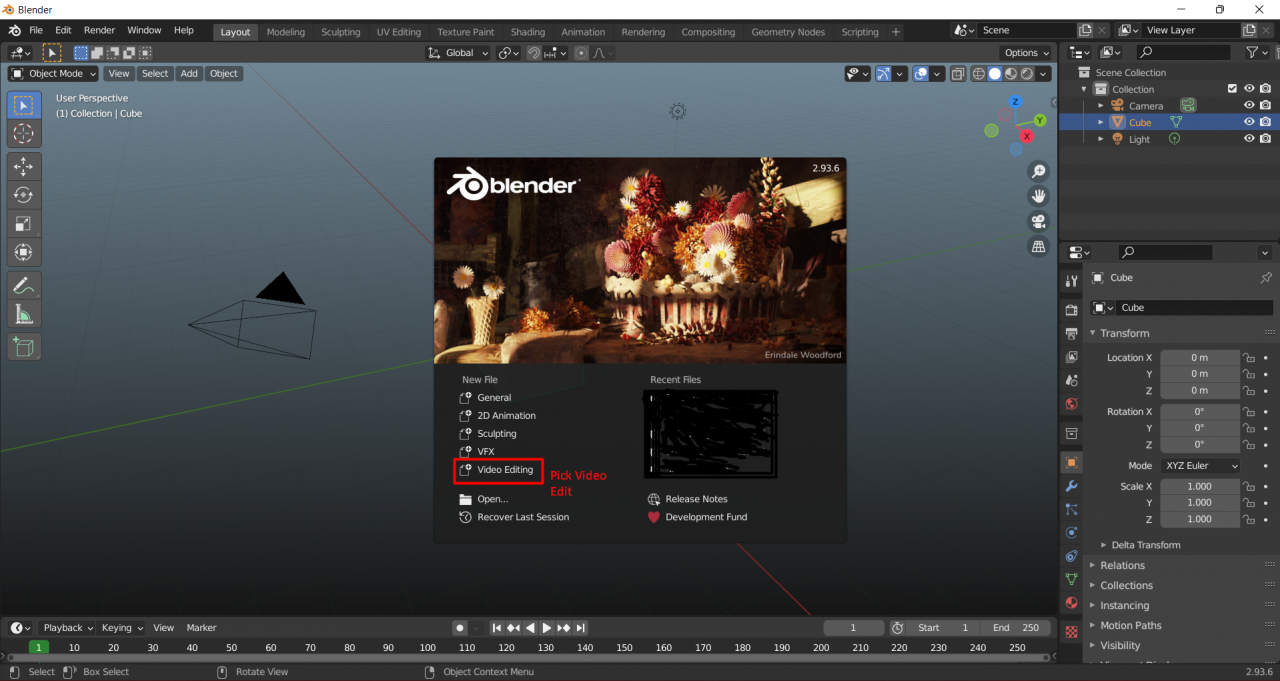
When you open the software, pick VIDEO EDITING on the start up.
Selecting the Render Scene
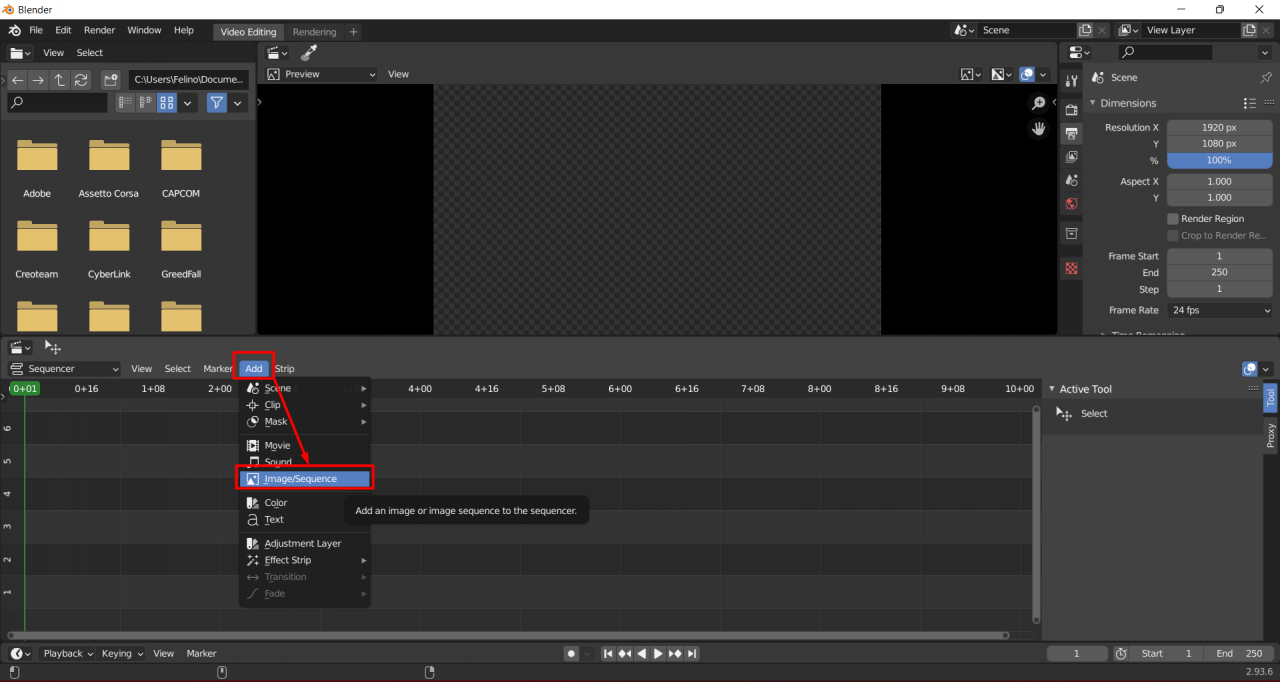
Press the ADD option and then IMAGE SEQUENCE.
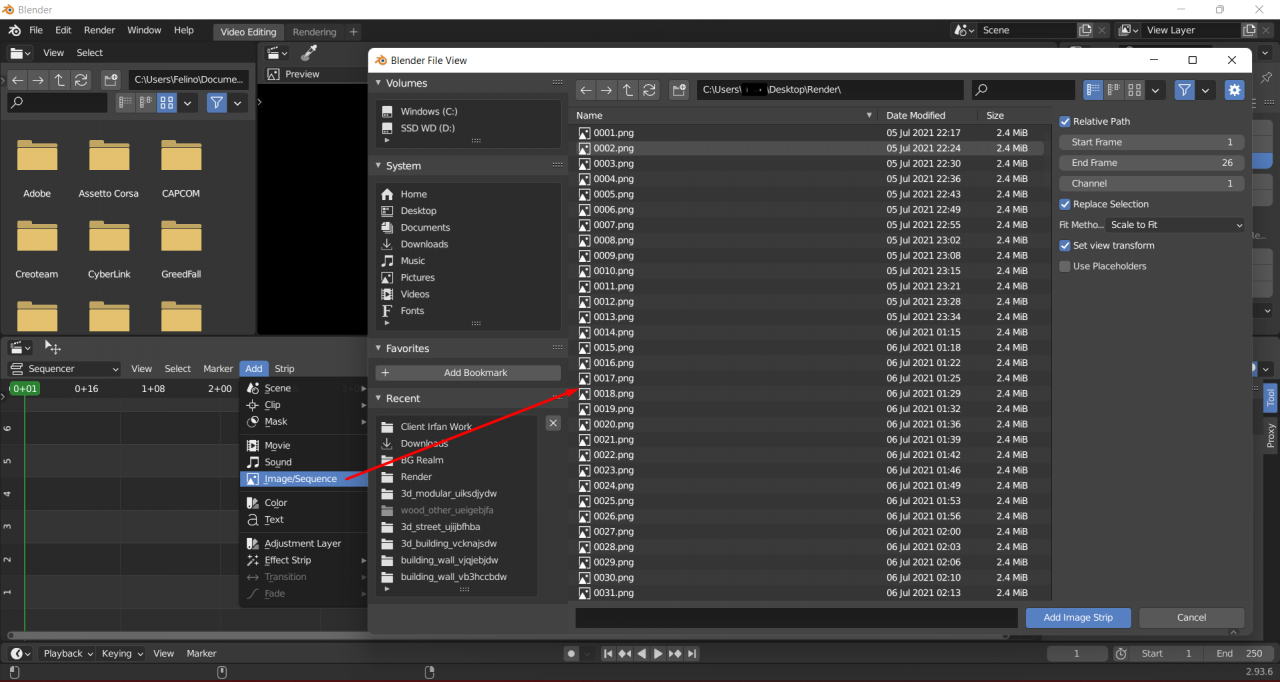
Once you open IMAGE SEQUENCE, find the location of your render files.
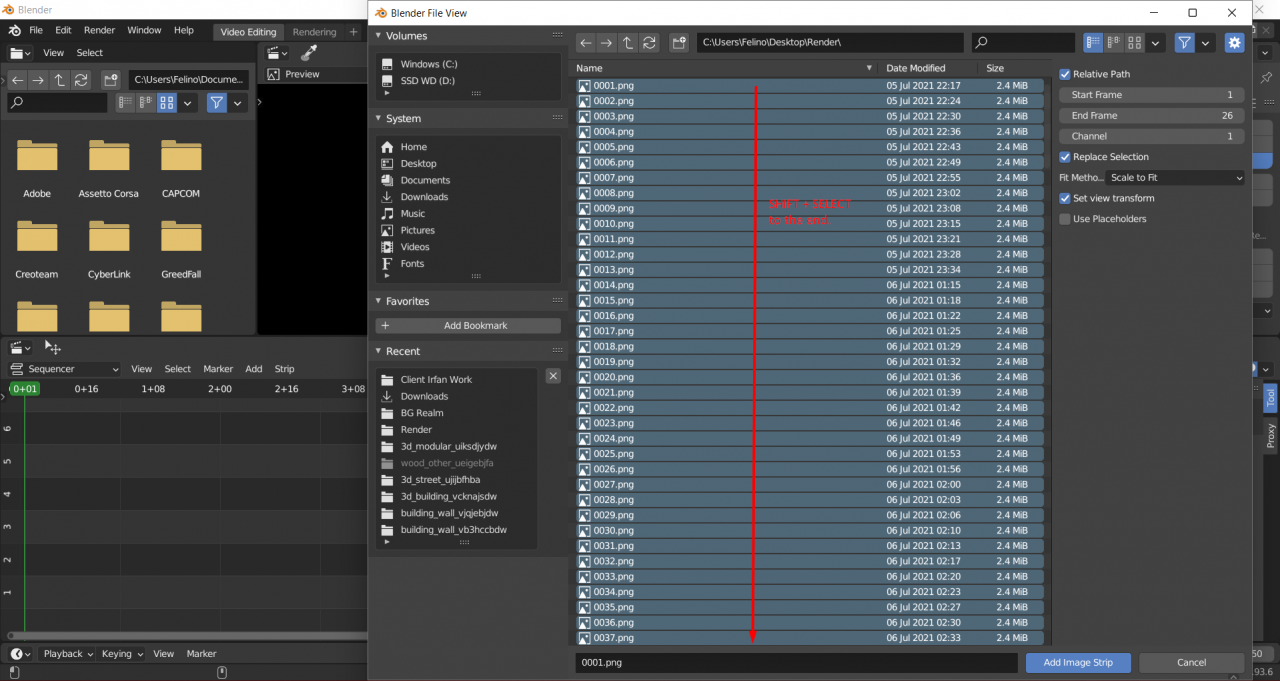
SHIFT + SELECT the render image from the start of your frame to the last frame you located.
NOTE:
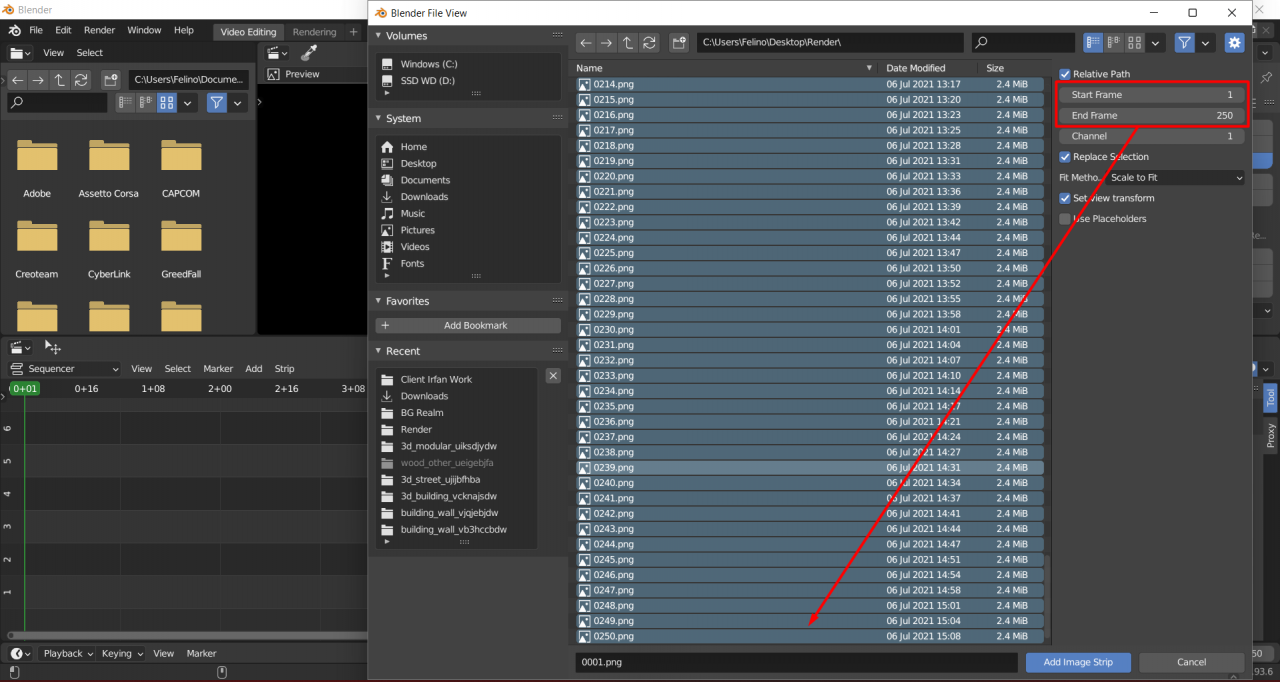
If your render image ends at a certain number, edit the END FRAMES to the last number of your render scene.
FINALLY
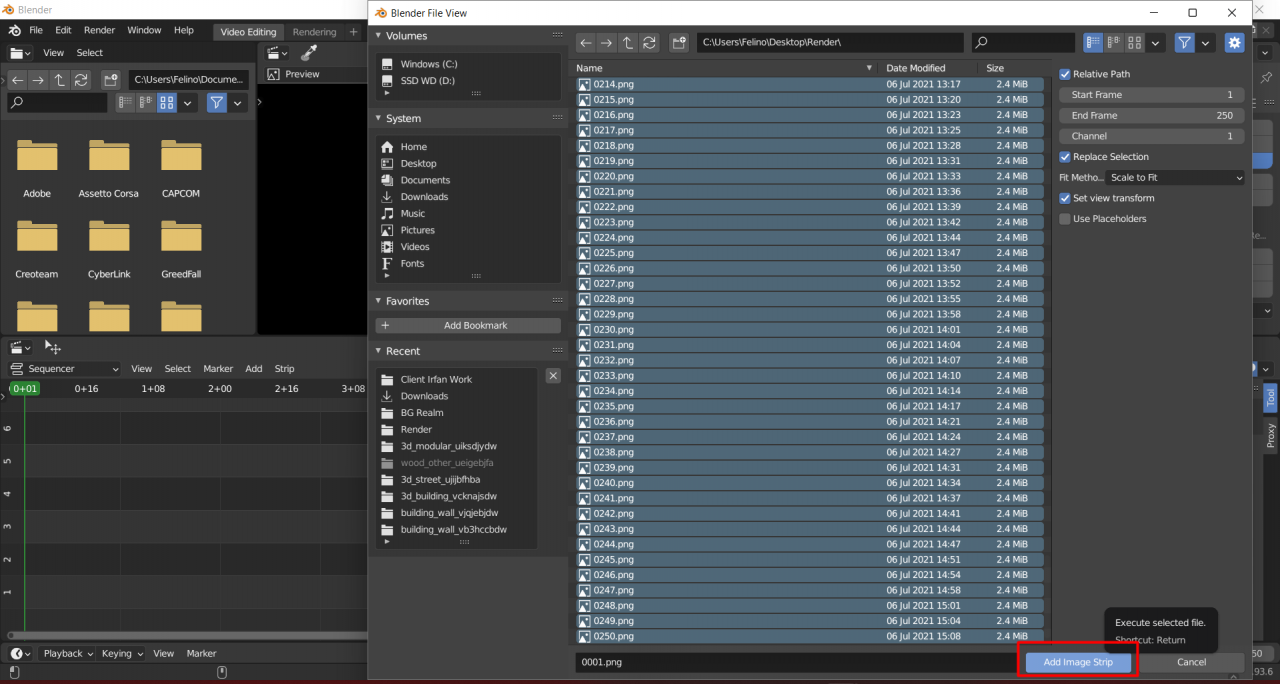
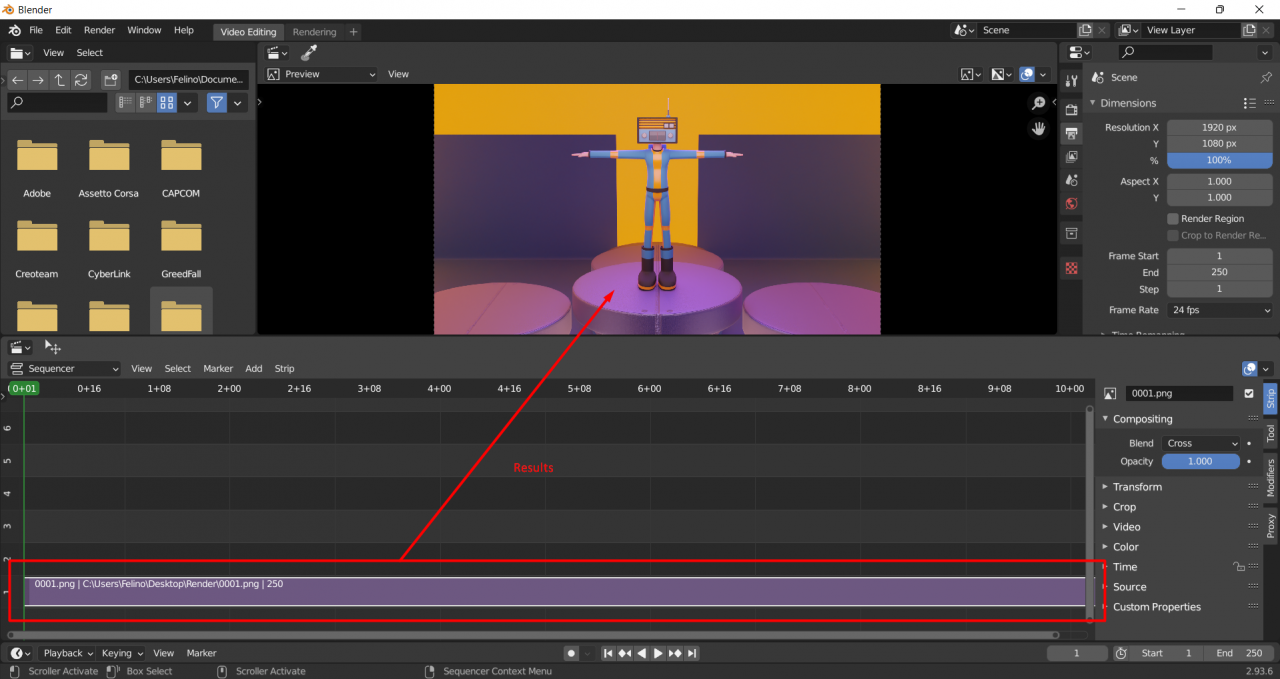
Press the ADD IMAGE STRIP to compile all the render scenes into one video.
RESULT
Export to MP4
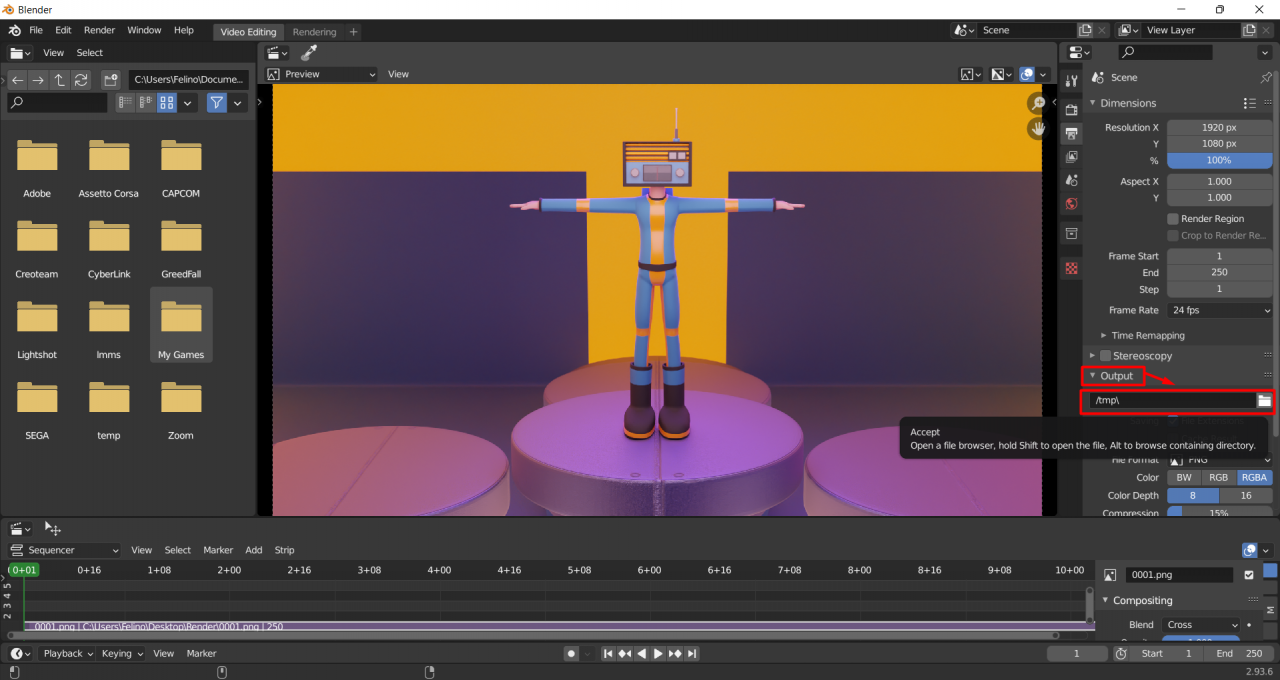
Go to OUTPUT and select the LOCATION to export the video.
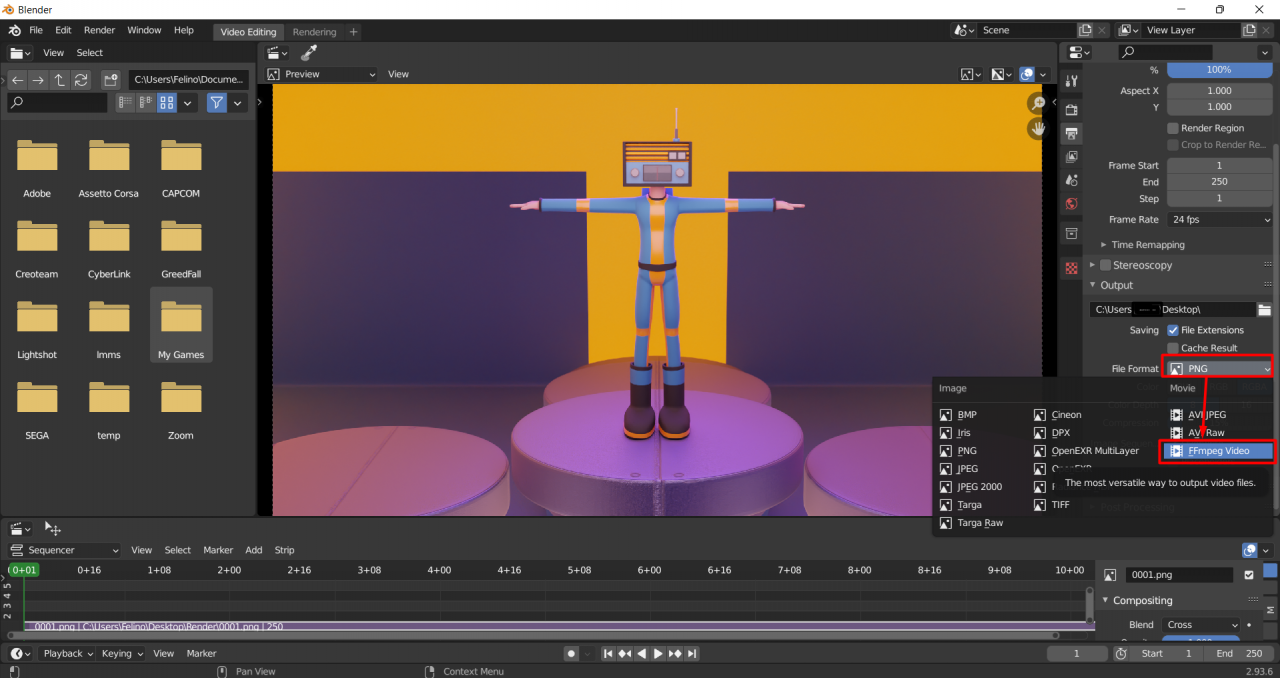
Go to FILE FORMAT and change it into FFmpeg Video.
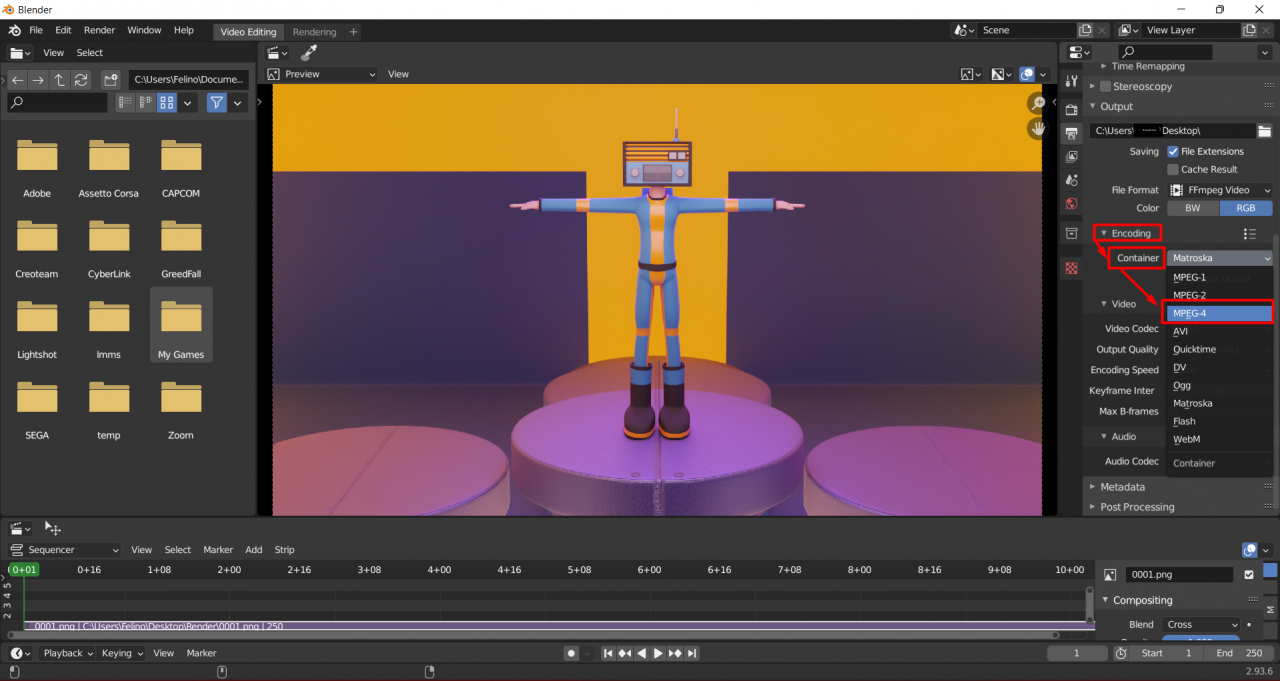
After that, press the ENCODING tab and change the CONTAINER into MPEG-4.
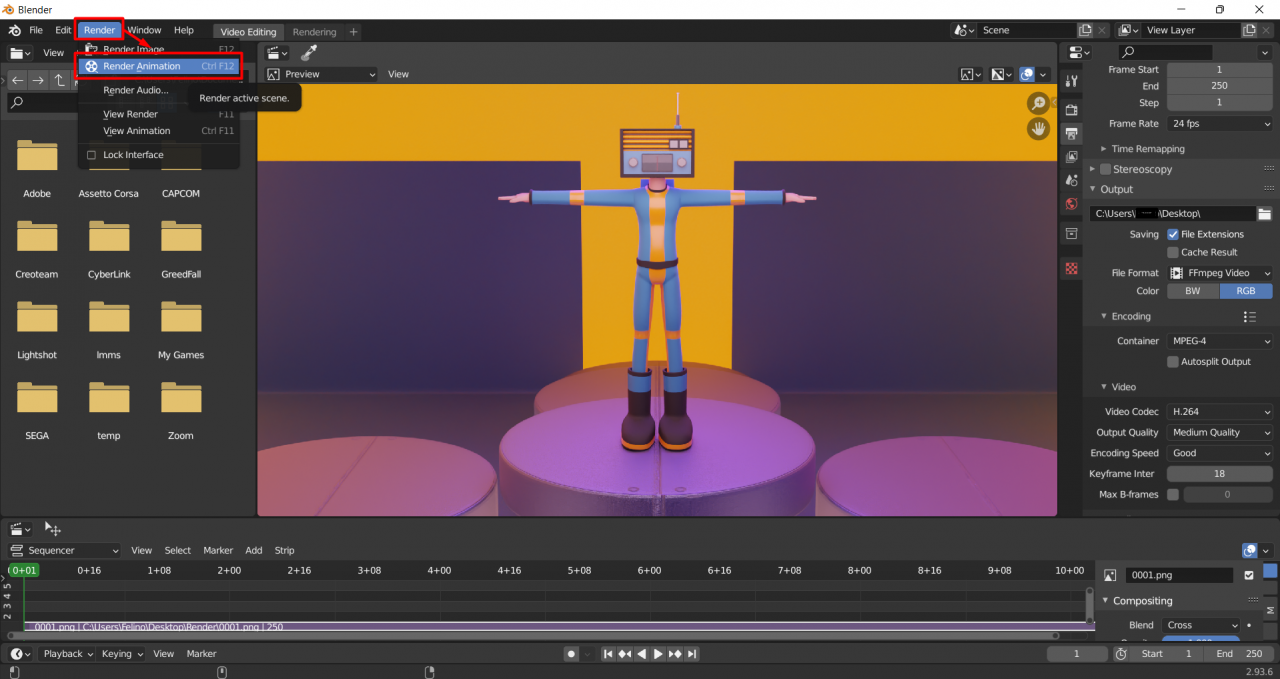
Now press the RENDER tab and select RENDER ANIMATION to start the render.
RESULT
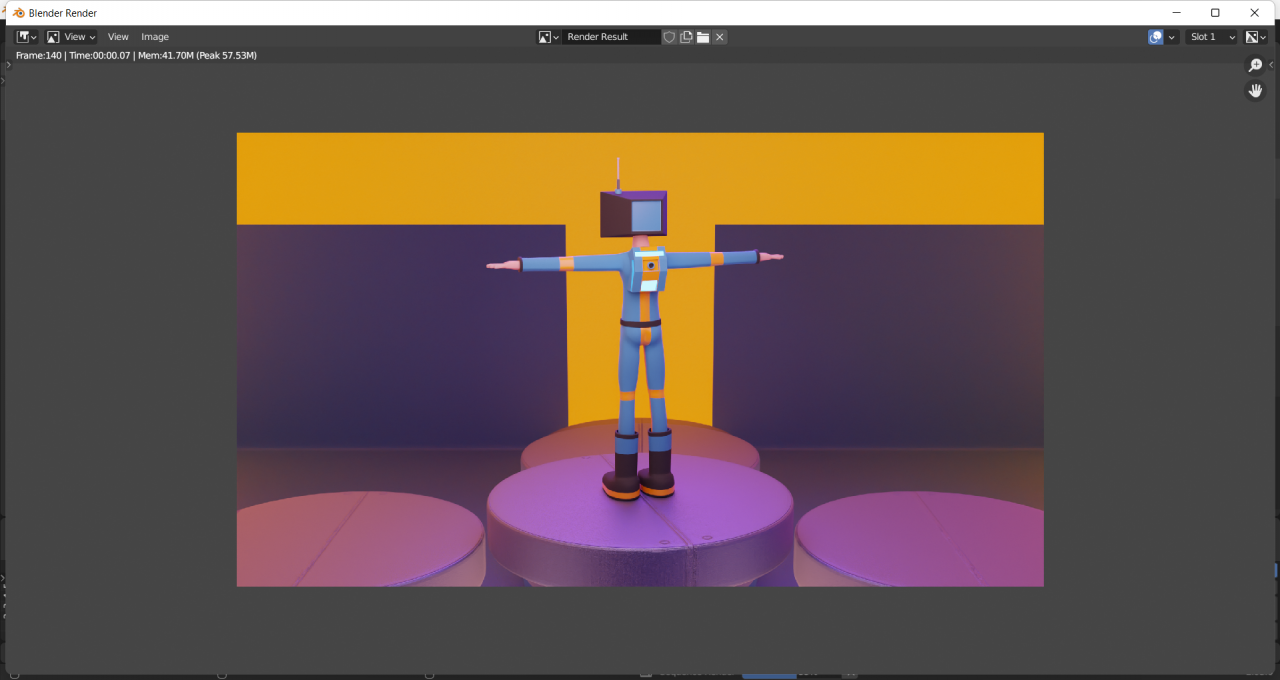
Just Wait for a couple of minutes depending how many frame you put.
Finally the export mp4 file will appear on the location you designated to.
Thanks to Linext for his great guide, all credit to his effort. you can also read the original guide from Steam Community. enjoy the game.
Related Posts:
- Blender: How to Import Source 2 Maps
- Blender: How to Run on Windows 7
- Blender: Recursive Duplicator for Objects and Scales in Local Axes