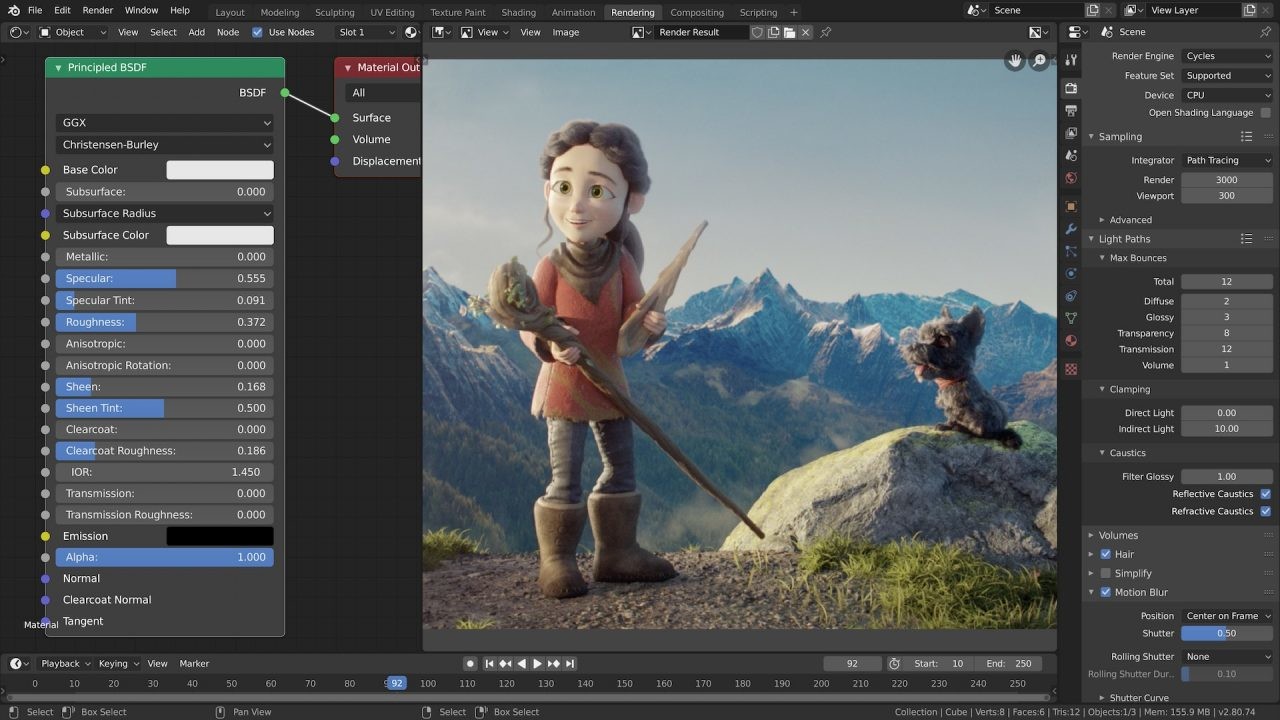
A easy and simple to follow guide on importing Source 2 maps into blender.
Introduction
This guide will help explain how to import Source 2 maps into Blender, and thankfully
the Source 2 viewers, VRF, has a feature for this! While there are other ways to import Source 2 maps to blender; I believe I have found one of, if not, the best way to import source maps into blender. This should import most things from props to textures to brushes, npcs and so on.
the Source 2 viewers, VRF, has a feature for this! While there are other ways to import Source 2 maps to blender; I believe I have found one of, if not, the best way to import source maps into blender. This should import most things from props to textures to brushes, npcs and so on.
Resources
Needed Resources:
- Half-Life: Alyx, any Source 2 game, or something from HLA’s workshop. If its a Source 2 map, it will work.
- Blender [Obviously]
- VRF – Valve Resource Viewer – Let’s you view anything from a Source 2 game. https://vrf.steamdb.info/
The list may expand if I find a better way to import these.
Using VRF and locating the .vwrld_c
Firstly, download VRF. It will download as an .exe, so theres no need for Java or whatever unlike for the other guide for Source maps. Once downloaded, launch it and locate your map’s VPK file. For a Source 2 game, like HLA, this will be in: steamapps/common/[source 2 game]/game/[game name]/maps/[The VPK should be here, or in a folder with the map’s name]. If the map is a workshop addon, go to: steamapps/workshop/content/[game id, this should be 546560 for HLA]/[Addon ID, find it by the ‘publish_data.txt’ which should have the addon name in, or if the addon id is in the description of the addon]. Open up the VPK and head to: Maps > [mapname].vwrld_c [it can be in another folder in the vpk, just look for it]. For us, let’s say we want to get the map ‘blind_zombie_example’ from HLA’s game files. We open VRF, click open, go to: steamapps/common/Half-Life: Alyx/game/hlvr/maps/workshop_examples/blind_zombie_example.vpk and open it. Go to maps > workshop_examples > blind_zombie_Example > world.vwrld_c. Now we have found the .vwrld file.
De-compiling the maps and opening them in Blender
Now that we have found the .vwrld, we want to right click it and select ‘decompile and export‘. Click this and it will open a file browser. Create a folder of any name for this map, select it and click ‘save‘. This will begin de-compiling every texture and exporting them as PNGs, and export the whole map as a GLTF. Once this is done, in the folder will be a .GLTF, a .bin and alot of .PNGs. If you plan to export this model to another software like Unity, you can use these textures in this folder. Now, we simply go to Blender, click file, import, GLTF and click it. And there you go; its all imported to Blender. All materials will have the image texture applied as well. No need for anything else.
Thanks to zonked for his great guide, all credit to his effort. you can also read the original guide from Steam Community. enjoy the game.
Related Posts:
- Blender: How to Run on Windows 7
- Blender: How to Make Image Sequence
- Blender: Recursive Duplicator for Objects and Scales in Local Axes

