LIDAR getting you down? It’s ez
GENERAL TIPS
Your LIDAR has two modes of fire. An area of effect spread blast, and a more narrow direct stream. The direct stream can be adjusted to widen or narrow the diameter of the stream. However, the spread shot seems to be most effective for uncovering large swaths of the map.
The monster will periodically show up as a red outline in your LIDAR. Fortunately, this is the only level in which you can respawn and continue to attempt to exit. Just be careful in the second and third section to not accidentally fall down a hole immediately after respawning when you’re disoriented.
Your teammates and fellow backroom explorers will appear as a yellow outline in your LIDAR. However, the yellow dots will not move with them, and actually freeze in place giving the illusion your friend isn’t moving.
PART 1 – EASY BUTTON PRESSING
Once all three buttons are pressed, follow the lines on the floor back to the large door and head on through. After a short hallway, you’ll find a pit. It’s safe, so go ahead and hop in to progress to the next area.
PART 2 – VISIT THE SCARY MUSEUM
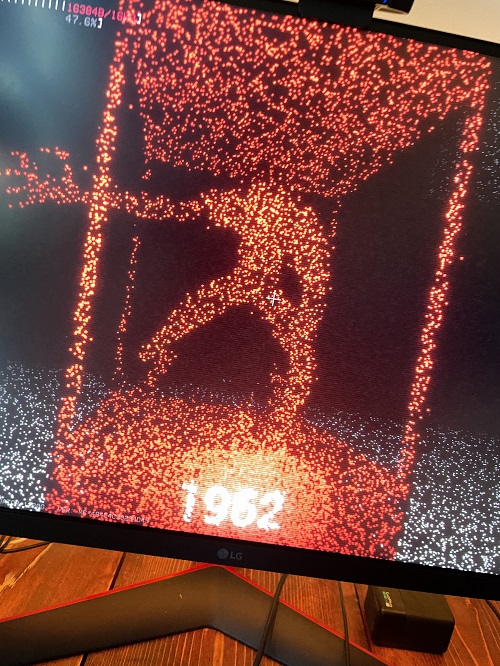
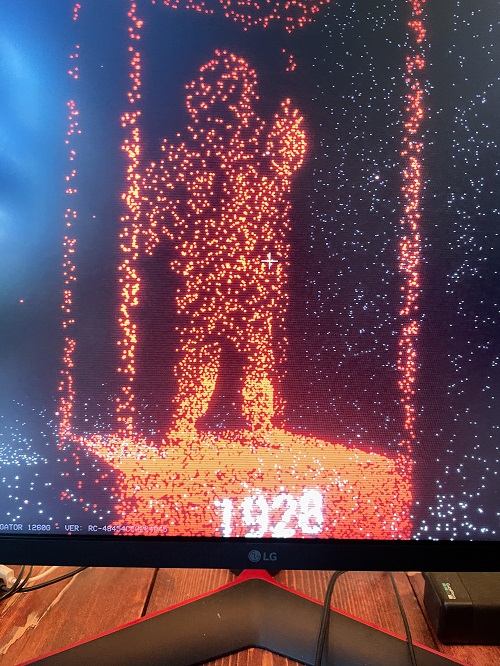
First and foremost, you have to locate three beeping buttons. They will be located on walls or pillars, with a red wire descending from the ceiling above. Pressing a button will activate a nearby museum exhibit that displays one of three characters from the game, and a year below them on a plaque. Use your LIDAR on the sculpture, especially on the plaque containing the year, to fully uncover critical information. It’s smart to take a picture so you don’t forget.


Apparently also the music does something? Somehow it’s tied to a heartbeat noise beginning and you failing the level, but it’s unclear…
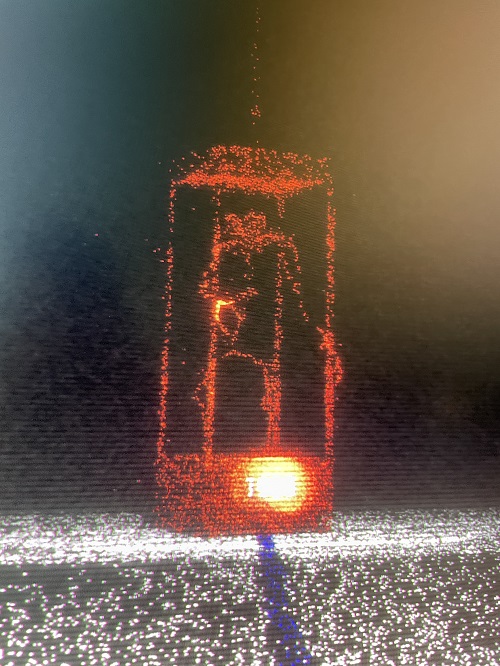
Once you have pressed all three buttons, viewed the sculptures, uncovered characters, and matched them with a year, it’s time to head back to the three large doors. They will now be unlocked, and all three lead to pits of death. Be careful and use your LIDAR to not fall in. Behind all three holes will be paintings of characters from the statues you saw before. The correct years were the ones on the statues, and two of these paintings will be incorrect and not match the plaques from the museum.
Using the information you gathered from the statues, determine which painting has the correct matching year displayed on the painting. THIS is the hole that will progress to the next area, and NOT kill you! Once you’re 100% sure, go ahead and drop down the correct hole.
PART 3 – PITFALL PANIC
Similar to the last two sections, you have to navigate around the area using your LIDAR. However, in this section there are a multitude of chasms to avoid. They are laid out in a grid, so once you find a safe straightaway it’s harder to make mistakes. Just keep searching around, looking for new areas, and using your LIDAR to uncover pits.
Eventually, you’ll begin to hear ocean sound effects. That means you’re approaching the exit. Continue to safely look around, and you will uncover a yellow-ish exit door that leads to seemingly a beach. Go ahead and jump through the door, and you’ll be home free and outta the backrooms!
Thanks to Based Mantis for his excellent guide, all credits belong to his effort. if this guide helps you, please support and rate it via Steam Community. enjoy the game.
Related Posts:
- Backrooms: Escape Together – Level 37 Guide
- Backrooms: Escape Together – Level 0 Walkthrough (The Lobby)
- Backrooms Escape Together: How to Improve Your FPS Significantly

