This guide will teach you step-by-step how to upload your custom-created characters.
Required Reading
Downloading the Mod Uploader
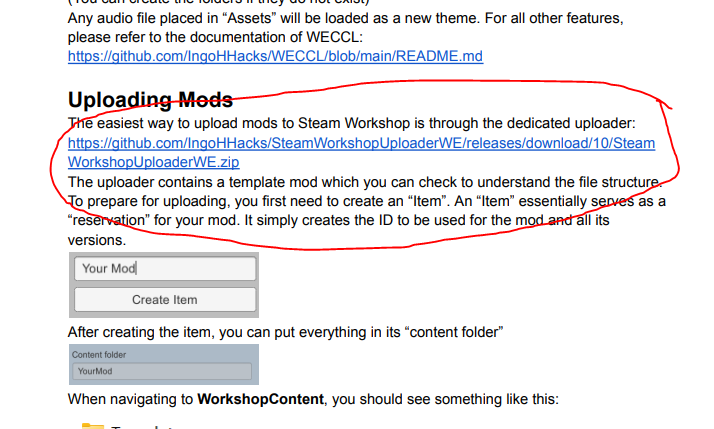
You can then launch the uploader to begin.
Using the Uploader
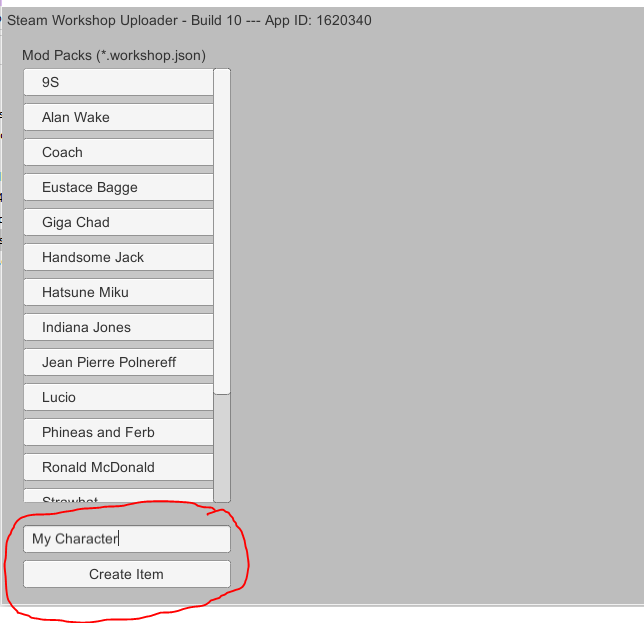
Here’s where the uploading begins, after you click create item, a workshop item is created and as you continue, it will be edited and completed.
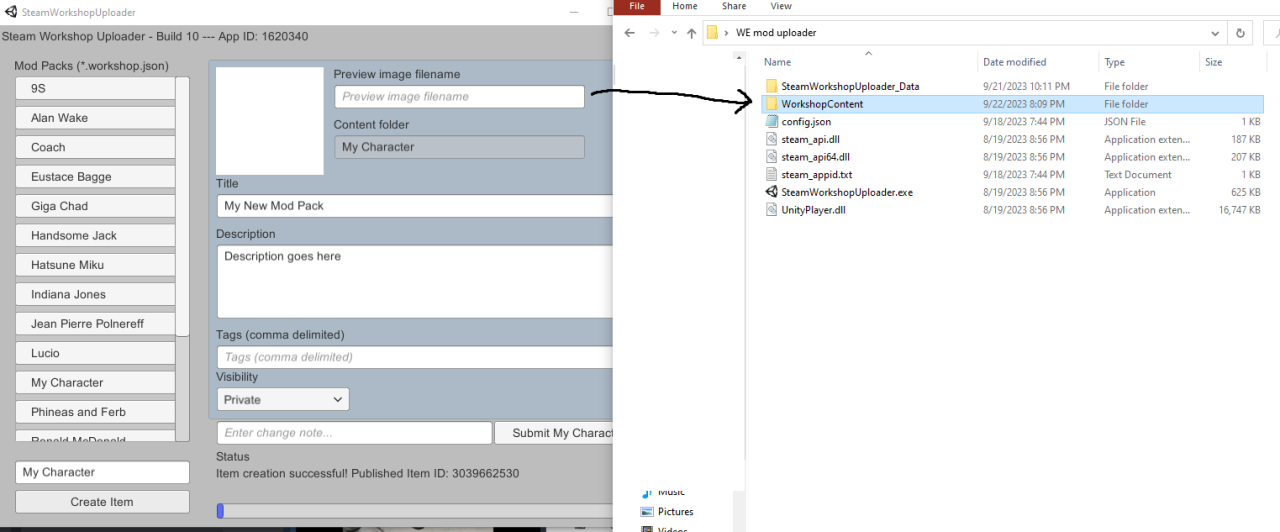
Preview Image Filename
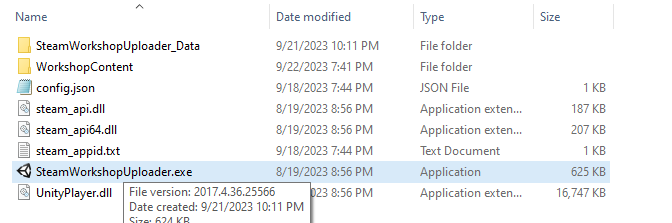
Place a preview image (It needs to be relatively small) into the WorkshopContent Folder.
In the Text field in the uploader, input the name of the image (Example: Mycharacter.png)
Be sure to hit enter after typing your title, description and tags or they may be lost if you click outside the window.
Title
In this field write the title of your mod as you want it to appear on steam. (This can be edited later.)
Description
In this field write the description of your mod as you want it to appear on steam. (This can be edited later.)
Tags
In this field write the tags you wish to tag your mod with. (Wrestlers, Characters, Real World, etc) (This cannot be edited later and needs to be inputted now.)
Visibility
Here you can select the visibility of the mod, setting this to public will allow other people to download your mod.
Exporting your Character
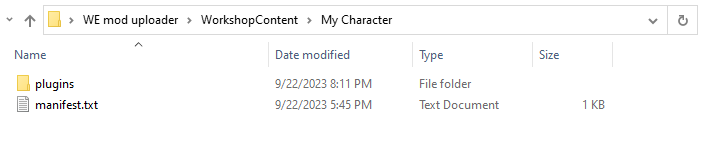
Manifest.txt will have the following text inside.
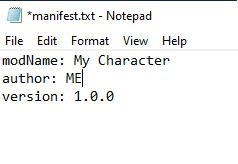
(For your convenience, just change author to your name and the modName to your mods name.)
modName: My Character
author: Me
version: 1.0.0
Inside the plugins folder, create another folder named “Import”.
Inside that folder will be where you place your Character file.
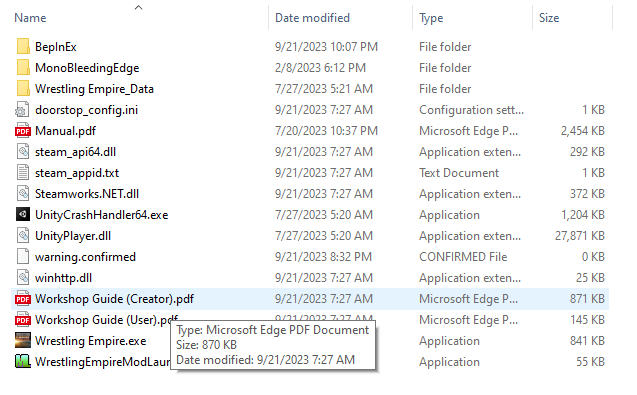
Your character files are in Wrestling Empire > BepInEx > plugins > 3022699985 > Export
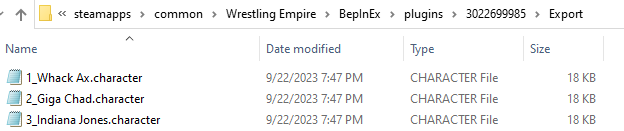
Grab the Character or Characters you want and copy them to the Import folder.
Remove any numbers and underscores that may appear before your characters name.
After that is done, and everthing is how you want it in the uploader, click “Submit my Character”
Congratulations, you have successfully uploaded your character!
Item Requirements / WECCL
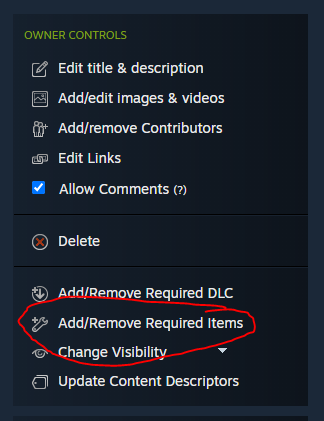
In the window, select subscribed items and then add WECCL to your item.
You can get WECCL here if you don’t have it already.
Thanks to Zucchinilicious for his excellent guide; all credit belongs to his effort. If this guide helps you, please support and rate it via Steam Community. Enjoy the game.