This guide will guide you through all the levels of We Were Here Forever with pictures and detailed explanations
Chapter 1 — The Keep
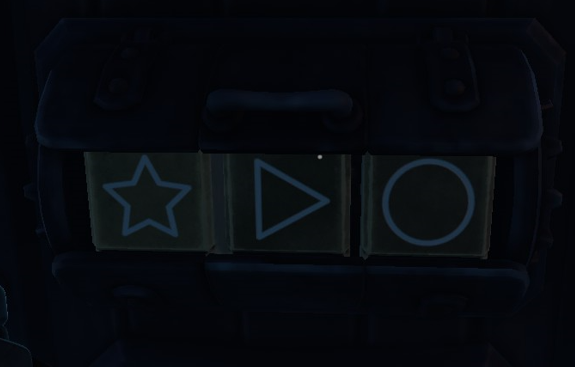
⠀
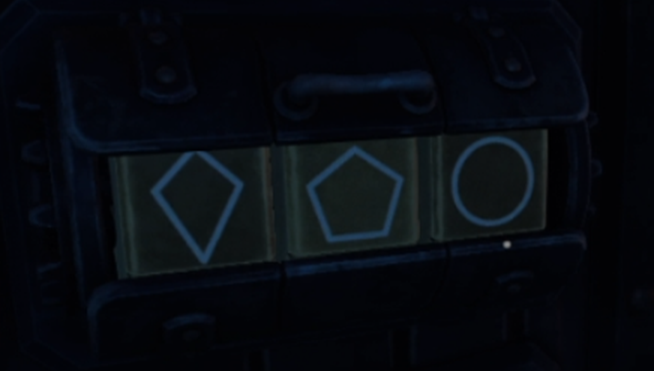
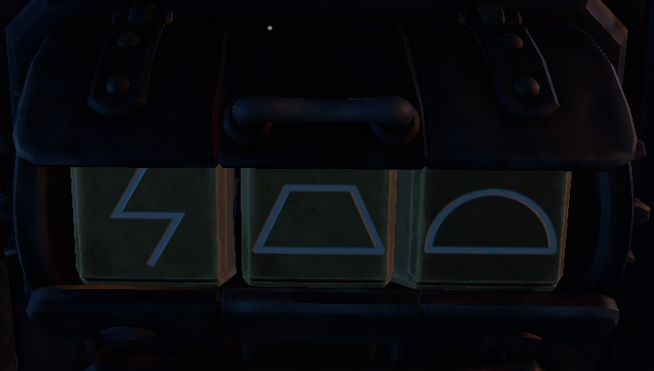
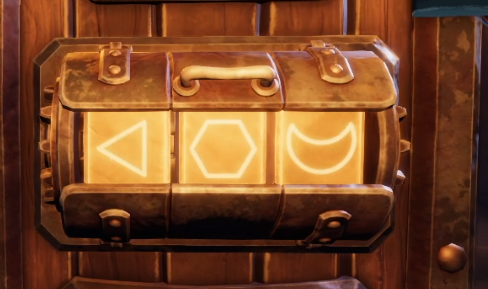
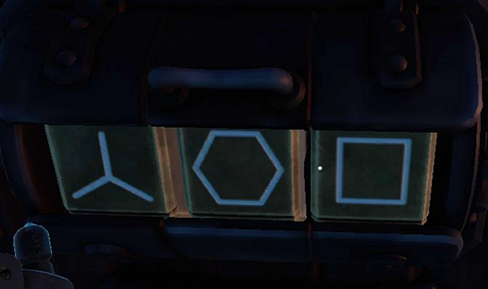
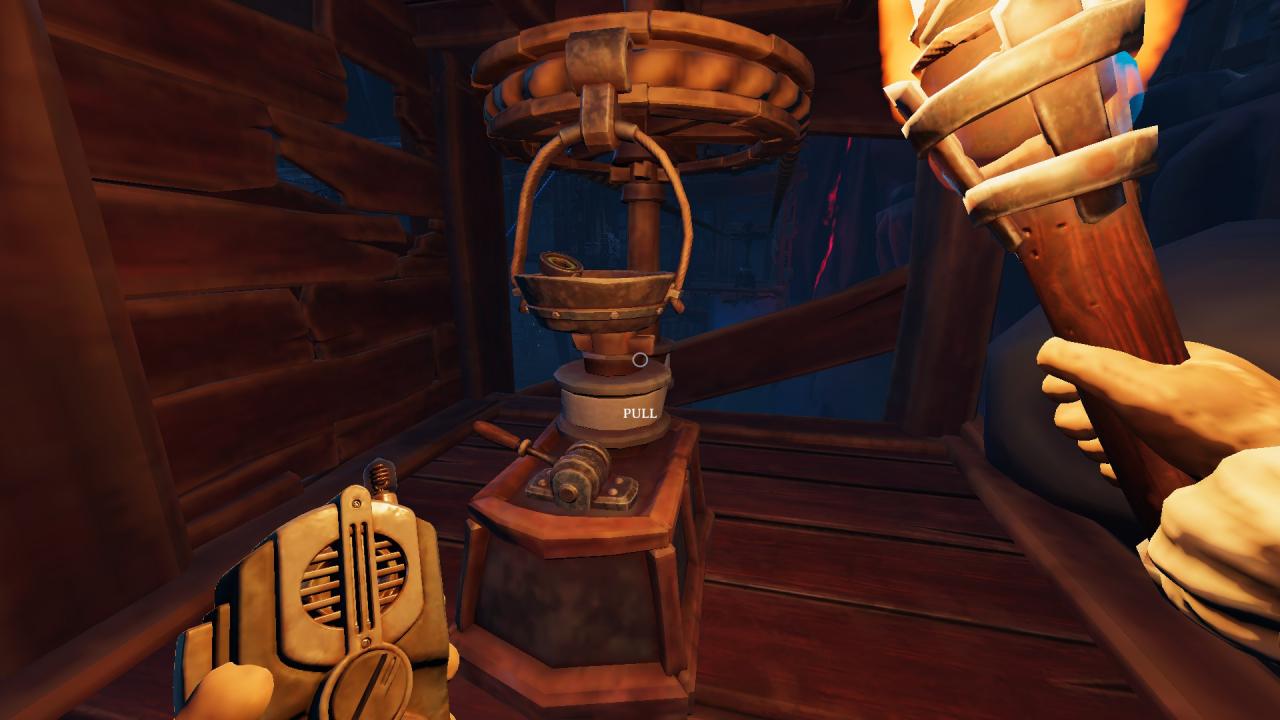 To turn on light you need follow actions on the gif:
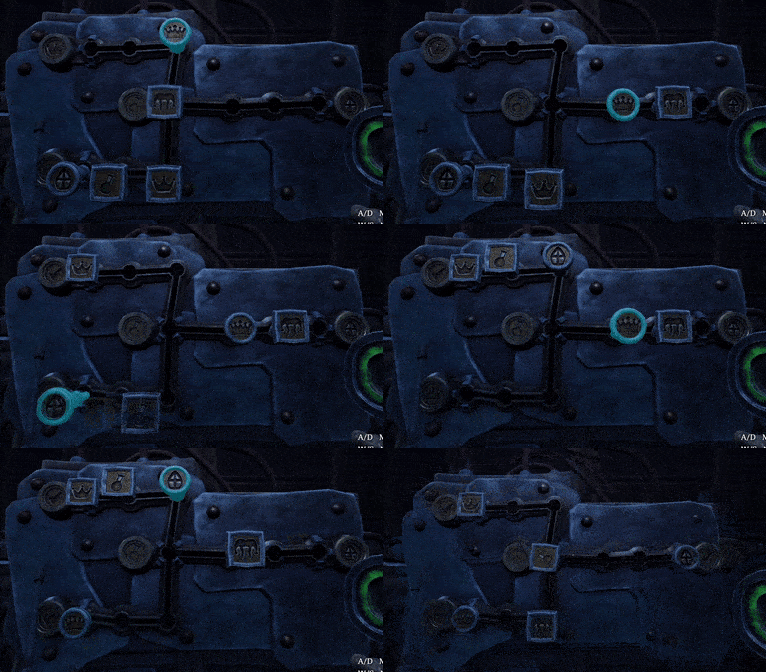
Then Player 1 need to set spinning pointer to the correct position and open the cage with key → open the elevator
Player 2 cross the abyss and with Player 1 open hidden room
Both player cross to room of player 2 and open one more elevator
Player who press the button have one randomized figure
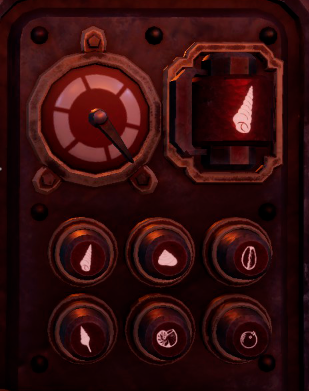
On the other side each figure points to a new figure
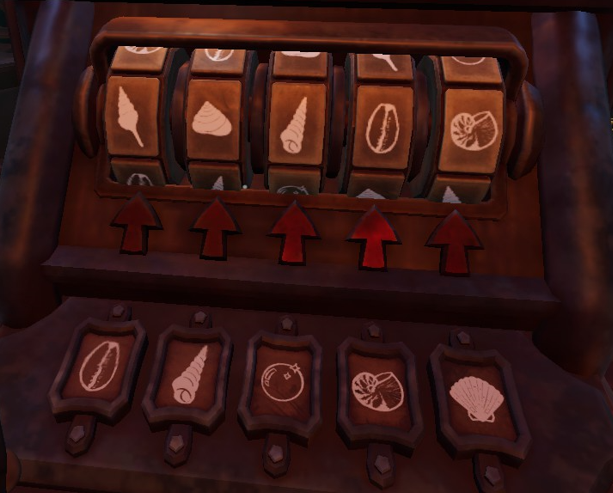
This new figure should be pressed by the player with the buttons
As example:
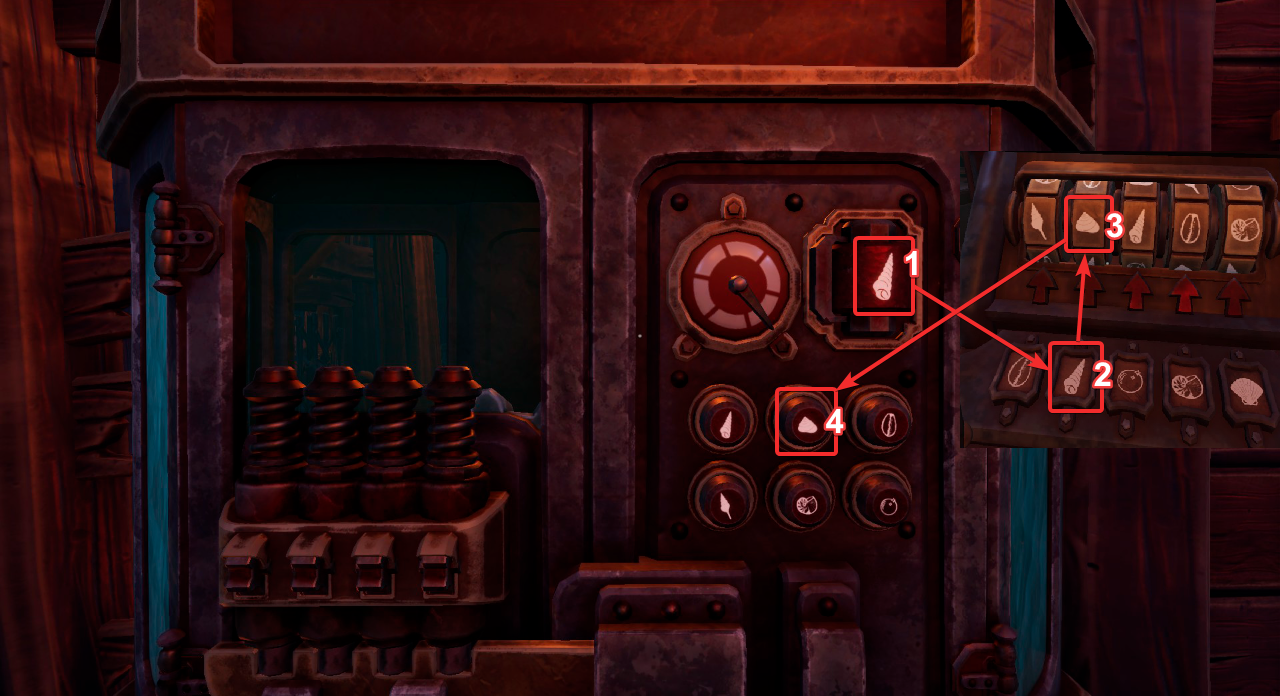
To open the box you need to repeat these steps 4 times
With new key you will get acces to the new room
You have to set up all projector discs in the right order
Then you need to be as fast as you can following next steps:
Turn on engine (with key)
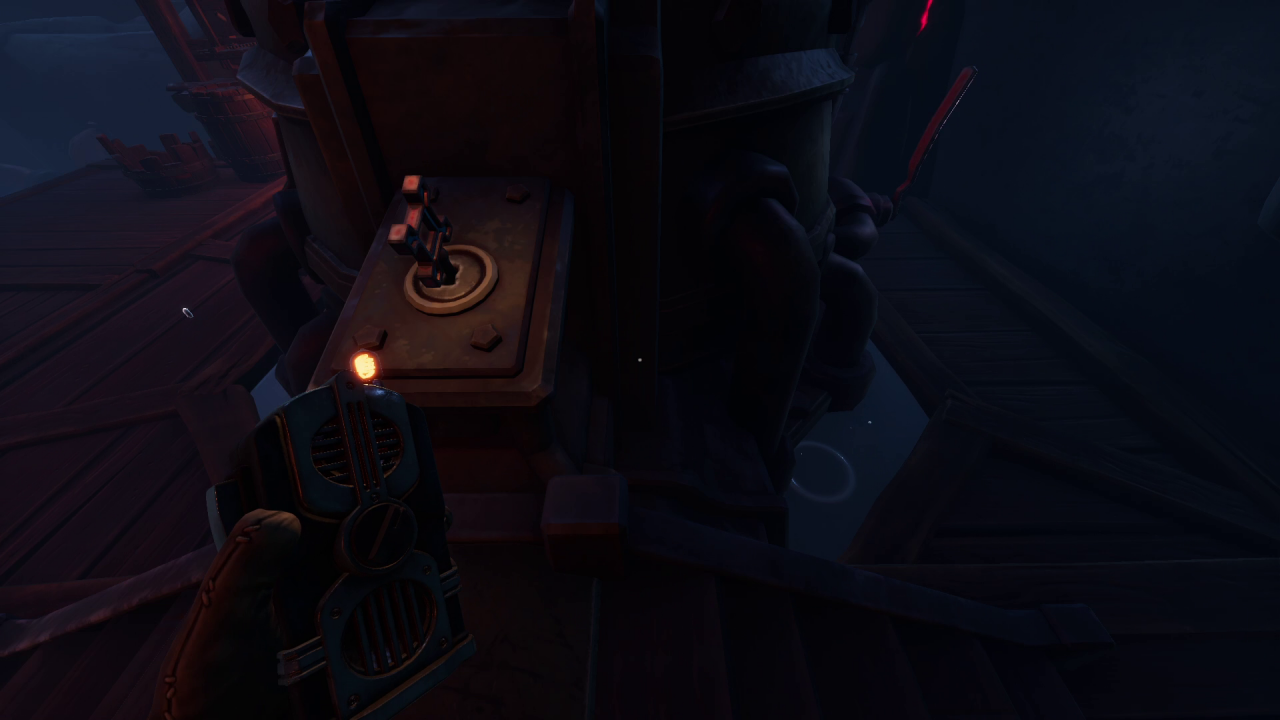
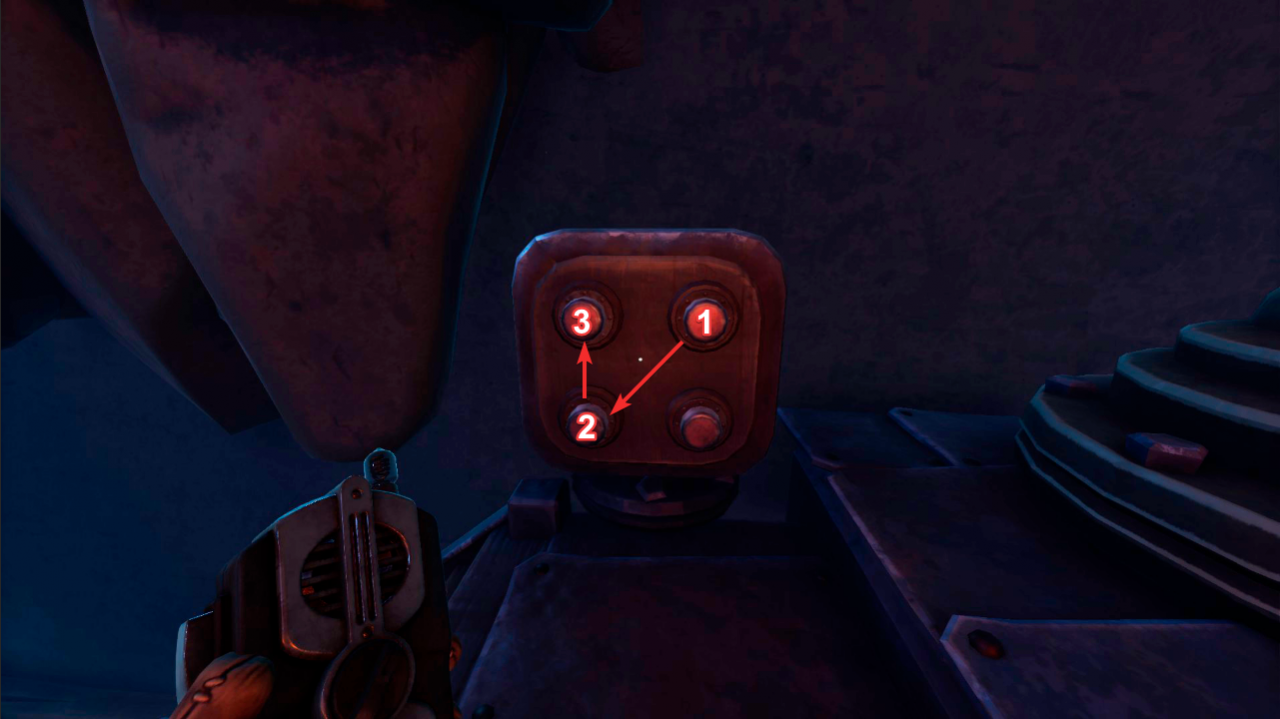
Press button in the right order
Pull 2 red leavers with lamp
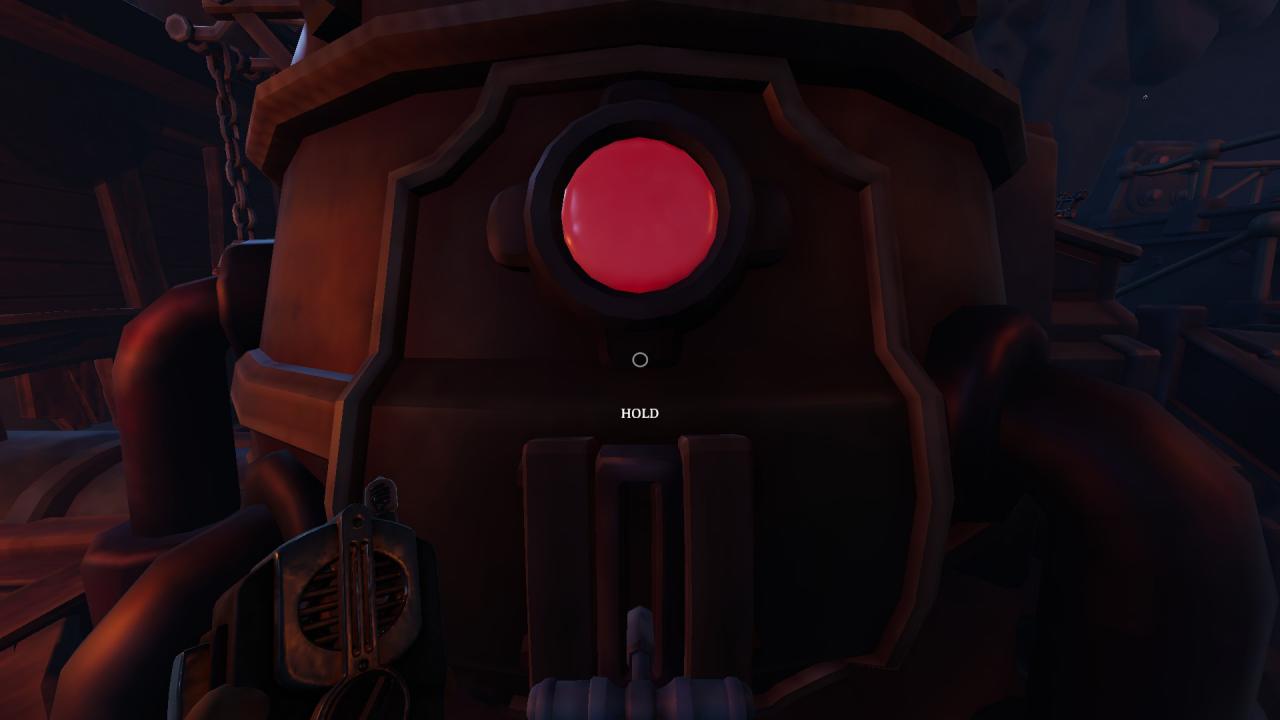
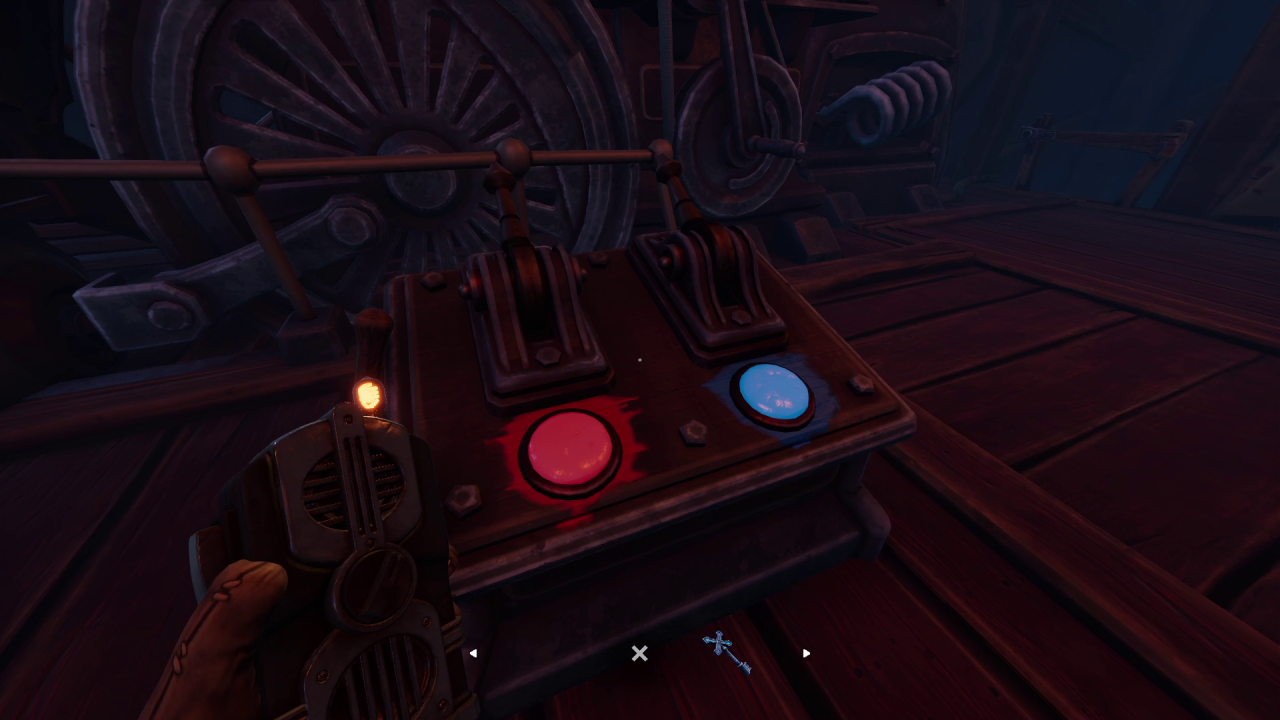
Start spinning the wheel
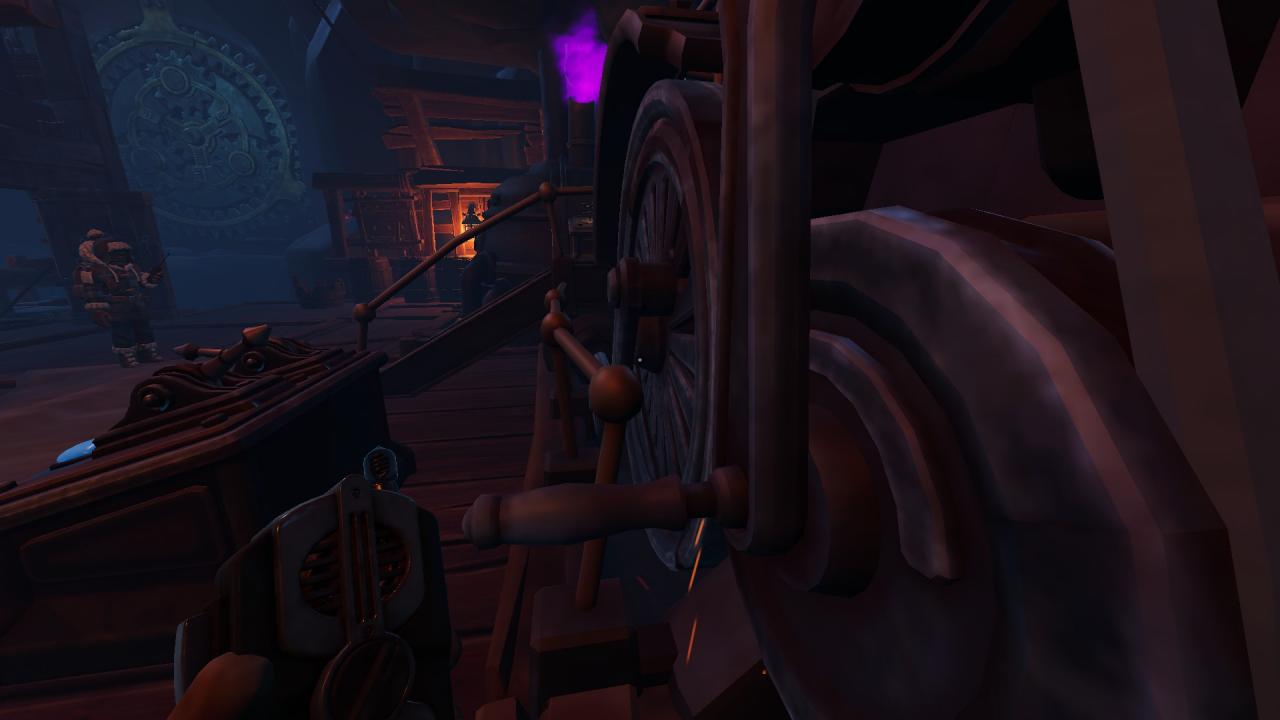
Pull leaver (behind the engine)
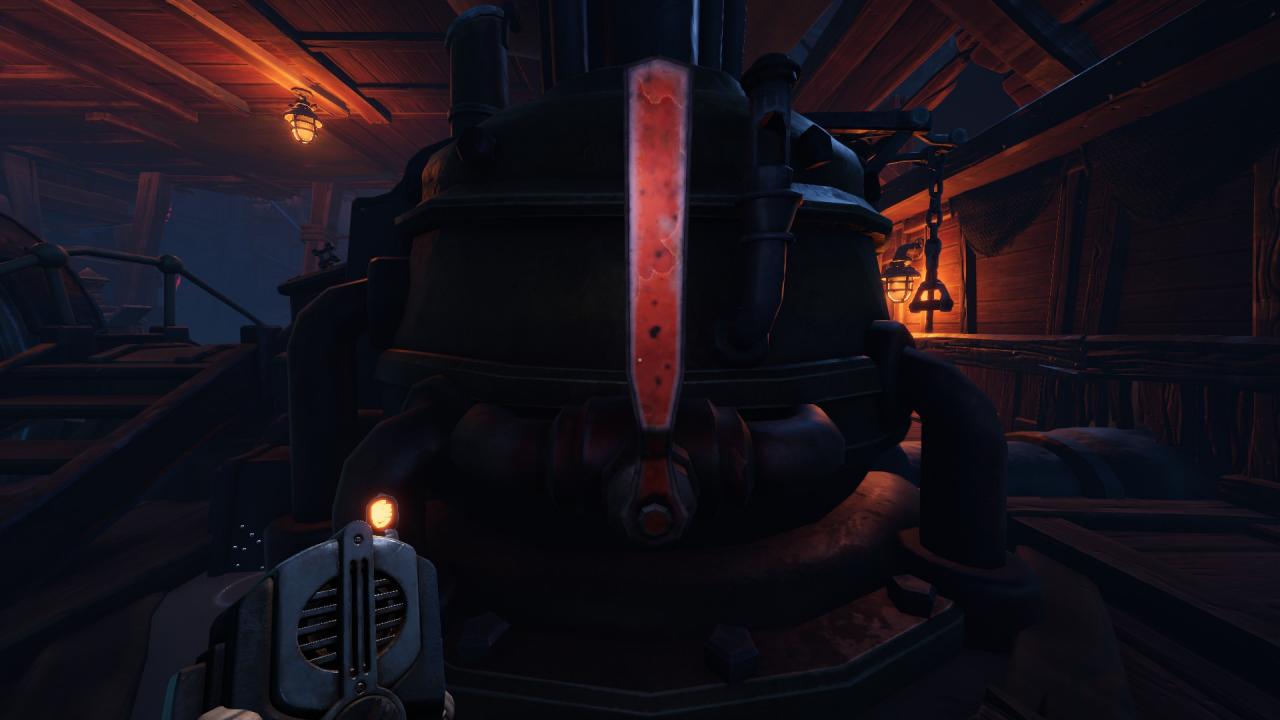
Pull chain handle and blue leaver
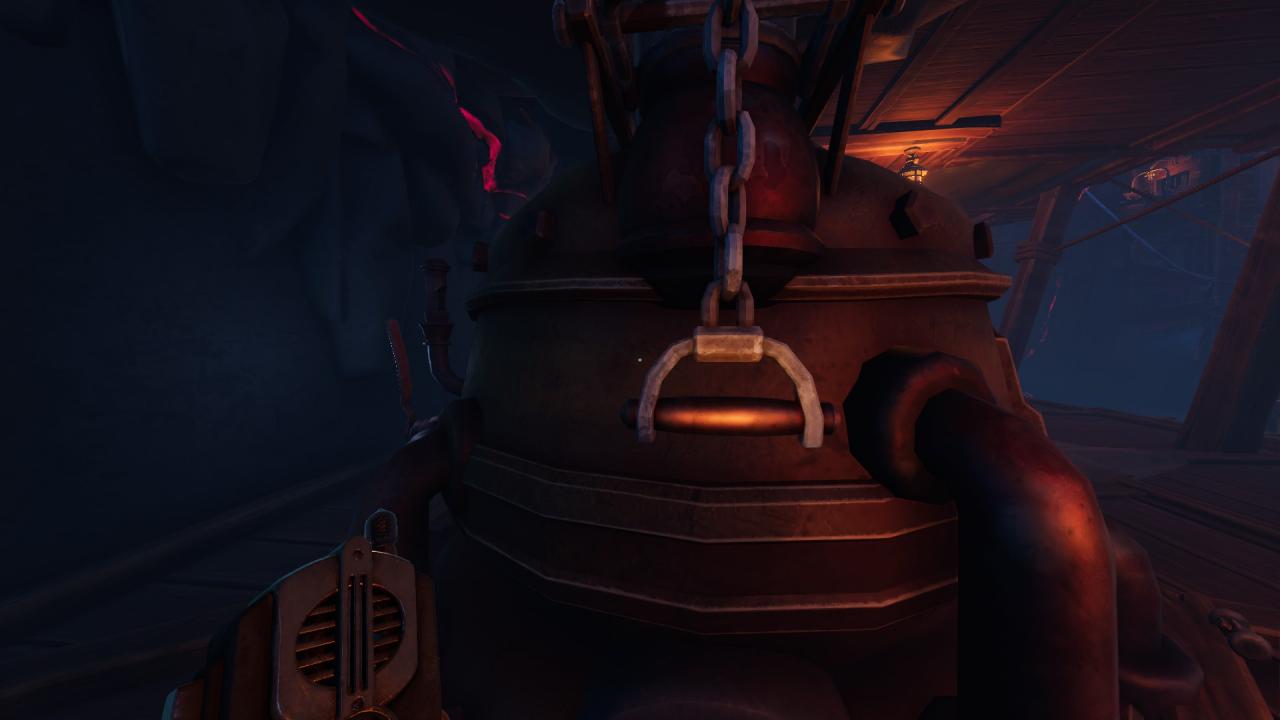
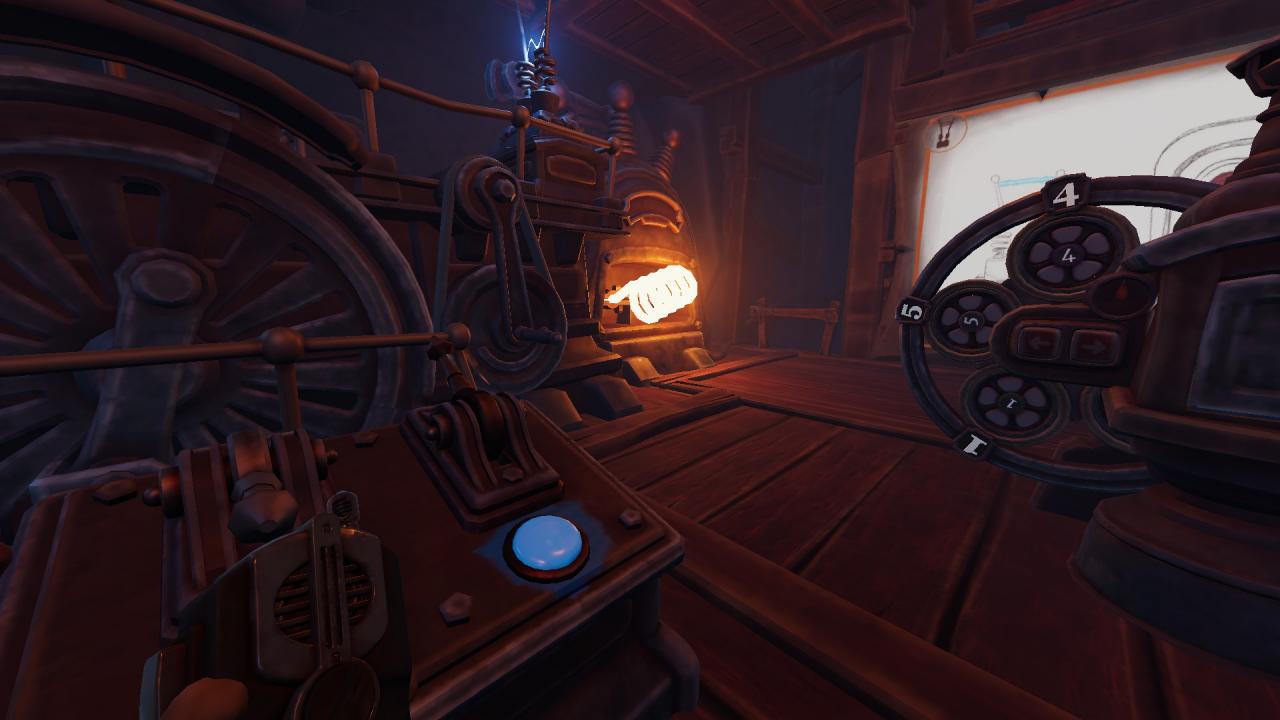
You will get access to the elevator.
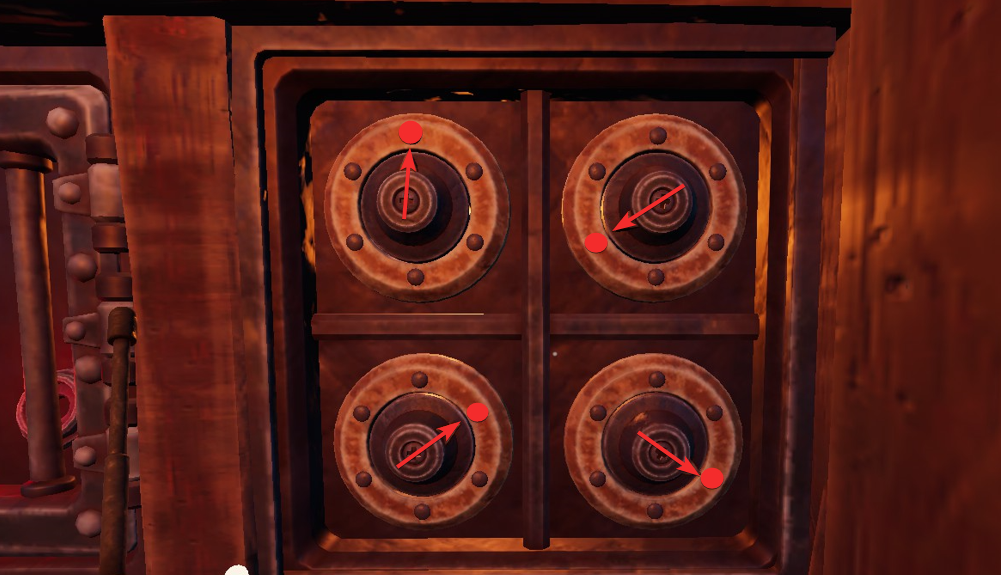
There you will see same spinning that you need to set up it like this:
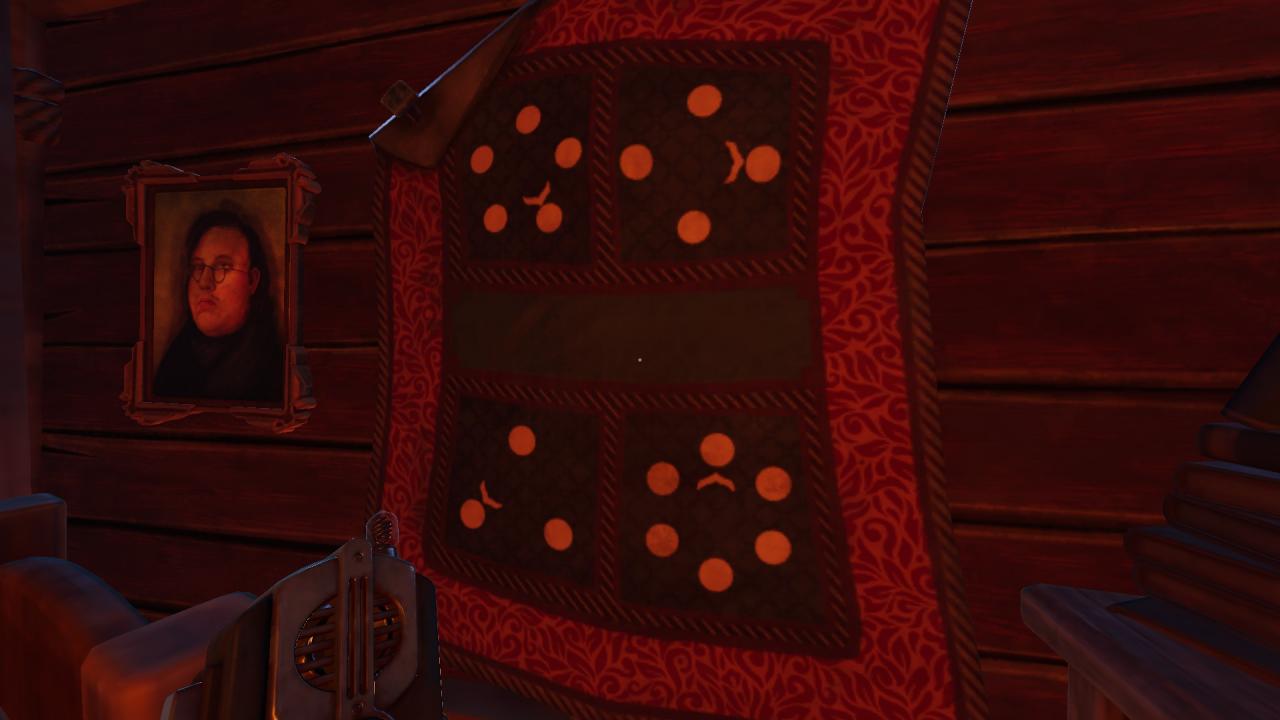
Spinning pointer must look like this:
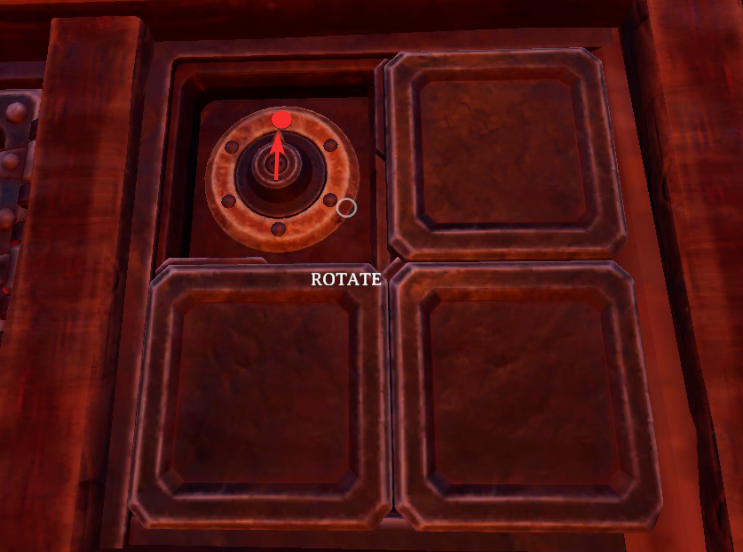
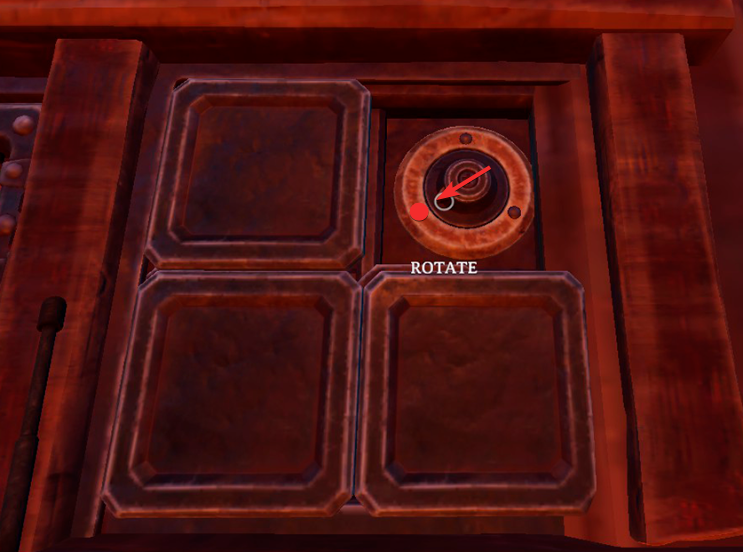
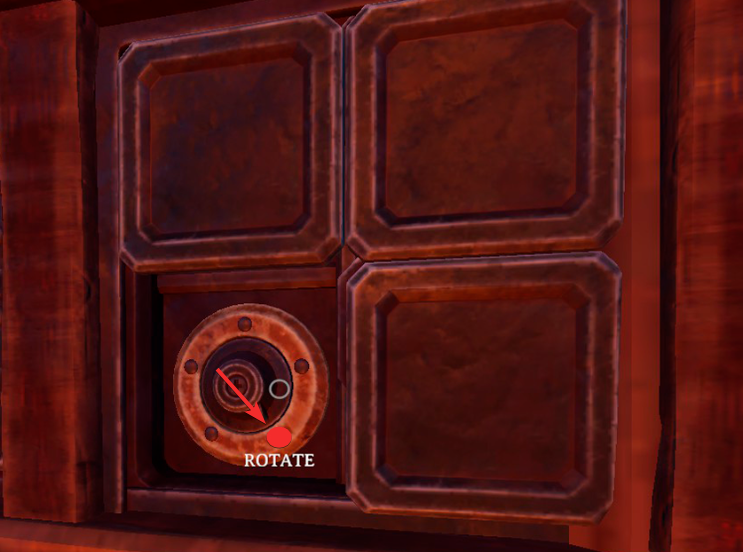
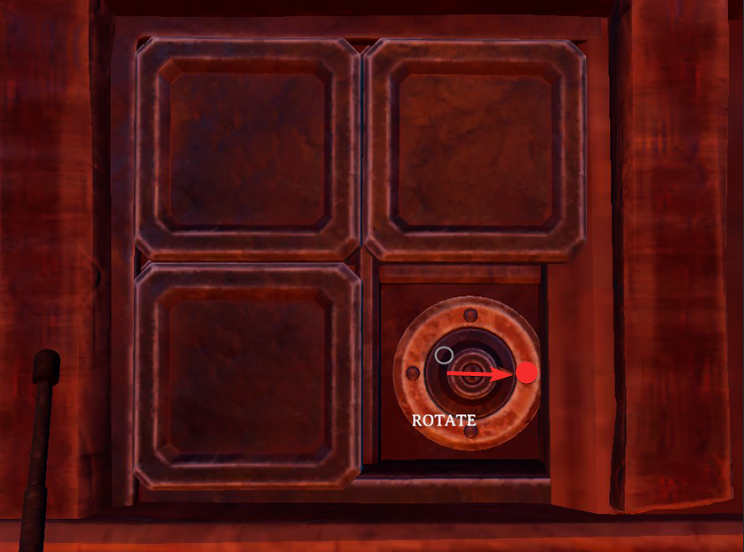
Setup all gears and spin central whell to get next stage.
Player in room need to set numbers 4-2-2 on projectorand pull lever
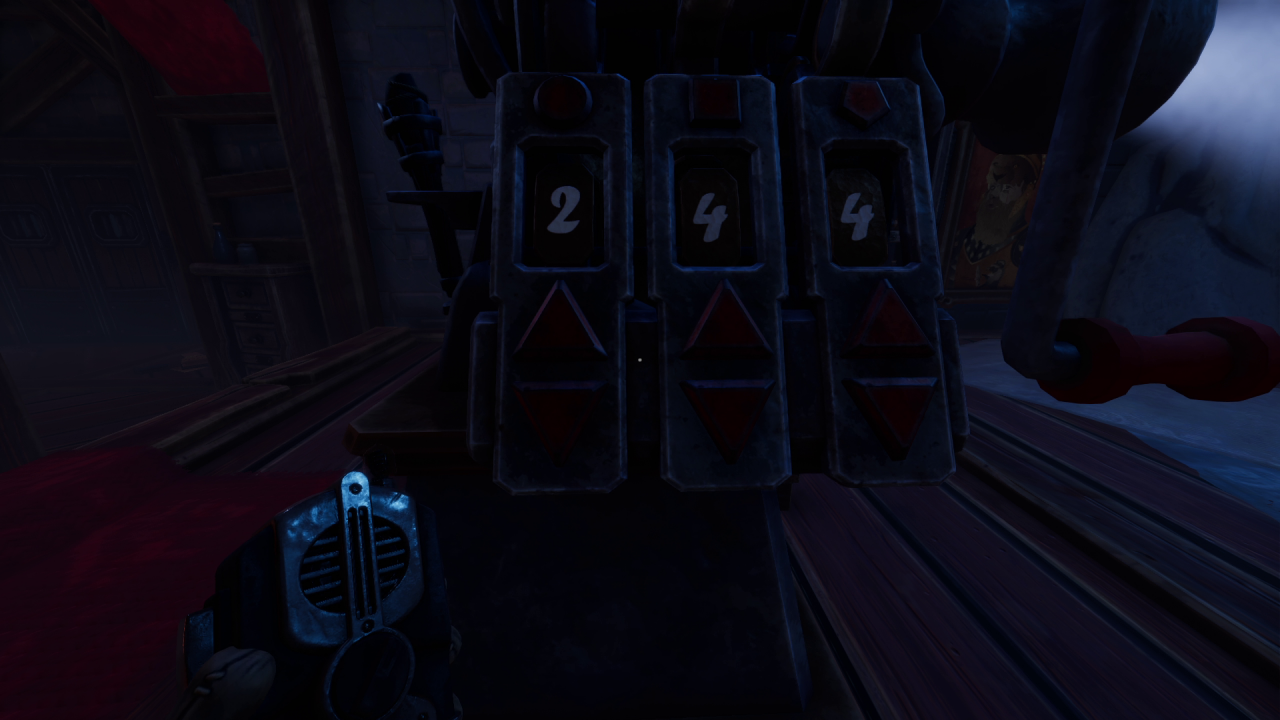
After hidden place will open were you need to take a lens and put it on projector
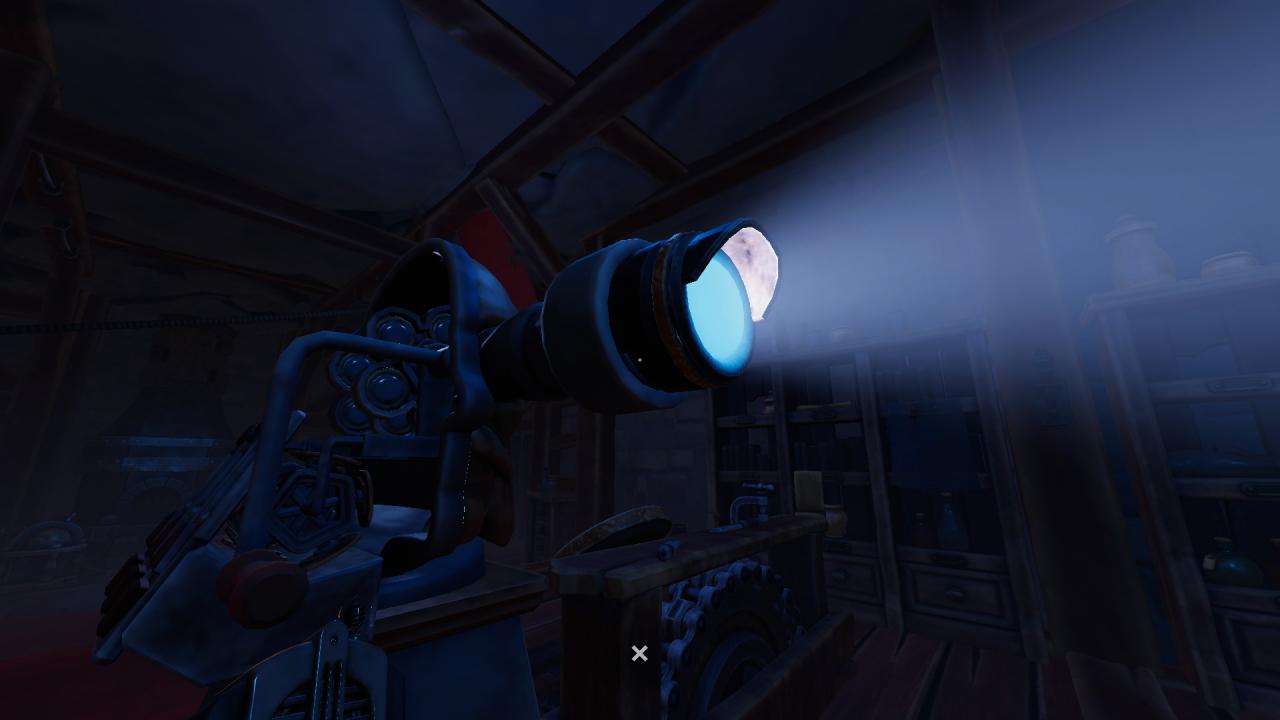
And go to the spinning wheel
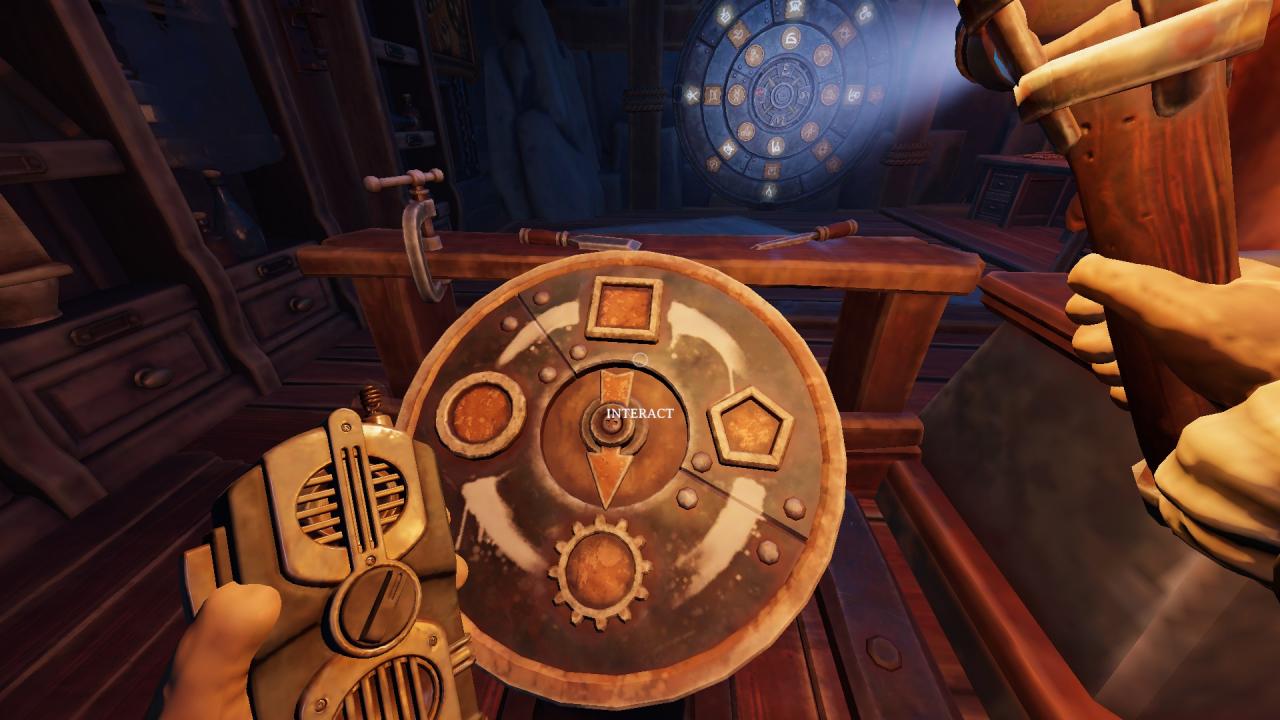
Player in cage spin to left 2 times
Player in room switch arrow to circle
Player in cage spin to right 3 times
Player in room switch arrow to square
Player in cage spin to left 2 times
Player in room switch arrow to pentagon
Player in cage spin to right 1 time
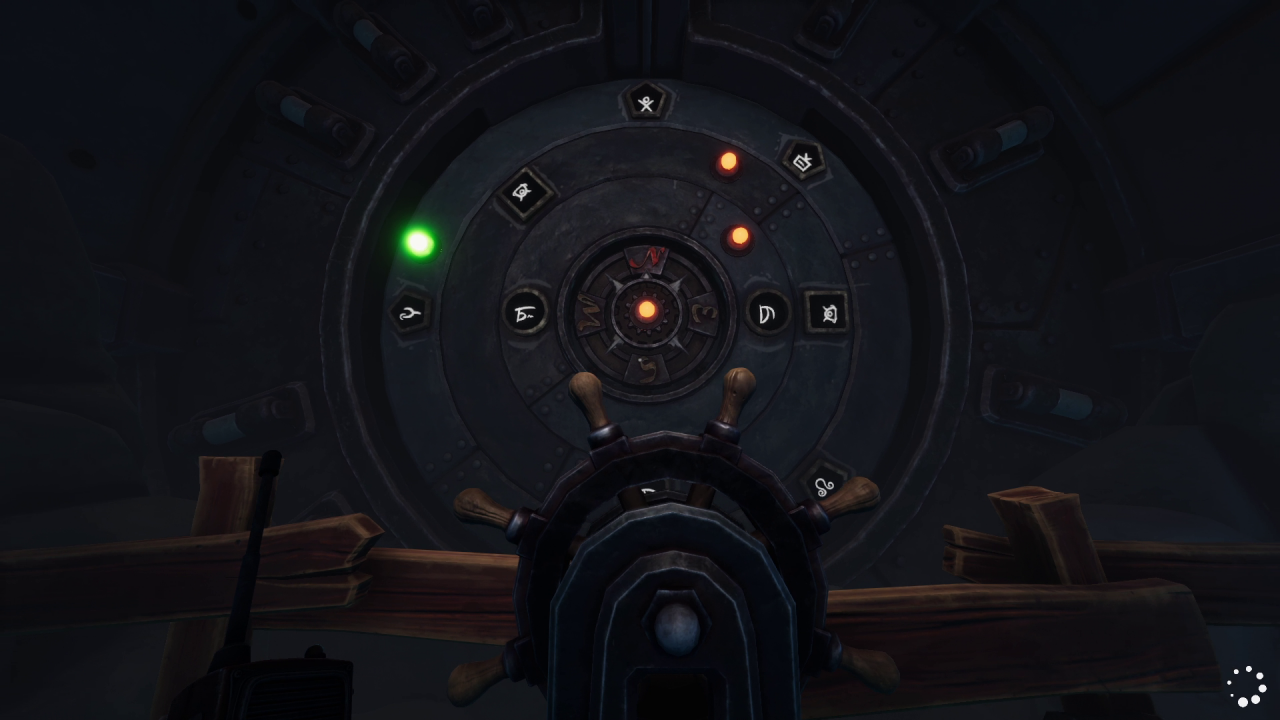
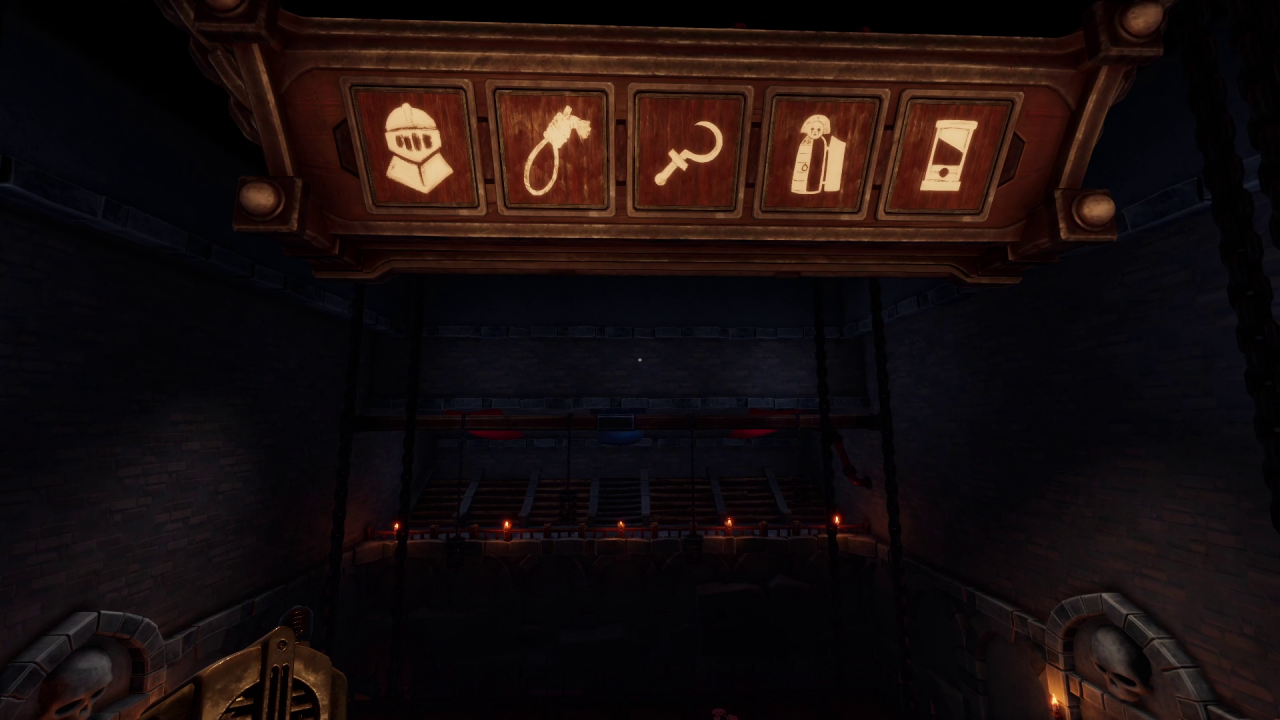
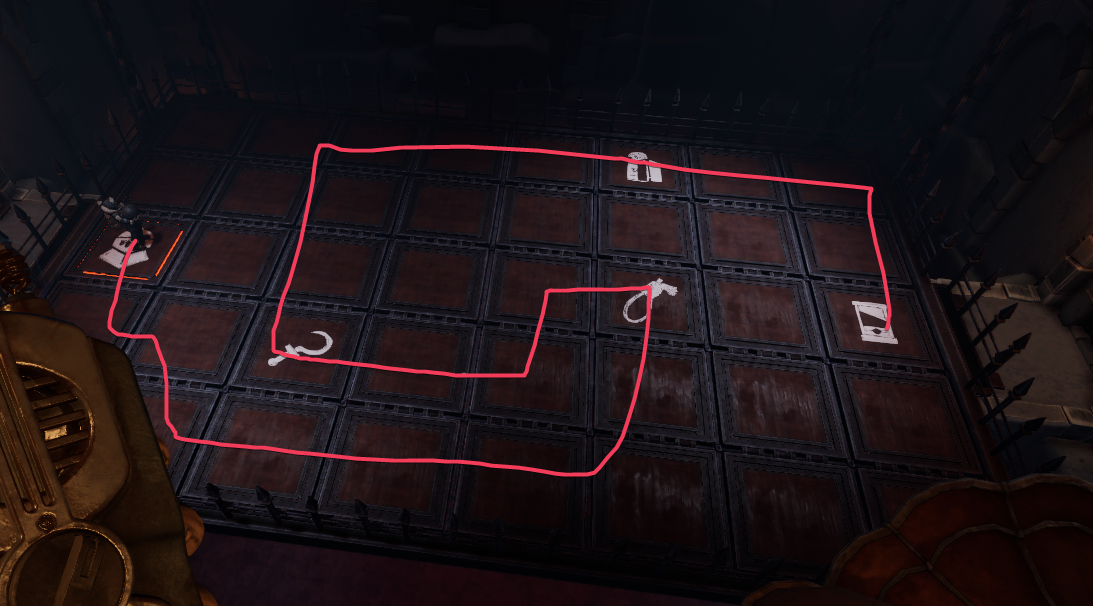
The next challenge is for the player from below to stand on the correct image for 5 rounds in a row.
The player at the top before the test begins sees which image will be in the next 5 rounds, from left to right. The player at the top has to memorize these images (you can screenshot them)
To start the challenge, press the lever on the left
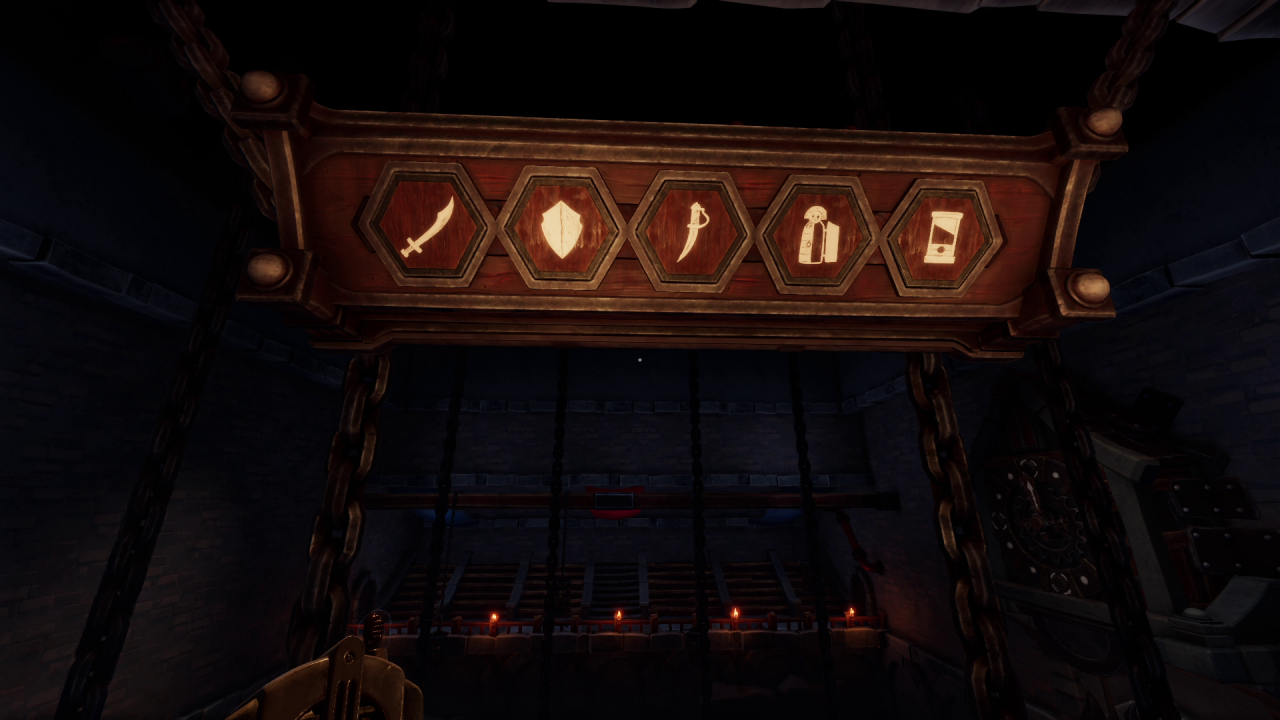
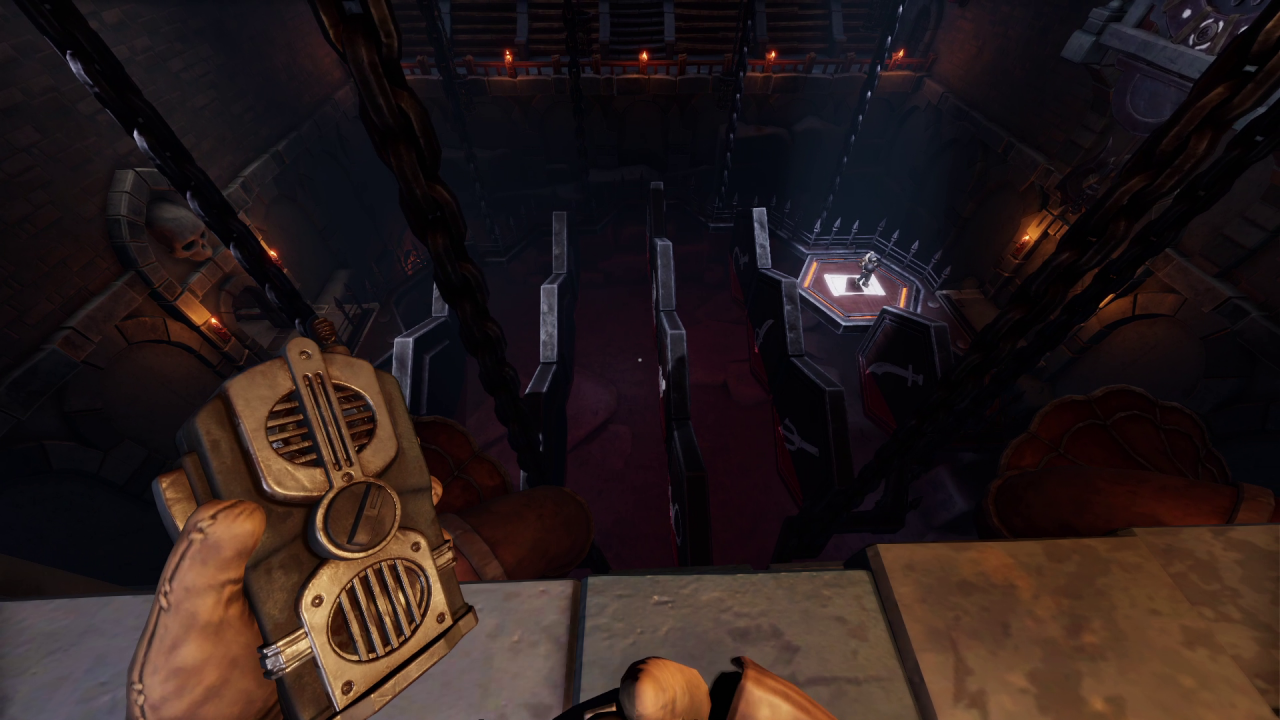
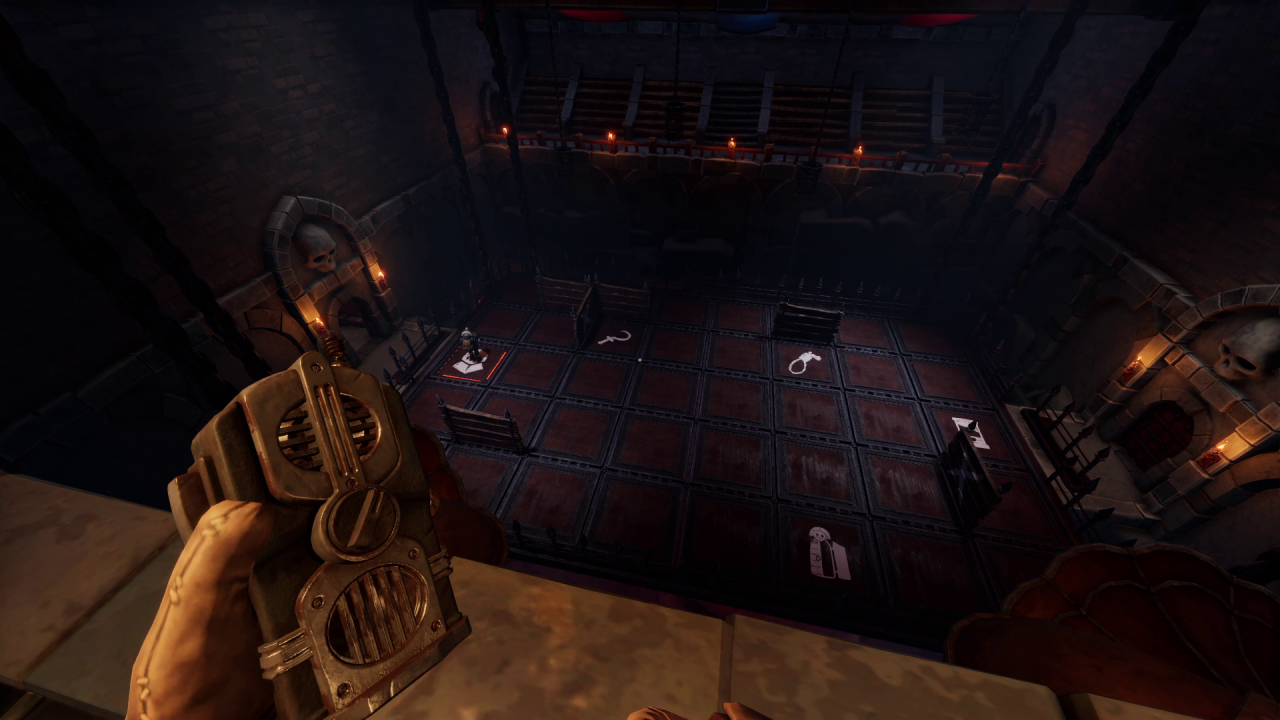
Now, along with the right images, there were images that can not be stepped on, otherwise you lose.
So now the path will have to build not directly, and bypass these forbidden icons
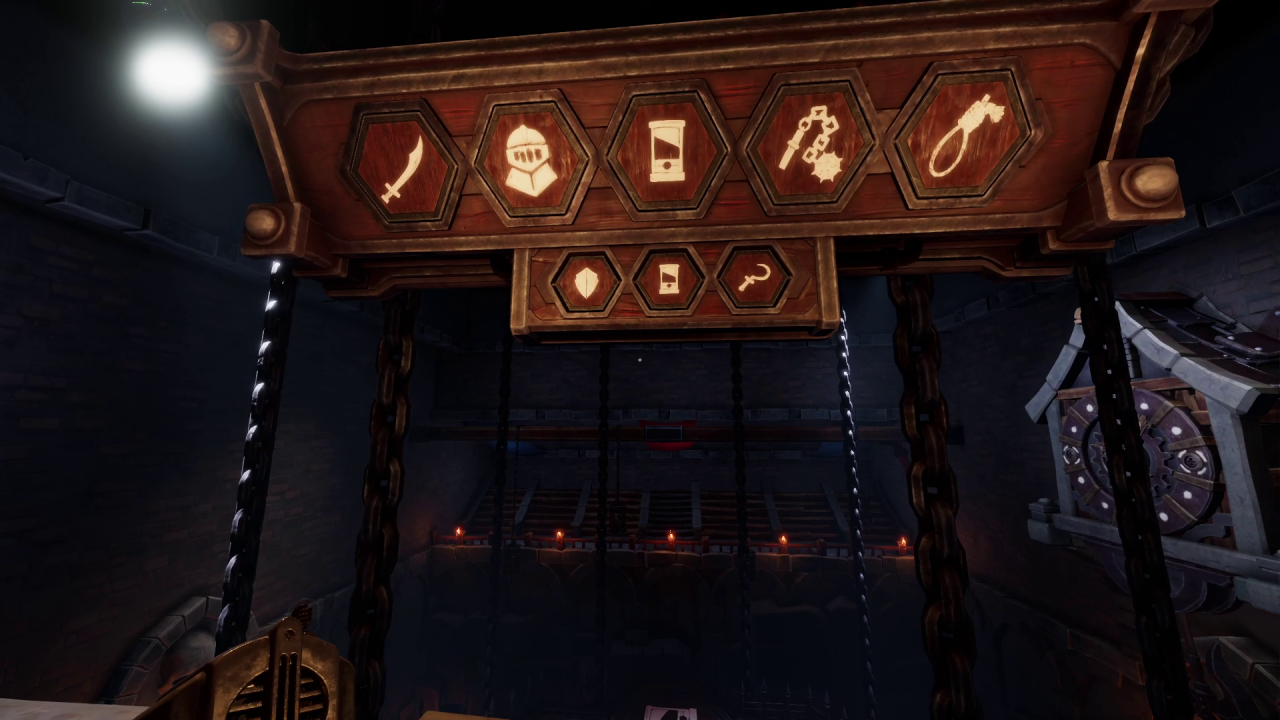
Both players enter their portals behind them.
Player 1 walks across the green bridge to portal 2 and pulls the red lever.
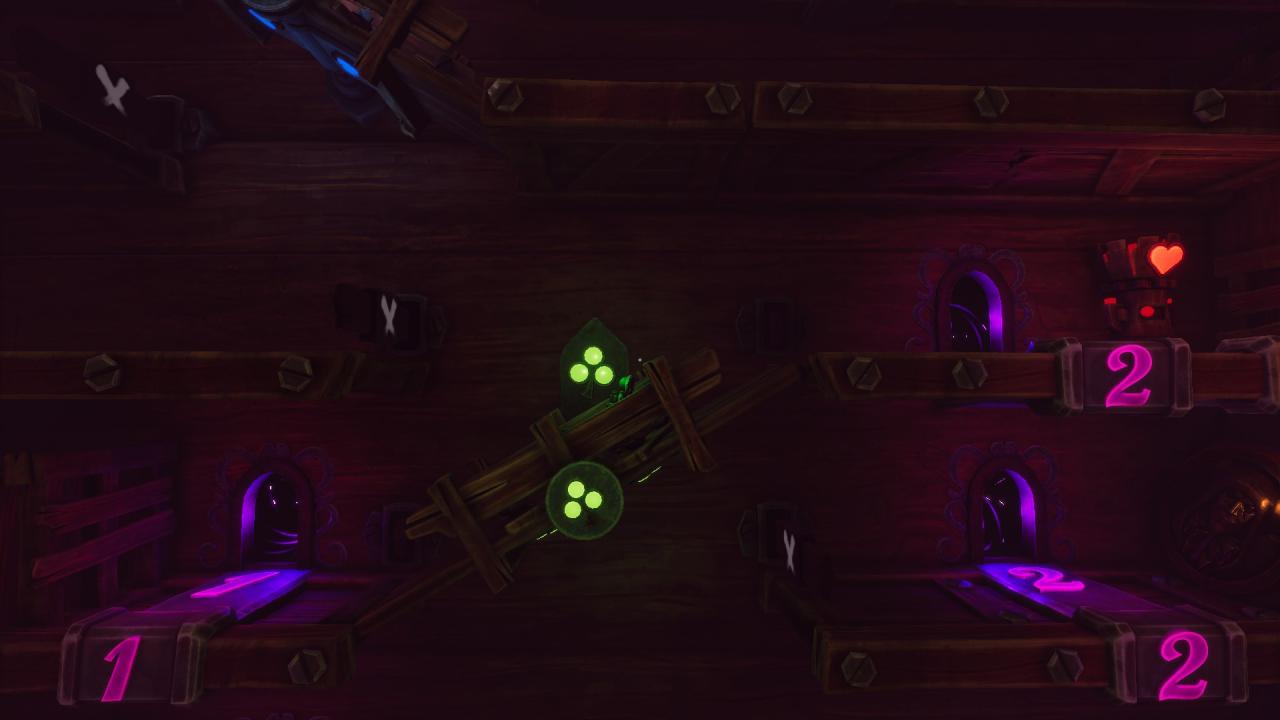
Player 2 walks across the red bridge to portal 6.
Player 1 pulls the red lever.
Player 2 pulls the green lever.
Player 1 enters portal 2 and walks across bridge
Player 2 pulls the green lever.
Player 1 goes up the green bridge to portal 3 (do not enter!)
Player 2 pulls the green lever.
Player 1 goes up to the yellow lever.
Next, Player 2 goes through portal 6 and up the bridge and into portal 8.
Player 1 pulls the yellow lever, then the green lever above and returns to the yellow lever and presses it again.
Player 2 climbs up the first bridge and stops.
Player 1 pulls the yellow lever, then the green lever above.
Player 2 climbs up to Portal 9 and enters it, then pulls the blue lever next to it.
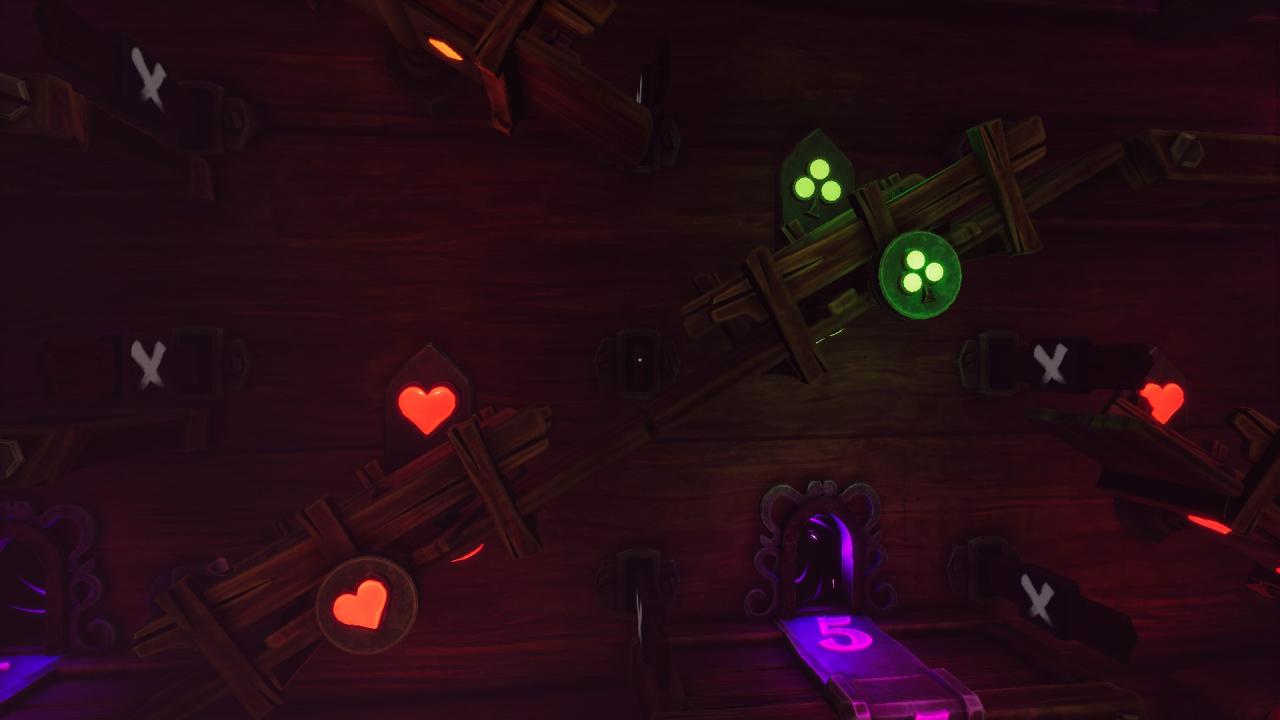
Player 2 returns to the portal.
Player 1 pulls the green lever, then the yellow lever below.
Player 2 passes into the portal 8.
Player 1 pulls the green lever, then the yellow lever below.
Player 2 descends and passes through Portal 6.
Player 1 descends and pulls the yellow lever.
Player 2 pulls the green.
Player 1 descends and passes through portal 3.
Player 2 pulls the green one more time.
Player 1 goes to the blue lever, pulls the blue lever, and goes further into Portal 4.
Player 2 goes back into portal 8.
Player 1 runs to the green lever and pulls it.
Player 2 runs over all the bridges and passes into Portal 7.
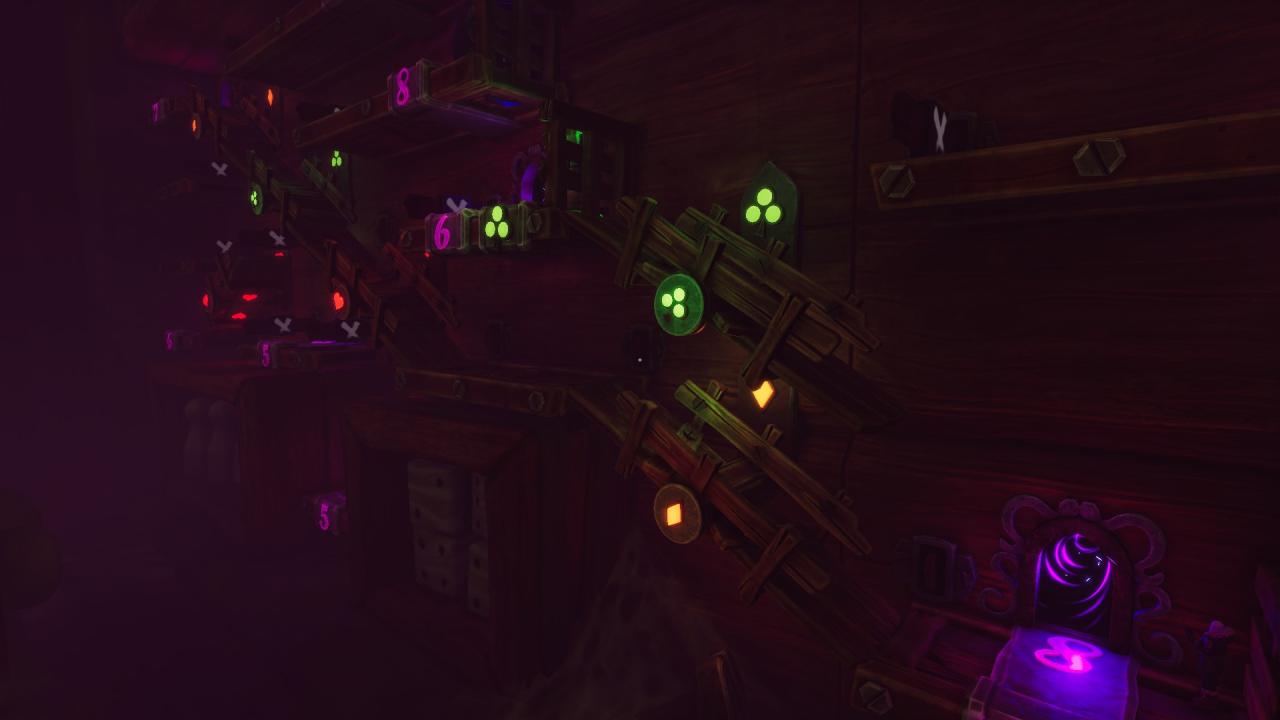
Player 1 runs back through Portal 4 to the blue lever and pulls it.
Player 2 runs over the first blue bridge.
Player 1 pulls the blue lever again and passes into Portal 4.
Both meet at the key and twist it together
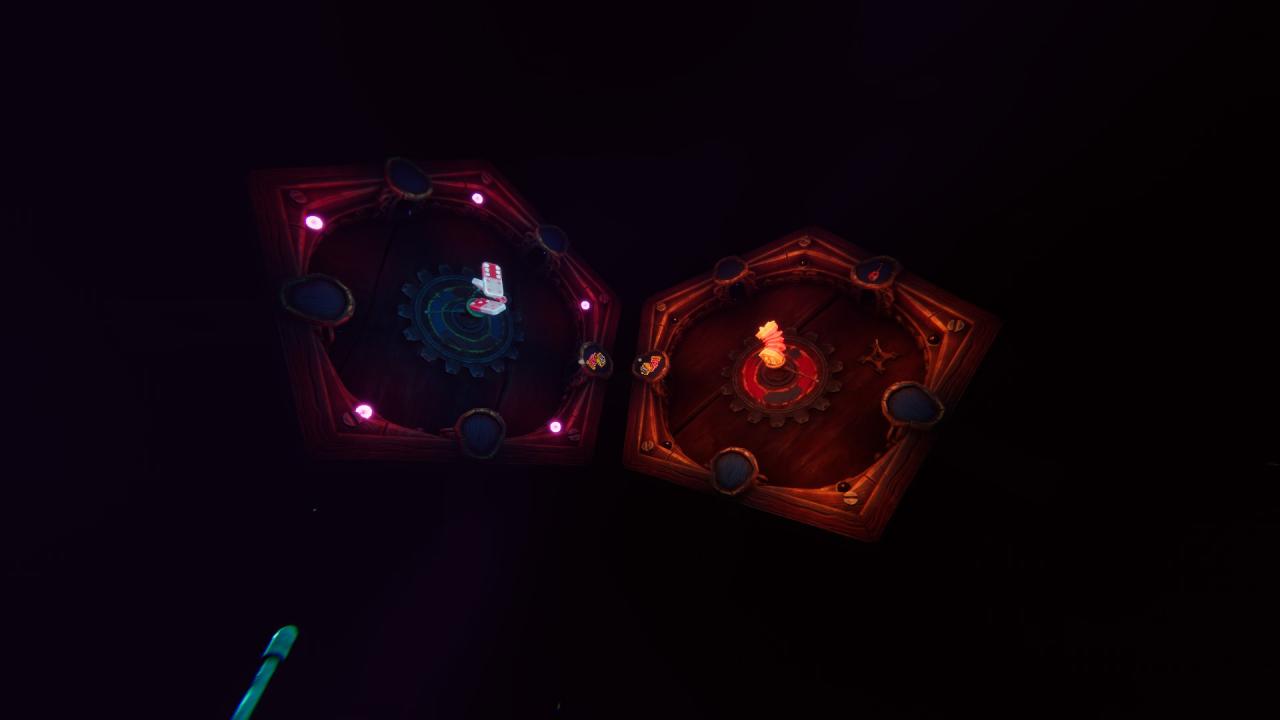
The first player spins the lever counterclockwise 2 times, enters the room with the accordion and presses the key.
The second player spins the room clockwise 1 time, enters the room with the shoe
The second player spins the room clockwise 2 times and passes into the room with the dice.
The first player on the harmonica spins clockwise 2 times.
The second player spins 1 time clockwise.
The first player passes into the guitar.
The first player spins 2 times counter-clockwise.
The second player spins 2 times clockwise and passes into the card room and presses the key.
The first player in the guitar twists the walls 1 time counterclockwise.
The second player passes into the room with the cap.
Watch the cutscene.
The second player in the room with the cap twists counterclockwise 2 times.
The first player passes into the music pipe.
The second player in the cap room twists the walls counterclockwise 1 time.
The first player passes into the room with the harp.
The second player in the cap room twists counterclockwise 1 time and passes into the card room.
The first player in the room with the harp twists the walls clockwise 2 times.
The second player in the card room spins the walls counterclockwise 2 times.
Both players enter the room with the purple magic door and press the keys in the floor together.
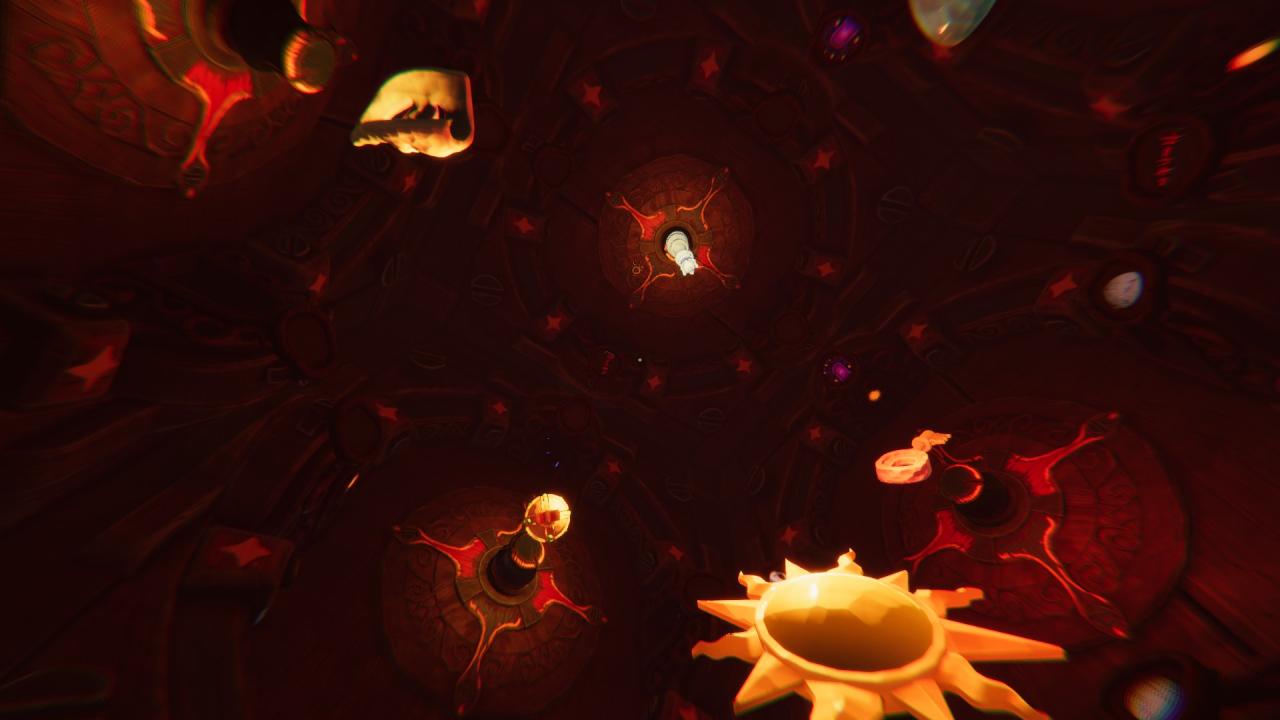
The first player on the sun twists the walls to the egg and passes through
The second player on the regular chess piece spins 1 time clockwise.
The first player on the egg spins 1 time clockwise.
The second player passes into the red chess piece and enters the parallel version of the puzzle.
The first player on the egg spins 2 times.
The second player passes into the mask.
Second player spins the walls 1 time clockwise and passes into the “holy grenade”
The first player on the egg spins 1 time clockwise and passes into the jester stick.
The second player on the “holy grenade” twists 1 time counterclockwise and passes into the skull.
The first player on the jester stick passes into the key.
Then the first player twists 1 time counterclockwise and passes into the egg.
The first player on the egg twists the walls 1 time counterclockwise.
Both players enter into the purple portal
Chapter 2 — The Chapel
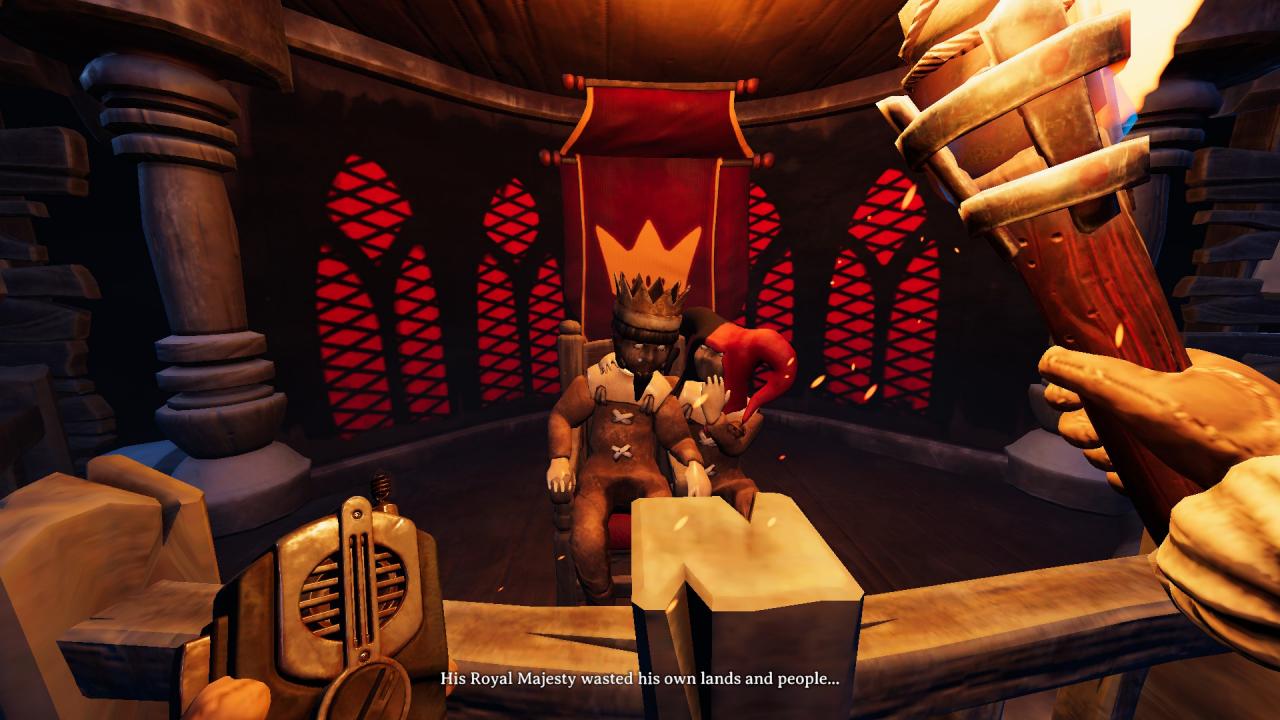
Put the king’s head on the throne and the jester’s head next to it.
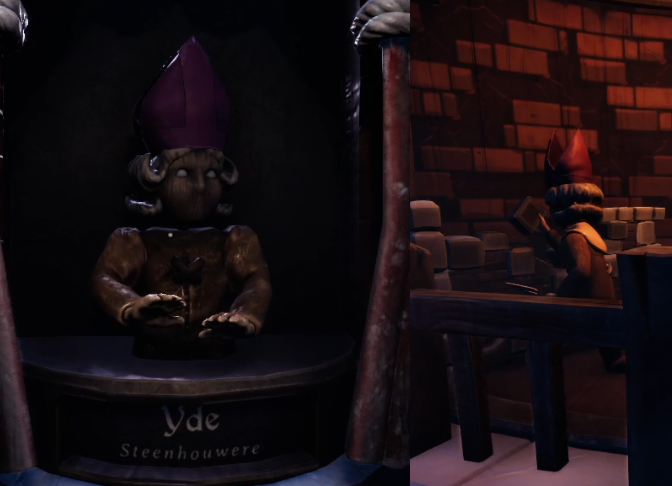
Put the head of Yde to who builds the wall
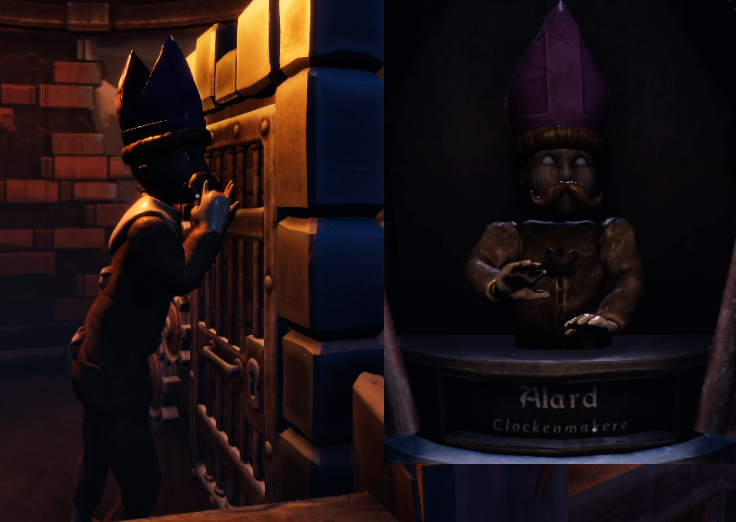
Put the head of Alard to who builds the door mechanism
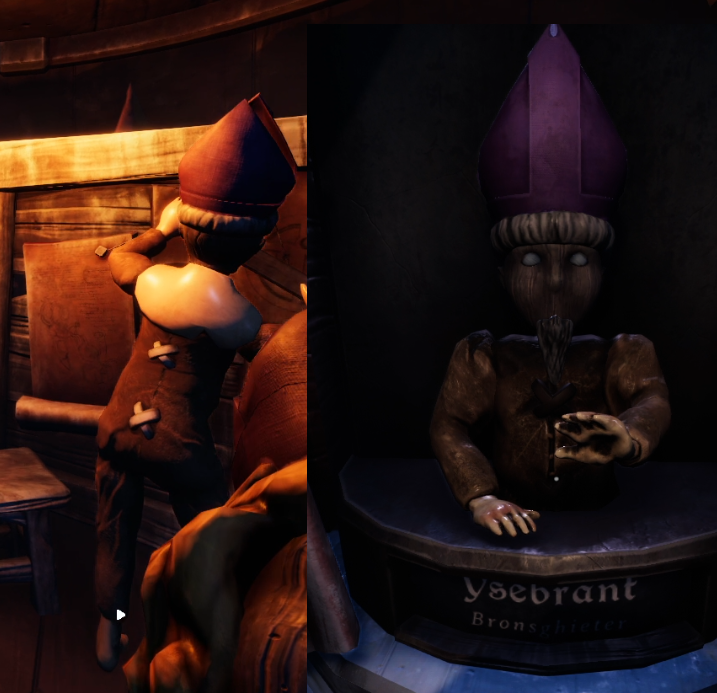
Put the head of Ysebrant to person near blueprints
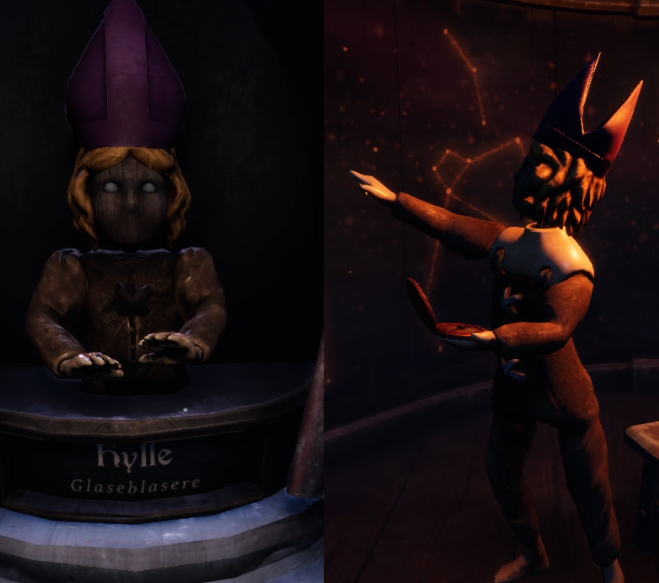
Put the head of Kylle to whoever is pointing to the sky
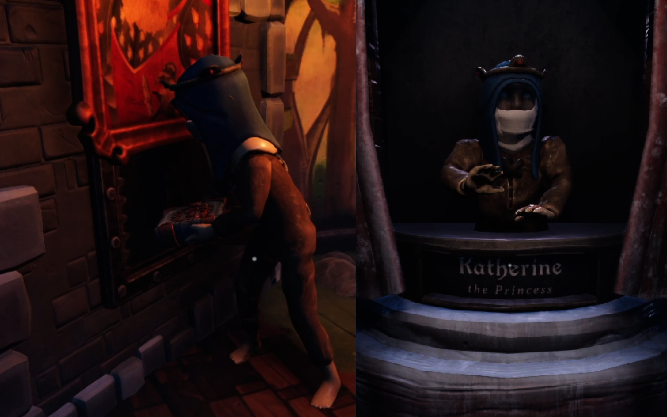
Put the head of Princess Katherine to whoever is hiding the book behind the painting
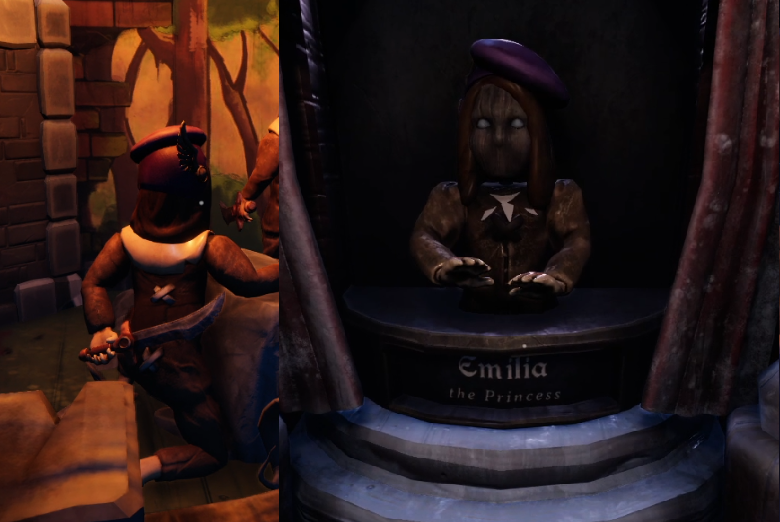
Put the head of Princess Emilia to the person, who is holding blade
⠀⠀⠀⠀⠀⠀⠀⠀⠀⠀⠀⠀⠀⠀⠀⠀⠀⠀⠀⠀⠀ ⠀ ⠀⠀Left benches | Right benches
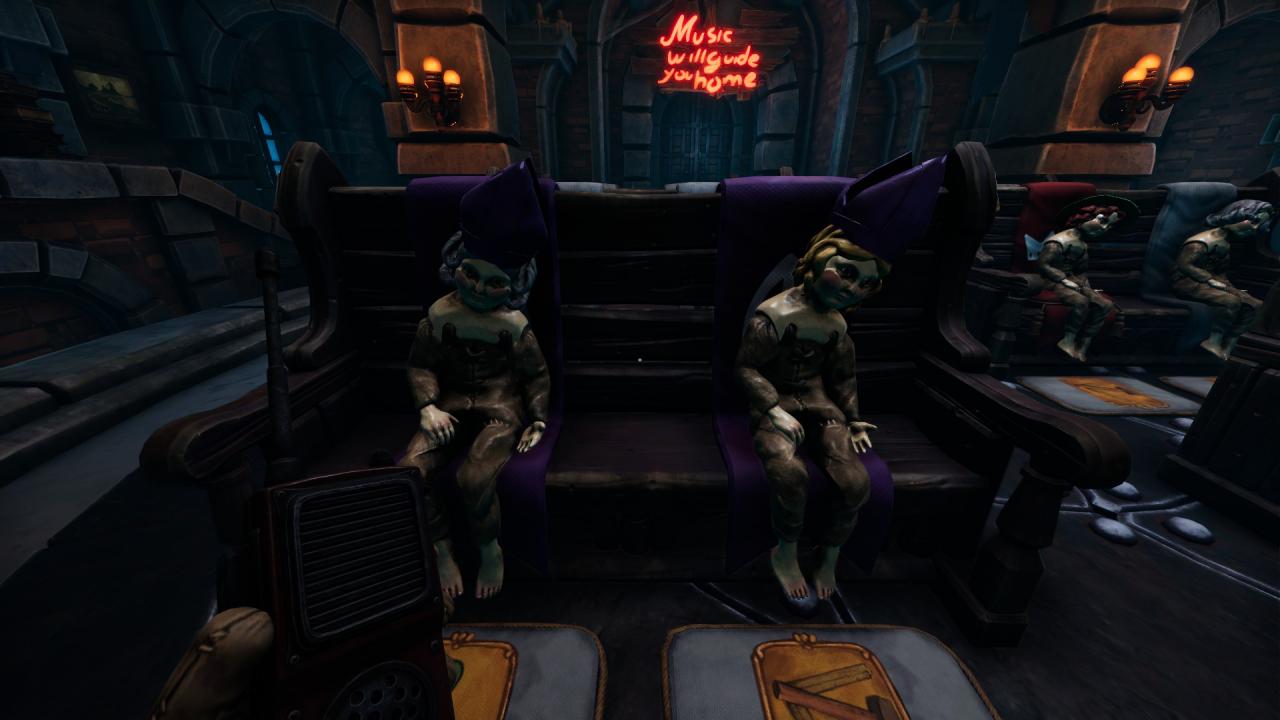
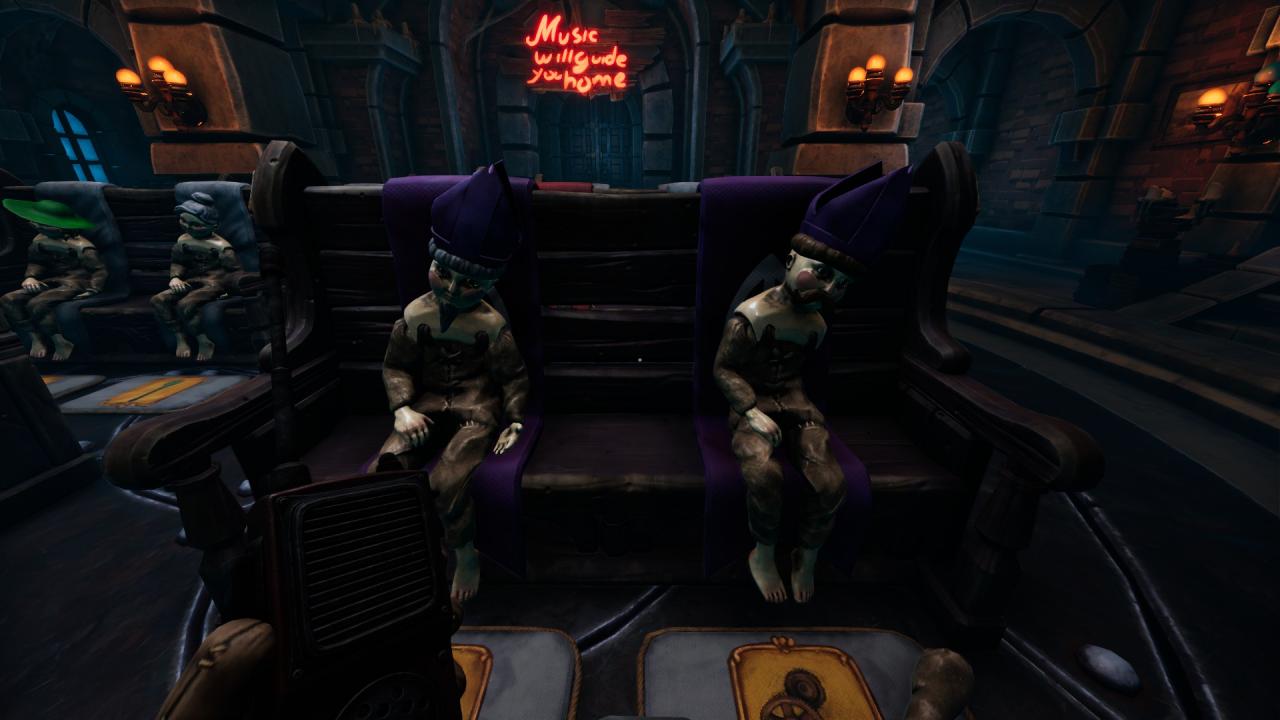
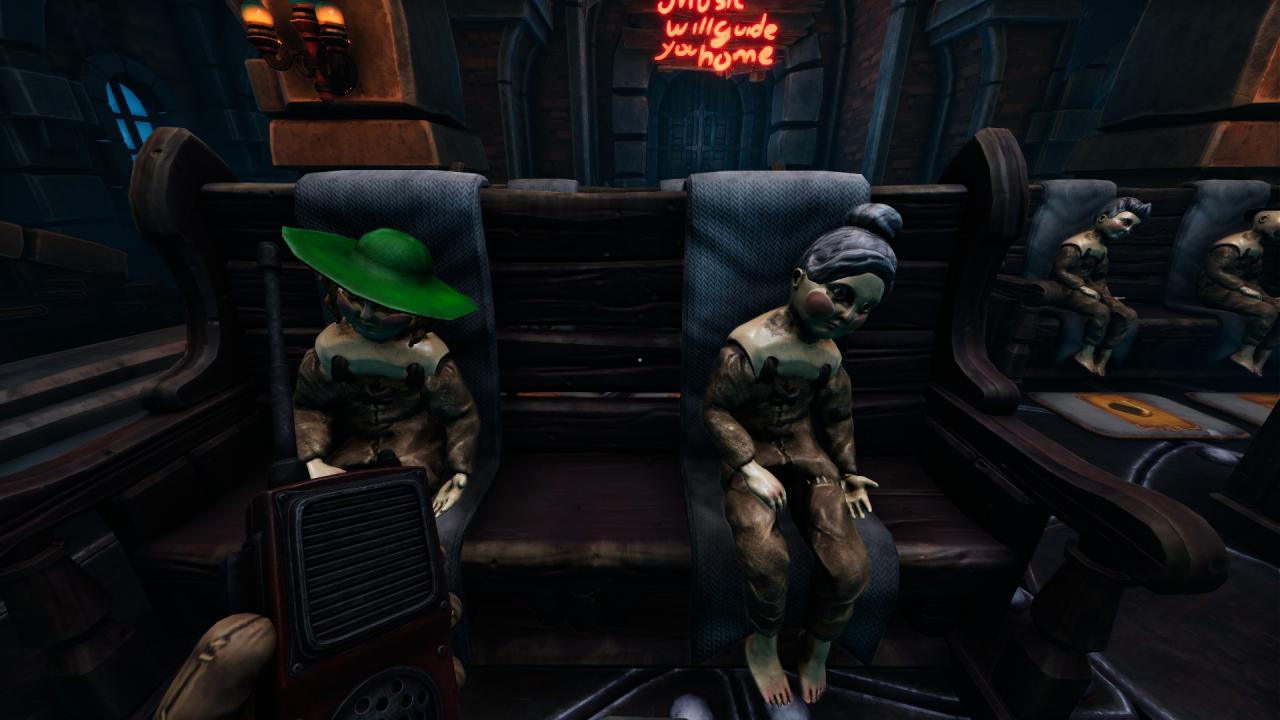
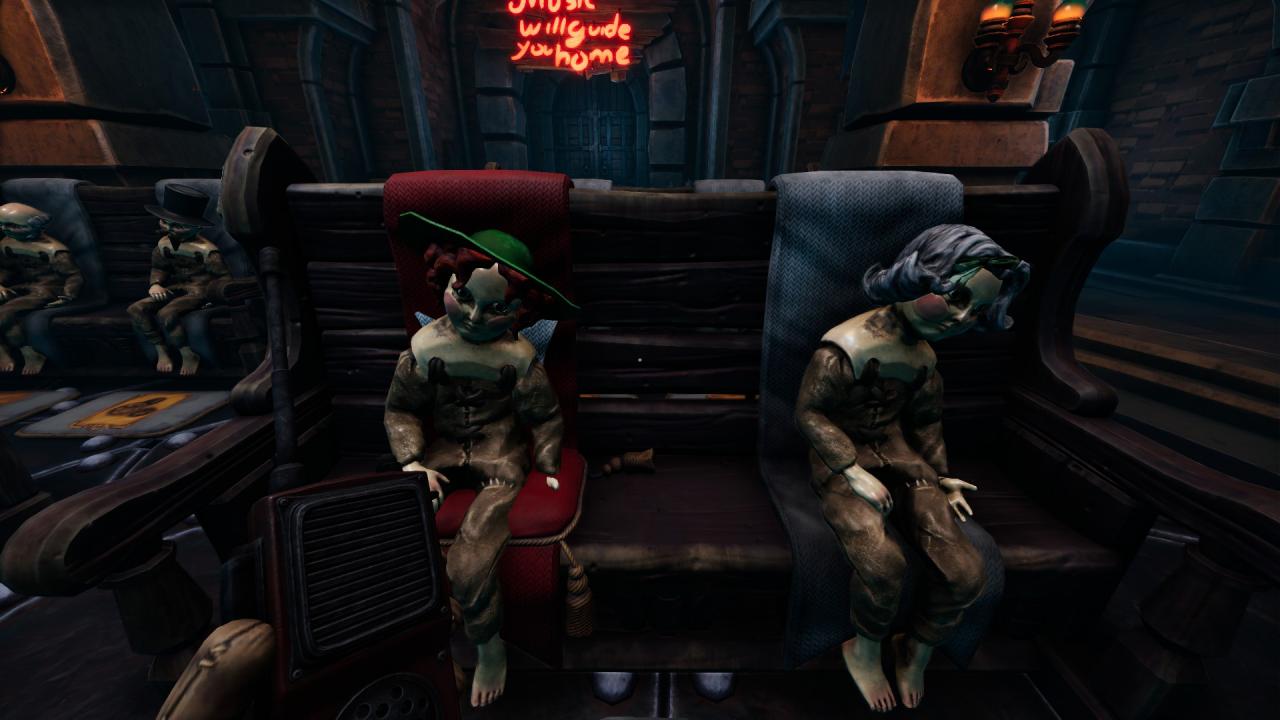
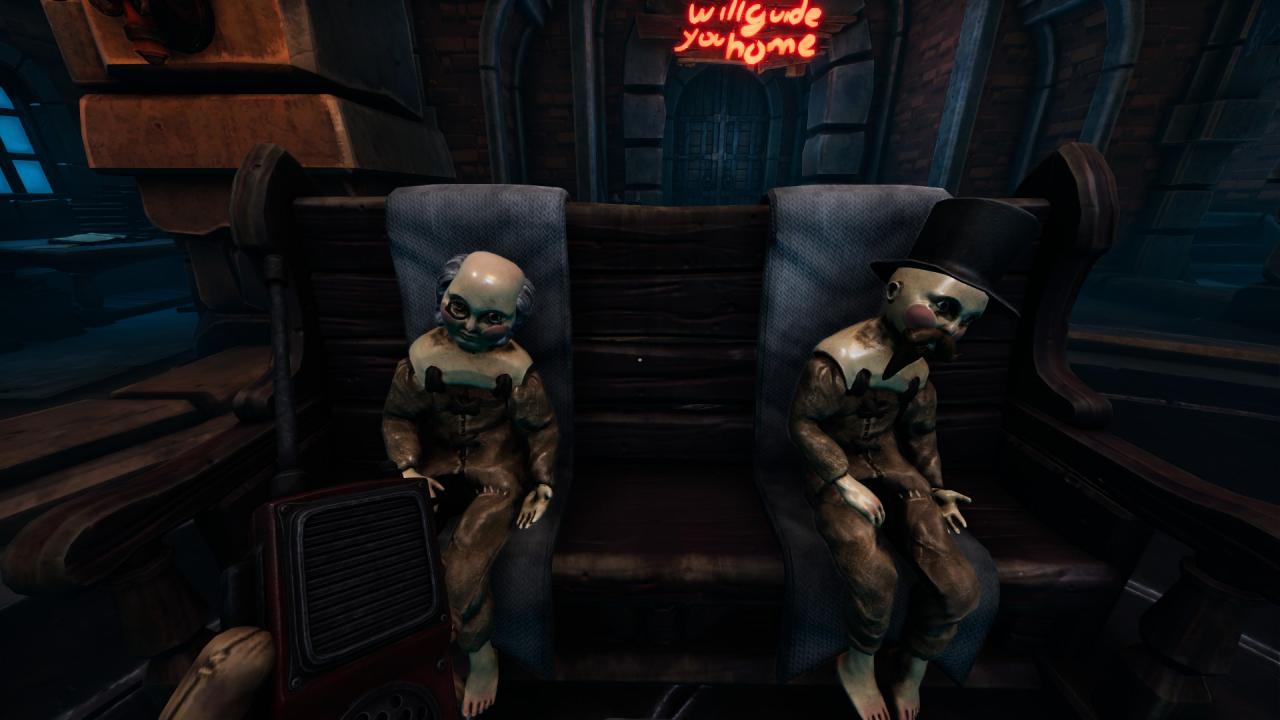
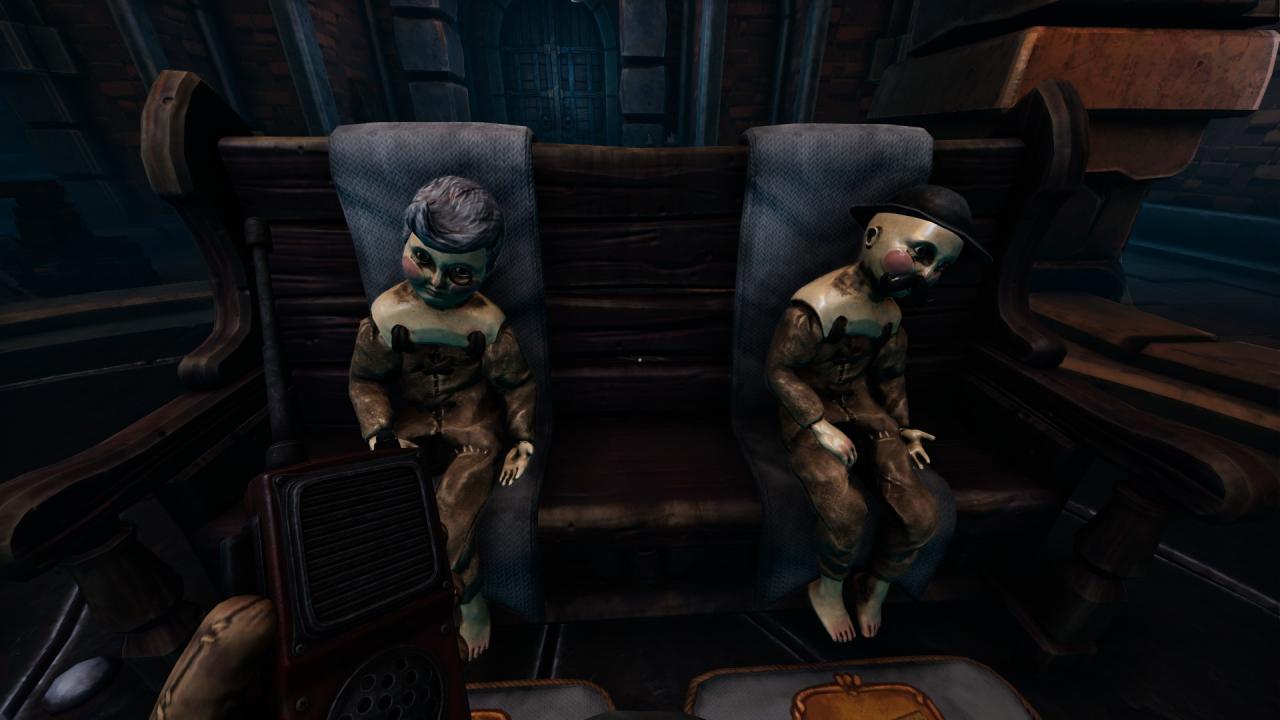
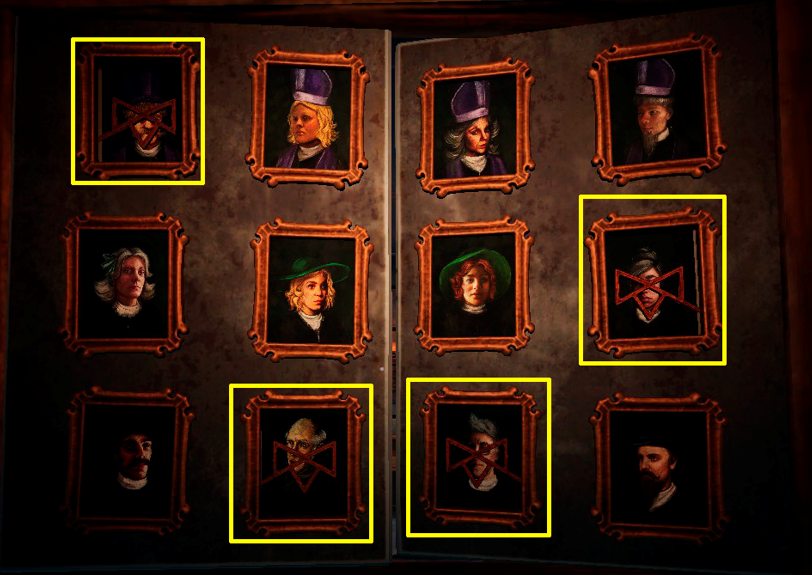
Place all notes like this
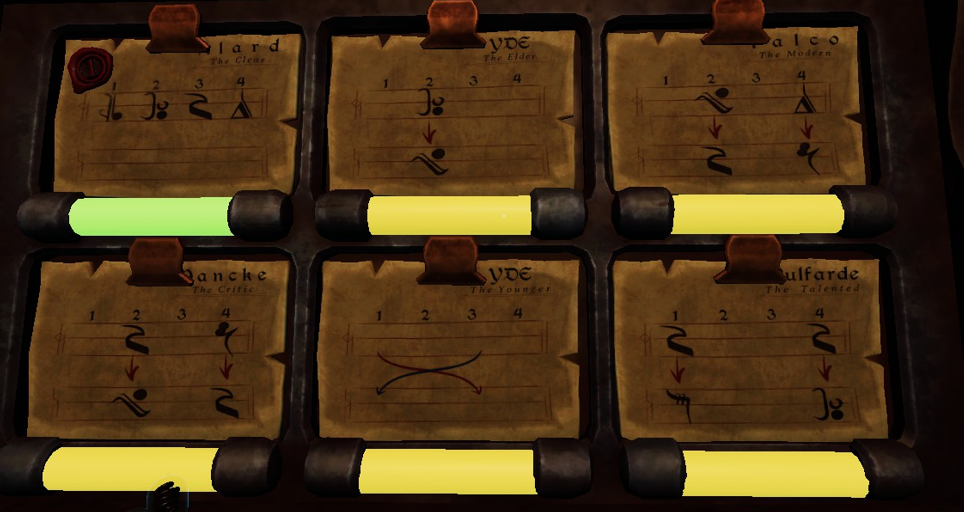
Approach the organ and enter the following sequence of notes:
- G A C B
- G F C B
- G C C D
- G F C C
- C F G C
- E F G A
Chapter 3 — The Graveyard

 ⠀
⠀

 ⠀
⠀

 ⠀
⠀


 ⠀
⠀

 ⠀
⠀

 ⠀
⠀

 ⠀
⠀

 ⠀
⠀

 ⠀
⠀
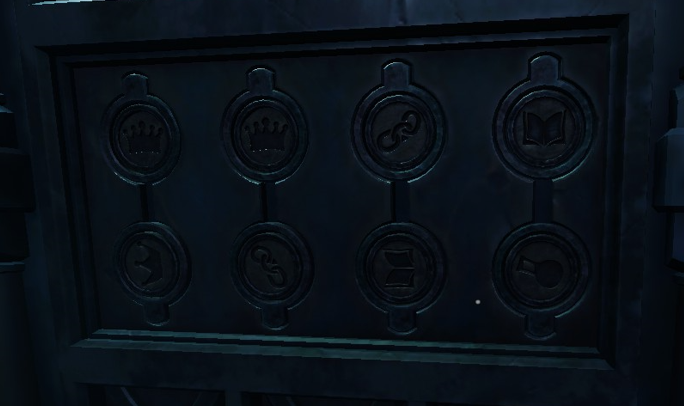
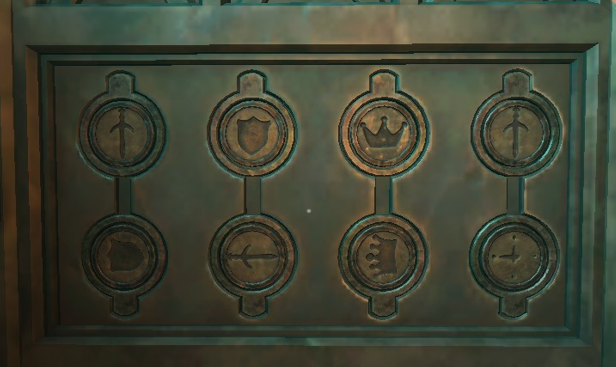
Player above need to take it and find next graves:
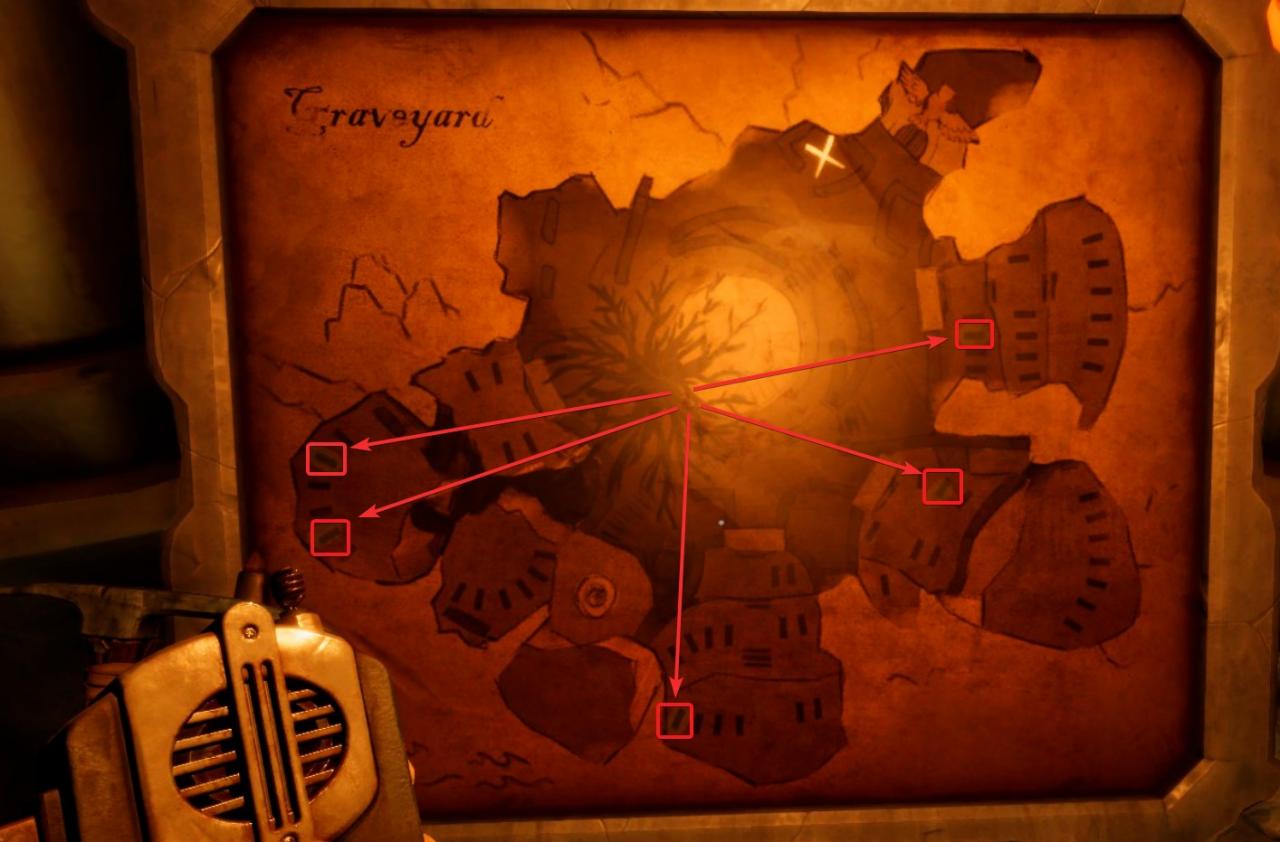 ⠀
⠀The player at the top must dig the following graves to get the keys:
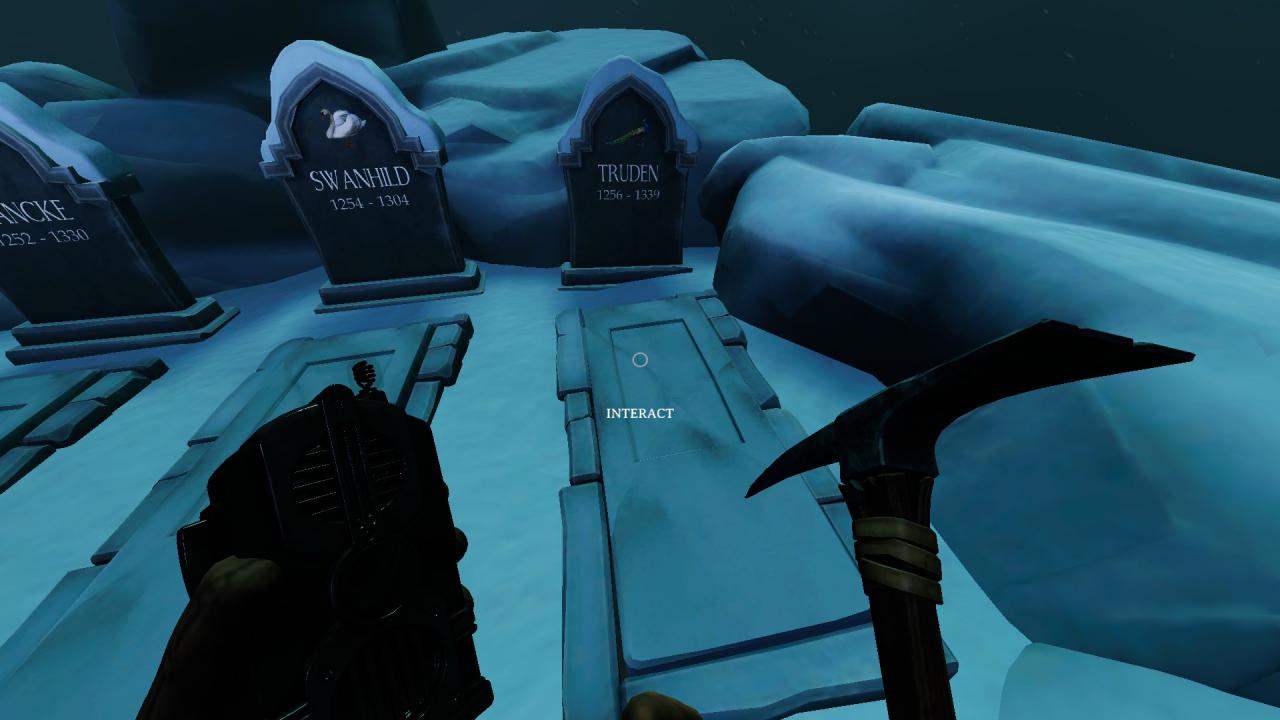
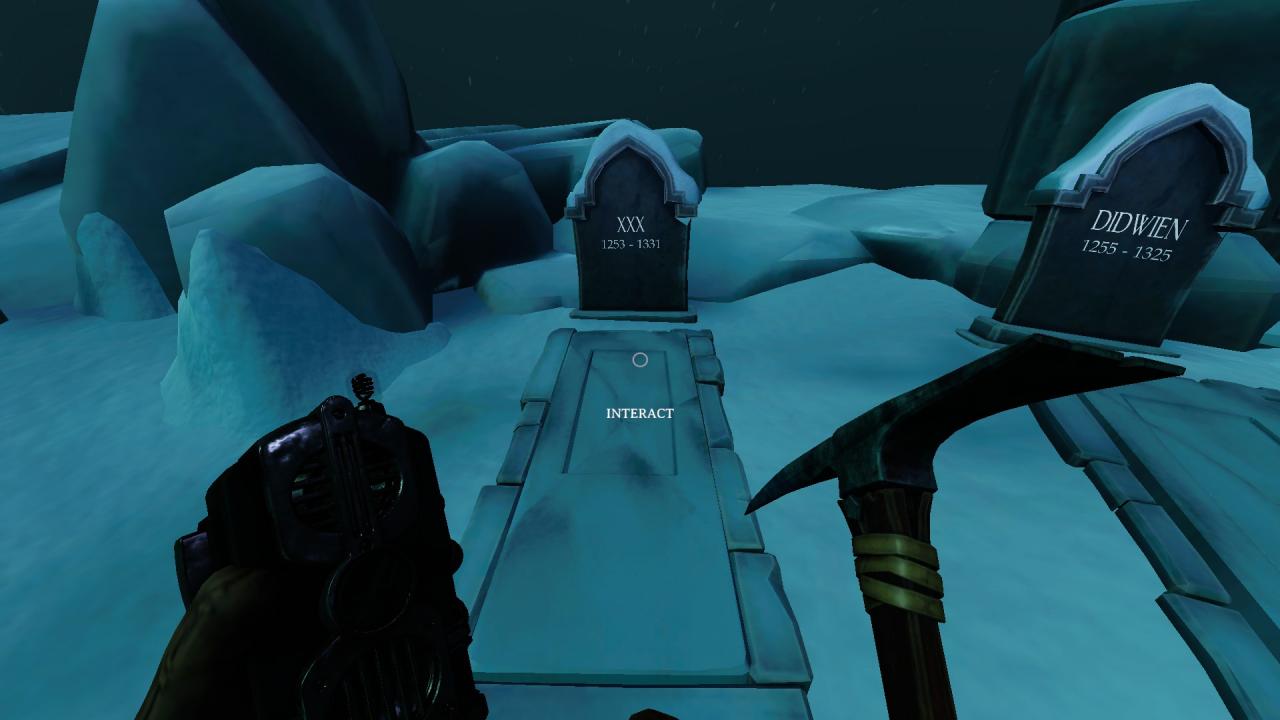

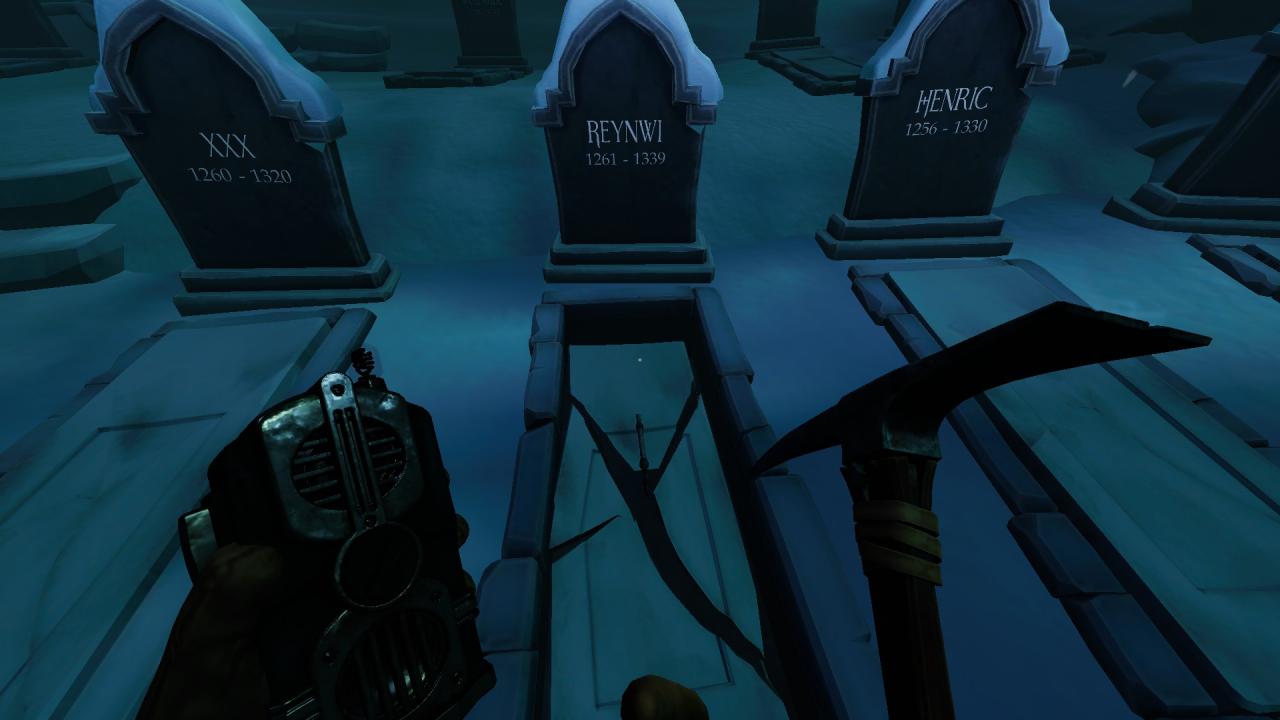
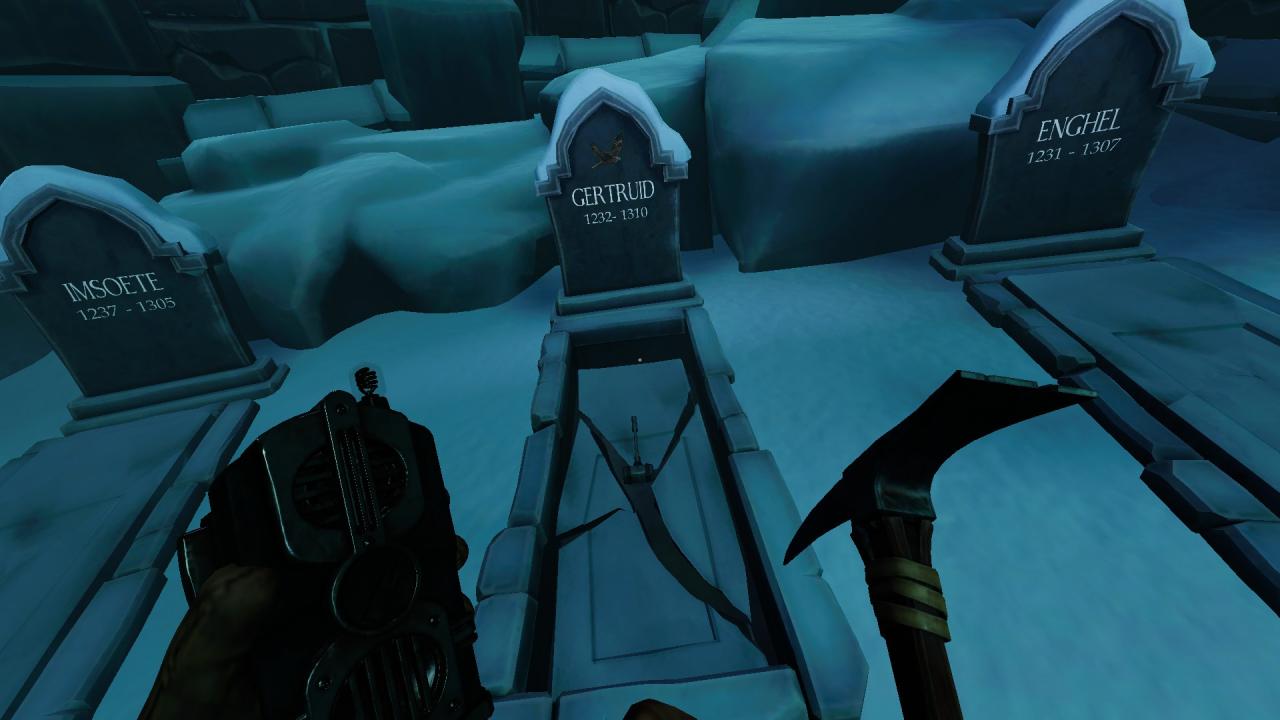
After that, the Player above must pass the keys down using the well
In the next room Player below see a map with a cross and take other pickaxe(near map). Player above need to search for snow hill with help of that cross.
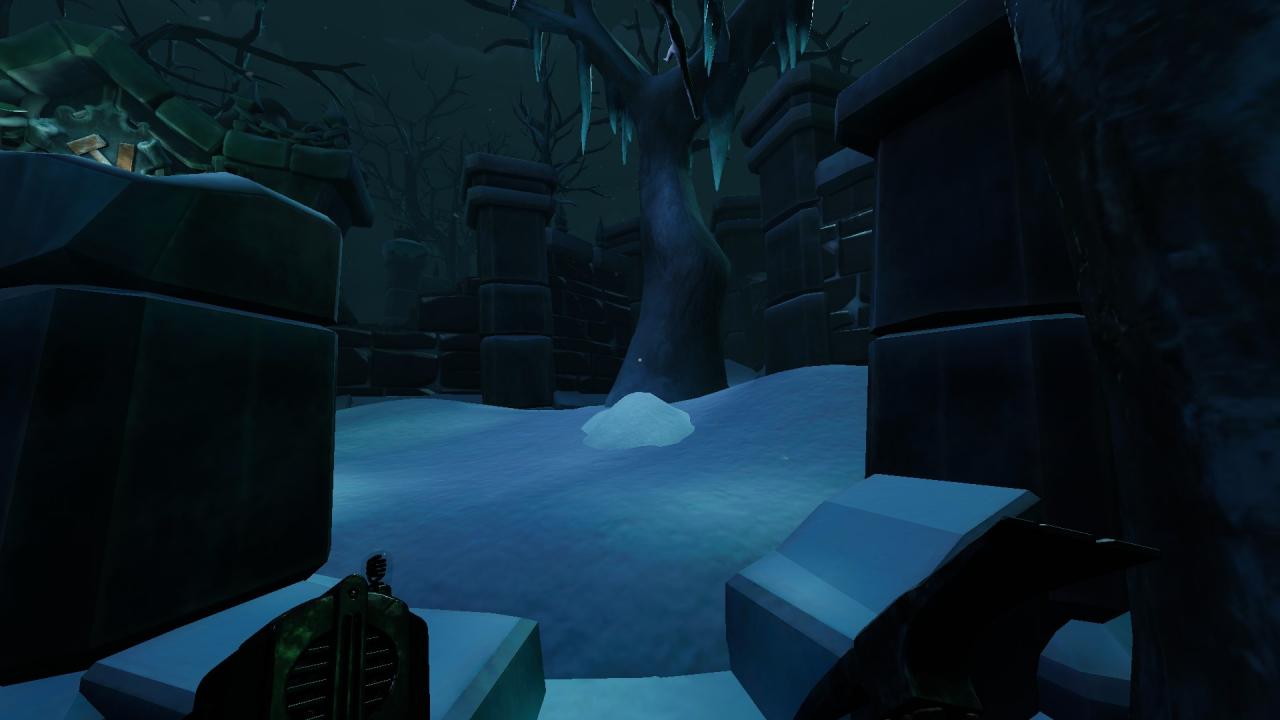
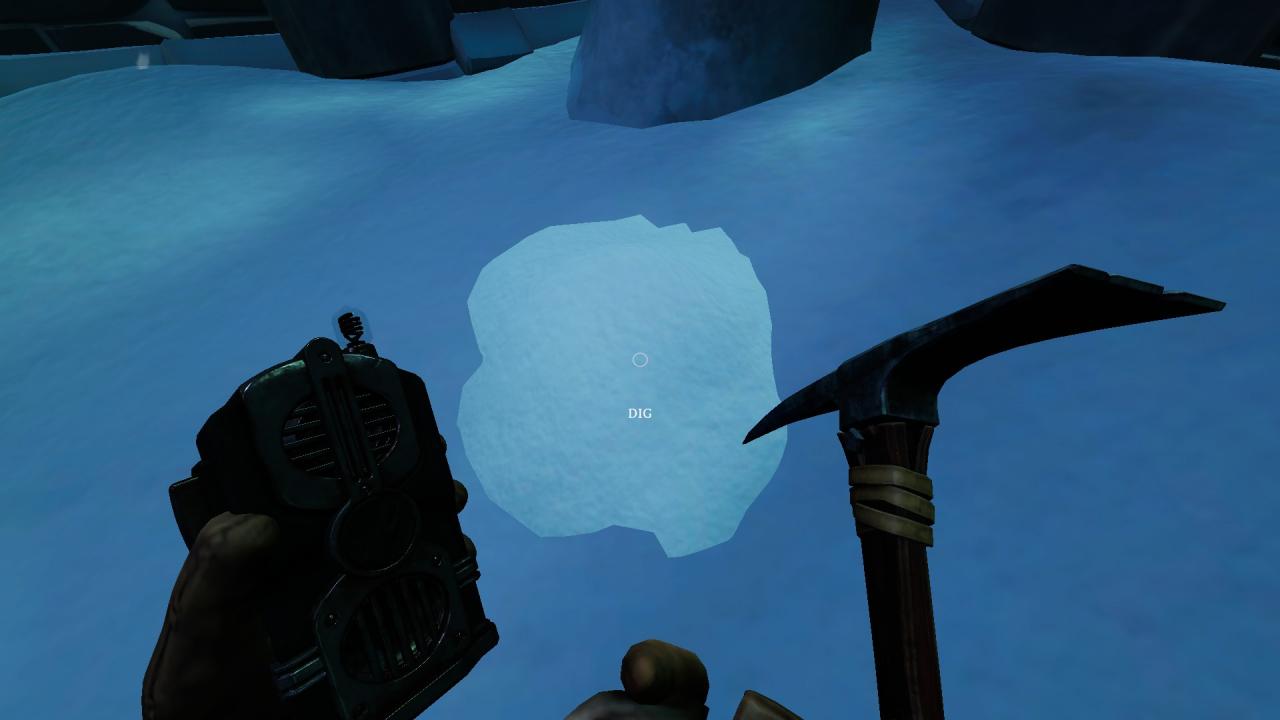
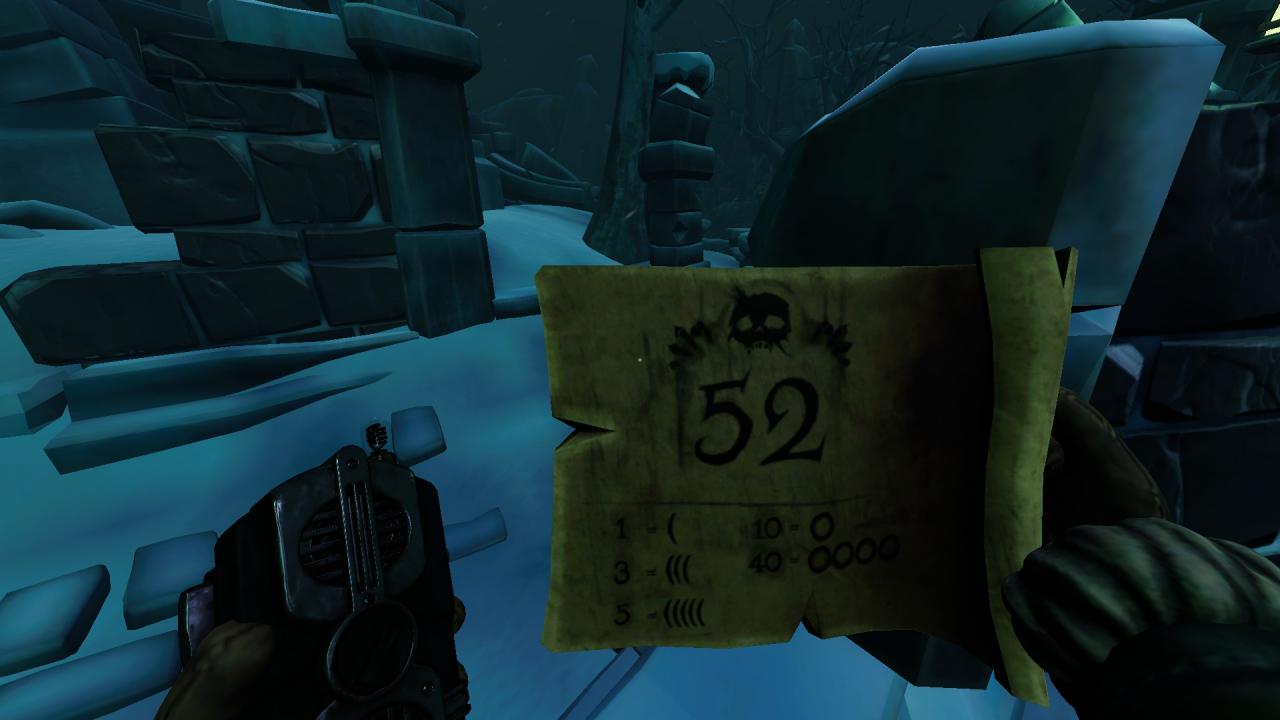
Player below need to find door with the correct abount of circles and lines
1 circle = 10
1 line = 1
This part is random so pictures below as examples
Chapter 4 — Rockbury
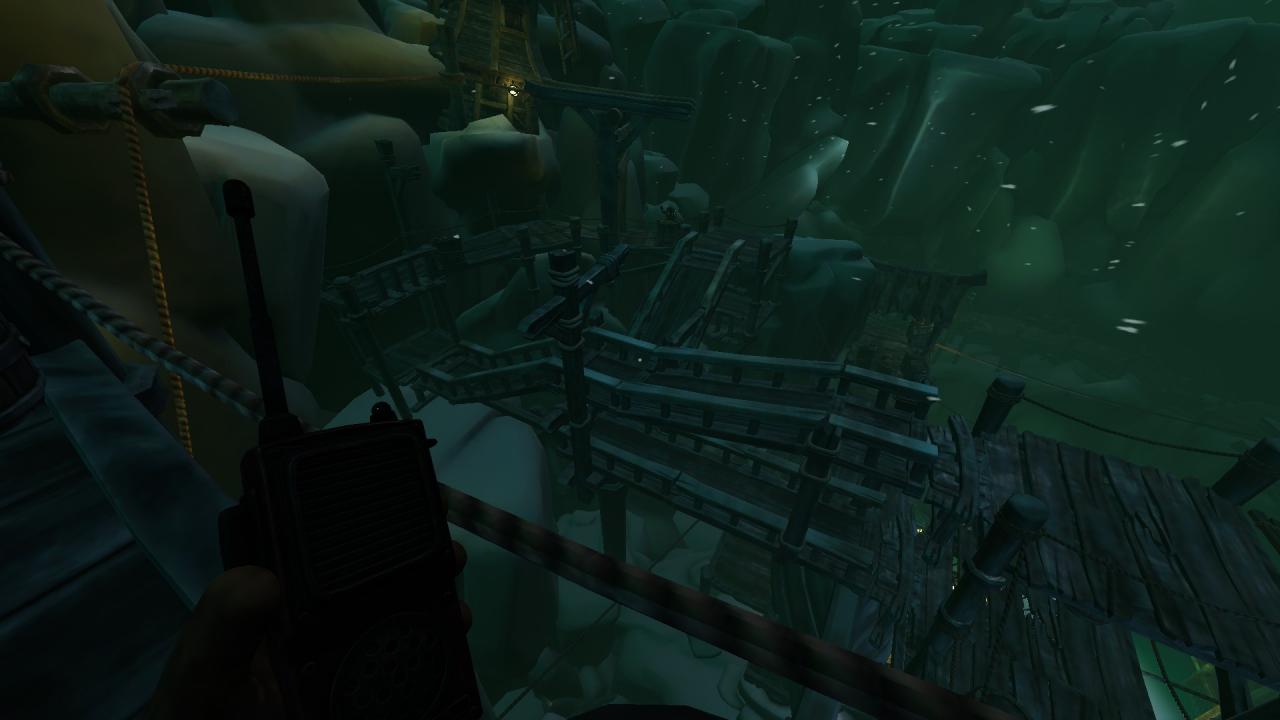
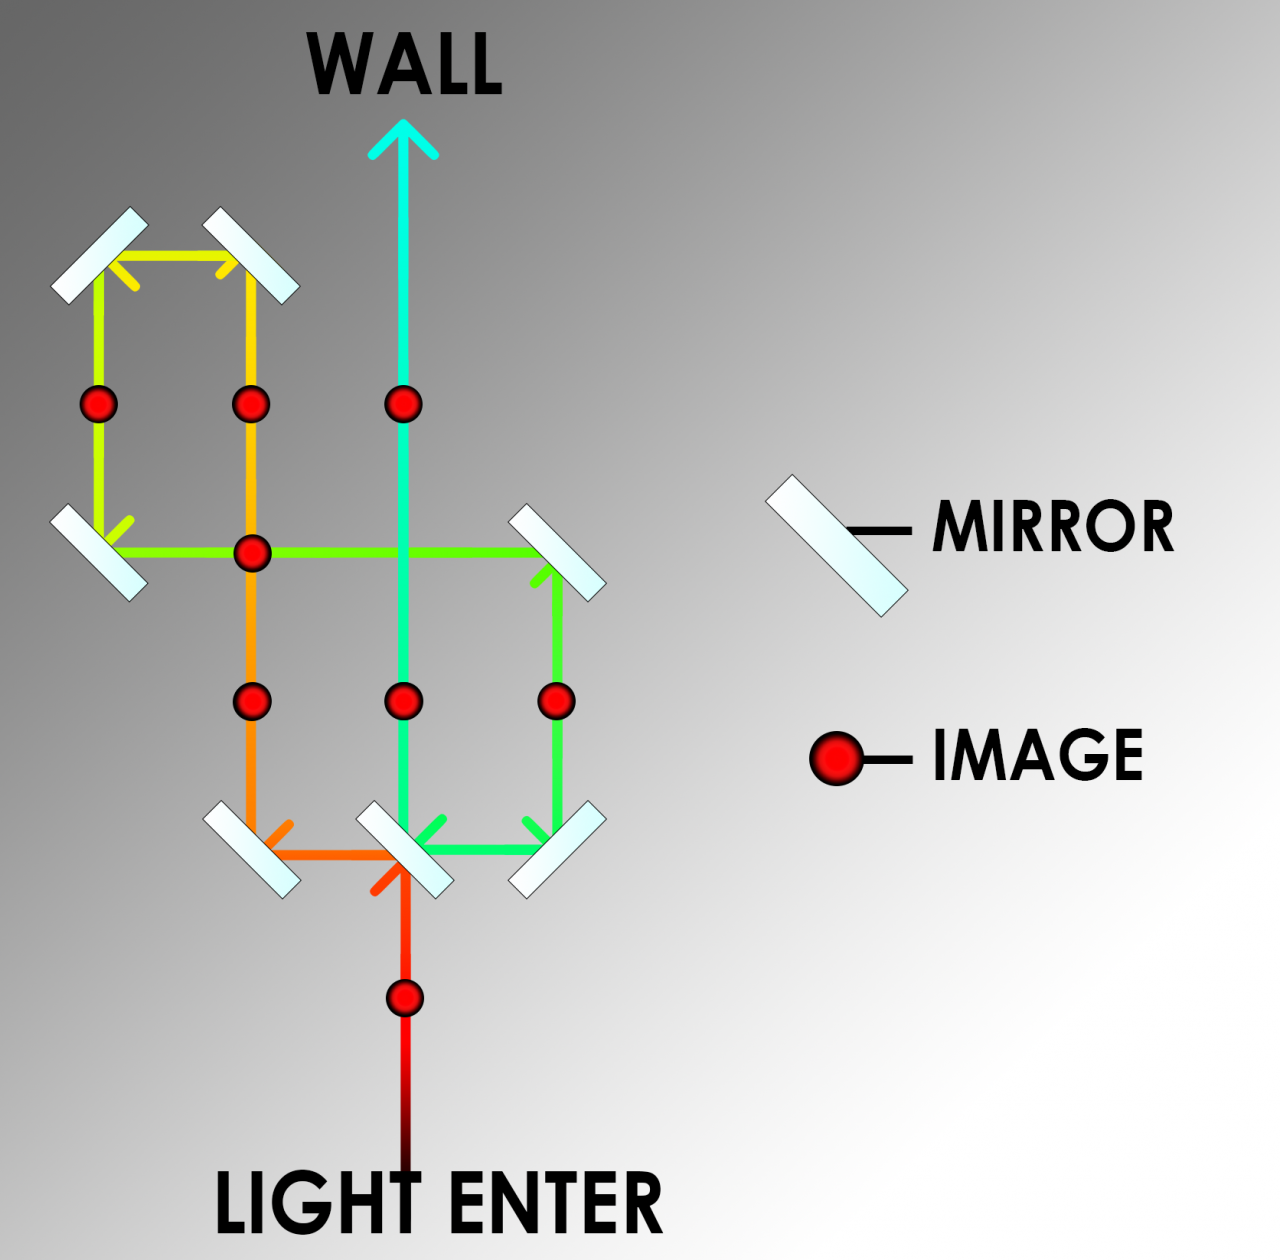
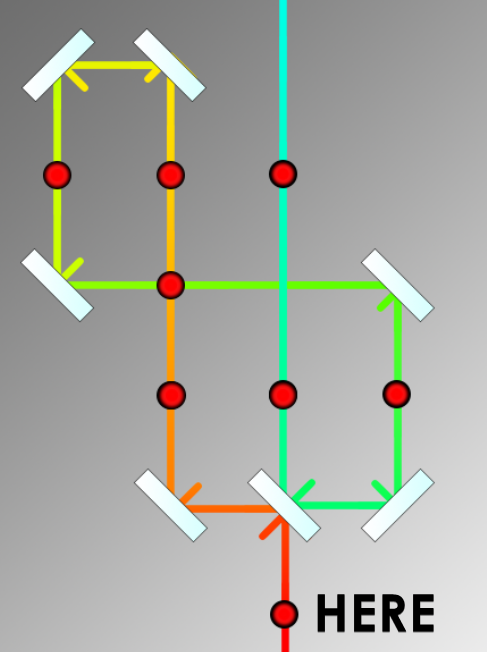
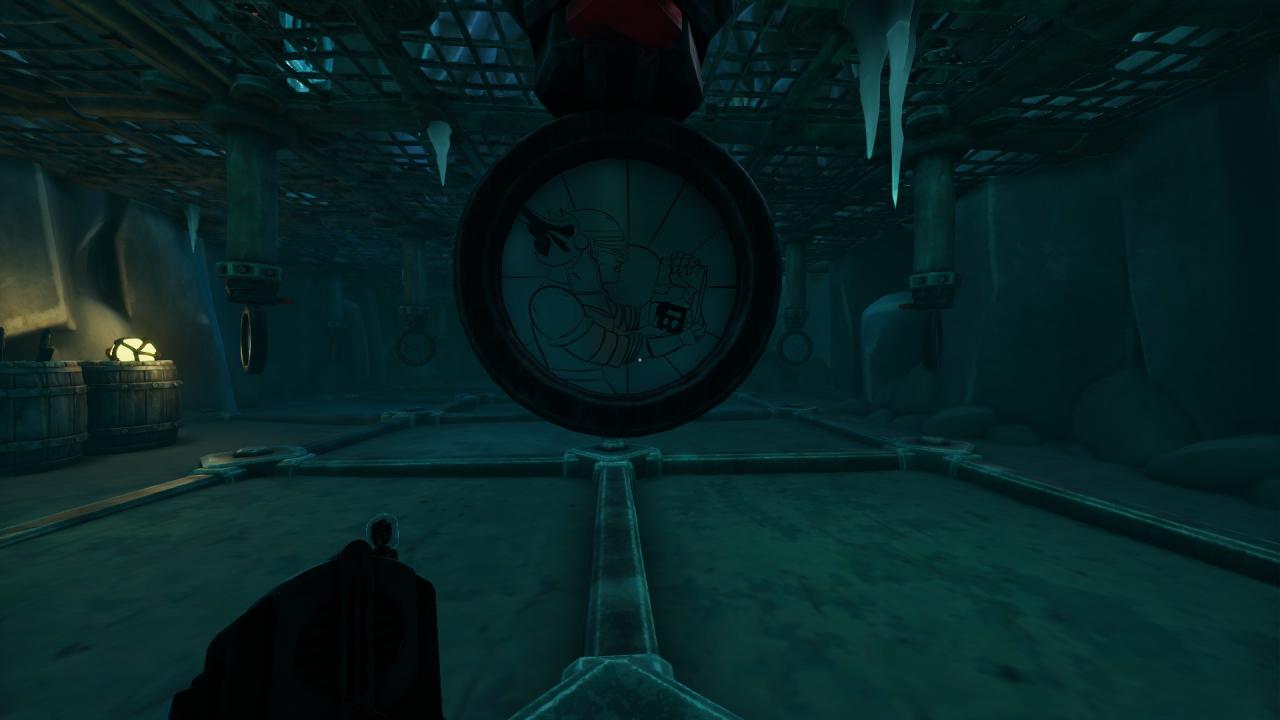
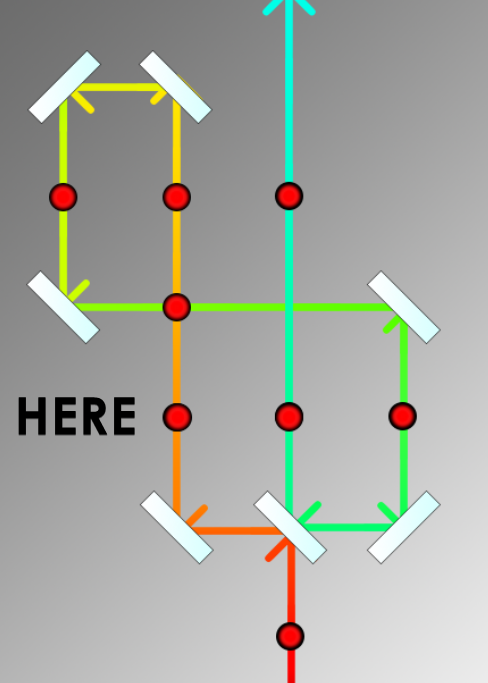
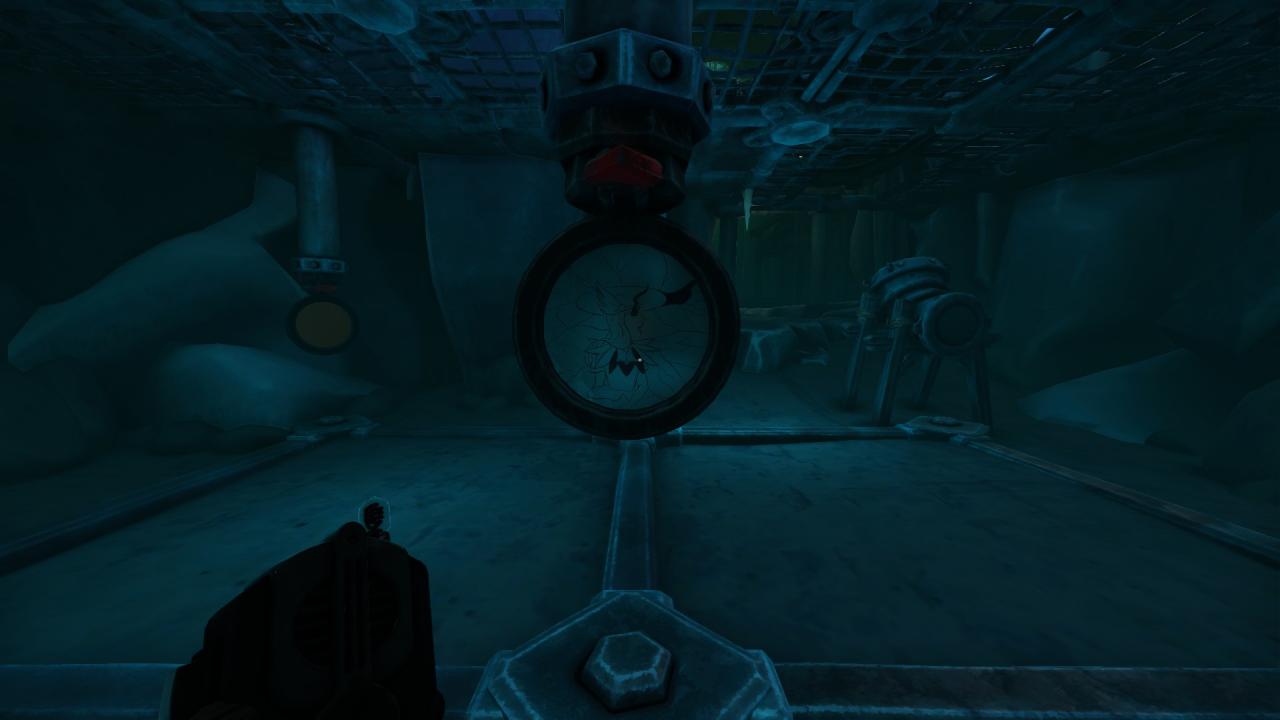
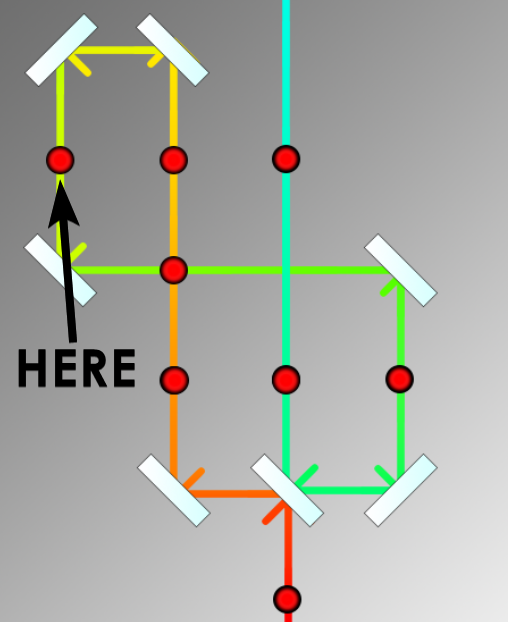
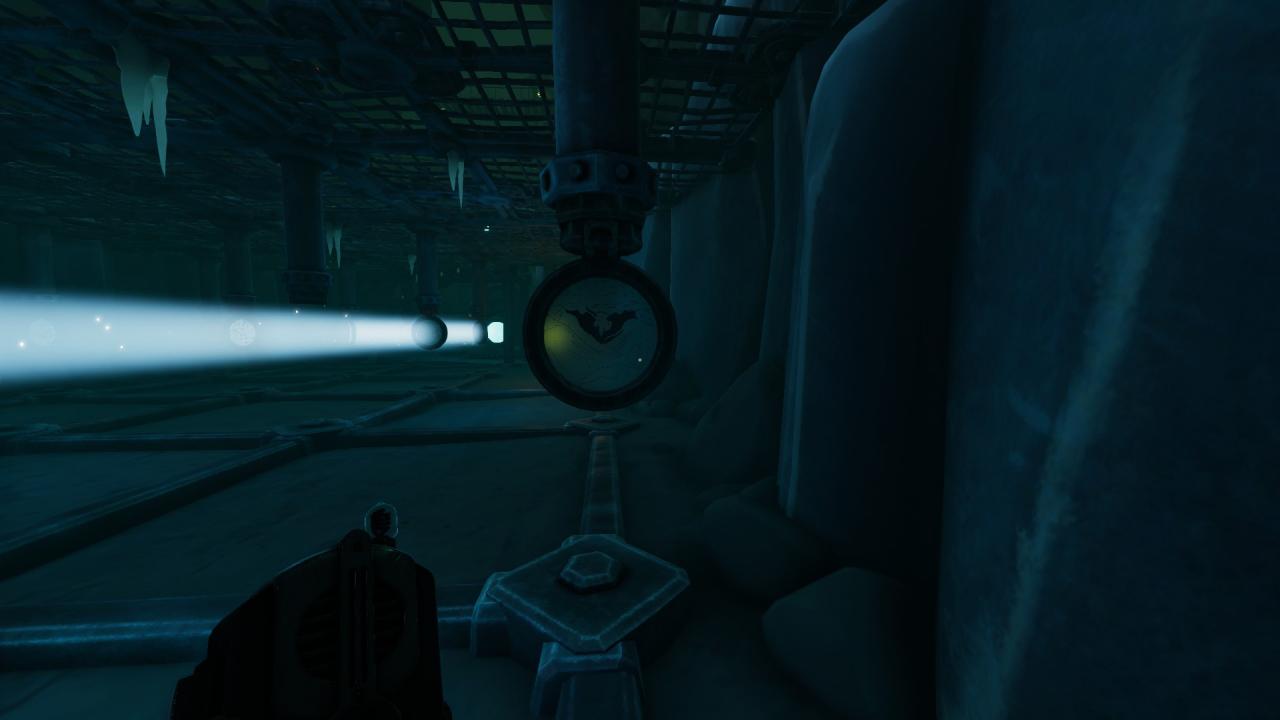
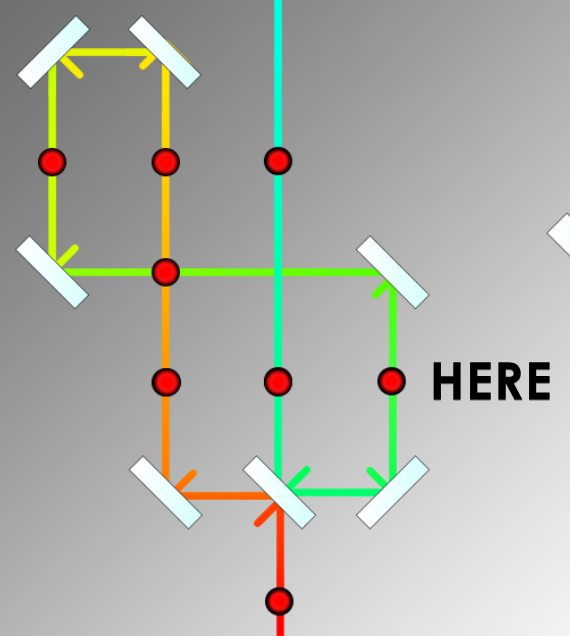
Player 1 press button 3 times
Player 2 go → hold the leaver and wait for Player 1 go through gate → go back to the start position
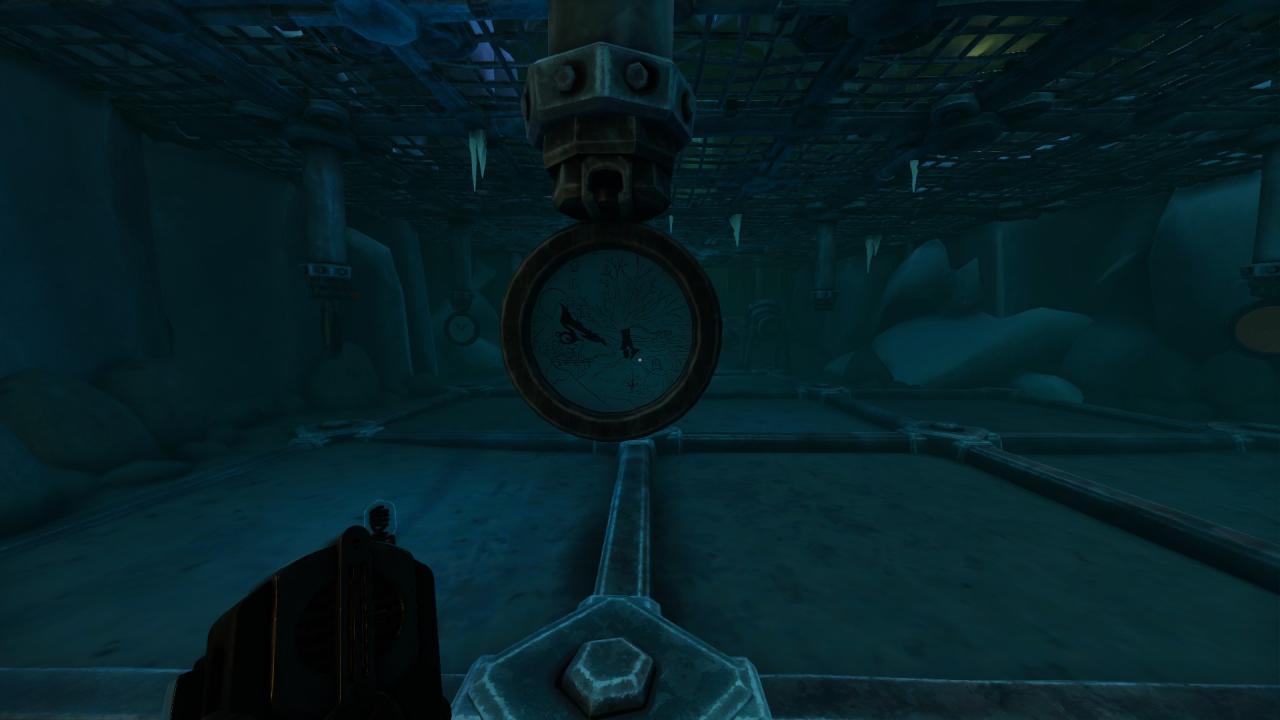
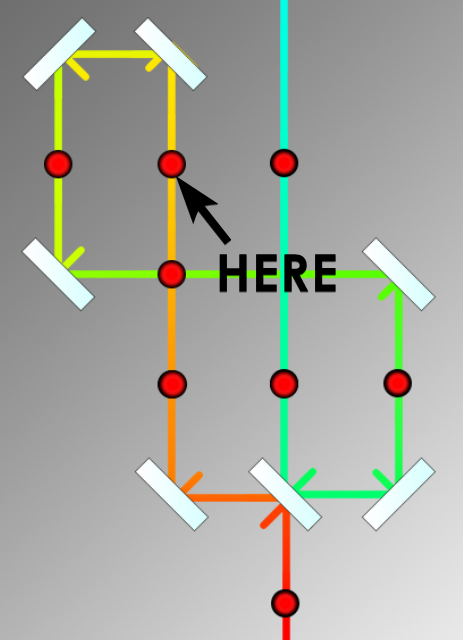
Player 1 press button 3 times
Player 2 go
Player 1 press button 2 times
Player 2 go
Player 1 press button 1 time and go
⠀
⠀
⠀
⠀
⠀
⠀
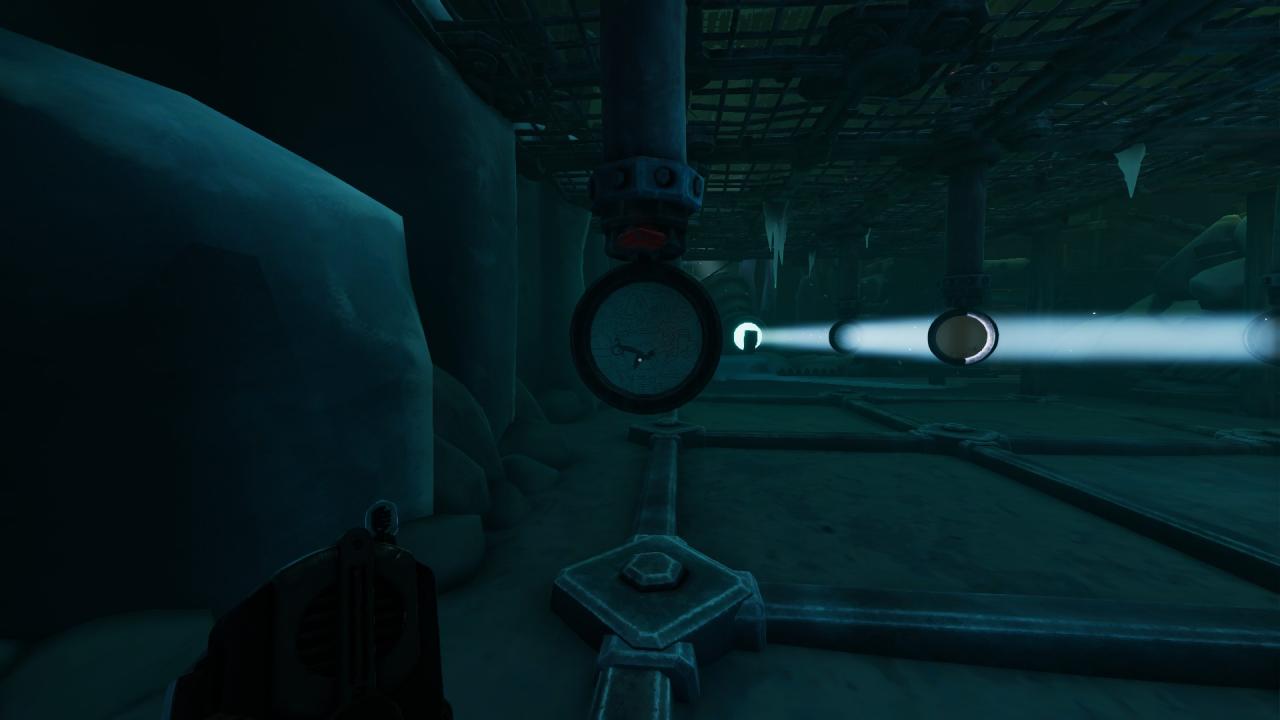
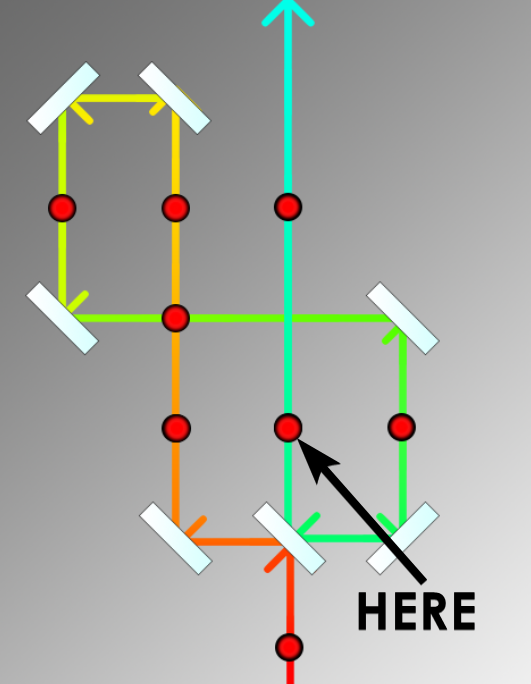
⠀
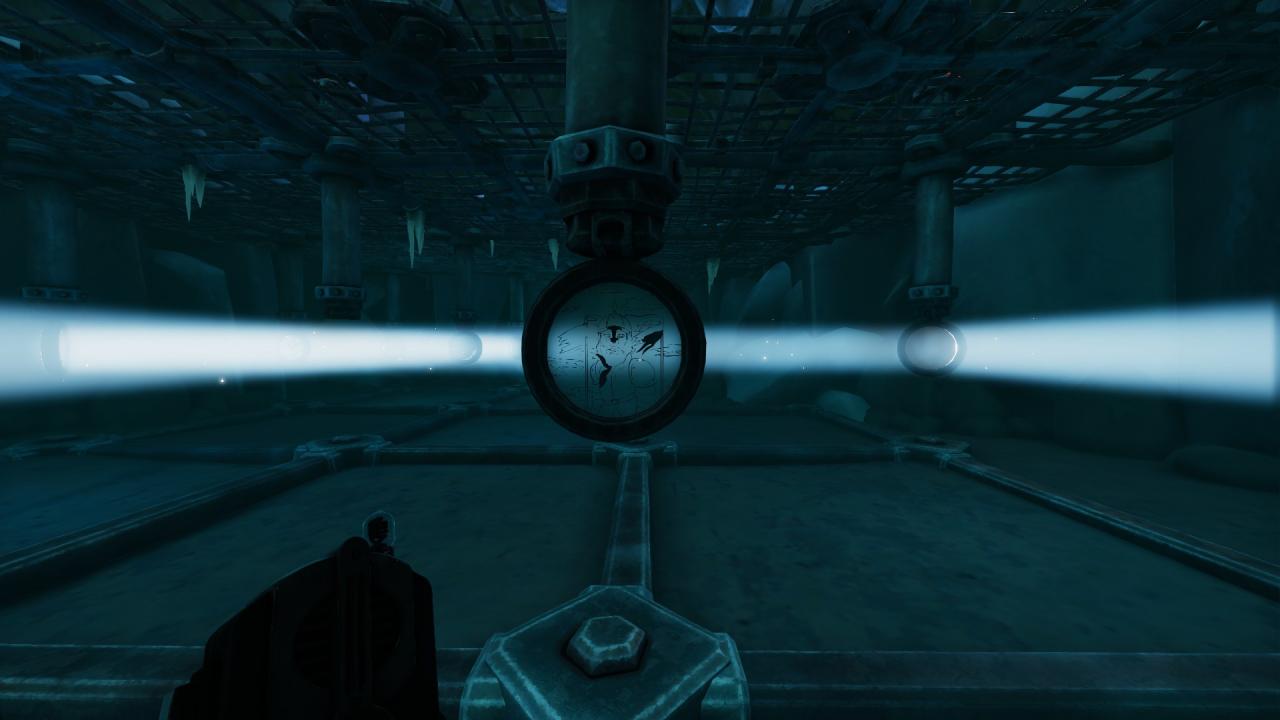
Chapter 5 — The Foundry
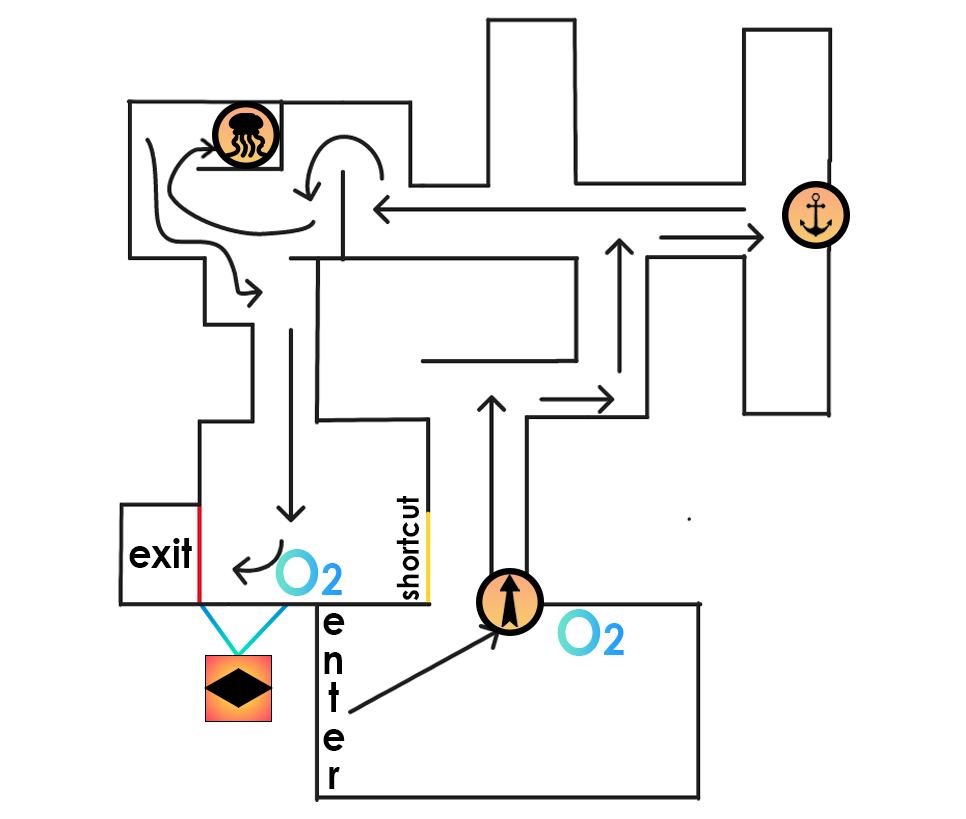

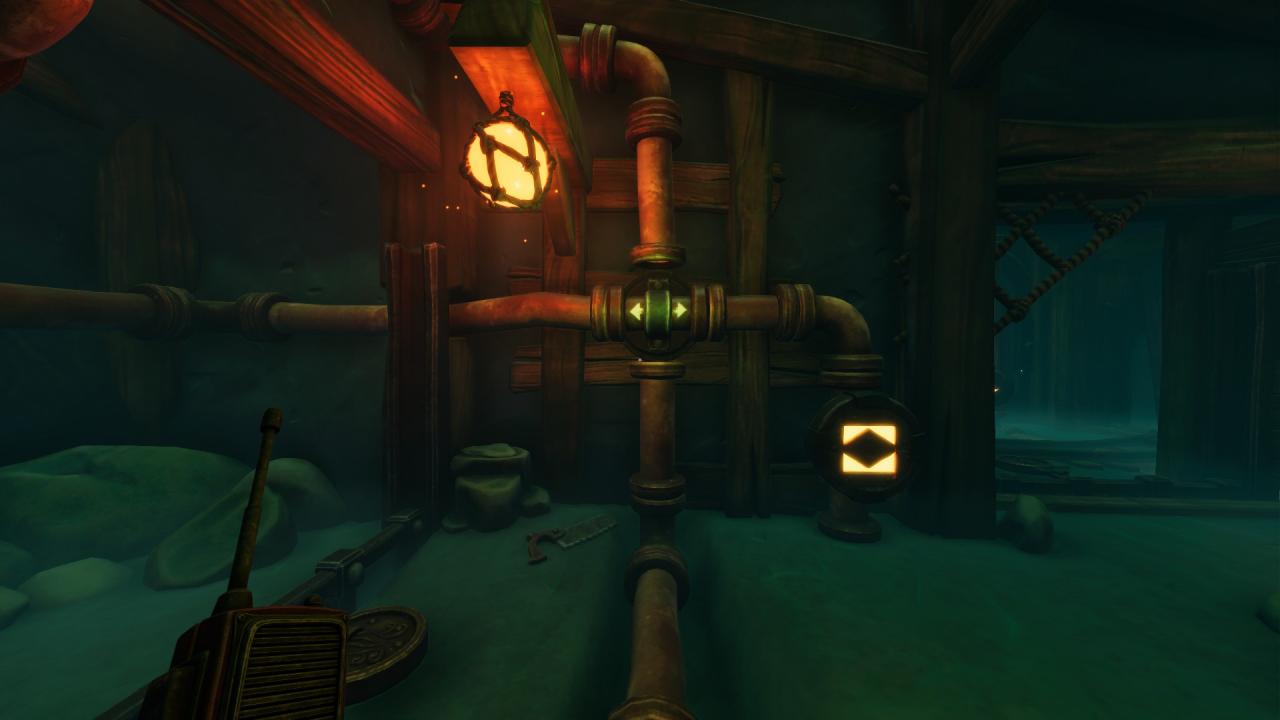
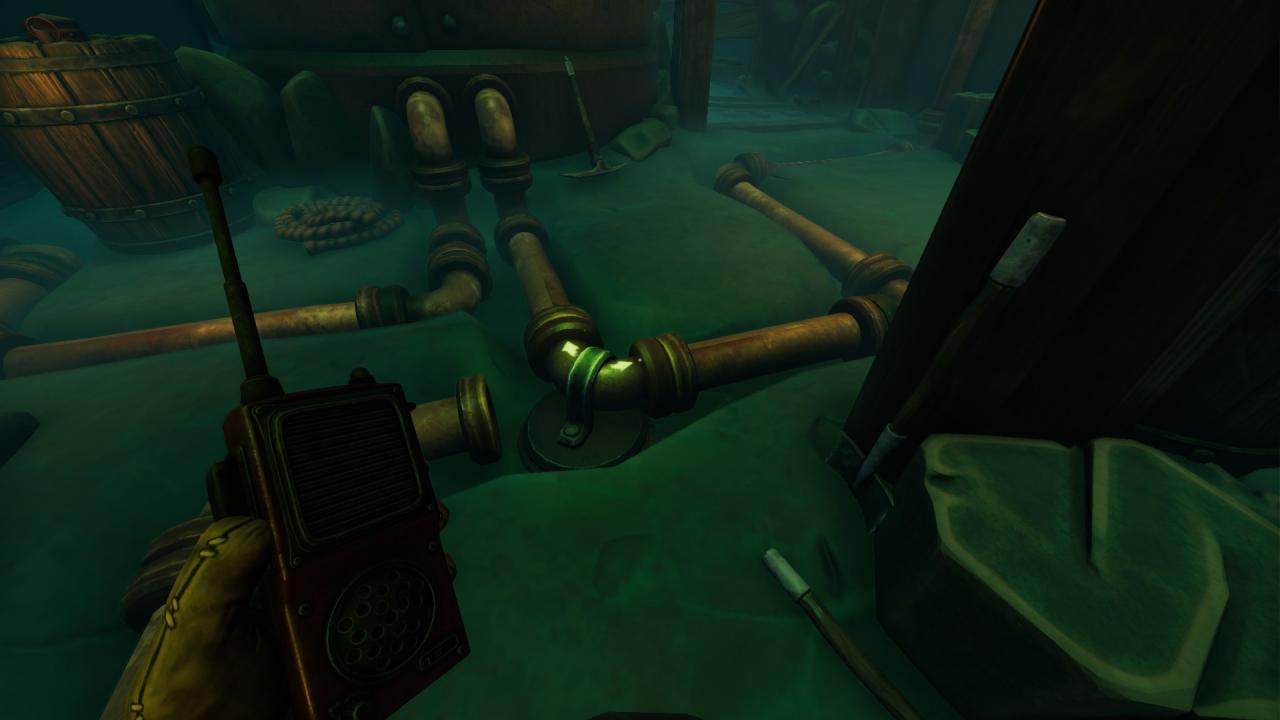
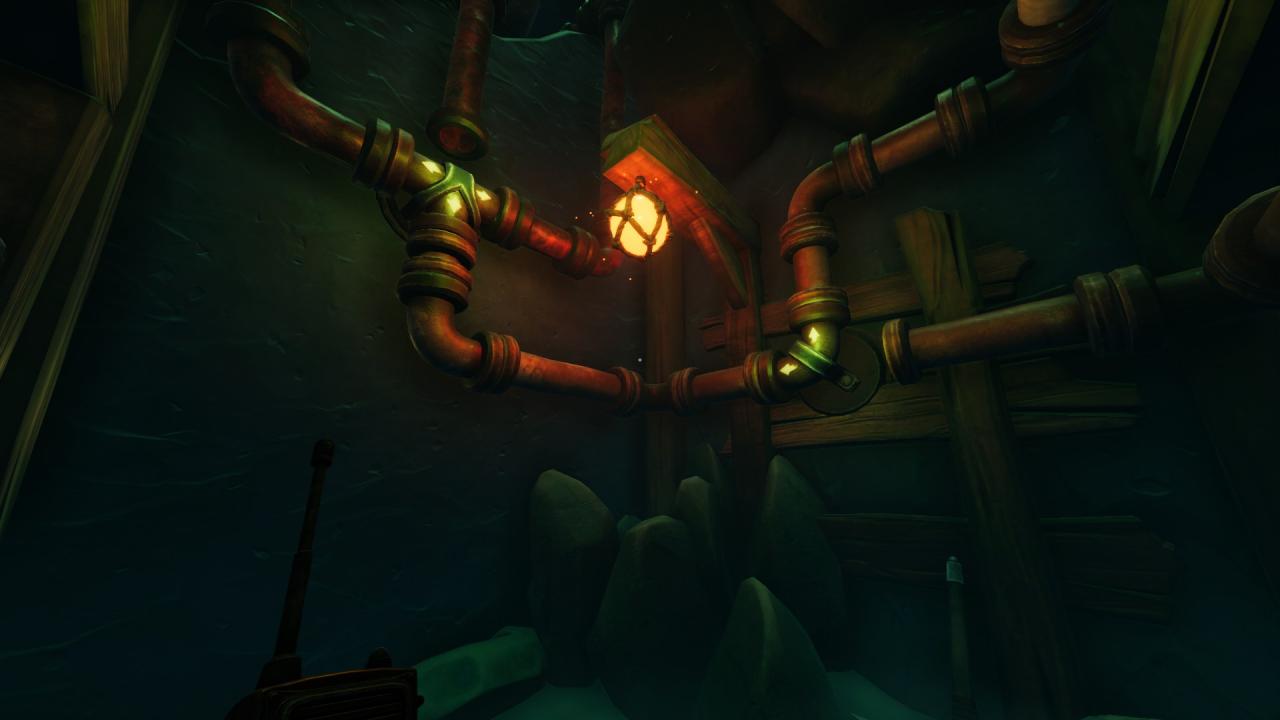
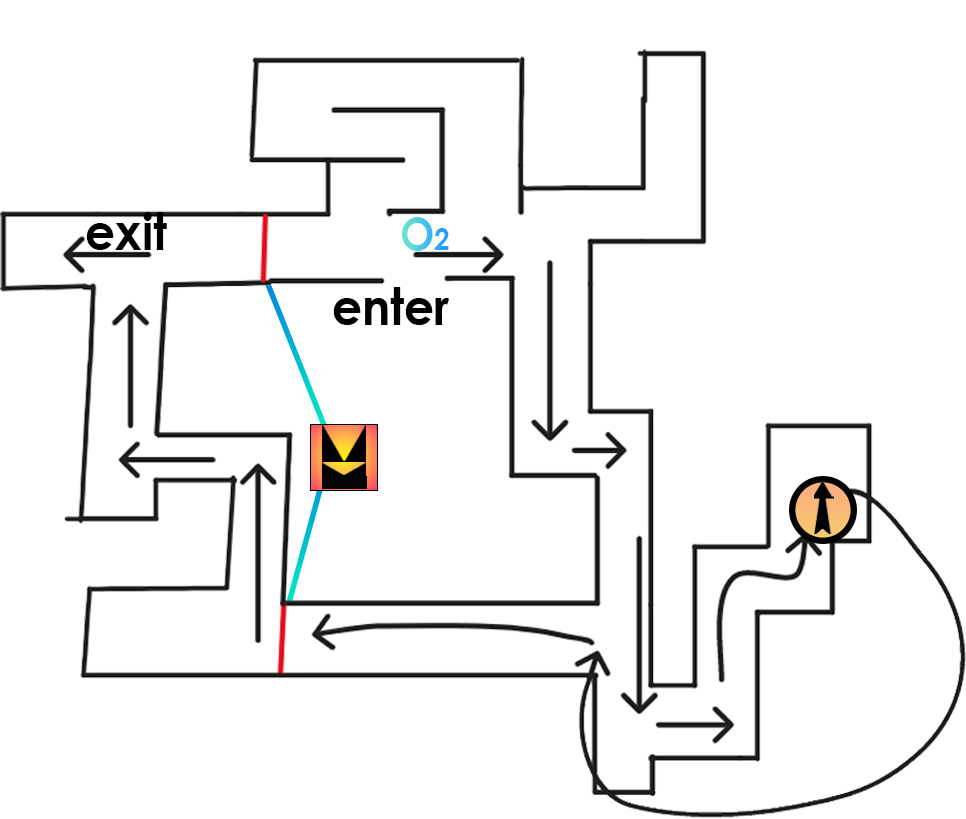
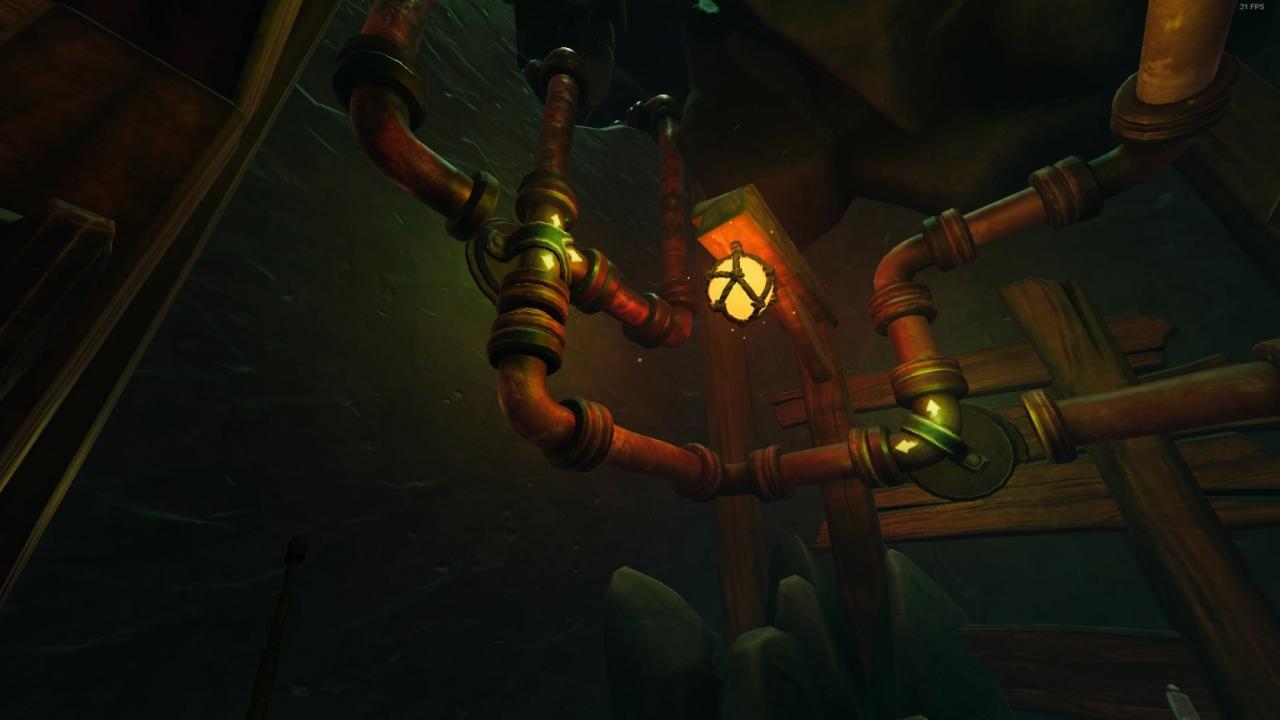

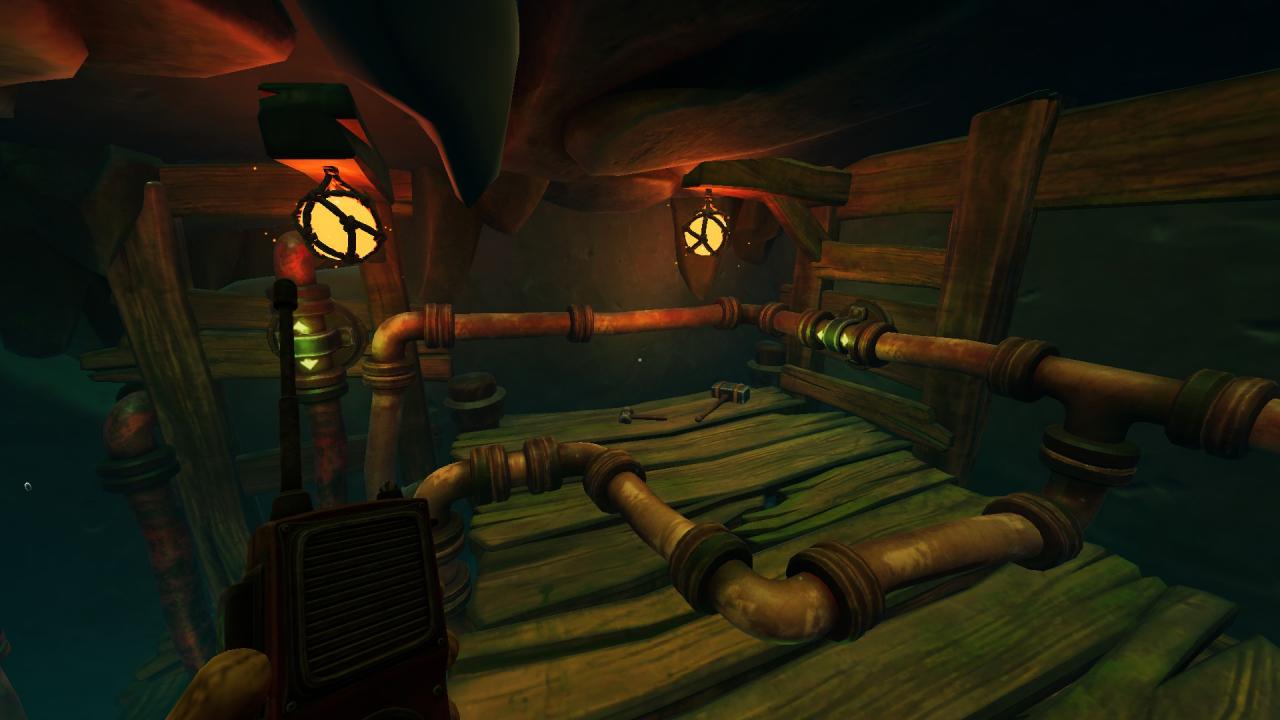
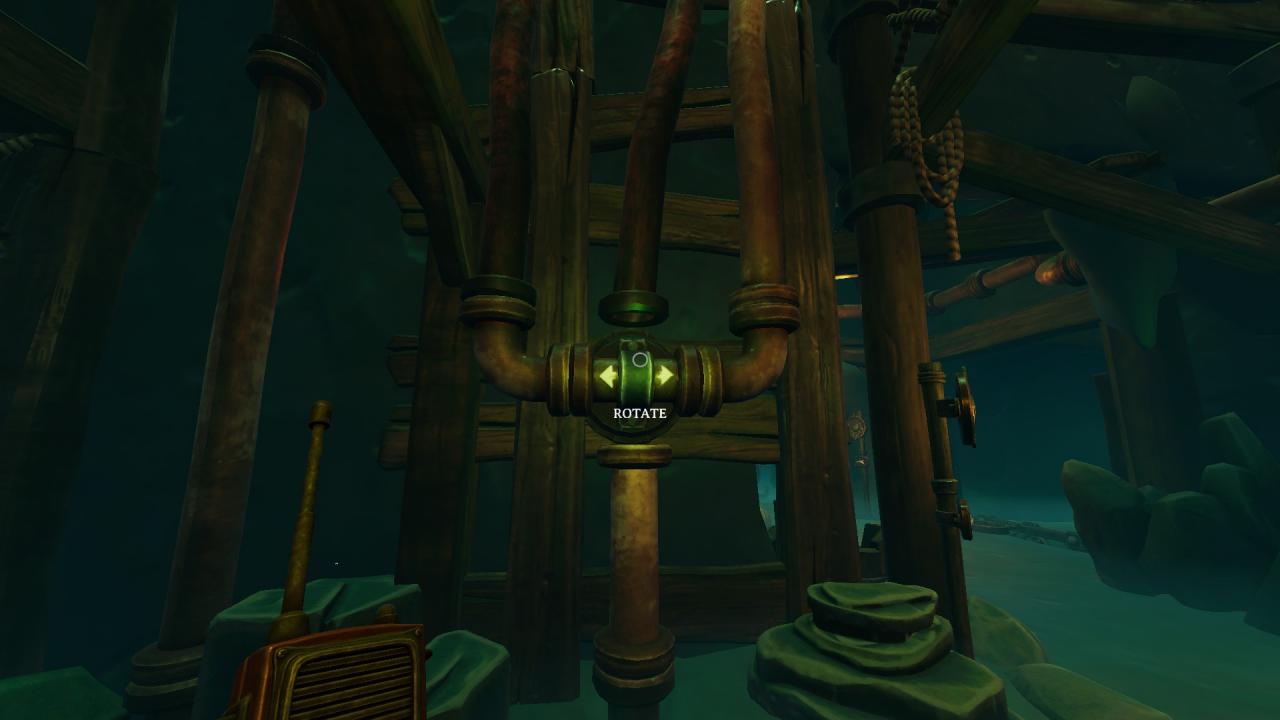
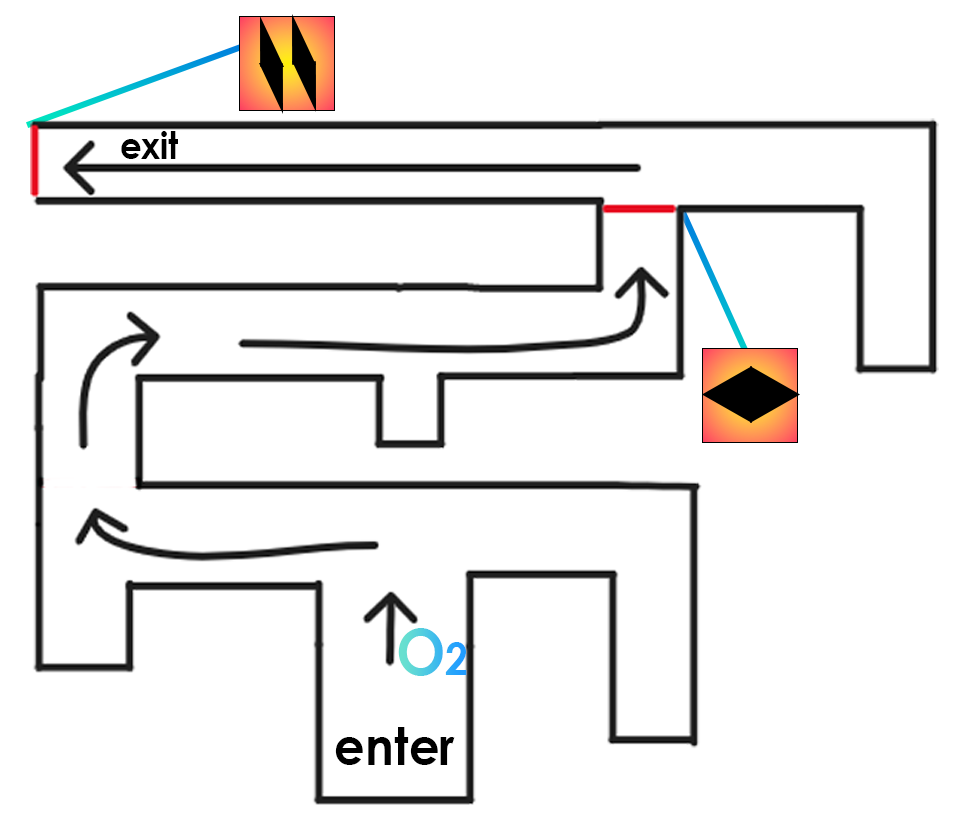
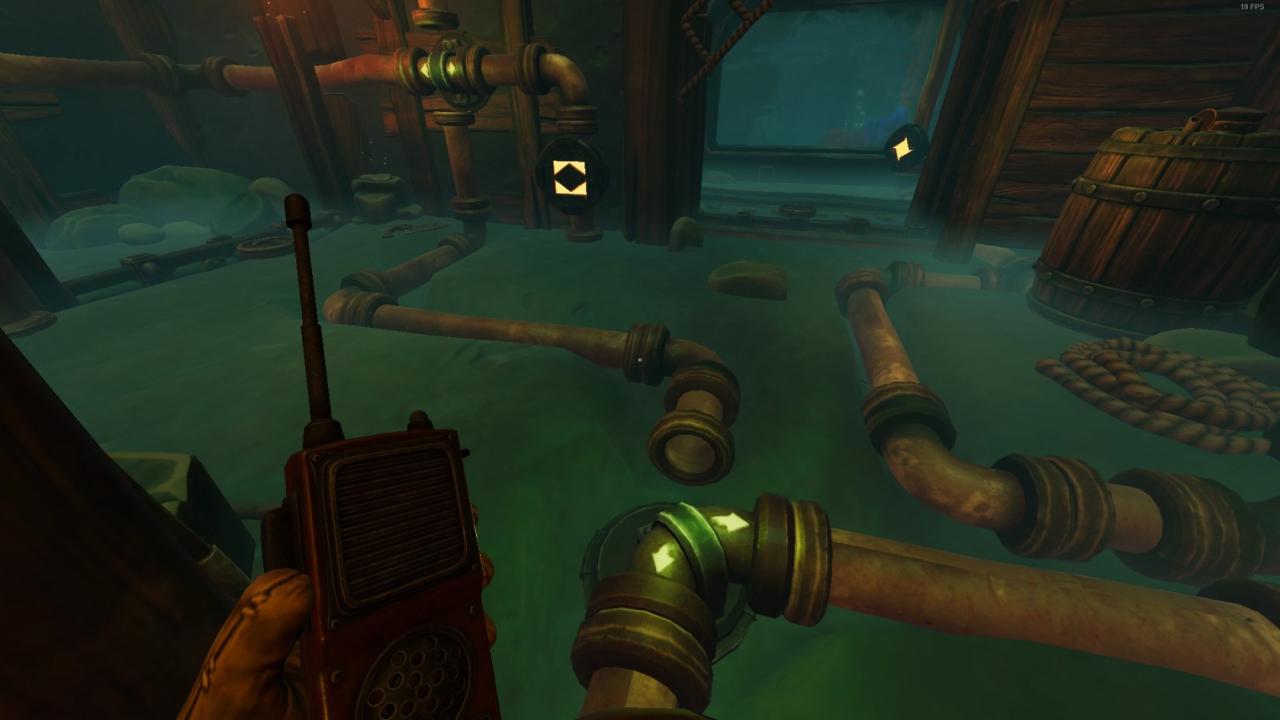
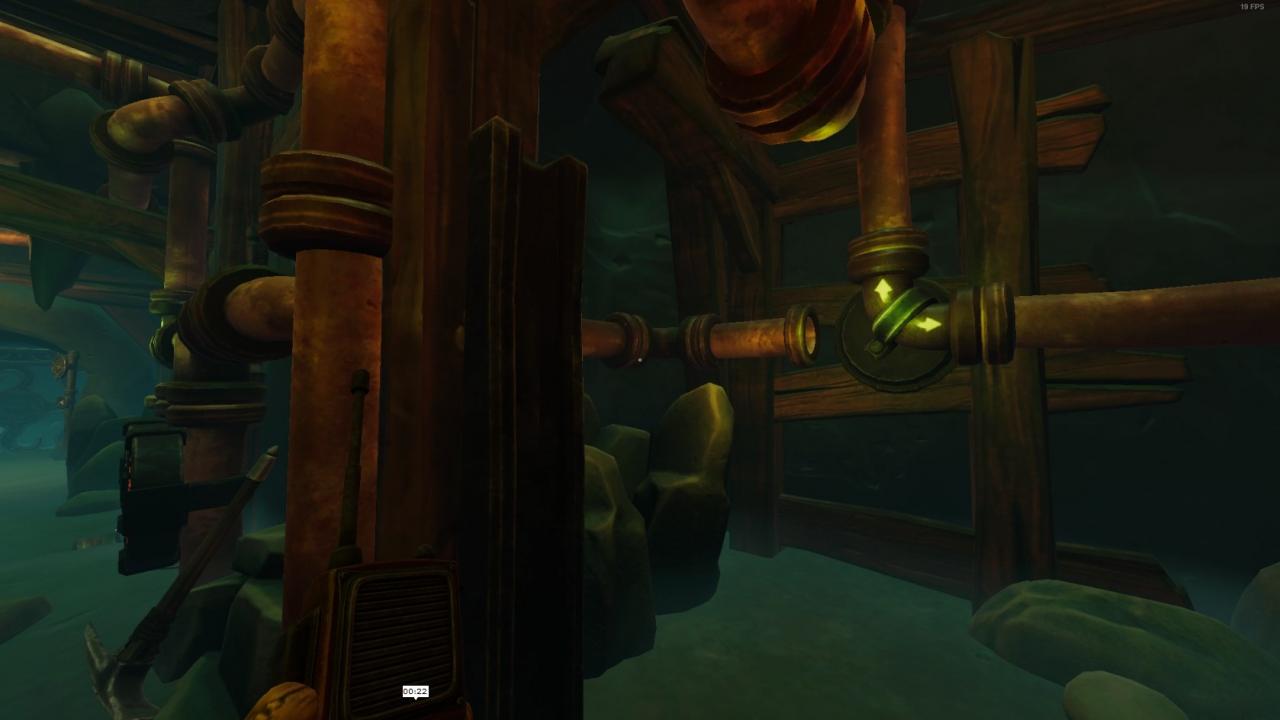
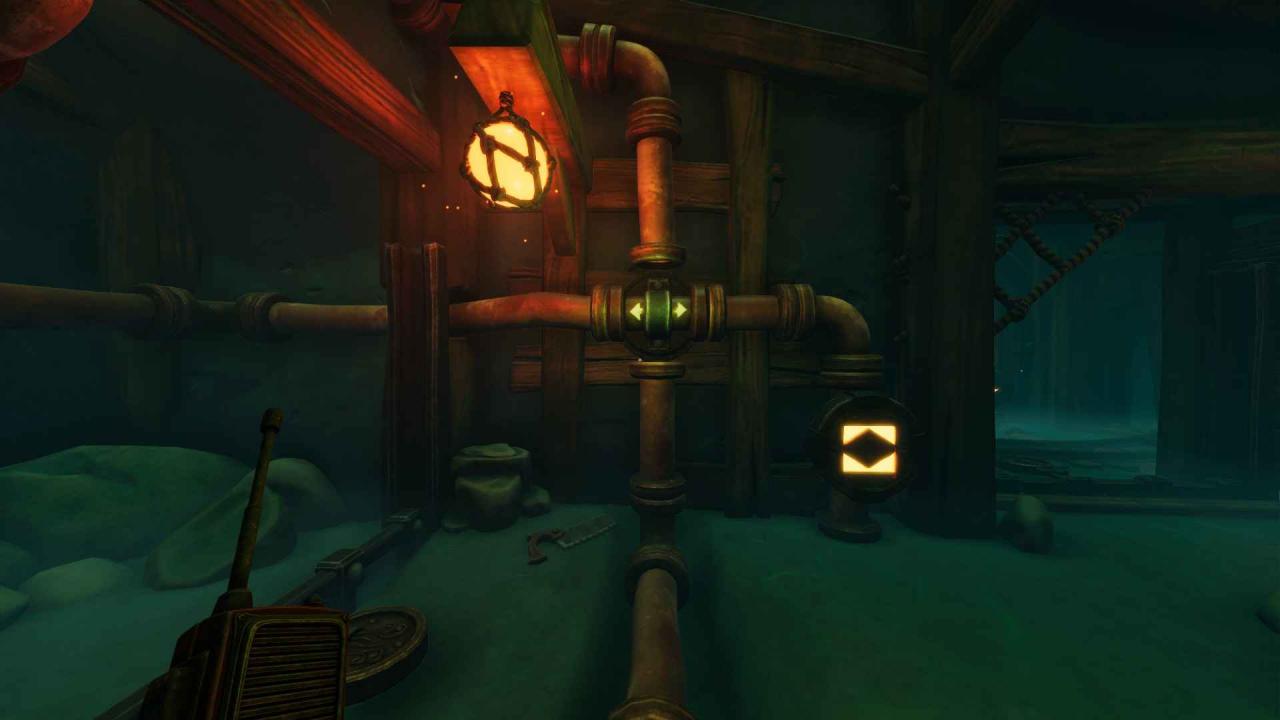
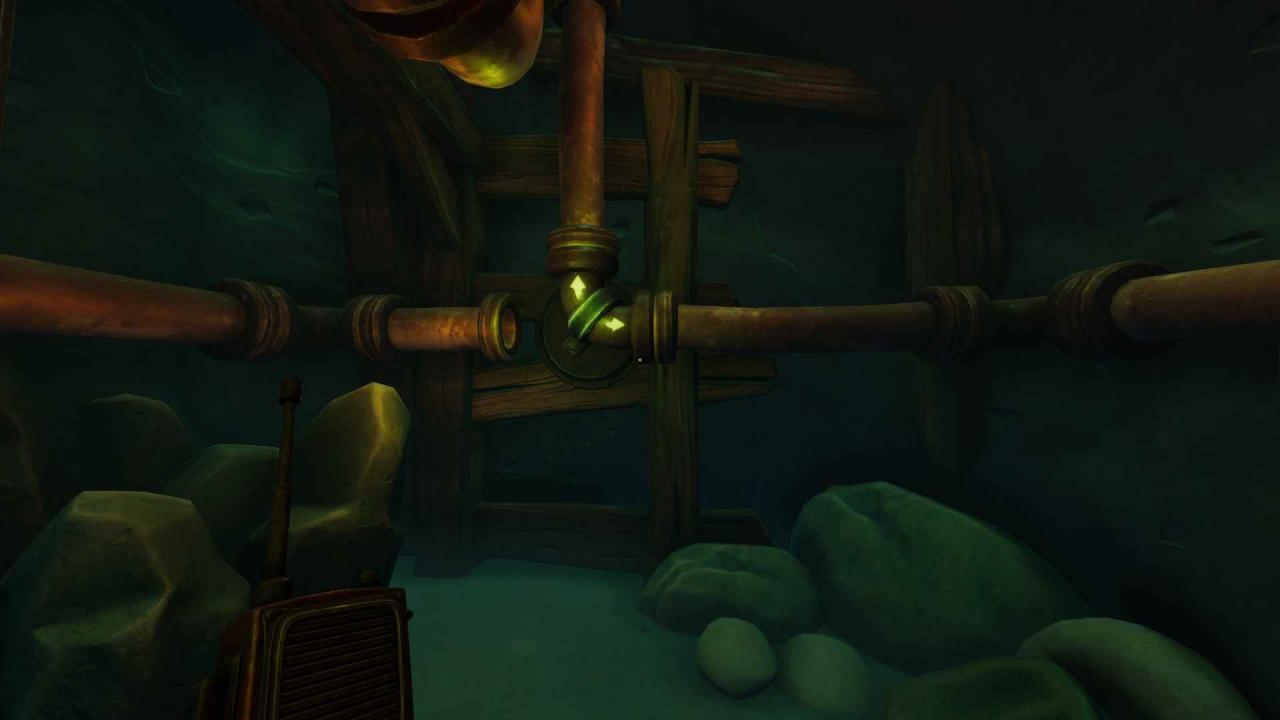
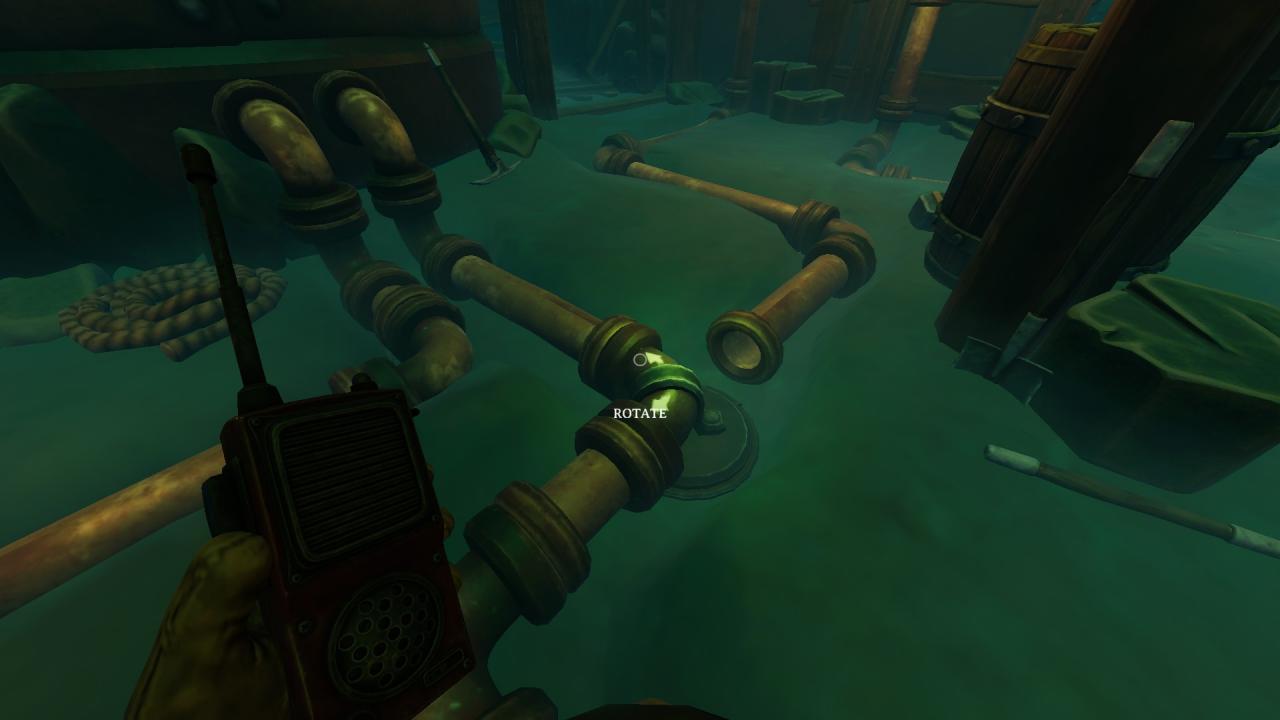
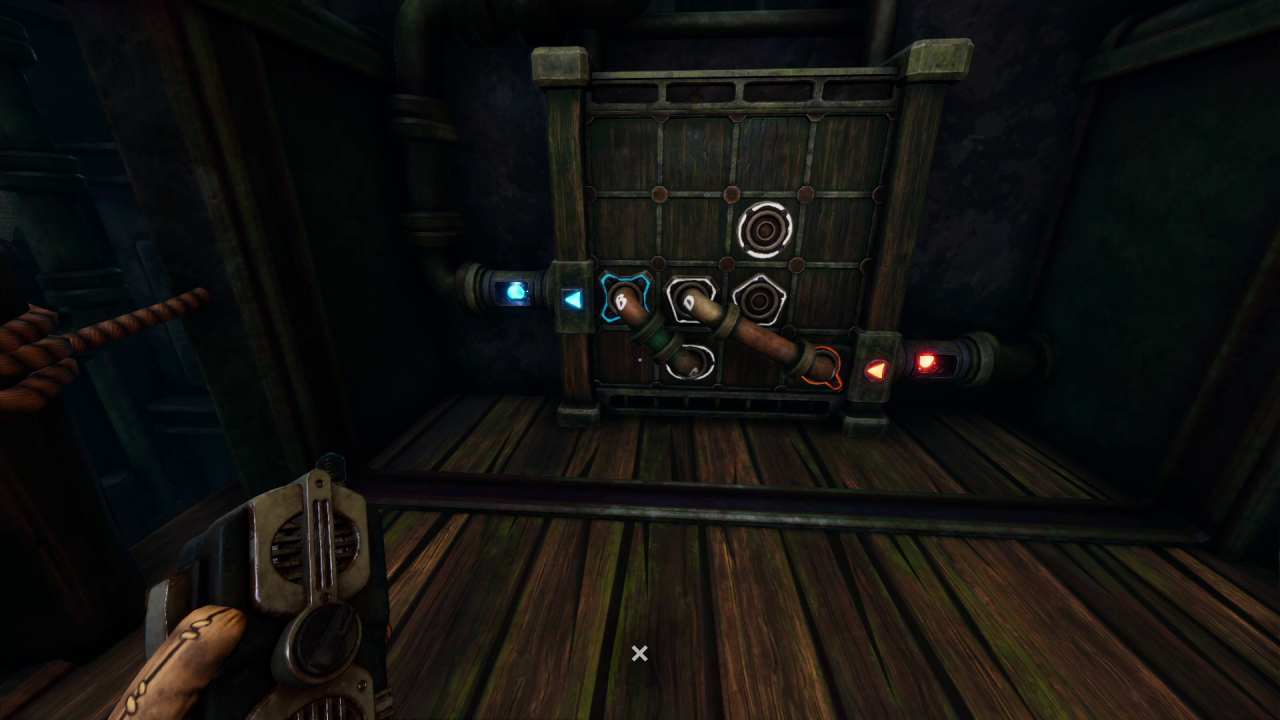
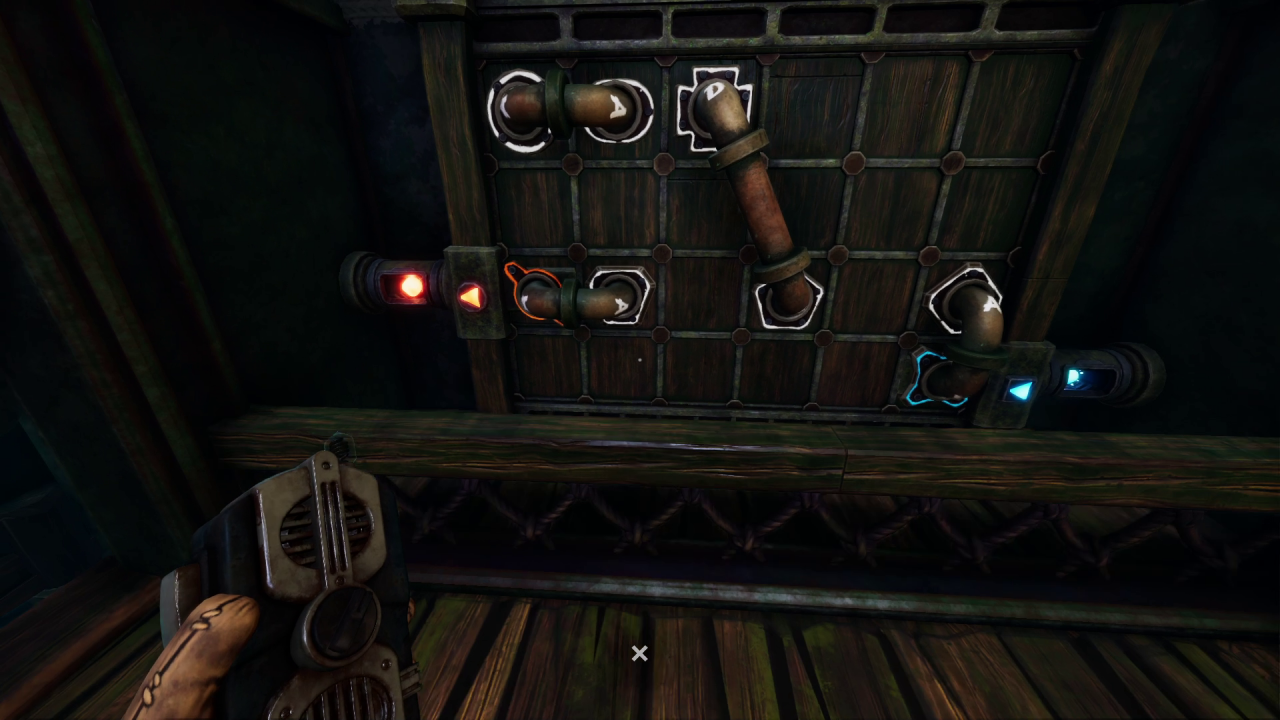
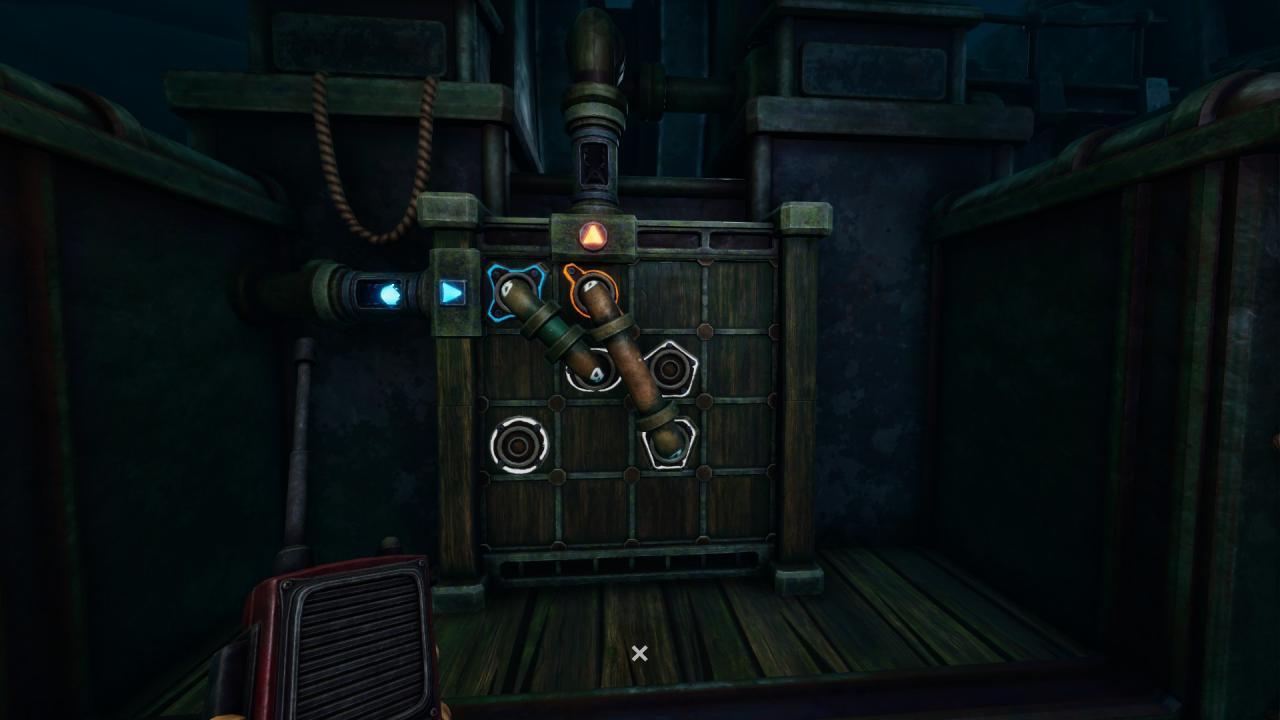 ⠀
⠀
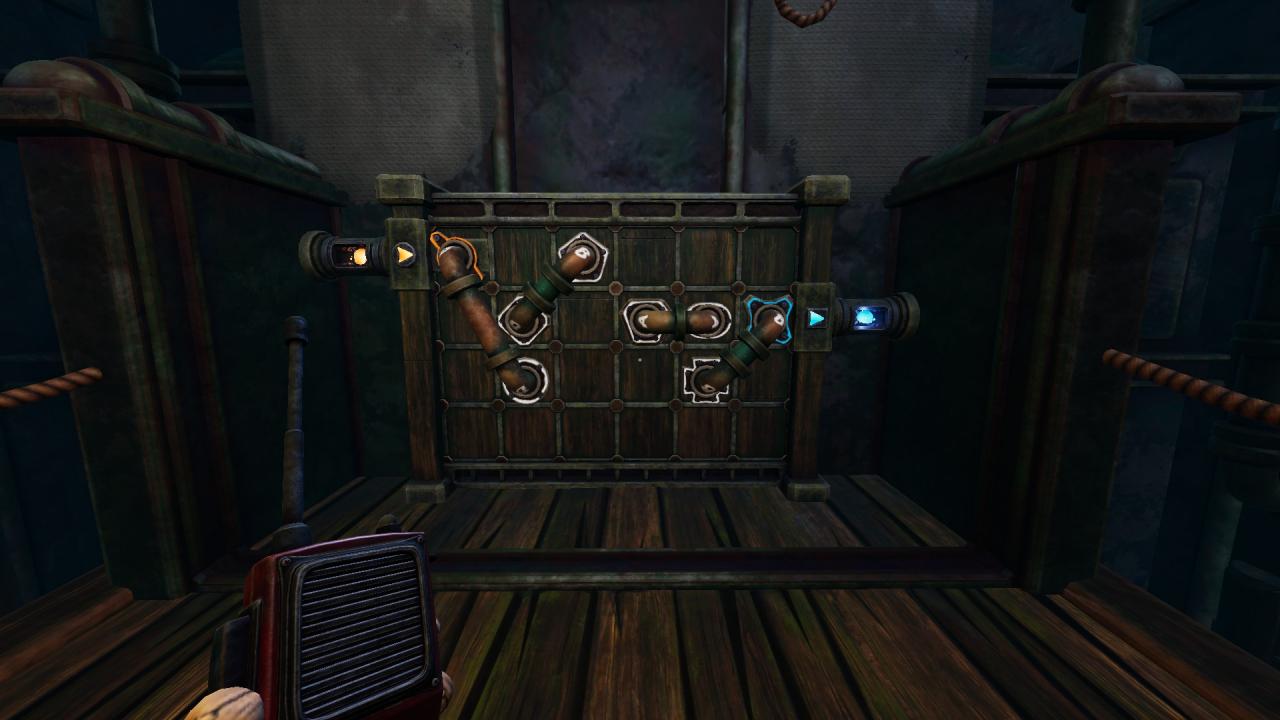 ⠀
⠀
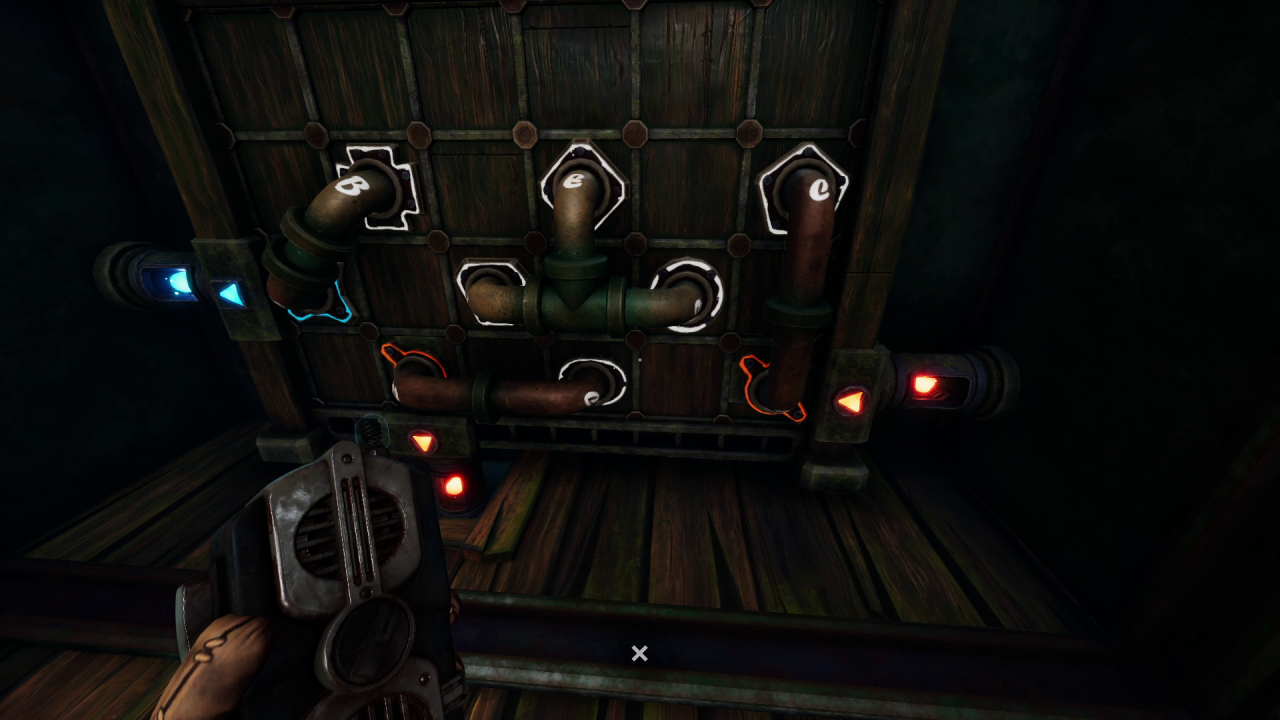
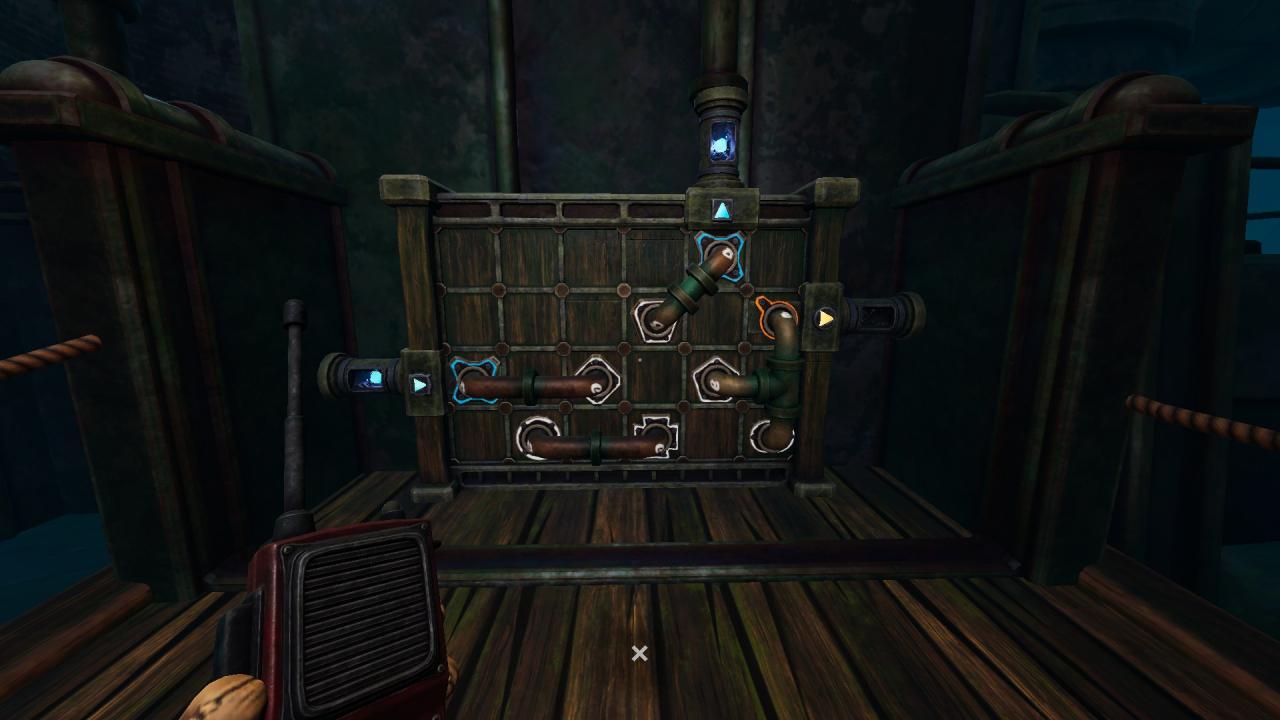
⠀
Send Diamond and amogus Church
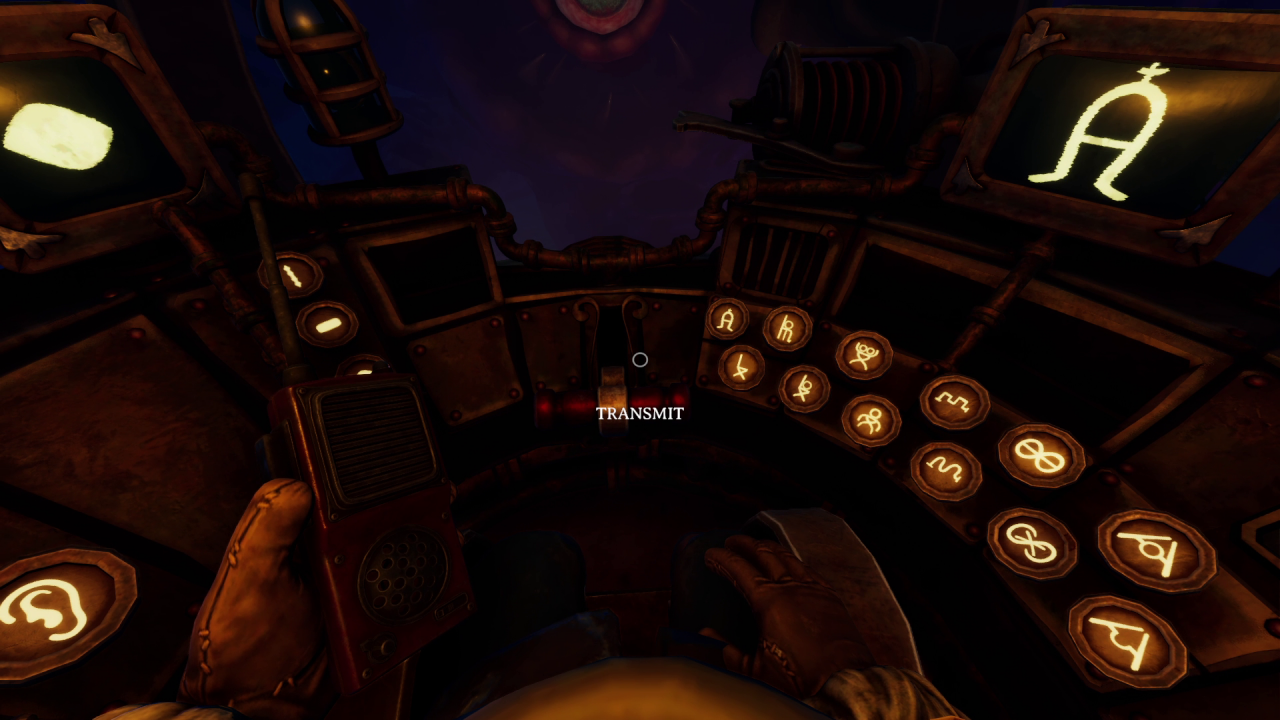 ⠀
⠀
Send Rectangle and Two Head Person
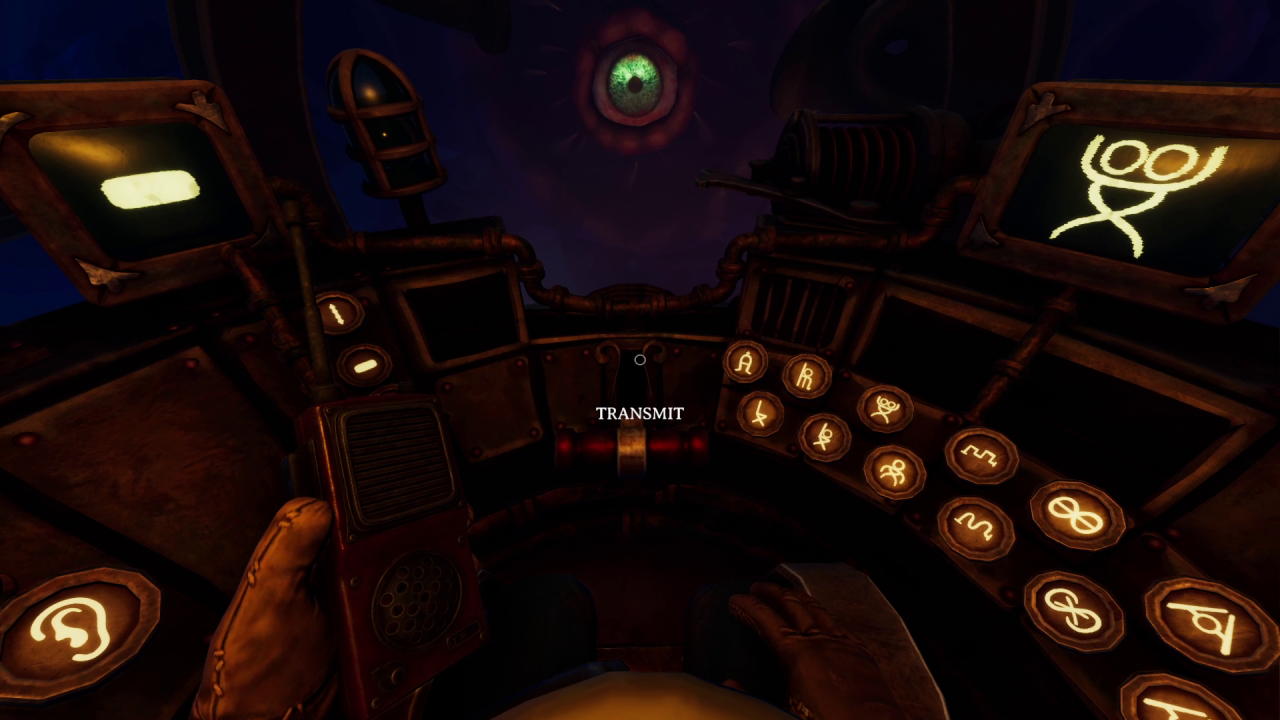 ⠀
⠀
Send Rectangle and Person with the Raised Hand
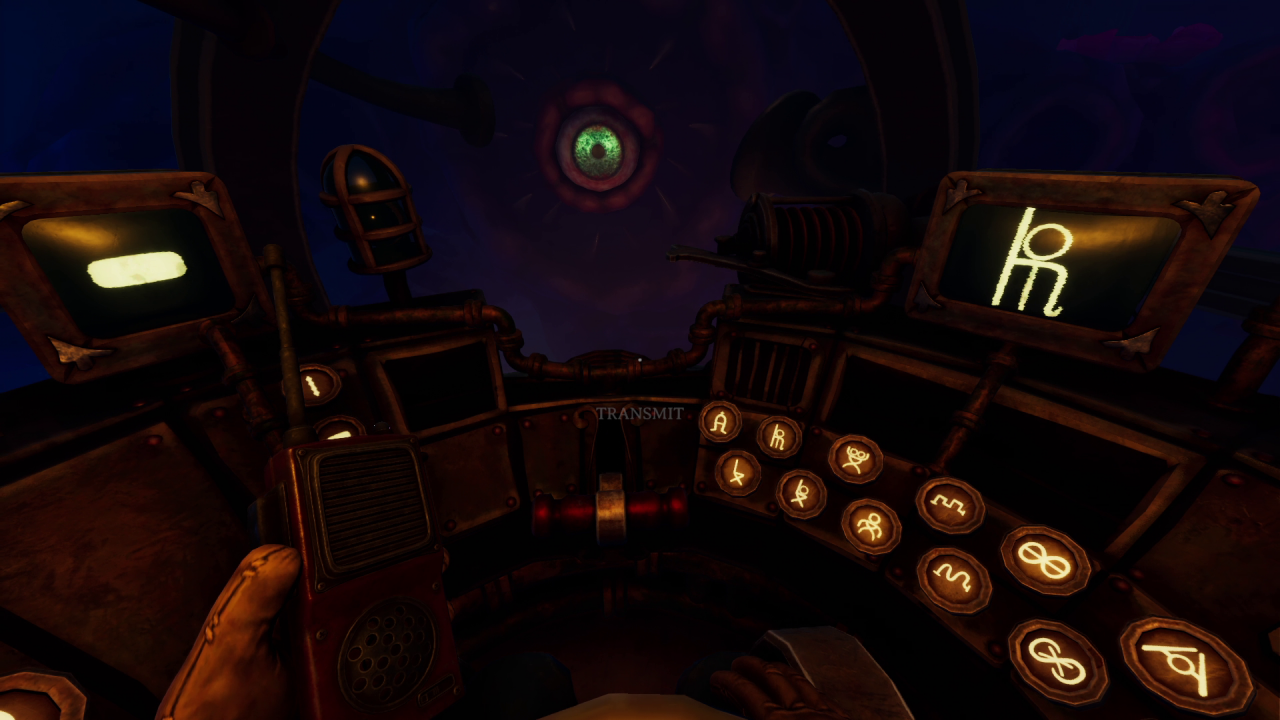 ⠀
⠀
Send Rectangle and Curved Line
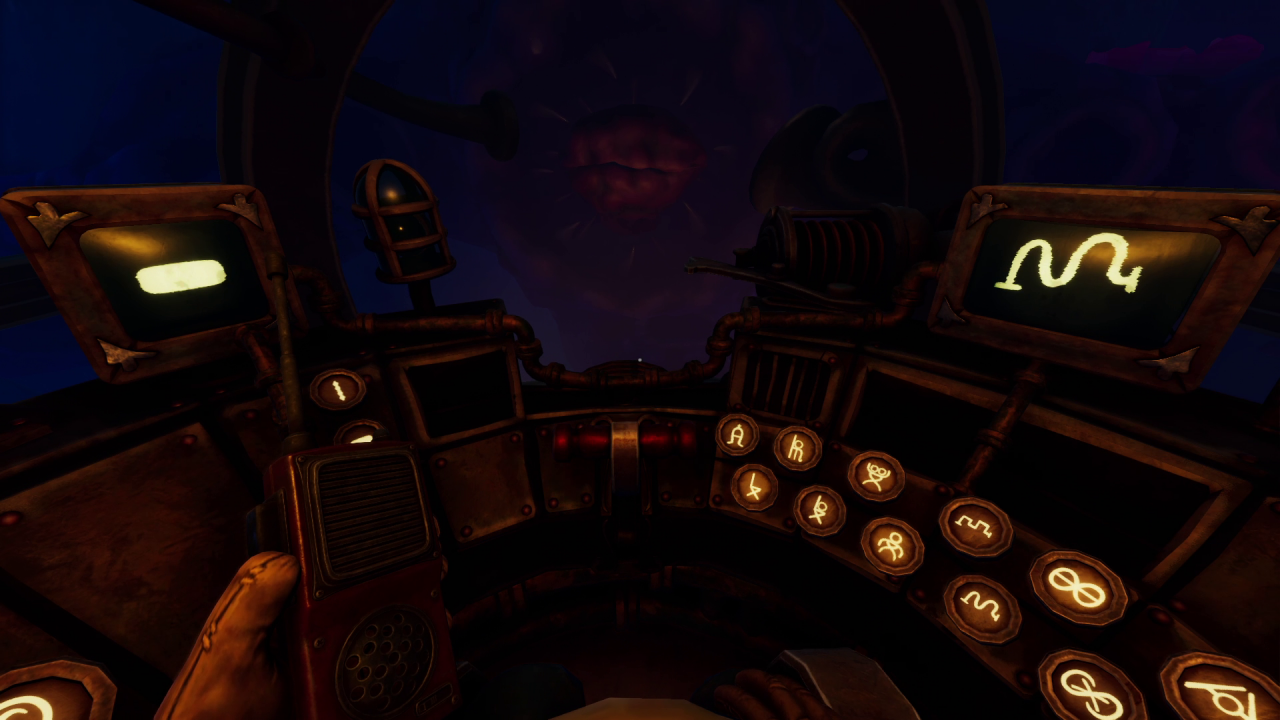 ⠀
⠀
⠀
2 red jars
1 green jar
3 blue cristal
Our stratage to complete was:
Left Player / Right Player
Left Player take plate, fill it with root and send to Right Player
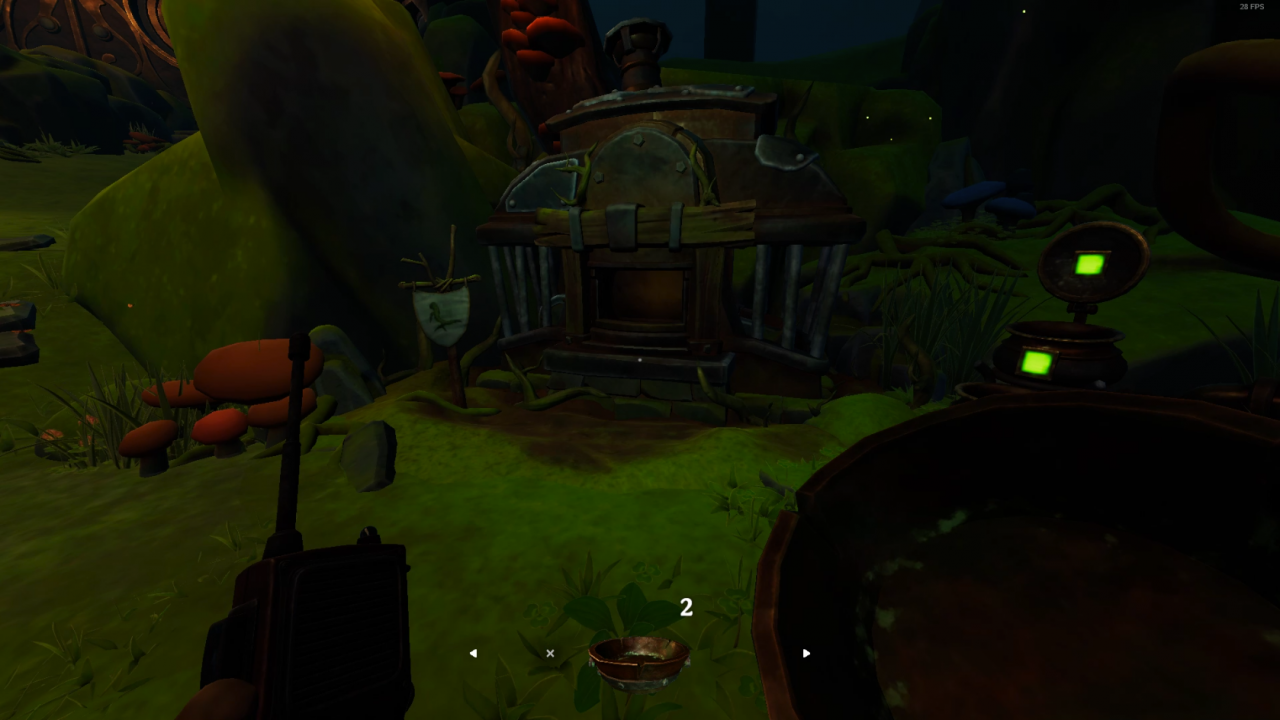
Right Player take green stuff to create cones
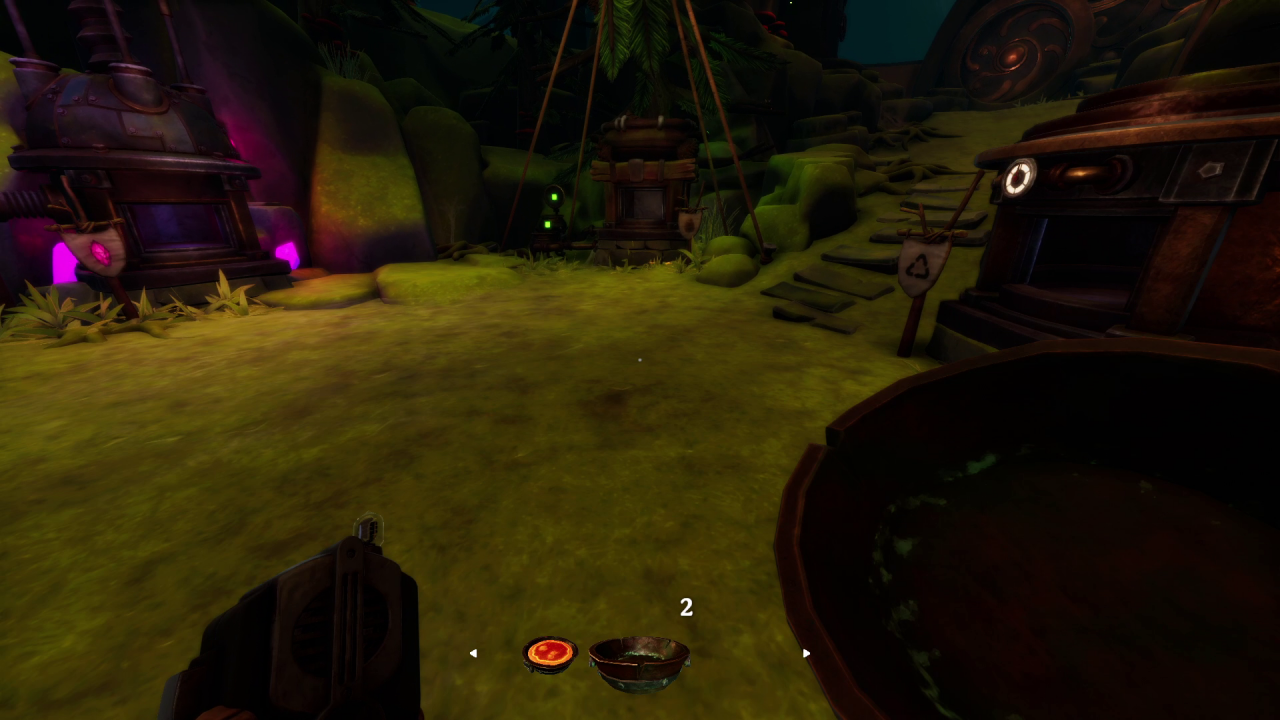
Right Player send 2 cone and 1 clistal and green stuff
Left Player Take [bred and yellow stuff[/b] to grind 2 cones and put cristal
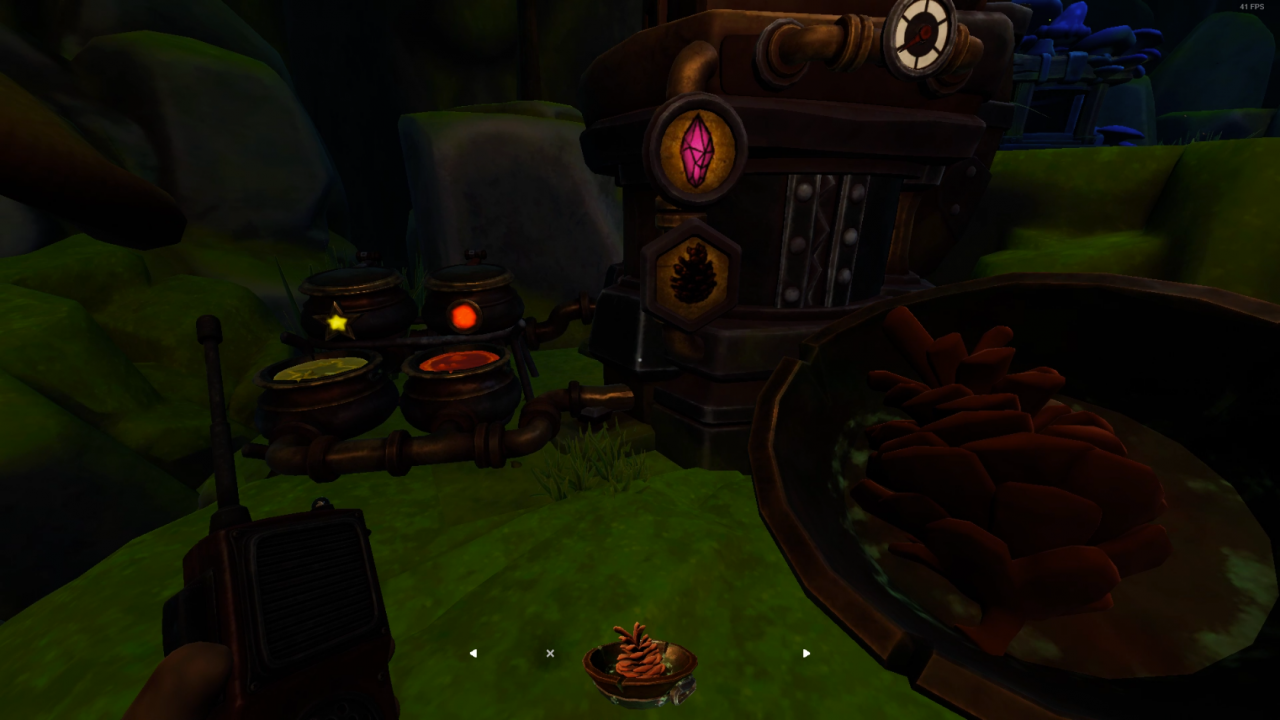
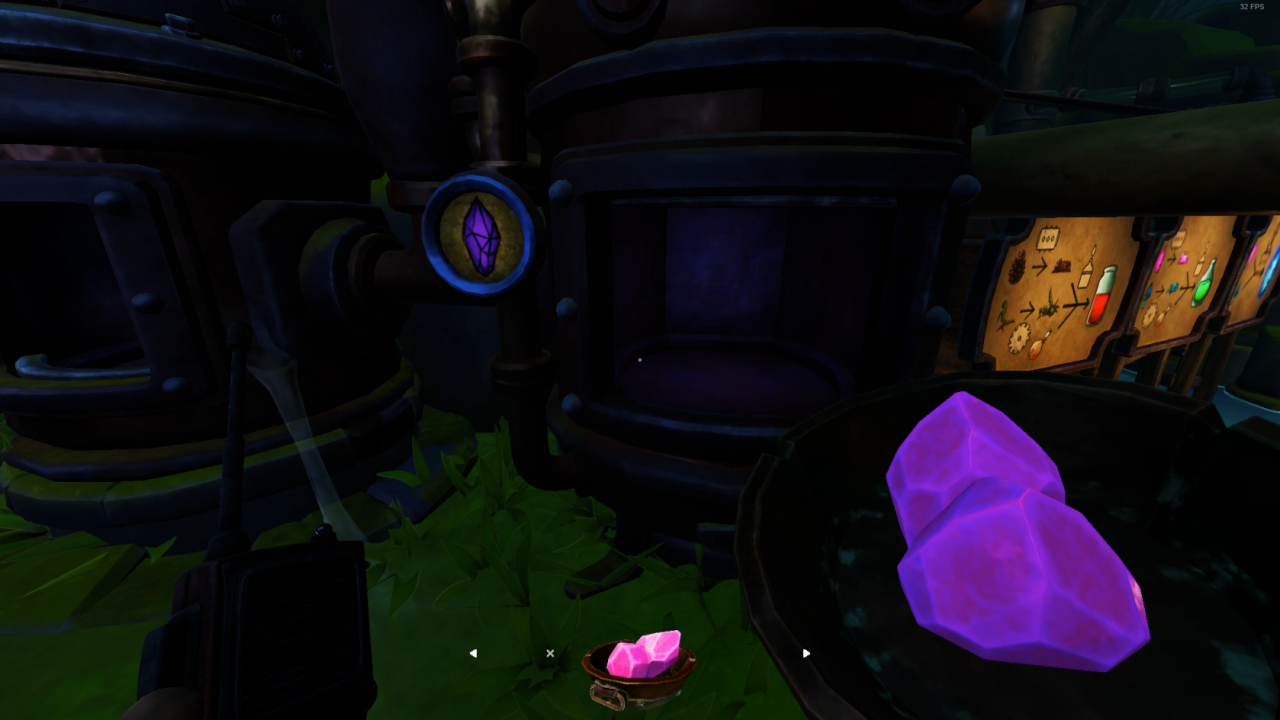 Left Player send red stuff
Left Player take green stuff to create 2 concentrates
Left Player send 2 concentrate and 2 grinded cone
Left Player take green and yellow stuff and mushroom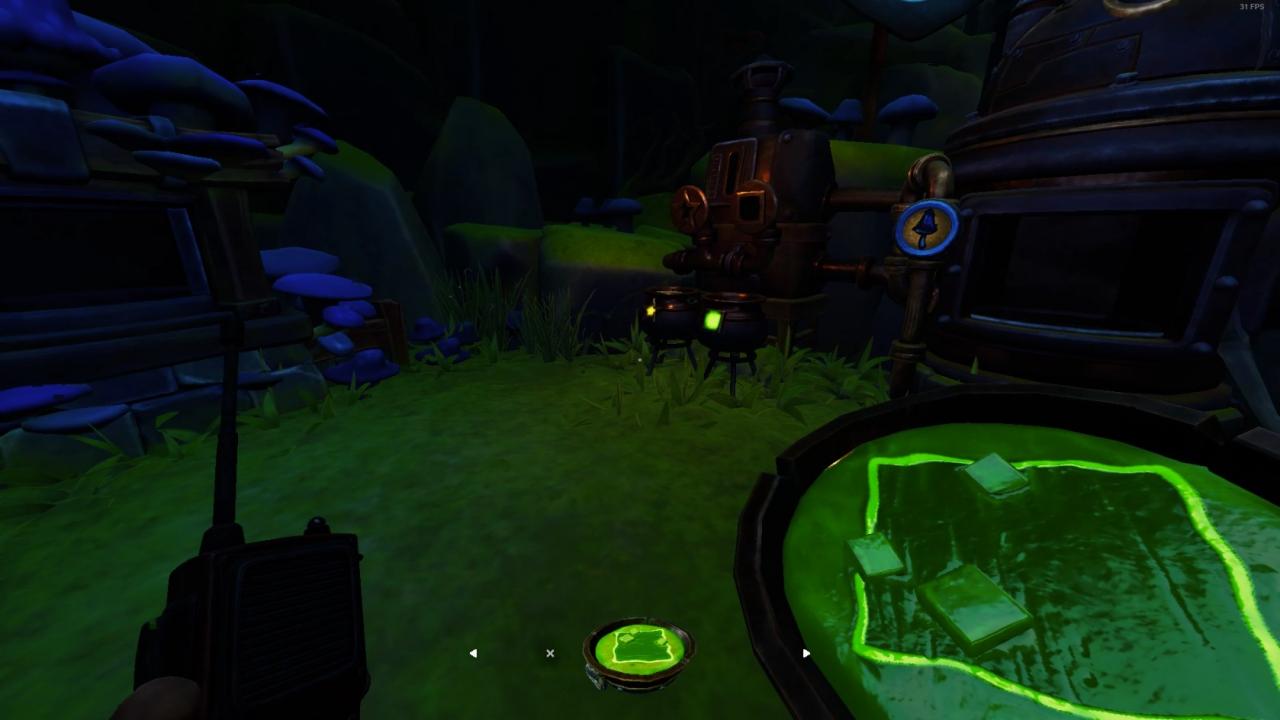
Left Player start cook first blue clistal
Right Player start cutting root
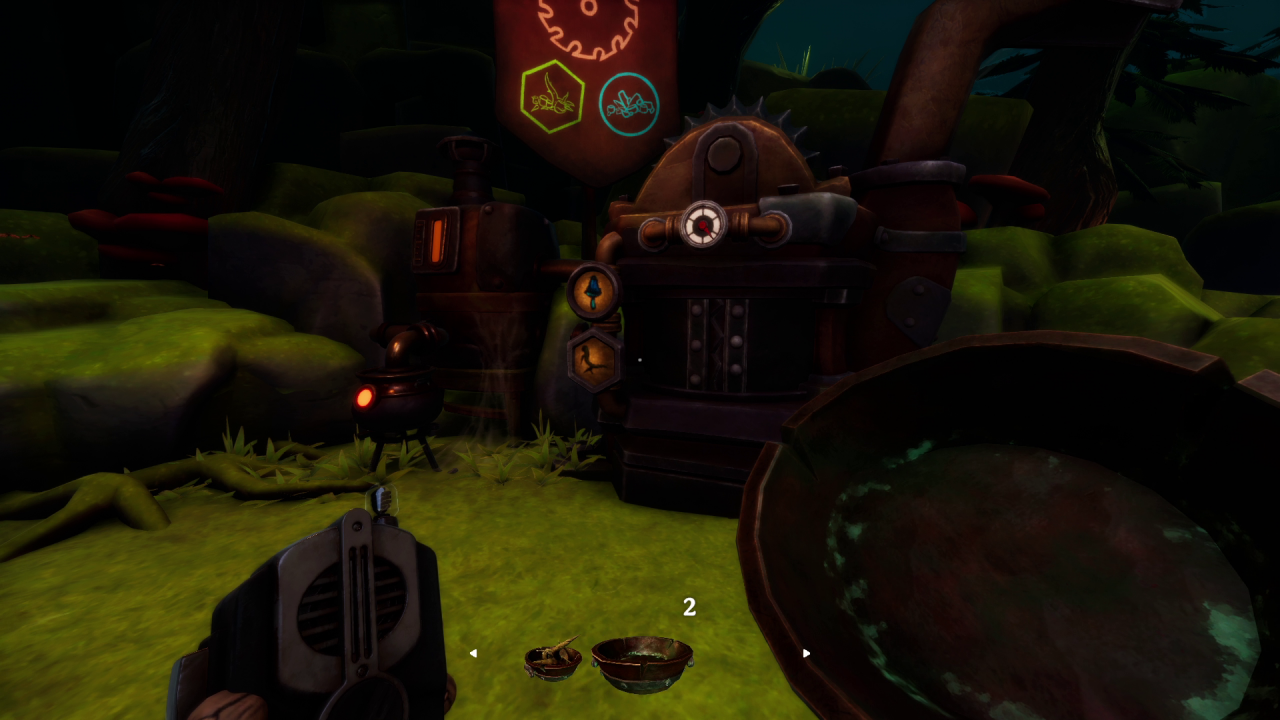
Right Player with all ingredients start cooking 2 red jar
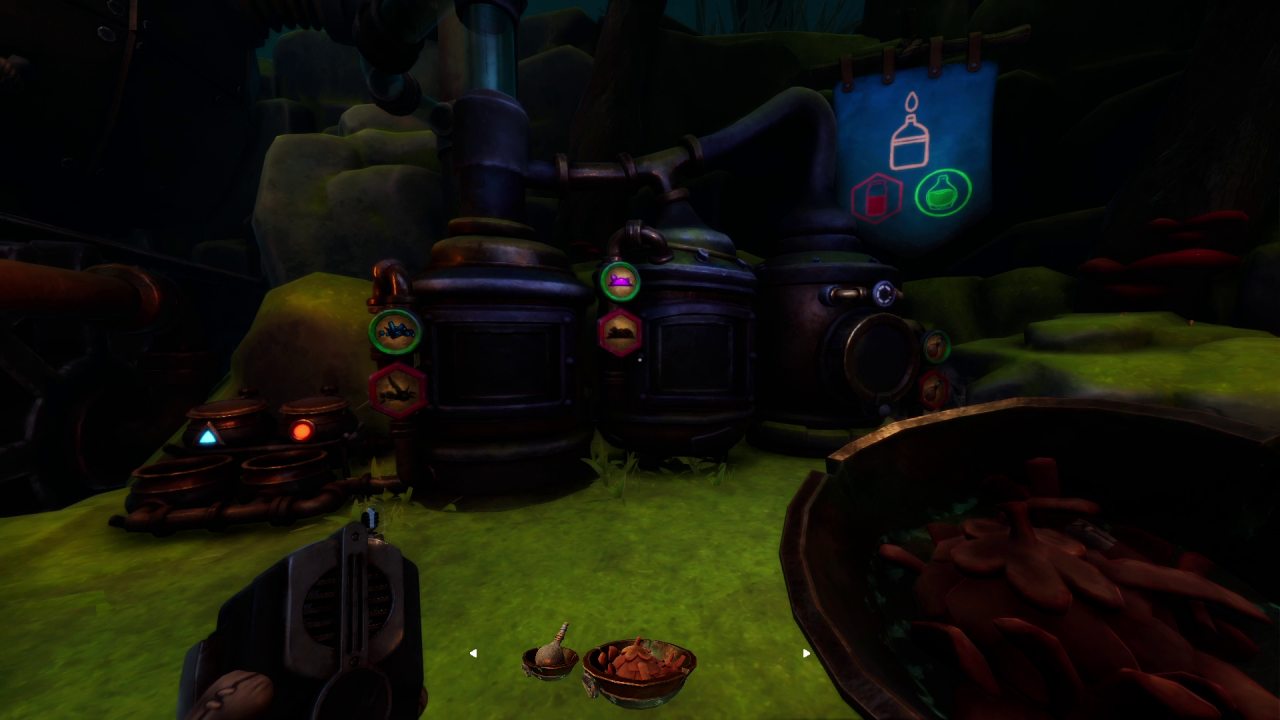
Right Player send 3 cristals and red stuff
Left Player grind 1 cristal and create one more concentrate
Left Player send mushroom, concentrate and grinded cristal
Right Player after cutting mushroom started creating green jar
Left Player create 2 more blue cristal
After all 5 capacities fill Right Player and Left Player press leaver in the middle.
Thanks to Чarlie and Tenzist for their great walkthrough, all credit to his effort. you can also read the original guide from Steam Community. enjoy the game.

