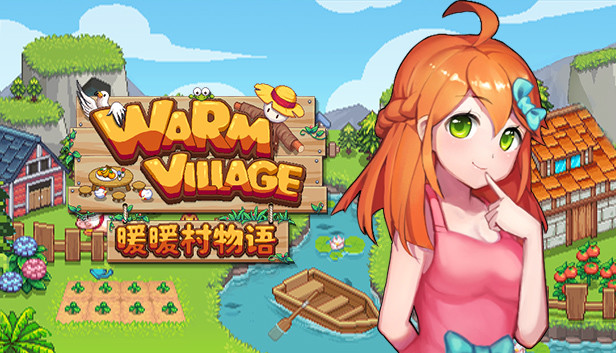
English (revised machine) translation for the game
Requirements
- Unity Assets Bundle Extractor[github.com]
- Extract the zip somewhere (e.g. Desktop)
- Newest Translation archive (Release[drive.google.com])
Translation Notes
- For some reason, some dialogues don’t seem to like the letter `n` or the `space` character and treat them sometimes as line breaks or end of dialogue
- Therefore in the translation files all occurences of `n` are replaced by the unicode character `η` (This might look kinda weird at first but so far its the best solution I found)
- There is a unicode letter that looks exactly like the default `n`, but sadly it does not work ingame
- `space` characters are replaced by the unicode character `four-per-em space`, which looks and work the same
Install
Notes
This install requires overwriting game files, you could either keep backups of the old files or if something goes wrong you can always verify files in steam (Right click game in steam -> `Properties` -> `Local files` -> `Verify integrity of game files…`) which resets all files to their original.
If you have trouble finding the Warm Village folder, right the game in steam, select `Properties` -> `Local files` -> `Browse…`
Step-by-Step Guide
- Extract the downloaded ReleaseXX.rar
- Copy ‘Mods‘ folder to ‘..\steamapps\common\Warm Village\‘ and overwrite at all conflicts
- Open the Unity Assets Bundle Extractor (`AssetBundleExtractor.exe`)
- Click ‘File -> Load Package File‘
- Select ‘WarmVillageEnglishTranslation.emip‘ from extracted translation folder (A window titled ‘Load state from package‘ should pop up)
- Check the box next to ‘Affected assets files‘
- Click the ‘Select‘ button at the bottom and choose the WarmVillage root folder (‘…\steamapps\common\Warm Village\‘)
- Click OK and wait for the file to load (After a while the ‘Assets Info‘ window should pop up)
- Click ‘File -> Save‘ and save it as ‘resources.assets‘ somewhere (e.g on the desktop)
- This might take a while and there is no loading bar so wait until the buttons of the tool are reactive again and do not close the window early by pressing X
- You can close the window (Best through ‘File -> Close‘ to be safe that the saving is finished)
- Copy the new ‘ressources.assets‘ file to ‘…\steamapps\common\Warm Village\WarmVillage暖暖村物语_Data‘
- To overwrite the ‘ressources.assets‘ file you need to have the *Unity Assets Bundle Extractor* closed, otherwise it will block you from overwriting


the link of the google drive doesnt download the file
Updated!