This guide goes over the different attacks used by the Lord of Change, along with some strategies for dealing with both them and it. I see that there are a lot of people that have a bit of trouble with this miniboss, but the fight is actually quite manageable on any difficulty if you know how to approach it. The biggest obstacle is probably not understanding how its attacks work.
Introduction
This guide goes over the different attacks used by the Lord of Change, along with some strategies for dealing with both them and it.
The Lord of Change has a set number of attacks which are telegraphed and behaves in a very predictable manner. There appears to be a pretty standard priority/cooldown system in place allowing you to manipulate its behavior. The telegraphs are relatively subtle, and I do wish there were audio cues for them. I think that one change would make these fights reasonably manageable.
The referenced video shows examples of kills using the referenced strats. All fights recorded are from Exterminatus difficulty. All but the Vortex Grenade method have the adds cleared first for speed and simplicity. Taking them out is pretty trivial, since the Lord of Change does not actively engage the player without line of sight. So the side areas can be used to bottleneck and clear everything first.
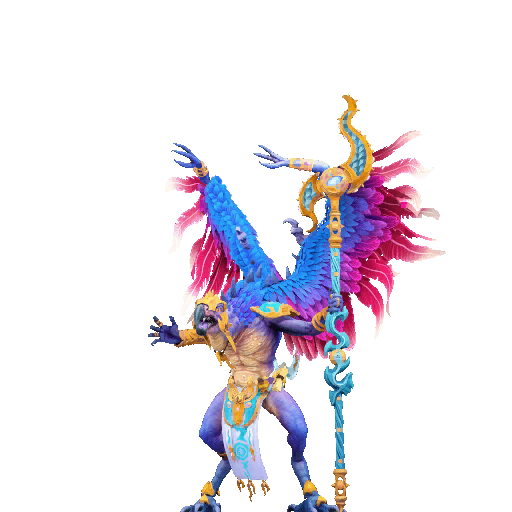
Lord of Change Attack List
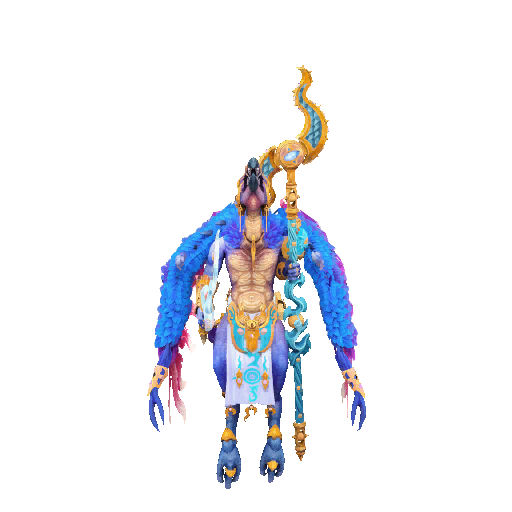
1. Teleport: The LoC teleports to a different place on the battlefield. There are a few things to note here. This “attack” will only trigger if the LoC has line of sight to the player. It also appears to have a random cooldown between uses, though with a minimum high enough that it will go through at least one rotation of abilities.
This serves as a good “reset” for the LoC’s behavior, as maintaining cover for long enough allows you to be confident that the first thing it will do is teleport once it sees you.
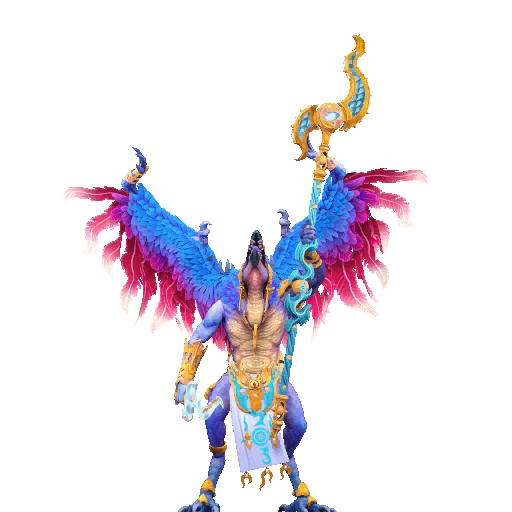
2. Staff Fireburst: The LoC raises its staff and shoots slow-moving fireballs in all directions, each of which have minor splash damage. Breaking line of sight does not cancel this attack. This is its least dangerous attack and leaves it open for a burst of damage. One strategy for killing a LoC without taking damage is to trigger a teleport, find it and damage it during this attack, then go into cover for long enough that its next move will be to teleport again.

3. Pink Hellfire: The LoC sheathes its sword, puts its arm forward, then raises it and starts dealing ticks of undodgeable damage to the player. Breaking line of sight will cancel the cast, or the effect once started. Note that to cancel the cast, you need to be out of line of sight when a tick of damage would occur. It’s possible to duck into cover too briefly and fail to cancel the effect.
You have a choice here. You can cancel the cast, which does not put this ability on cooldown. That means the LoC will repeatedly attempt to do this attack again and again until Staff Fireburst or Teleport come off cooldown. If you wait for pink aura on the LoC’s hand, you will take at least one tick of damage. But doing so will put this ability on cooldown, leading the LoC to do up to 2 dodgeable Blue Fireball attacks (see below) before Staff Fireburst comes back up.
4. Blue Fireball: The LoC sheathes its sword, puts its arm forward, then throws a faster-moving blue fireball at the player with some splash damage. Line of sight does not cancel this attack or cast. But breaking line of sight is not recommended, as this dodgeable attack is a good opportunity to deal damage to the LoC. The windup of this attack looks extremely similar to Pink Hellfire up until the last frame, so you will have to keep track to know the difference. Alternatively you can briefly break line of sight during the cast, which will break only if its the Pink Hellfire.
5. Movement: If outside of the line of sight of the player, the LoC will shuffle briefly and stop to face the player. This may be repeated until line of sight is acquired, though sometimes the LoC will stop moving. If it stops moving, its hitbox is wide enough that the player can damage it without technically having line of sight for a free no-damage kill.
Lord of Change Rotations/Strategy
Note: While it’s possible to have Staff Fireburst on cooldown through a teleport so that the starting attack is the Pink Hellfire, that’s exceedingly rare. To the point where I’ve never had it occur when purposefully drawing out the teleport.
Method A: One Tick Cancel
Teleport -> Staff Fireburst -> Pink Hellfire -> Blue Fireball -> Blue Fireball -> Staff Fireburst -> …
This is the most direct way to deal with a LoC, and the two Blue Fireballs followed by a Staff Fireburst form a pretty long time that the player can burn down the LoC. All you need to do is way for the pink aura to show and take one tick of damage before breaking line of sight. The one drawback is that it involves taking a tick of damage, which will take off around 50 armor on the highest difficulty.
Method B: Peekaboo
Teleport -> Staff Fireburst -> Pink Hellfire (Repeated)
This is a little bit of a more intensive no damage strat, requiring some focus on the LoC when you’re not always facing them alone. For this, break line of sight during the cast instead of waiting for the pink glow on the LoC’s hand, and stay out of line of sight for around a second. The biggest risk here is that you accidentally take one tick of Pink Hellfire damage anyways, but just before a teleport so you don’t get the full window to damage the LoC.
Method C: Hide to Reset Teleport
Teleport -> Staff Fireburst
This is decent strat if you’re dealing with adds alongside the LoC. Spend time clearing the adds, coming out every so often to shoot the LoC while it teleports. Then find it and keep on damaging it as it does its Staff Fireburst attack, afterwards retreating to cover to go back to clearing adds.
Method D: Line of Sight Cheese
None
Generally in the first fight if you focus on the adds first, you’ll often end up with the LoC alone and unmoving. That will allow you to kill it without getting into line of sight. Cheap, but it technically works.
As an alternative, cleaning up the adds then fighting the LoC normally also works fine. The LoC’s passivity means that you have ample opportunity to get it alone, at least until later fights feature infinitely respawning adds.
Method E: Vortex Grenade Burndown
None
If you’ve got a Vortex Grenade, you can toss it on the LoC first thing and immediately break line of sight. Since it doesn’t teleport without line of sight, it will take the entirety of the damage here. Combining this with the burst from a Machine Spirit Plasmagun allows you to kill the LoC before it can even damage you. You don’t even need to clear the adds first, for all of the 10 seconds the engagement lasts.
Thanks to precursor for his excellent guide, all credits belong to his effort. if this guide helps you, please support and rate it via Steam Community. enjoy the game.
Related Posts:
- Warhammer 40000: Boltgun – Great Unclean One Attacks/Strategies (Exterminatus Difficulty)
- Warhammer 40,000: Boltgun – 100% Achievement Guide
- Warhammer 40000: Boltgun – Machine Spirit Upgrade Guide