A quick guide on making your own doors and keys for a map using the “Simple doors & keys” mod
Basic information
This is a quick guide on how to make your own doors and keys for a map, using my mod (Simple Doors & Keys).In this guide you will see me using Notepad++. It isn’t necassery but it can make your life easier, alternatively you can you use any text editor you prefer.
Download Notepad++ here[notepad-plus-plus.org]
If you need any help or have some questions, visit my discord server:
https://discord.gg/vETzHtsdrd
⠀⠀
Step #1: Locating mod files
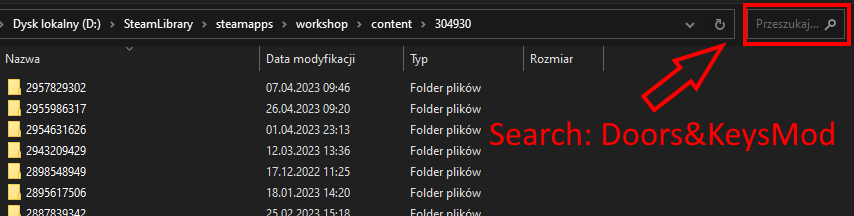
After subscribing to the mod, you have to find it’s files.- Firstly find your SteamLibrary folder on your computer and got to:
\SteamLibrary\steamapps\workshop\content\304930
⠀⠀
 ⠀
⠀– “304930” file contains all mods that you’re subscribed to. You will see a bunch of folders named with random numbers. To make things easier search for “Doors&KeysMod”
 ⠀
⠀
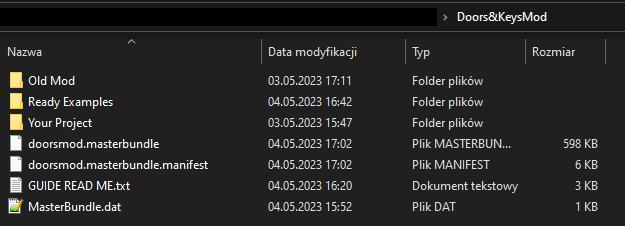
– Inside of “Doors&KeysMod” you will see a bunch of files and folders.
We will only focus on two folders: “Ready Examples” and “Your Project”. You can delete “Old mod” folder if you weren’t using the old version of the mod.
In the first one you will find examples of ready doors and keys that you will copy and paste in the second folder and modify to your requirements.
 ⠀
⠀
– Now copy the “Doors&KeysMod” folder and put it in your map’s “Bundles” folder.
If you don’t have the bundles folder in your map files yet, just create a folder name “Bundles” inside of your map folder. In this folder you will put all your custom mods.
Now we will create your own doors and keys.
⠀⠀
Step #2: Creating own doors & keys
This section will be split into three parts:
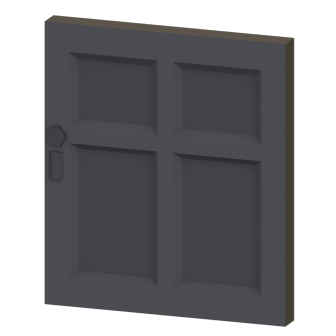
A – Creating door without any requirement
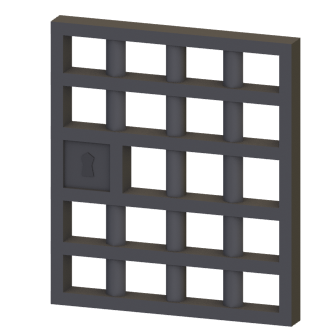
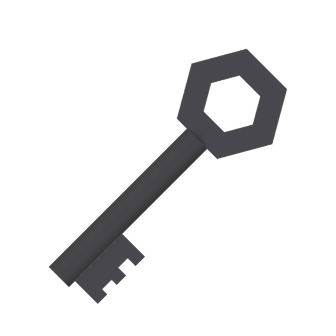
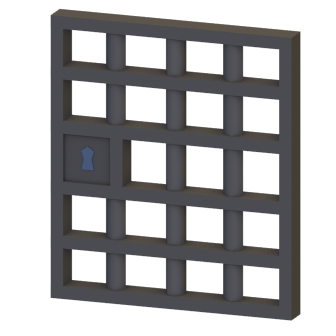
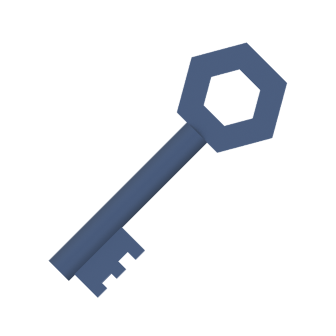
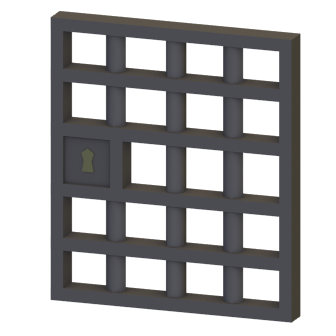
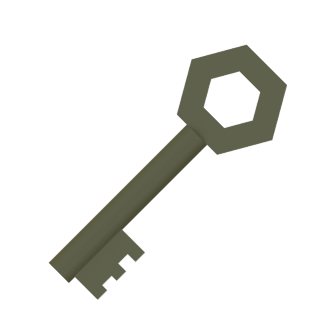
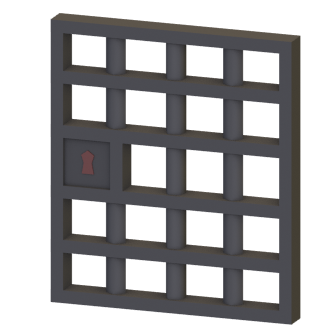
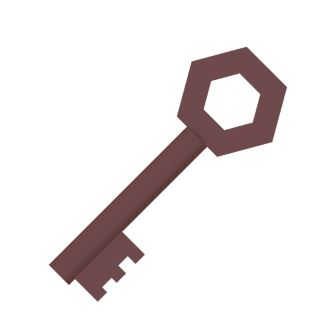
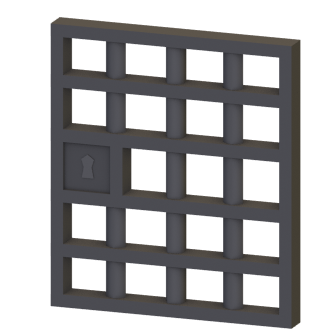
B – Creating door with key (object) requirement and key as object that you can pick up and put back (like Warden’s key)
C – Creating door with key (item) requirement and key as item (like dorms keys on Elver)
⠀⠀
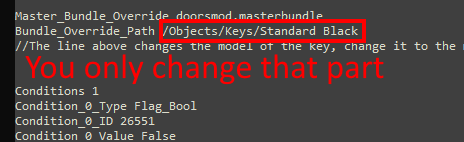
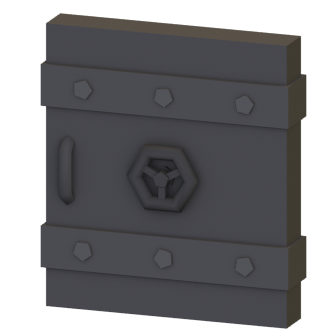
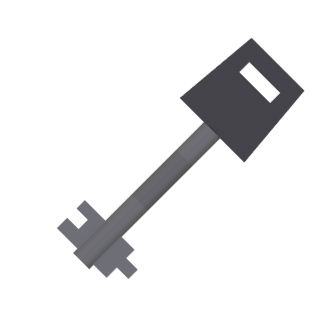
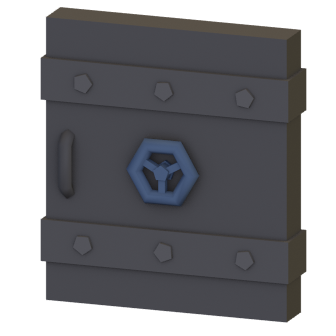
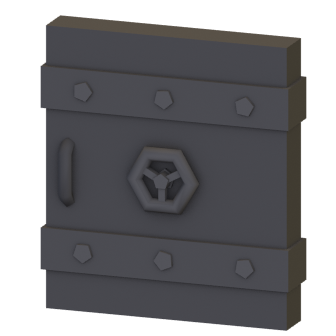
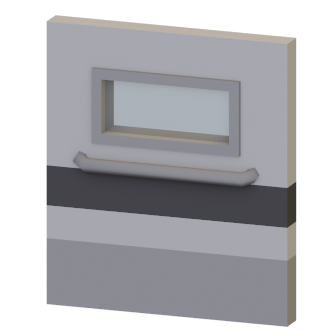
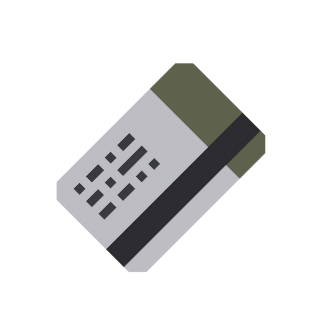
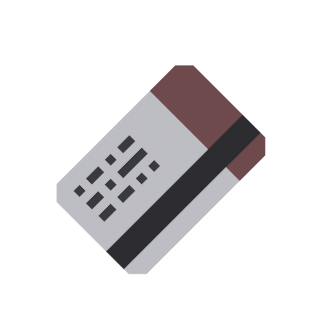
⠀⠀You will have to choose the model for all the doors or keys you make.The list of all models with their paths is in last section of this guide
You will be choosing them with Master_Bundle_Override function. If you don’t know what is it, don’t worry, you don’t have to. All you will have to do is change Bundle_Override_Path to the path of the model you want
⠀⠀
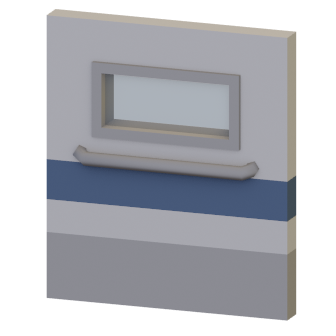
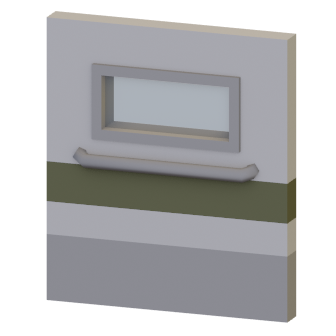
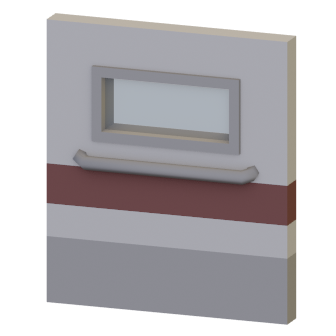
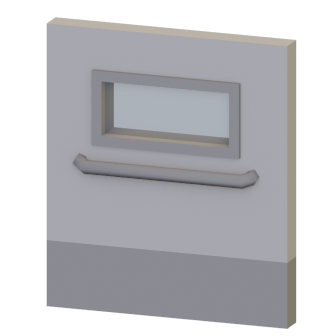
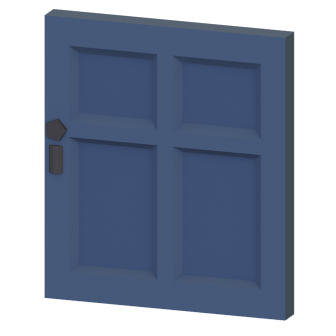
Step #2-A: Creating door without any requirement
– Go to “Ready Examples”>”Door without any requirement” and copy the “Door” folder.
⠀⠀
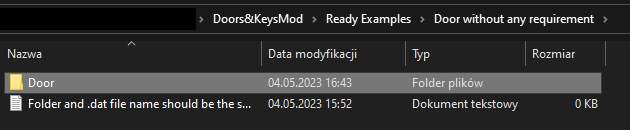 ⠀⠀
⠀⠀– Go to “Your Project” folder and paste there the folder you copied. Rename both folders and .dat file with the same name. Both files should be named the same or the mod won’t work
⠀⠀
 ⠀⠀⠀⠀
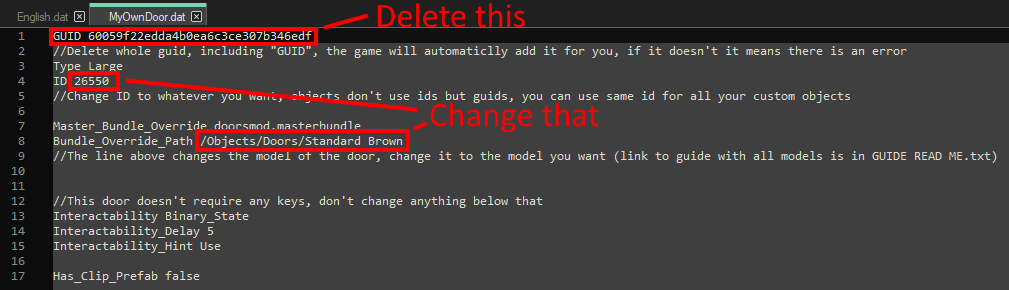
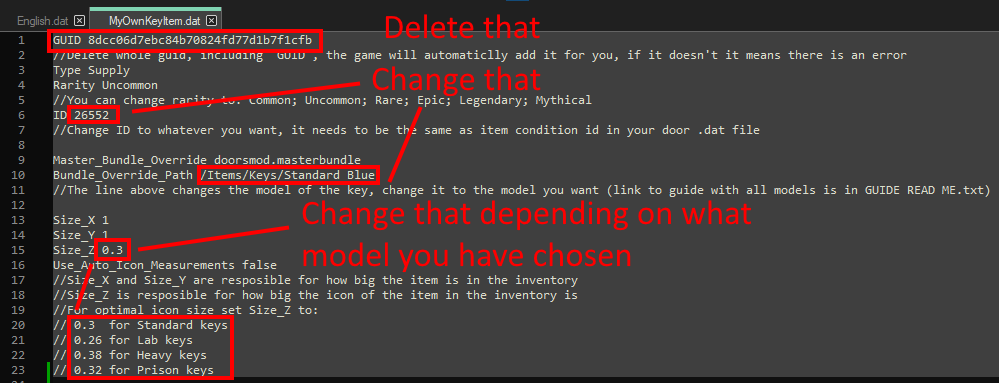
⠀⠀⠀⠀– Open both .dat files. In the English.dat you change in-game door name. In the another .dat file you can change more things. Since these doors don’t have any requirements you can’t change much there. All you have to do in this file is:
– delete GUID
– change ID to whatever you want (limit is 65,535)
– change door model to whatever you want (list of the models is in last section)
⠀⠀
 ⠀⠀⠀⠀
⠀⠀⠀⠀– Congratulations, your door is ready to use!
⠀⠀
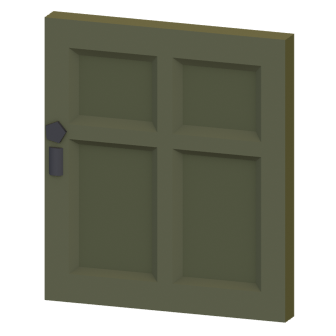
Step #2-B: Creating door and key (object)
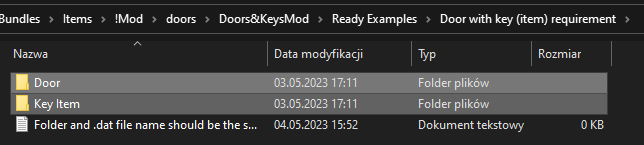
– Go to “Ready Examples”>”Door with key (object) requirement” and copy all three foldersIf you don’t want the player to be able to put back the key don’t copy “Key Object Put back” folder
⠀⠀
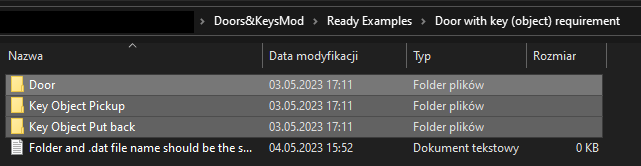 ⠀⠀⠀⠀
⠀⠀⠀⠀– Go to “Your Project” folder and paste there the folders you copied. Rename key and door folder to whatever you want. Remember both folder’s .dat files should have the same names or the mod won’t work!
⠀⠀
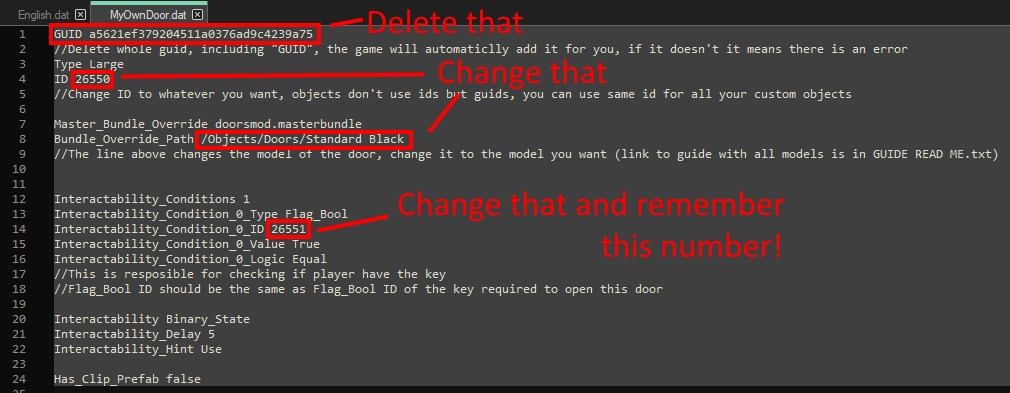
⠀⠀⠀⠀– Open your door folder and both .dat files. In English.dat you change the in-game door name. In the other .dat file you can change more things. Delete the GUID, change ID (limit is 65535) and change the model (refer to path list in the last section).
Here you will also have to change “Flag_Bool ID”. Keep this ID in mind because you will have to use the same for the key.
 ⠀⠀
⠀⠀
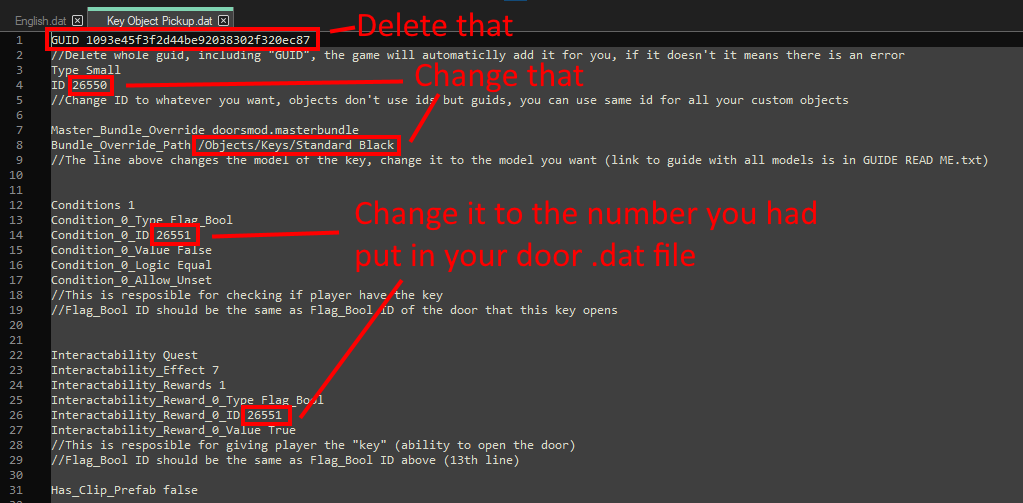
– Now open your key folder (the pickup one) and both .dat files. Do the same as you did with door (change name in English.dat, delete whole GUID, change ID, change model).
You will have to change the Flag_Bool ID. It should be the same as the Flag_Bool ID of the doors that this key opens.
 ⠀⠀
⠀⠀
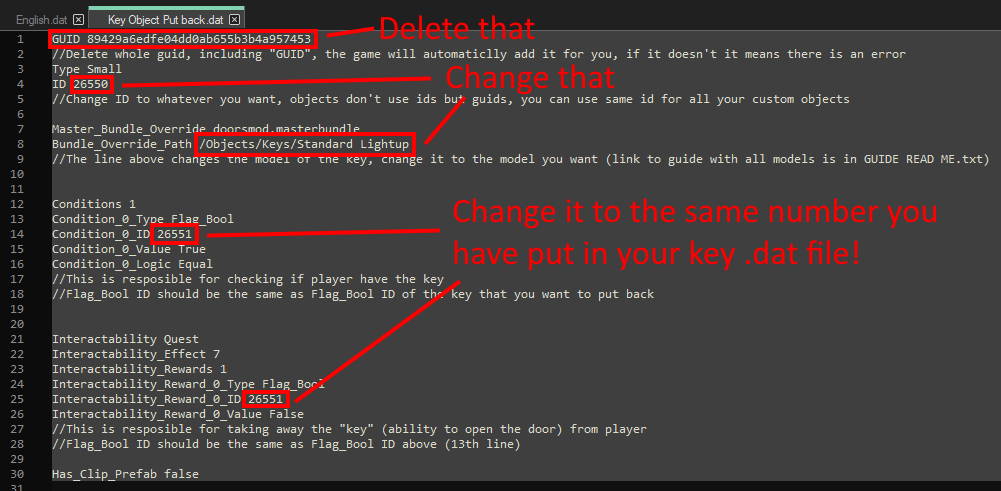
Now we will do the object that will be resposible for putting back the key. If you don’t want this, just skip this part.
– Now open your key folder (the put back one) and both .dat files. Do the same as you did with key (change name in English.dat, delete whole GUID, change ID, change model).
The model you choose should be a Lightup version of the key model you are using. So for example if you are using Standard Red key you will have to use Standard Lightup here.
You will have to change the Flag_Bool ID. It should be the same as the Flag_Bool ID of your the key that you want to put back.
 ⠀⠀
⠀⠀
– Congratulations, your door and key is ready to use!
⠀⠀
Step #2-C: Creating door and key (item)
⠀⠀
 ⠀⠀⠀⠀
⠀⠀⠀⠀– Go to “Your Project” folder and paste the folders you copied. Rename the key and door folder to whatever you want. Remember both folder’s .dat files should have the same names or the mod won’t work!
⠀⠀
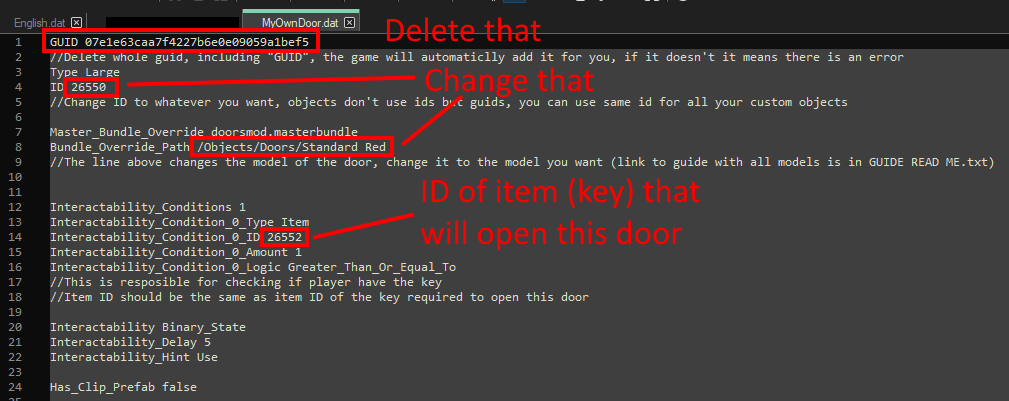
⠀⠀⠀⠀– Open your door folder and both .dat files. In the English.dat you change the in-game door name. In the other .dat file you can change more things. First, delete the GUID, change ID (limit is 65535) and change the model (list of model’s paths is in last section).Here you will also have to change Flag_Bool ID. Remember this ID because you will have to use the same for key.
 ⠀⠀
⠀⠀
– Now open your key item folder. Change the name and description in the English.dat. In the other .dat file delete the whole GUID, change the ID and change the model.
Depending on what model you will chose, you will also have to change the Size_Z. Here’s the list:
> 0.3 for Standard keys
> 0.26 for Lab keys
> 0.38 for Heavy keys
> 0.32 for Prison keys
 ⠀⠀
⠀⠀
– Congratulations, your door and key are ready to use!
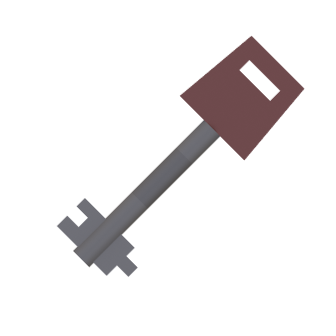
Models list
Item: /Items/Keys/Heavy Black
Item: /Items/Keys/Heavy Blue
Item: /Items/Keys/Heavy Green
Item: /Items/Keys/Heavy Red
Item: /Items/Keys/Lab Black
Item: /Items/Keys/Lab Blue
Item: /Items/Keys/Lab Green
Item: /Items/Keys/Lab Red

Item: /Items/Keys/Prison Black
Item: /Items/Keys/Prison Blue
Item: /Items/Keys/Prison Green
Item: /Items/Keys/Prison Red
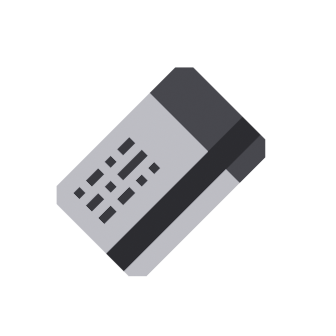
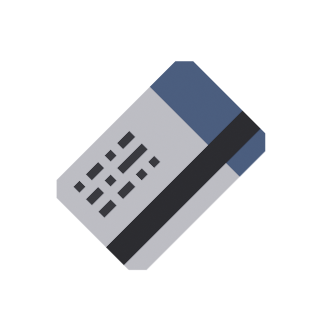
Item: /Items/Keys/Standard Black

Item: /Items/Keys/Standard Blue
Item: /Items/Keys/Standard Green

Item: /Items/Keys/Standard Red

Thanks to biedaktokox for his excellent guide, all credits belong to his effort. if this guide helps you, please support and rate it via Steam Community. enjoy the game.
Related Posts:
- Unturned: IDs List for Simple Doors & Keys Mod
- Unturned: How to Make Custom Notes (Working November 2021)
- Unturned: BVP1 ID List (Basic Stats & Facts)
- Unturned: UDarkRP Vehicles ID List
- Unturned: All Arid Barters List