Find out how to beat the Challenges on each level here, annotated with helpful images and thorough verbal explanations.
0-1
As you know, your starting gun can break glass with its charge shot. Breaking glass that enemies are standing on will cause them to fall, often to their deaths. The easiest room to do this in is the one with the giant fan at the bottom.
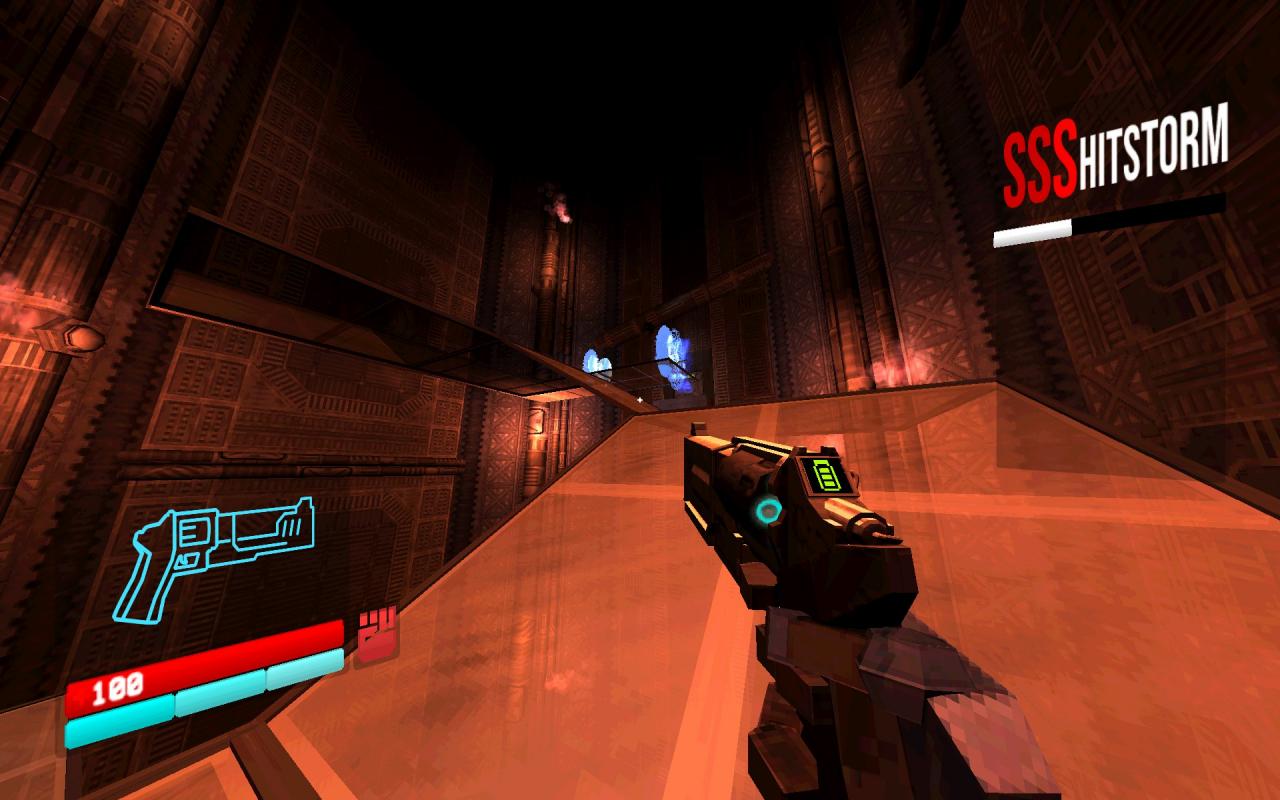
To group the enemies together, jump over them. They’ll crowd around where you’ll land, and you can shoot straight down into them to break the glass under them. Just remember to dash to stable ground afterwords.
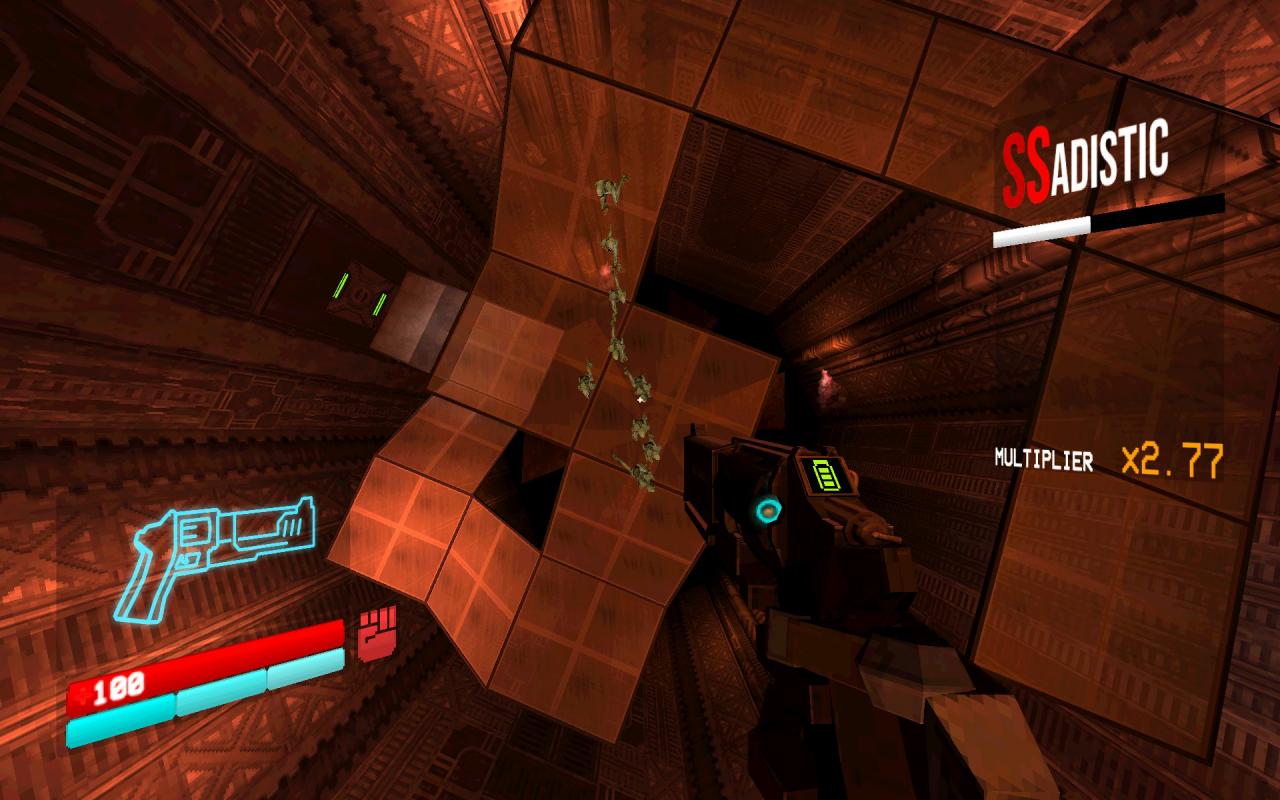
If you mess up, pause the game with your ESC key and hit CHECKPOINT to reload a few paces back.
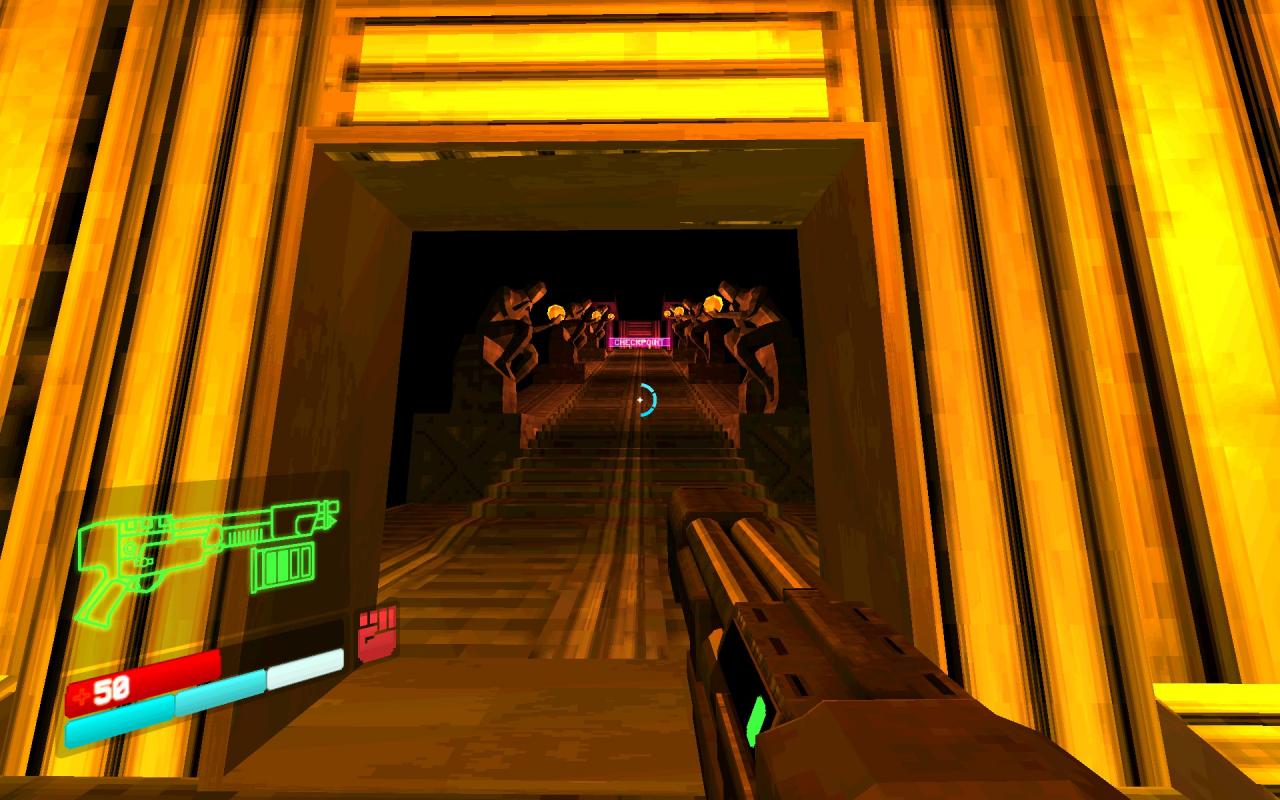
As you progress through the level, you’ll eventually reach this room:
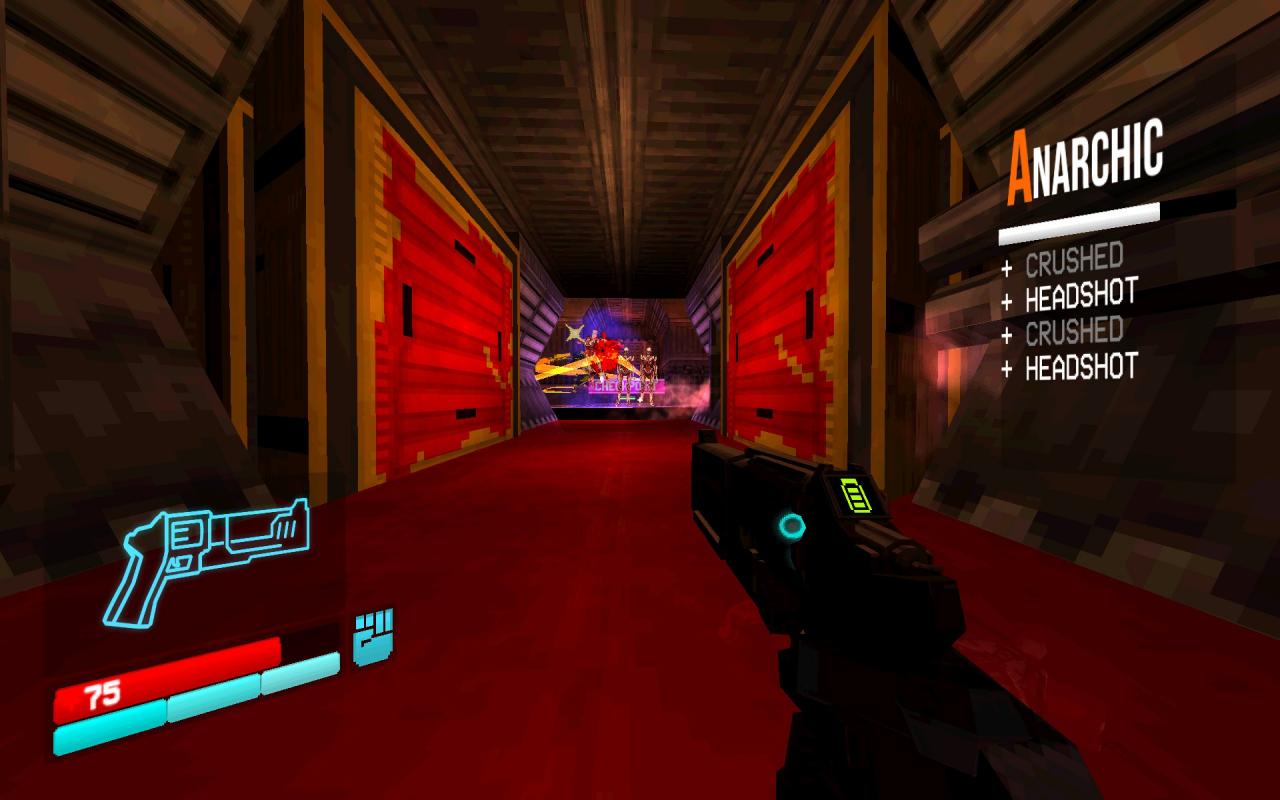
At the back of that room, instead of going through the checkpoint, go through the door to your left.
In that room is a blue podium, and to the right of that podium is a shutter with a vent on the bottom right of it. This vent can be broken by shooting or punching it, revealing a small tunnel you can slide through.
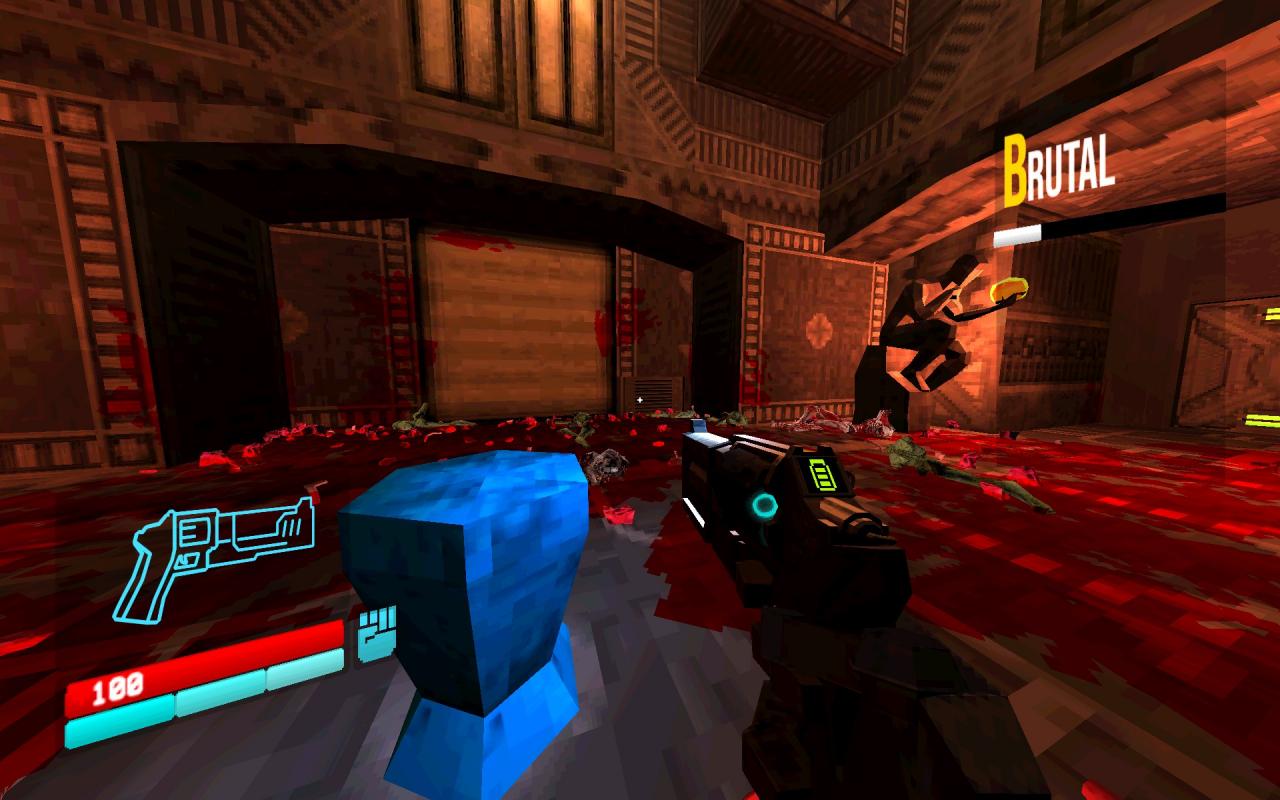
Once you slide through it, you’ll be rewarded with a Secret orb. But that’s not all: Next to the secret orb is even more crawlspace that you can slide through.
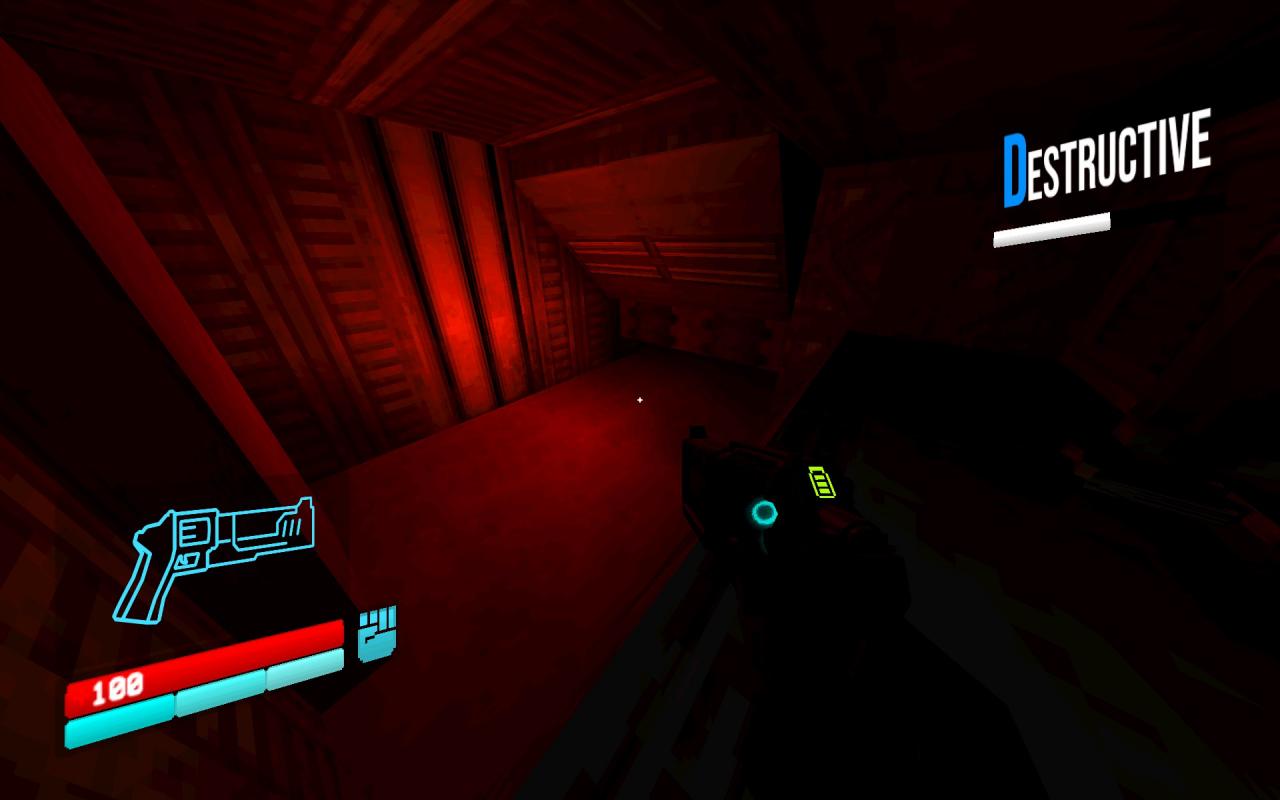
At the back of the crawlspace is a small room in which you can punch a vent above you and climb out.
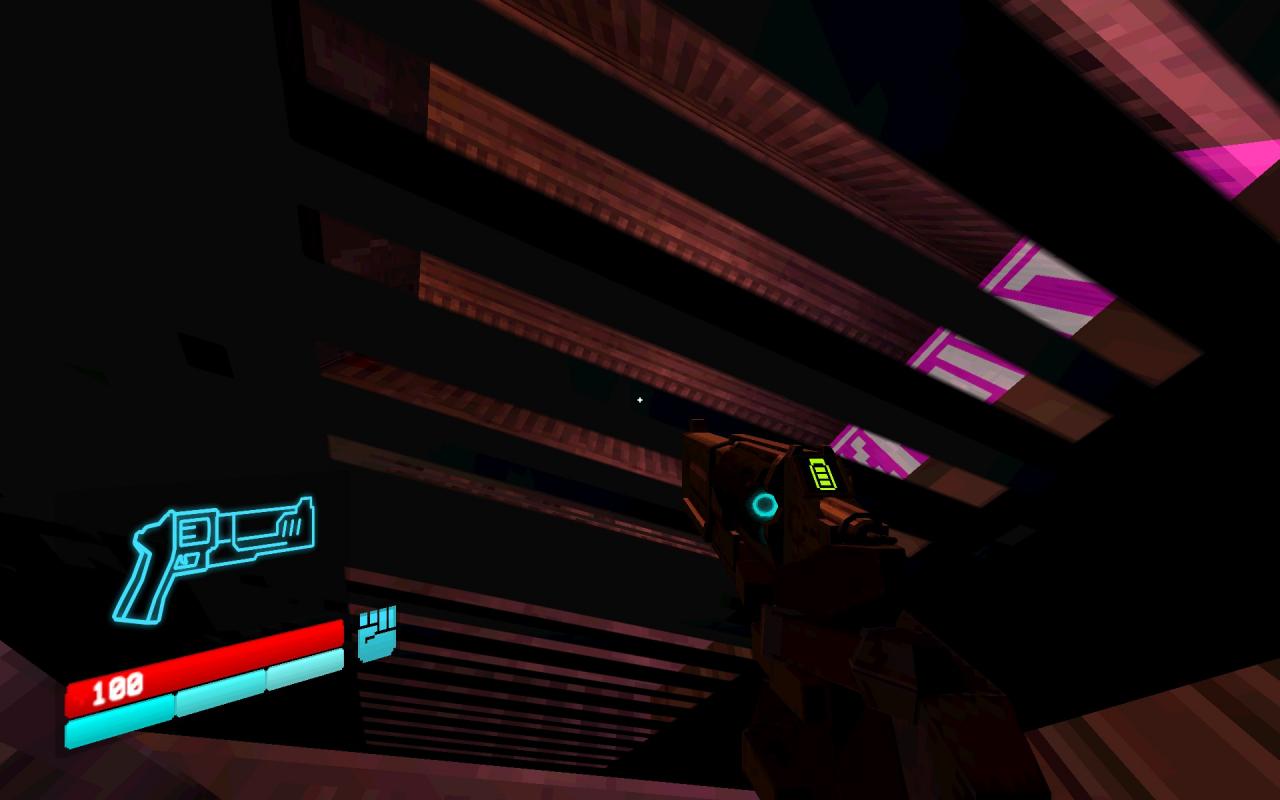
Once you’re out, you’ll be welcomed with a checkpoint and a bossroom door. Go through and fight the boss, and once you’re done you may leave the way you came.
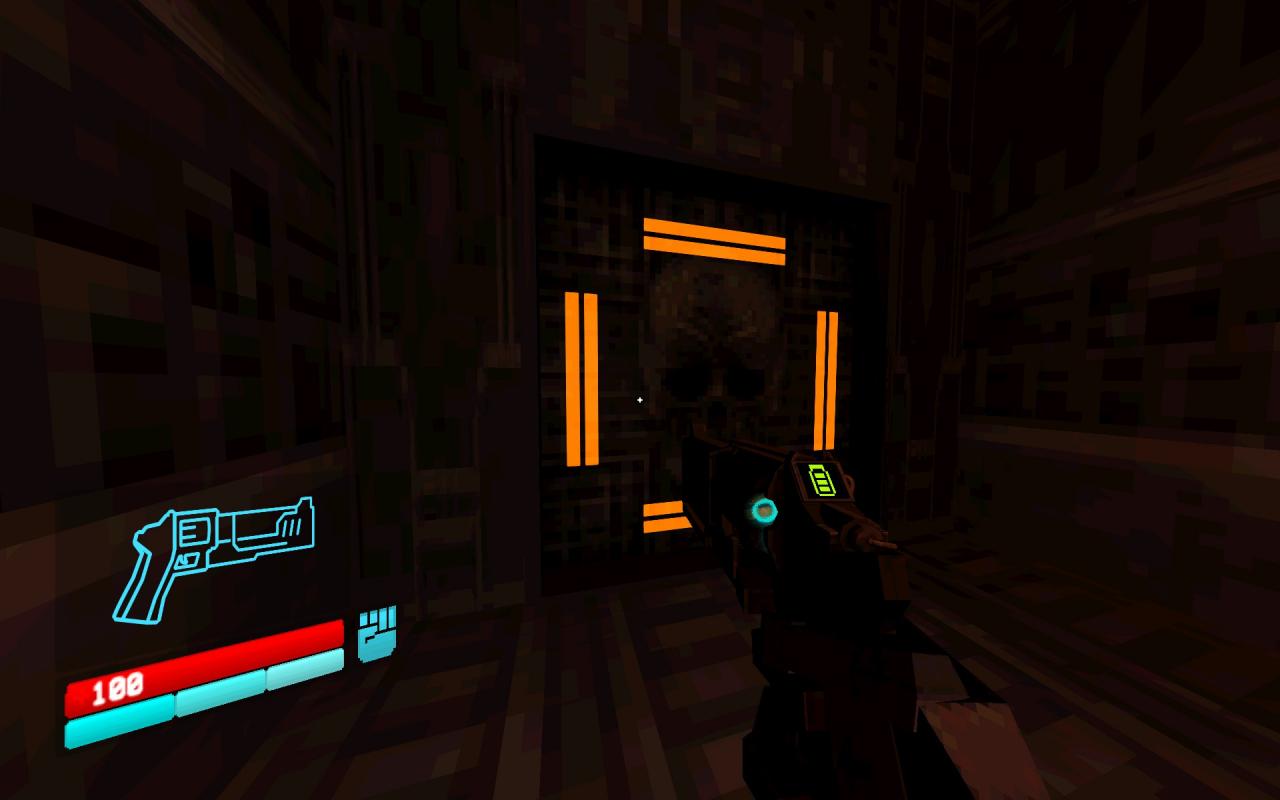
To do this level, I suggest you bring the Pump Charge (green) Shotgun. You’ll want to use its overcharge ability to easily explosive jump.
Once you reach the very first room with enemies, jump up to the door to the next room without killing any of them (the melee enemies cannot reach you there, so you only have to dodge the ranged ones). Do not go through the door. Aim way up at the ceiling above you, and notice that it is made of glass. Take out your pistol and use the charge shot to break the middle column of glass on the ceiling. Take care to avoid the shots from the enemies below you while doing this, as you will need at least 51 health to explosive jump soon.
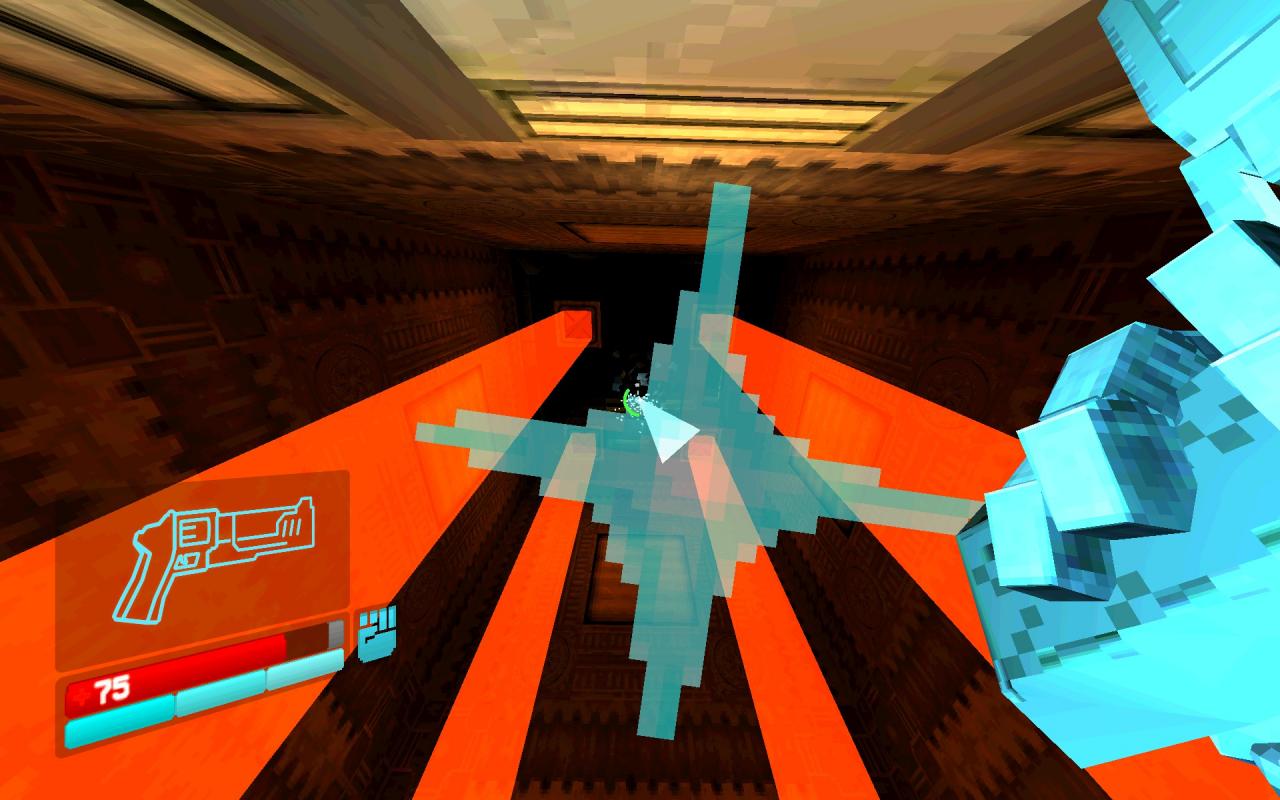
Once the middle column of glass ceiling is broken, take out your Pump Charge Shotgun and overcharge it. Now simply look straight down, jump, and immediately fire the overcharge. The explosion will send you hurtling upwards, through the glass you broke and into the second-to-last room of the level. Avoid the enemies here and progress through the next door, which takes you to the boss room (which is also the final room of the level).
The singular enemy that you have to kill for this challenge is the boss. Because you skipped his first phase, you’ll be fighting both in succession. Good luck!
This one is pretty easy. Beat the level normally, taking care to kill all enemies that might interrupt your slide. However, in the last room with the glass floor, DO NOT BREAK ANY OF THE GLASS. If you break the glass, you won’t be able to slide over it, instead falling to your death.
Once you’ve cleared out the level, go all the way back to the very beginning, the room where you first spawn in with the shop terminal. Back yourself up against the back wall, line yourself up so you’ll go out straight, and slide all the way to the end of the level. The whole level is a straight line, so you won’t need any kind of special maneuvering here.
This one is not as hard as it sounds. The bosses here throw an explosive projectile as one of their attacks. If this detonates too close to them, they’ll take self damage. All you have to do is lower their health until they’re about a hit or two away from death, then dodge around until you see them wind up a throw. As soon as they do, get in close. (Your dash ability has invincibility frames, which you can then use to dash away from the explosion and not take any damage yourself!)
The explosion from their own thrown projectile will kill them, inflicting fatal damage without you needing to actually shoot them.
This is very, very easy, and simply relies on you knowing the trick to accessing the secret level.
When you enter a secret level, it counts as completing the previous level. Fortunately for us, the secret level entrance here is in the very first room.
Note that the timer does not begin until you leave the spawn room. While in the spawn room, take out the Marksman pistol (the coin gun). As soon as you leave the spawn room, flick a coin into the fountain.
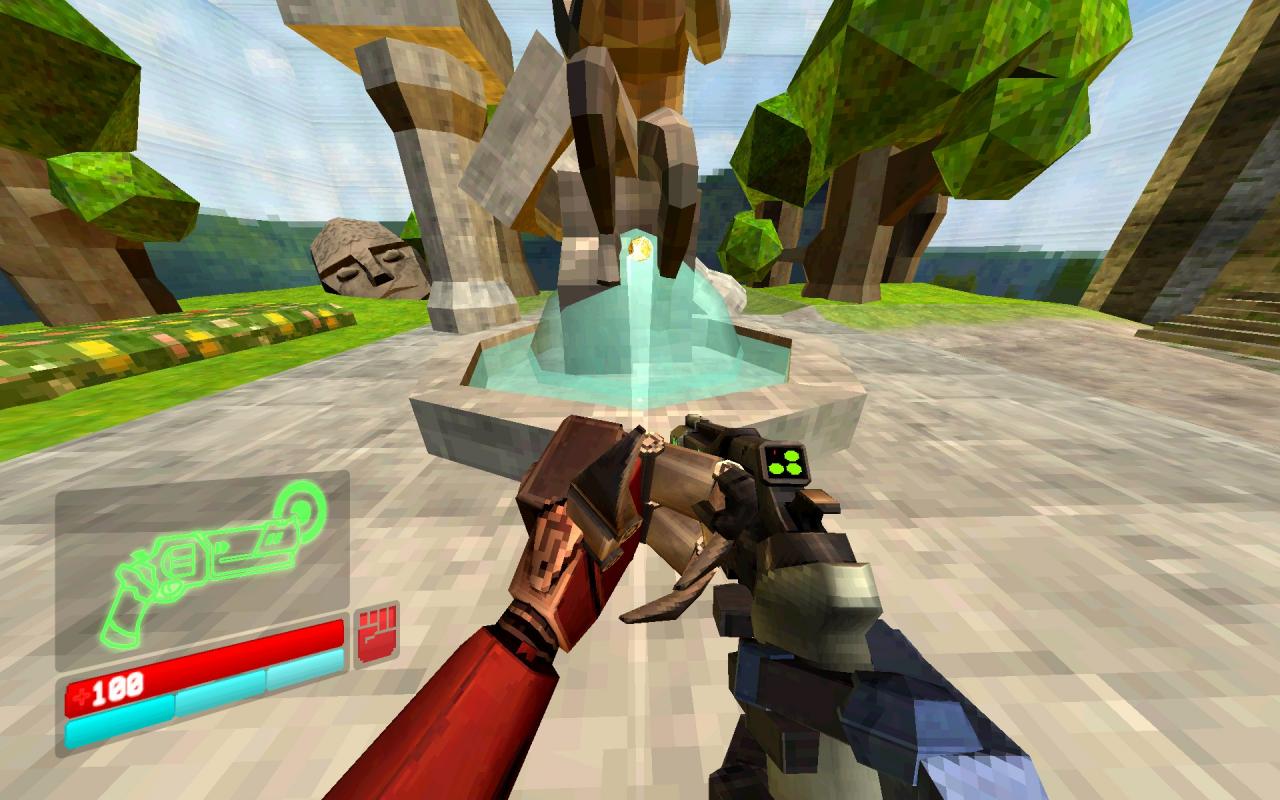
The fountain will slide to the side, revealing the entrance to the secret level. Immediately jump in, and you’ll have completed 1-1 near-instantly.
I do not know. The only hint I’ve heard from anyone is that you need to come back to this level with a “weapon that you get later on,” which will let you “break down a door.” Nothing I’ve tried has worked so far. If you know, please tell me.
You’re likely aware of the main door of the level that only needs 1 skull to open, either red or blue. Get both skulls. When you do, face away from the door to see one of the windows behind you slide open. Go through to enter a secret area, where you can face the secret encounter.
Head straight to the door that needs 3 skulls to unlock. Above it is a window that you can break open with a charged shot. Jump through that window and you’ll have bypassed the locked door.
To clarify the challenge: “Normal doors” are any door that is not the one leading out of the spawn room.
You will very quickly reach your first door before fighting any enemies. Instead of going through, go behind the short ramp that you went down to get here. There’s a breakable wall you can use your newly acquired red arm to explode down.
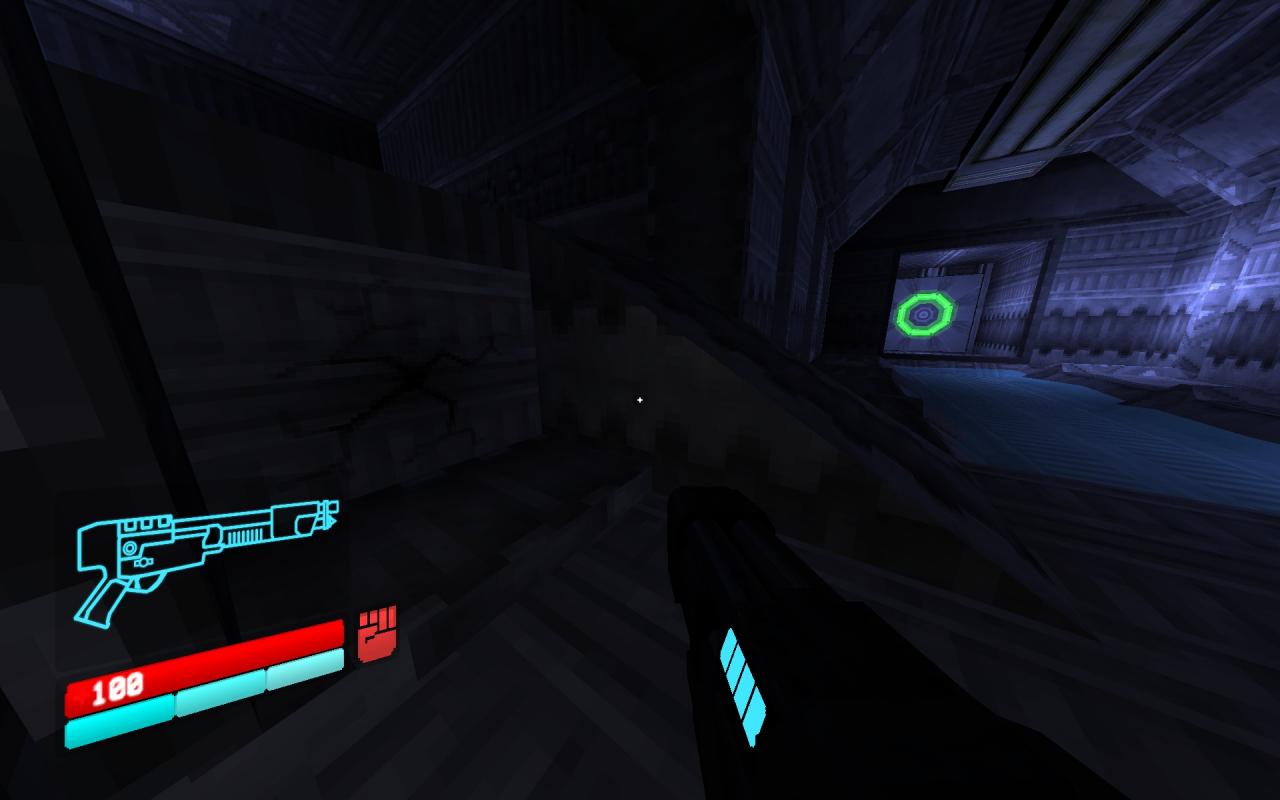
Once you go through and grab the secret, you’ll be outside the level. Jump atop the tunnel you were just in and head up to roughly this position:
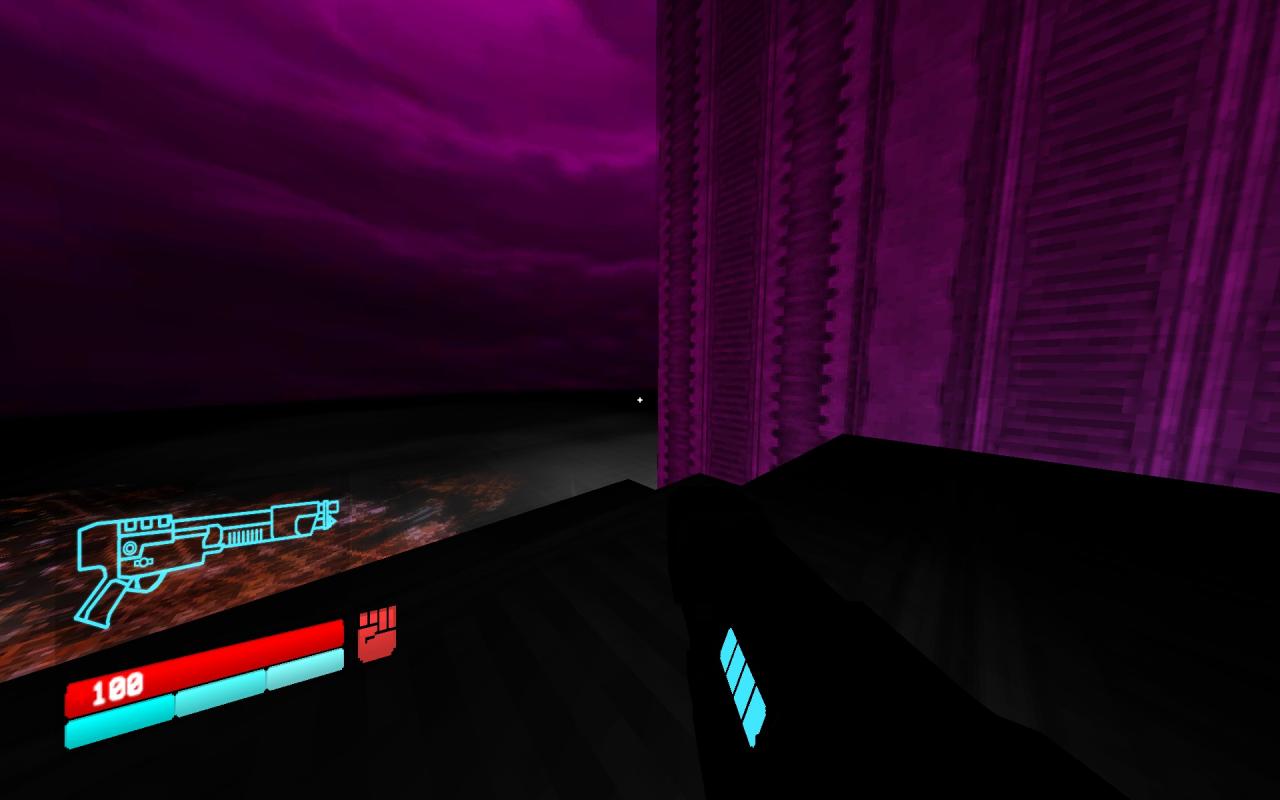
See that giant neon-pink tower in front of you? You’re going to have to jump around it. You can use the Pump Charge Shotgun to your advantage if you wish, but you’ll need it again soon, so make sure to heal up. Remember that you can jump out of a dash to keep your dash momentum, and make use of your wall jumps to get extra height as you need it.
Behind the tower are several jump pads scattered about. Land on one to bounce back up to the main level.
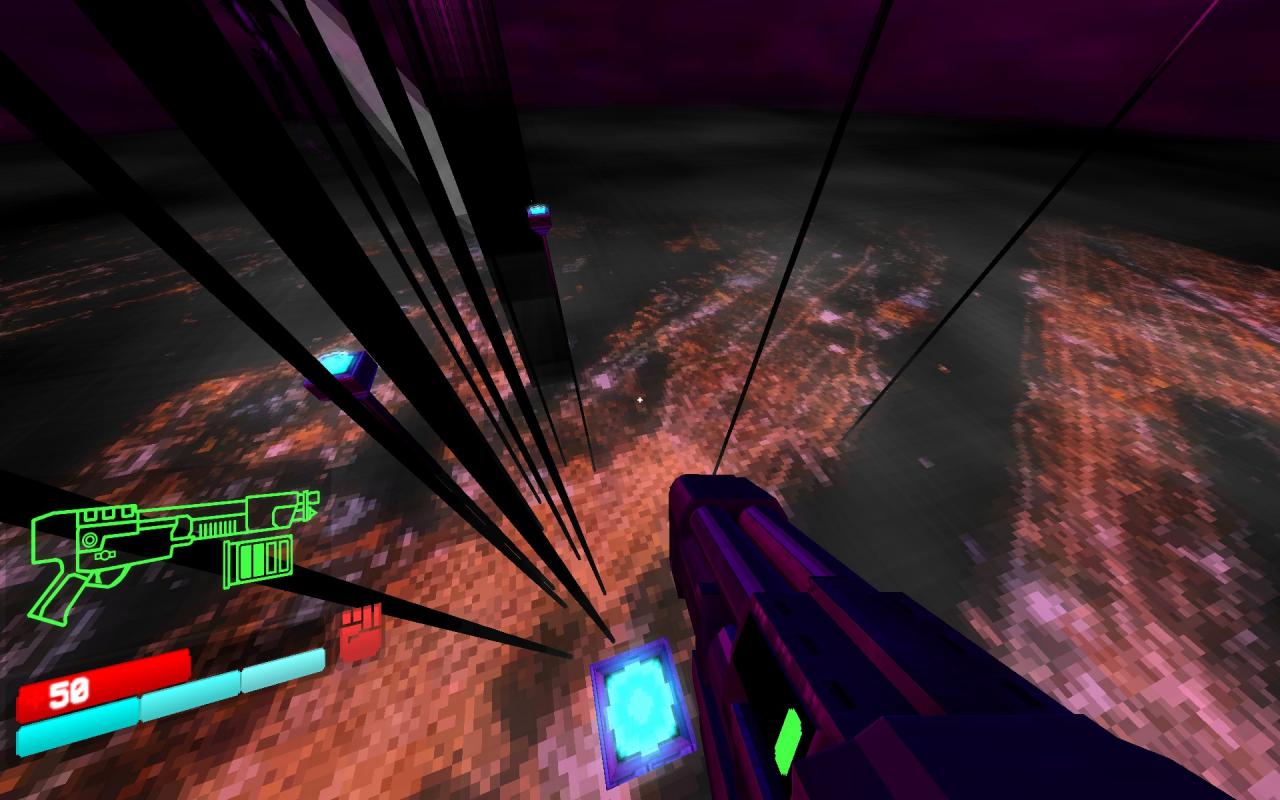
After this you can progress through the level normally, or just avoid most of/all of the enemies. When you get to the dash-jump tutorial section (pictured below), make sure you have 51 or more health so you can Pump Charge Shotgun jump soon. Also, MAKE SURE you don’t overshoot the jump and open the normal door by accident.
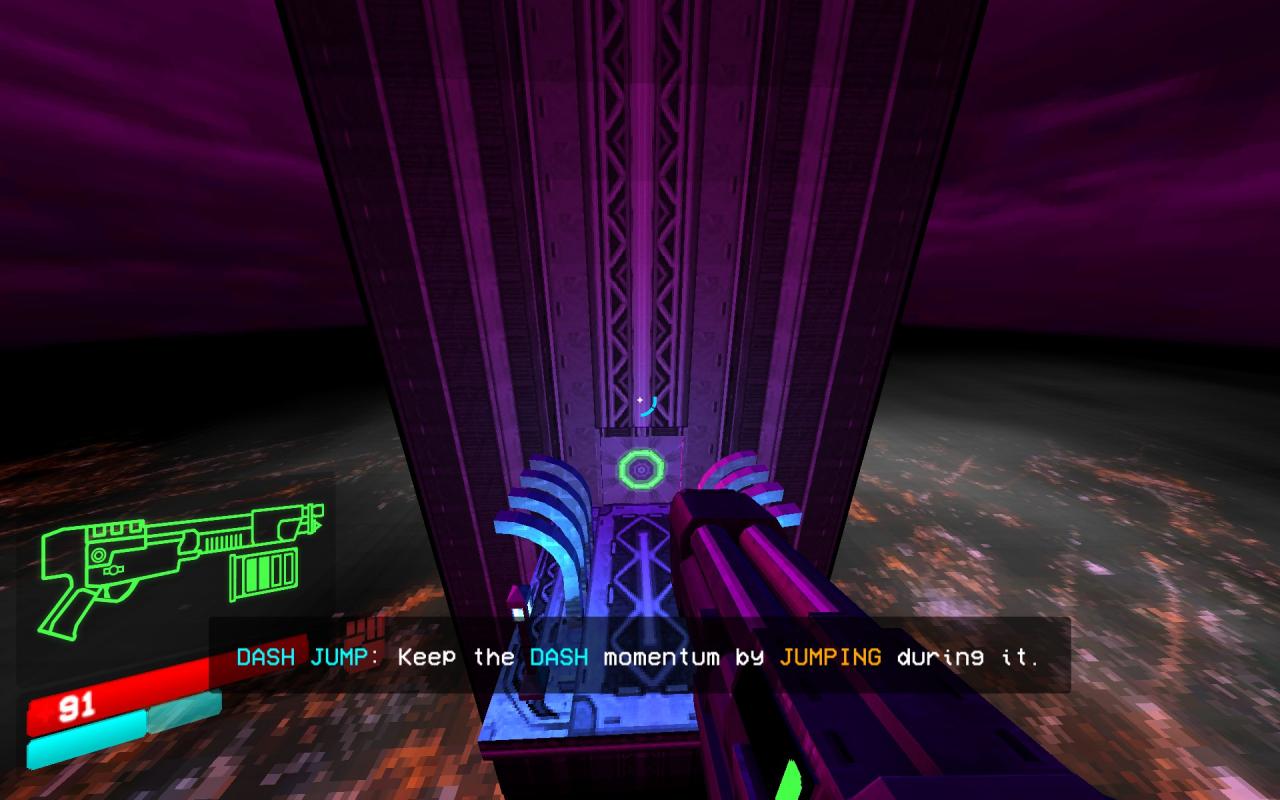
Instead of opening the door, climb onto those prong things just outside of it. From here, you can (dash-)jump, strafe/dash back to the tower, walljump off of it, and then Pump Charge Shotgun explosive jump for that last bit of height to reach the end of the level. Be sure to make liberal use of your air dashes while you do this, as they recharge very quickly. You can also grab the Red Secret orb before doing this so that you can go in with 200 HP, allowing you to simply use the Pump Charge jump 3 times without needing to heal.
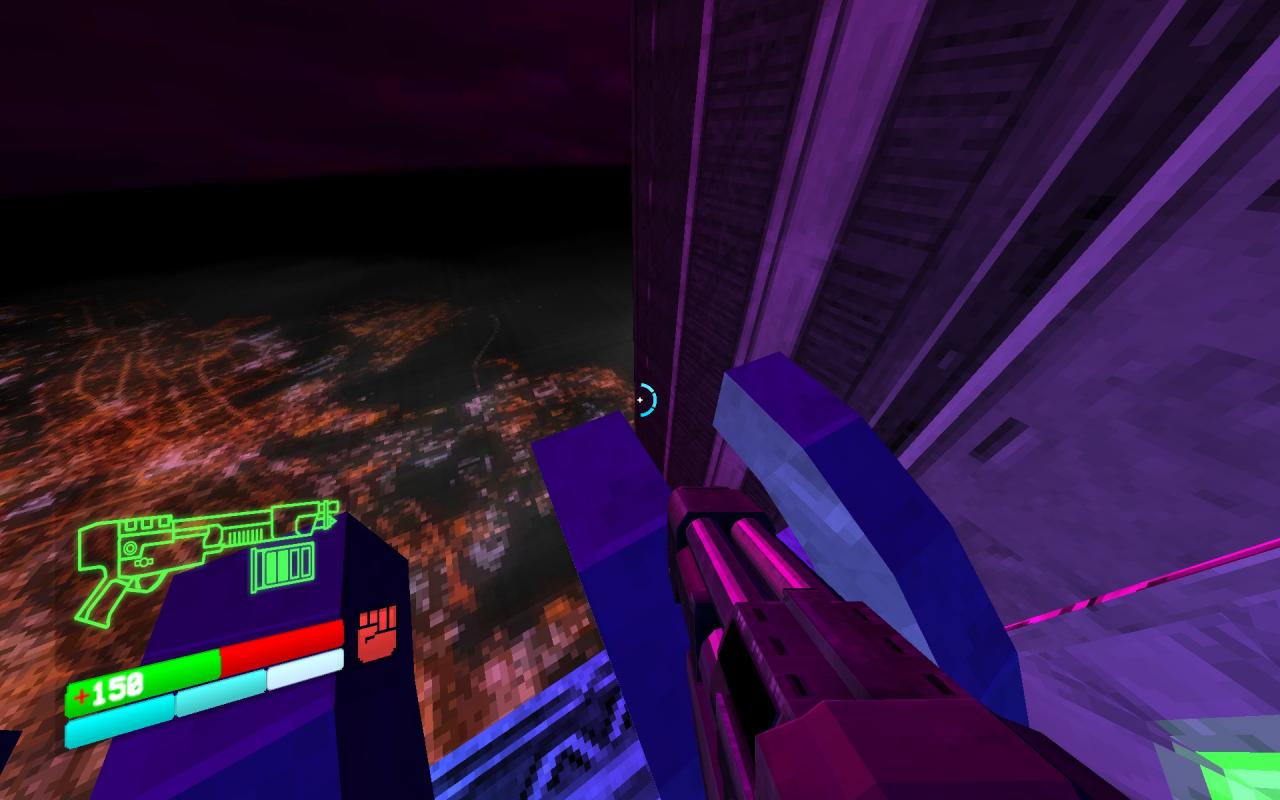
Once you make the jump, the end of the level is freely accessible.
This is a flat-out speedrun challenge. My tips for you are:
- Keep in mind that you do not technically need to kill ANY enemies in this level, you just need to shoot the electric boxes to open the doors. Killing enemies is a waste of your time if you’re playing for speed and nothing else.
- The electric boxes can be shot from any range with a hitscan weapon, provided you can see them and you can aim. Make use of this by shooting them from far away instead of wasting time by walking up to them.
- You should absolutely memorize the positions of the electric boxes, and maybe even memorize a quick way to reach them. Wasting time trying to reach them or having to search for them will all but guarantee your failure.
- When planning your route, make sure that you’re back-tracking as little as possible.
- There is at least one section where you have to go through a narrow hallway that is crowded by enemies who like to bodyblock you. Remember that your red fist has an explosive punch that can push them out of the way.
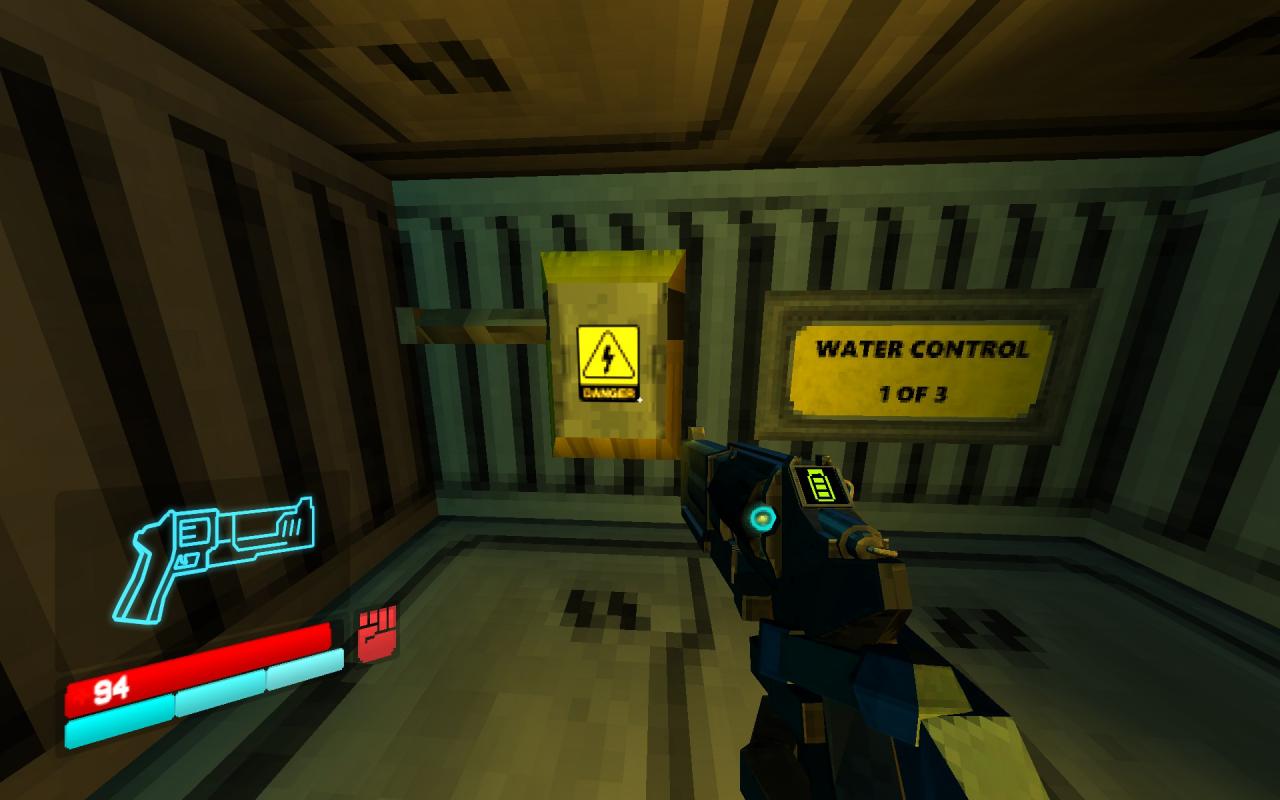
There are two secrets that will make this challenge possible for you: 1) There is a breakable wall that lets you skip the underwater section that takes you to the blue pedestal, and 2) There are 3 electric boxes hidden throughout the level labelled “WATER CONTROL.” Breaking them all removes water from the level, which you DO need to do.
Right out of the gate, you’ll want to jump over the large stretches of water with a dash-jump. Progress normally into the room with the dam and the large fall into a grinder behind you.
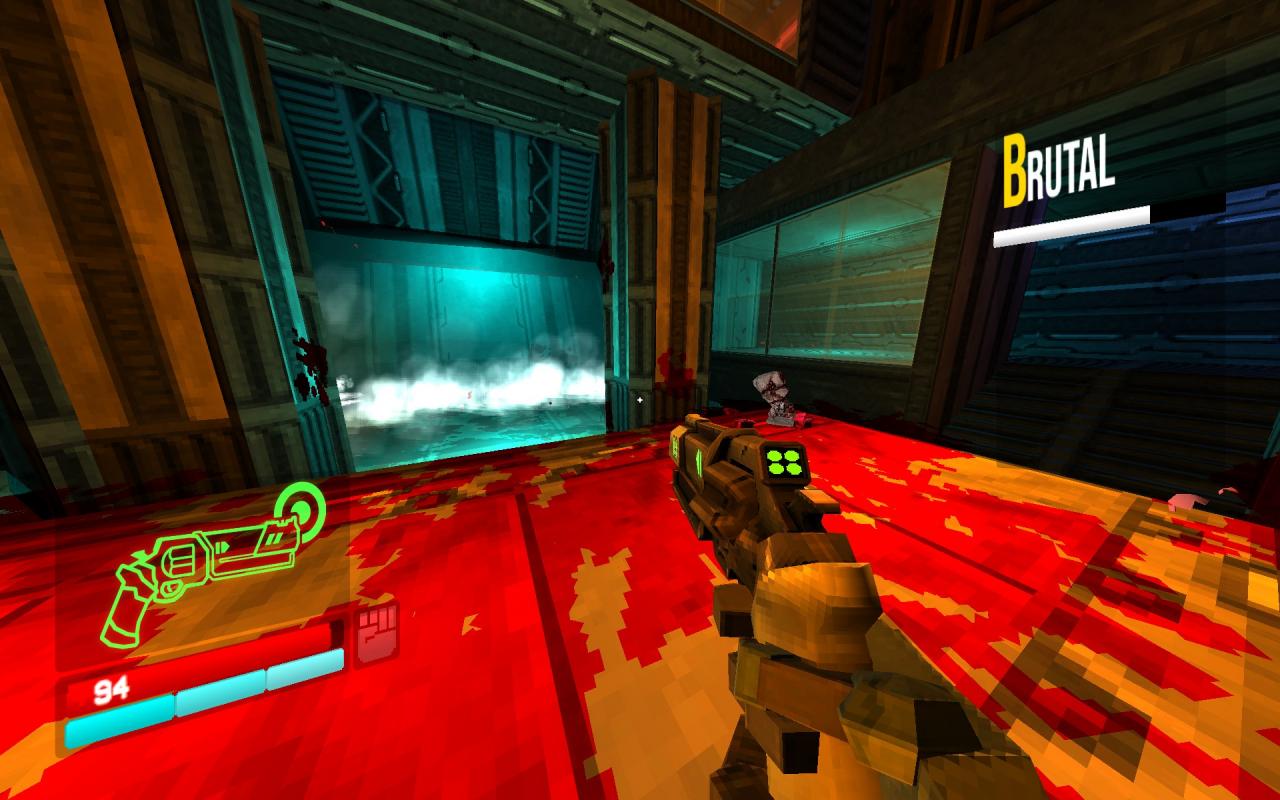
Go up to where I am in the below picture, facing the grinders and looking down. You’ll notice a small slope you can drop down onto without touching any water. Drop down onto it.
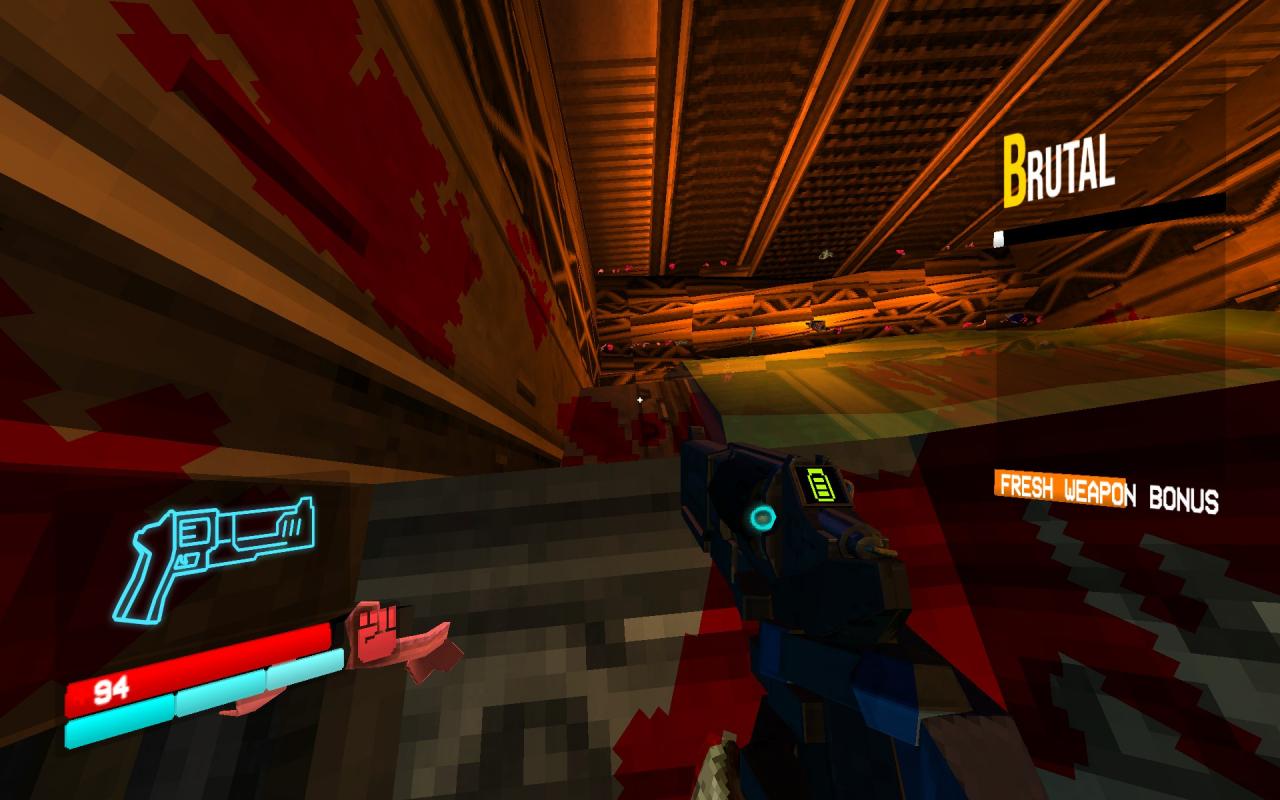
Once you’re standing on that slope, face away from the grinder to find a crawlspace you can slide into. There you’ll find your first water control box.
Now grab the blue skull and head back into the previous room. Walk around the water on the floor and look at the wall to your left. You’ll notice it has a crack, allowing you to blow it up. This lets you into the room where the blue skull pedestal is without forcing you to go underwater.
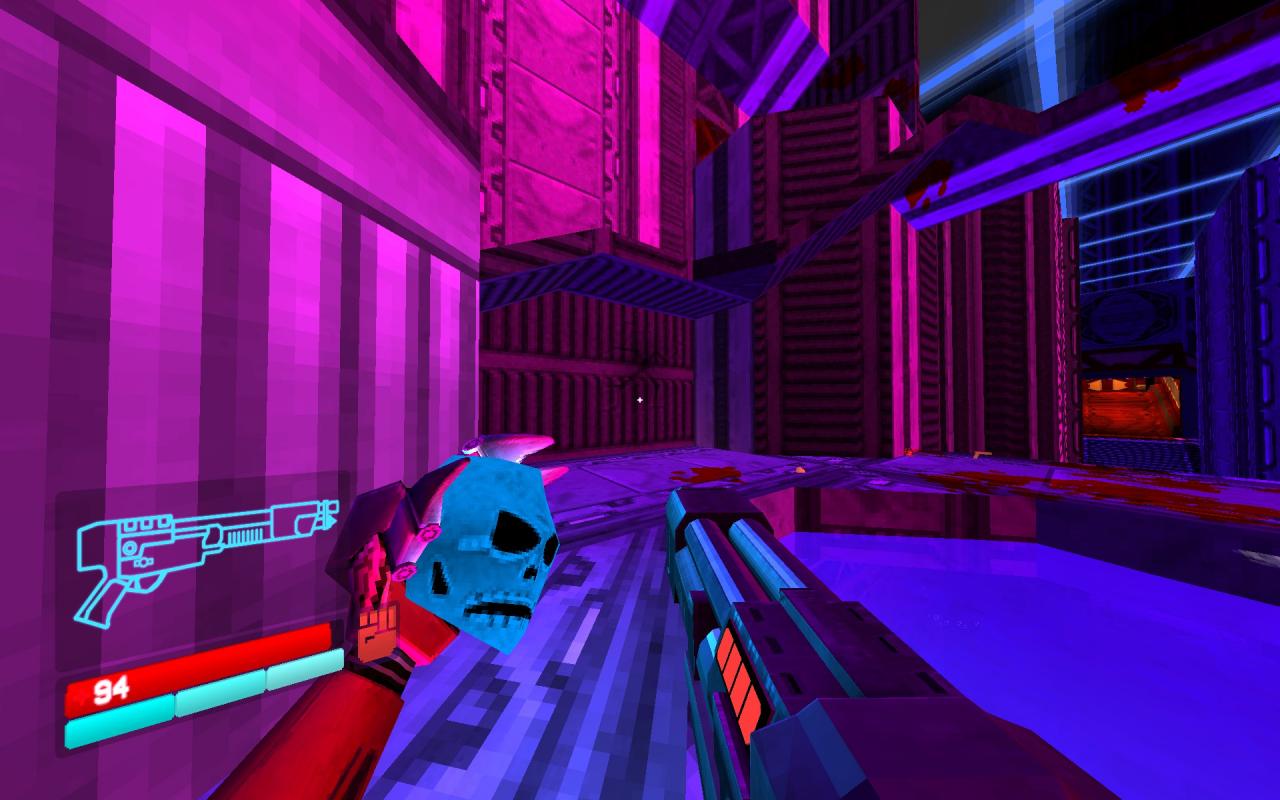
Progress normally, still taking care to avoid the water. Once you reach the checkpoint that leads into a large room, made a left. You’ll want to wall jump off of the wall that I’m shooting at in the below image, because that will take you into another secret room containing your second water control box.
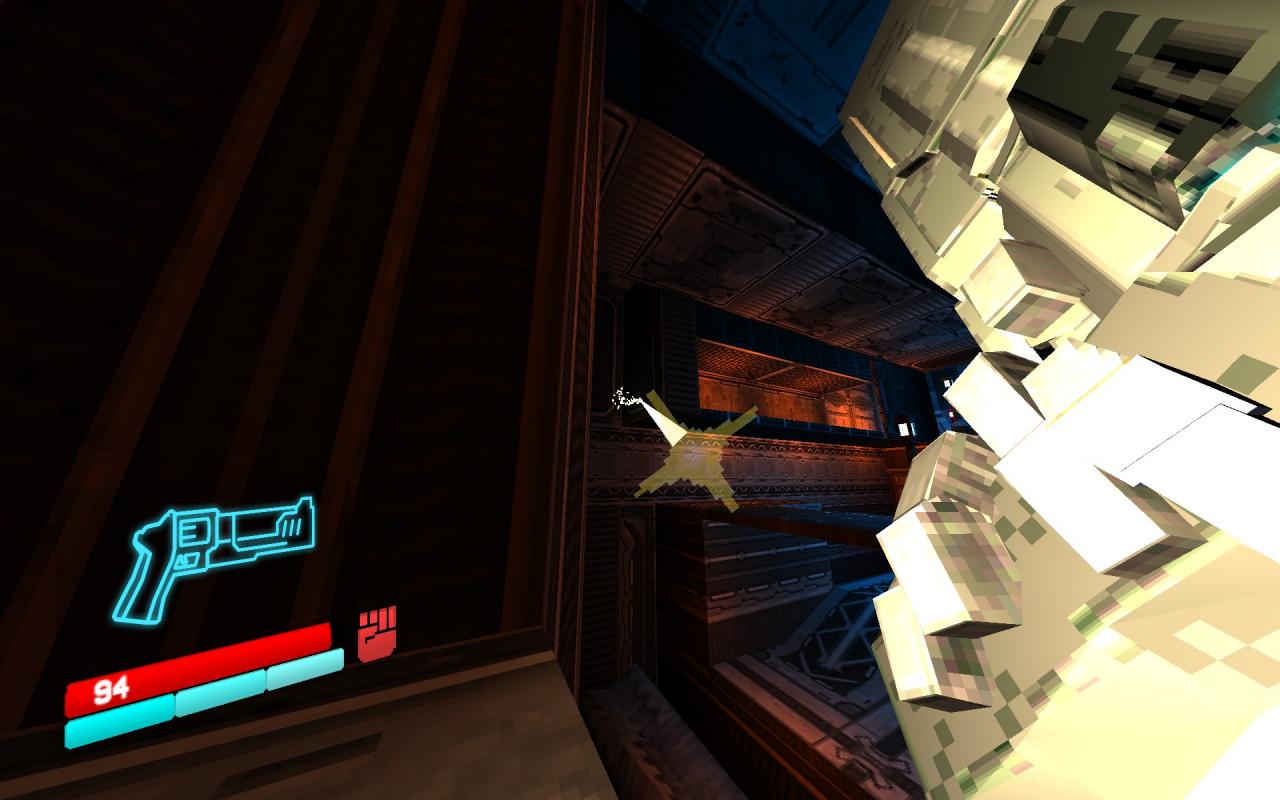
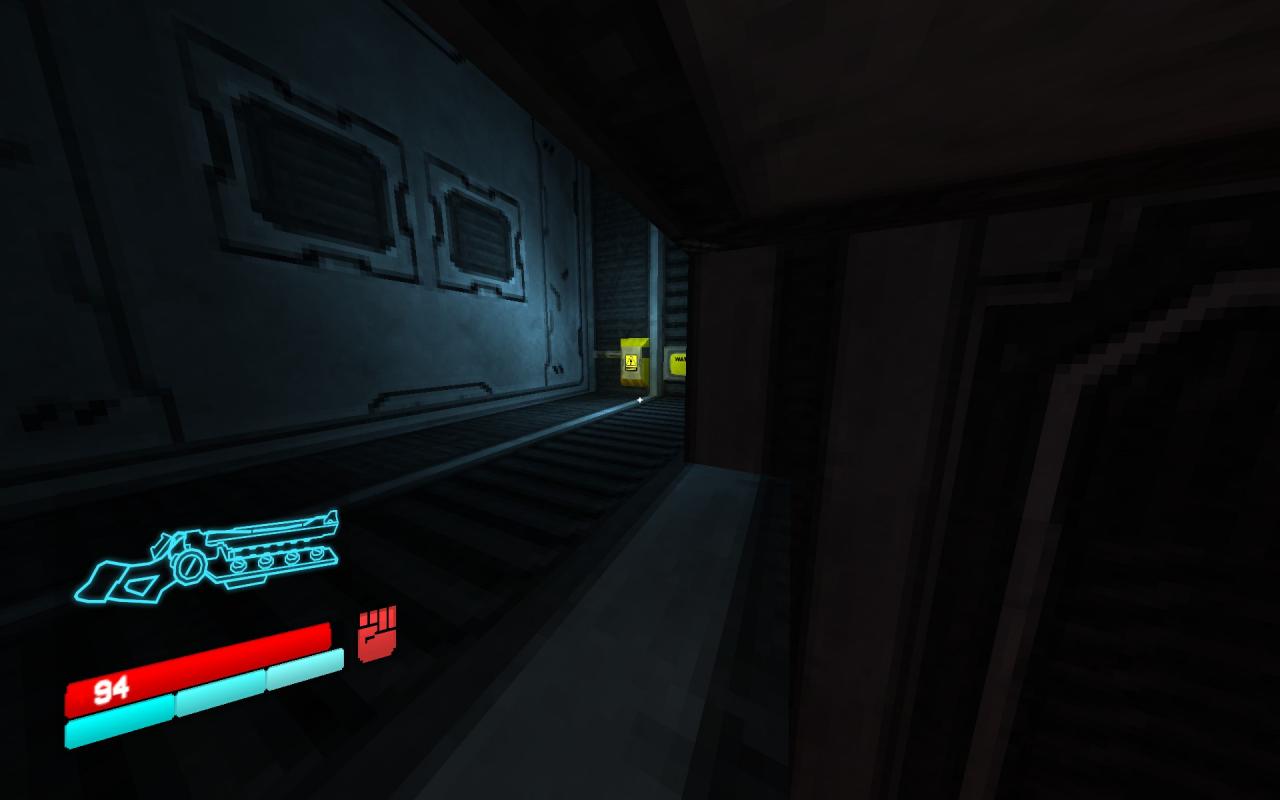
Progress normally, grabbing the red skull and taking it to its destination pedestal. Once you do, turn around and slide into the crawlspace behind said pedestal. In there you’ll find your third and final water control box.
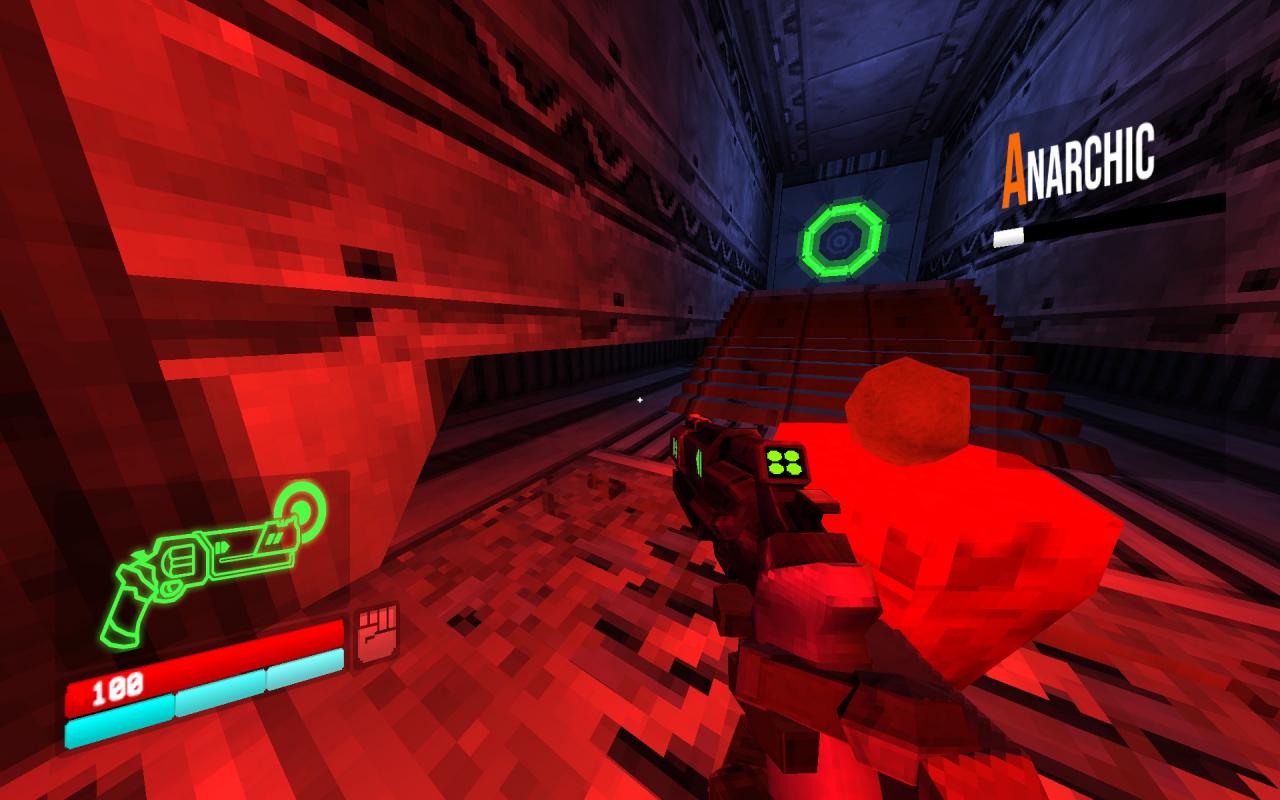
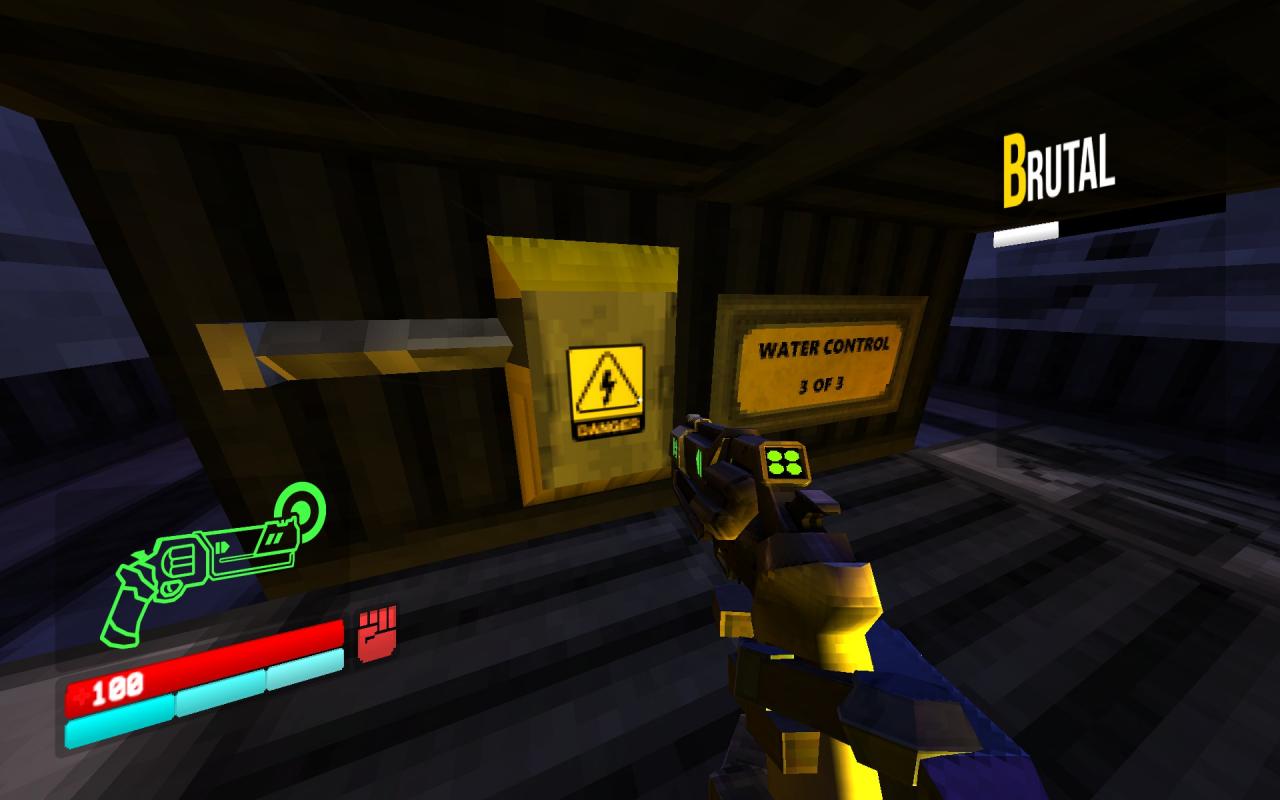
Once you do that, you’ll get a message about the water being removed. Now you can just finish the level normally, without being forced to pass through that very last waterfall on the exit door.
The aforementioned “punch” refers to the attack that the last boss of the level does, where he winds his arm all the way back and then punches. The timing is a bit tricky, but there’s no real penalty for dying if you’re just trying to beat the challenge. Make sure you’re using the blue arm (the red one cannot parry), stand in front of where he’s going to punch, and do your best to time a parry. If you get hit, no worries, just keep retrying until you get it. You’ll know when you land one: There’s a whole animation of him recoiling and it’s all pretty badass. Once you do land one, beat him like normal.
To clarify the challenge: You’ll notice that the arena that you fight Gabriel in has no walls, and is surrounded by a bottomless pit. Your goal is to push Gabriel into the pit.
The way that I finally did this was by juggling him in between his first and second phase. When you beat his first phase, he’ll get stunned for a good long while, and during that stun you can juggle him in the air for about a quarter to a half of his health bar. To help with this, try to end his first phase with him already close to the edge of the arena. If he’s in the center of the arena, you’ll have a harder time pushing him all the way out. Once he’s stunned, shoot him horizontally so he gets knocked into the pit. You might also want to use the knockback blast of your red arm to help with this. It’s important to note that if you juggle him for too long, he’ll forcibly break out of it and enter his second phase, so you want to stop juggling him the moment he’s outside of the arena to give him time to fall into the pit.
Once he falls into the pit, he’ll shortly respawn back on the arena. Now just fight him normally and you’re right as rain.
Related Posts:
- ULTRAKILL: All Layer 4 Challenges Guide
- ULTRAKILL: Layer 2 Secret Level Guide
- Ultrakill Movement Techniques (Basic Controls)
- ULTRAKILL: Advanced Movements Guide
- ULTRAKILL: 6-1 Secret Encounter Guide

Cool guide, thanks.
Oh, and…
I know how to beat the challenge in 1-2!
Hao Haoo!!
Anyways, i’m here to inform you about the secret in 1-4, you first need the Alternate Revolver to shoot a window. when you see the place where you see the gates locked behind skulls, directly above it is a window. Shoot it once, since Alt Rev is strong enough to break it (apparently), if you need any specific details you can add me on discord @Neko Malina#6756
cyaa have a nice dayy
For the 3-1 challenge (kill a mindflayer in acid) all you need to do is go to major assists, set damage taken to 0, and in the 2nd room (the one with the cerberus and the mindflayer) jump into the pool of acid and go towards the first secret soul orb. The mindflayer should follow you. It’ll take a while for the acid to kill it, so you should attack it at least until it becomes enraged (if you’re playing on violent). Hope this helps!
For level 1-1, you need the Marksman revolver. Throw a coin into the first fountain you see, jump down the hole. This completes the challenge (given you do it fast enough), and also leads you to level 1-S