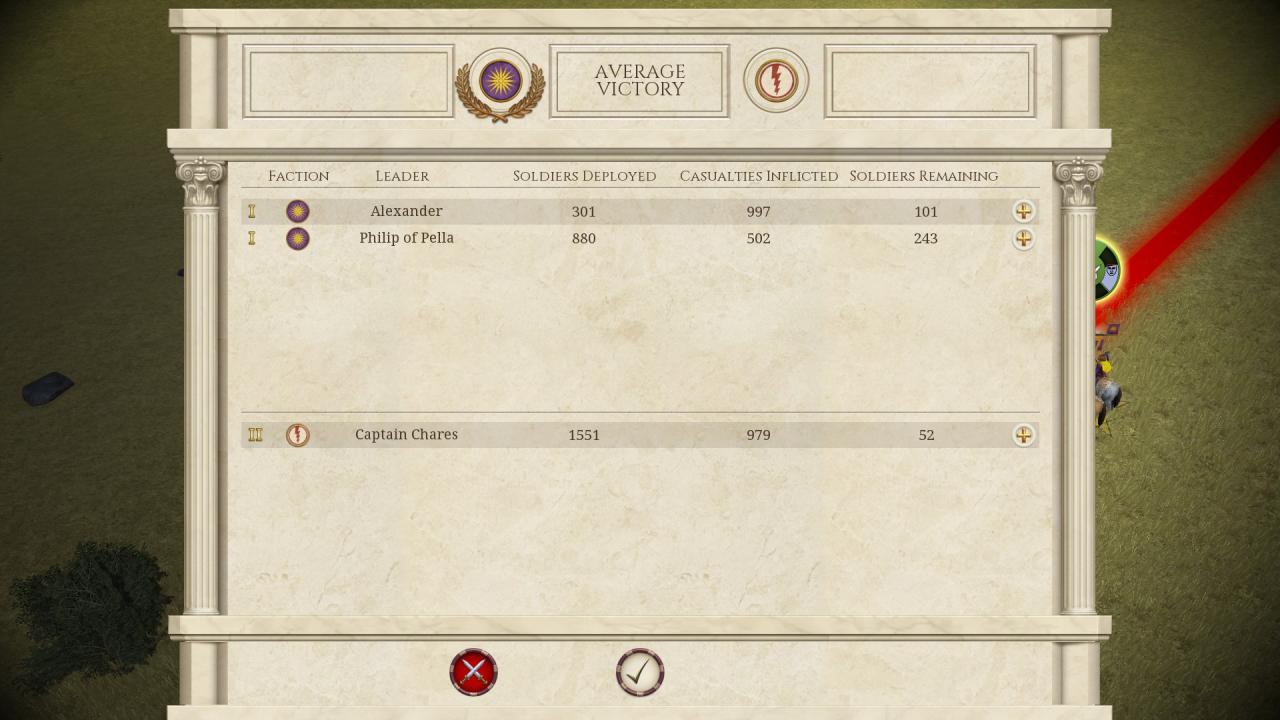
Here is a full guide on how to decisively win all the Alexander’s battles on very hard – as well as killing the enemy generals and achieving heroic (or at least “clear”) victories.
Chaeronea
Also, it might be just me, but i believe the AI is much better here than in the original Total War – Alexander – even after adjusting the settings to match the “original game”

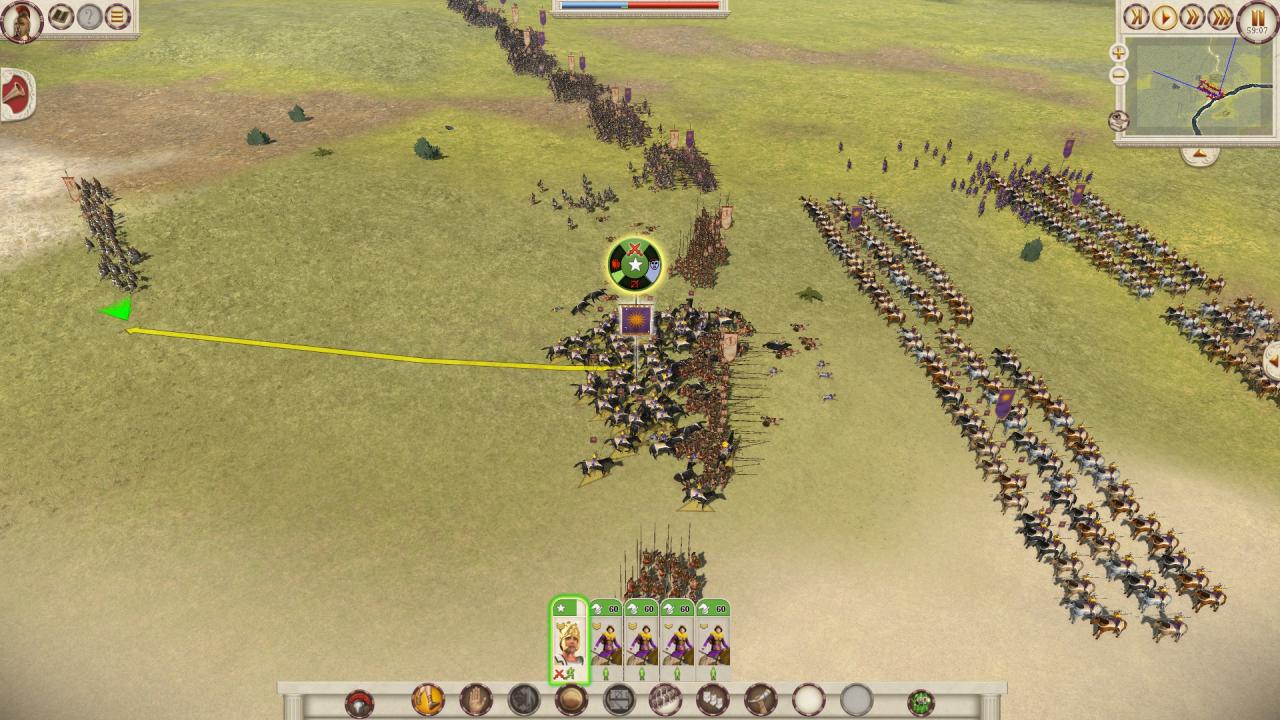
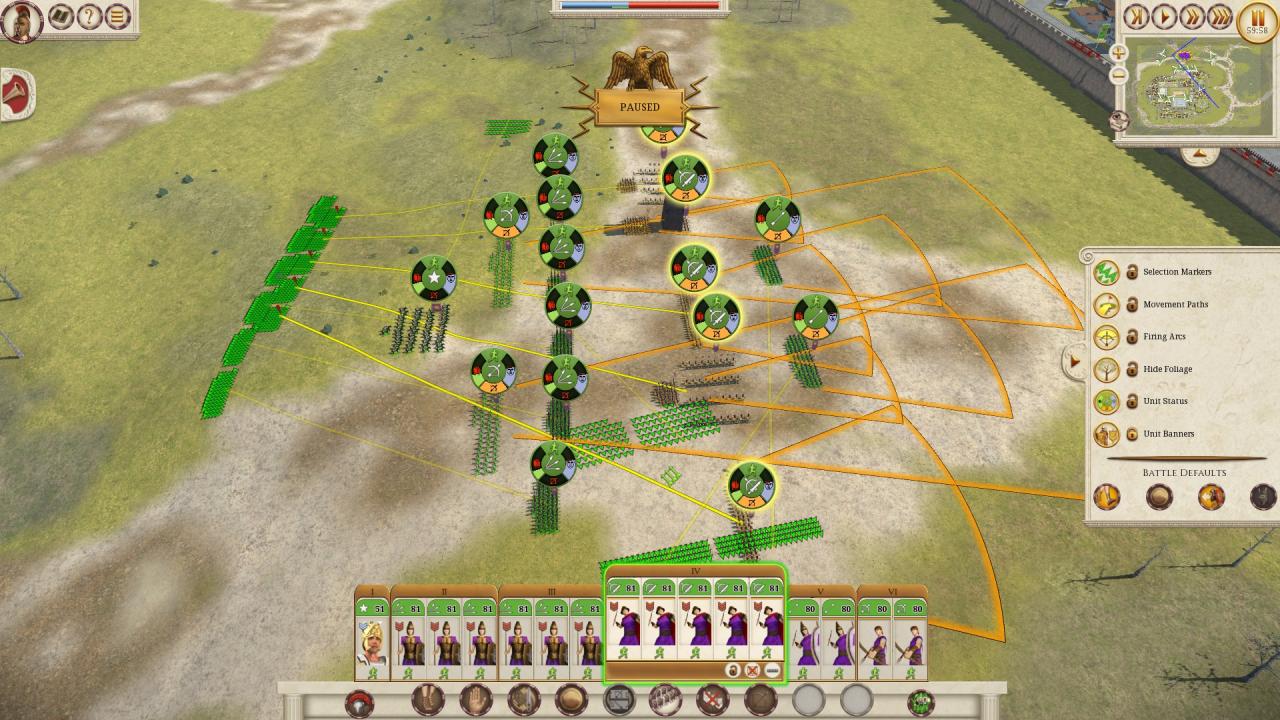
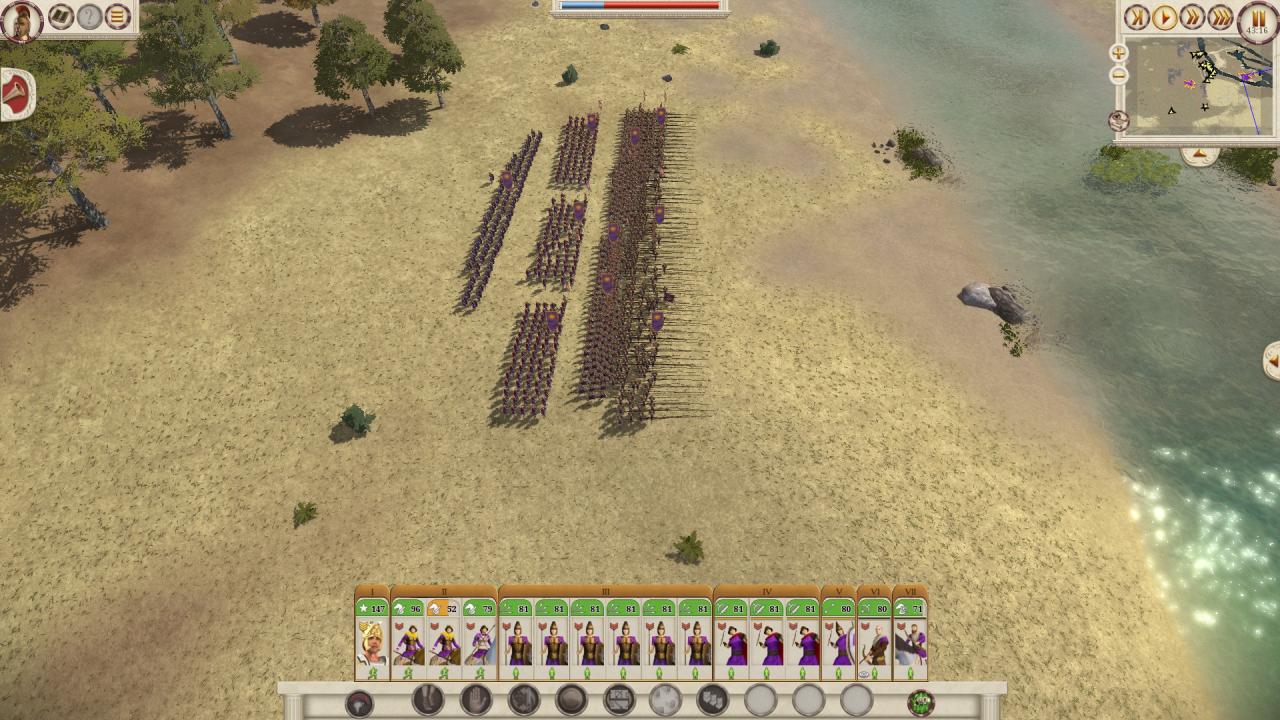
Let’s start by forming all your companions into 3 line deep formations (i found out that it provides the highest damage on charge and flanks the enemy on top of that) and prepare Alexander to slip through the gap in the Greek army – make sure to click multiple times in order not to tangle into enemy hoplites, peltasts and especially sacred band
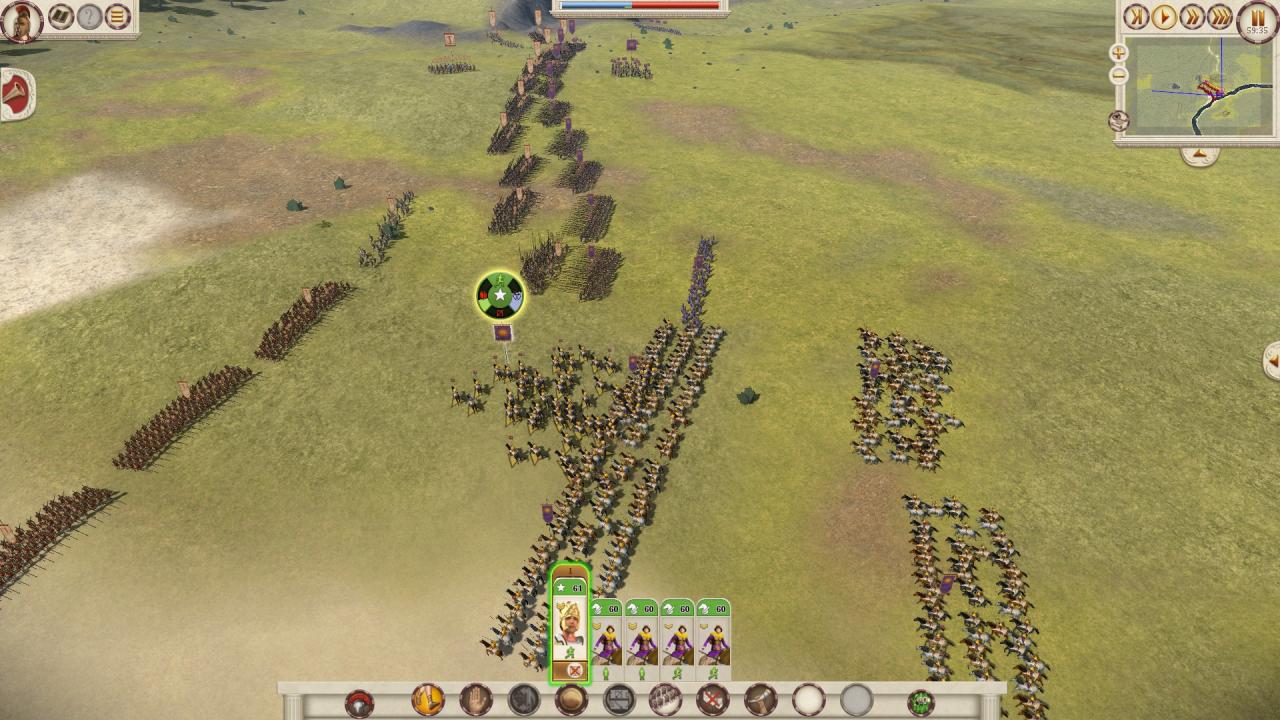
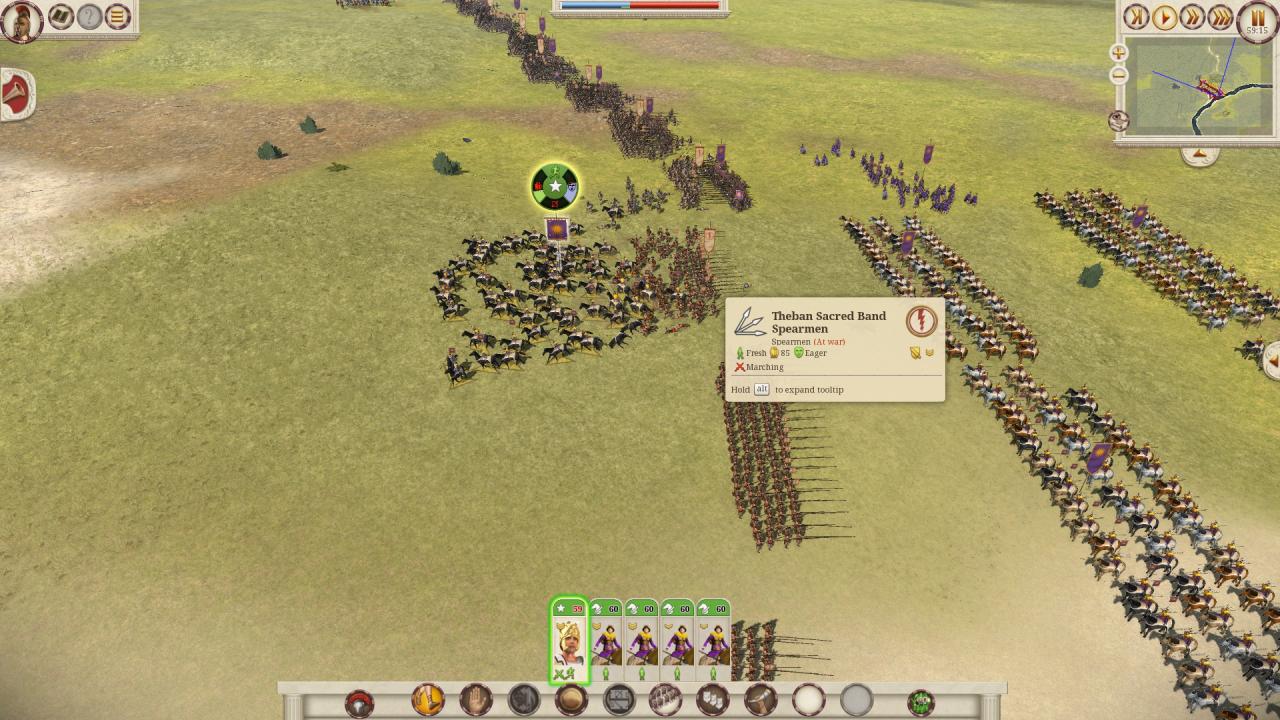
Once you are past, make sure to station Alexander right behind the first enemy sacred band – and that all units are ready to charge (if even a single soldier is fighting peltasts or hoplites, the charge will not be effective).

Afterwards, charge into the back of the first sacred band and deal about 10-20 casulaties, then withdraw – if enemy starts repositioning, restart the game – we need alexander to make 2 succesful charges.
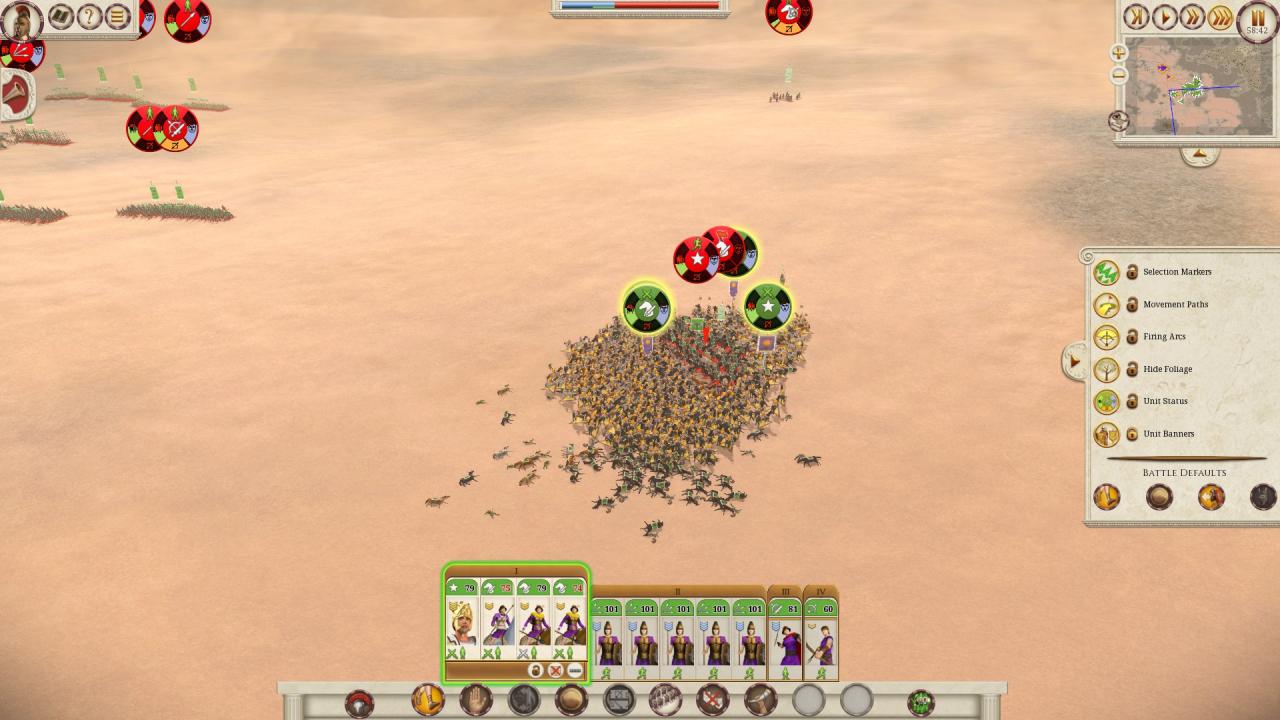
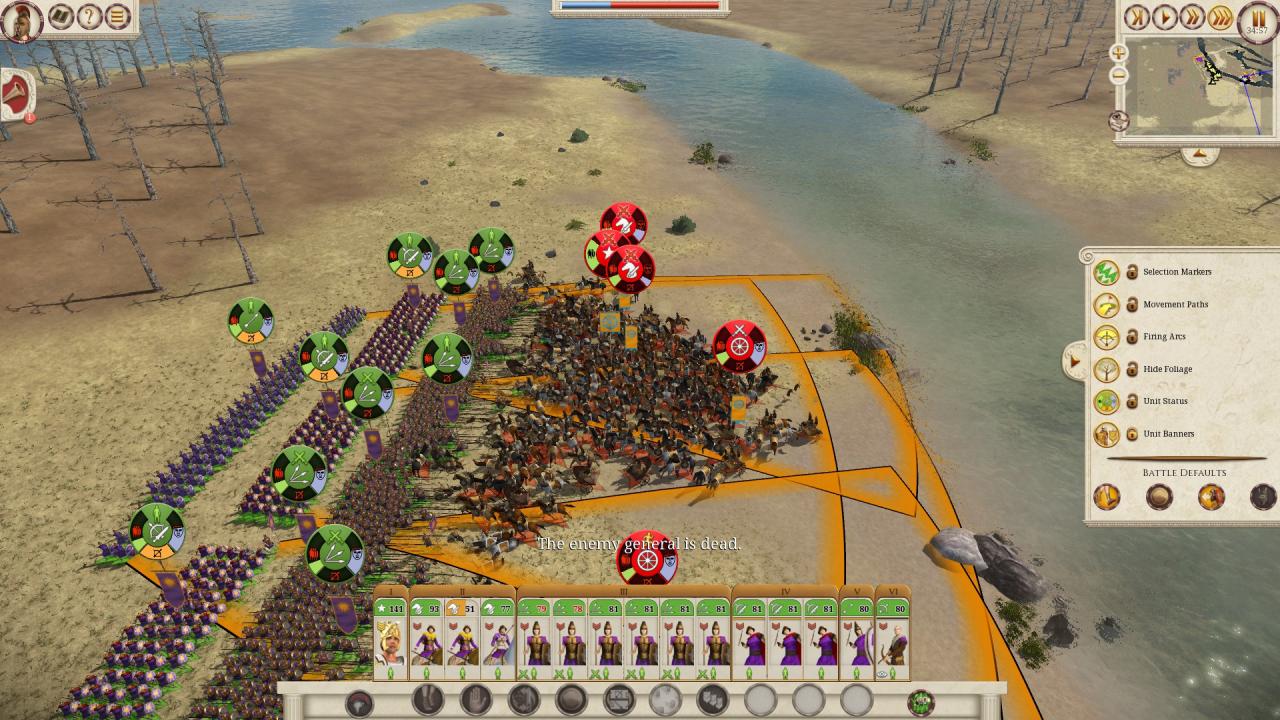
After withdrawing and regrouping, make a second charge into the second sacred band – and once enemy starts repositioning, use 1 cavalry to attack the first sacred band, 1 cavalry to attack the second one, and 2 cavalry units to attack the last one (which has not yet been charged) – then wait a moment and charge again with alexander at the first enemy that starts turning their backs to alexander. At this point, at least 2 sacred bands should have been broken – if not, consider restarting the battle (but if at least 1 is broken, and one is 20-35 soldiers strong, you can hang on a bit). After the Alexander’s charge, use him to attack and kill the enemy general and try to break the last unit (you can charge again at their backs).
If you manage to kill the general and the sacred bands – and maintain about 50 or more percent of your army, then use your cavalry to periodically strike enemy backs (use jebaiting tactics if necessary – but the best is if the enemy hoplites are still fighting Phillip’s phalanxes) and let 1 cavalry deal with the annoying peltasts. That’s it
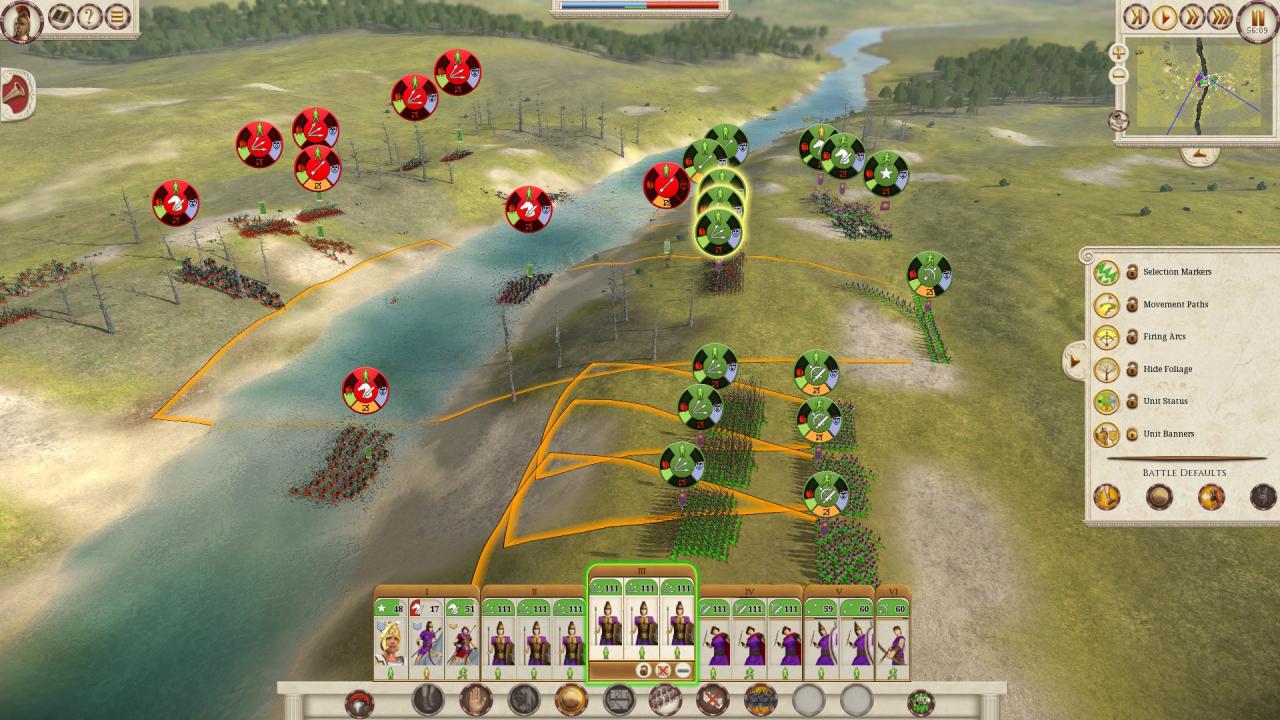
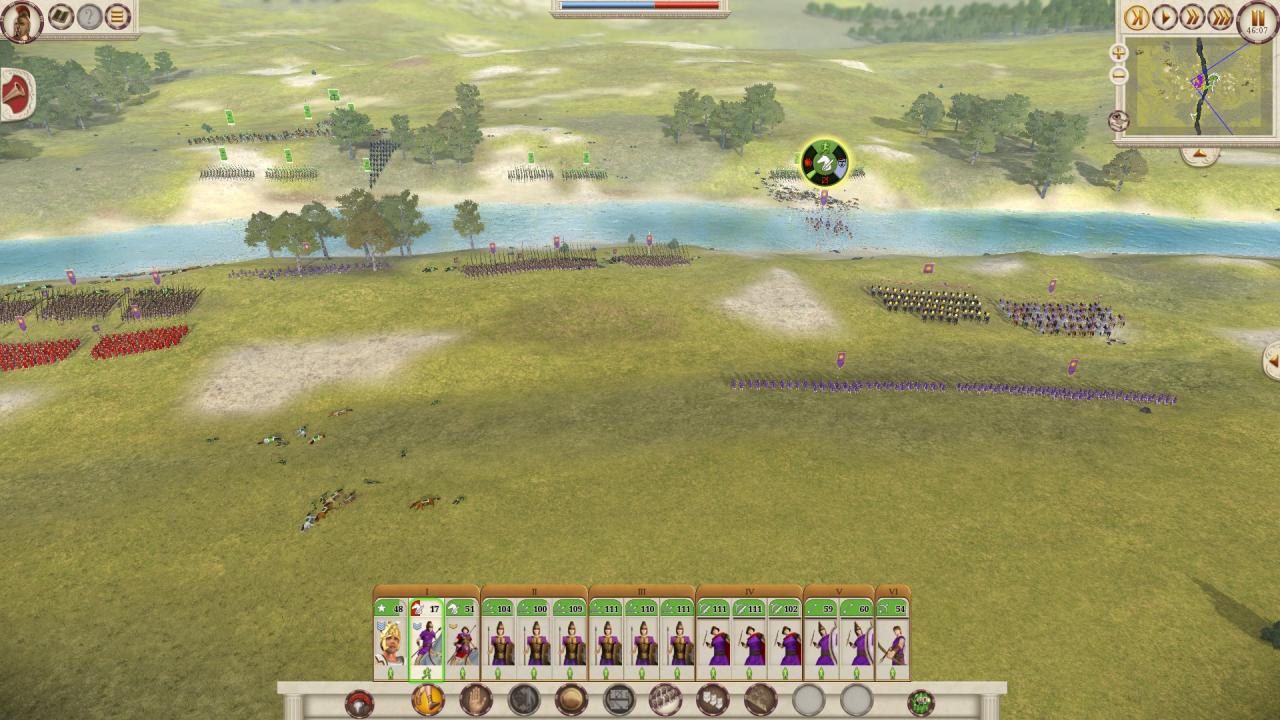
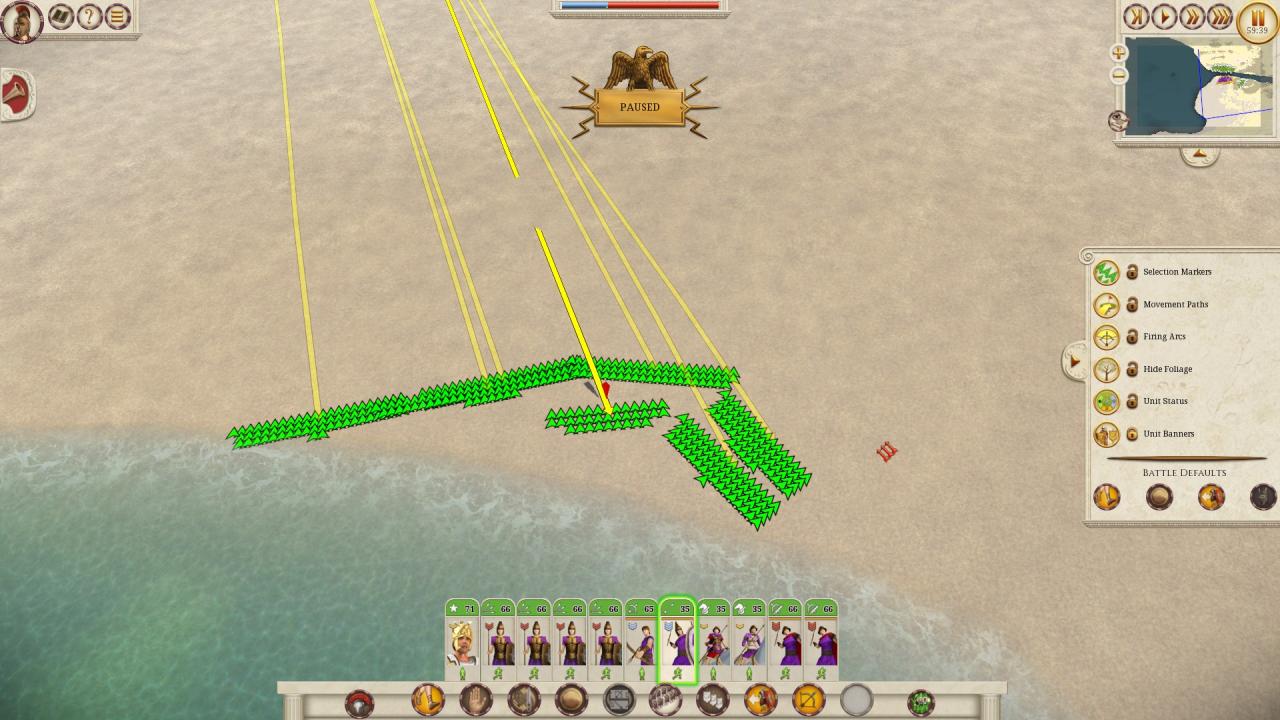
Granicus
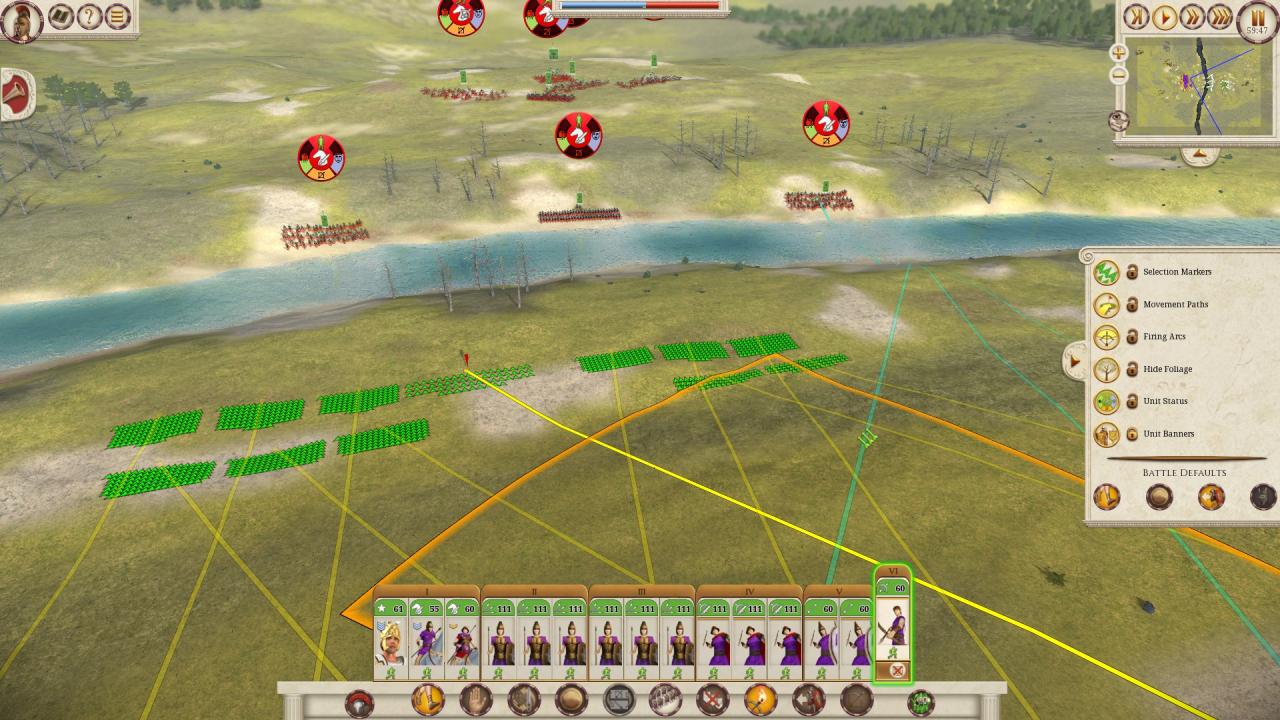
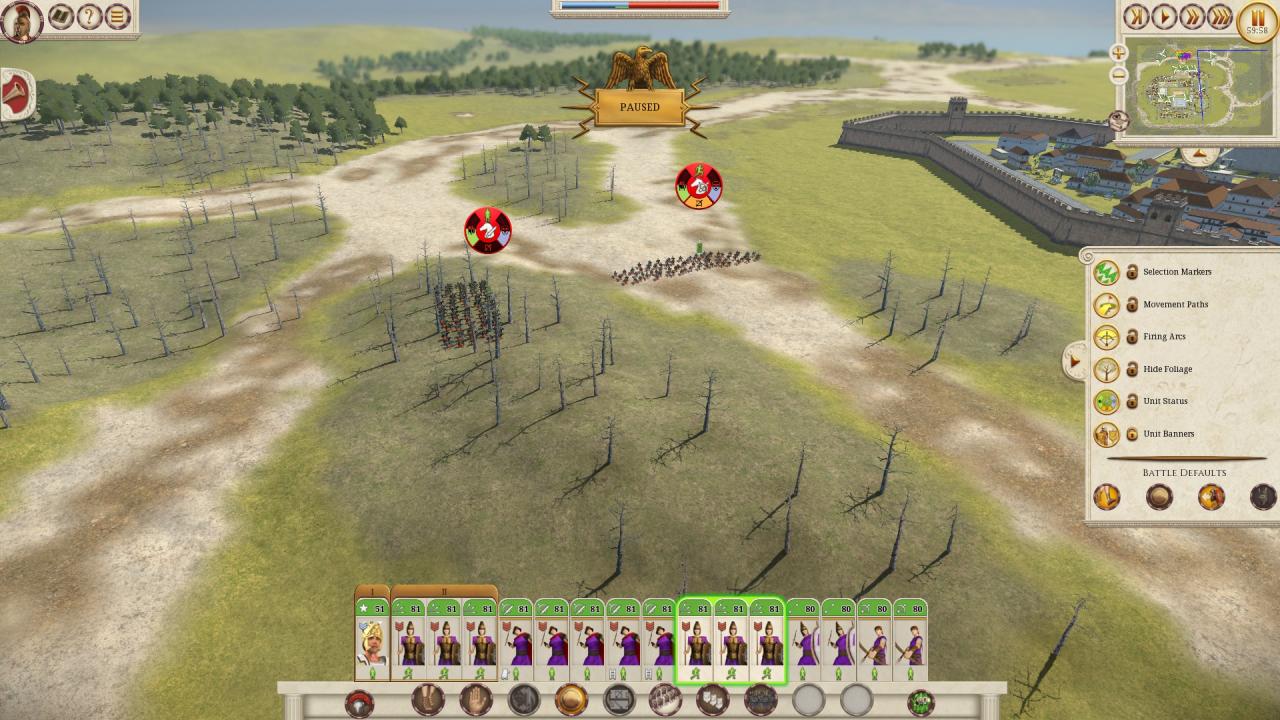
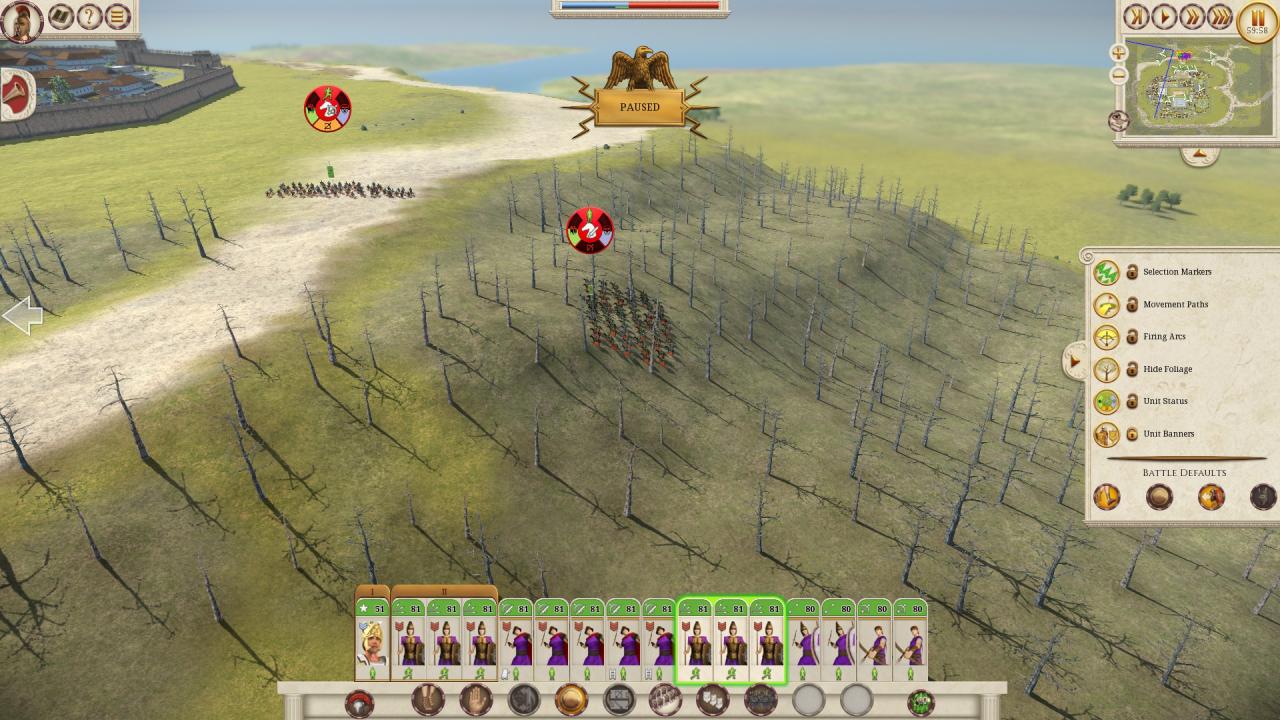
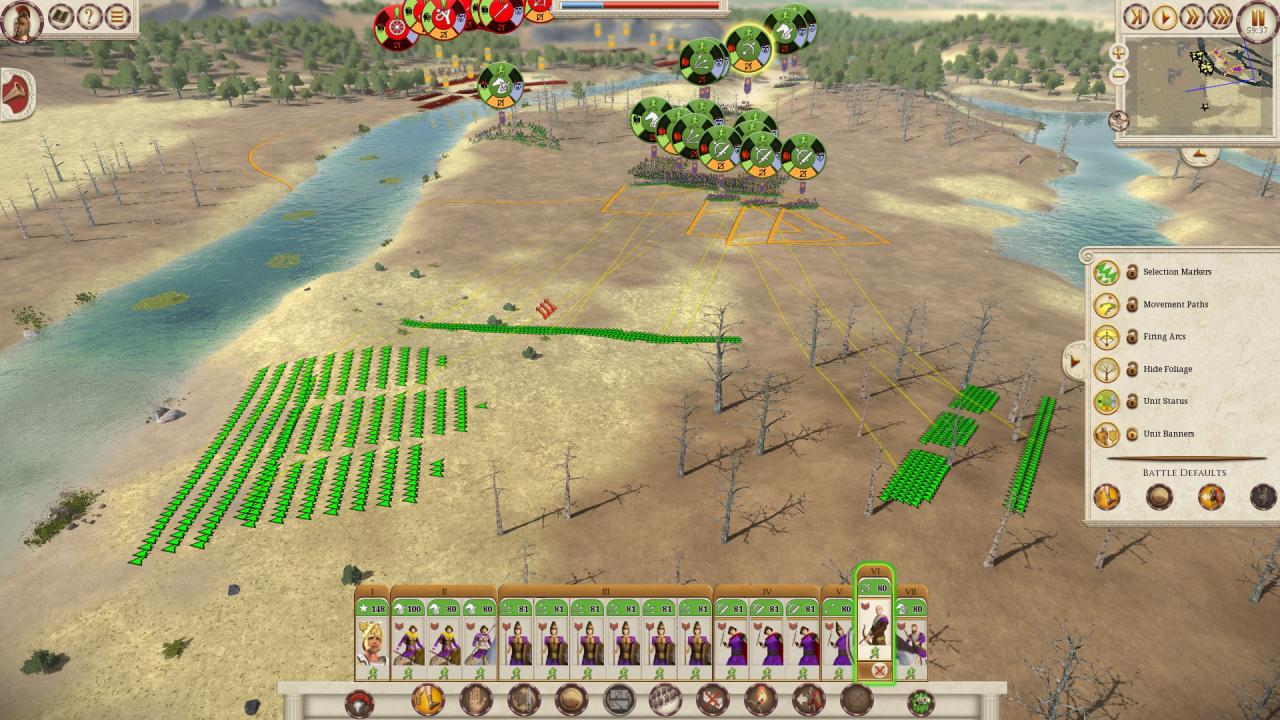
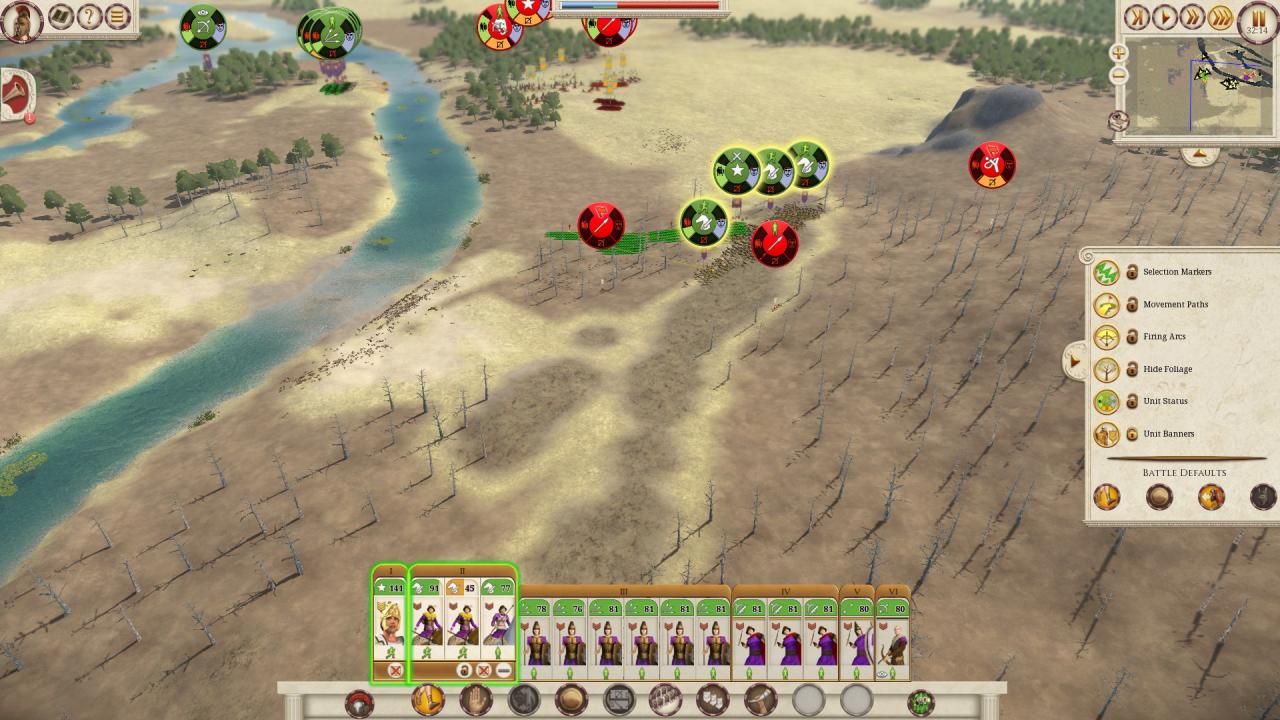
FIrst, position your army like this – a bit back from the river in order not to be in range of enemy Scythian archers, but still to control the river crossings. Also, it’s very important to immediately charge all your cavalry (including our boy Alex) into the easternmost Cavalry skirmishers- and to make them rout (light cavalry will suffer high losses, but that’s to be expected), then pull your cavalry back.
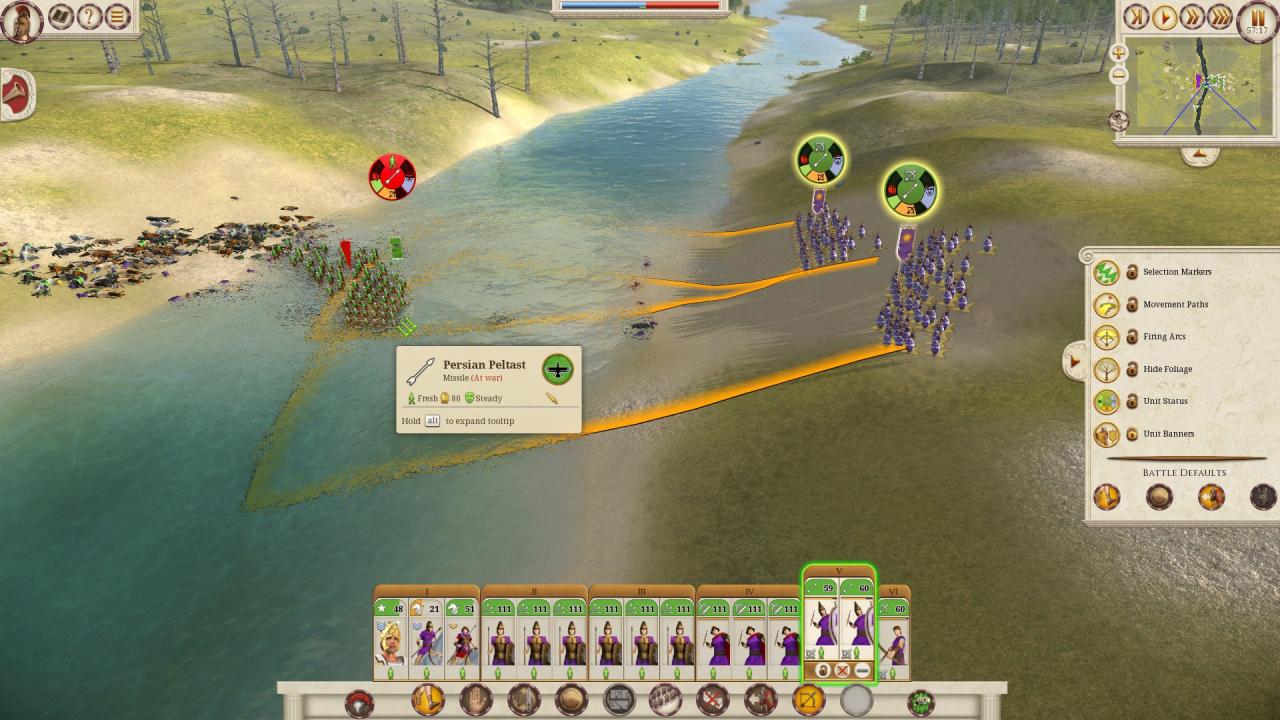
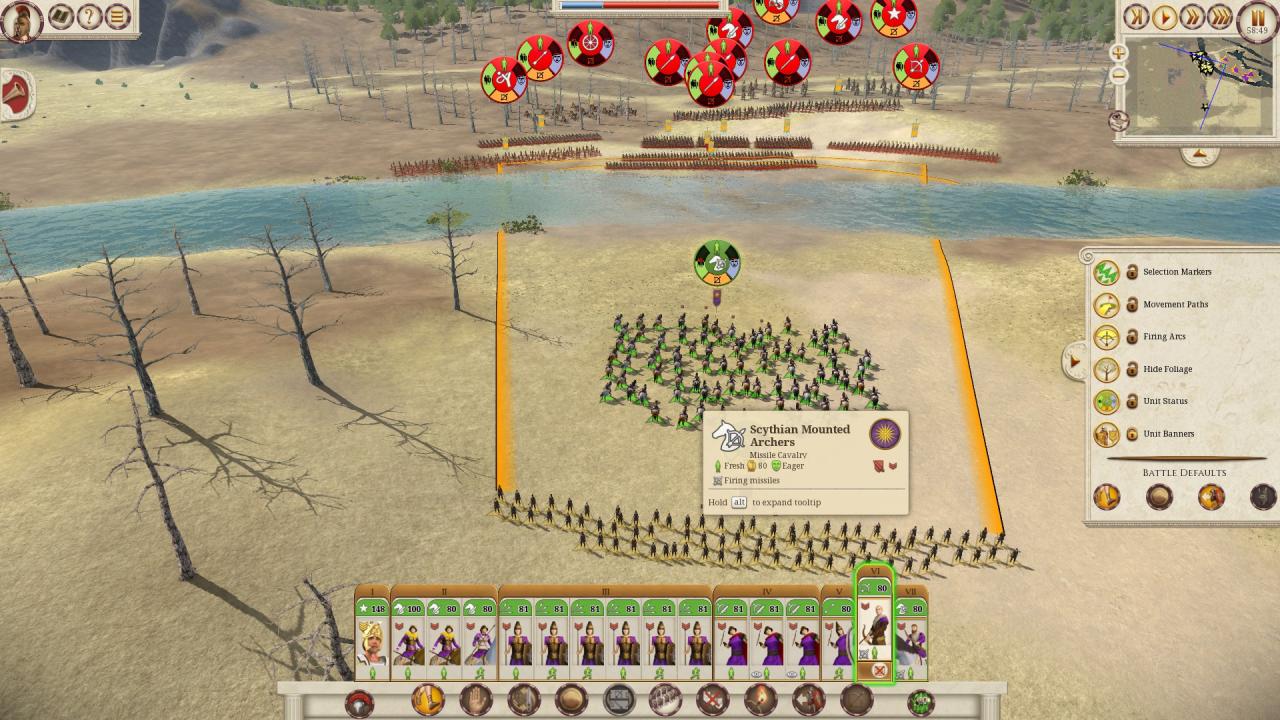
This will provoke the enemy and they will start crossing the river with their peltasts – use either your own peltasts or cavalry(or both) to ambush them while they are crossing. Afterwards, do the same to the second peltast group. You can also start shooting the enemy scythian archers with your own archers (right after you trigger the enemy peltasts to start moving) – best used with flaming arrows – but still, it’s important to keep your archers safe in order to kill as many scythian archers as you can.
Afterwards, the enemy cavalry will definitely charge – make sure to put all your Hypaspists behind the western phalanxes (preferably with peltasts) and allow “fire at will” – the western cavalry will consist of the annoying cavalry skirmishers – of course, use the phalanx formation to let the cavalry charge into you – and die.
Make sure to finish off the cavalry with your own cavalry, in order not to let the enemy return to fight and harass your back. Then, if the enemy hoplites start crossing the river, prepare to fend them off with your superior phalanxes – and if not, use your cavalry to strike them for a second and return behind your lines (killing or losing 1 soldier will trigger the enemy to cross) – and then the enemy will die easily by your phalanxes.
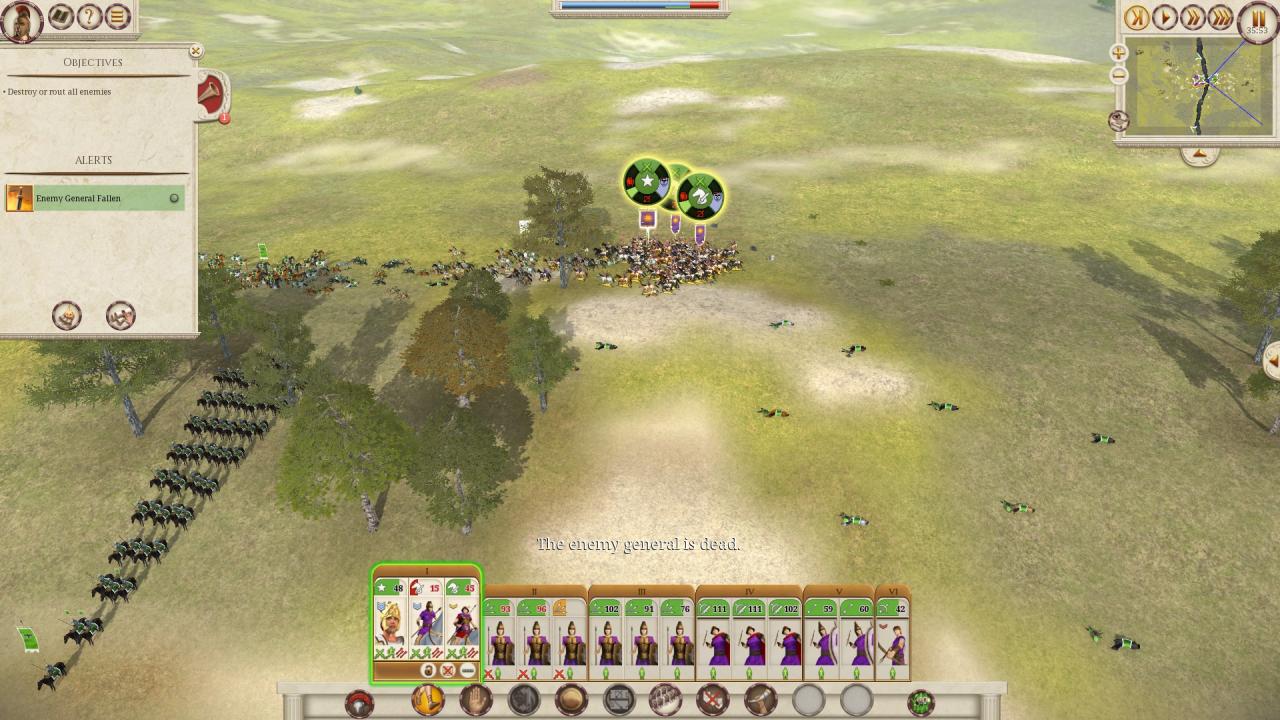
Once the enemy hoplites are dead, use your cavalry to attack and kill the enemy general – the enemy scythian archers should be about 1/3 strength both now (due to your archer fire) and once the general dies, the army will either rout or will be easily routed by your remaining – probably full -army
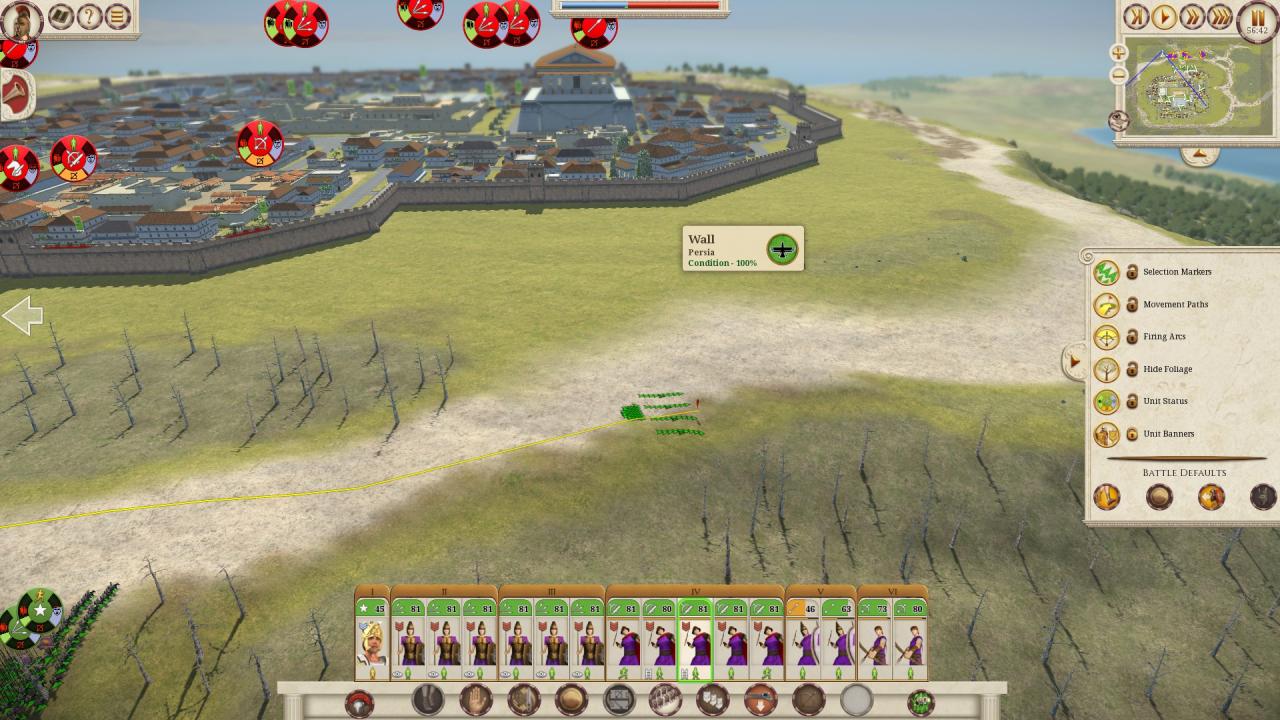
Halicarnassus
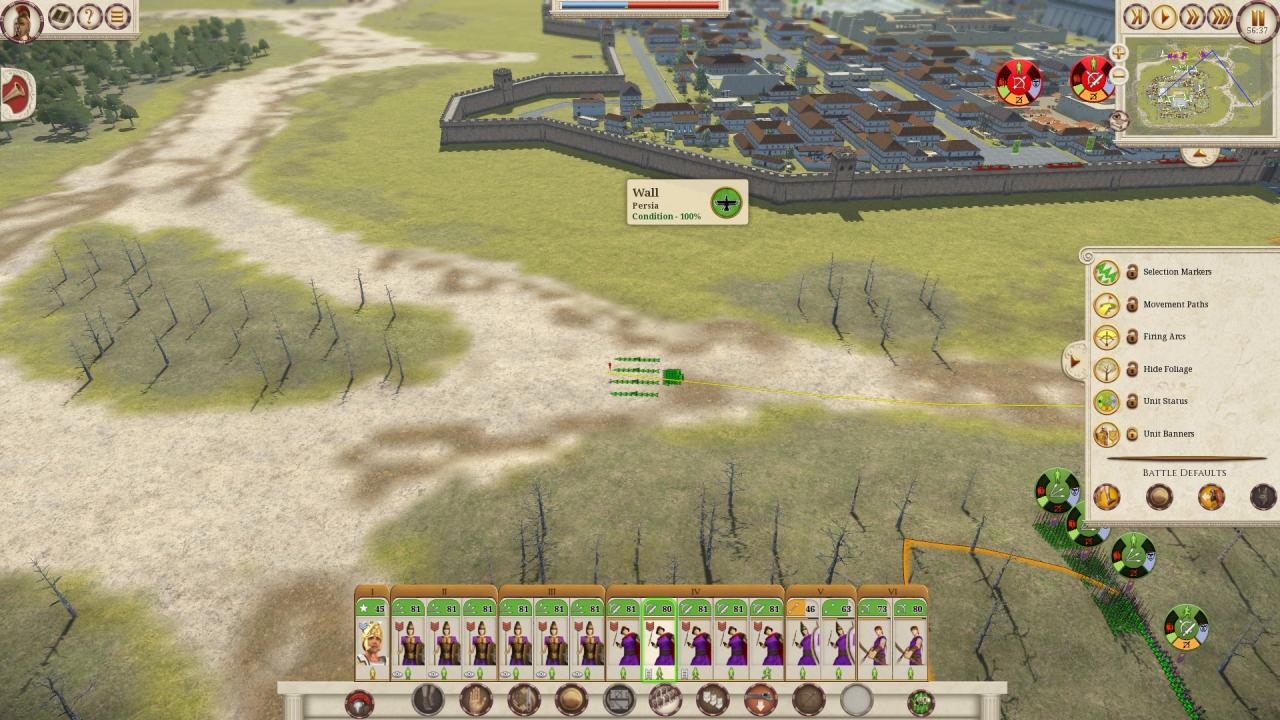
Start by moving your phalanxes and hypaspists south – of course, make sure to drop the equipment. Also, use alexander to go west (to intercept the enemy skirmishers, but make sure to click NEXT to them, only attack when Alex gets very close to them) and peltasts + archers to the east – make sure to disallow the skirmish mode so that your peltasts don’t run and keep firing.
Once Alexander kills the enemy skirmishers, use him to kill the other ones – provided that they are still alive (but they will, nonetheless, suffer enormous losses by your archers and peltasts).
With the annoying skirmishers dead, pick up the ladders with hypaspists (ignore the siege tower) and move 3 phalanxes west and 3 phalanxes east – to kill the enemy light cavalry hiding in the forest – prefer to run in order not to waste time, and use alexander to flank the enemy cavalry (you don’t have to attack both simultaneously, i prefer to get rid of the eastern ones first, then to deal with the western ones – alexander is the only cavalry unit and he is very useful in flanking the enemy cavalry that would otherwise run away).
While doing that, order your ladders to move – 1 to the east and 1 to the west, beyond the reach of enemy archers and towers – on top of that, stay close to the ladders with the respective phalanxes that are remaining. Also, send both peltasts and 2 more hypaspists east, and 1 hypaspist unit west.
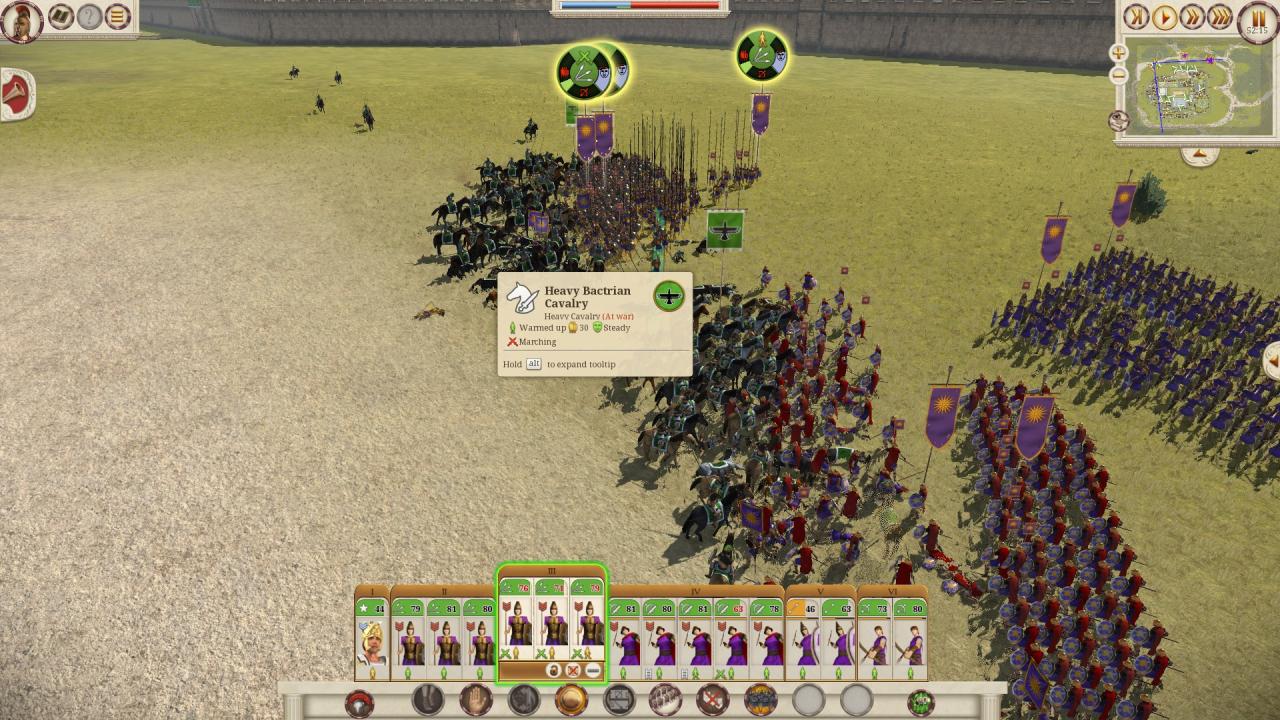
This should also trigger the enemy general and heavy cavalry to strike at you – when that happens, have your phalanxes and hypaspists ready to fend them off (preferably with alexander, too).
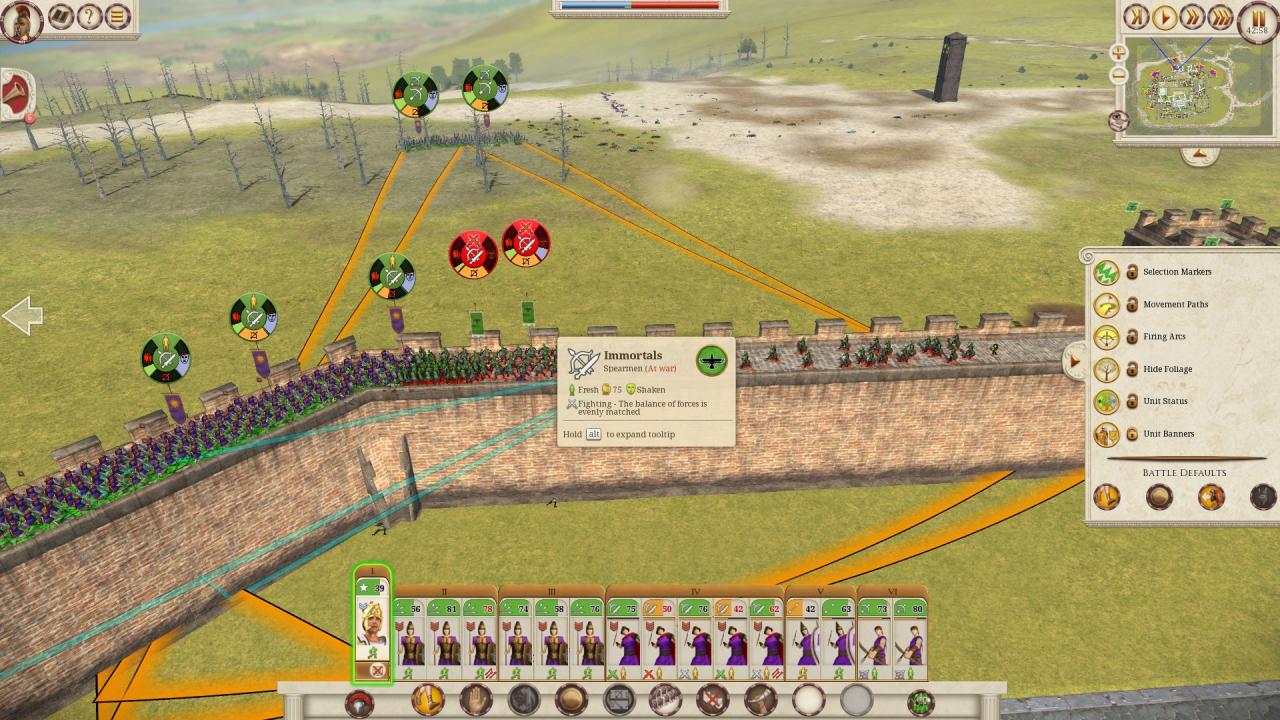
After the enemy cavalry is destroyed, proceed with climbing the city city walls and use 1 peltast army to go round the walls to capture the gates and the towers (and quickly move alexander throught the eastern gate to the proximity of the main gate)

Meanwhile, use hypaspists and phalangists to attack their respective closes targets (start with the eastern enemies, because there are 2 immortals stacked and it takes longer to get through them) – once the first enemy archer breaks, use both your archers to shoot flaming arrows at the doubled immortals – they will break quickly as well.
If the enemy flees with the archers below the walls – and starts shooting at your units, try to move quickly with your troops to capture the gates (they will start shooting at the enmy archers) and use alexander to attack them, too. Also, move your remaining archers into the city. After the enemy is dead, start preparing your final attack from the east
Meanwhile, use your survivng archers to kill the enemy archers from the position on the following picture – and makes sure to capture the western gate with your peltasts that are moving around, so that the western towers kill the enemy spearmen nearby.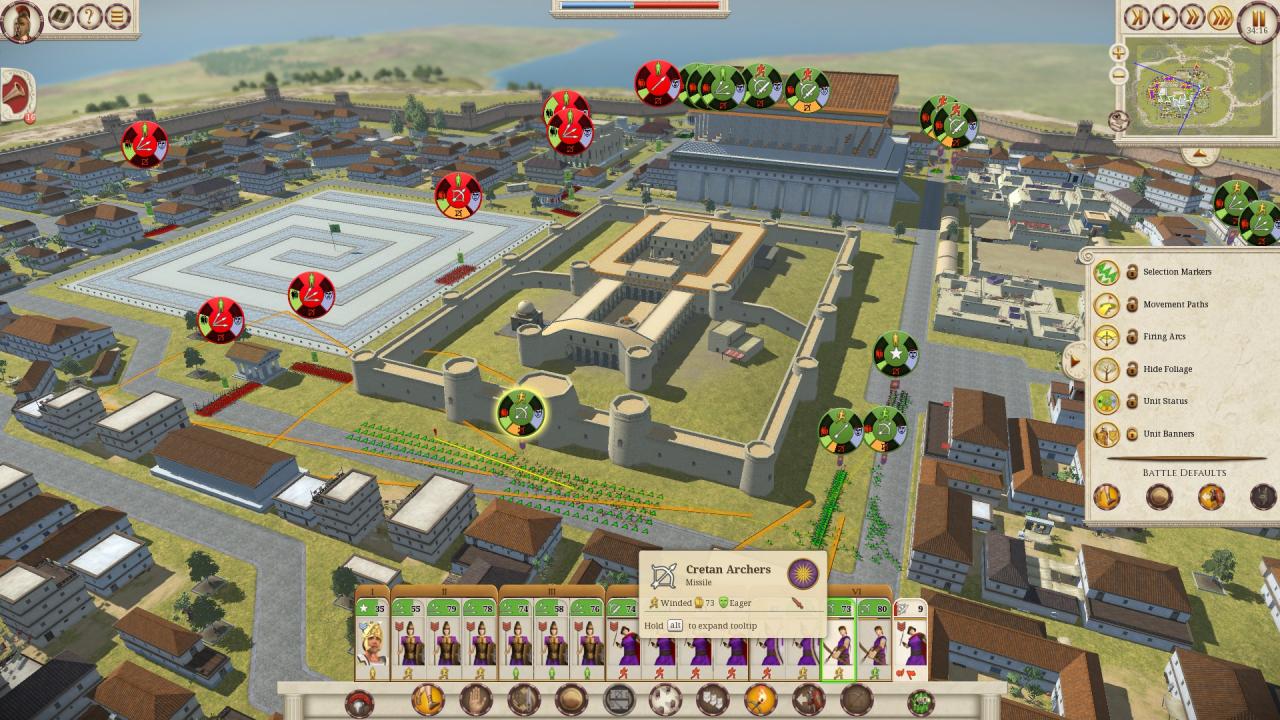
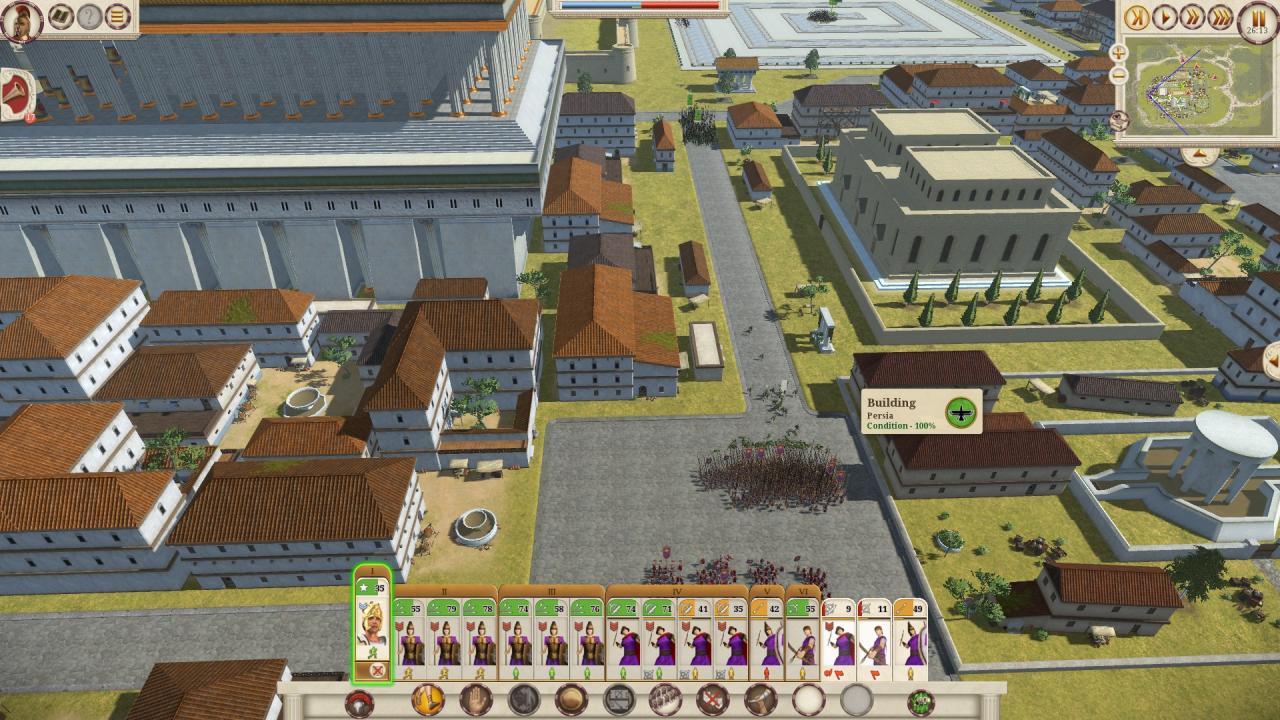
Also, use all your peltasts to shoot heir respective javelins at the enemy – once they all are out of ammo, move them east and start triggering the enemy hoplites (strike at them, then run back) – they will attack your phalanxes which will easily destroy them….proceed to the square with all your troops and make a phalanx wall in there, maybe with a hole at the side to sneak hypaspists and alexander through in order to strike the enemy into their back and finish them off. In the following picture, i got a bit carried away due to the fast speed, losing all my peltasts and getting kinda surrounded by neglecting the proper phalanx wall at the square, so i suffered unnecessary casualties – you can easily win with 800 or so of your men alive.

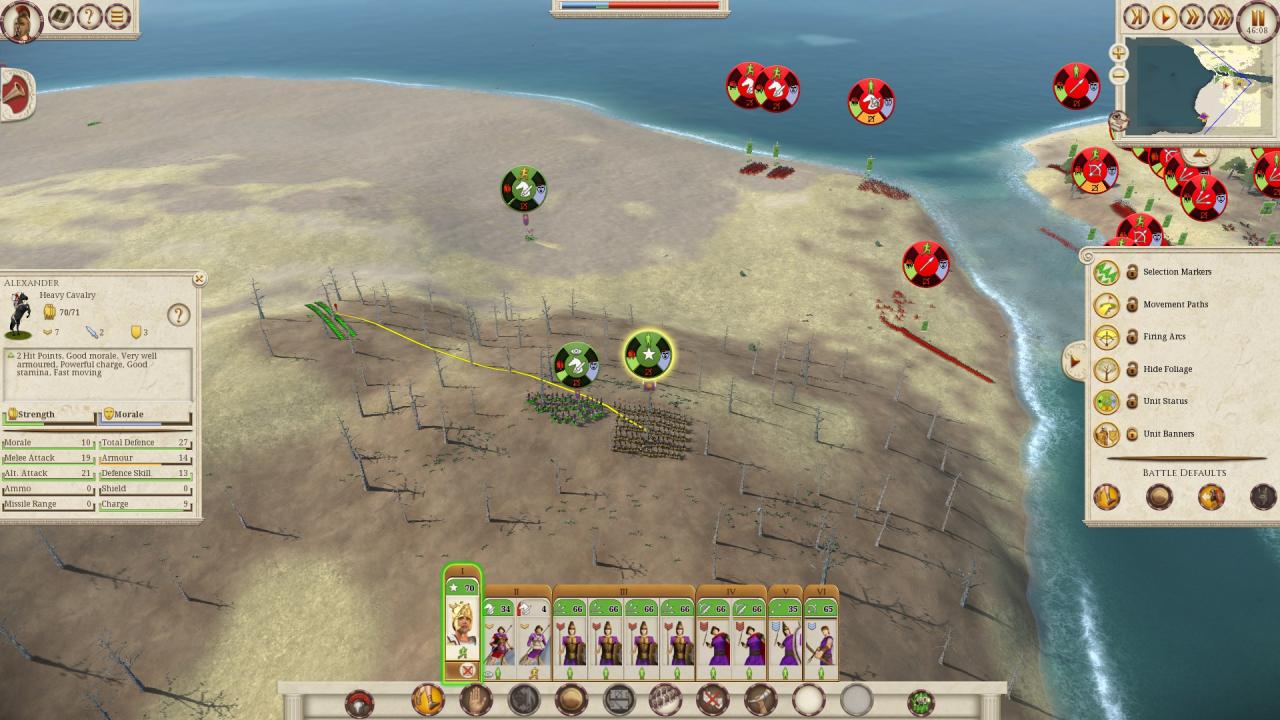
Issus
It’s very important to make sure to use alexander to attack the righternmost slingers and the other 2 cavalry units to attack the westernmost slingers – this way, you will suffer maybe 1 or 2 casualties total and the enemy won’t be able to fire a single volley before breaking.
Meanwhile, use flaming arrows and kill as many immortals as you can – the enemy will not be able to reach your archers.

After the archers are out of ammo, run behind your lines and station them behind your peltasts and hypaspists. Once they are there (or almost there), use your weakest cavalry unit to attack the easternmost enemy spears – and try to run back to safety, behind the phalanx formation – this should trigger the enemy cavalry and archers to start crossing the river. Meanwhile, keep Alexander and the other cavalry unit on the hill where the slingers were meant to ambush you from. The enemy archers will become exposed and unguarded – that’s the time to smash them into pieces with your cavalry – the enemy cavalry will probably try to attack you after a while, so run with your cavalry behind your lines, more or less to the archers’ position.
The enemy cavalry should strike at any moment – and they choose the “non-phalanx” east, so promtly position one or two phalanxes there once the cavalry starts charging….the cavalry should not have enough time to turn back and they should get smashed…..then, reposition your phalanxes to encompass all sides of the sea (and tighten the formation a bit) – the enemy hoplites and spearmen are to strike soon.
After the enemy cavalry strikes, you can use your own cavalry to strike their backs and/or to kill the remaining enemy archers – provided they returned back to fight – once they are all dead, use your cavalry to attack the enemy scythian archers – they might run away, but your cavalry will eventually catch and kill them, and once that happens, attack enemy general (make sure that, in both cases, you click NEXT to the enemy you want to attack, otherwise they will start running).
With the enemy archers, cavalry and general dead, your phalanxes should have absolutely no problems fending off the enemy hoplites and spearmen – and you can use alexander and hypaspists to charge their backs so that they break. In this case, i kinda neglected the enemy cavalry charge and lost an entire phalanx unit, but if you do it properly, you can win it even with 2/3 of your army left;)
Gaugamela
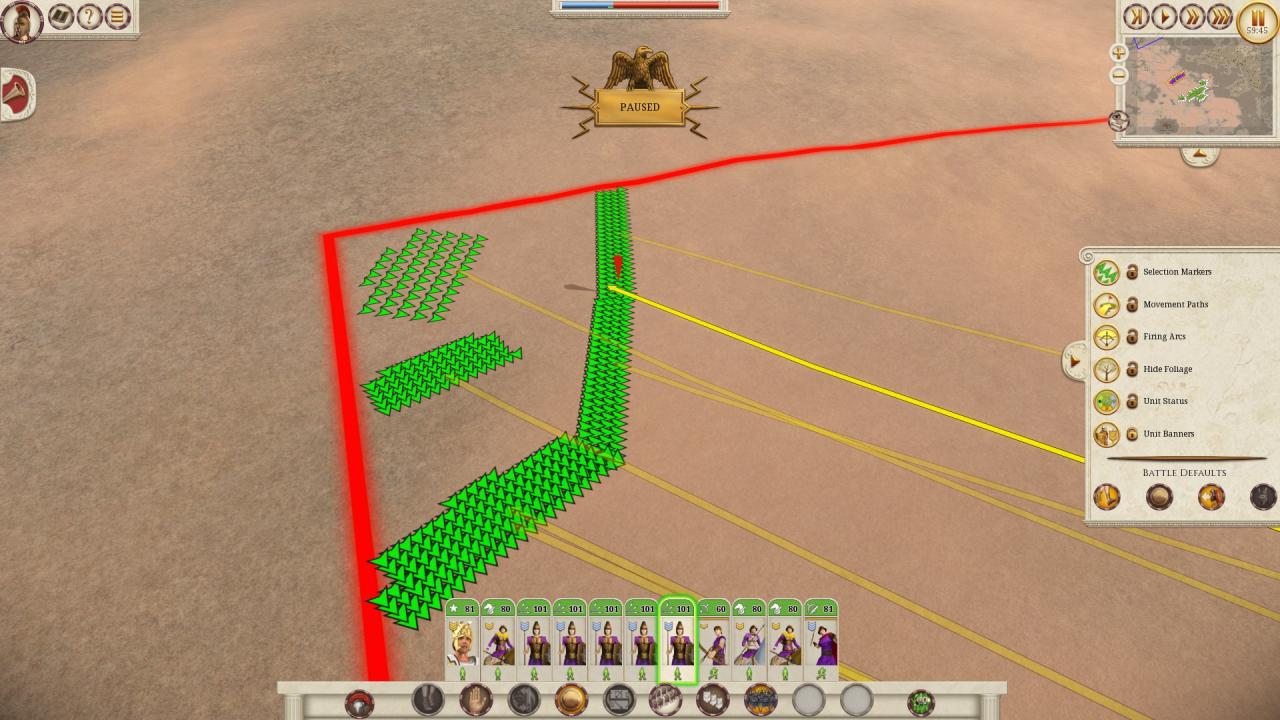
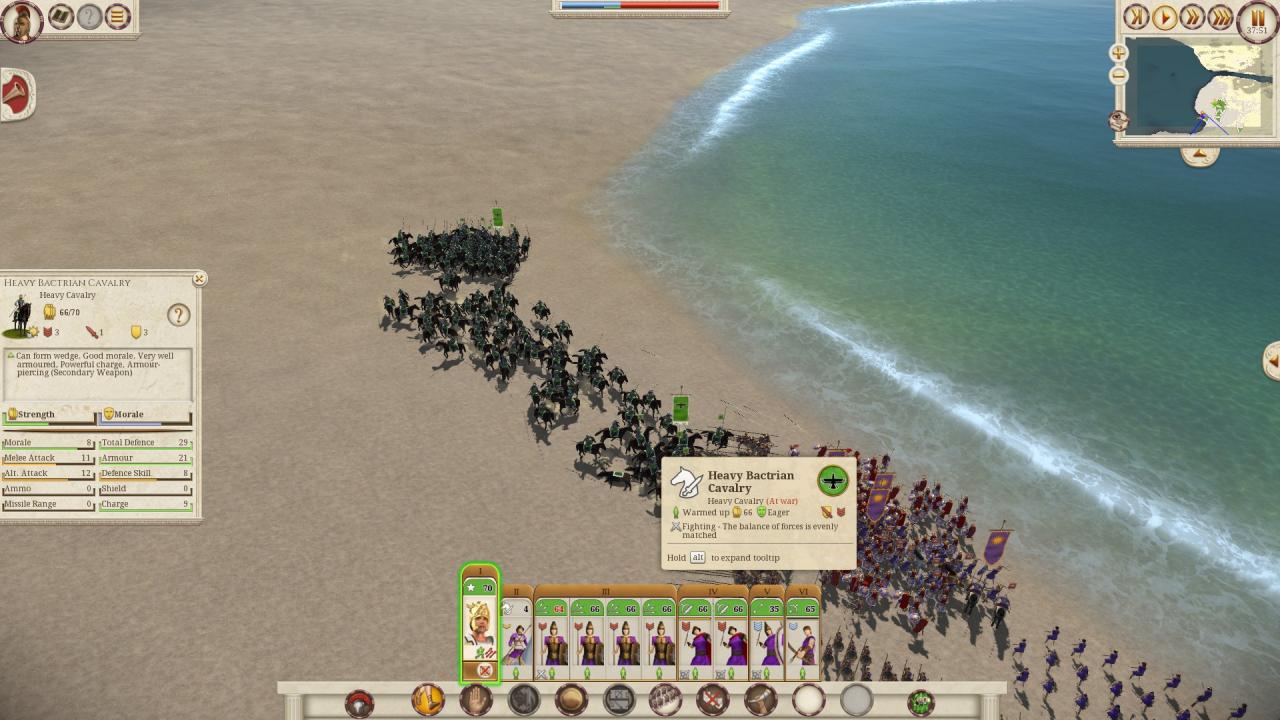
It’s important to place them like this, because the bottom left part of that corner will be pressured heavily by the enemy spearmen and hillmen. Also, use all your 4 cavalry units to destory the eastern army (1 missile + 2 heavy cavalry units -> make sure to encircle them).
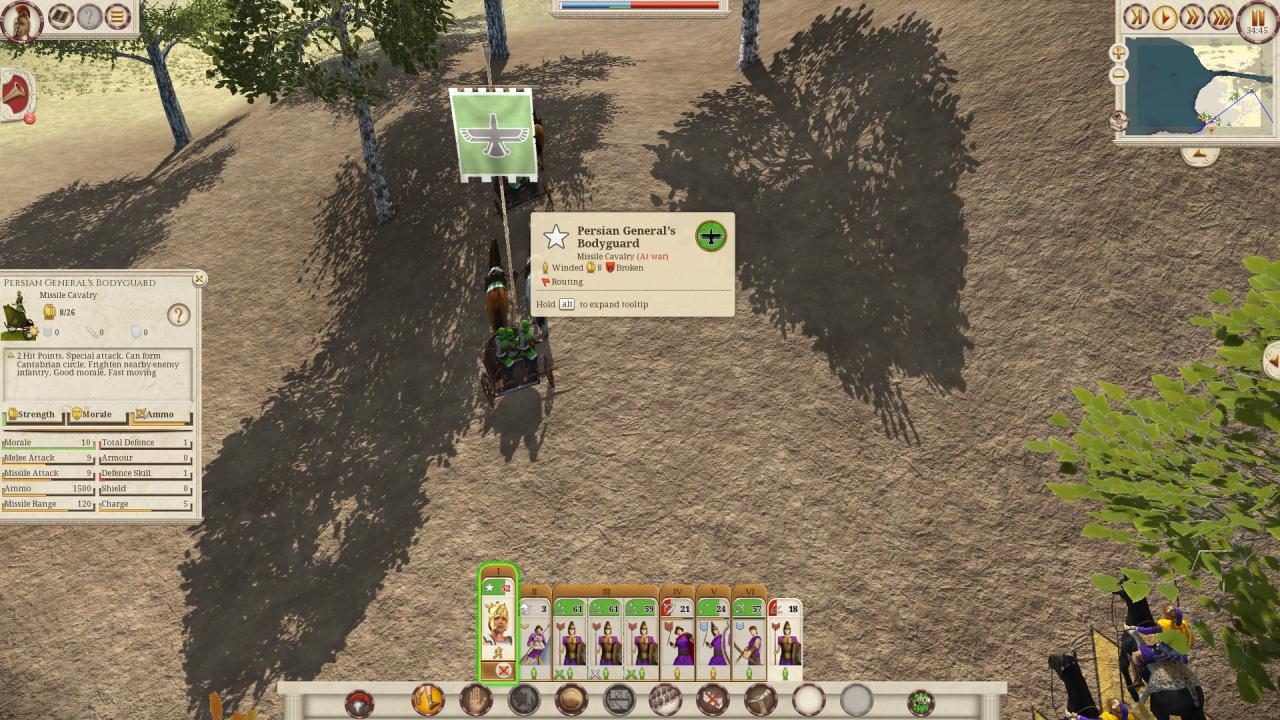
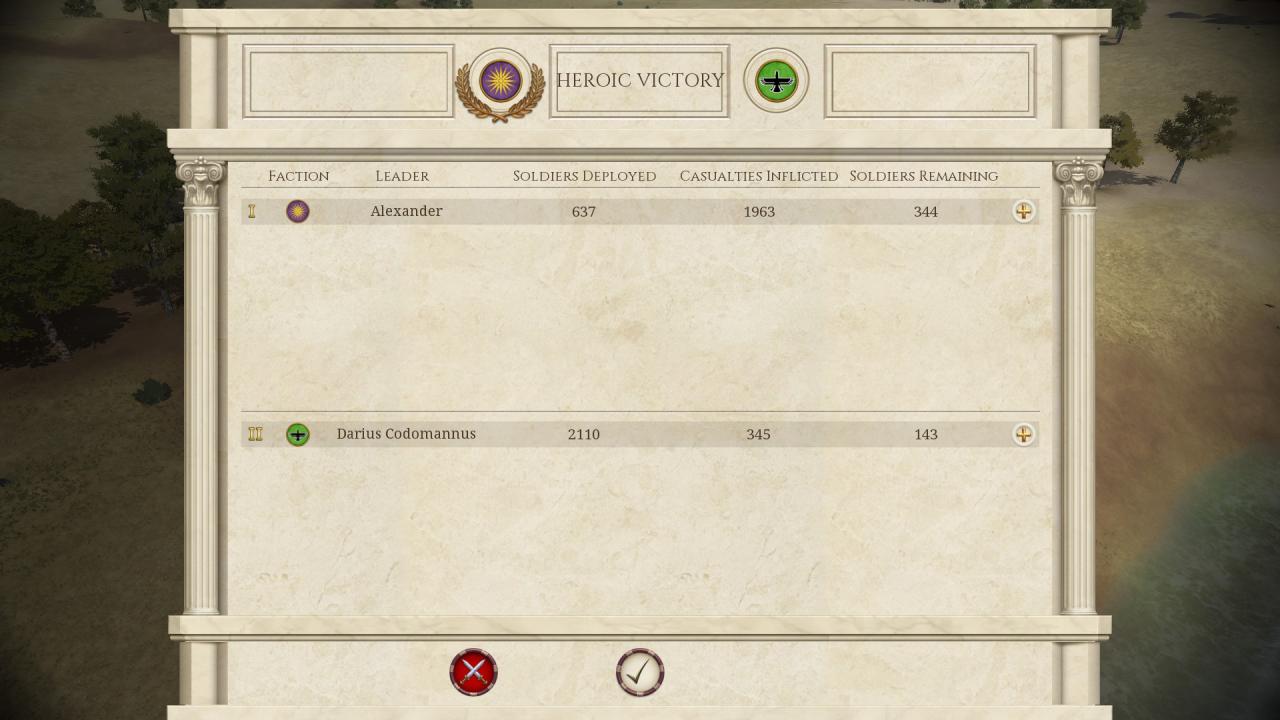
After that army is destroyed, ride close to darius in order to trigger him into shooting your cavalry, then attack and kill him (again, click NEXT TO the general unit, because if you click at him, he will start running away). After he is dead, the second small army will either attack you (in that case, run behind your lines with alexander and sacrifice your remaining cavalry if necassary) or it will let you be (in this case, you can either rest your cavalry somewhere or attack the elephants and chariots, then rest somewhere away). After this, the enemy will simply smash into your impenetrable phalanx wall and you win. Additionally – if enemy gets close with elephants, use flaming arrows to kill them.
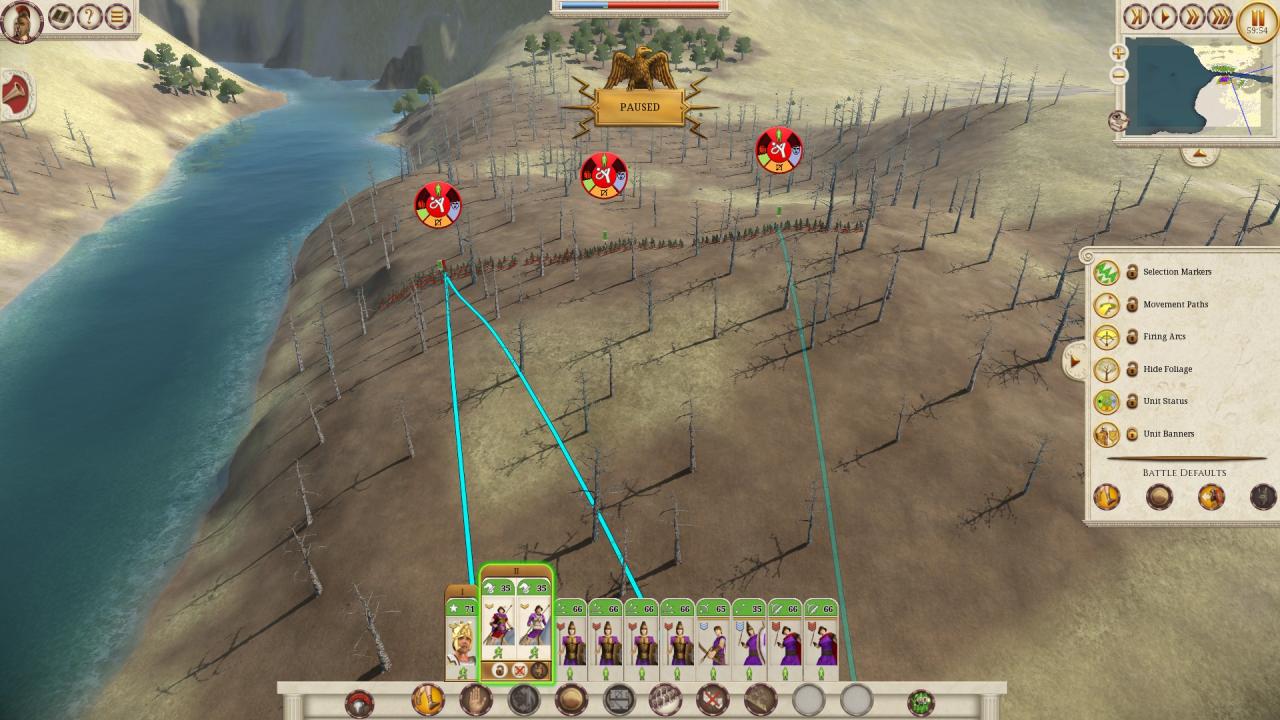
Hydaspes
Start by moving all your phalanxes back next to the unguarded crossing and make a phalanx wall. Move all your cavalry infront of the crossing (but do not cross it yet!) and your hypaspists + peltasts on the forested hill, behind your phalanx (make sure to DISABLE fire at will and skirmish mode – we need to save the ammo for enemy elephants).
Meanwhile, use your scythian cavalry to snipe as many spearmen in the front line as possible, same with your archers regarding the second line -> those 2 are the most upgraded spear units the enemy has, so that’s the reason why you should target those.
After your units are out of ammo, move your archers behind your lines and use your cavalry to cross the ford – this should trigger the enemy to reposition and to attack with 1 peltast and 1 cavalry unit. They either cross the river and try to attack your scythian archers (in the case you see the 2 enemy untis crossing the river, run your scythians back behind your lines – you will need them later) and let the cavalry die to phalanxes, then smash the peltasts with your cavalry – and if they do not cross the river and instead go to the unguarded ford’s crossing, then use your cavalry to destroy those units.
Once they are dead, you can check the map and see an enemy general of the second army waiting in the forest, laying an ambush – you can either ignore him (my preferred method) or destroy him with your cavalry – there are 2 more cavalry units and 2 chariots, so i prefer those to smash them into my phalanxes (more about this later) instead of losing my precious cavalry. Regardless of what you choose, you can move your cavalry deep behind the enemy lines (there is a big hole between the enemy army guarding the side and the general laying the ambush) and then rest until the cavalry is fresh. Use this time to reposition your main army to form an impenetrable wall like on the following picture. I also suggest moving it a little bit “back” from the viewpoint of the army, because in this case i got ranged by 1 elephant unit once the enemy repositioned again (about that later)
Once you reposition your army and rest a bit, comes the time to strike the enemy into their back (but only after all your cavalry units are “fresh”!!) – use alexander to attack the enemy cavalry and use the rest of your cavalry to attack the enemy archers – all in the northernmost crossing. After they break and you run them down, strike the 2 spearmen guarding the crossing – they will break easily.

Now is the time to kill the smaller army (provided that you have not done so…yet) -> you can simply provoke them by moving your scythian archers across the river….once that happens, the smaller enemy army will try to attack you, so either poke at them and run back across the river (the small army will not attack you if you go back without attacking them, but will merely stop at the ford’s crossing) or sacrifice your scythians – in either case, the enemy will then try to attack your phalanx wall, but that will prove fatal.
After the small army has been destroyed, the enemy will reposition their chariots, elephants and basically everyone except for the 2 spearmen that we harassed earlier, 1 enemy slinger unit and 1 enemy archer unit (fully upgraded archers, that is….unfortunately for them though, with 0 morale) to the other side of the previously unguarded ford – and that marks the perfect opportunity to strike the remainder of the army (i.e the primary crossing) with all your cavalry….everyone will break easily and you will suffer virtually no losses – enemy archers and slingers will not be able to take a single volley, if executed properly, and the dwindled enemy ranks of superior spearmen will pose no more threat.
At this point, the main enemy force will either attack on their own, or you will have to provoke them. If they are not attacking, use all your cavalry to attack their general – Porus should be kinda separated from the army and will fall easily – then, use your cavarly (except for alexander) to poke at the elephants and run away across the ford, behind your units. Now is also the time to allow the hypaspists and peltasts to fire at will – they are necessary in fighting the elephants. Also, the enemy should have 3 remaining spear units left – and charging into them (preferably into their backs) with Alexander will break them all – once that happens and the enemy is dying to your phalanxes, you can strike their backs as well – to add the insult to injury and finish the game.
Related Posts:
- Total War ROME REMASTERED: Mercenary Tier List
- Total War ROME REMASTERED: Basic Campaign Strategy For All Factions
- Total War ROME REMASTERED: How to Transfer saves from Original to Remastered (Step-by-step Tutorial)
- Total War ROME REMASTERED: Maintaining Public Order (When to occupy, Enslave or Exterminate a Settlement)
- Total War ROME REMASTERED: How to Port over the Tier 4-5 BI Buildings to Vanilla