All Ammonite Shells, as well as various secret types. Spoiler Alert!!!
Types of Secrets in The Pathless
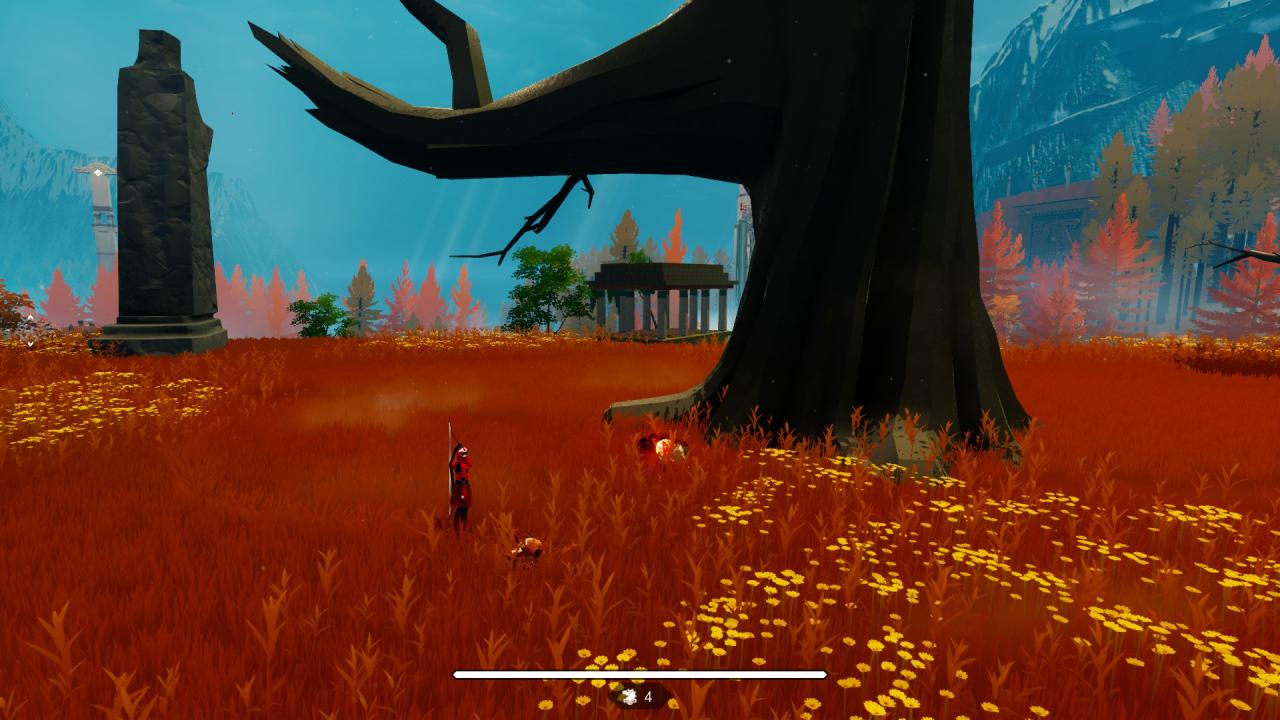
Did you know there are 13 noteable secret types in The Pathless? Keeps things a bit fresh, and they all award flight crystals. There are enough crystals in the game to get over 15 flaps! A small handful of locations will just have the crystals plain lying around, but most of the time you have to do a thing to get them.
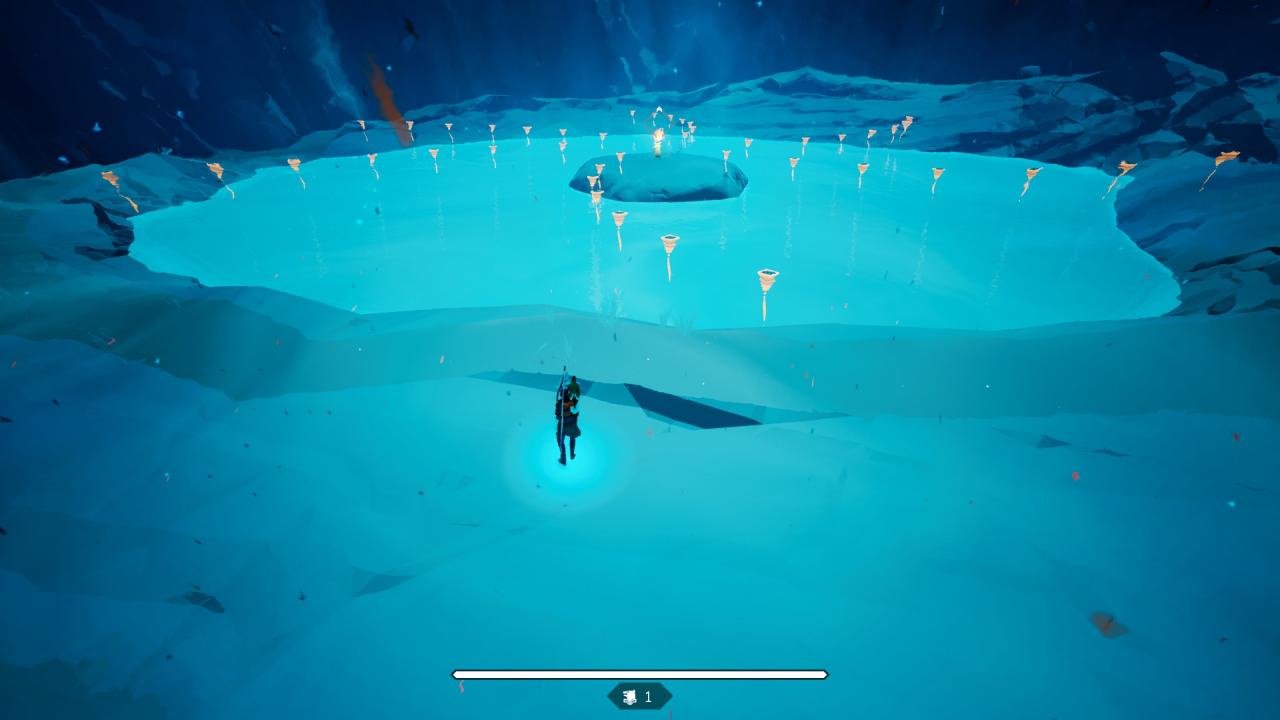
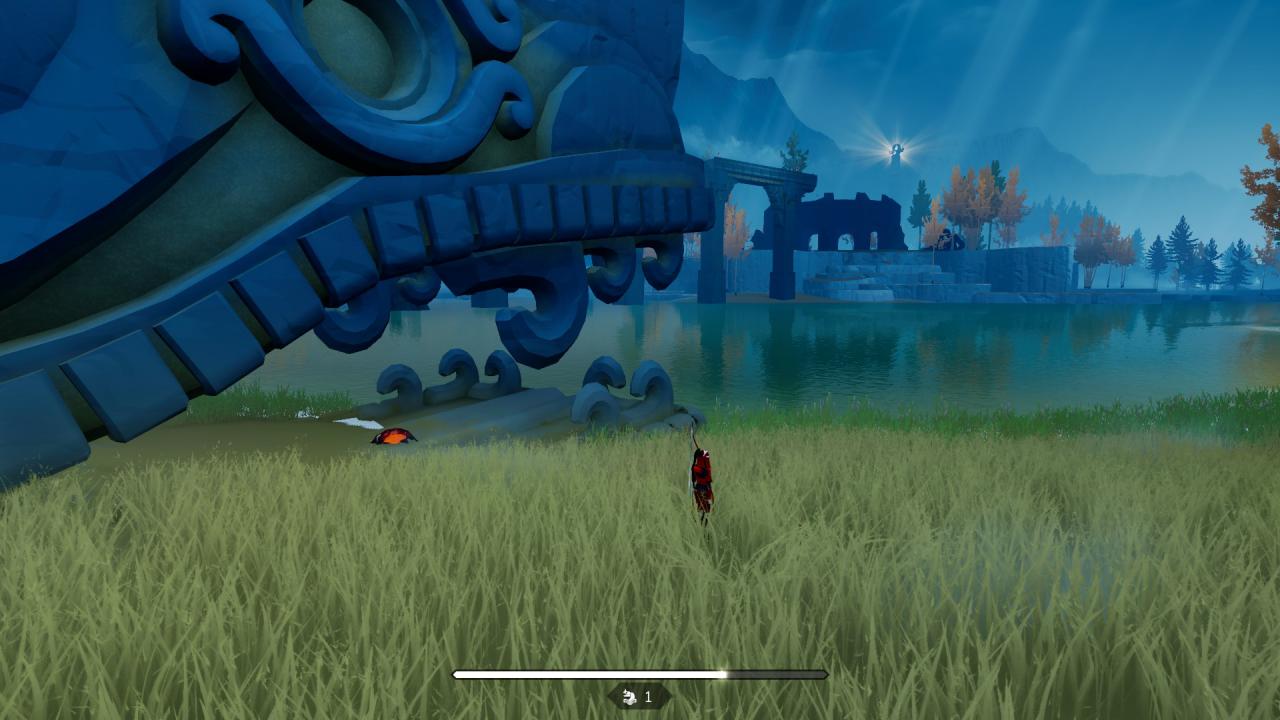
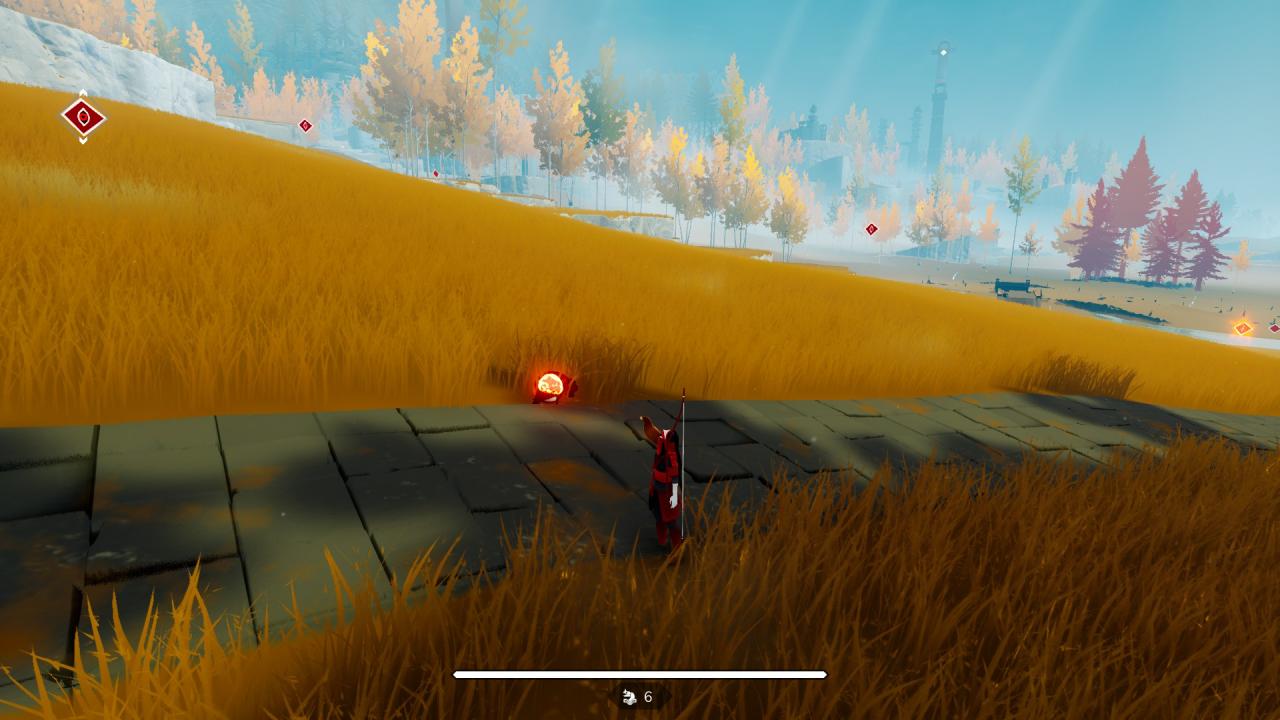
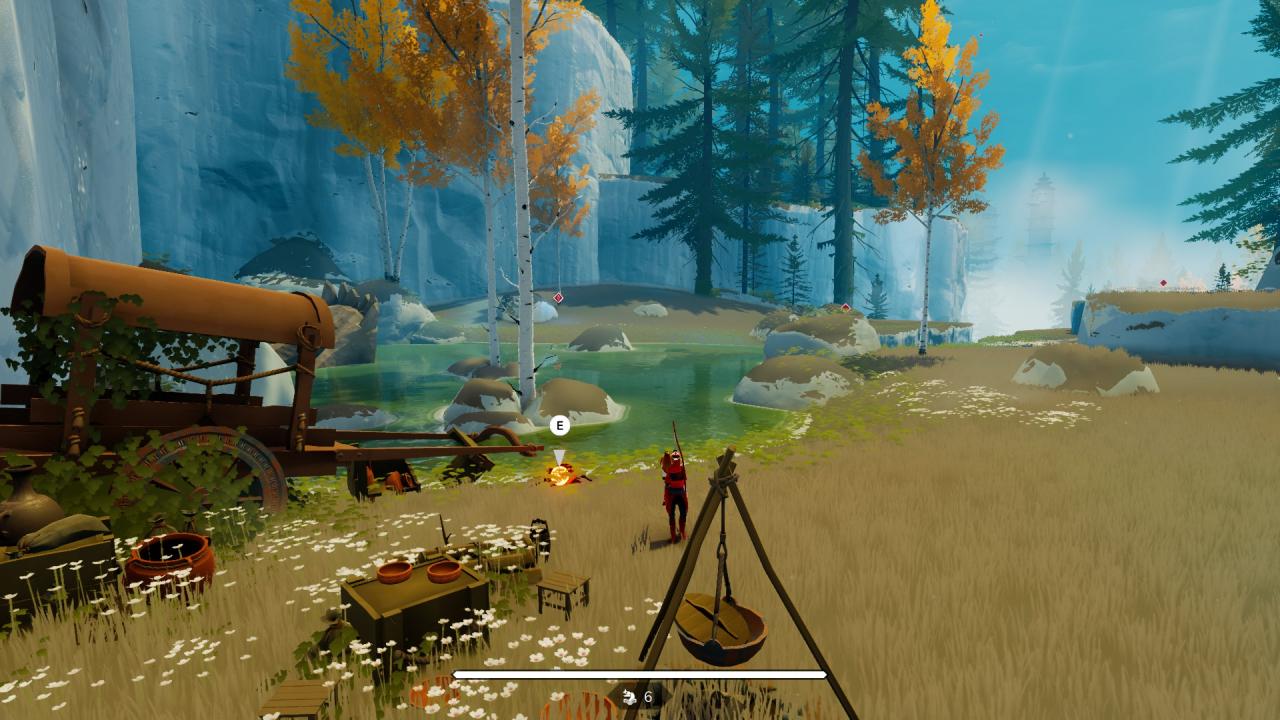
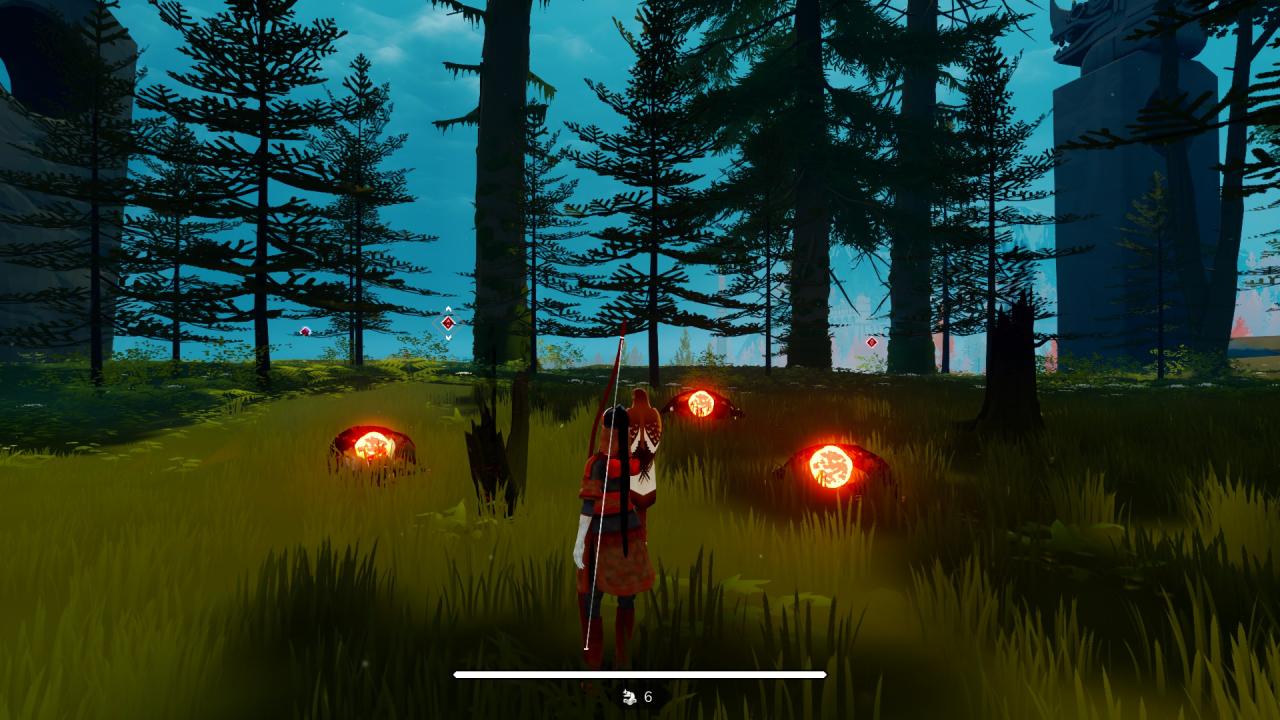
In 9 of the types, a lantern will appear, and it will continue to be visible from afar via spirit vision. In the Landing, each lantern awards 5 flight crystals, but all others award 9 flight crystals.
Simply locate and open the chest to get 13 flight crystals from it. Note that witnessing the chest is not enough — you actually need to be right there beside it to open it.

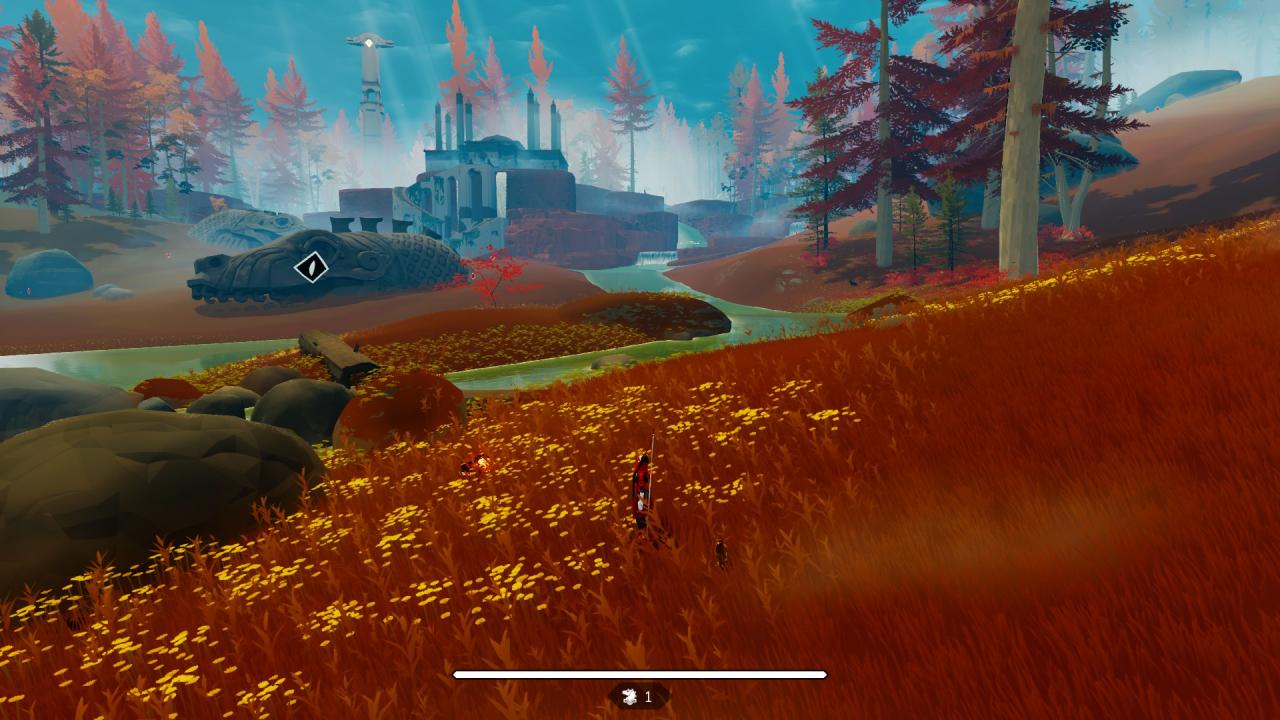
Always be on the lookout for these masked statues, which tell you when a good time to use your spirit vision is (assuming you don’t want to use it all the time).

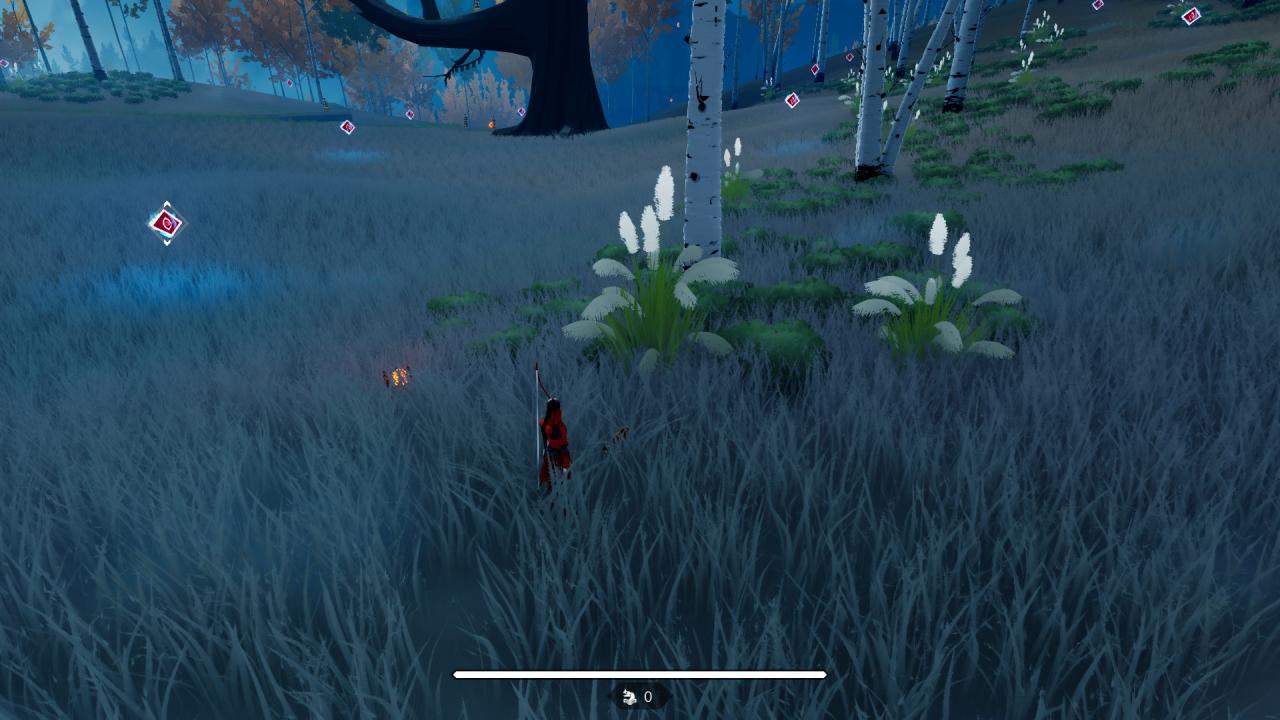
In cases like these, there are hidden talismans only visible in spirit vision:
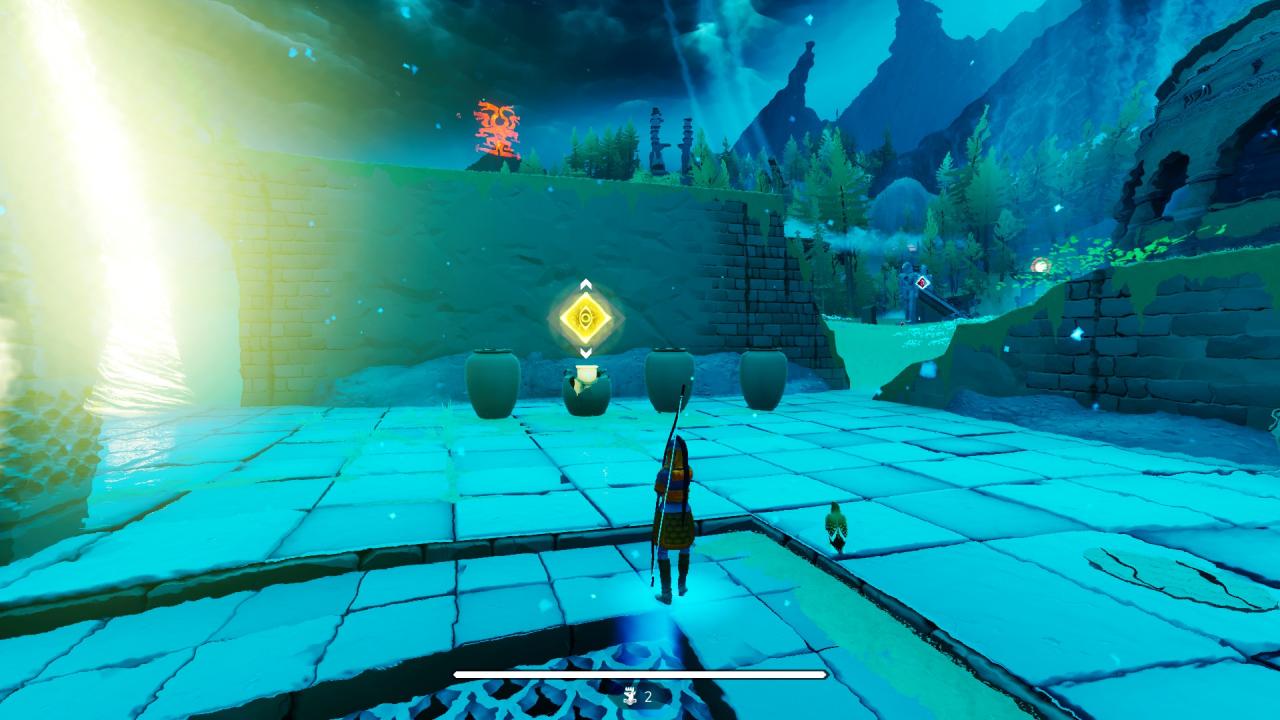
…or take this example, which instead of a statue has a special icon:

Your reward is a lantern.
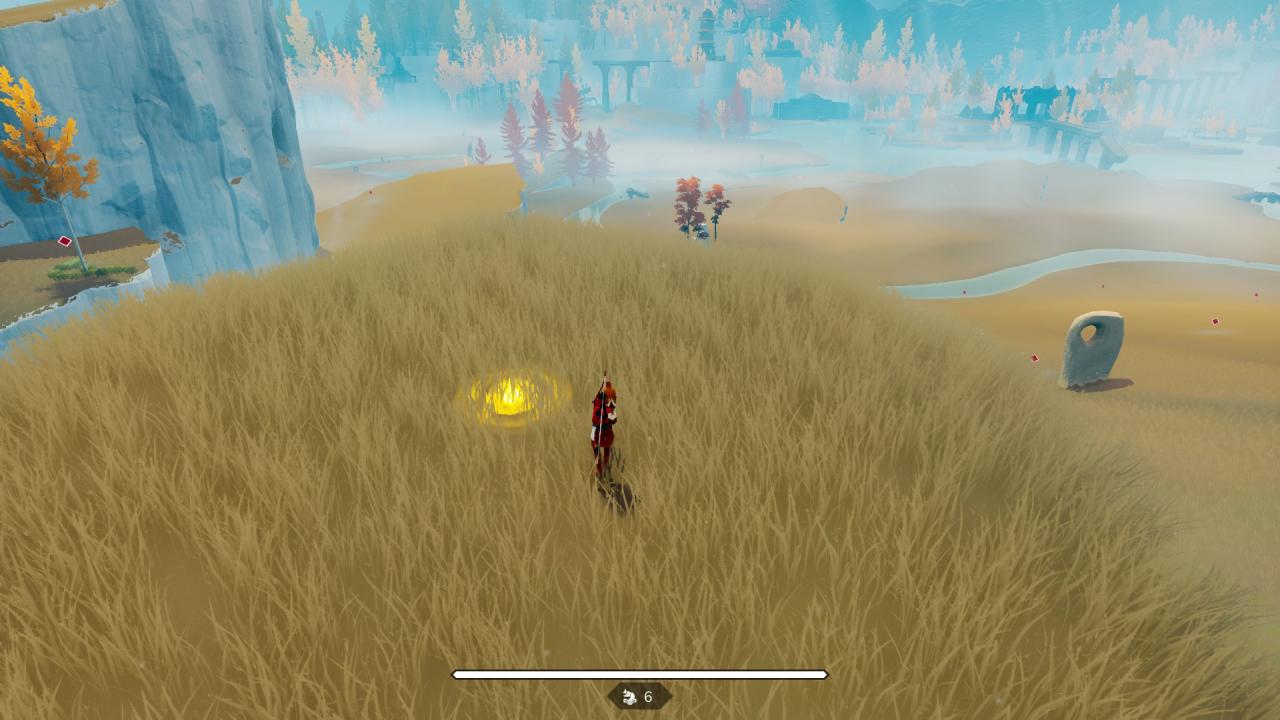
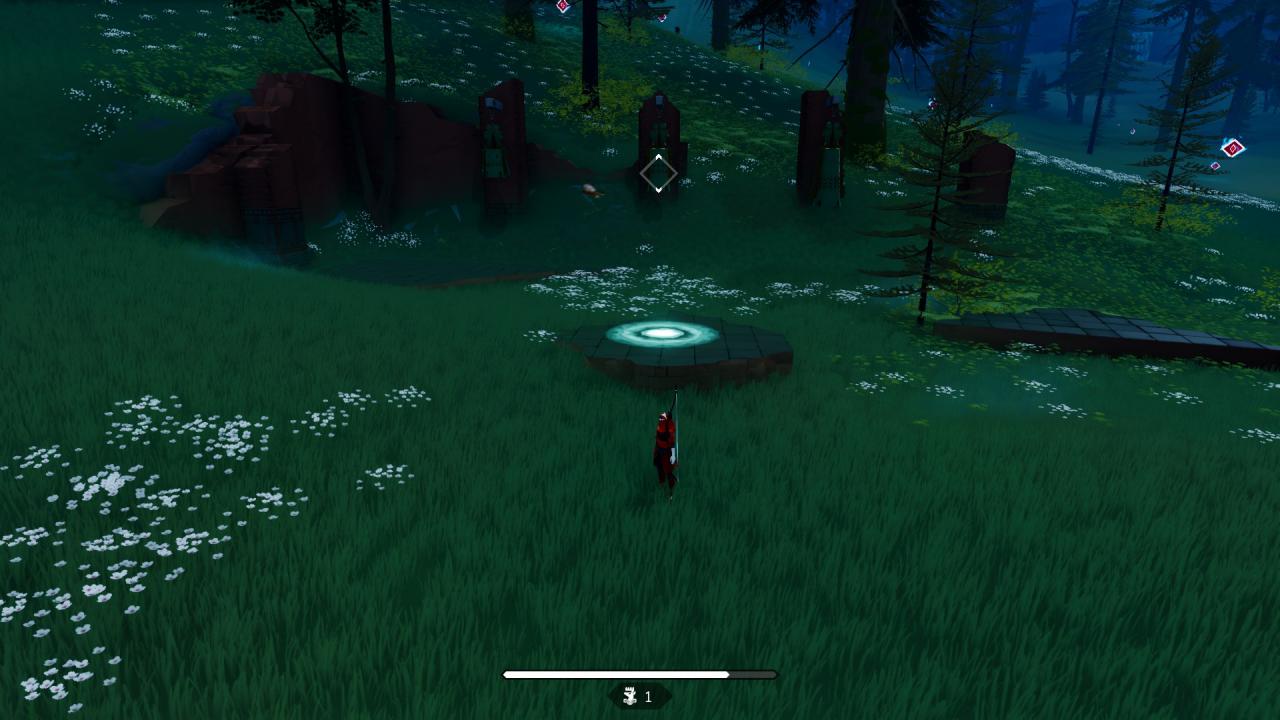
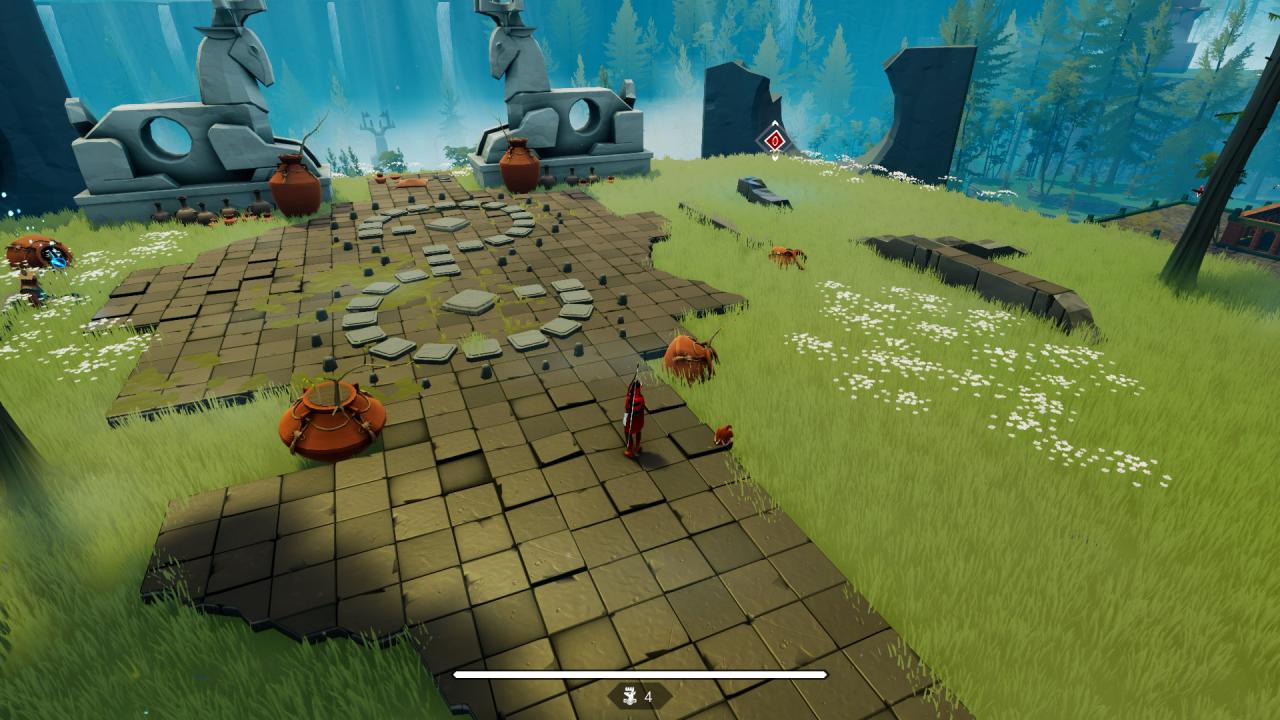
Simply step onto the yellow circle to reveal 5-12 fancifully arranged crystals nearby.
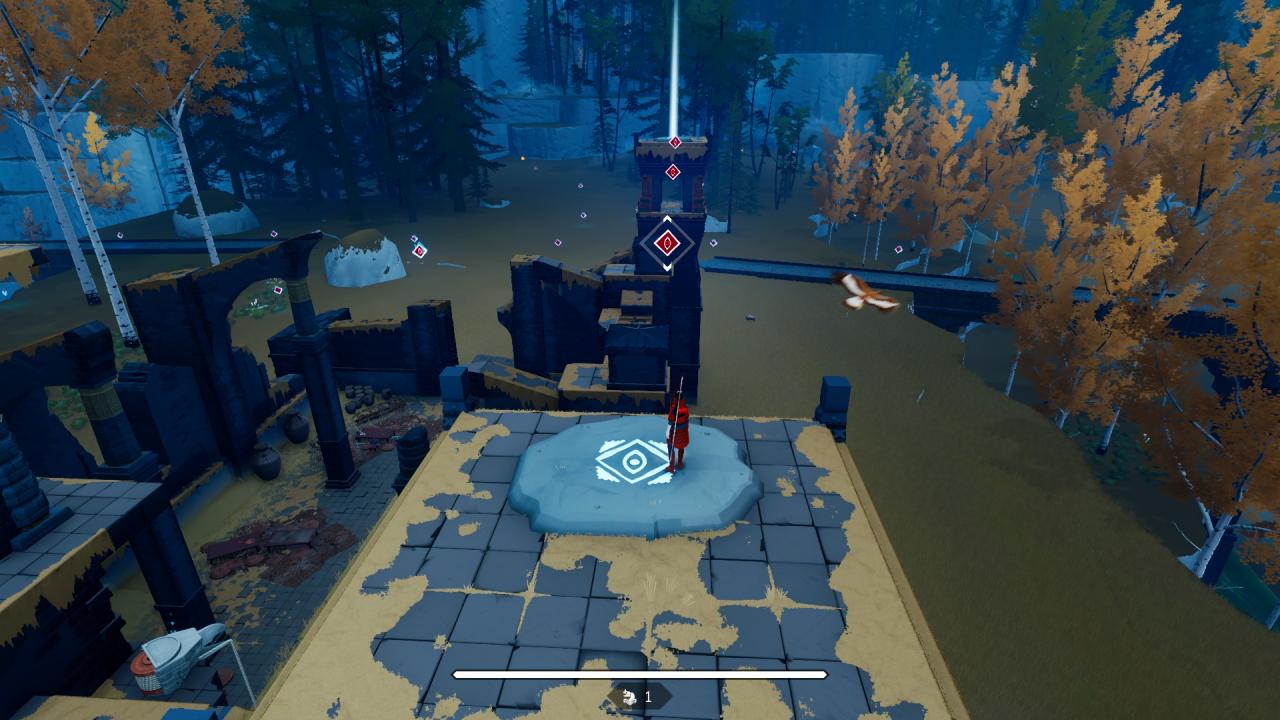
Step onto the white circle to figure out the sequence of bells to ring. Note that to dissuade aural memory, the actual sounds you get by shooting at the bells differ a little in pitch from the sounds you hear when you first step onto the white circle. If you repeat the sequence correctly, you’ll get a lantern.
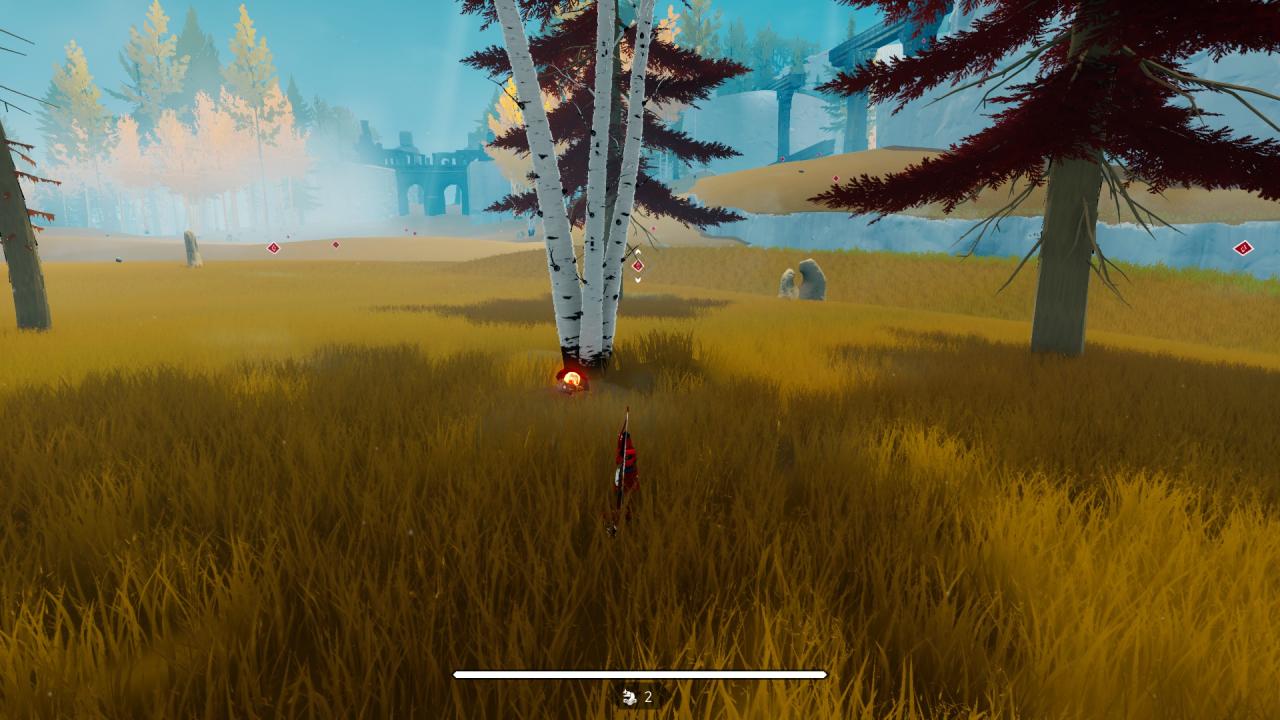
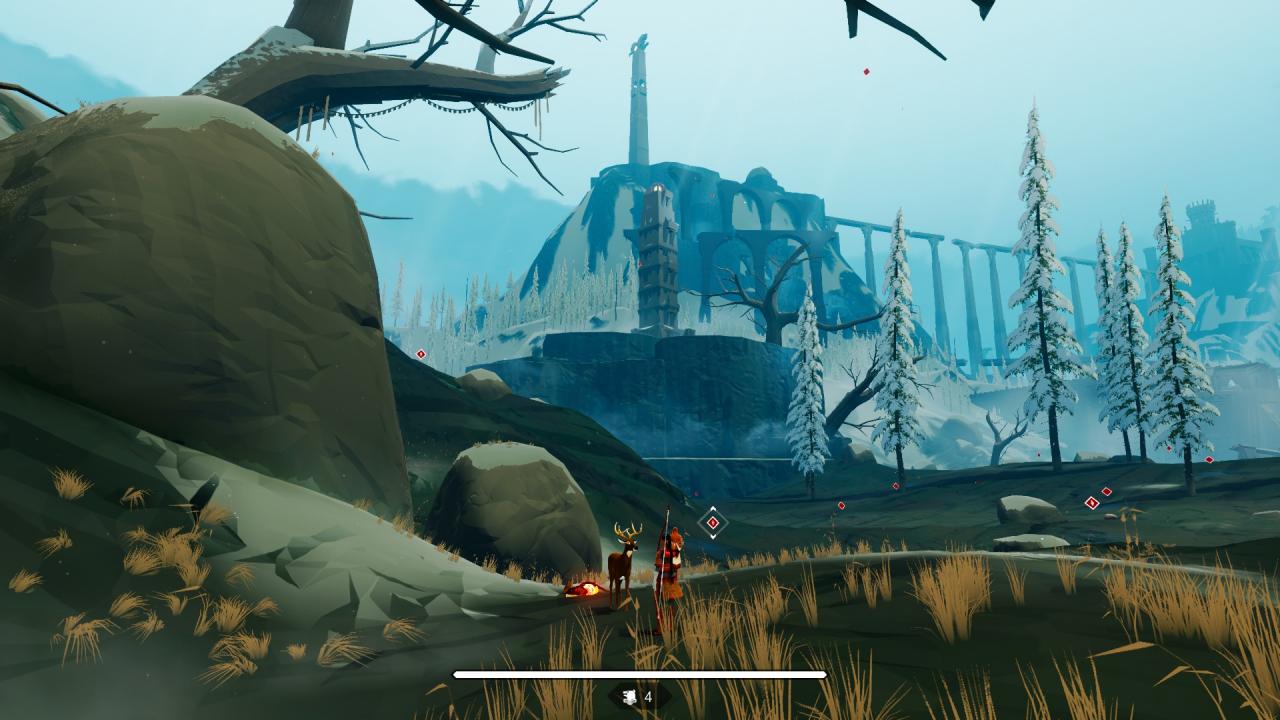
Simply locate these statues and do your thing to get 9 flight crystals. Although I found this one in Cernos’ domain, there are others on each plateau.
These stones come in pairs. Step on one to reveal a sequence of talismans. Make your way to the other stone without touching the ground. You also have to shoot all the talismans along the way. Although each one can be done without using your eagle companion, you won’t lose out if you do need to use her. Once finished, you’ll get a lantern.
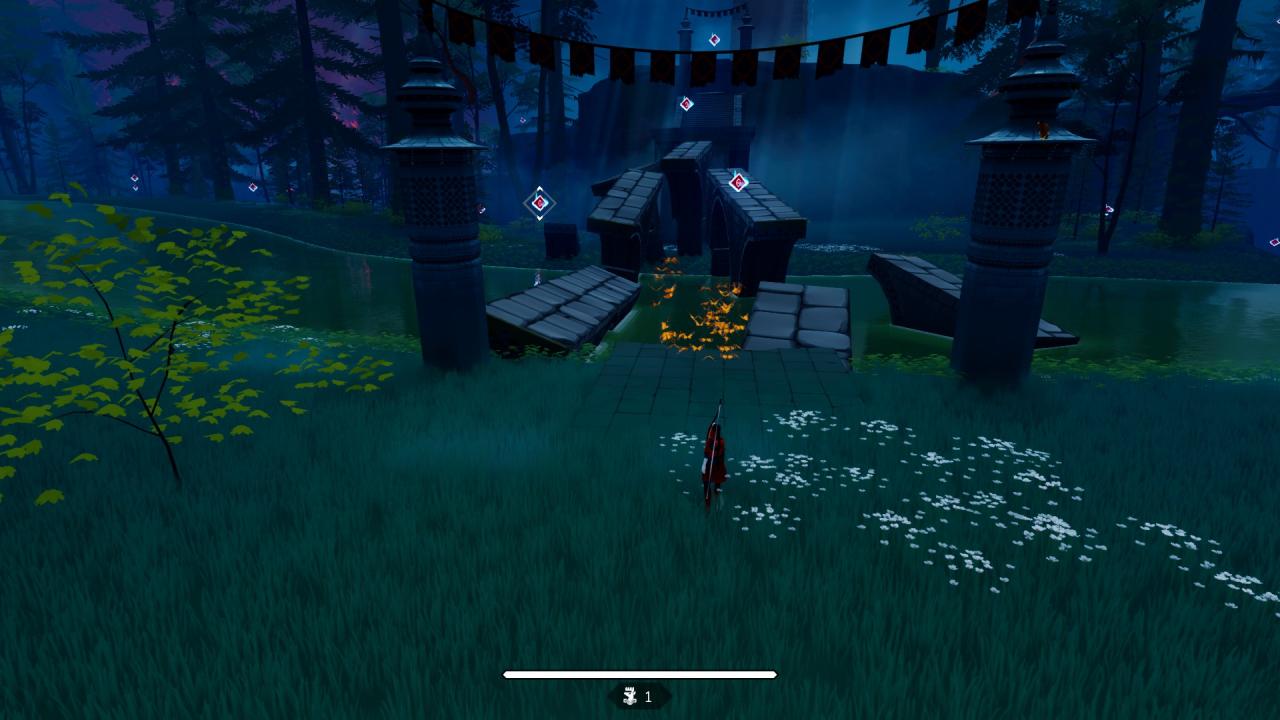
In various places, there are 5 lanterns hanging out on the ground all nearby each other. Light them up sequentially to get the flight crystal lantern reward.
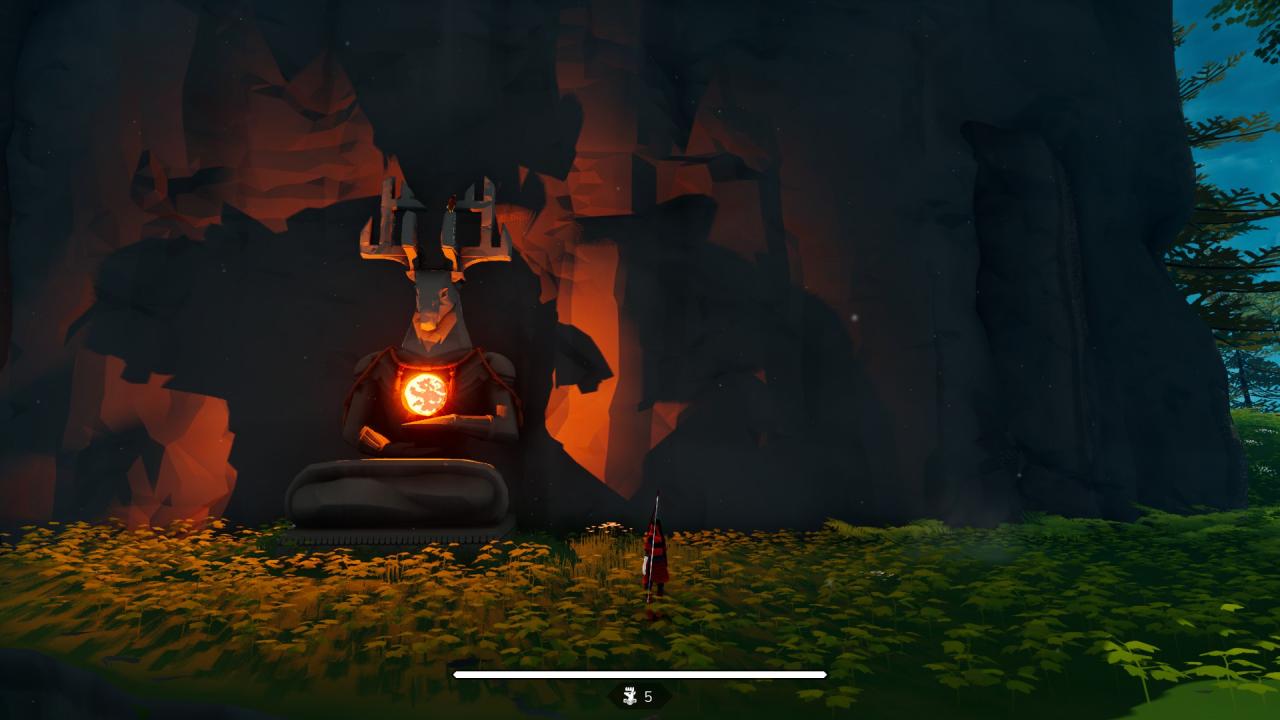
Nearby certain structures, there are brass-ringed pillars each with a statue on it, except for one that you need to fill in. Stand on it, and after a couple of seconds standing in the correct orientation, you’ll receive a lantern.
Throughout the three main plateaus, there are special moss-covered pillars, and they typically come in threes. Successfully hop from one to another, and you’ll get a lantern.
Butterflies! Touch the initial ball, and then locate and touch the remaining balls to get a lantern (surrounded by blue butterflies!). As a visual hint, you can see where each of the butterfly balls spreads out to when you touch the initial one. Note that you’re on a timer that refreshes with each ball you touch, so if time runs out, you have to start over. Although you can utilize the carefully placed talismans, you can also use your eagle companion without losing out.
Just successfully follow the stone path to get a lantern. How easy is that?
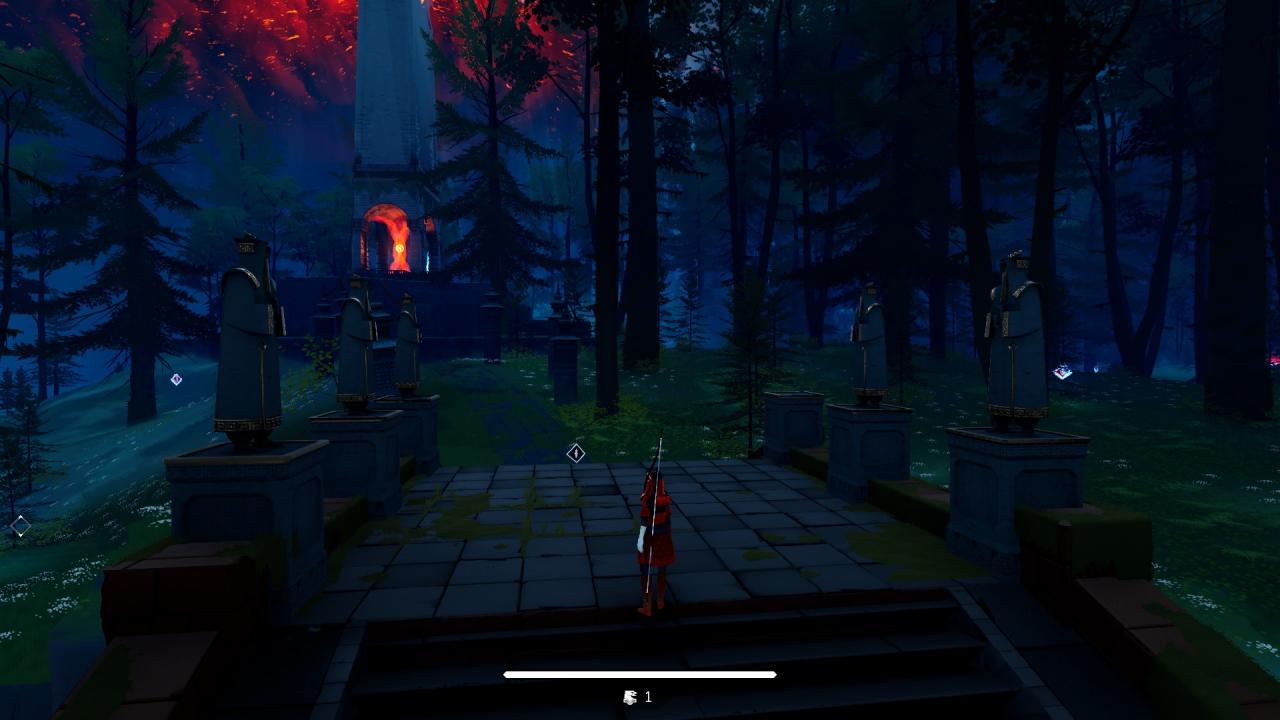
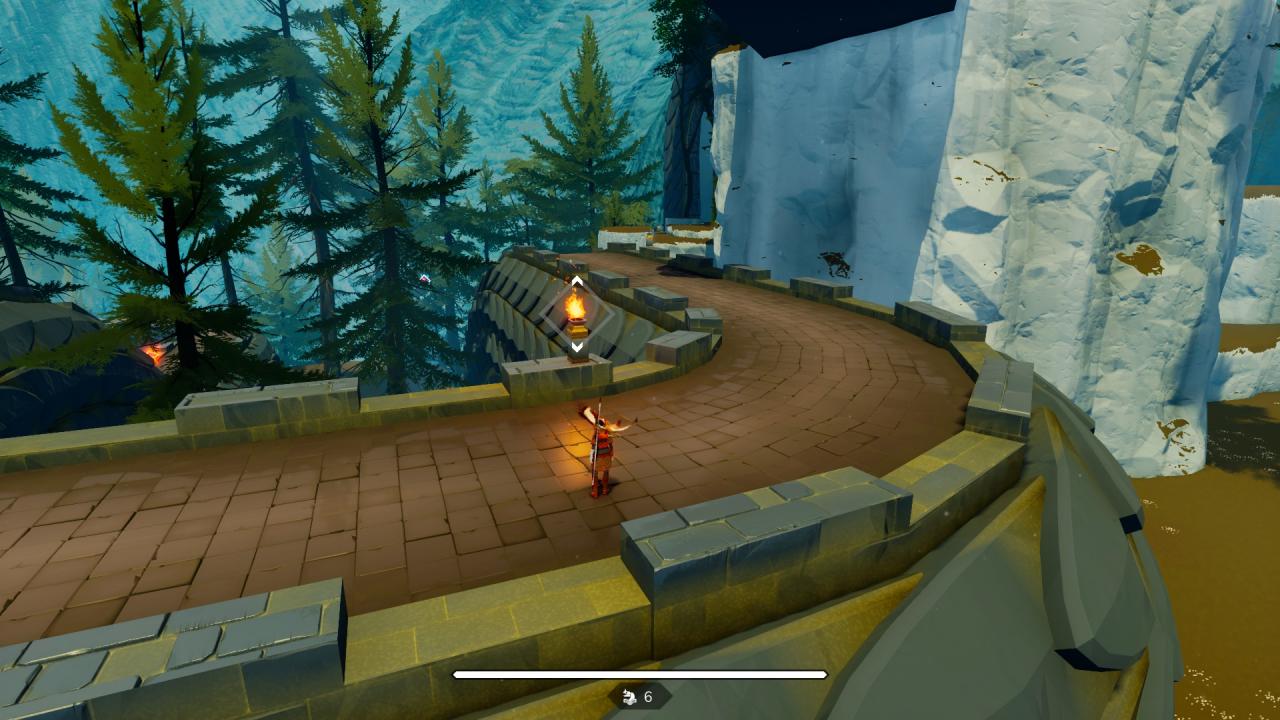
Light up all the braziers to get a lantern.
Note that with some secrets of this type, you’ll need spirit vision to reveal additional braziers, such as in this exotic example:
It has to do with the forest animals. Each time you rescue one, you get 5 flight crystals. More on that in the following section.
Animals for the “Forest Whisperer” Achievement
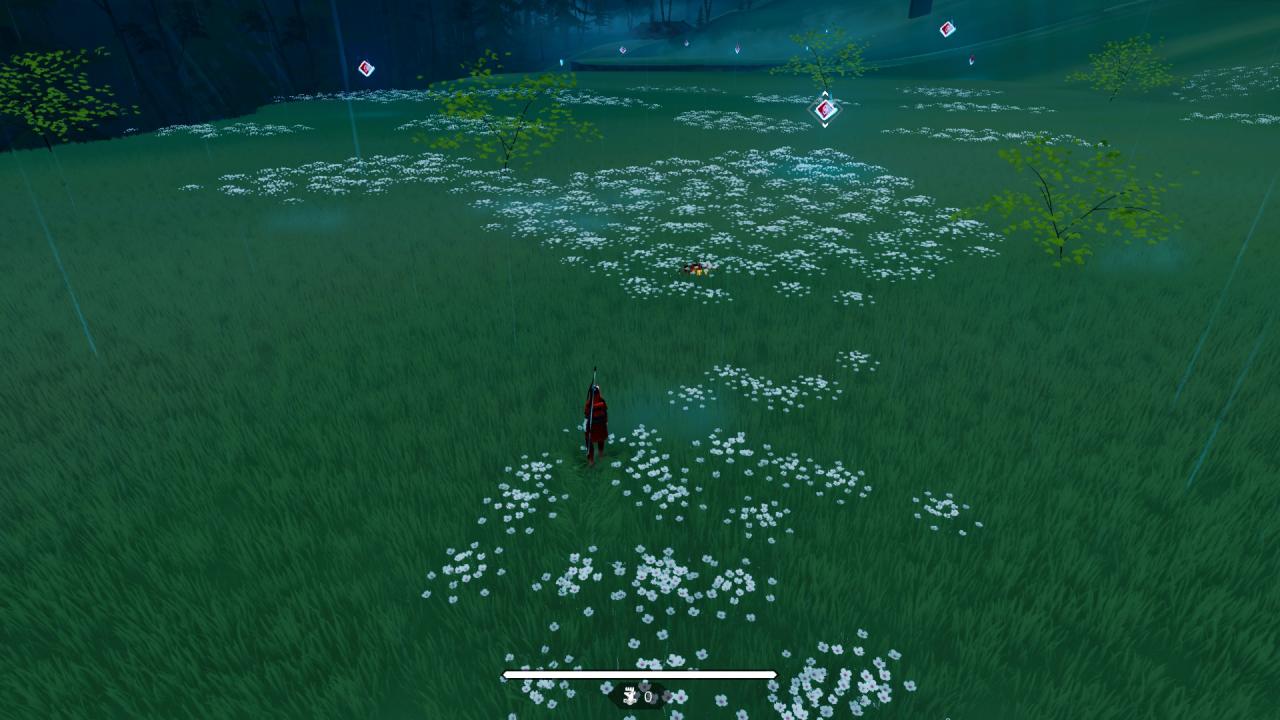
- Look in open areas and in lowlands. The plan is to run alongside multiple animals to get the achievement, and this isn’t feasible with an animal on a ledge.
- Affected animals tend to be near trees or other landmarks.
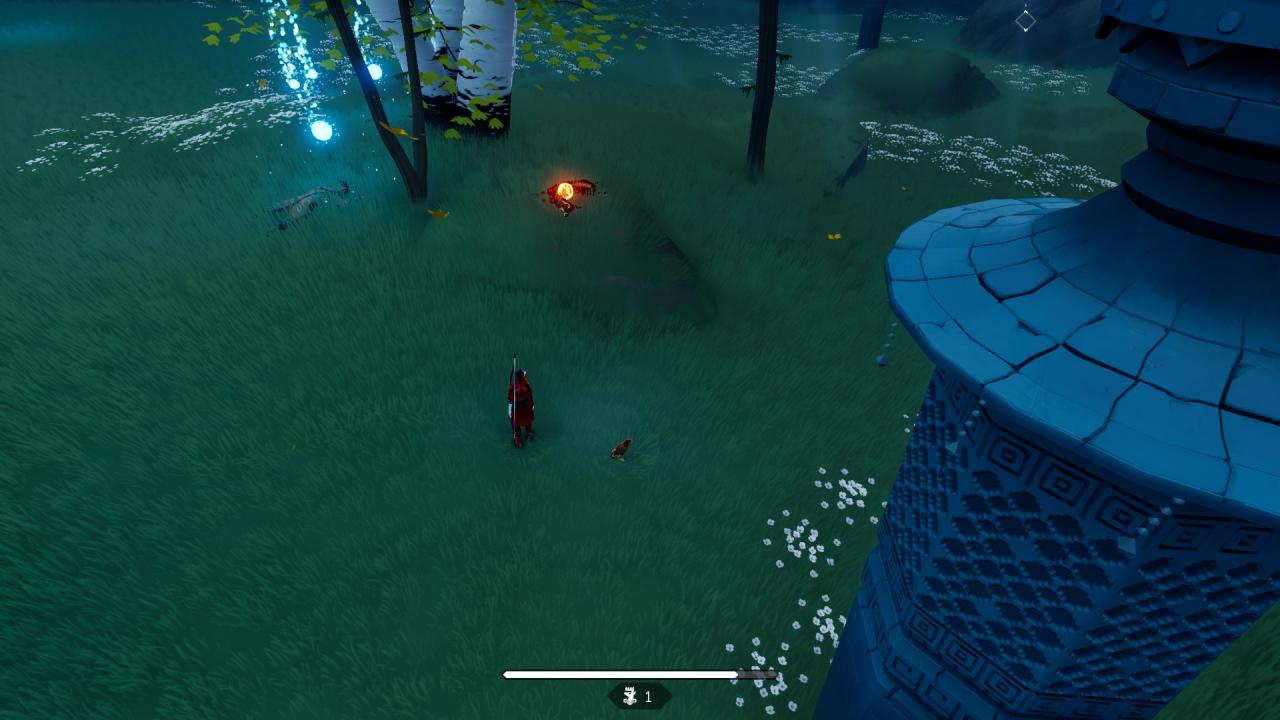
- It helps to fly at a low relative altitude and look out for something that looks like it’s burning or burnt. Chances are it’s an affected animal.
- Also if it looks like an animal but doesn’t move and looks dead, chances are it’s an affected animal. Any other animal will just run away from you (as nature’s animals are wont to do).
- If it’s feasible, use your spirit vision to see paths you have and have not yet traversed to help locate affected animals. It might not be so feasible though if you’ve already done a lot of exploring, with or without the spirit mask on.
Finally, if you find an affected animal not in this guide, please share a screenshot so I can reference it here and credit you. Be sure to include some contextual background detail so the rest of us can find it too.

Note that this may be the most viable plateau on which to get the achievement.
This one’s located near the junction of the three main plateaus, and yes, there are 3 affected animals!

“Apsûm-ma rēštû zārûšun”
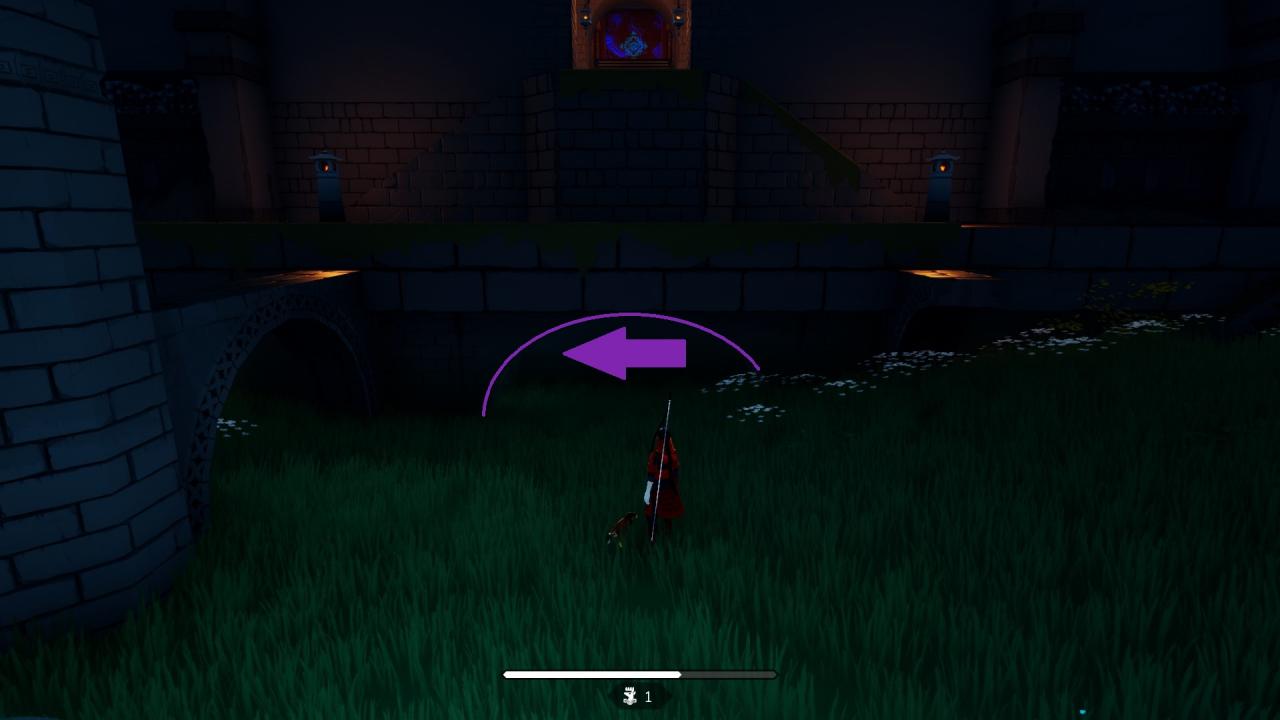
Perhaps somewhere in the Forest Plateau, you came across a door that looks like this:

You may have even wondered how to open it. Turns out you need to do the same thing for this door as you did for that one wall in ABZÛ: gather enough ammonite shells to fill it (NB anyone well-versed in marine biology or who’s played the game should know that these are NOT nautilus shells!). But where are the shells? There are two in or around each plateau.
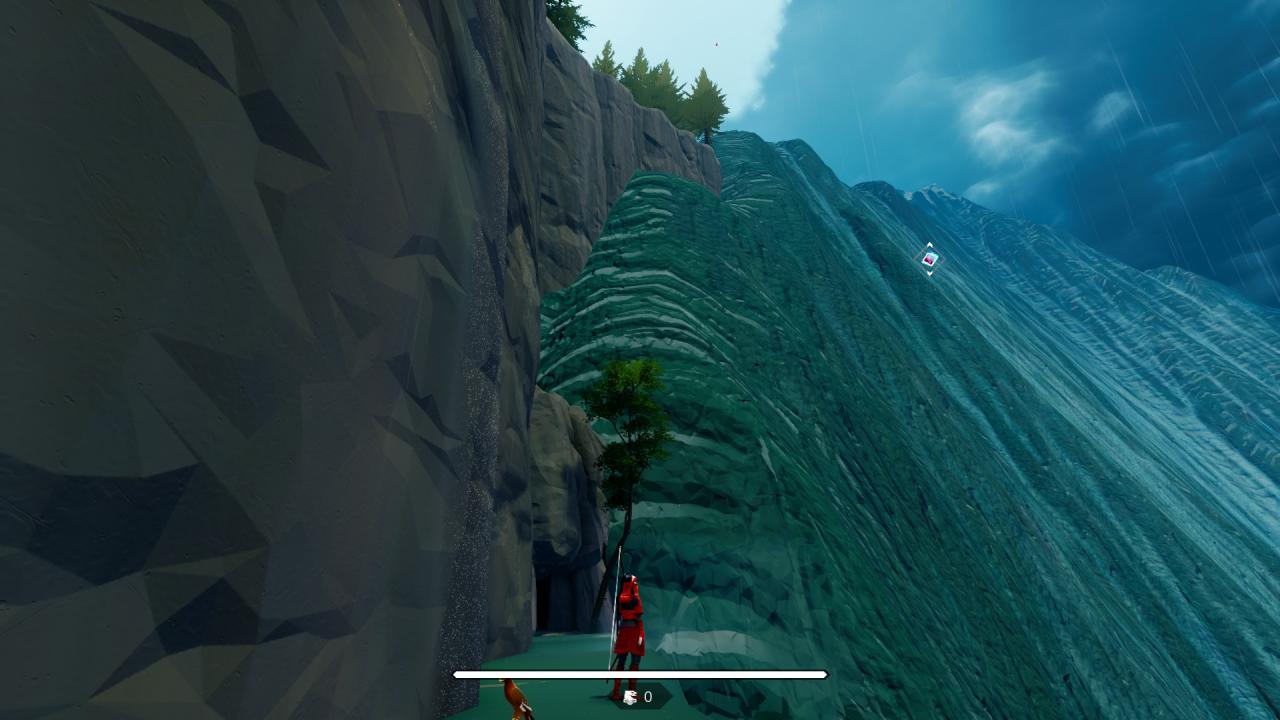
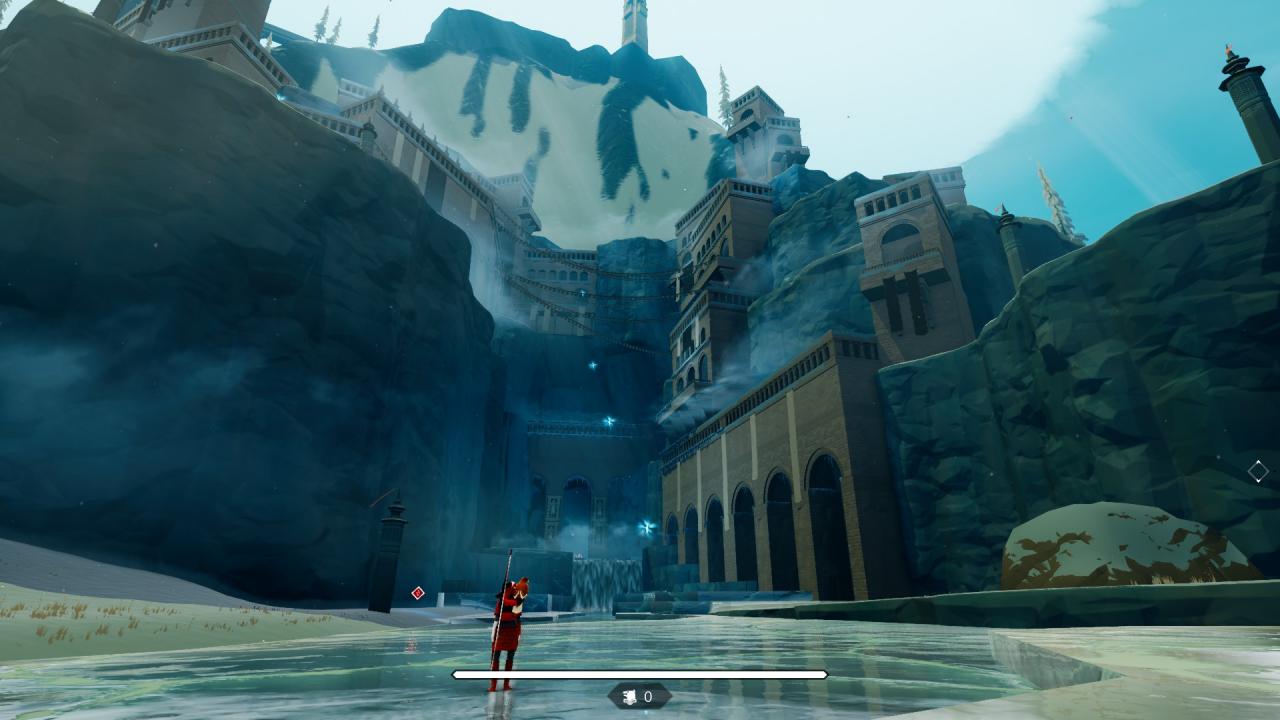
Hint: Edge of Cernos’ domain, very tall cliff.
Location:
Hint: Inside a semi-hidden structure on the Forest Plateau. Look low once inside.
Location:
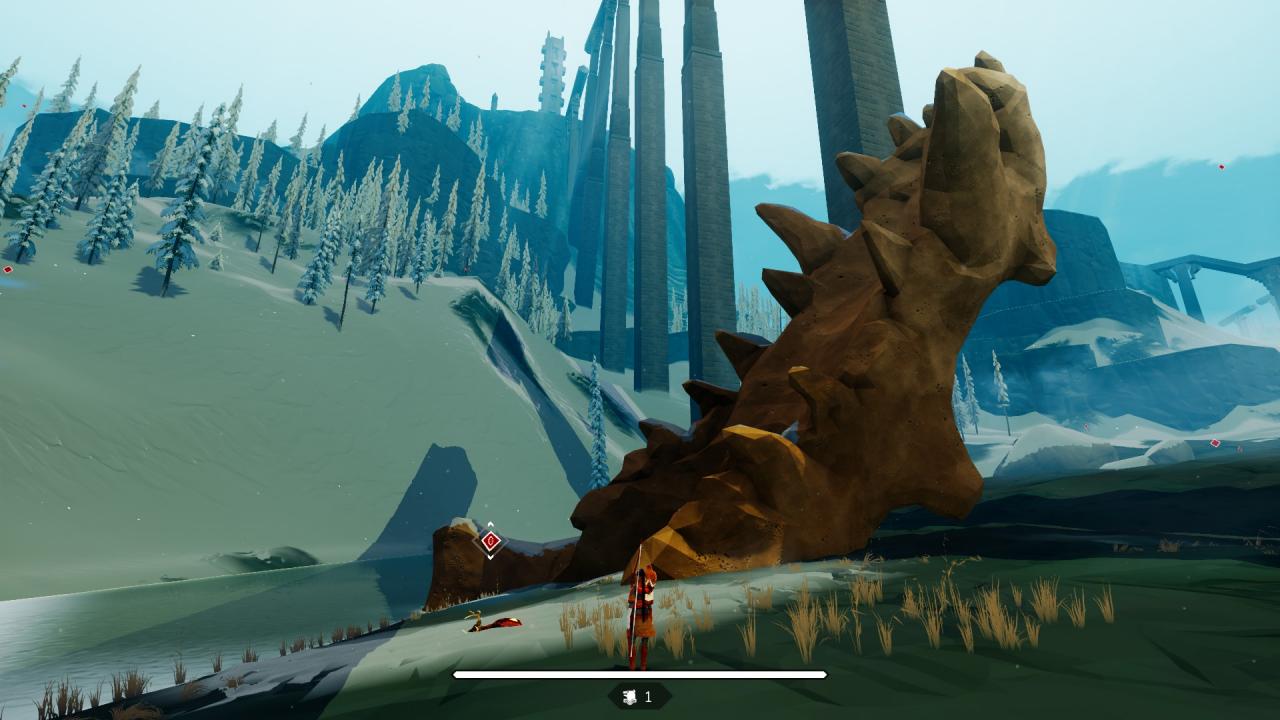
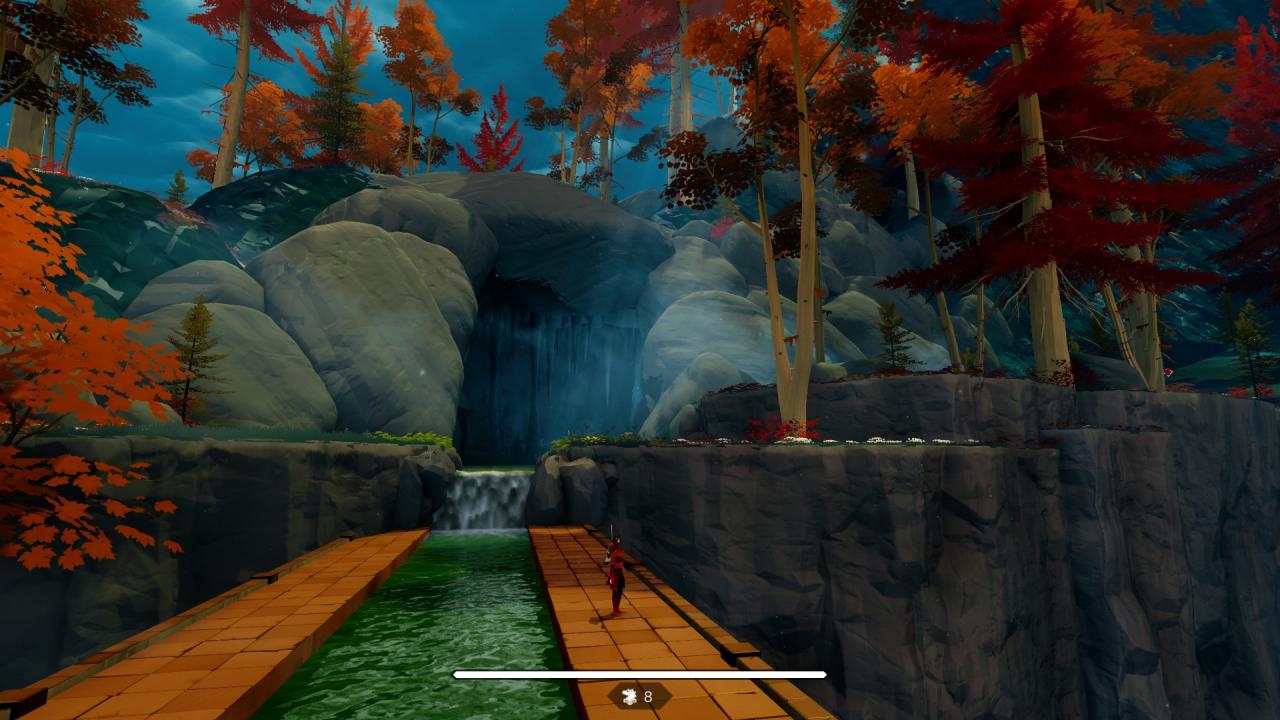
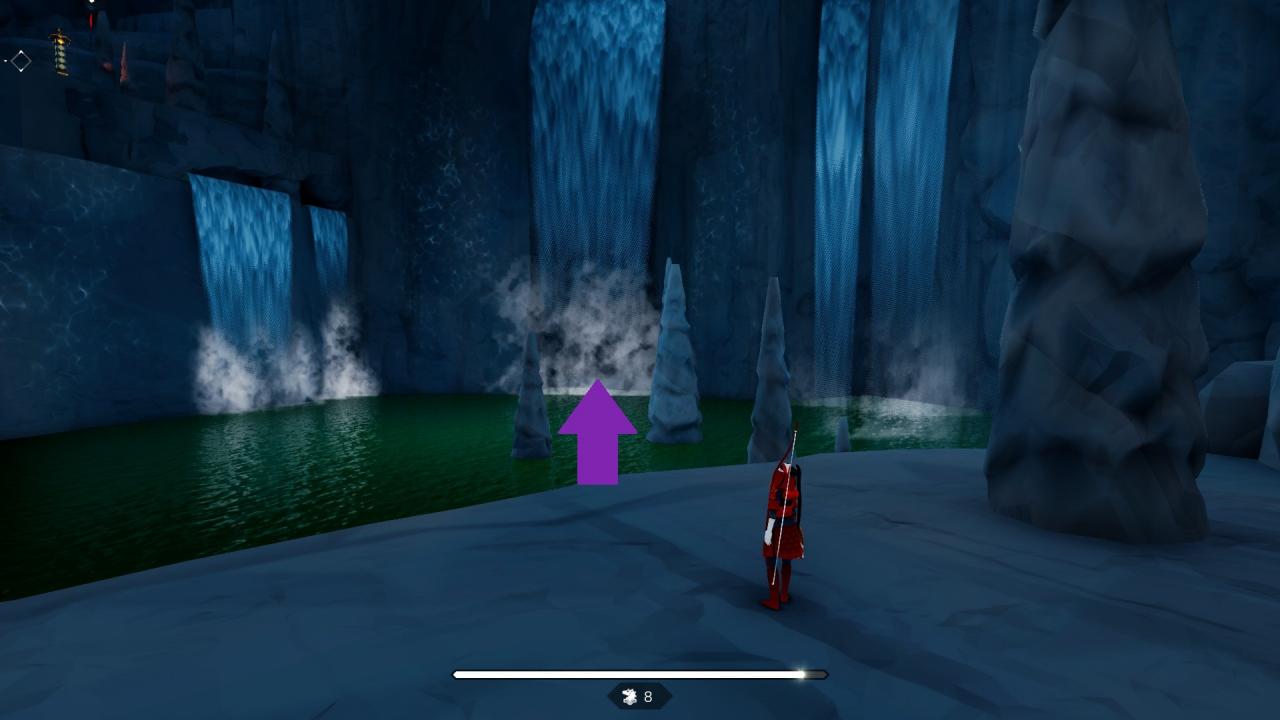
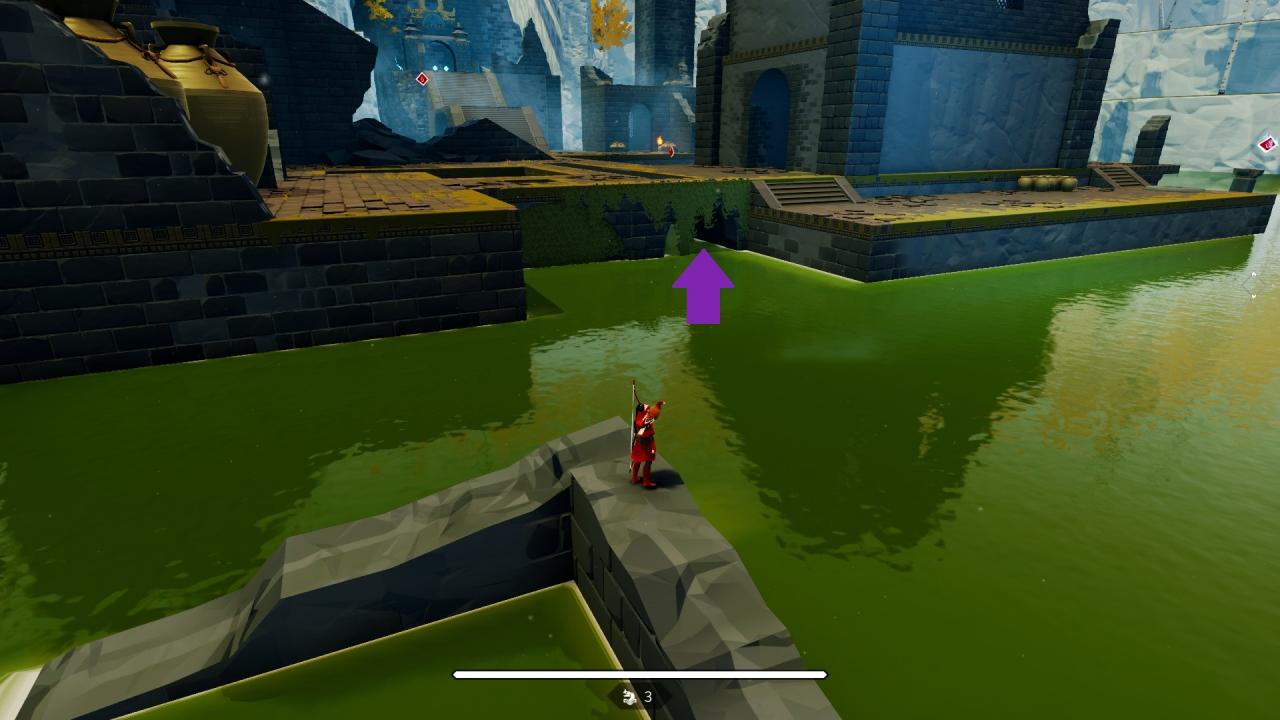
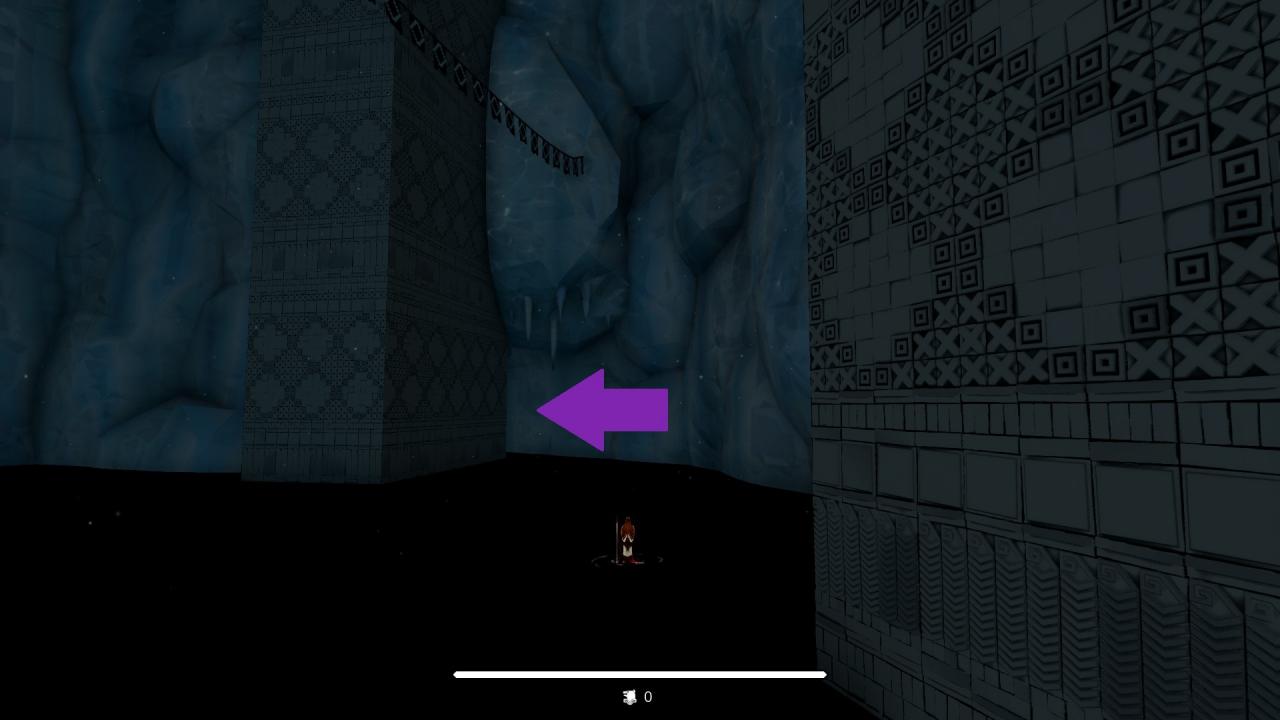
Hint: Inside a cave on the edges of the Redwood Steppe.
Location:
Hint: Sauro’s domain, where you battle him.
Location:
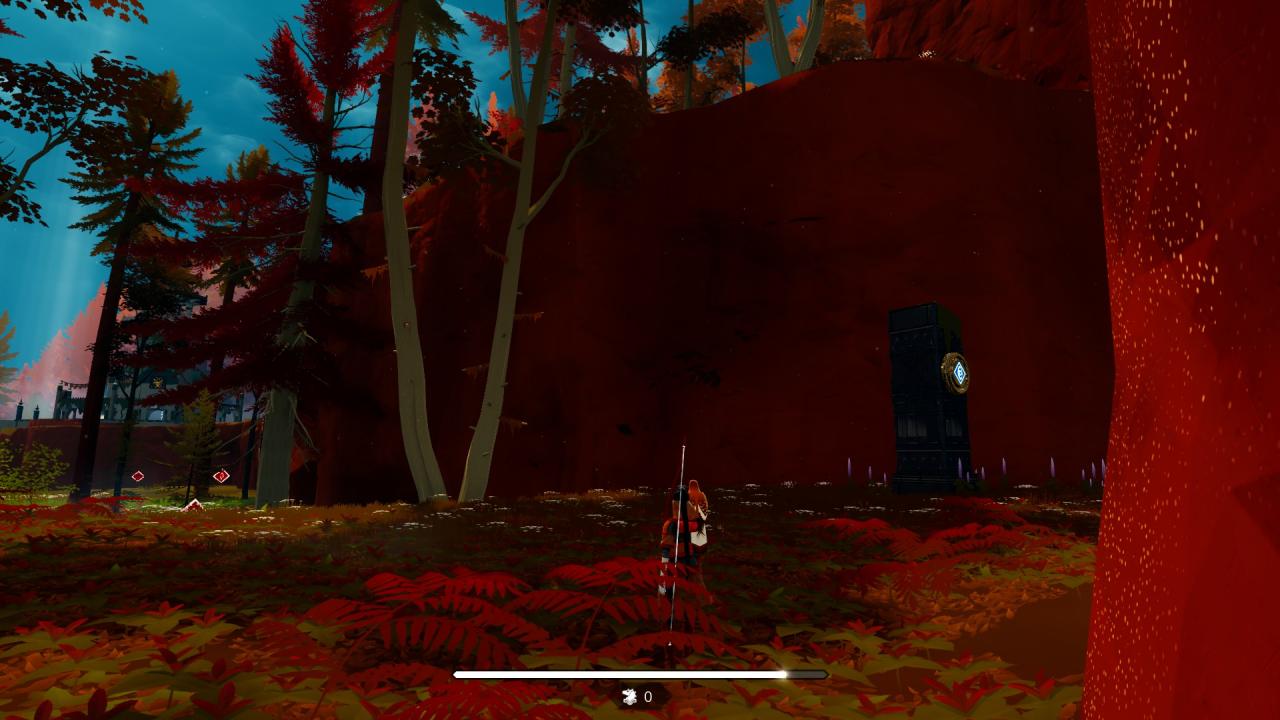
Note: There is a way to open that gate, but it needs to be unlocked from the other side of the plateau:
Hint: Beneath a water-sunken structure on the Great Plains.
Location:
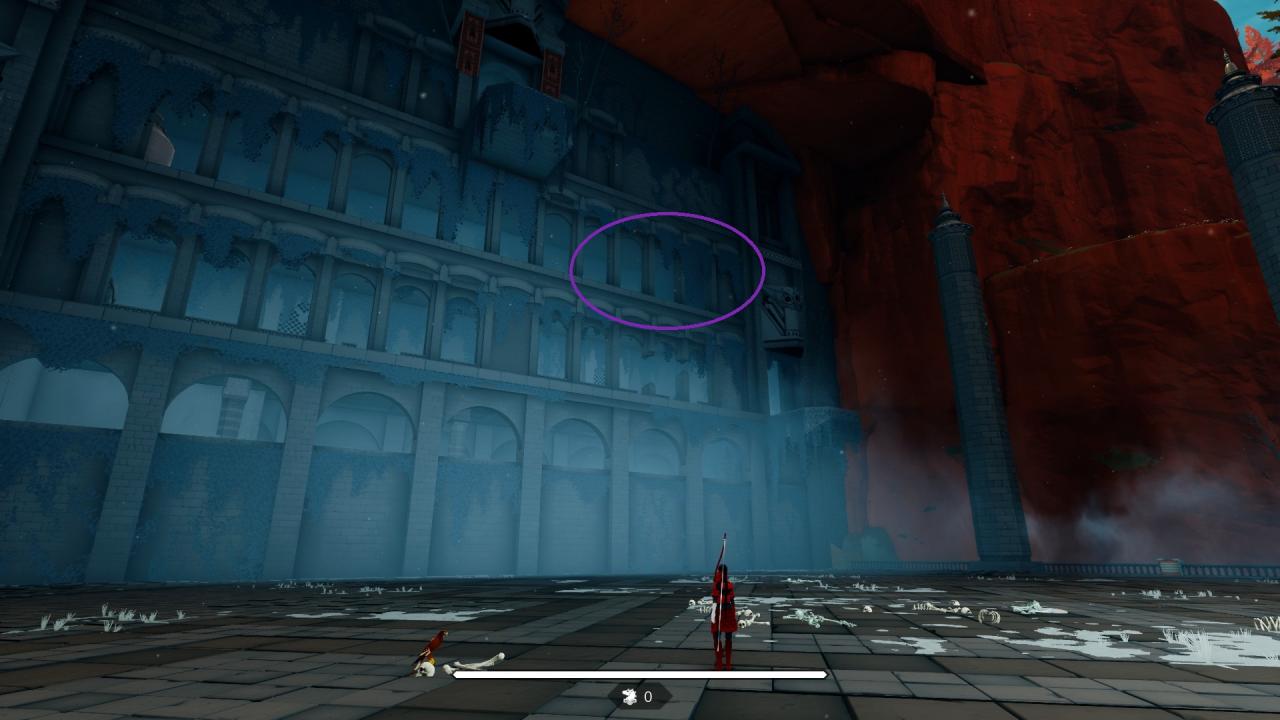
Hint: Edge of Nimue’s domain, where pilgrims come to rest.
Location:
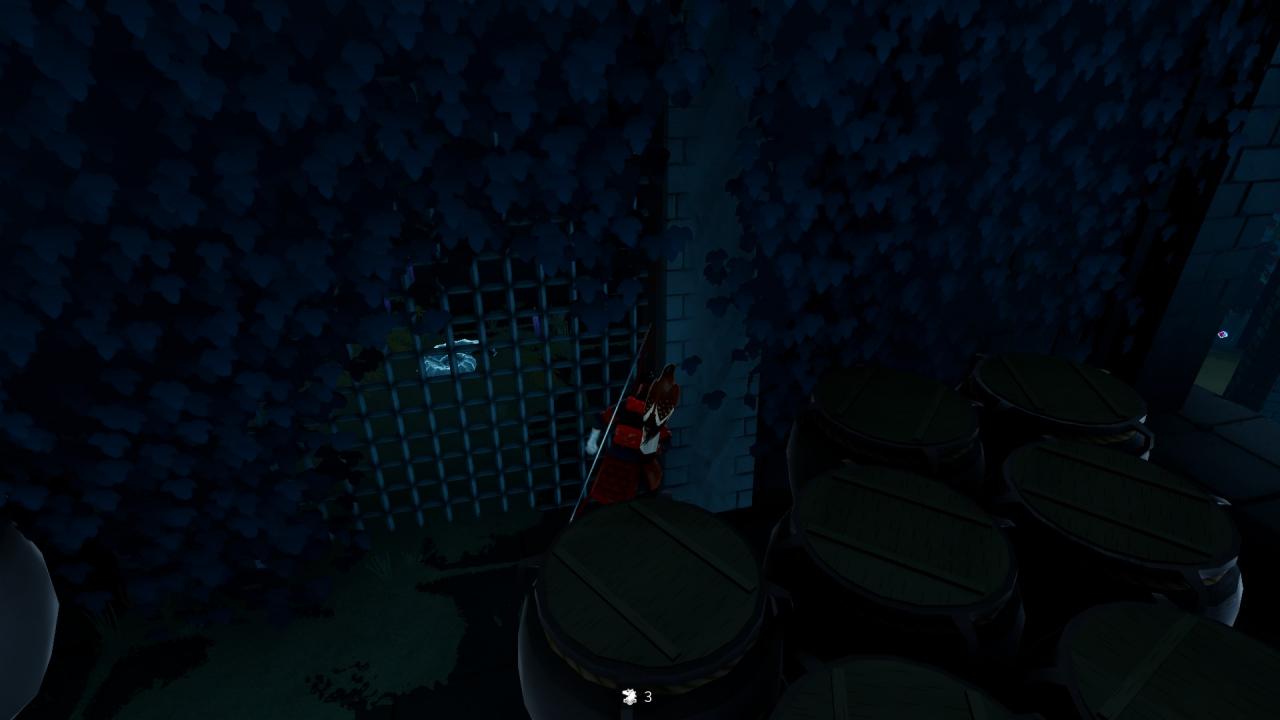
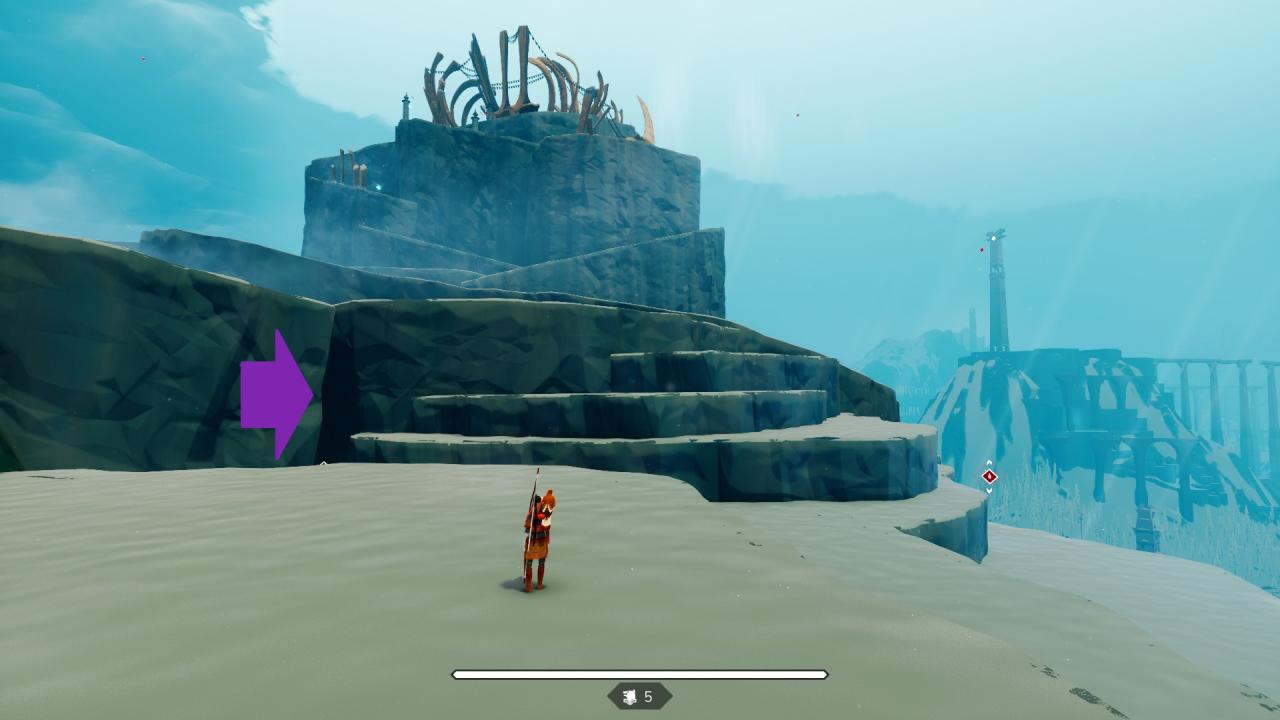
Hint: Along an edge of Kumo’s domain, nearby some bones.
Location:
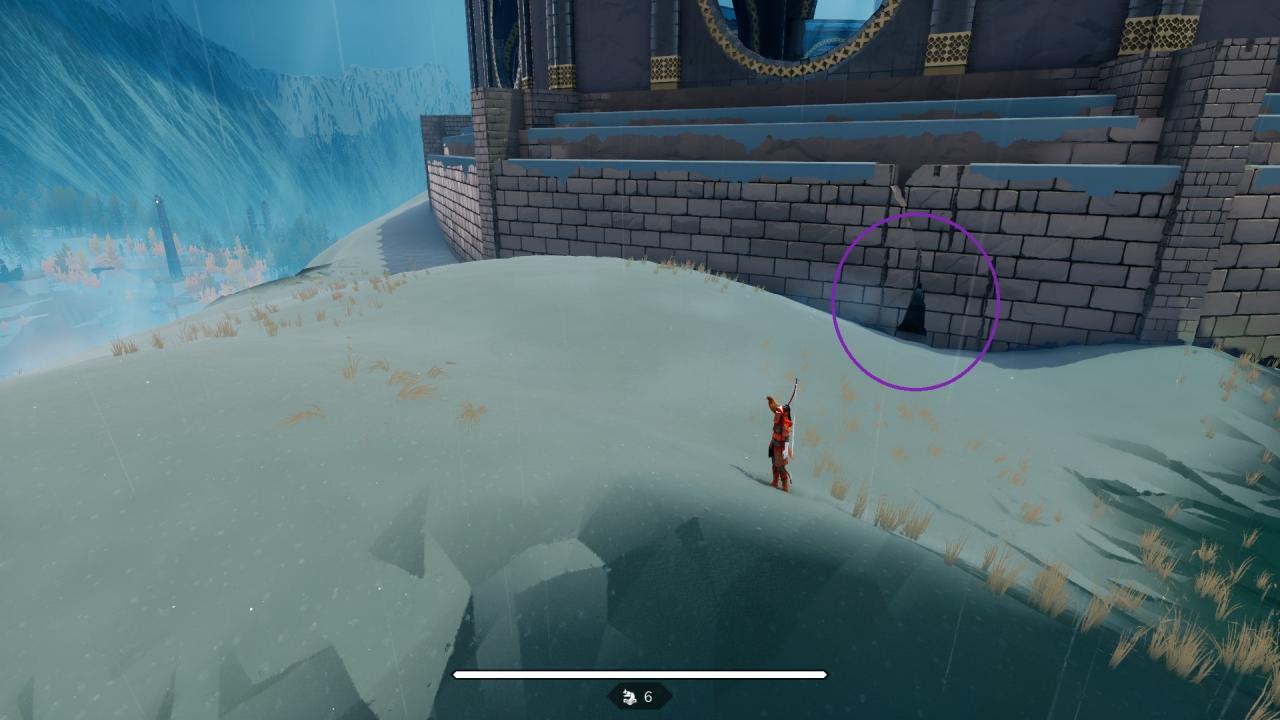
Hint: Inside a cave on the Mountain Tundra.
Location:
Note: You won’t get the shell directly, but instead have to solve a little puzzle without your eagle companion and only one (regenerating) talisman.
…and therein the last Tall One in his natural form is seen.
Thanks to The Sojourner for his great guide, all credit to his effort. you can also read the original guide from Steam Community. enjoy the game.