Just a basic step-by-step guide to get new players to The Infected a place to get their bearings.
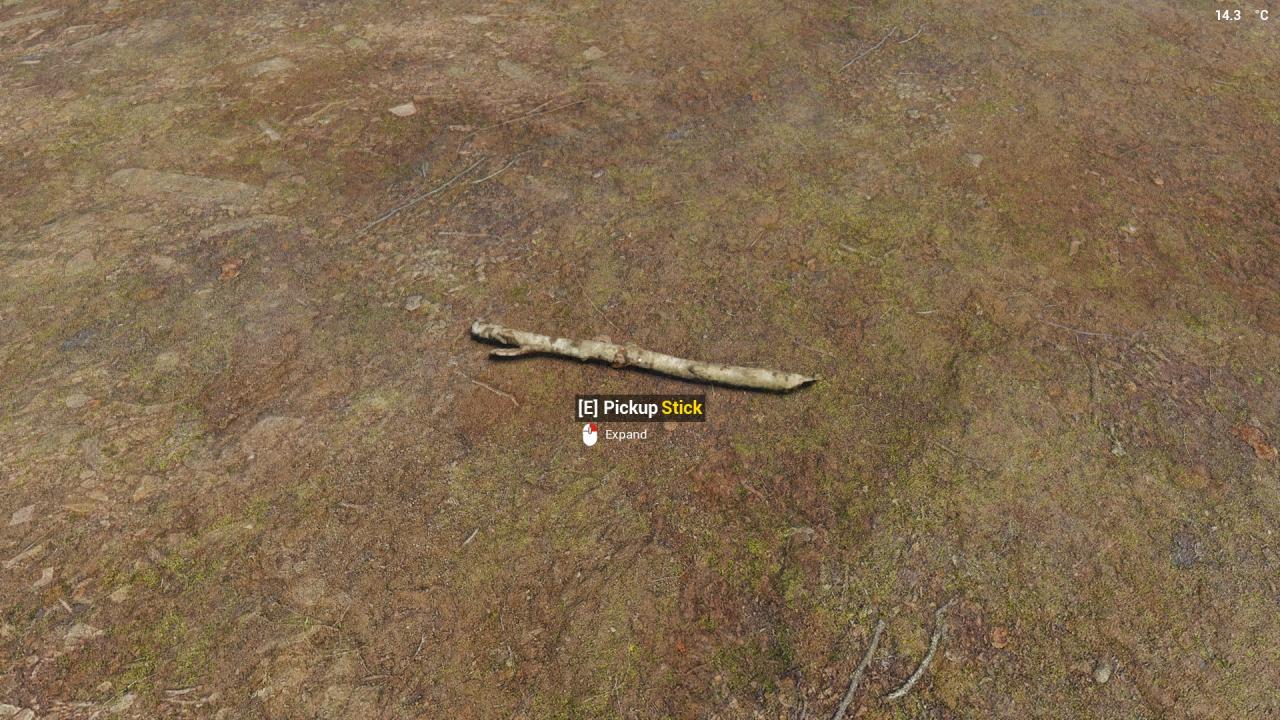
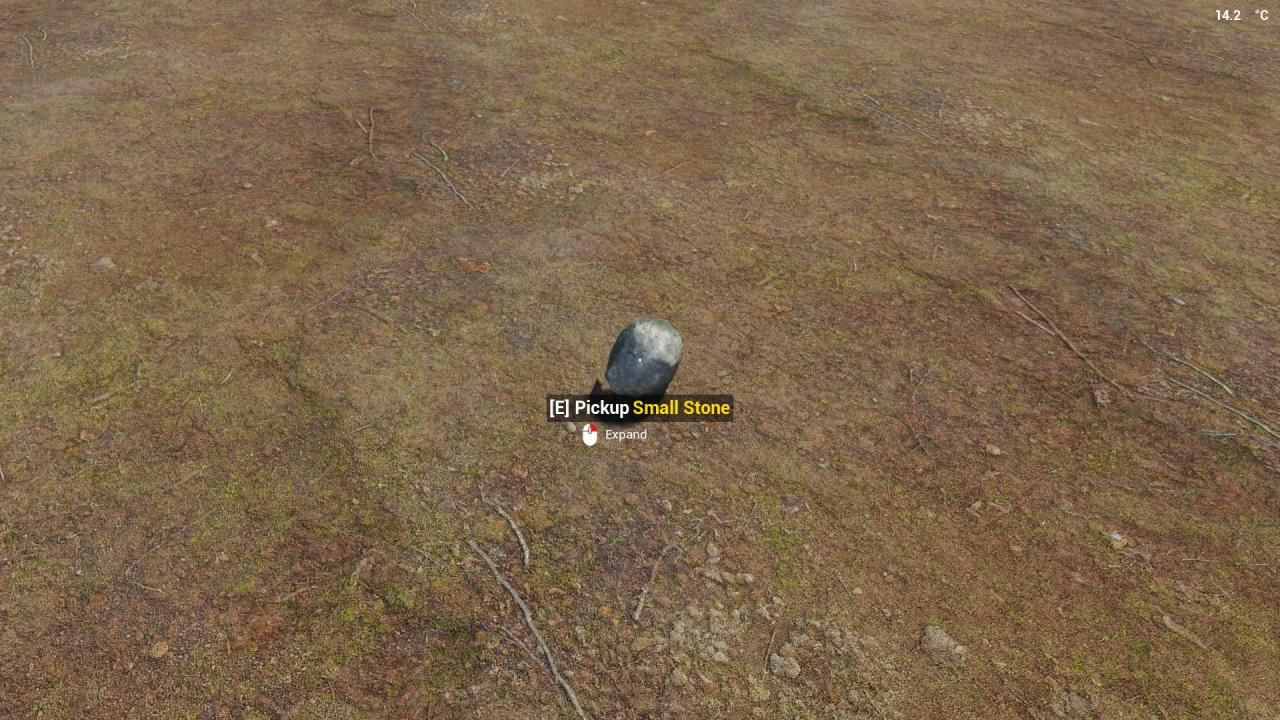
1) Scrounge around on the ground and locate 1 stick and 1 small stone
2) Pull up your inventory and click the icon with the HAMMER AND ANVIL at the top. This is for basic crafting from inventory.

3) Drag over your stick and stone to the crafting area, OR L-alt + right click will move a single item from inventory to the crafting window, or storage. Any place it will fit is fine.
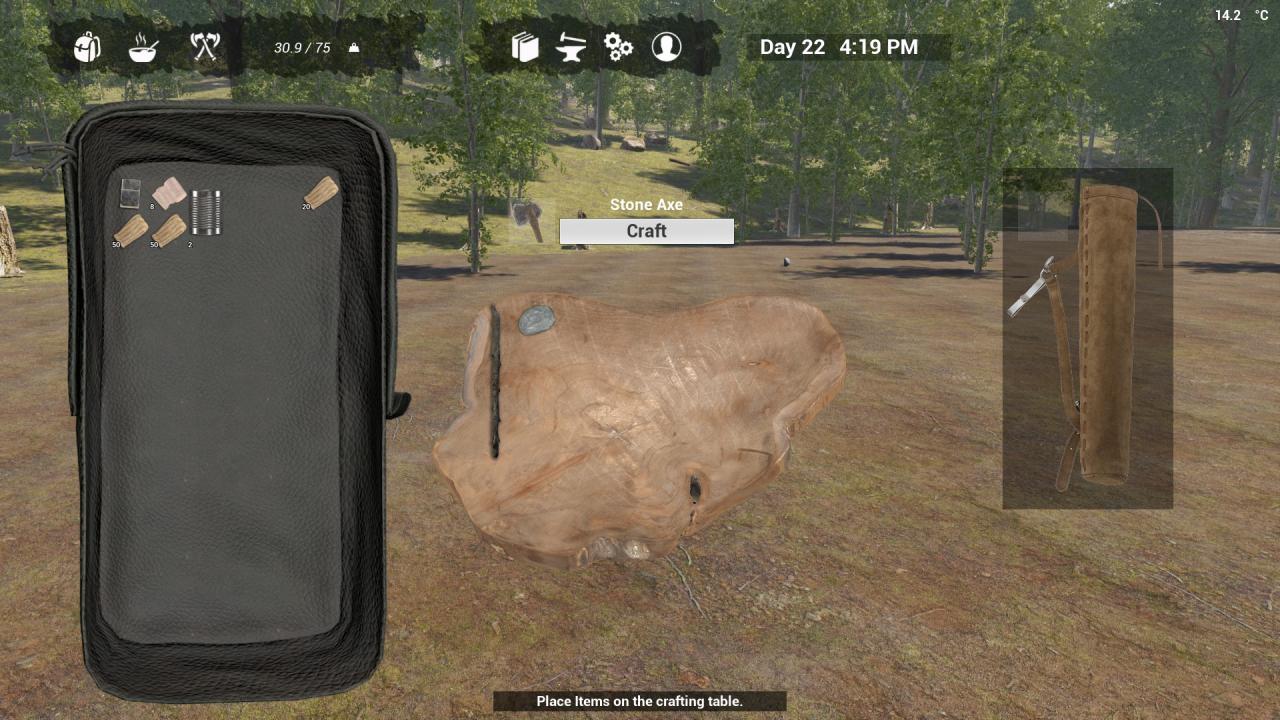
Afterwards you’ll see that it IS, in fact, a recipe and you can now click the CRAFT button to make it.
NOTE : In the current version, all crafting recipes must be EXACT in order to make any item. Even if you go over by a small amount, the recipe won’t register and you’ll have to start again.
4) Congratulations! You now have an axe! But where the heck did it go?? When you craft a weapon or tool, it will automatically be equipped to your backpack’s weapon/tool inventory. Click on the icon of the CROSSED AXES to access your currently equipped weapons/tools.
There are 4 slots in this part of your inventory, i keep my axe in the second one, but any you make will end up in the first free one you have. There slots are accessed by using 1-4 on your keyboard.
NOTE : You may fail to create a tool/weapon if you do not have any free tool/weapon slots open on your backpack. Don’t panic, you can always just drag and drop them from your pack to the ground or move them to a rack so you can craft the new item.
Now with the step-by-step part covered, lets look at the other useful things you can make for these quickslots.
SPEAR
1x Firewood
1x Stone Blade (just put a small stone on the crafting area to make one)
5x Plant Fiber

Your basic way to fend off Vambies, bears, those $@#*&^*&^ Foxes, or anything else wanting to harm you. Also used for fishing.
STONE PICKAXE
1x Stick
1x Stone Blade
2x Plant Fiber
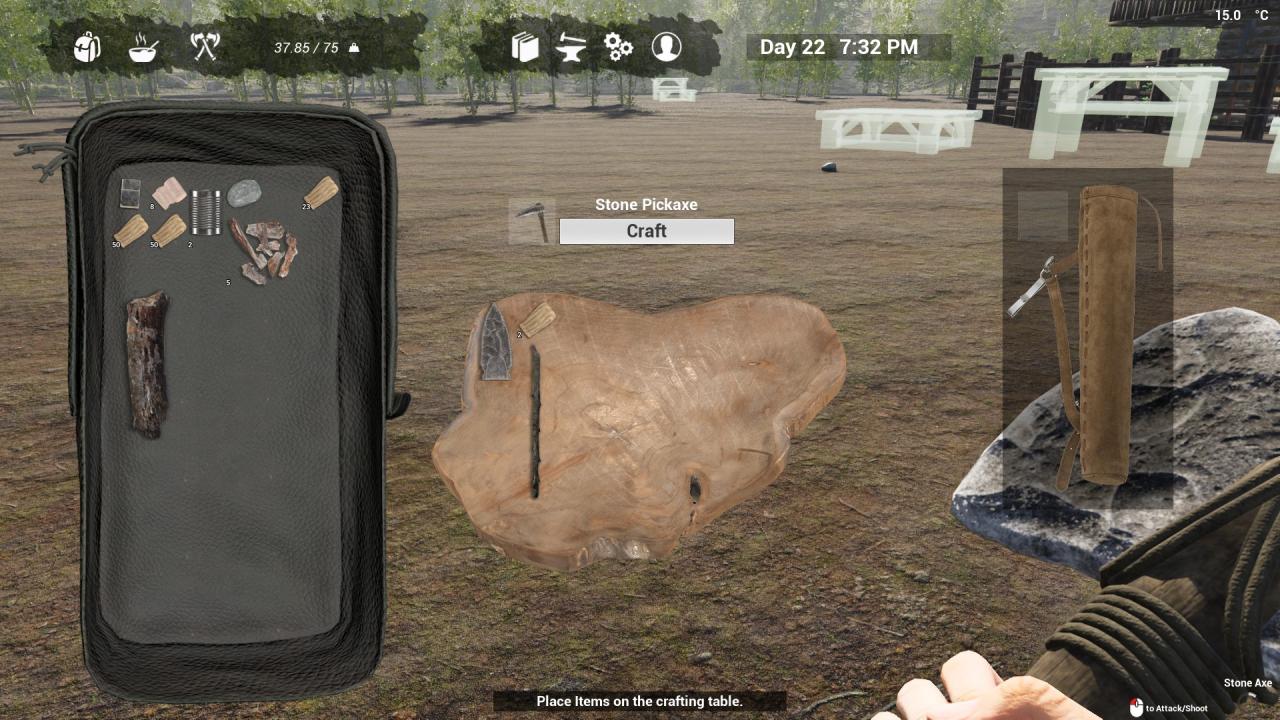
Used for mining boulders down to small stones and metal ores.
TORCH
1x Stick
5x Plant Fiber
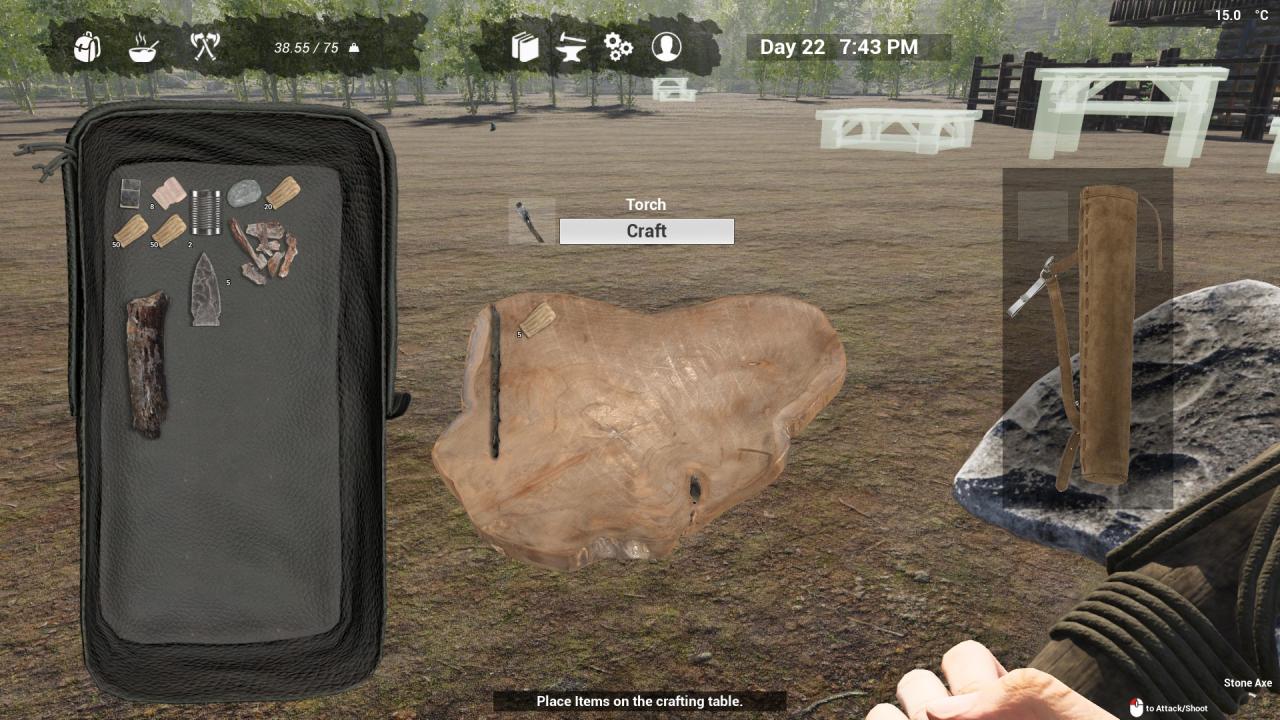
Useful basic light source when you’re trying to build or forage at night.
STONE HAMMER
1x Stick
1x Small Stone
1x Rope (Made from adding 2x Plant Fiber to the Workbench)
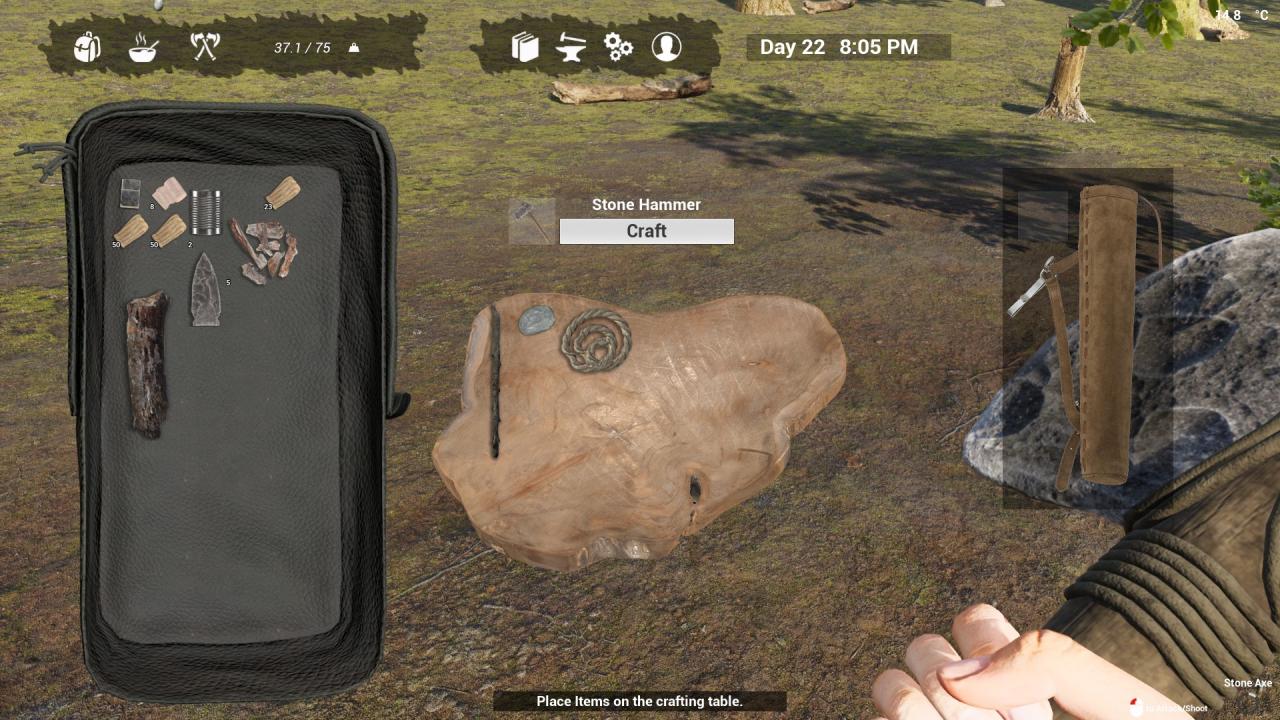
This is for repairing damaged parts of your base or built assets.
BOW
1x Stick
3x Rope
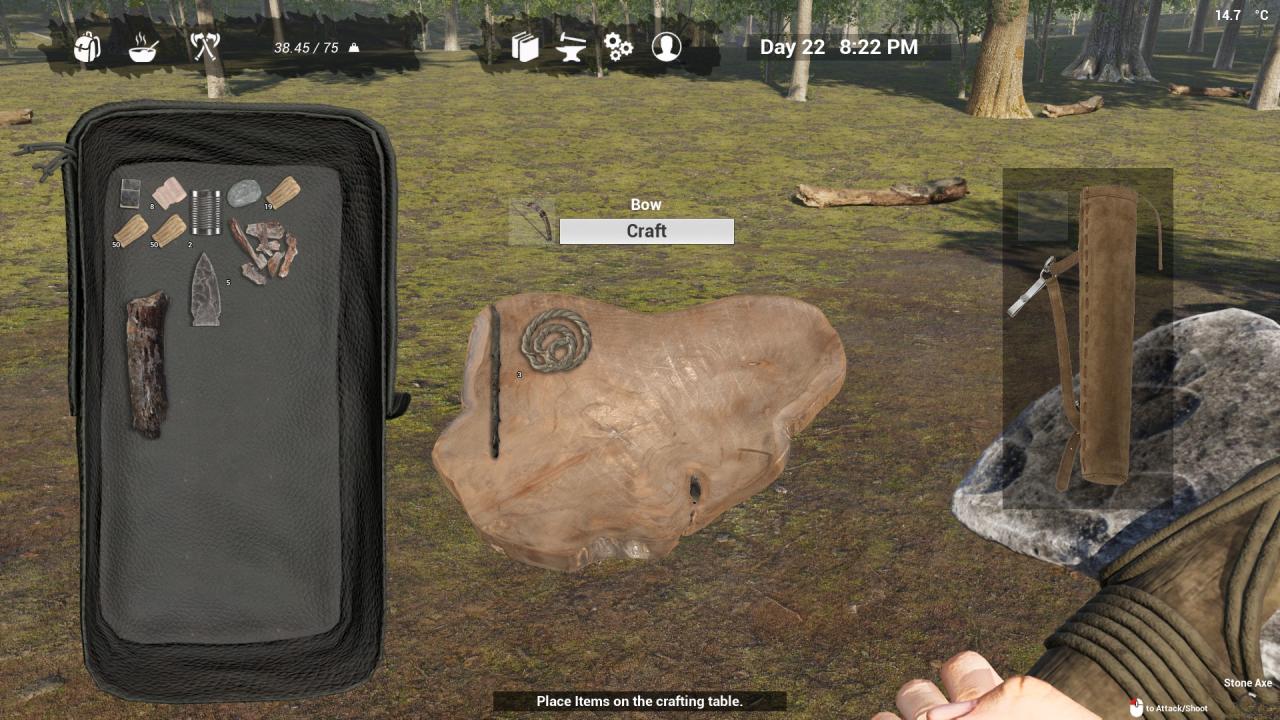
Your basic ranged weapon. Will also require…..
ARROWS
1x Stick
1x Small Stone
1x Feather (from harvesting dead birds)
1x Rope
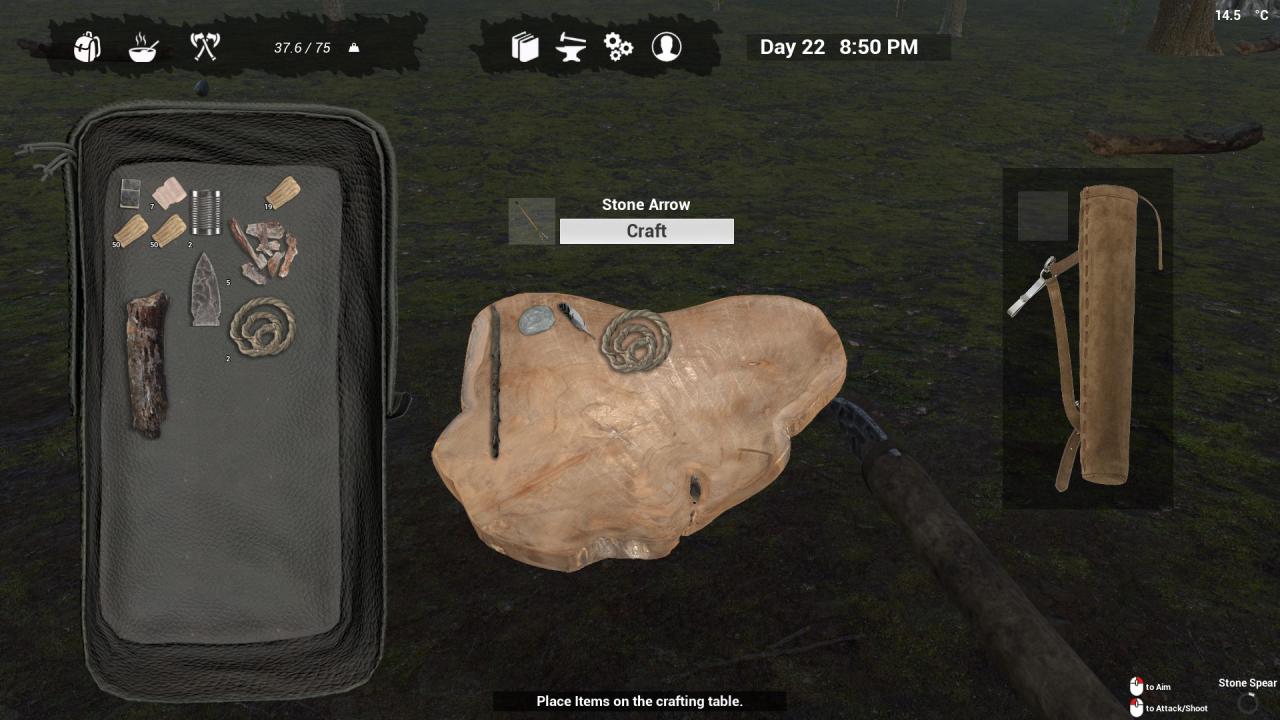
Your ammo source for the bow. Rather expensive as far as resources go, and lengthly to make, but at least you can sometimes use them again after firing if they don’t break on impact. Arrows will be used by the bow either from your inventory or from your quiver (if you crafted one).
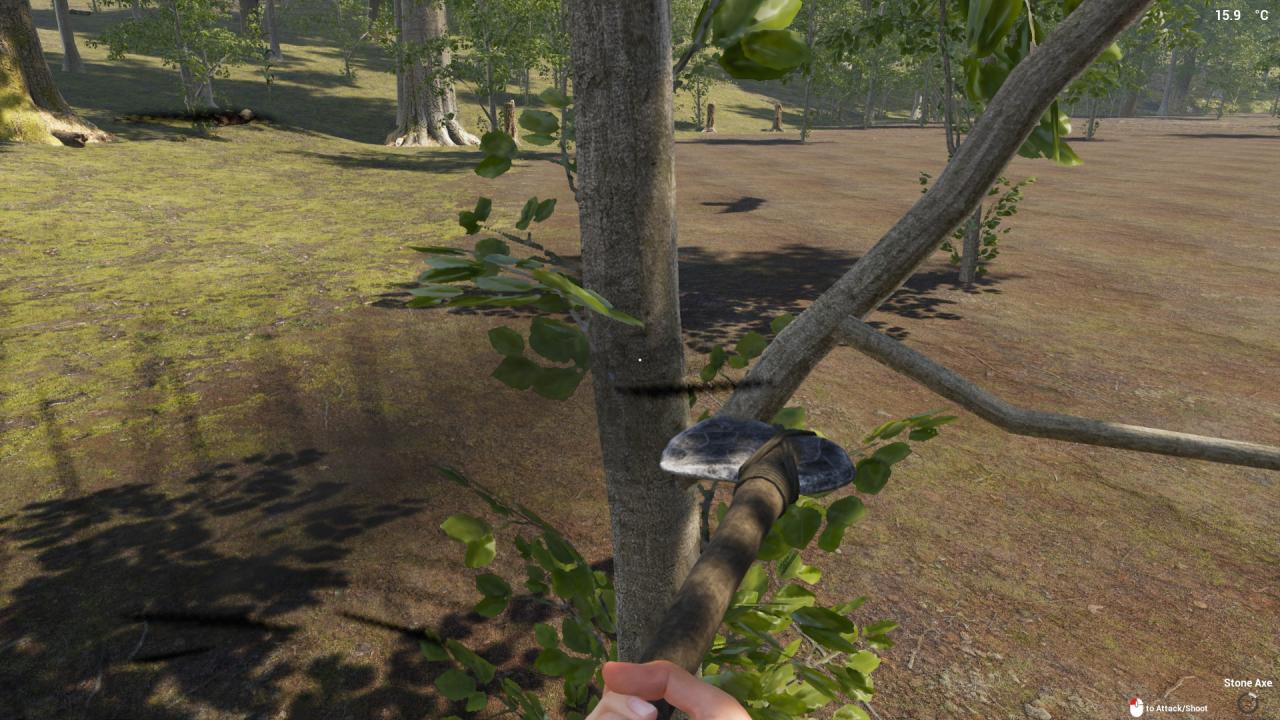
1) Wood (in all its forms)
Simple enough, just take that shiny new axe you made and start wailing on a tree. ALMOST any tree will do. There are some HUGE ones you cant cut, and forget about those fallen logs on the ground, but anything else is fair game. Three swings for small trees, five for large ones.
Once its down you can pick up the Logs (3 at a time) and take them with you. They will not go in your inventory, but visibly on your shoulder. Please note you CANNOT use tools or weapons when carrying logs, but they are easily dropped with a right click.
Don’t need logs yet? That’s just fine, as they can easily be turned into other useful wood forms! Simply highlight the log and hold in E…
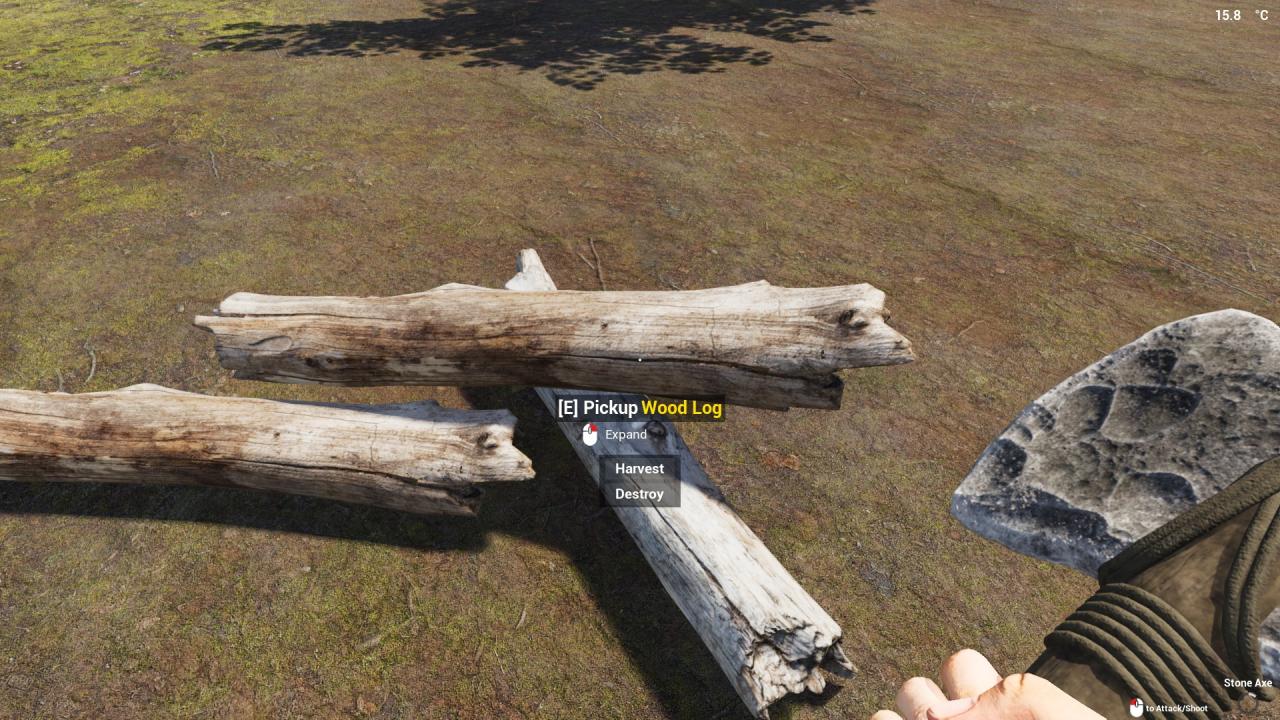
This will bring up a menu to harvest the log. Click harvest and voila!
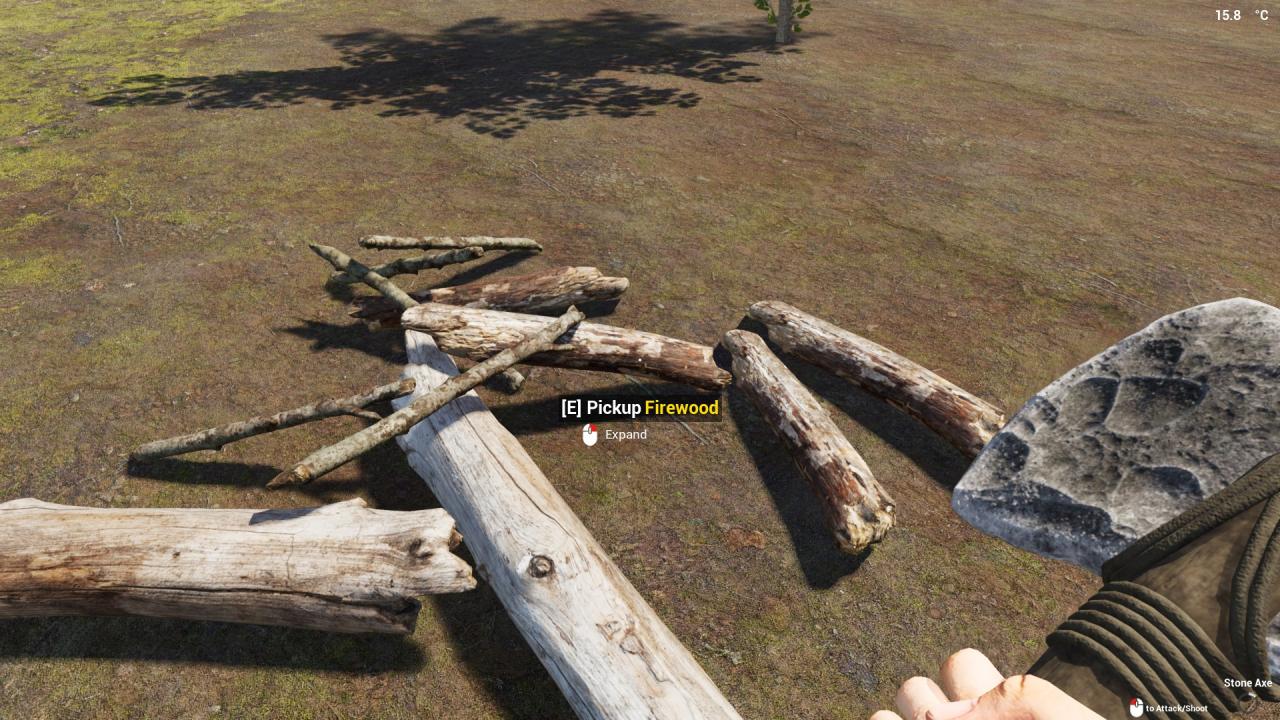
It explodes into a pile of Sticks and Firewood (just like in real life)!
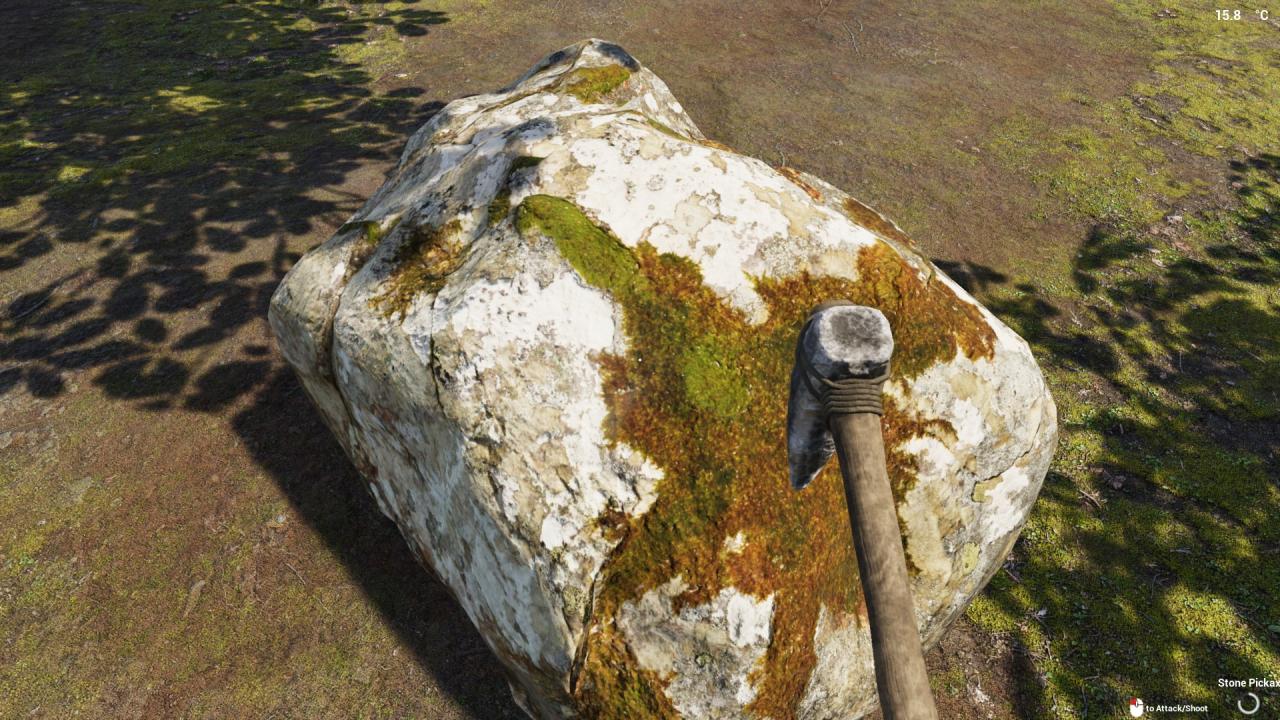
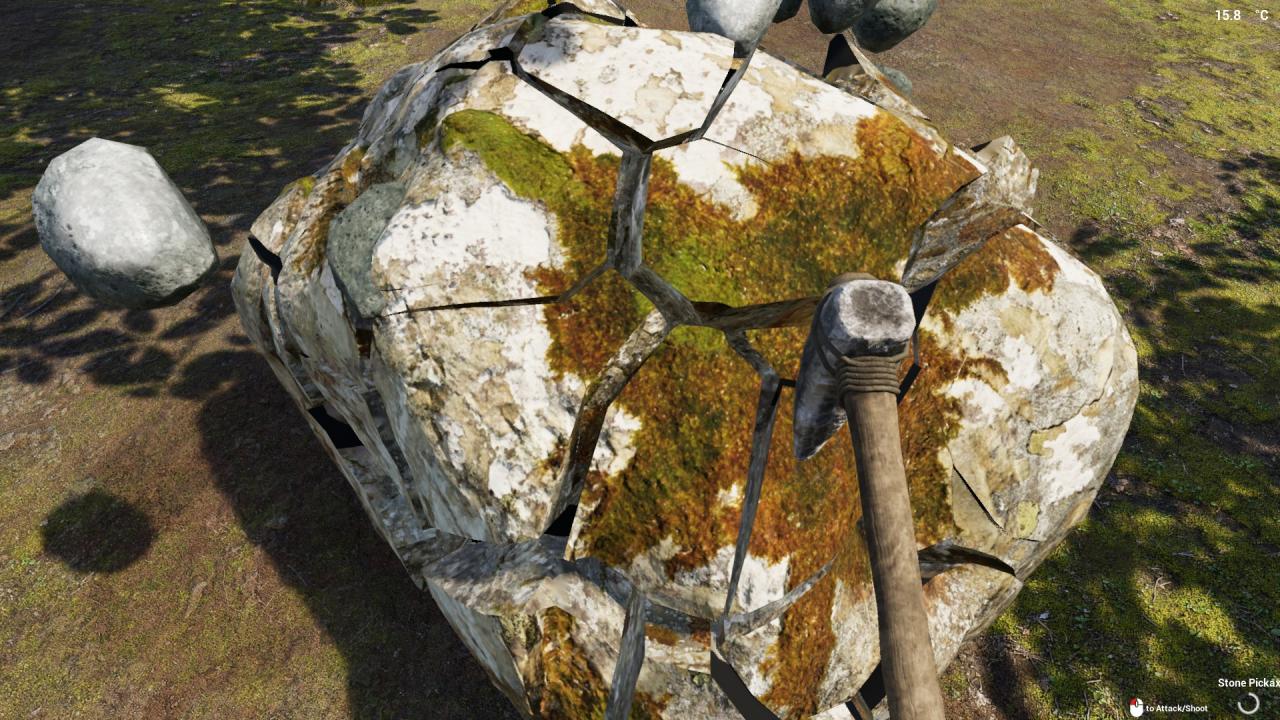
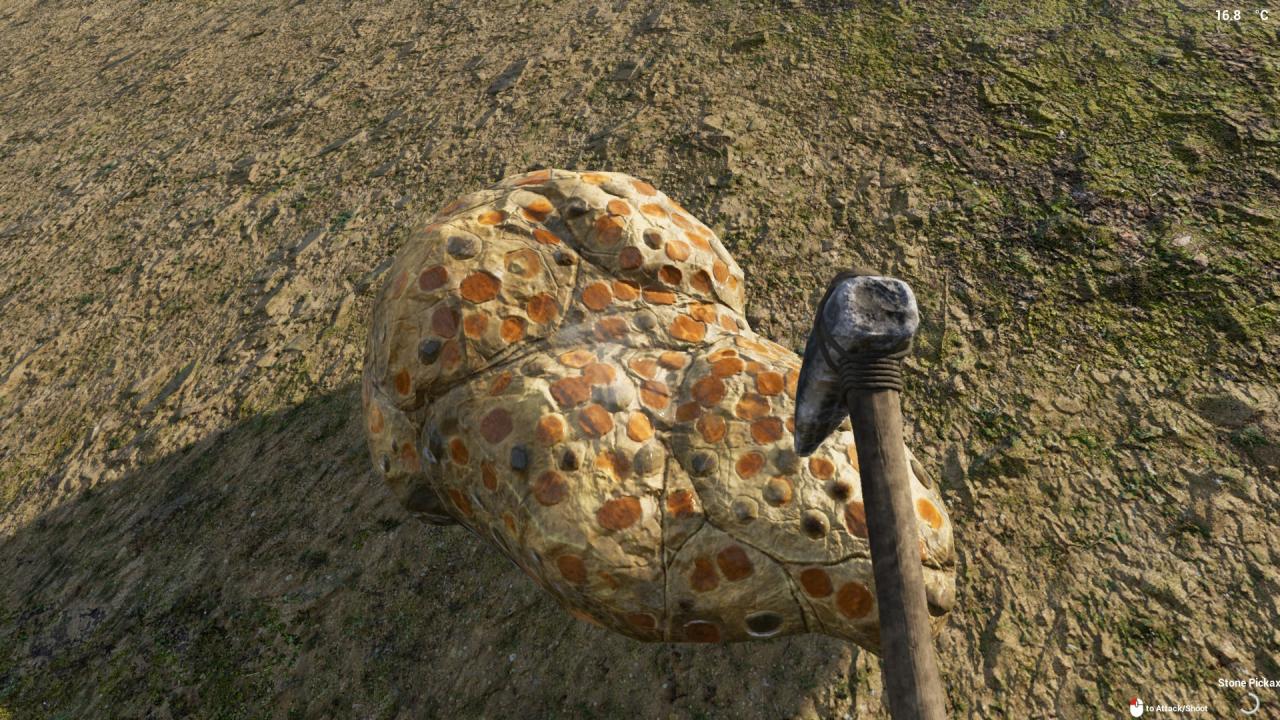
2) Stone and Ore
If you made yourself a Stone Pickaxe, you’re now ready to break some boulders! Boulders have 3 different looks, but they are pretty much the same, except for the Aluminum ore ones, but you won’t be finding of those in your starting area. Just pick any old boulder, whack it 5 times with your Stone Pickaxe, and it will explode into a fountain of Small Stones and one random ore type (Iron or copper).
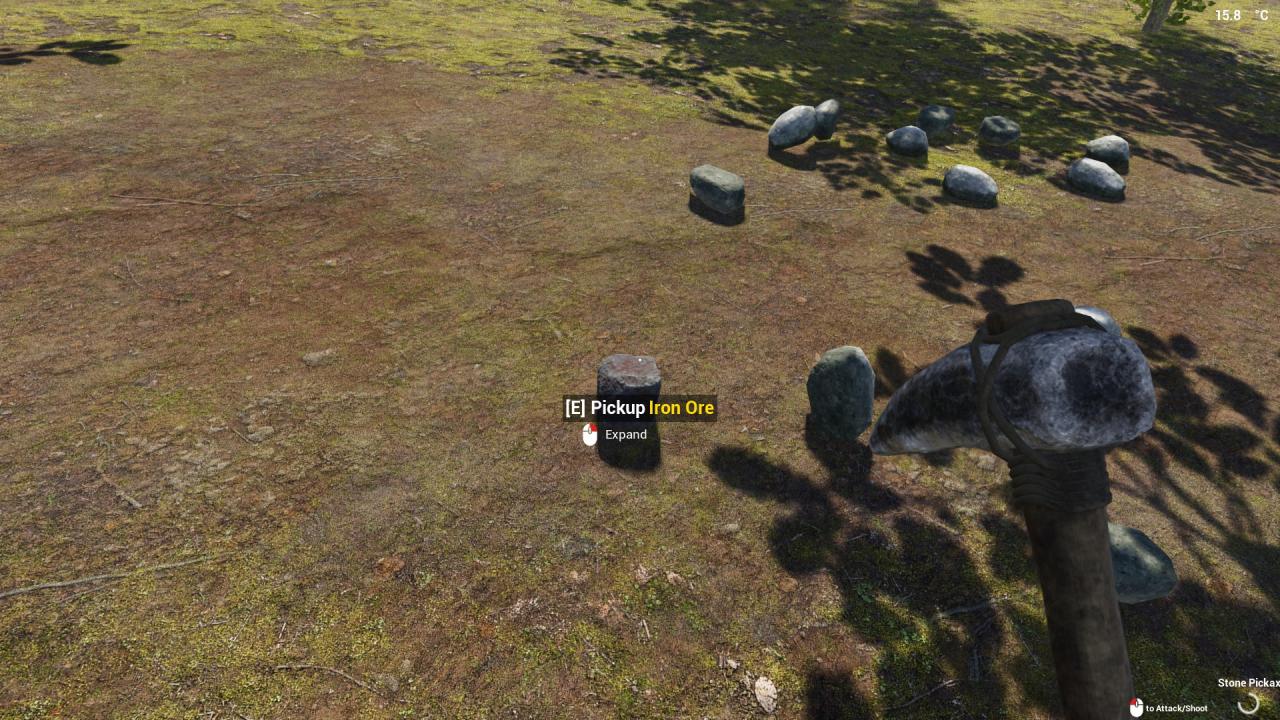
Gather up what you need and, if you’re having trouble finding that Ore piece, the options menu has a foliage slider they you can lower to reduce or eliminate excess vegetation and make that piece of ore MUCH easier to find. Just remember that this game DOES have weight restrictions for inventory, so don’t go overboard or you’ll have a very slow trip from there.
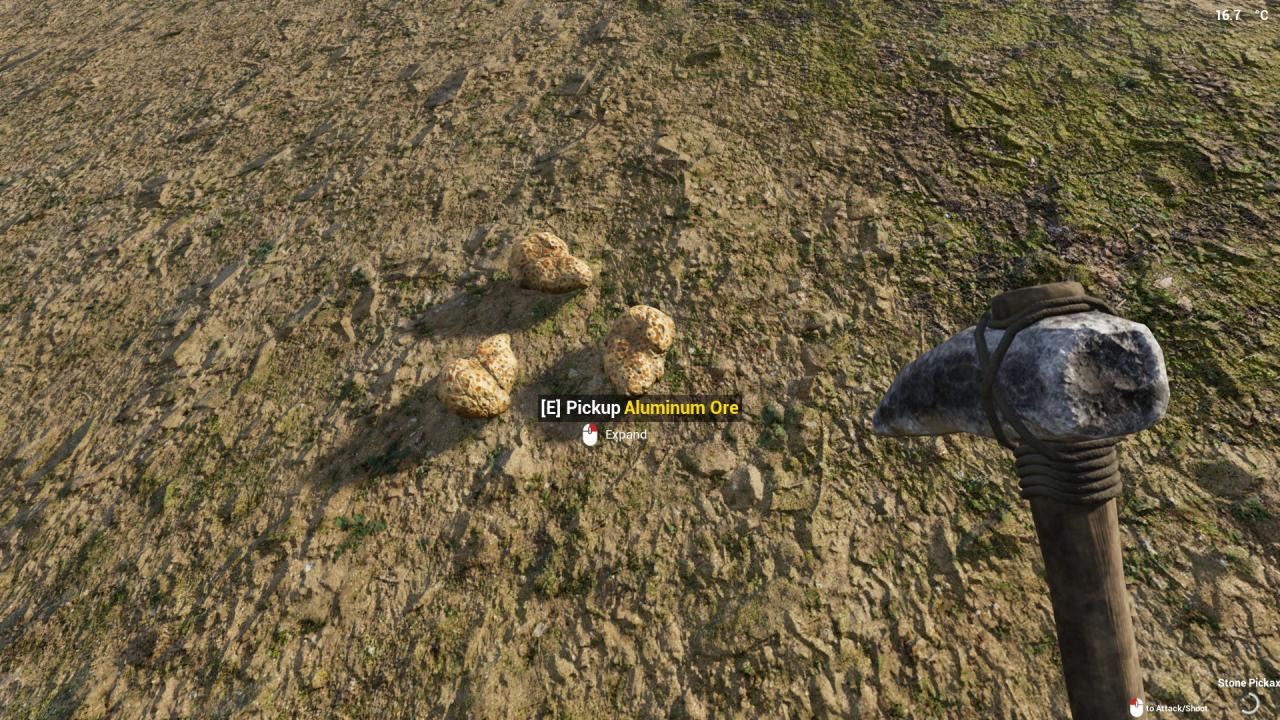
The last Ore type, Aluminum, is unique in that it only appears in certain locations (marked in the MAP section of this guide), and it ONLY breaks into ore. Many of them. Besides possilbly being a long trip to get to some, its arguably the easiest type to farm.
Animal Products
Pretty Straightforward part here, no real need for pictures.
OK, maybe one…
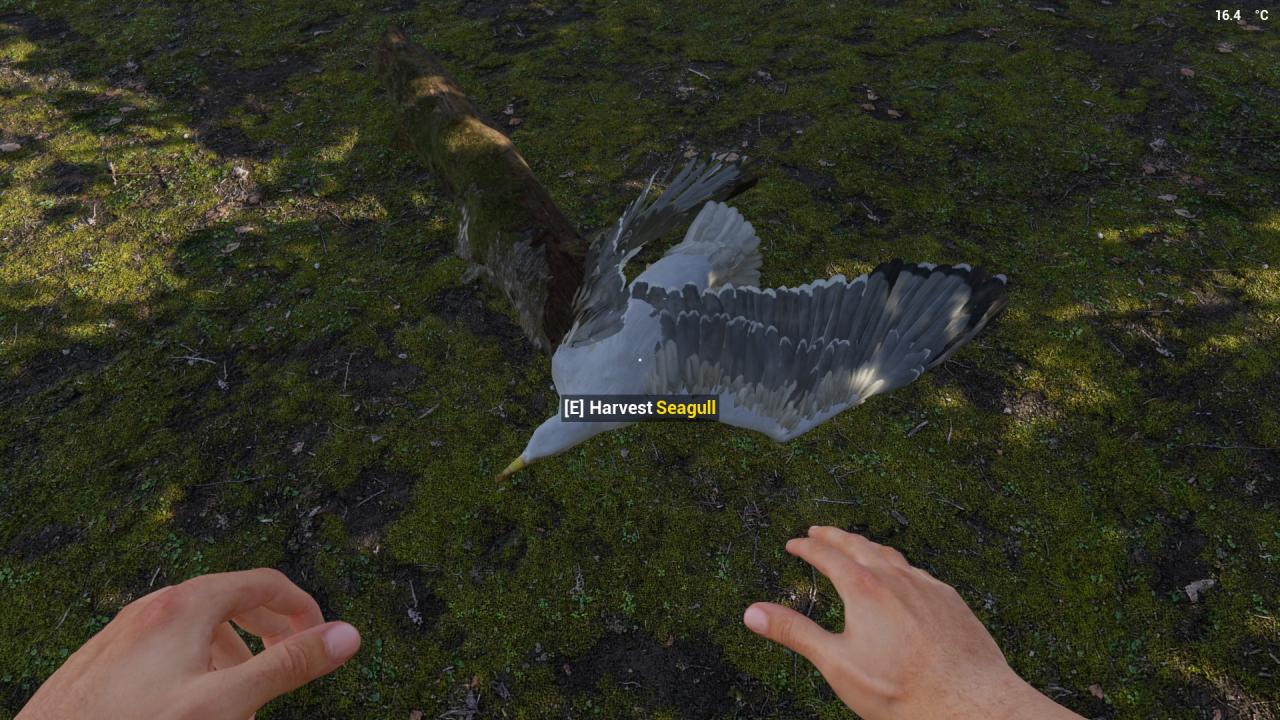
Harvesting birds gives FEATHERS and RAW MEAT
Harvesting mammals gives ANIMAL HIDE, RAW MEAT, and ANIMAL FAT
Harvesting crocodiles gives CROC SKIN, RAW MEAT and ANIMAL FAT
Harvesting fish gives RAW FISH
And while we’re at it, Harvesting Vambies gives KEVLAR and sometimes a STONE ARROW
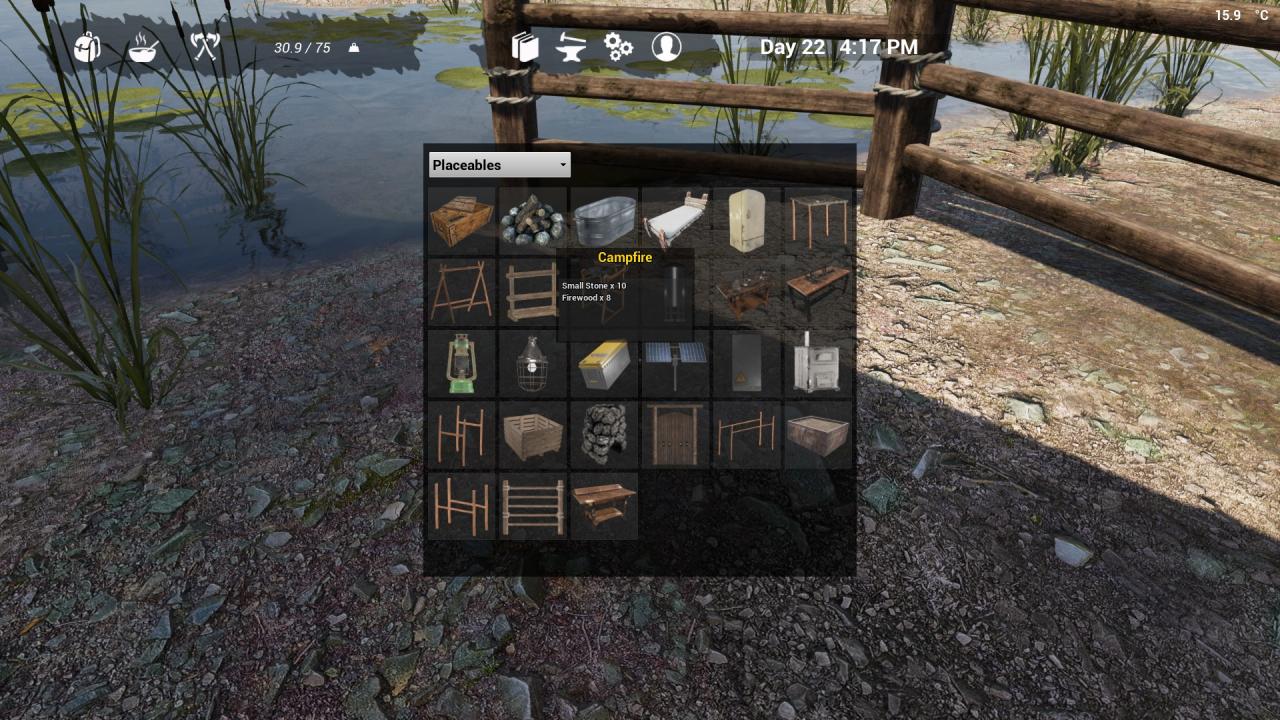
Building the Campfire
10x Small Stone
8x Firewood
For most of the beginning part of the game all the way to the most technologically advanced bases, This will be useful for many of your basic needs. Cooking basic foods, purifying your water, warming your bones when its snowing and a light for those long dark nights.
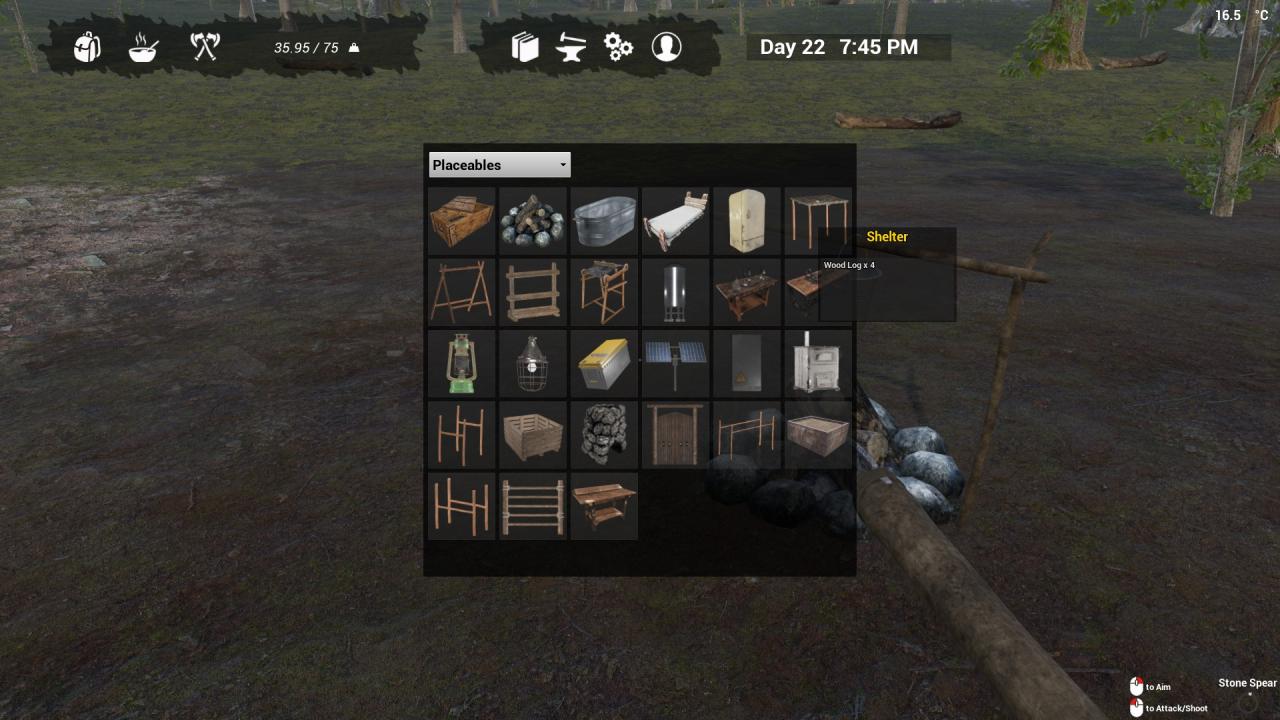
Go to your inventory again and click on the icon of the books.
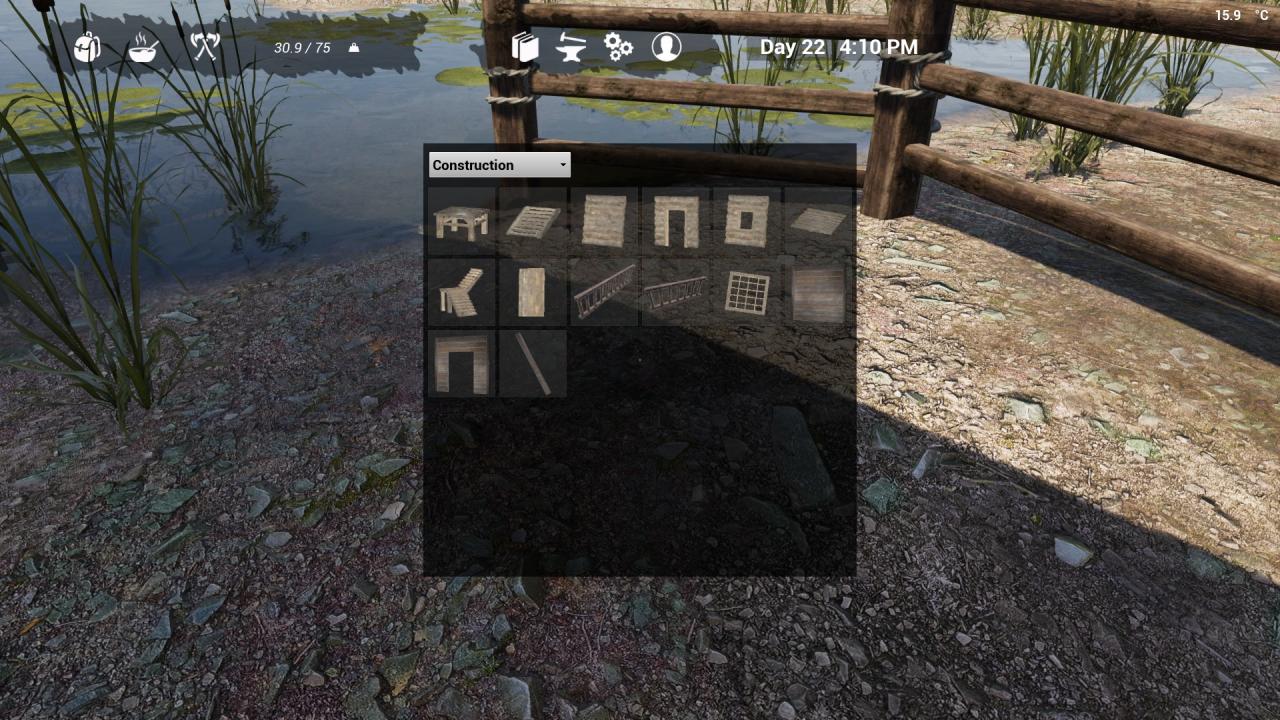
Then use the submenu at the top to scroll down to PLACEABLES
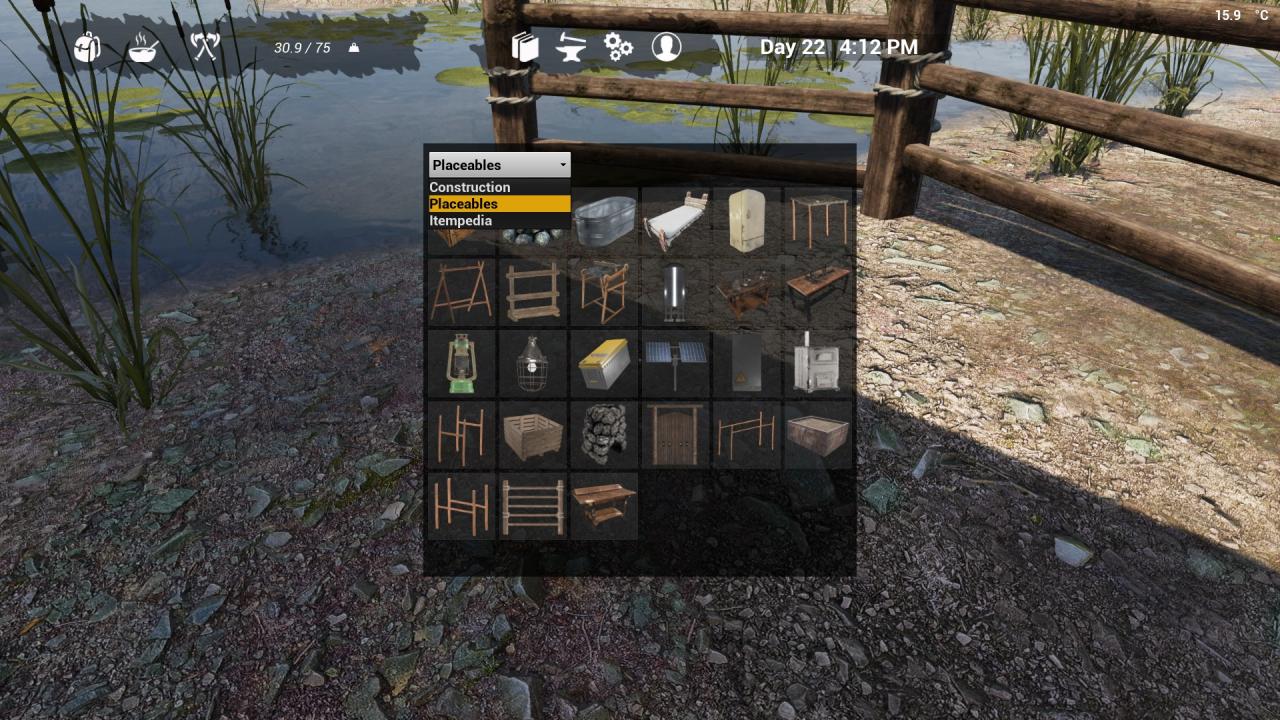
Then finally select the CAMPFIRE
This will bring up a ghost image of the campfire, just put in on the ground where you want it to go and place it with E. It must be green to be placed.
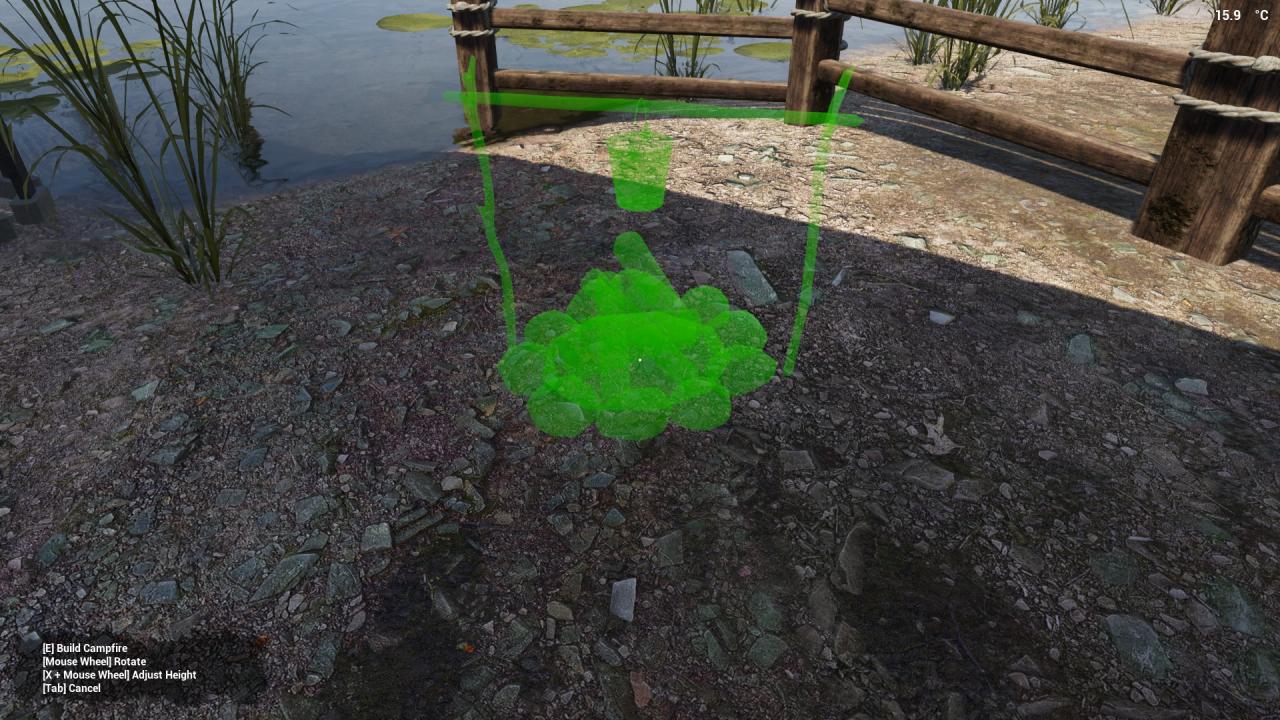
NOTE : The campfire can only be placed outdoors. It wont let you place it inside your base.

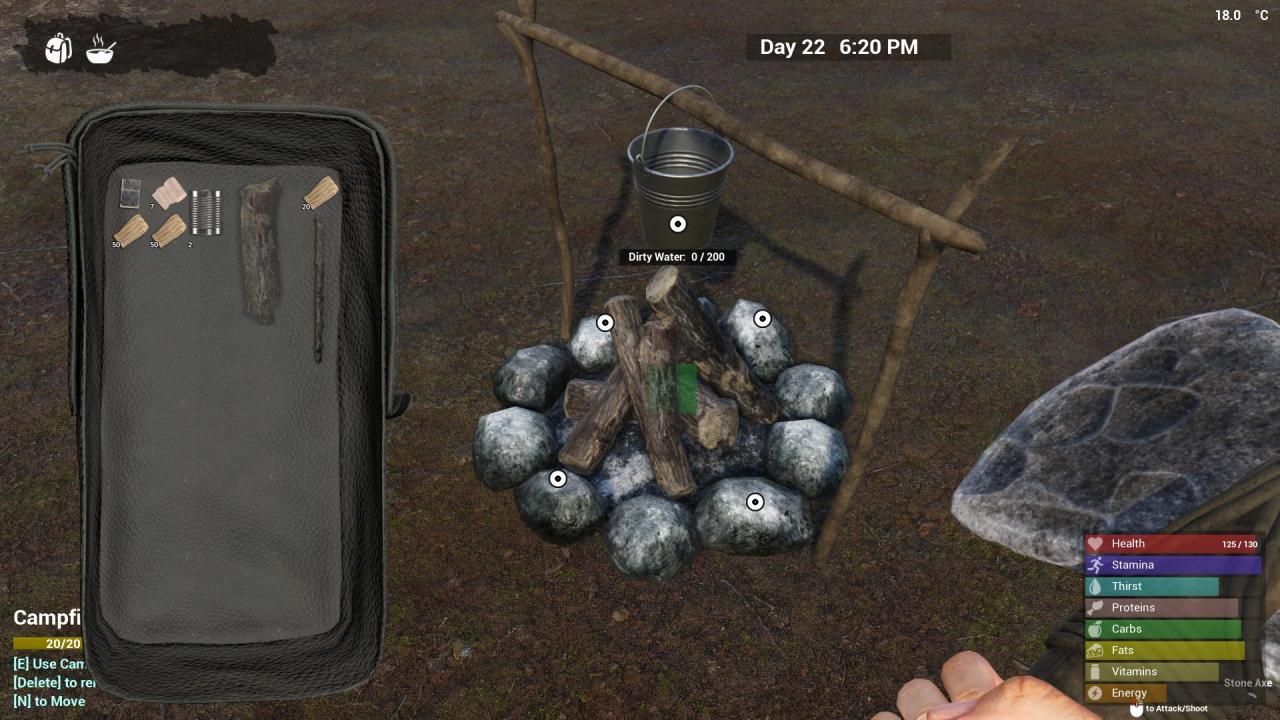
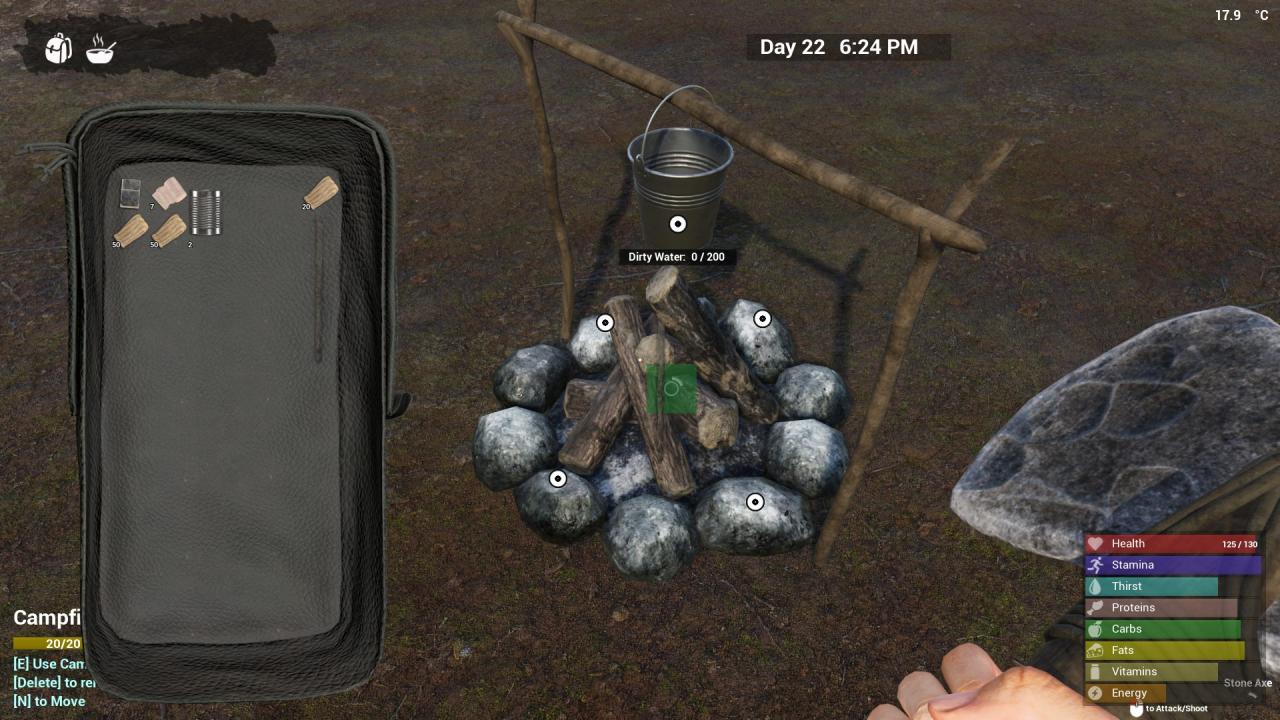
Congratulations! You have a campfire! Except its not ON fire. Not yet anyway…
Even though you built it out of firewood, and you see firewood in it, its empty. Time to add some fuel. FIREWOOD, STICKS, and BARK CHIPS can be used as fuel. Just press E by the fire and drag them over to the middle circle.

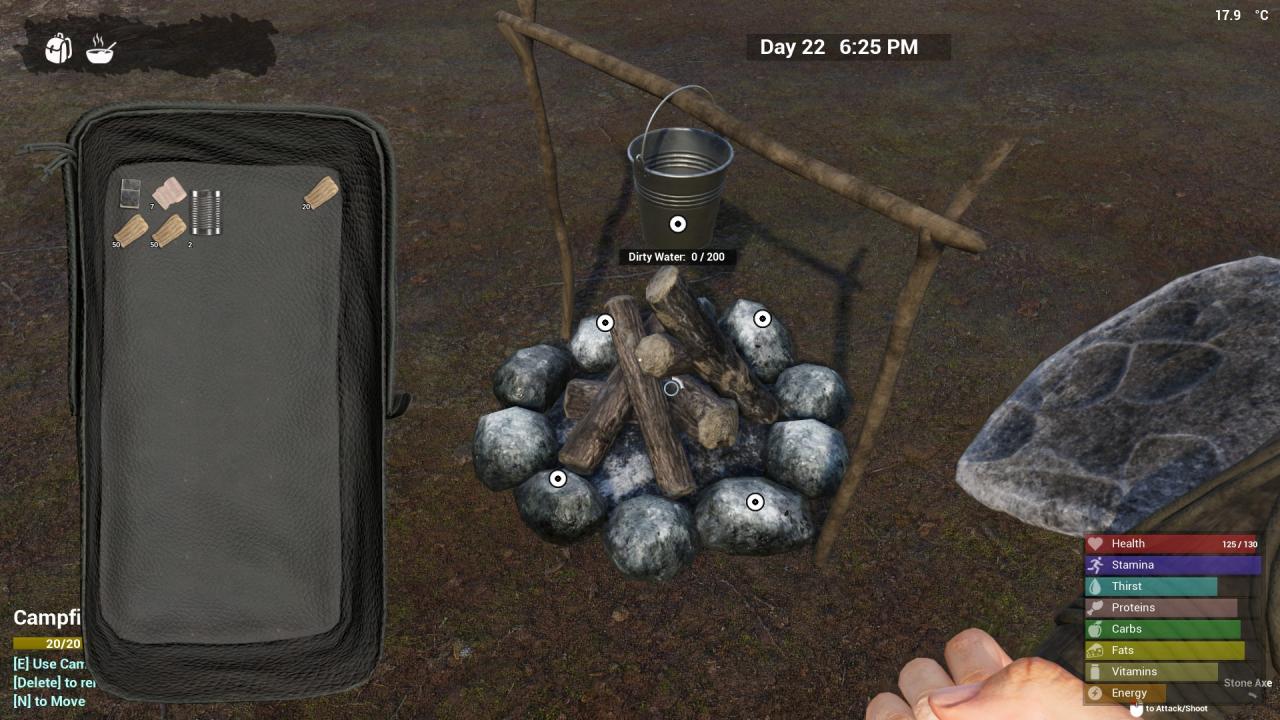
You’ll notice a white ring forming around the middle circle. That represents how much fuel your fire has left. You’ll also notice that FIREWOOD will grow the ring much faster than STICKS or BARK CHIPS
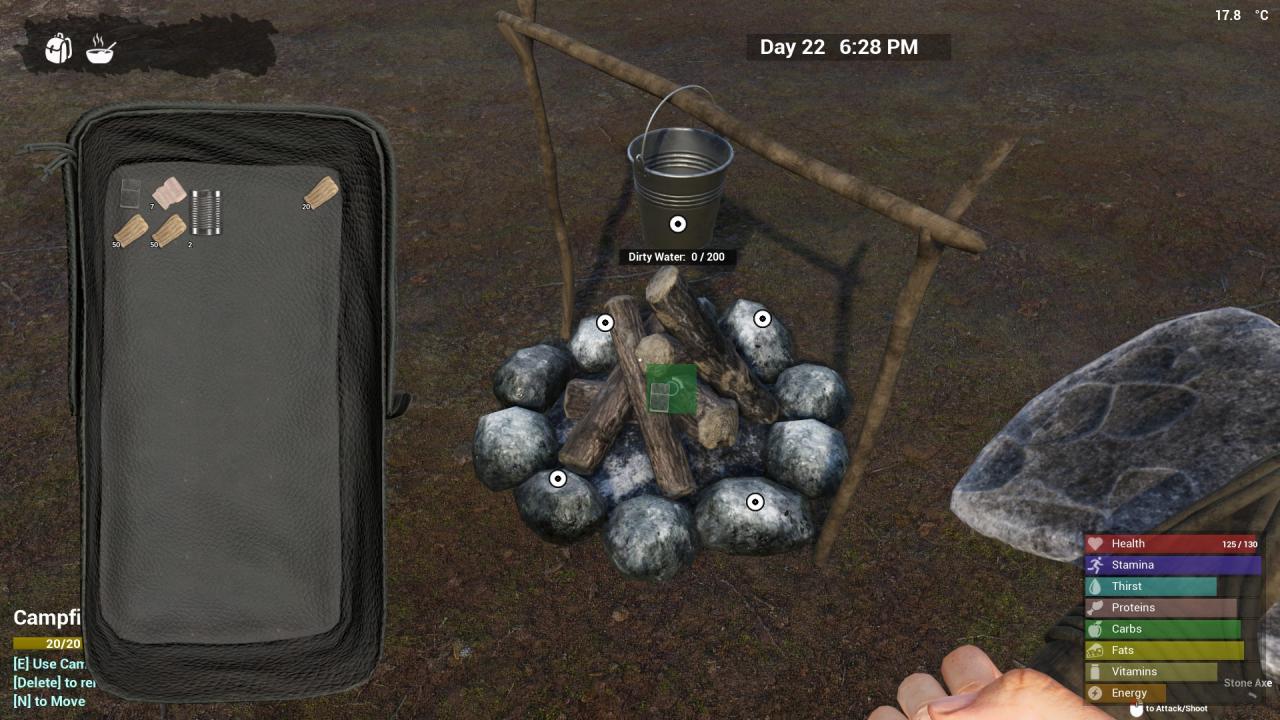
You wont need a full fuel ring to get the party started. Just drag your LIGHTER over the middle ring
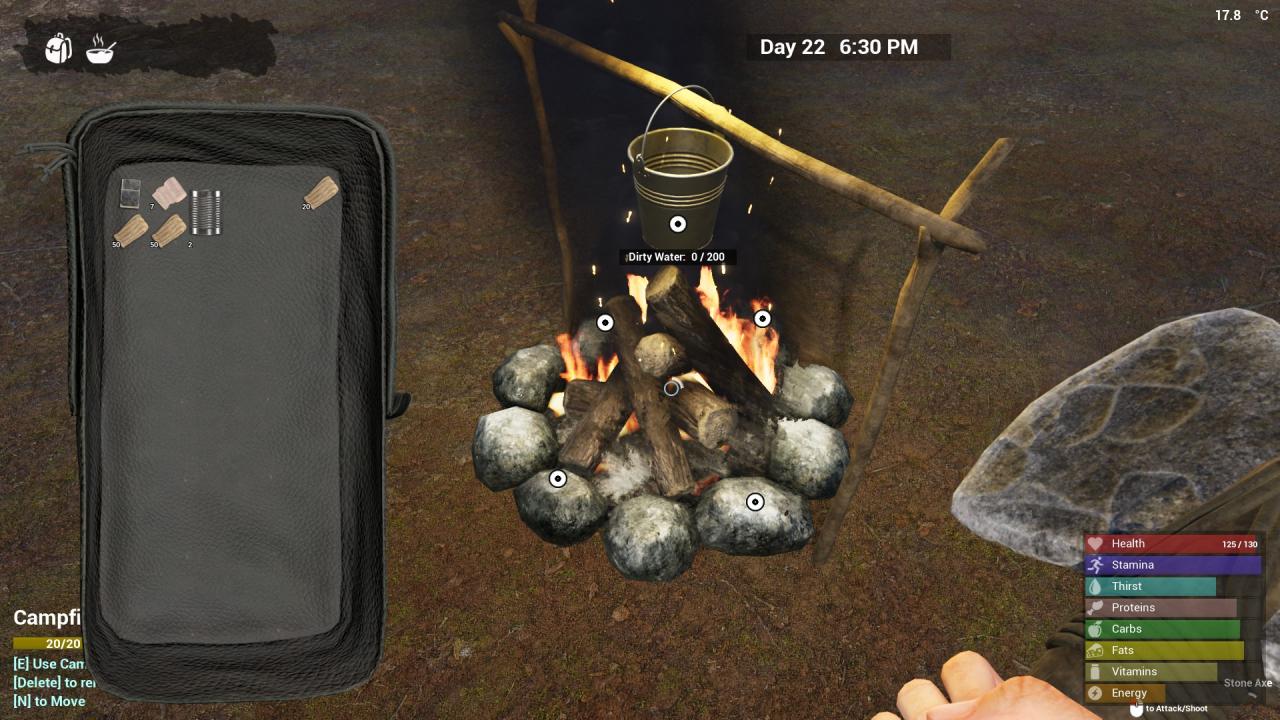
YOU HAVE MADE FIRE!
Now you can use it to cook your RAW MEAT, RAW FISH, or POTATOES into something a little more palatable. Drag it to any one of the four open circles around the bottom stones and wait…
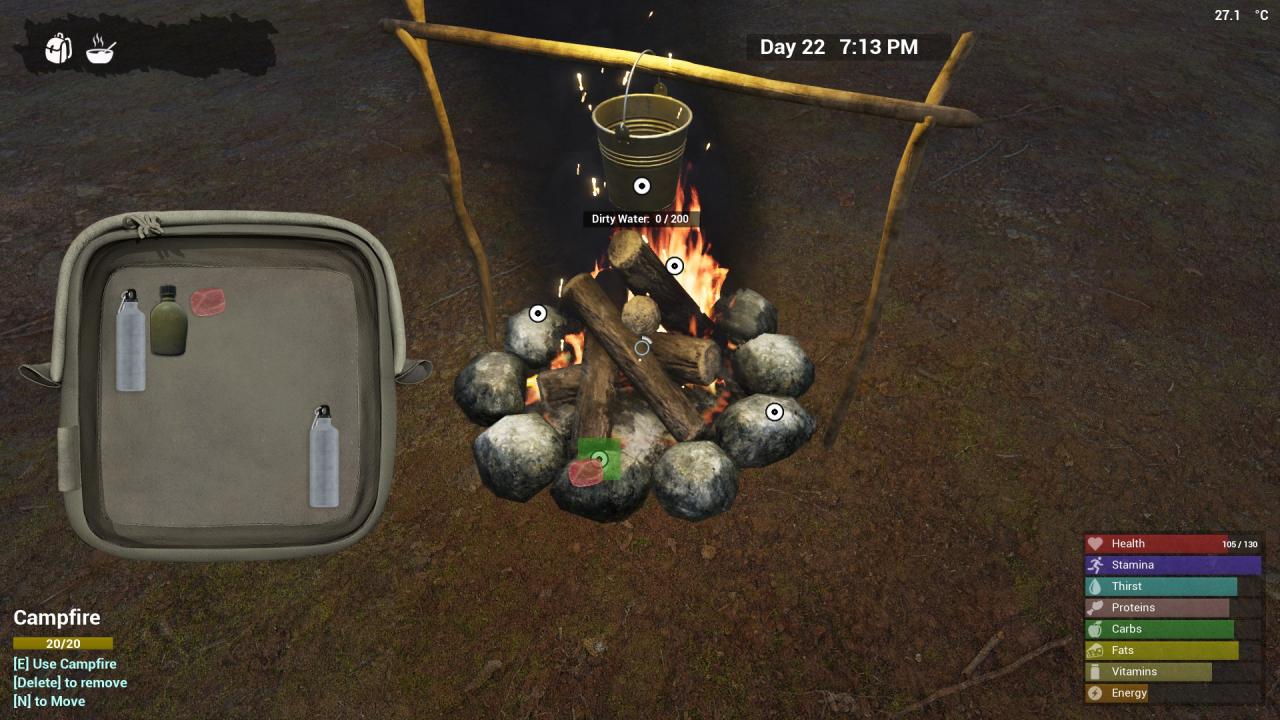
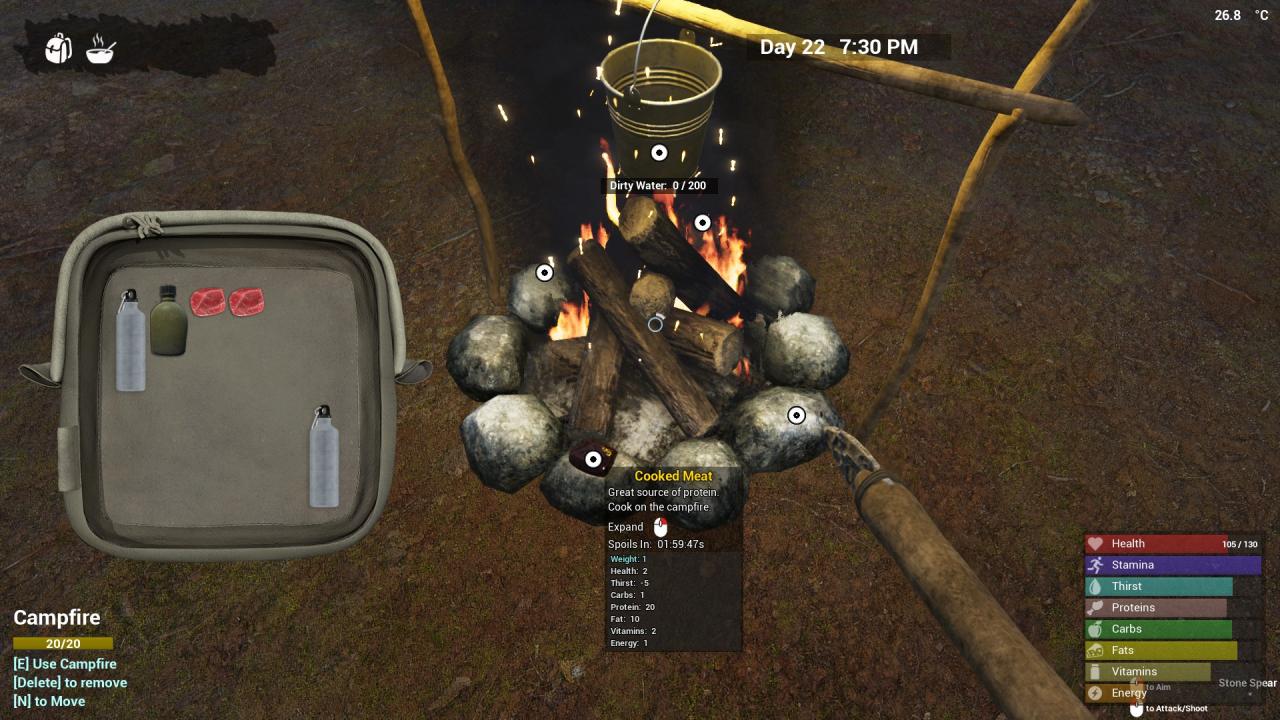
Anything you cook won’t burn, so feel free to leave it there, or eat it, or move it back to your pack.
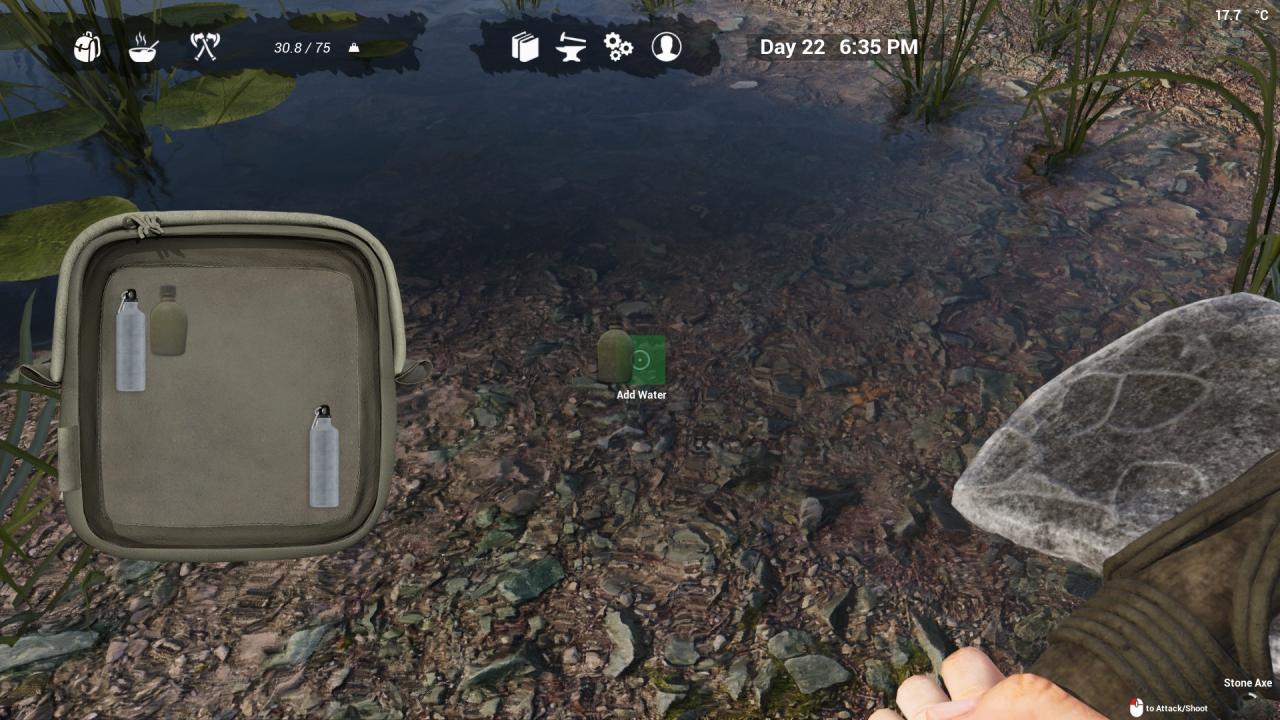
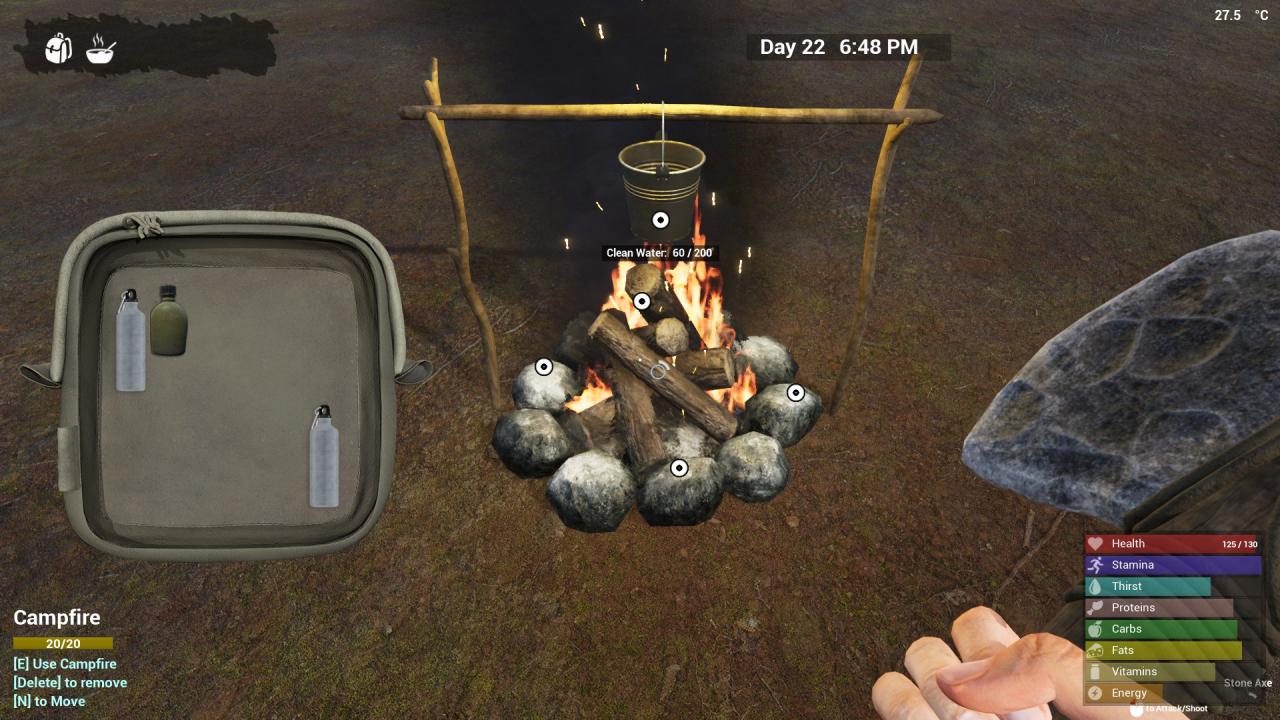
You can also boil and store water from your flask (or later on, thermos) here. Take your flask down to a source of water (Starting areas all have one) and open your inventory. If you’re close enough to the water you’ll see a circle in the middle of your screen. Now just drag your flask over the circle to fill it with DIRTY WATER.
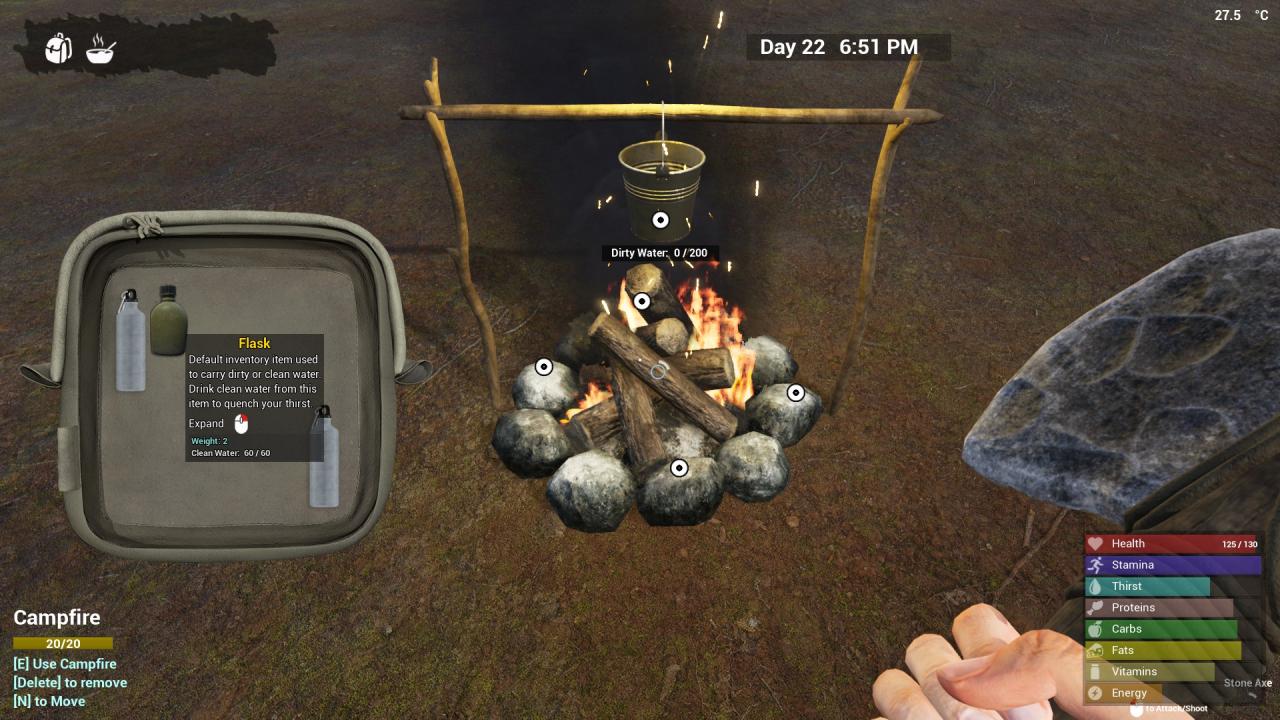
You do NOT want to drink that stuff! Trust me, its gross and you’ll take 10 hp of damage if you do. Save that crap for your crops later on. For now though, take it over to you new best friend and dump it in the bucket
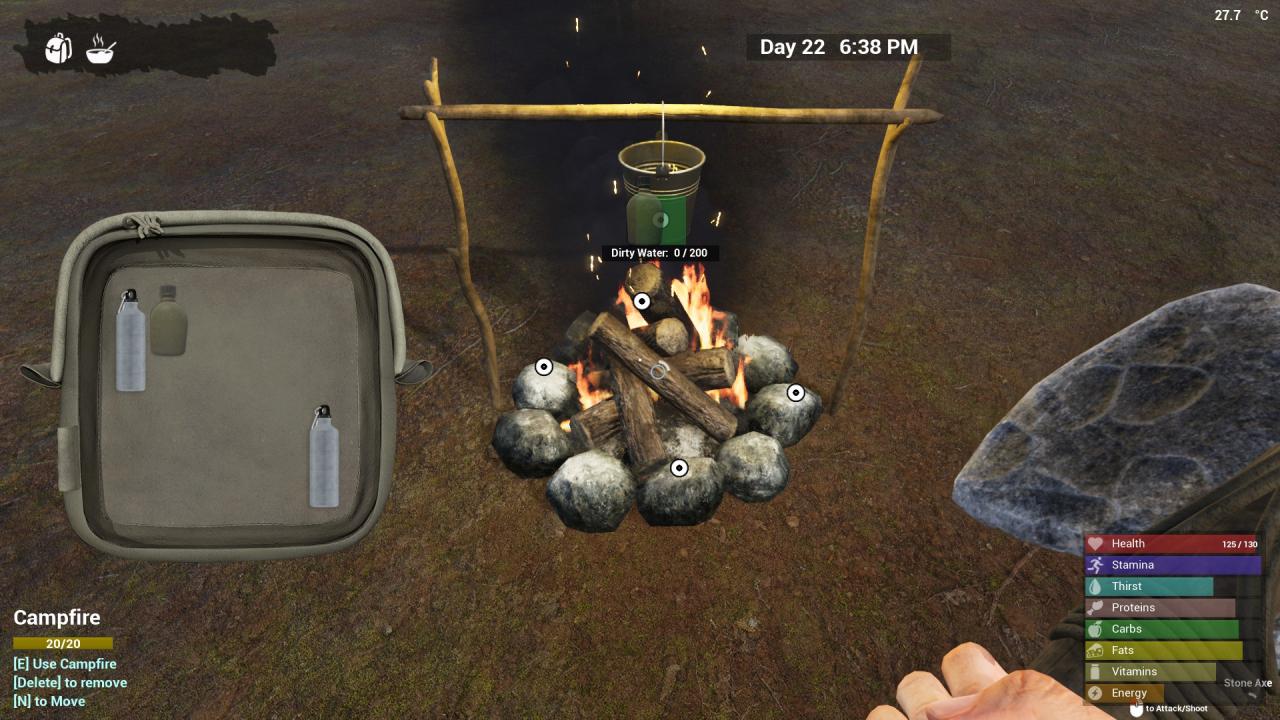
The bucket can hold up to 200 units of water, so make a couple more trips if you want to. But after a short time, that gross water has boiled into CLEAN WATER.
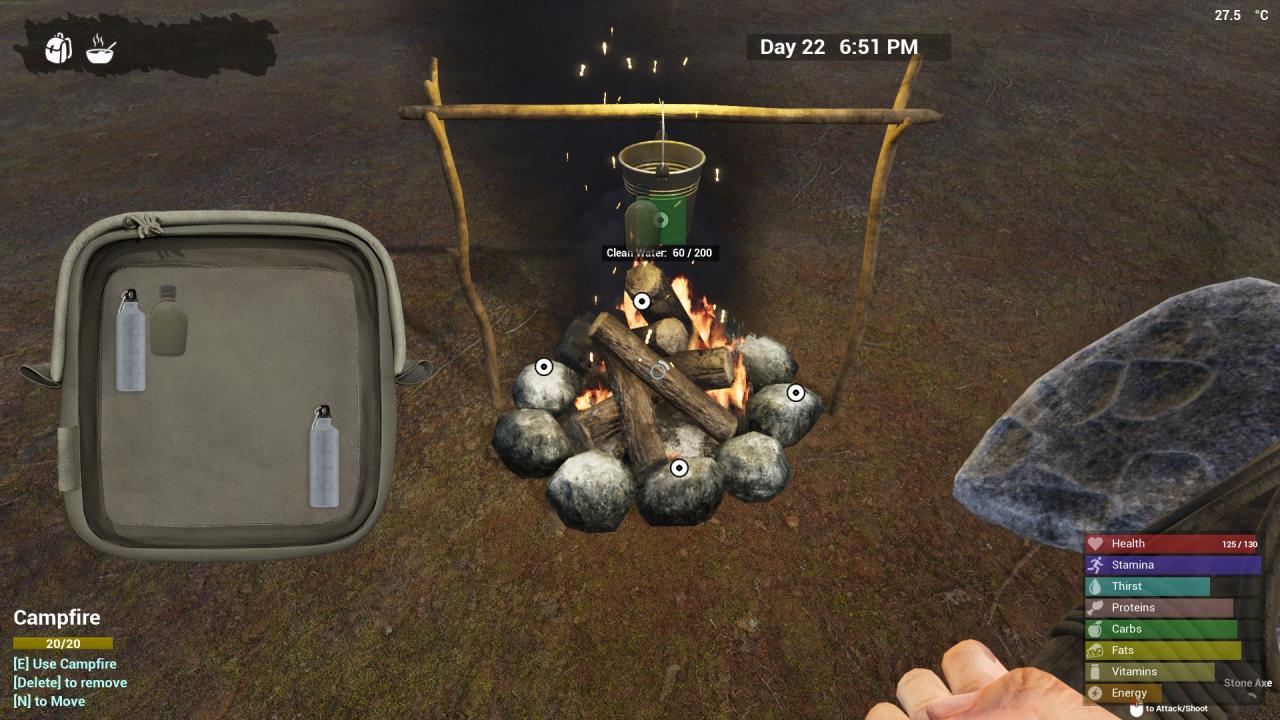
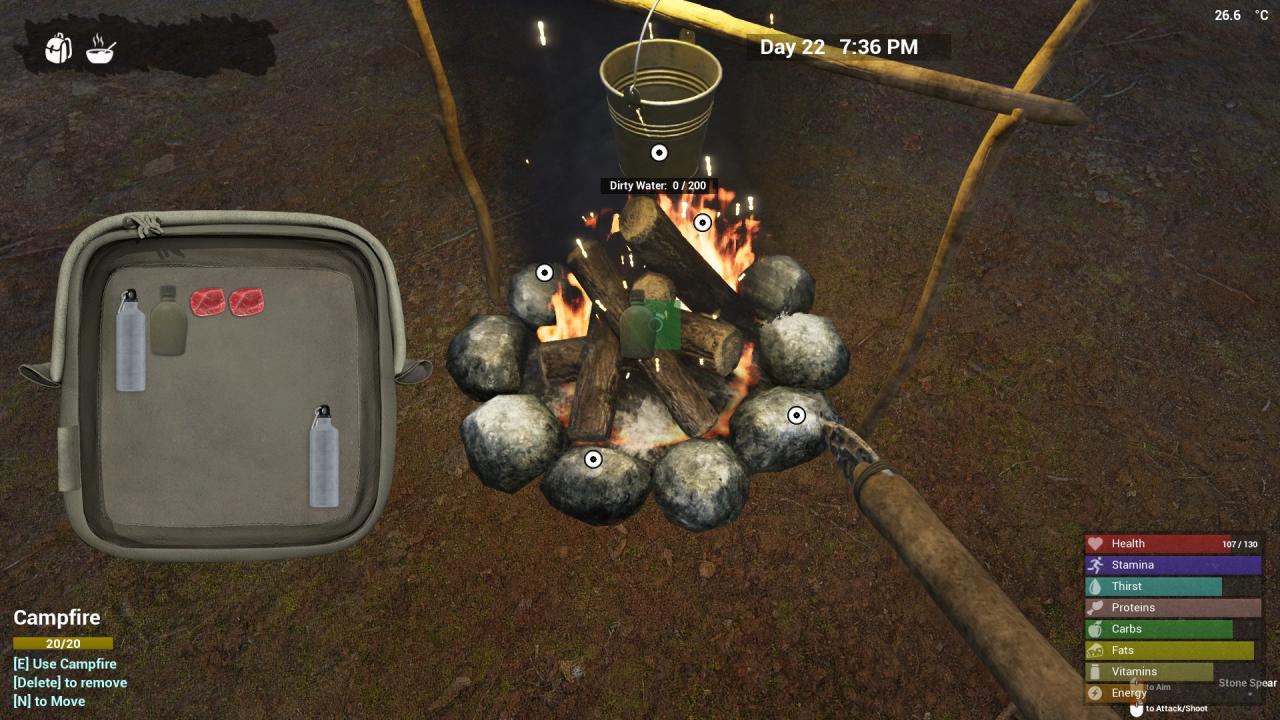
Time to fill that flask back up. Just drag your now empty flask back onto the bucket to fill it.
If you filled the bucket before boiling, you will have water left over. That’s just fine, it will still be there next time you need it. It wont devolve back into dirty water if you let it sit there.
If you feel you’re done cooking and boiling for now and want to get back to other things, you can also use that flask of water to extinguish your fire, saving the leftover fuel for next time.
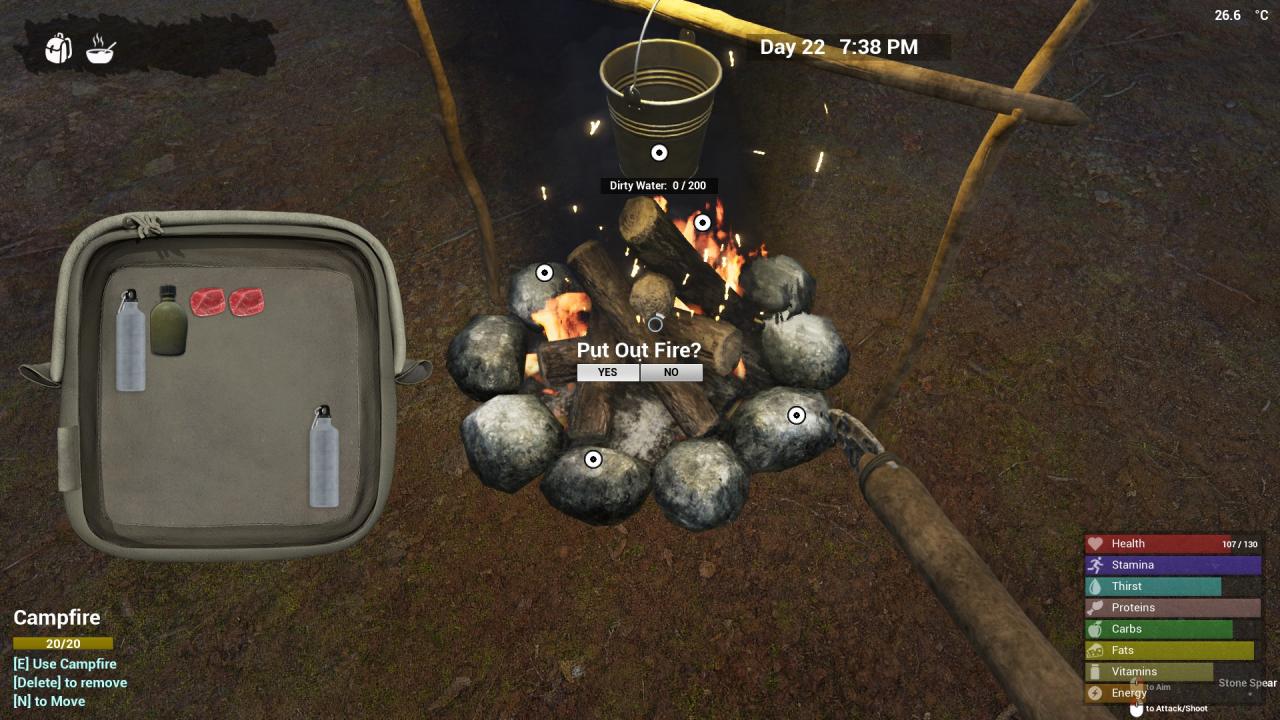
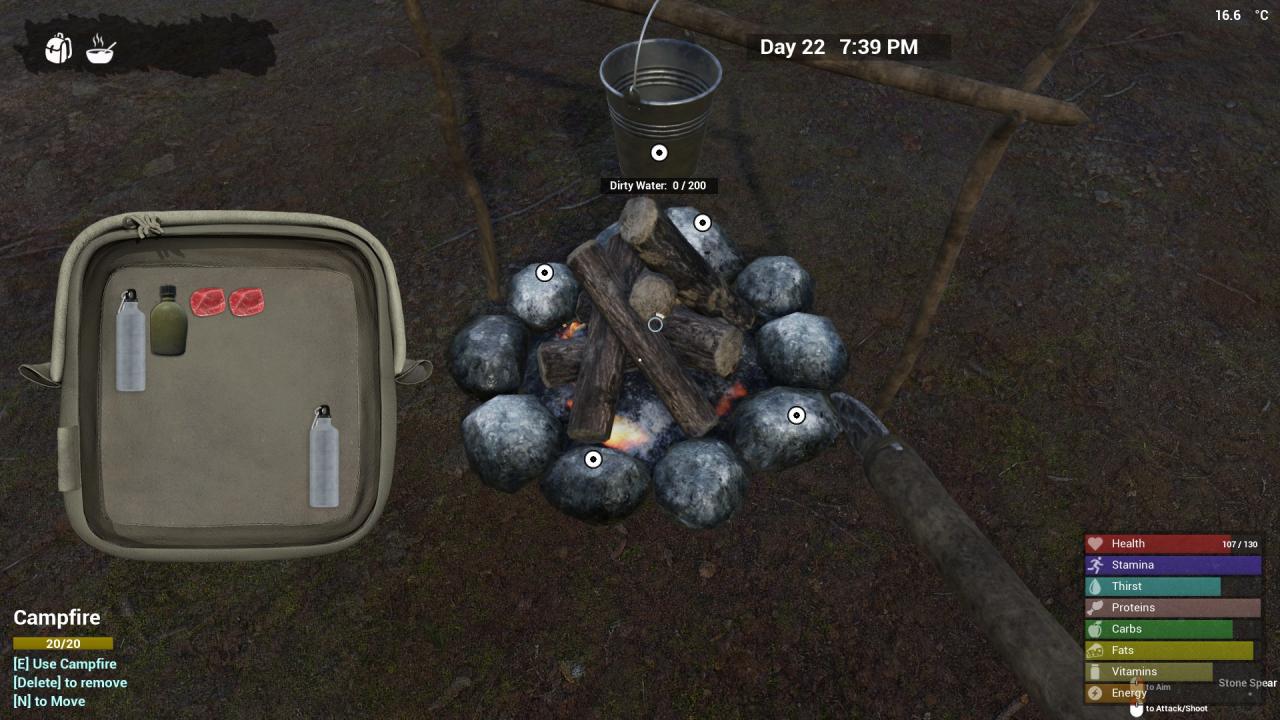
NOTE : Moving a campfire will erase any fuel or water it had in it before you moved it. Also,
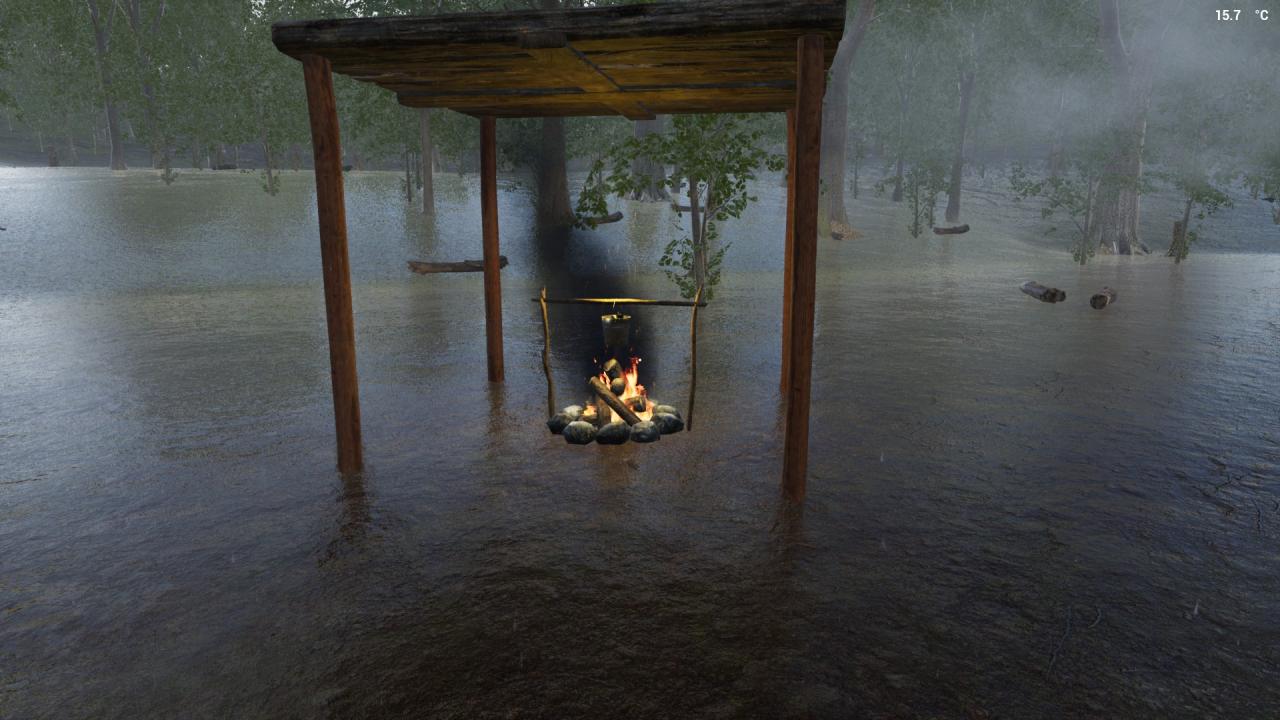
Campfires will NOT light or stay lit in the rain UNLESS you place a shelter over them, or move them under a shelter. Shelters can be found in the placeables tab.
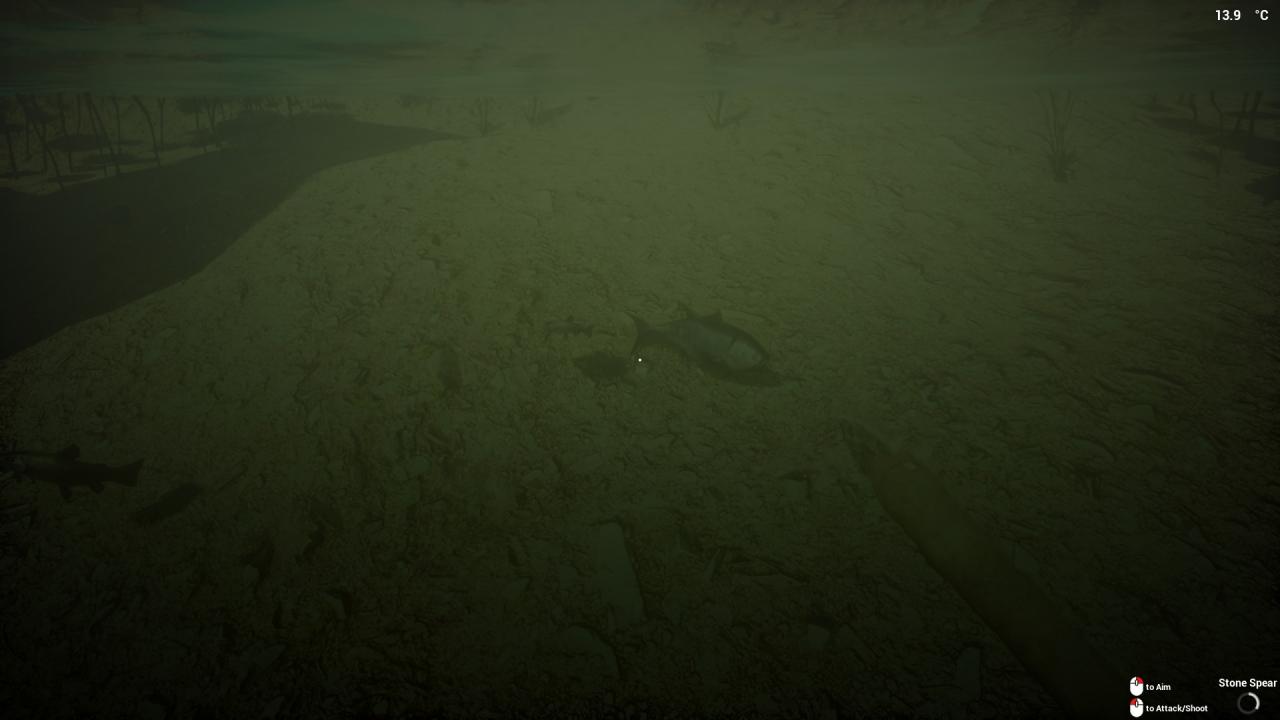
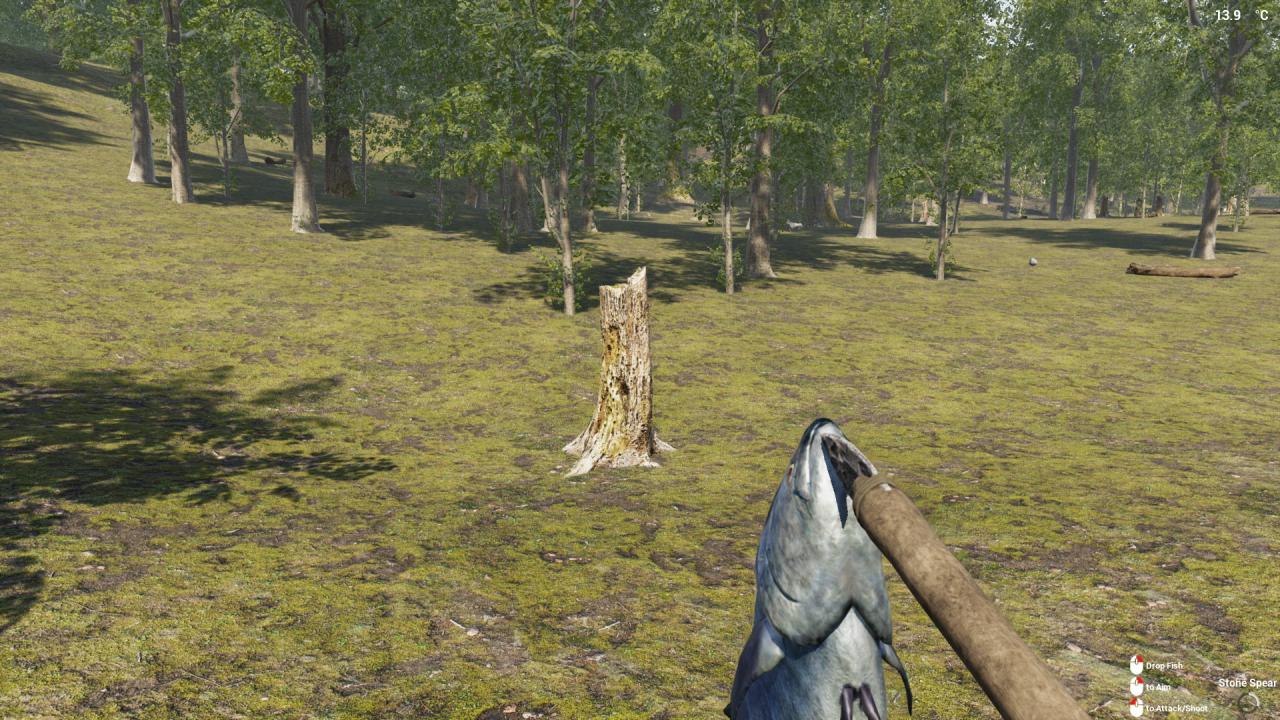
Then simply right click to drop them on the ground, and right click and select HARVEST for some RAW FISH. Easy peasy.
What do you do with the 9 books you get, how do you advance in the game i cant build the other work stations!!! maybe i am just a fucking ideate
Hi, Just wondering if it’s possible to build a 2 storey base. Ground level will have storage, workshop and campfire, under base platform. sides covered by fence. Your thoughts?
how do you get nails
You need a furnace and 5 iron ingots
Hi! I must be dumb, but how do I equip my newly crafted stone axe? It’s in my weapons inventory, but no amount of clicking moves it to my hand, and right-click doesn’t open any options. I’ve tried googling, but no one seems to mention how to do it. Can you help?
With keyboard keys 1-4, depending on where you placed it in your backpack (you can open it by pressing F3)