This is a guide on getting the “How?” achievement on Chapter 12 without needing to restart your campaign and prep from the beginning. It has a few general principles but is sparse on details and images because you don’t need to be super-optimized to make it work. You should be able to adapt these principles to your current set up. The point is that you shouldn’t have to destroy what you current have or start the game over.
Requirements
To follow this guide, you need:
-1 Bronze arena tokens. Silver works too but not as well. Gold and Platinum tends to be too strong
-A few thousand gold. Actual amount varies hugely depending on what squads and units you currently have
If you don’t have a Bronze arena token, reload your beginning-of-chapter save file to see if you can find one in the shop.
If you don’t have enough gold, load your chapter 11 save and save up some.
The TL;DR
1. Use the bronze area archer to grind up all of your unit level to 20 since tanking damage increases your XP and CP.
2. The AI will always target the lowest threat squad it can hit. Build low threat, high defense squads out of heavy infantry such as Sentinels (best), Soldiers, and Spearman that will draw fire while your heavy hitters take out the trash. Refresh them with dedicated healing squads, but keep healing squads’ threat level above tanking squads so they don’t get targeted.
Grind prep
You likely won’t have enough units to fill out all of your less powerful squads in that format right at the beginning, so buy plenty of fighters and medics and form them into cookie cutter squads with 3 fighters in the front and 2 medics in the back. You may need a high LDR unit from else where to be squad leader, so change things up depending on what you have available. Remember to prep and grind a few extra squads since your squad leaders’ will have increased LDR by the end of the grind, allowing you to put the extra members into your first 15 squads.
For offensive squads, I recommend archers and mages to taking out Casamir’s cannons, but there are already many other guides on this so I won’t dive into details about setting them up.
Arena Grind
1. Set up each squad with 2+ healers and remove all one-off archers. Archers should be leveled in their own dedicated squad. See archer leveling at the bottom.
2. Enter the arena with your typical forces and kill off the non-archer units.
3. Retreat your forces back to your base and leave only the squad you wish to level up on the fortress spawn tile. This serves two purposes: prevent your defeat through capture and additional resistances against ranged attacks.
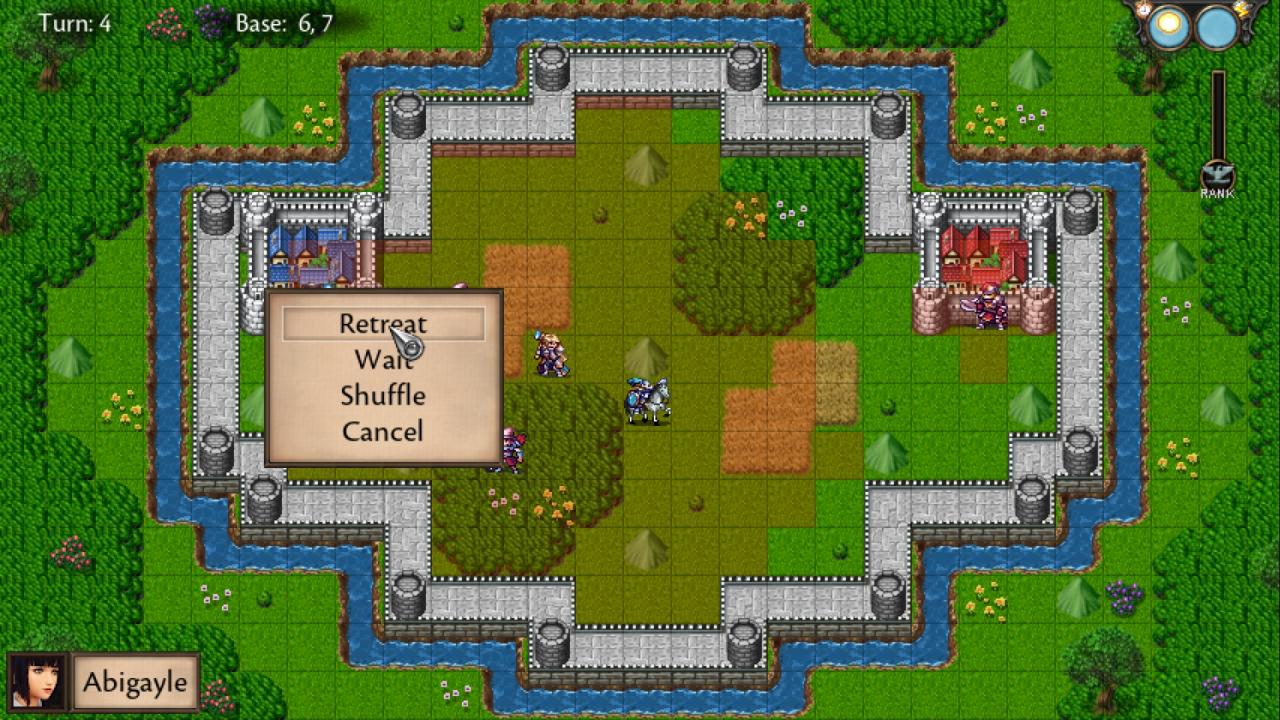
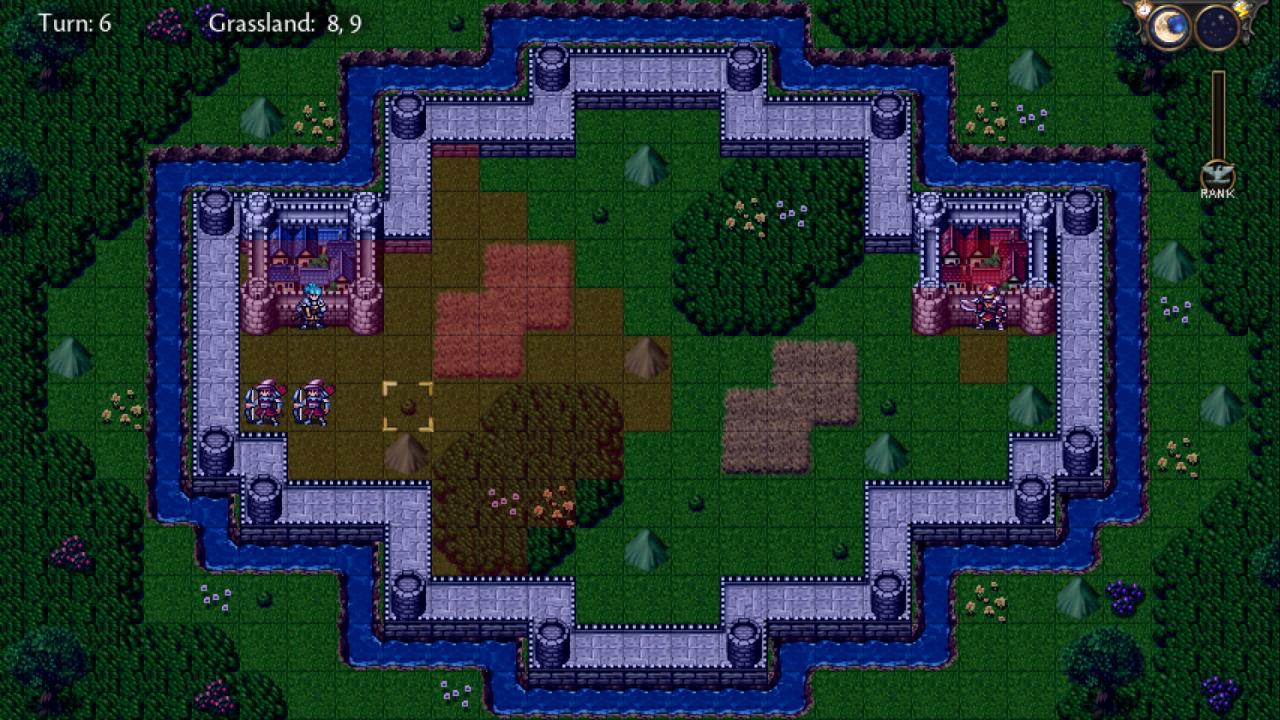
4. End your turn repeatedly without attacking back. If you have no ranged units in your squad, the enemy archers will never die. Continue until all units in the squad are lvl 20 (very slow leveling beyond 20 due to high level compared to enemies) and max CP.
5. Retreat your squad once the above requirements are met and switch in a different one.
————————————————————————————————————————————
Settings: You will want to turn off all animations and set battle speed to turbo to maximize your grind speed. You should also hold the Enter key mid battle to further speed things up.
Arena rewards: Due to needing to grind for 200+ turns to level all of your squads, you will receive a C rank for the arena and receive less complete rewards. However, this is more than compensate by the massive level gains in all of your units and classing up a significant portion of them. Additionally, this technique renders XP and CP codexes redundant, so sell them (they sell for quite a bit) and you will have money like Scrooge McDuck
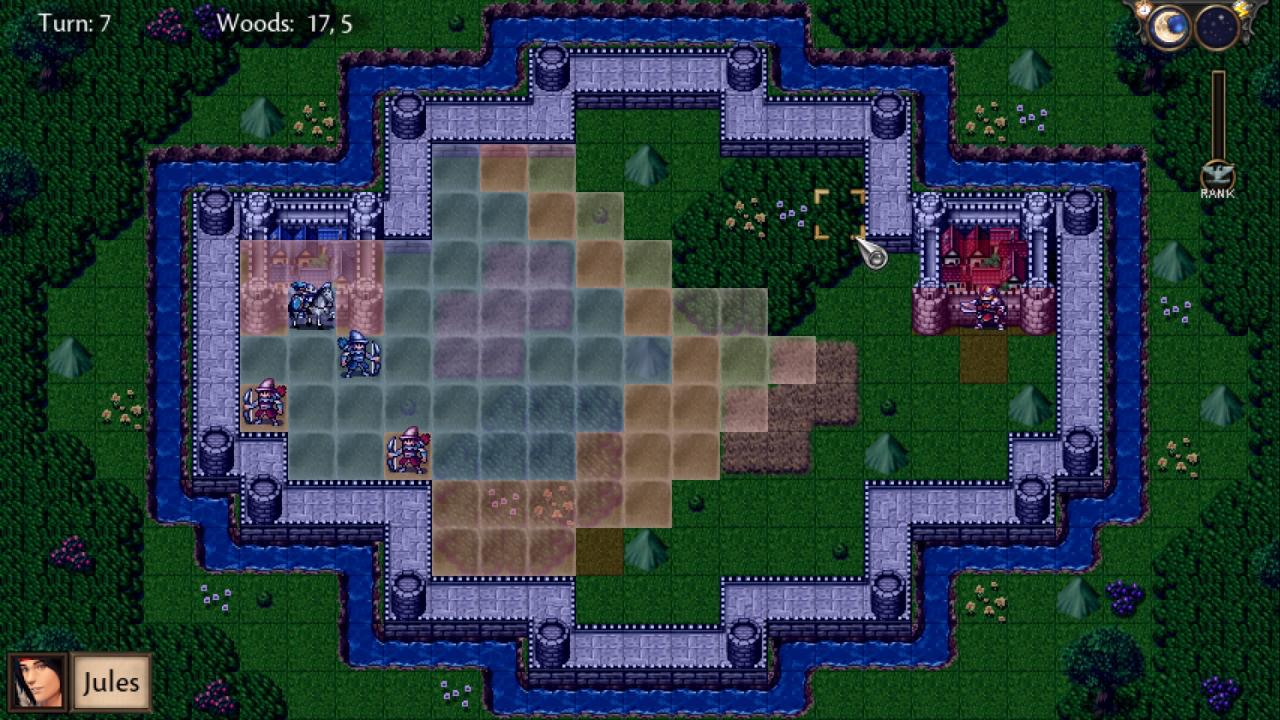
Archers: Archer units can still be leveled up. You just have to position yourself where the enemy archers can hit you from outside of your range when they get additional range on a hill. Archer squads will need additional healing since they get less armor in general and won’t get damage reduction from the fortress. You can technically use the fortress, but only one of the enemy squads will be on a hill and you will kill off the one not on a hill in a shoot off, leading to slower XP and CP gains.
Battle prep
1. Class up your units
2. Loyalty and LDR will have have gone up so re-arrange your extra squad units into your normal squads
3. Re-arrange your artifacts based on arena drops
You should have three squad types:
1. Defensive: a mix of sentinels and soldiers. Adding healers is pointless since they will die to the first barrage of cannon fire **ENSURE THAT THESE SQUADS HAVE THE LOWEST THREAT VALUE ON YOUR TEAM SO THE AI AUTOMATICALLY TARGET THEM**
2. Healing: refresh your defensive squads. I tend to use the MC and one to two light-attribute priestesses as squad leaders for this. The individual unit threat values will likely be lower than your defensive squads, so to make up for that, these squads should have more members. You don’t want these squads to be targeted.
3. Offensive: Your typical heavy hitter squads. Ensure that they have the fire power to either blow through the enemy front row of sentinels protecting the cannons (firearms, Diana) or can attack behind the sentinels’ cover (archers, mages, dragons).
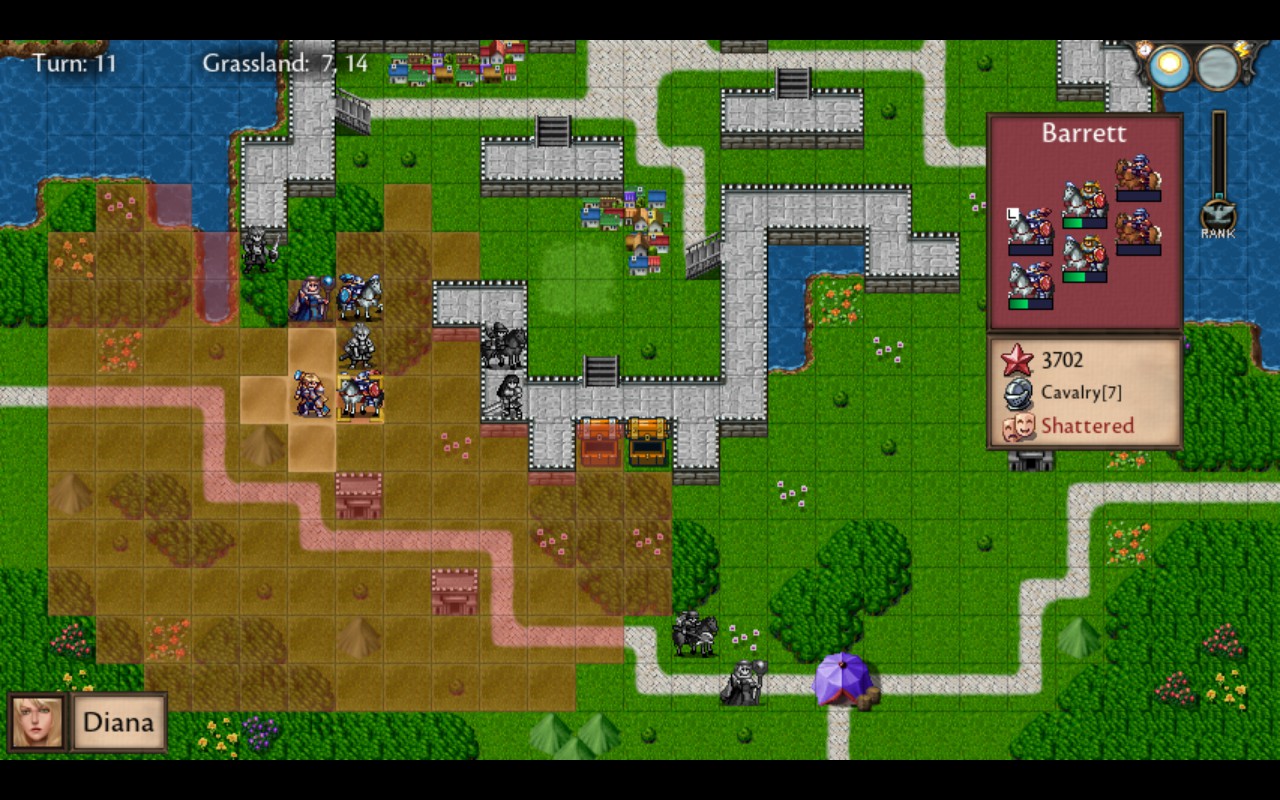
The battle
As Casamir’s army shows up, retreat just beyond his unit’s movement+firing range and let him come to you so you can get the jump on him first. It just so happens that there are choke points on both sides just outside of his cannon range, so use those. Prioritize wiping out siege cannons using your offensive squads. Your defensive squads won’t have the offense to break the sentinel formation in siege cannon squads so attack into them with Cautious Attack if you researched the tech to prep for tanking. They will still likely do some damage attacking into firearm and cavalry though, so change your attack according to the situation. Heal with your healing squads as needed and (obviously) don’t place them in front.
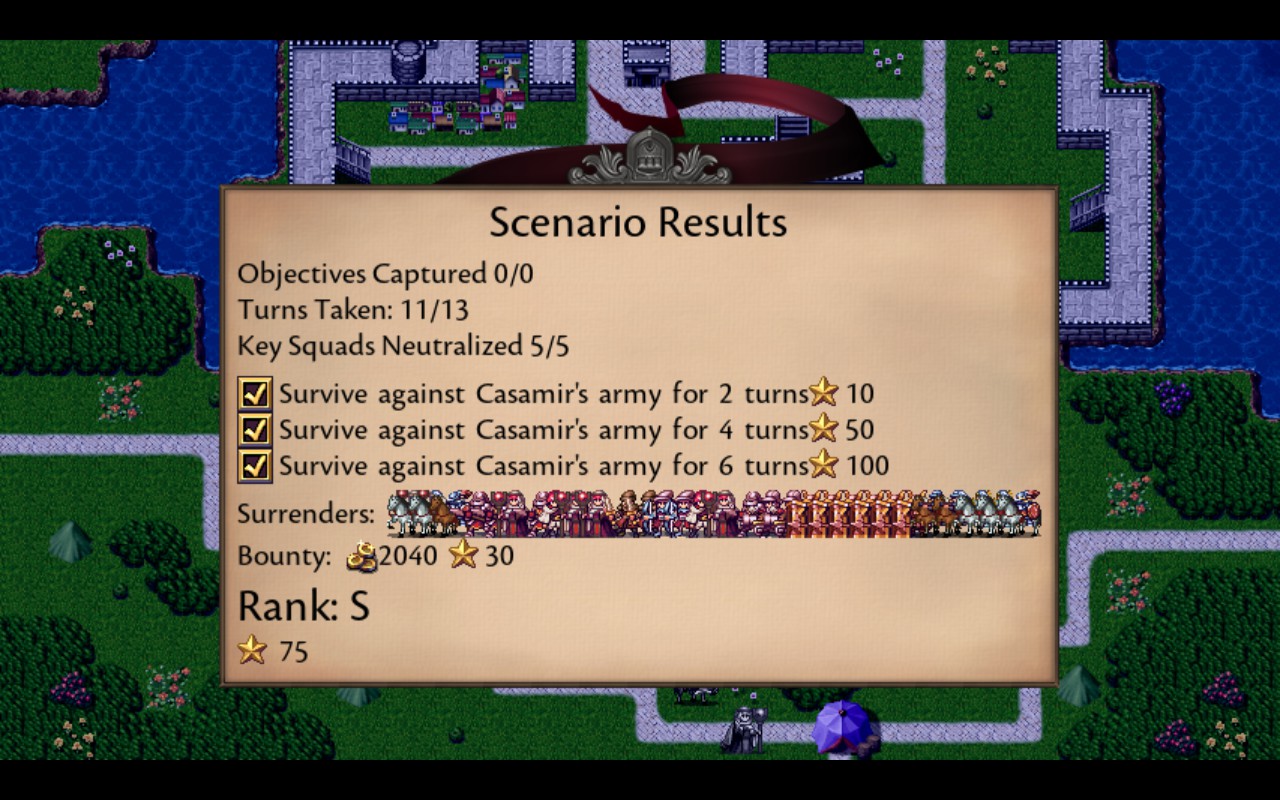
Here are my results using this strategy (optimize for what I currently have on hand, of course). This is my first play-through of the game and I have yet to beat it even as I am writing this guide, yet I achieved what I consider to be excellent results:
Thanks to Iron Owl King for his excellent guide, all credits belong to his effort. if this guide helps you, please support and rate it via Steam Community. enjoy the game.
Related Posts:
- Symphony of War The Nephilim Saga: All Keys List in Each Chapter
- Symphony of War The Nephilim Saga: All Unique Mercenaries