
A newbies guide to using the map editor!
Hotkeys
1 – Walls
2 – Objects
3 – Info
Brush Types :
Q – Pixel
W – Outline Rectangle
E – Fill Rectangle
R – Flood Fill (Bucket)
T – Yank
F1 – Help Screen
F5 – Test Level
Ctrl+F5 – Test Level (without Verification)
Ctrl-S – Save Mapset
Ctrl-N – New Mapset
Ctrl-O – Open Mapset
F10 – Exit Editor
Understanding the file formats
.RTL / .RTLX (Single Player)
.RTC / .RTCX (COMM-BAT / Multiplayer)
It would make less sense to save a COMM-BAT level set as a .RTLX file.
Also keep in mind to check the COMM-BAT Mapset setting in the Campaign Settings menu.
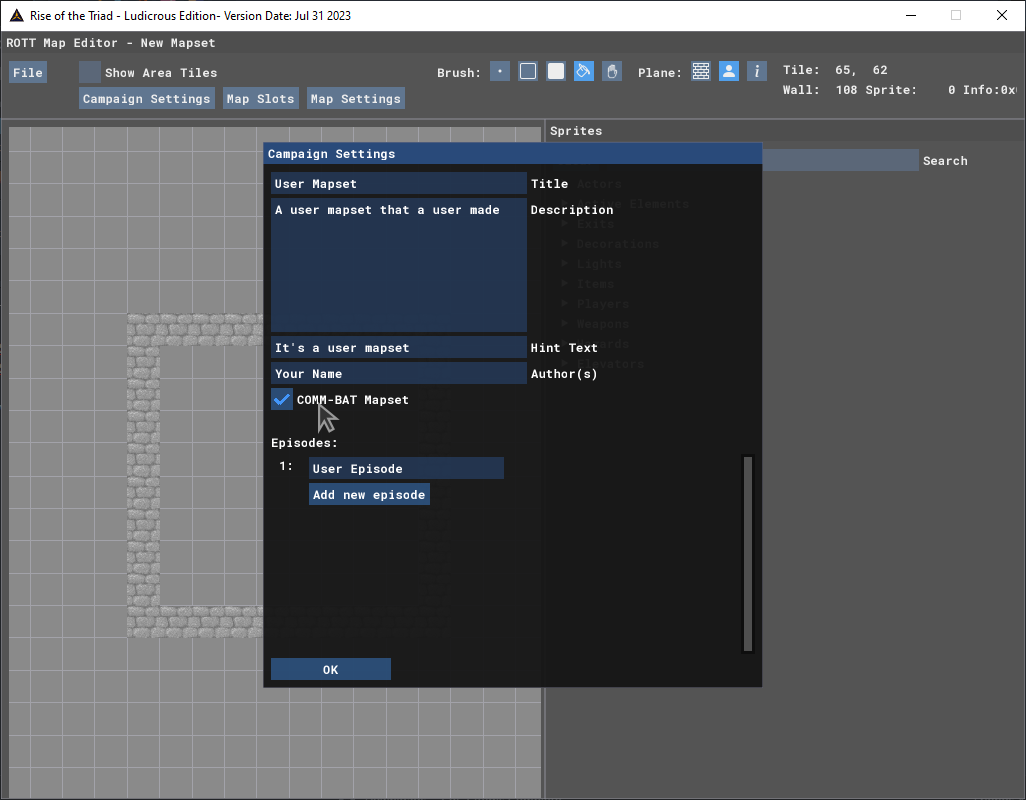
Campaign Settings
Before you start mapping, you need to give out a name for your mapset/campaign.
It’s pretty straight forward, just add a title, a description, hint text, and add the authors name. (Insert your name if it’s your map)
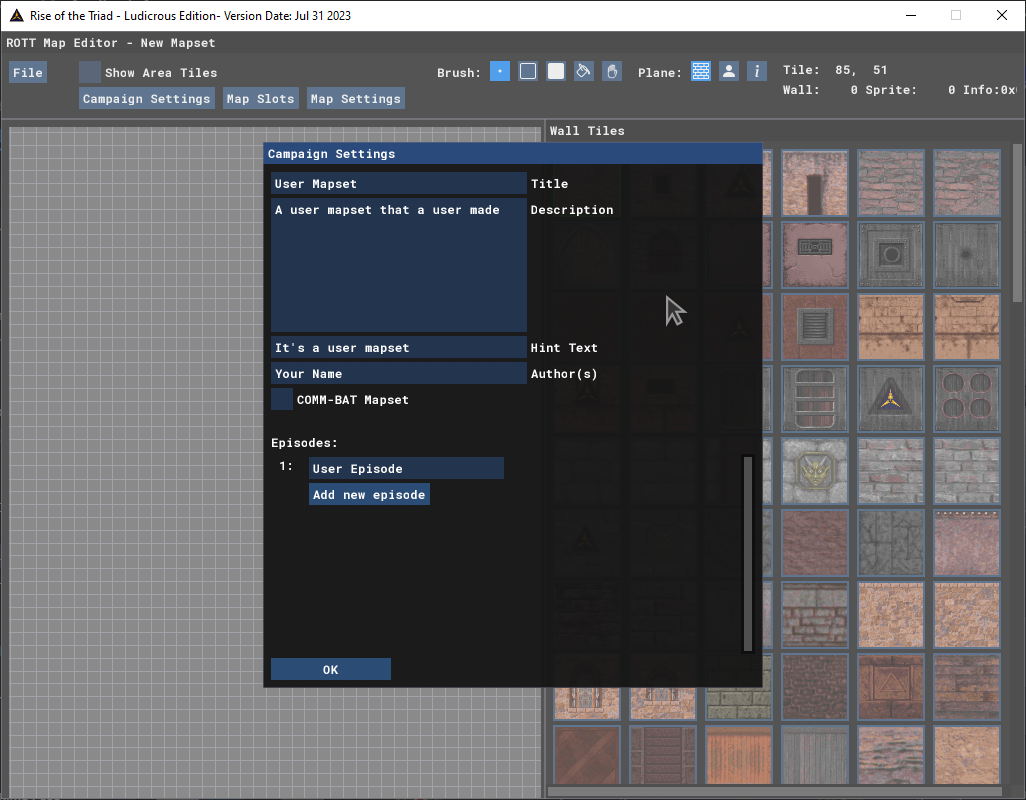
If you are making a COMM-BAT Multiplayer mapset then check, ‘COMM-BAT Mapset’.
You also have the ability to add your own Episodes for this mapset.
Map Settings

The first two settings focuses on setting a floor and ceiling texture. With the ceiling texture setting, you can also set a skybox if you want to have an outdoor level.
You can adjust the level’s height by adjusting the map height. Level 1 is the standard Wolfenstein 3D style while Level 16 or close to it are for those who want to create a stupidly tall level, or want to make yet another Vomitorium.
I don’t know what Sky Height is for but if anyone knows what it does, leave a comment down below.
Brightness Level allows you to either make darker levels or even brighter levels.
Light Fadeout is a bit self explanatory, determining how far the player can see.
Music Track allows you can select a song from the game while also allowing the player to preview the song.
Level Type determines weither the level is a normal level, COMM-BAT level, Secret level, Boss Battle, and a Chase level.
The last two options focus on cinematics you can select. (Useful for singleplayer campaigns)
Checkboxes :
Lightning – Makes your level play thunderstorm sounds in the background.
Light Icon – Enables Lighting from Light objects.
Don’t count lights – When checked, the lights won’t ramp up and down when activated/destroyed.
Fog – Enables fog in the level
Blocking your map
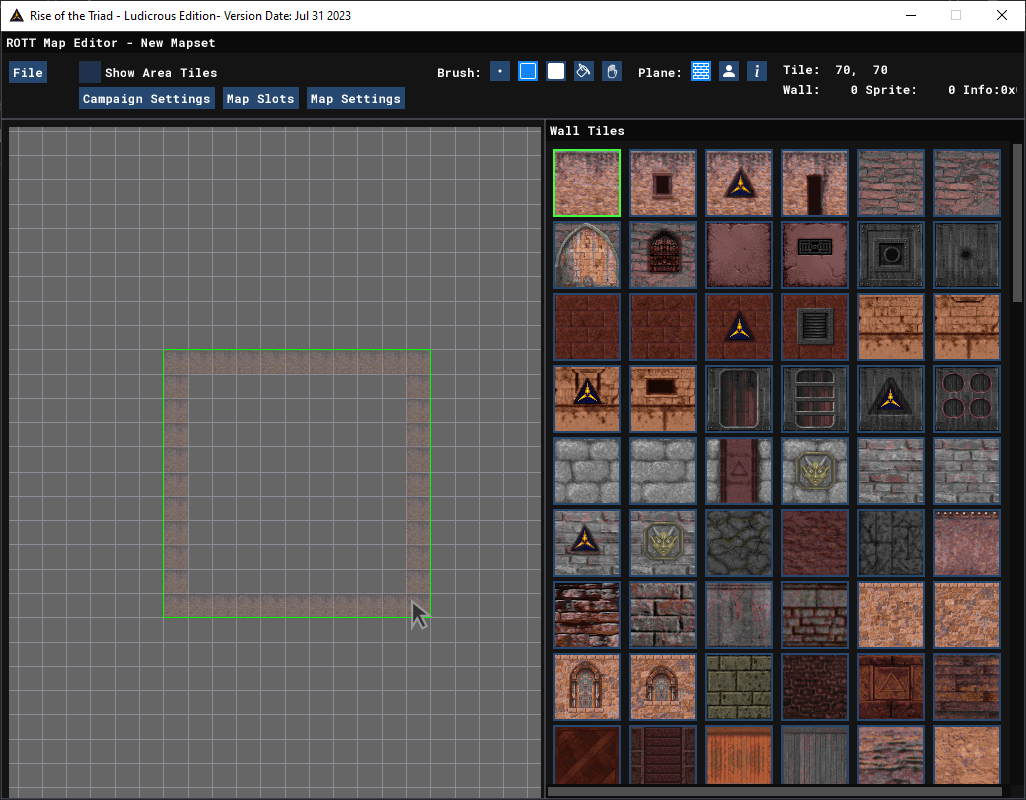
Making a layout for your map is pretty simple. just use the Pixel and Outline Rect. brushes and start building some rooms.
Remember to fill out the rooms with Area tiles to make the map work properly.
To place an wall or object, just left click. To delete a wall or object, just right click.
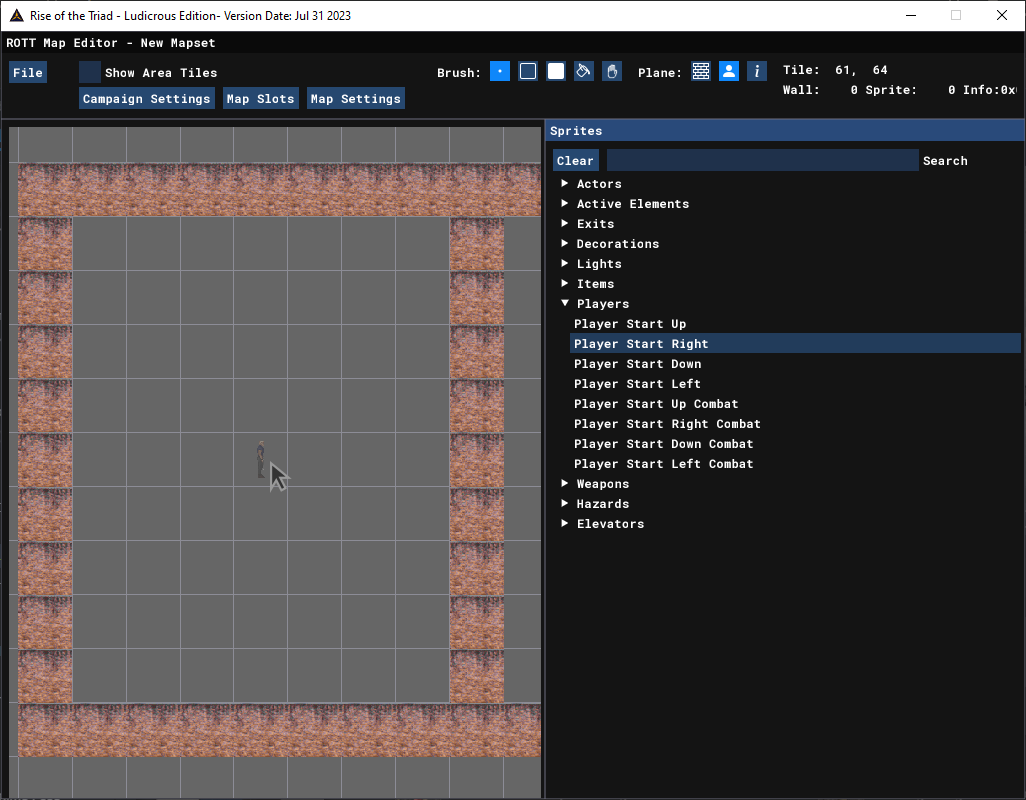
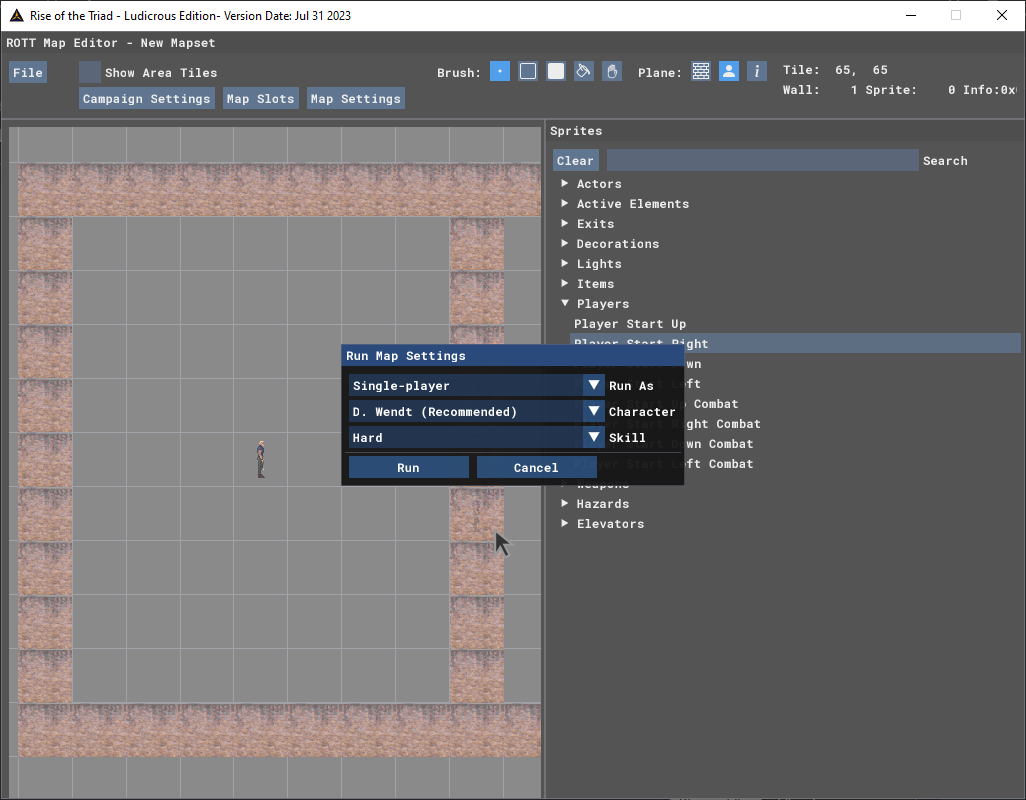
Before you test your level, you need to place a player start somewhere in the map.
Go to the Sprite Plane and go to the Players section to add a new player start.
Up/Down/Left/Right are the directions the player start will face, and Combat is to allow players to spawn in different places for COMM-BAT multiplayer games.
After that’s done and saved, you can now test your level. (Ctrl+F5 is recommended early on)
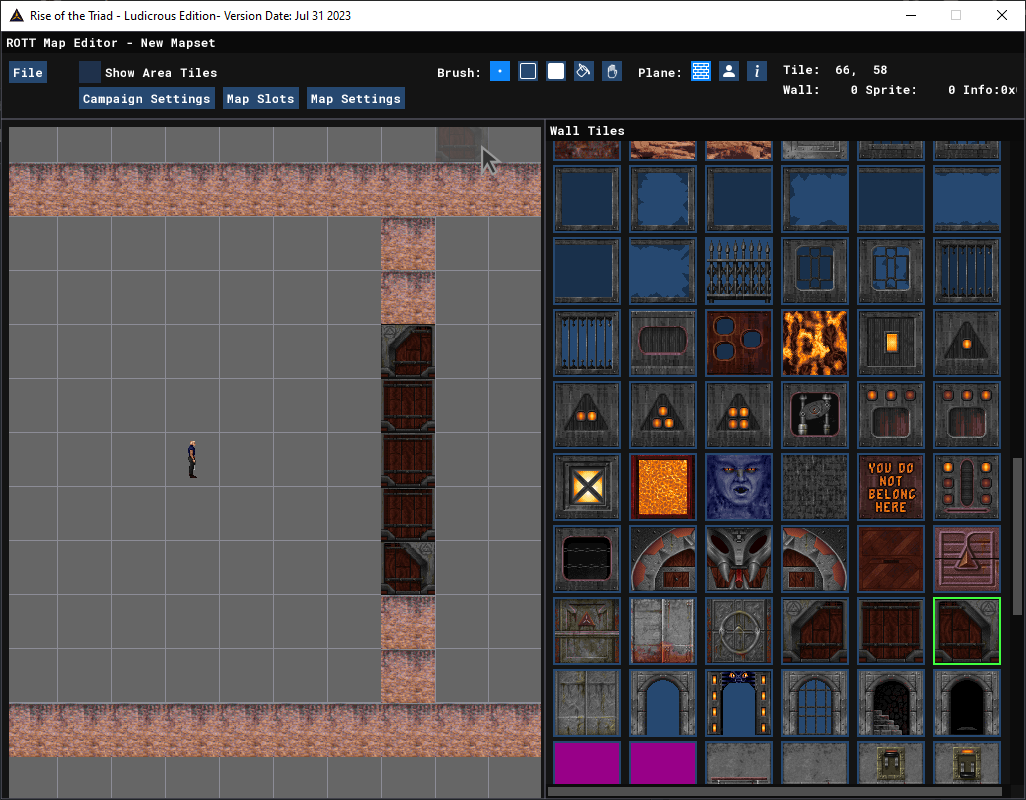
It’s as simple as placing the door tiles in the map.
But do keep in mind which tile is which.
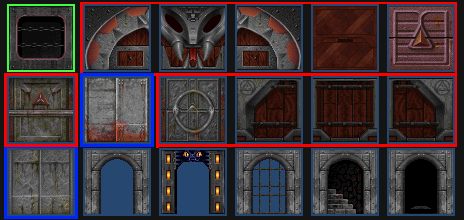
The ones highlighted in red are normal doors, while the ones in blue are meant for elevators, but can be used as normal doors (albeit only in one single tile instead of a line set of tiles)
Locked Doors
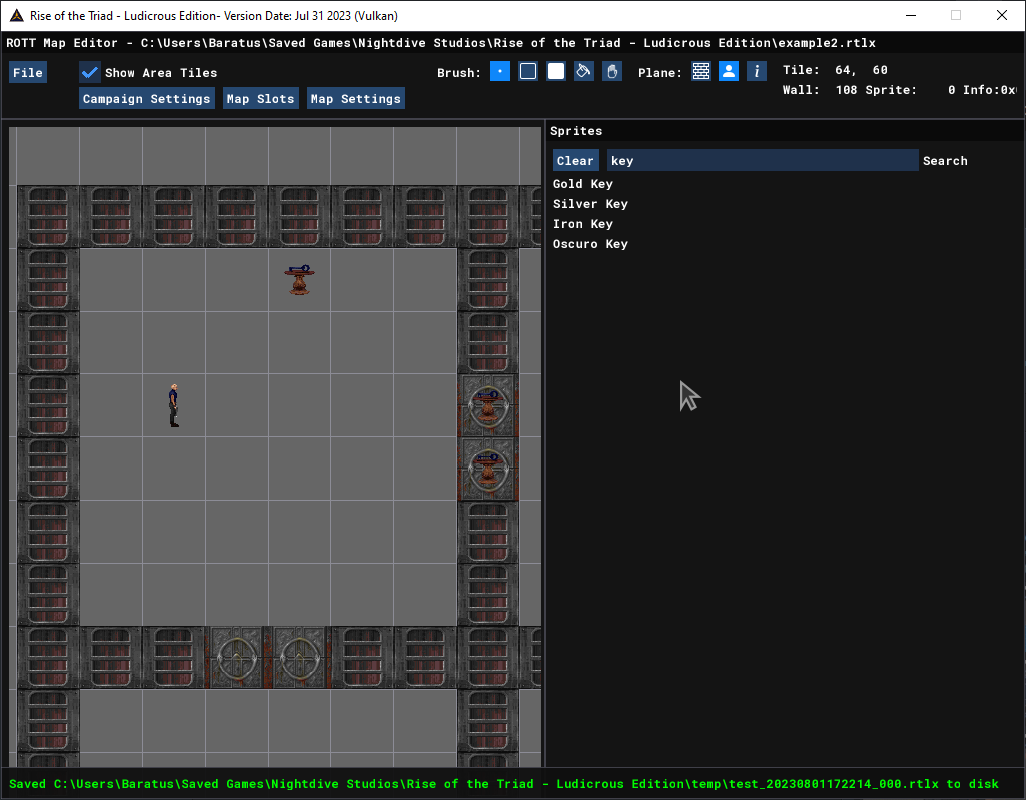
In order to make a locked door so the player can hunt down the key in order to unlock it, you simply just place the desired keys inside the door tiles.
GADs
Types of GADS :
Stationary GADs – A non-moving GAD
GAD Up/Down/Left/Right – A moving GAD
Raising GADs – Can be used as lifts.
Changing the height
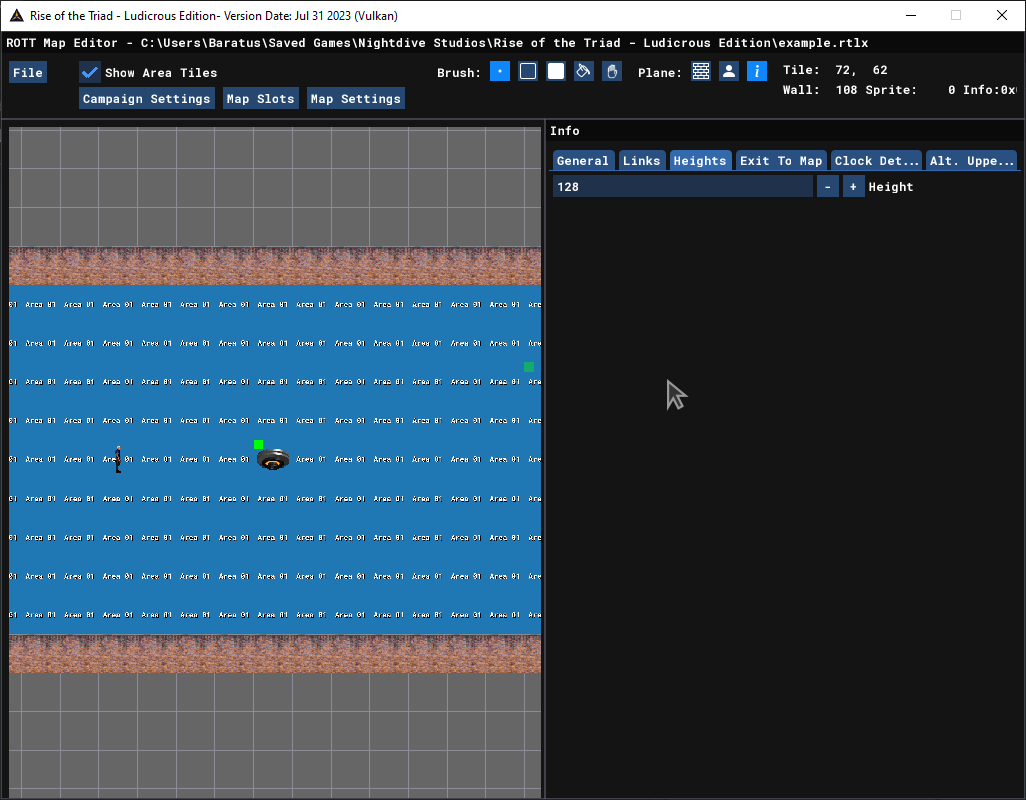
After placing a GAD, You go to the info plane section and go to the Heights tab. For example I want the GAD to be at height of 128.
After increasing/decreasing the height of choice you click on the GAD to set the height.

Moving GADs
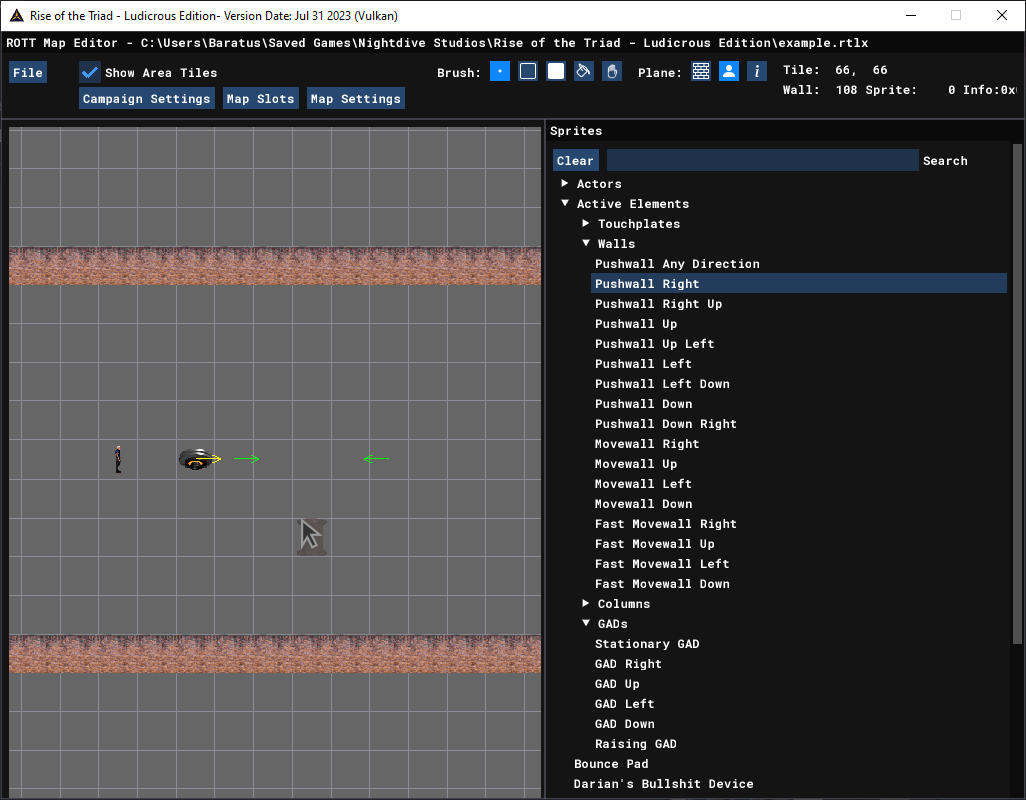
First place a moving gad of any direction while placing a pushwall object in front of it.
You can change the direction with the GAD by placing another pushwall object and have the GAD lead to it.
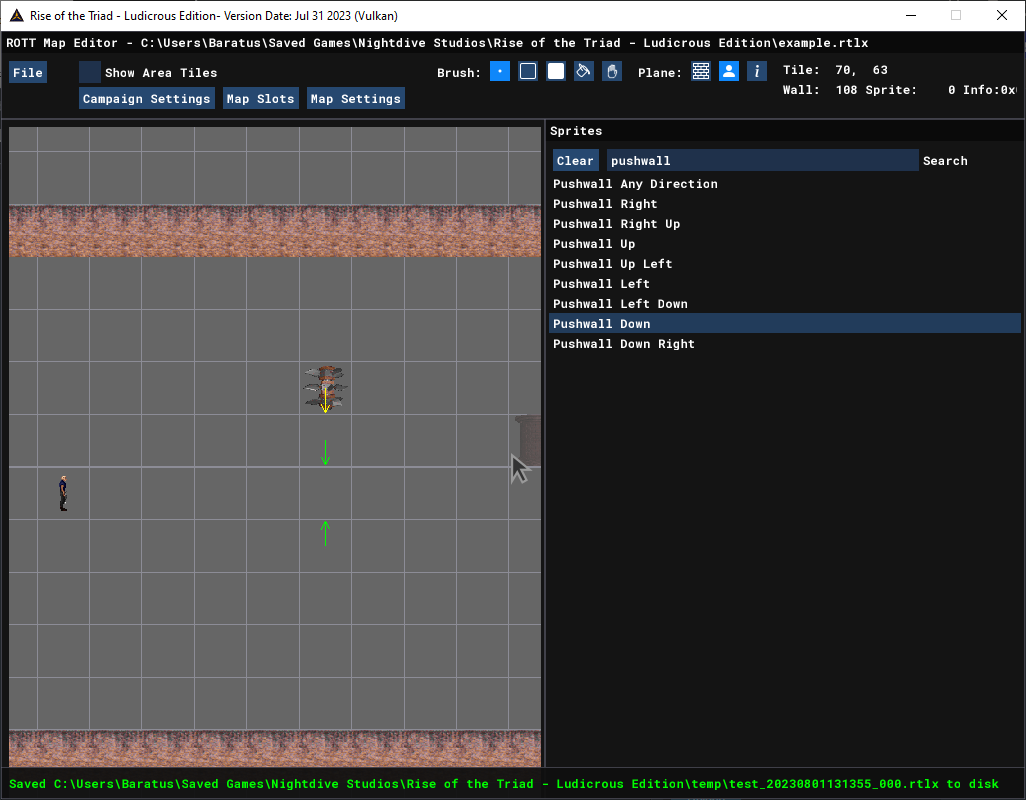
Pushwalls

You can also make it push even further by placing pushwalls like this :

Moving Walls/Floor Blades
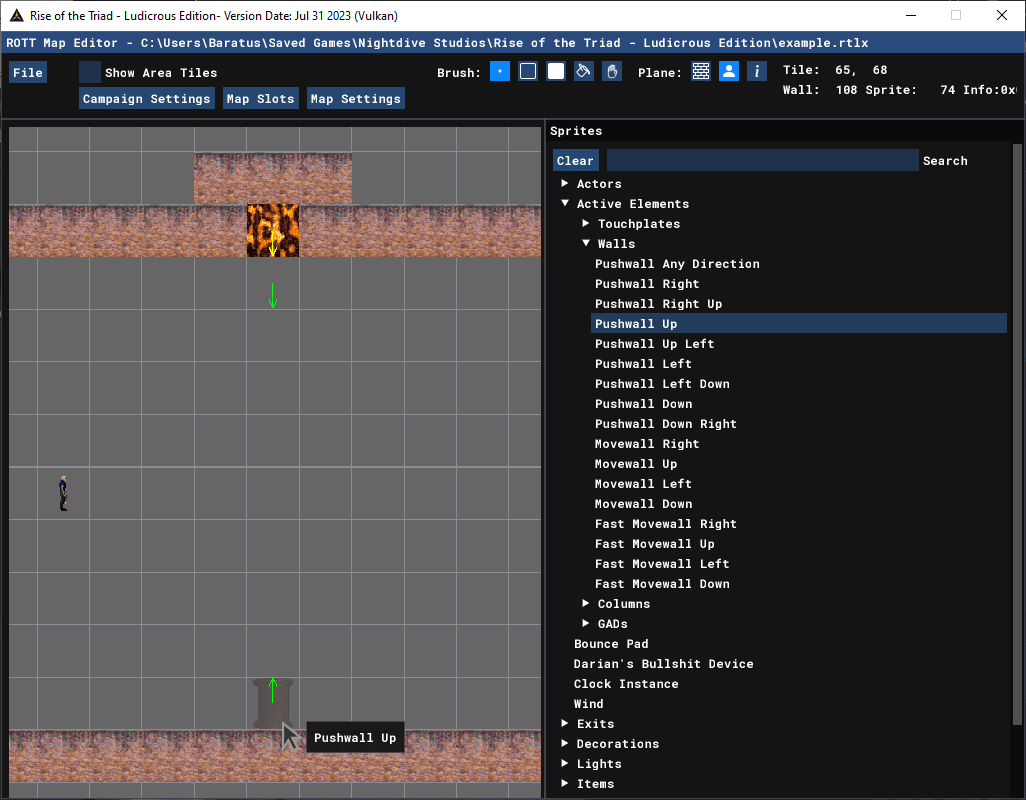
For instance we’re going to make a lava wall. First place a lava wall, and then place a movewall inside the lava wall. You can also place a fast movewall instead if you wish for it the be faster.
To avoid the lava wall going through walls, you need to place a pushwall to change directions.
The same also applies to moving floor blades.
Sky Tiles
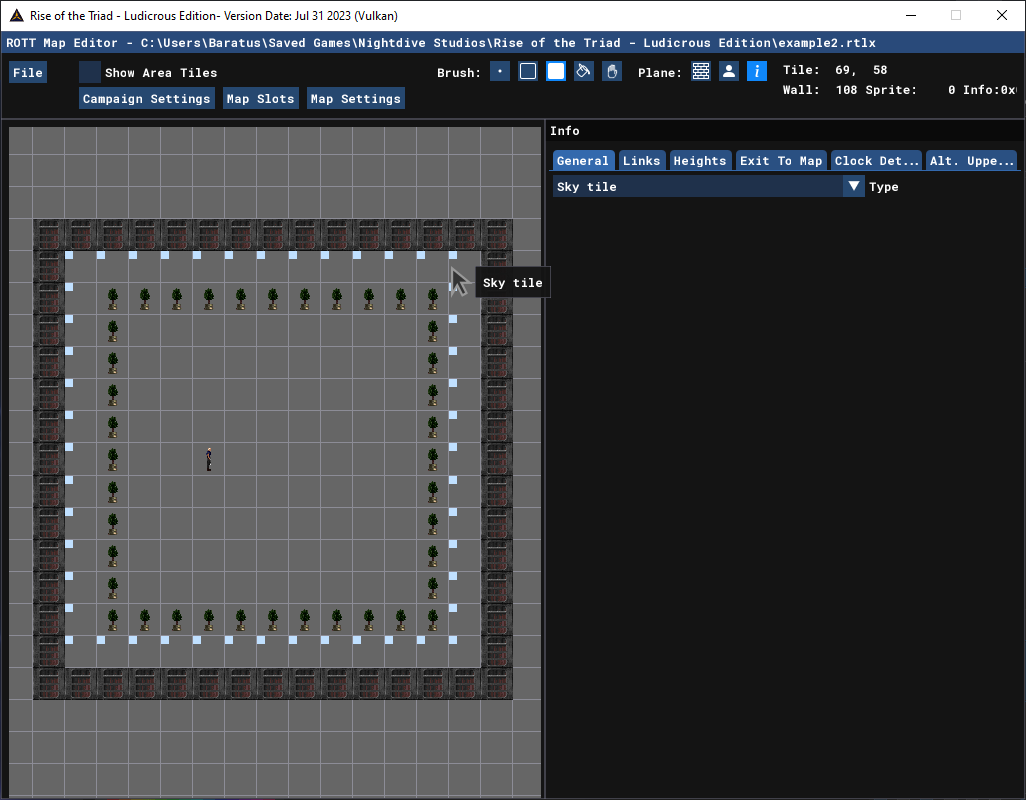
To add the sky tile that kills the player when walked into. You got to the info plane and change the type to Sky tile in the General tab.
Place it around the walls to support it like in the screenshot.
*A sky ceiling needs to be set inside the Map settings for this to work properly*

Elevators
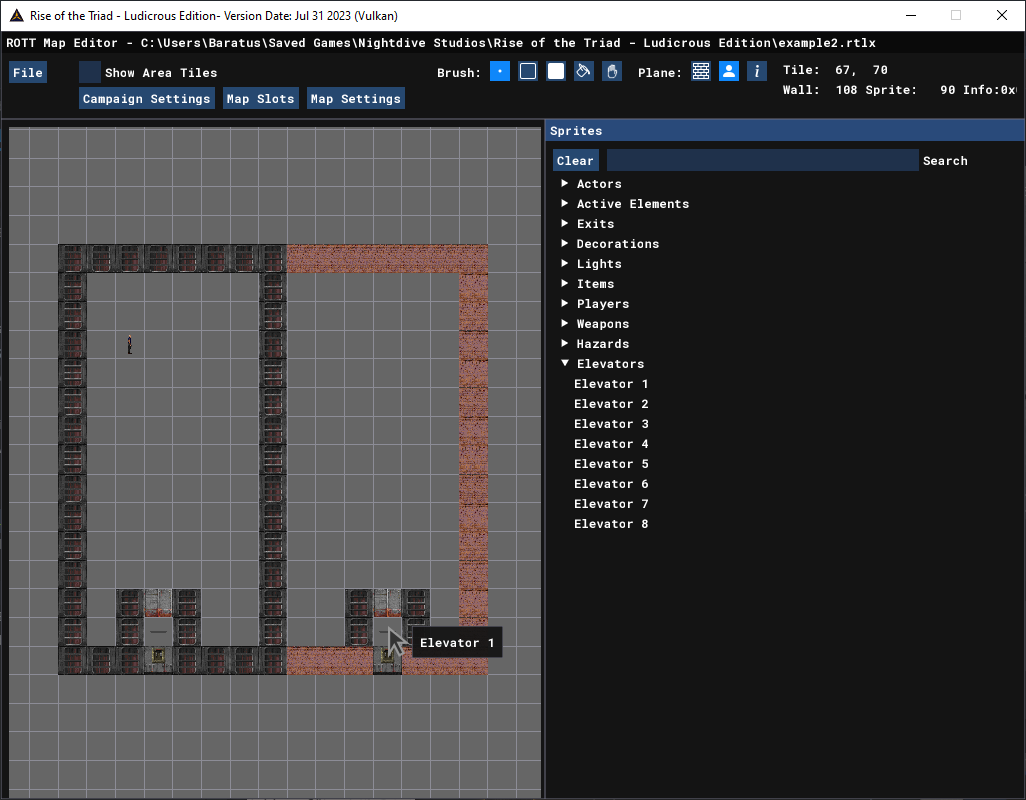
To place elevators in the level, you need to place some walls, a door, and a switch tile for both rooms.
Without this, the game would crash. after structuring the elevator room, place a elevator object inside on both ends. (You can go up to 8 elevators)
Upper Textures
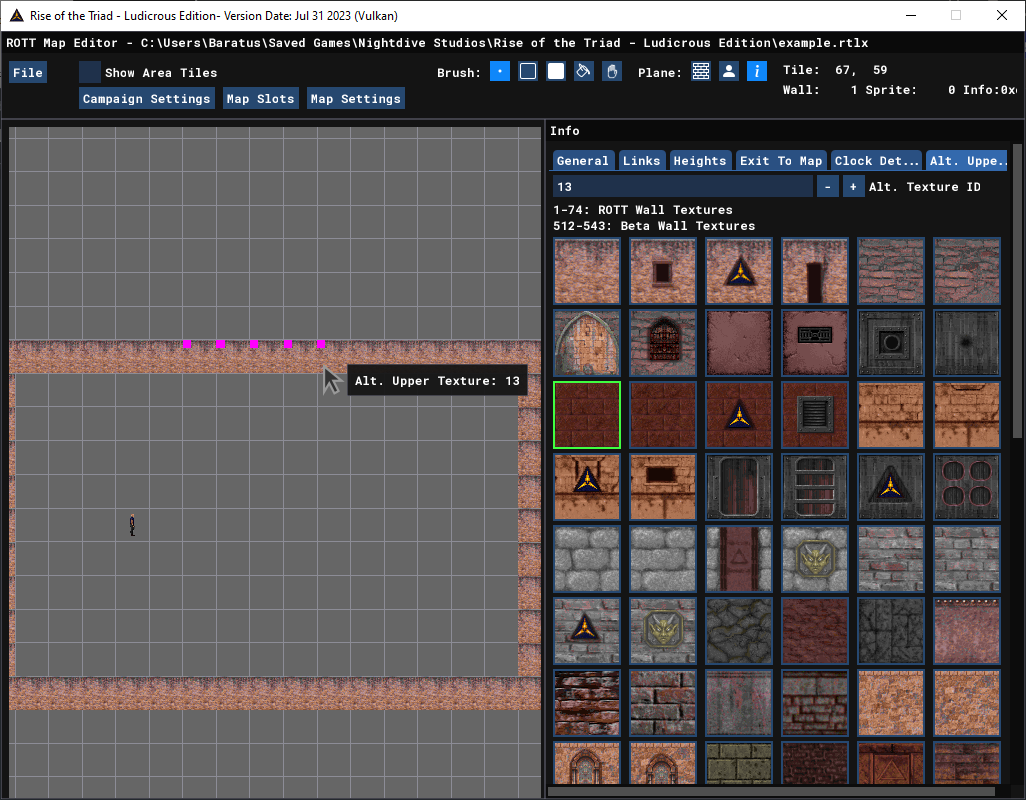
To place an upper texture on a wall, just go to the Info plane and go to the “Alt. Upper Texture” tab
There you can select a texture of your choosing and place it on a existing wall.

Switches
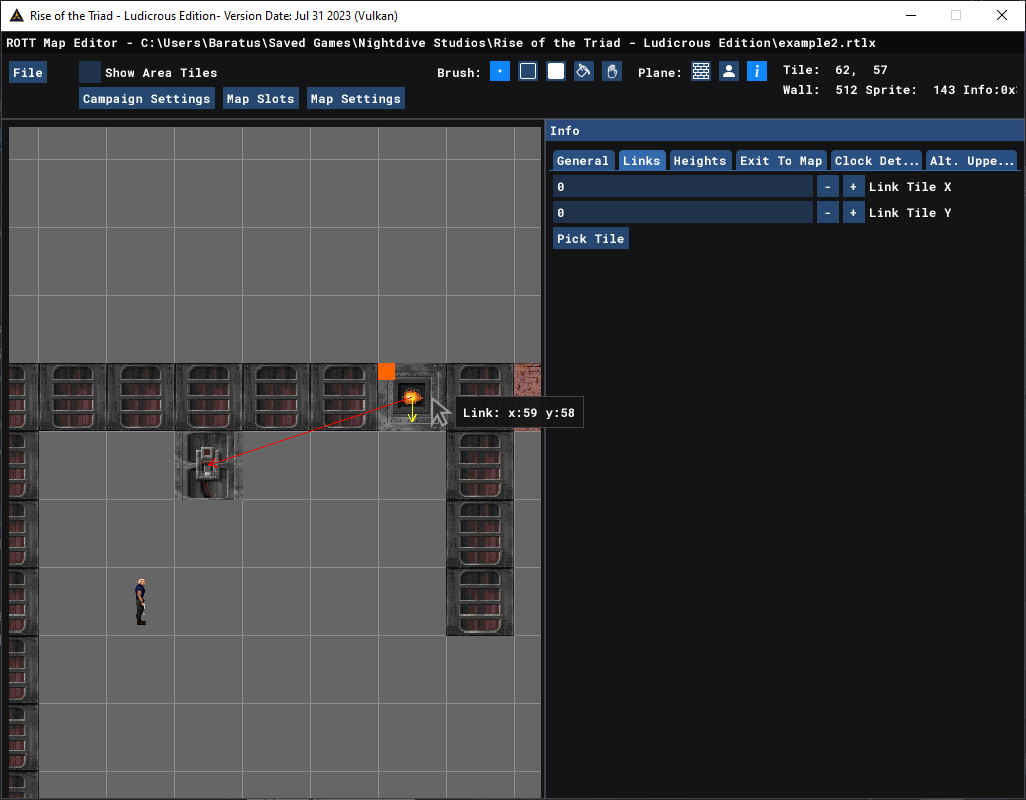
To make a switch that does something like enabling/disabling certain things (for instance a fire cannon),
Place a switch tile and fire cannon in the map, then you go to the info plane and click on the Links tab.
Here you can link the fire cannon to the switch by clicking Pick Tile and click on the switch before placing it on the fire cannon like so.
Jumppad/Bounce Pad
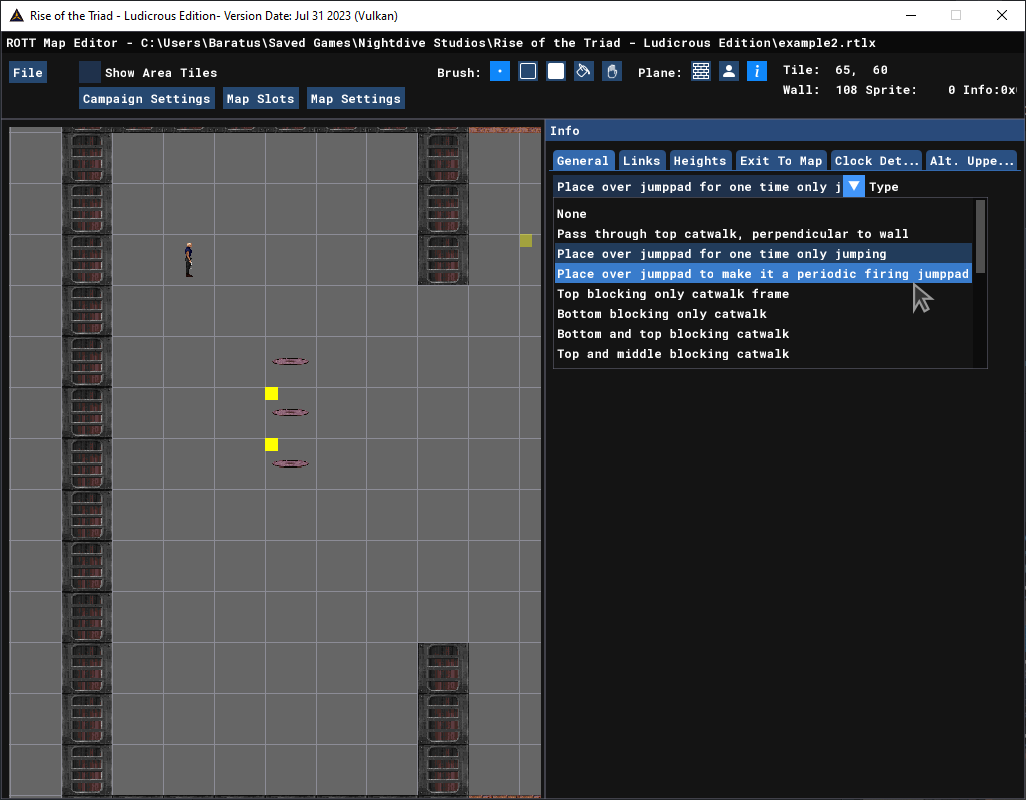
To place a normal bounce pad in your level, simply place one from the sprite plane.
In order for it to be a one-time only bounce pad or a periodic firing bounce pad, you go to the info plane and set the “Place over jumppad for one time only jumping” or Place over jumppad to make it a periodic firing jumppad” on the desired bounce pad.
Exits
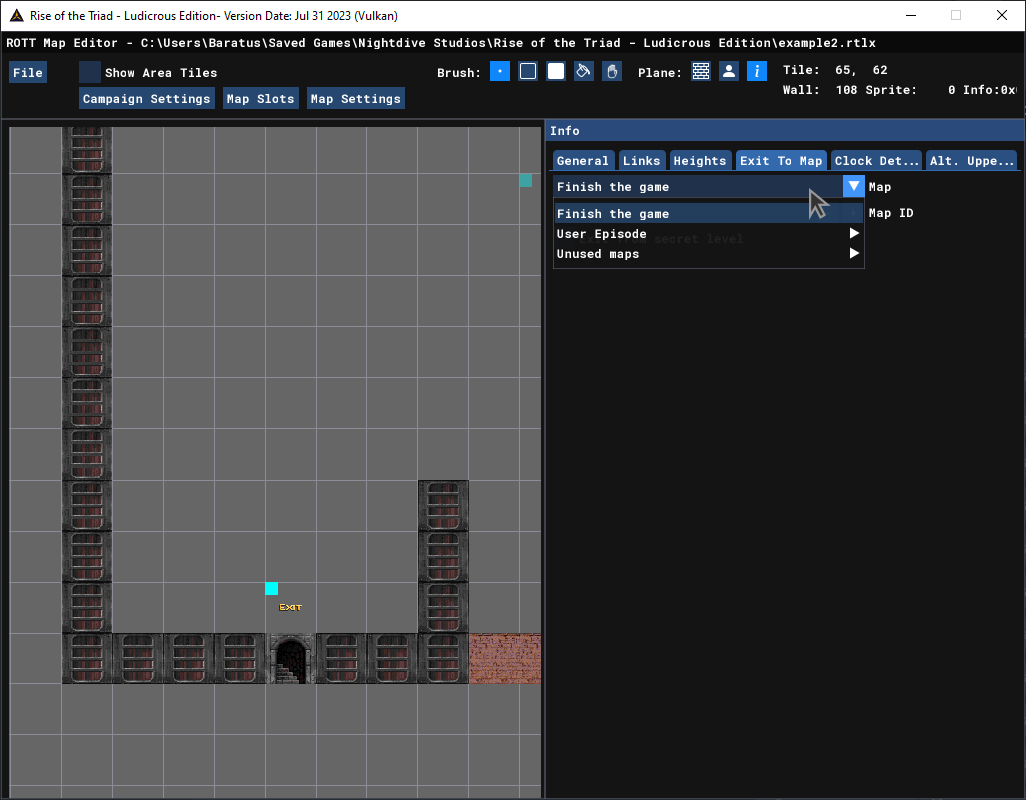
You place an exit trigger from the sprite plane, and then you go to the info plane and select the Exit To Map tab.
There you can set to either exit to a certain map or finish the campaign. The exit from secret level is meant for exiting secret levels.
Remember to fill the Area tiles

I recommend using the Flood Fill to cover the map with Area tiles easily. I recommend using Area 01 tile only in COMM-BAT levels (unless you have completely different areas with doors/elevators in mind maybe?)
Thanks to THEBaratusII for his excellent guide, all credits belong to his effort. if this guide helps you, please support and rate it via Steam Community. enjoy the game.
Related Posts:
- Rise of the Triad: Ludicrous Edition – Achievements & Secret Exits Guide
- Rise of the Triad: Ludicrous Edition – Bonuses Guide
- Rise of the Triad: Ludicrous Edition – Cheat Codes