
Simple pointers for 100% completion, as well as a basic walkthrough. Spoiler Warning!
Story Related
These should pop up at key points during a first run. The points being;

restoring power to the hospital by restarting the generator,

getting out of the hospital for good,

picking up the handgun from the safe in the police station,

restoring power to the hotel by inserting the missing fuse to the box,

picking up the flashlight found in the hotel,

and reaching the bunker near the end of the game.
Secrets

Turn on the radio found in the room across the generator room on the second floor of the hospital. Another radio can be found on the second floor of the residence opposite the police station that can be optionally explored.

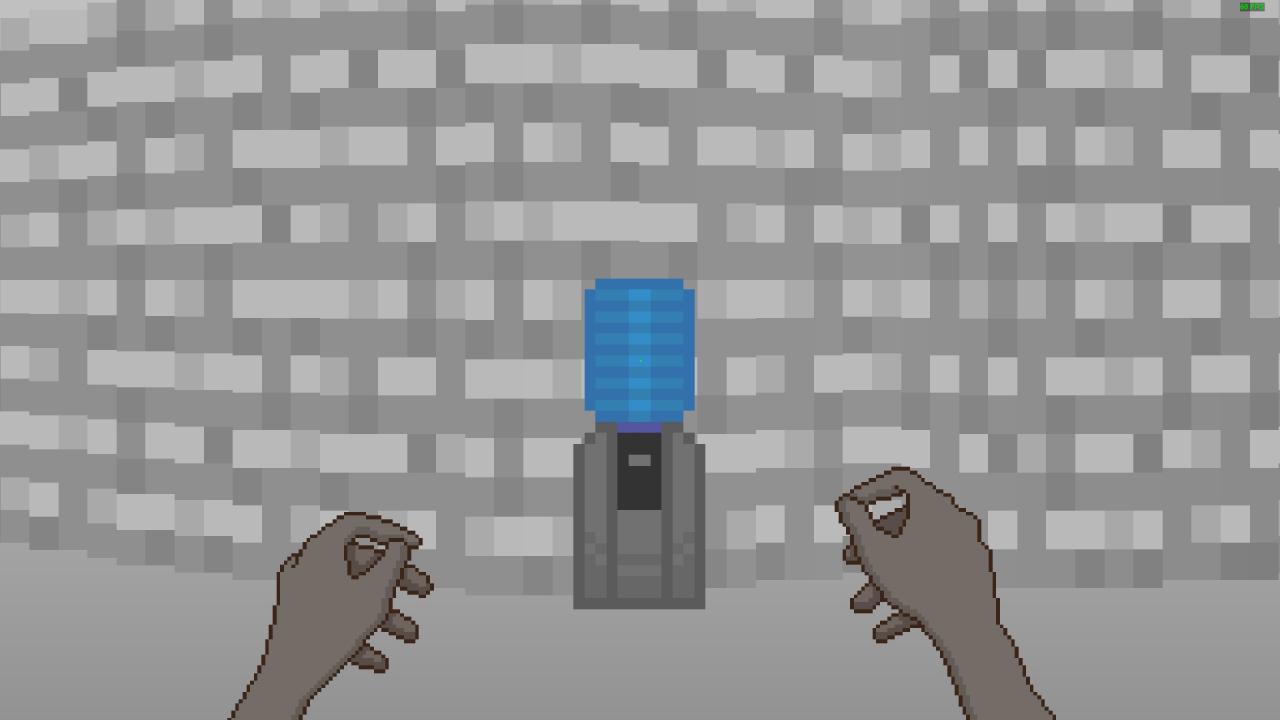
Utilize the water dispenser located in the reception area on the second floor of the hospital. Another dispenser can be found in the room that leads to the maintenance closet of the hotel.

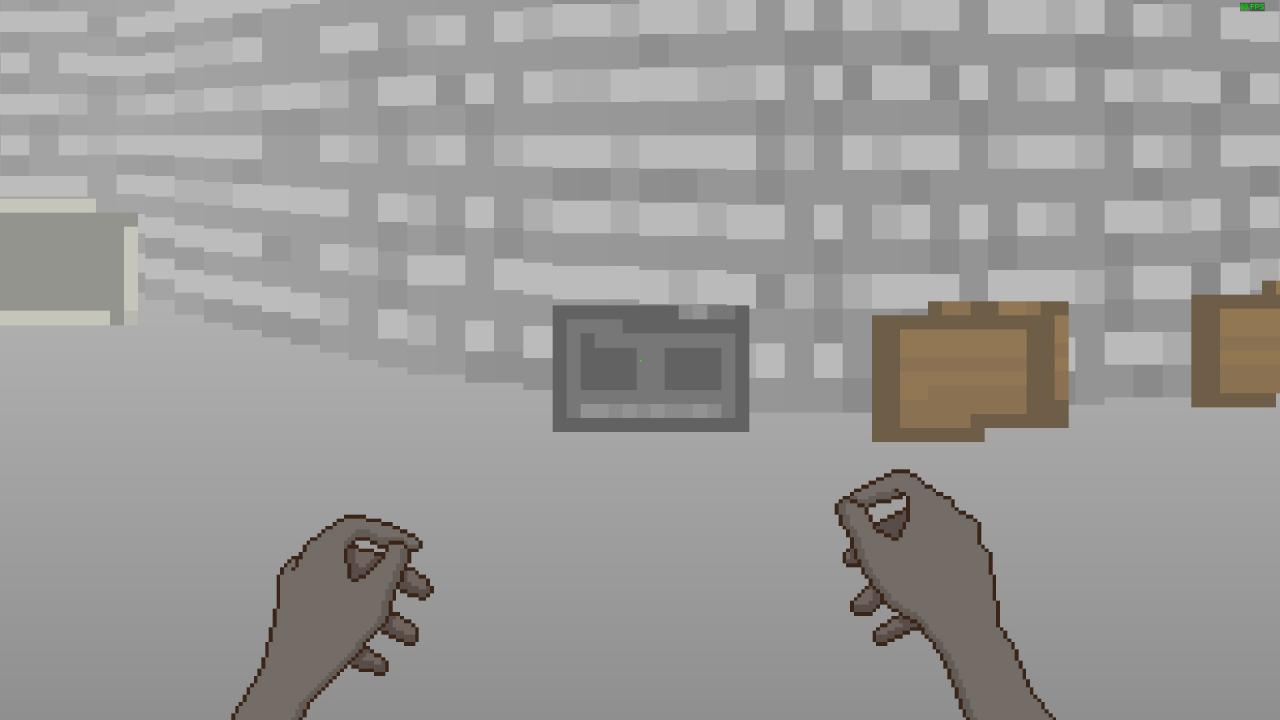
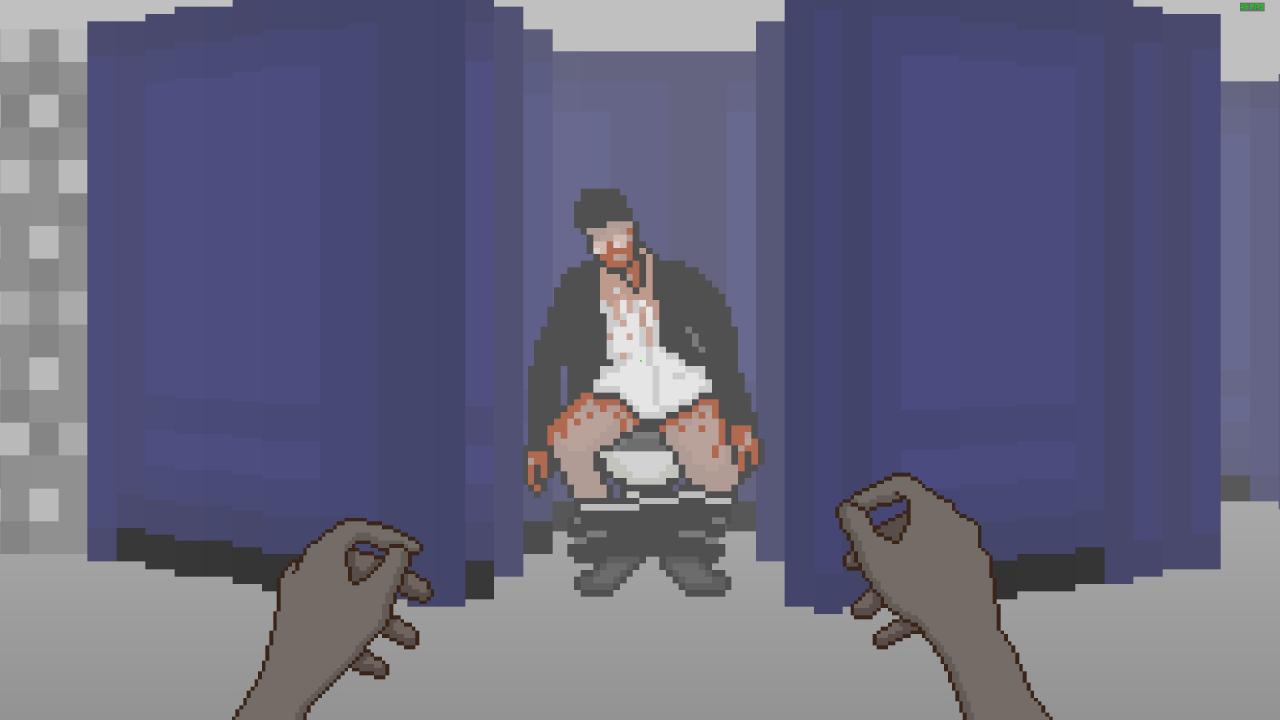
Check the restrooms found on the first floor of the hospital to find the stall with a corpse in it.

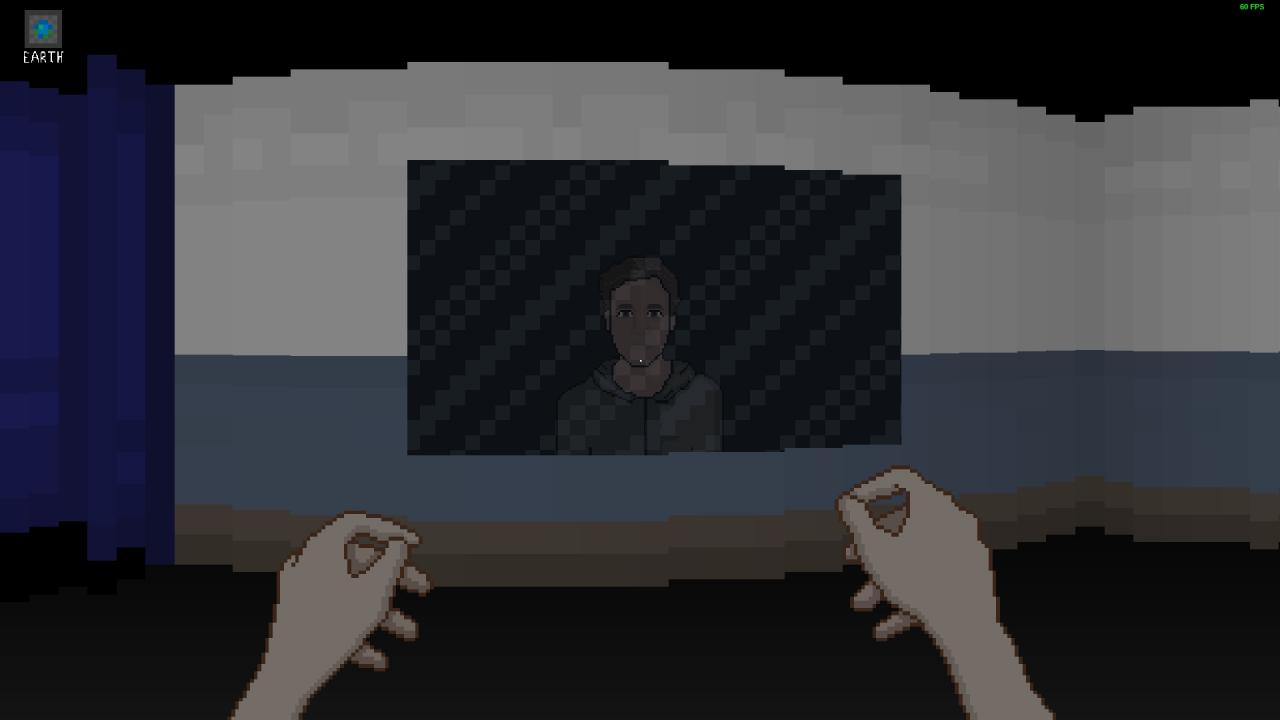
Get into the restrooms found on the first floor of the hospital as you are hunted by the monster and have a look at yourself in the mirror. This can also be done in the restrooms found on the west wing of the police station (once more as you are pursued by another monster) or through the mirror found in the bunker you reach by the end of the game.

Get caught by one of the monsters while you are wearing at least a body armor or a hard hat. Without wearing either one of them, you die as soon as a monster catches up with you. While wearing one, you survive the contact but lose the item in question. If you kill the monster in question, it drops the item on the ground and you can pick it up again. They can be found in the following locations (you can carry more than one of them, check the pause menu to see how many you have of each):
- Hard hat on the floor in the room across the staff lounge as you flee the hospital. [E]
- Body armor in a cupboard on the east wing of the police station. [E/N/H]
- Hard hat in a cabinet in the evidence room of the police station. [E/N]
- Body armor in a cabinet in the evidence room of the police station. [E]
- Hard hat in a cabinet on the second floor of the residence opposite the police station. [E]

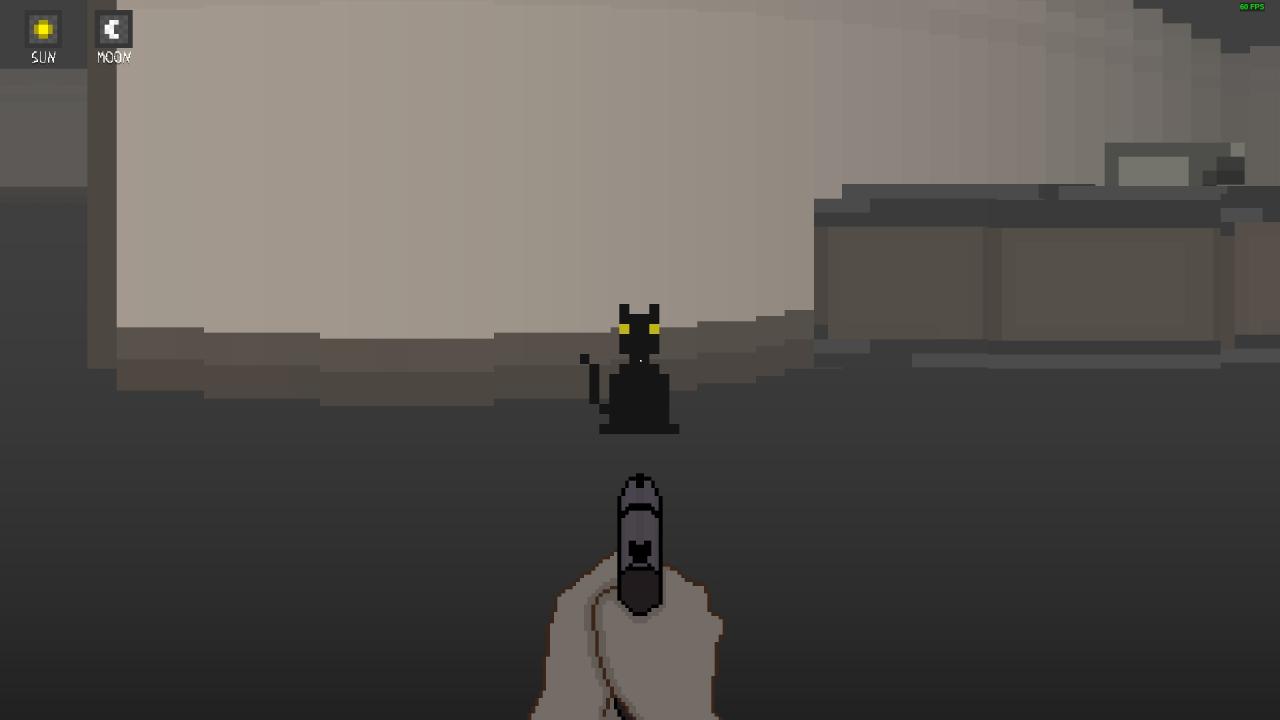
Try to shoot the cat found in the main hall of the hotel. Note that you are locked out of this achievement if you choose to explore the hotel before the police station (in which the handgun is found) since you can not go back into the hotel after escaping from it.

After picking up all three plates, darkness falls and one of the three monsters starts roaming the town. Hunt it down by following the sound cues and kill it (the amount of bullets it takes to do so changes between the difficulty levels). Get in and out of the church, the store or one of the two residences to make another one spawn and hunt that one too. Repeat the procedure for the third one. The achievement unlocks once you kill all three of them.
(Thanks to the developer, James Horn, for clarifying the requirements for this one.)
IMPORTANT: The next three steps are also needed to get the good ending.

Explore the residence opposite the police station to find ‘Brick Key’. Unlock the residence facing the southern side of the map with the key in question. Get down to the basement and pick up the shovel.

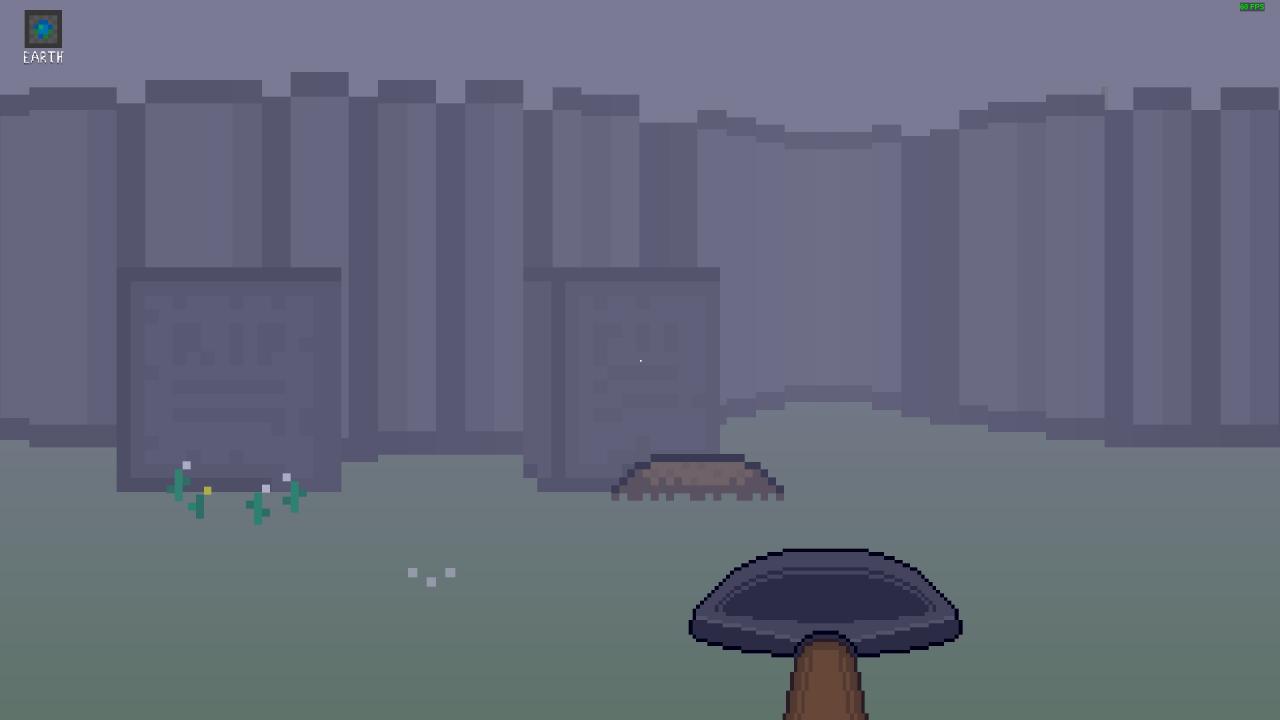
After picking up the shovel, go to the graveyard and find the grave of Susie Robins. Dig it up to find the VHS tape.

After getting the VHS tape, enter the church and find the television set in the adjoining room. Watch the tape to get a clue about the piano tune. Replay the tune using the piano found in the nave to unlock a hidden compartment and pick up the crucifix within.
Endings

Simply going through the game without finding the crucifix results in the bad ending.

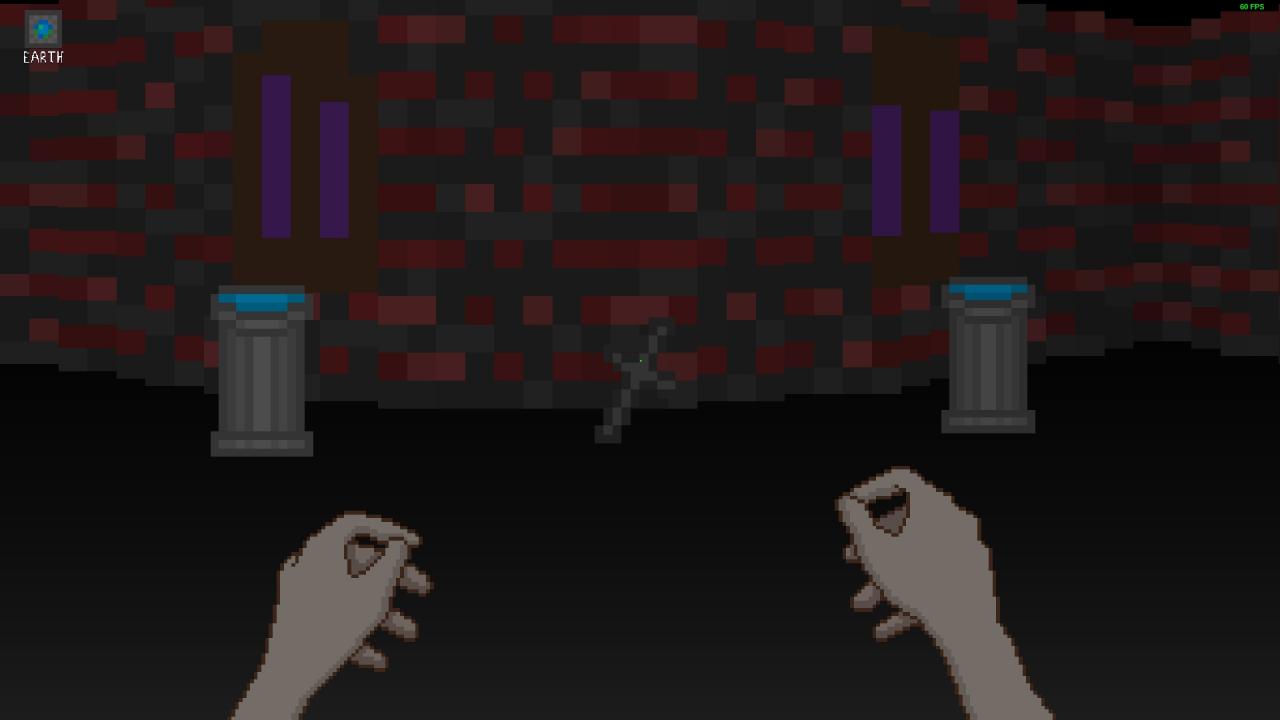
Picking up the hidden crucifix (as mentioned above through ‘Time to Dig’, ‘Grave Robber’ and ‘Holy’) and using it to unlock the red door found in the bunker results in the good ending.
General

The game lets you pick up a difficulty level (Easy, Normal and Hard) upon the start of every run. The difficulty levels affect the amount of handgun magazines and protective items, the amount of bullets contained within the magazines, the number of shots required to kill the monsters, the movement speed and the aggressiveness of the monsters and the complexity of two puzzles. Complete the game on Hard to unlock this achievement.

Complete the game on the difficulty level of your choice under half an hour to unlock this achievement. As long as you directly go for the objectives without losing time searching for the collectibles, killing the monsters or retrieving the crucifix, the game can be completed around twenty minutes (do not forget to sprint as long as you are able). The completion time can be seen at the tally that comes up at the end of every run.
(Both achievements are unlocked on the credits screen.)
Collectibles

There are a total of thirty-five notes to collect throughout the game. All of them can be found with a thorough search of the rooms as you progress. If you find all of them in a single run, the related achievement unlocks as soon as the credits start rolling. In case you miss any, here is a list in order of optimal progress:
HOSPITAL / 2F
01 - In the drawer in the patient room across the one with the jammed door.
02 - In one of the drawers in the patient room across the generator room.
03 - In one of the drawers in the reception area.
04 - In the cupboard in the patient room next to the elevator.
05 - In the cupboard in another patient room on the same wing.
06 - In the cupboard in another patient room on the same wing.
07 - On the computer found in the same room as note #1. (Needs power)
08 - On the computer found on the corner of the west wing. (Needs power)

HOSPITAL / 1F
09 - On the computer found in the first patient room.

HOSPITAL / NIGHTMARE
10 - In the drawer in the room you wake up.
11 - On the computer found in the patient room at the end of the hall.
12 - In one of the drawers in the same room.

POLICE STATION
13 - On the computer found in observation room #1.
14 - In a file cabinet in observation room #2.
15 - In a file cabinet in evidence room.
16 - In a file cabinet in files room.
17 - In another file cabinet in files room.
18 - In another file cabinet in files room.
19 - In another file cabinet in files room.

HOTEL
20 - In the yellow bin found in the main hall.
21 - In the nightstand in room #3.
22 - In a nightstand in room #13.
23 - In the nightstand in room #14.

HOTEL / NIGHTMARE
24 - In the nightstand in the room (#1) you wake up.

RESIDENCES
25 - In a file cabinet on the first floor of the residence opposite the police station.
26 - On the computer found on the second floor of the same residence. (Needs power)
27 - In the file cabinet in the basement of the other residence.

CHURCH
28 - On top of the altar.
29 - In all the cupboards and the drawer in the adjoining room.

POWER PLANT
30 - On the computer found in the main hall.

BUNKER
31 - In the file cabinet in the room you wake up.
32 - On the computer found in the same room. (Needs power)
33 - In a file cabinet in the next room.
34 - In the cupboard in the same room.
35 - On the computer found in the room with the two doors.
Walkthrough
Below is a simplified walktrough that covers both endings but omits the collectibles, in case you are unsure what to do next. Steps marked with an asterisk are only needed for the good ending and can be left out to save time if you are going for the achievement ‘Speed Runner’.
- Get 'Key Card' from the last room on the corridor and unlock the next door.
- Get 'Generator Key' from the other wing, unlock generator room and restore power.
- Use the elevator to descend to the first floor and make your way to the exit.
- Make your way around until you face the monster, run for your life.
- Grab 'Moon Plate' and leave the hospital for good.
- Enter the police station and get 'Files Key' from evidence room.
- Unlock files room, check around and get the code for the safe.
- Pick up the handgun from the safe in evidence room.
- Run or fight for your life, grab 'Sun Plate' and leave the police station.
- Enter the hotel and get 'Room #13 Key' from room #2.
- Unlock room #13, get the fuse, find the maintenance closet and restore power.
- Enter the elevator, go through the following scenes and pick up the flashlight.
- Run or fight for your life, grab 'Earth Plate' from room #15 and leave the hotel.
* Enter the residence with the unlocked door opposite the police station.
* Ascend to the second floor and get 'Brick House Key' from the computer desk.
* Unlock the residence on the other side and pick up the shovel.
* Go to the graveyard, dig up Susie Robins' grave and get the VHS tape.
* Go to the church, watch the VHS tape, play the tune and pick up the cruficix.
- Use the three plates to unlock the door behind the police station.
- Follow the voice, get 'Power Plant Key', unlock the door and get in.
- Make your way around, answer the phone, get the code and unlock the next door.
- Break free of the web and run for the light seen in the distance.
- Restore the power and follow the path until you come across two doors next to each other.
- Enter the grey-colored door on the left for the bad ending.
- Unlock the red-colored door on the right with the crucifix for the good ending.
Thanks to erc for his great guide, all credit to his effort. you can also read the original guide from Steam Community. enjoy the game.