A how-to on getting almost all of the achievements in Progressbar95. This guide excludes all pattern based achievements and achievements earned via mastering each OS and upgrading to unlock new skins.
On a side note, the DOS achievements are shown with very basics on how to enter the lines in case someone who plays that games has zero experience with DOS.
The first one you are going to use is DIR. This is short for directory and makes the DOS windows write out all files and folders in the folder you are currently in. For example, when you first open ProgressDOS you will be in C:/. Using DIR will show you folders like Progressbar, Programs, Documents and Bin as well as other folders that a random each time you start the game. there is always one README file in this folder.
The next command will be used whenever you want to move to a new folder, CD. It means change directory and to use it you would type:
CD foldername
Going back a level in DOS is easy, just type:
CD..
This sends you back up to the parent folder for the one you are currently in.
Now that you know how to move around in DOS, I’m going to give you a tip for not getting lost because once you start getting really deep into the folders its easy to forget where you have already been. Using the RMDIR command followed by a folder name deletes that folder after you confirm with Y (it literally means remove directory). Do this only after you have fully gone through the folder you are deleting otherwise you could miss out on bonuses.
Similar to the RMDIR command, DEL is almost the same except it is used for .txt and .exe files.
This is the bare minimum of commands for DOS that you will be using and will be more than enough to get you through the maze of files and folders in ProgressDOS.
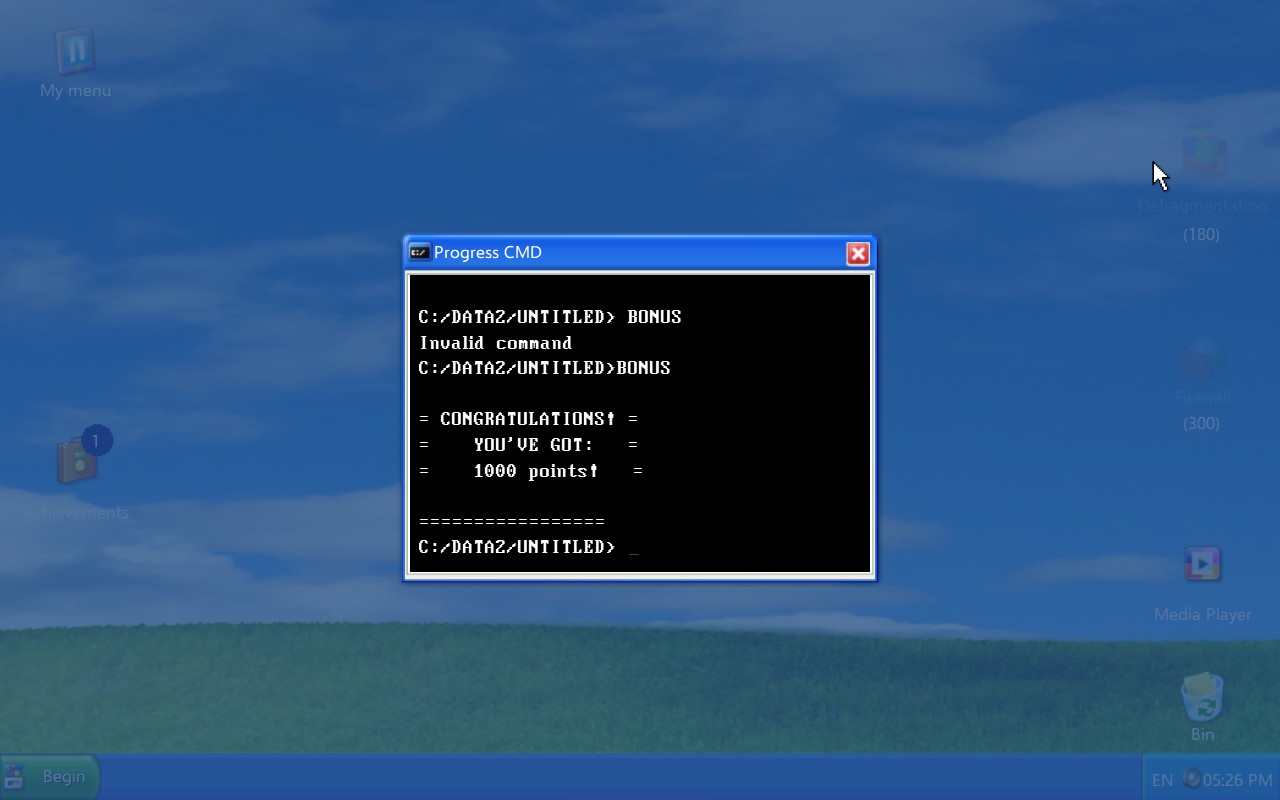
Now open the start menu and click on ProgressDOS. Type in the following lines, hitting enter at the end of each line:
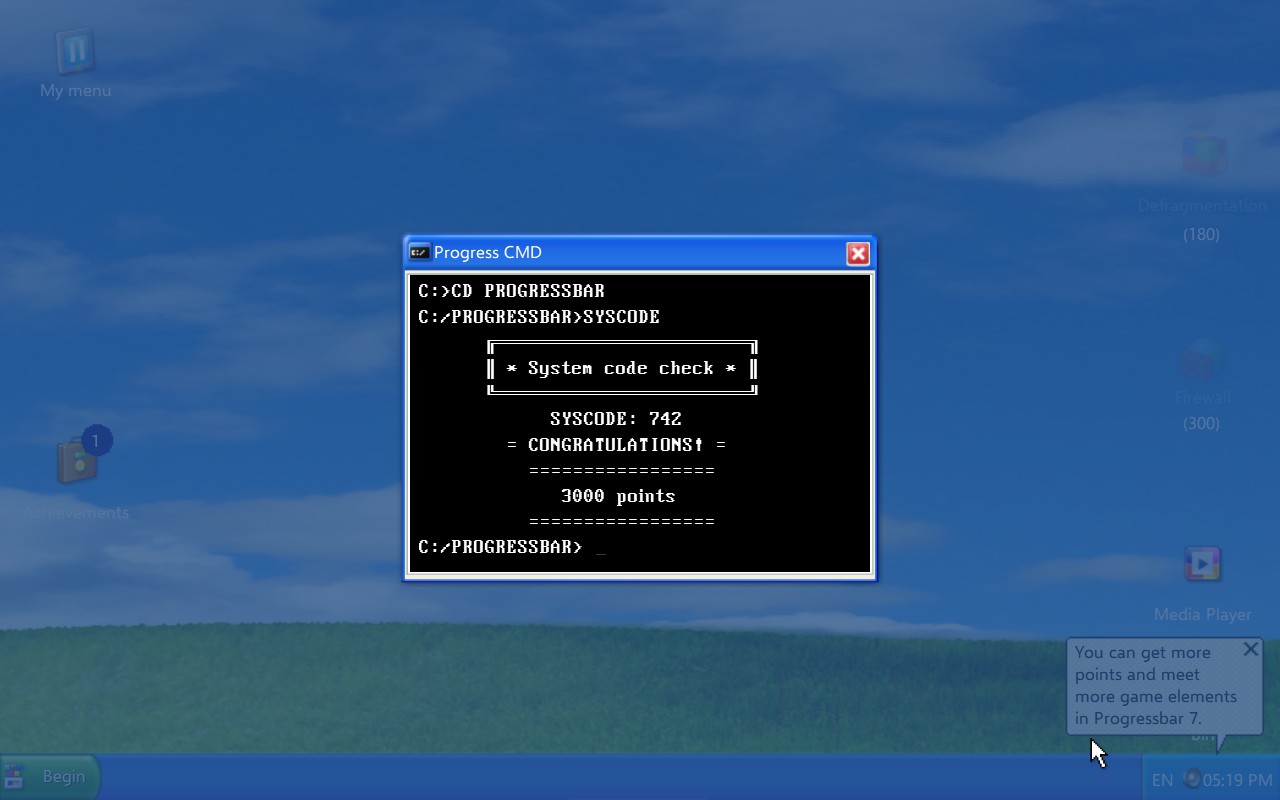
CD PROGRESSBAR
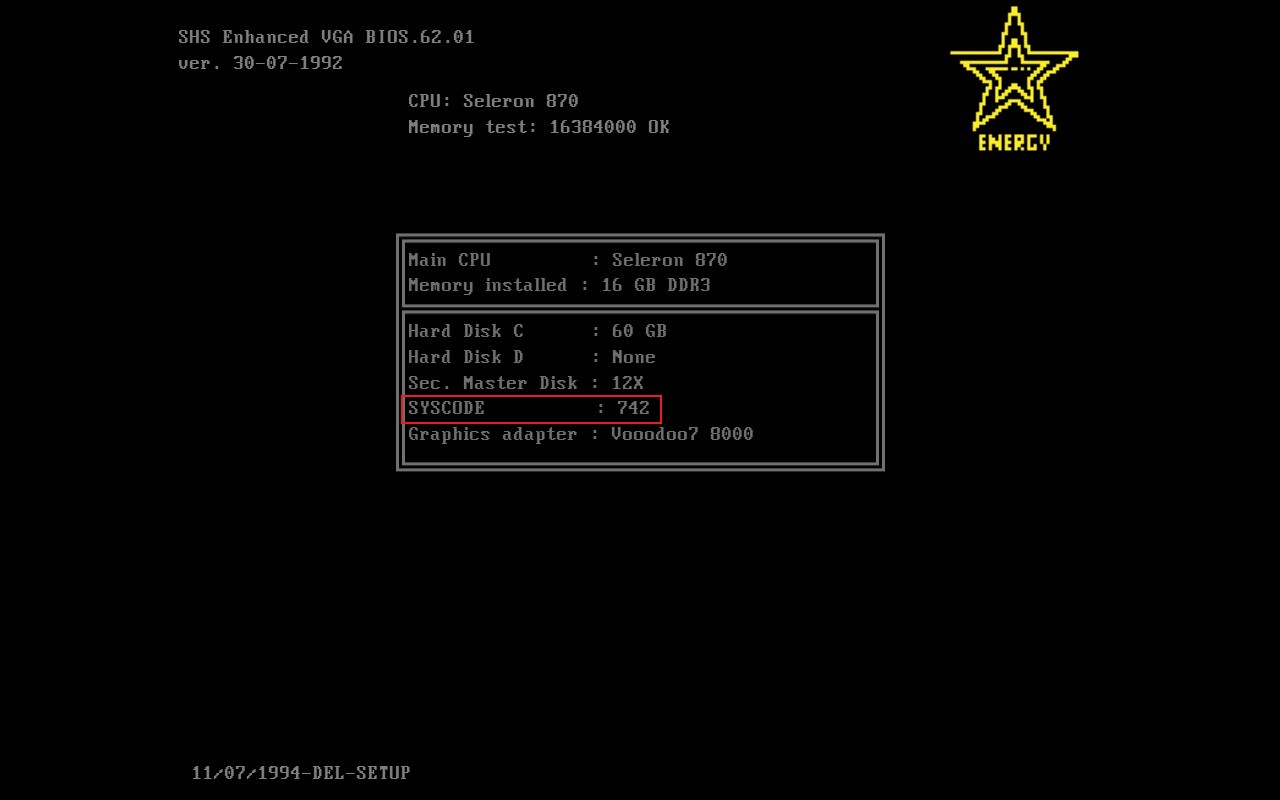
SYSCODE
You will be prompted to enter the code that you remembered. Hit enter and get you bonus.
COLOR F0
This will swap the background and text color to reveal a hidden code in the top right corner.
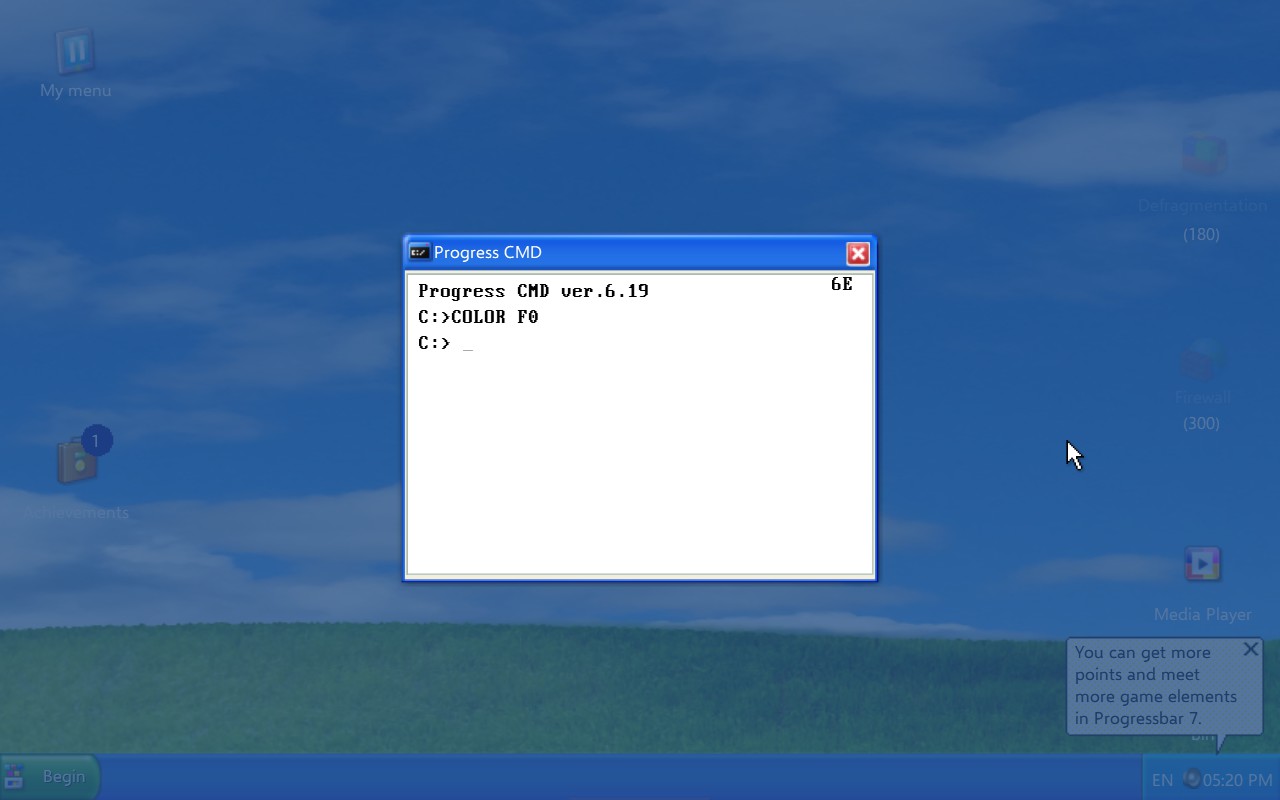
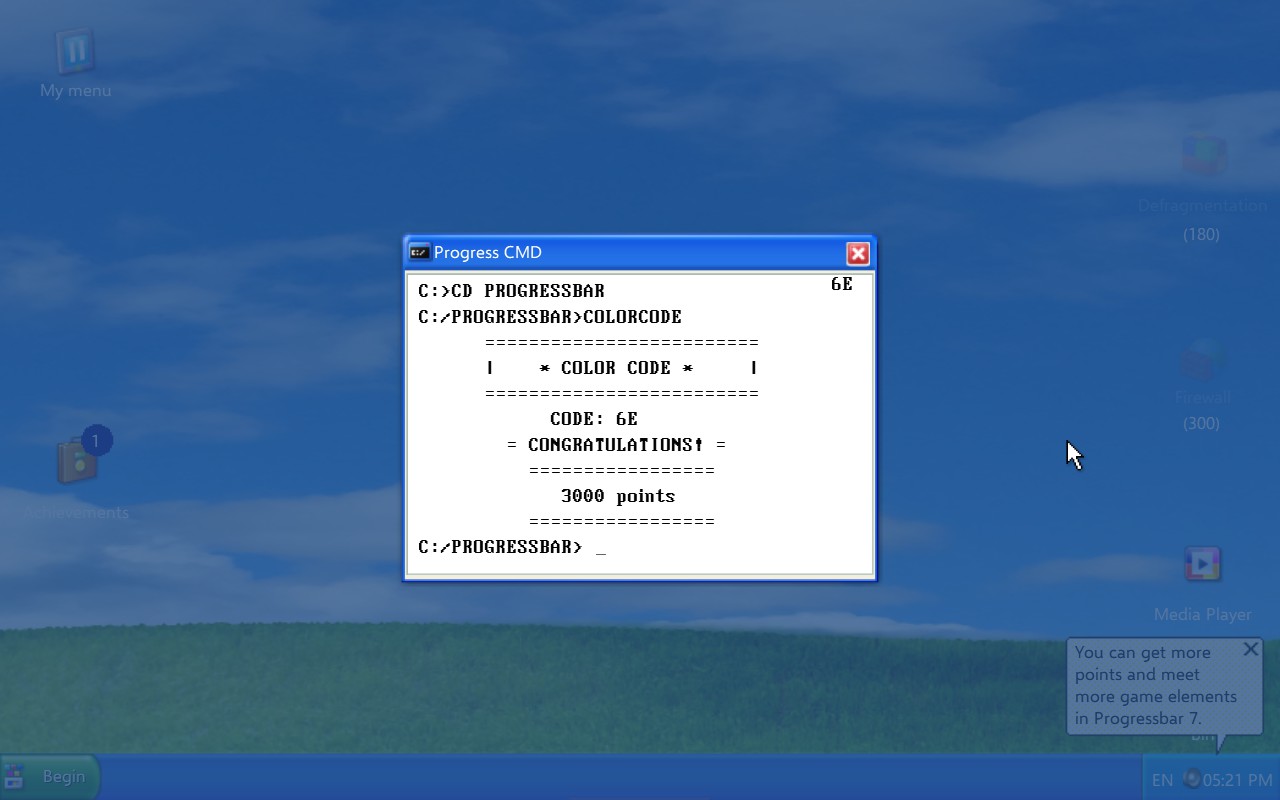
Now navigate to C:/PROGRESSBAR and enter COLORCODE. Enter the hidden code and receive your bonus.
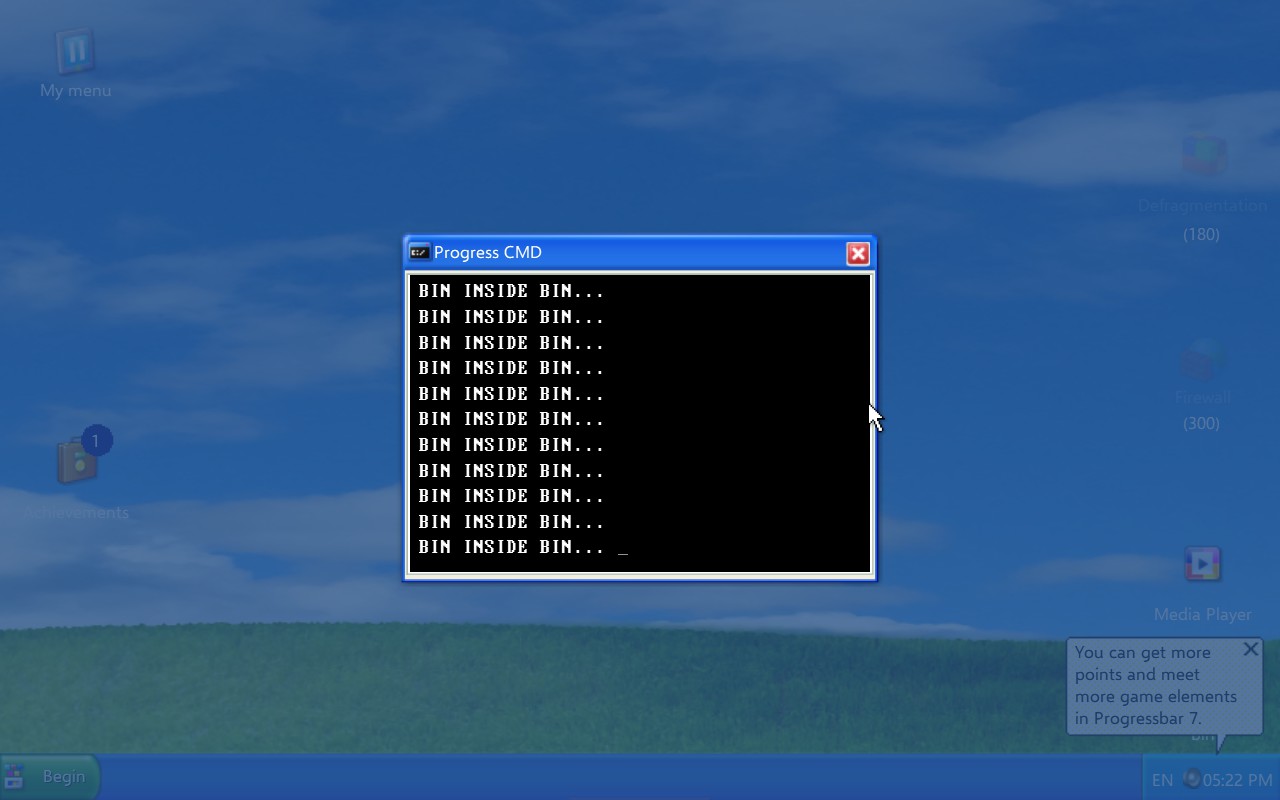
RMDIR BIN
You will be prompted whether you are sure, hit Y and BIN will be deleted, making the command window read out on repeat BIN INSIDE BIN…
To fix the fact you are now locked out of ProgressDOS, just close the window and reopen it.
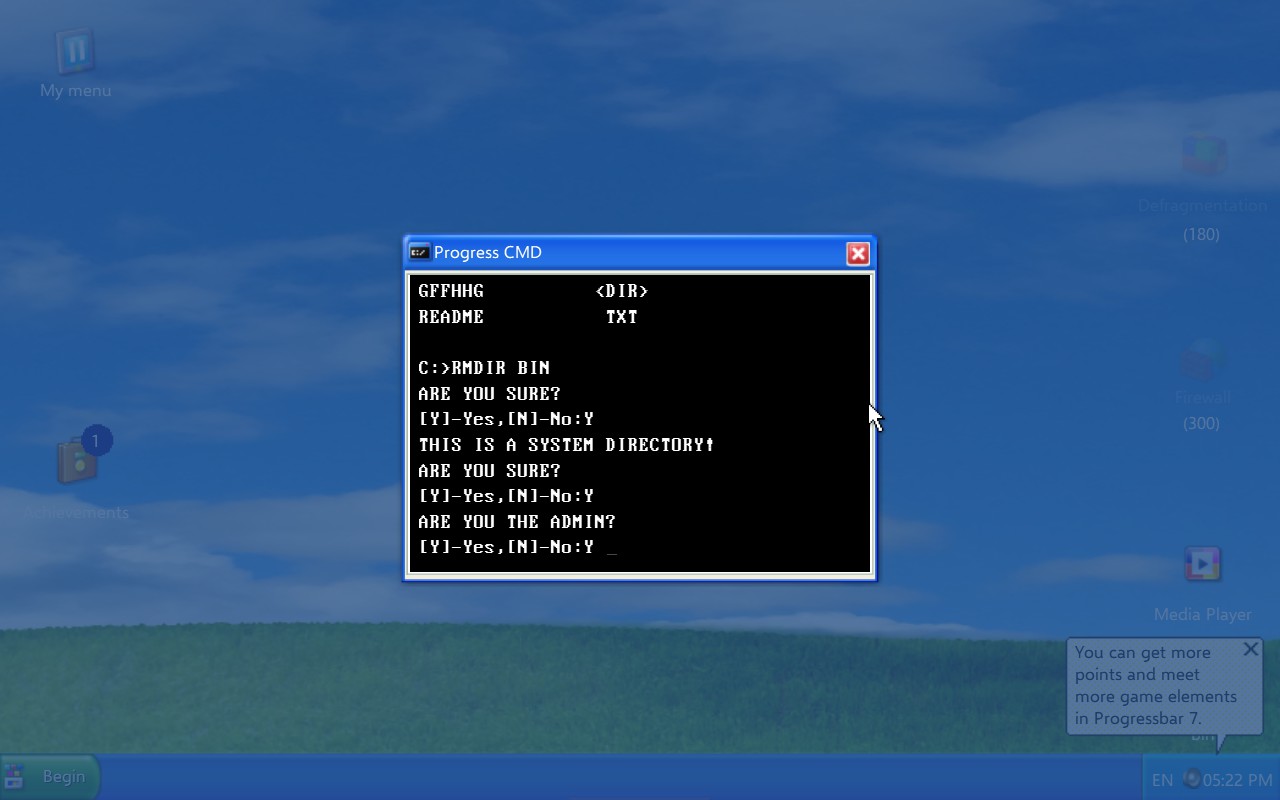
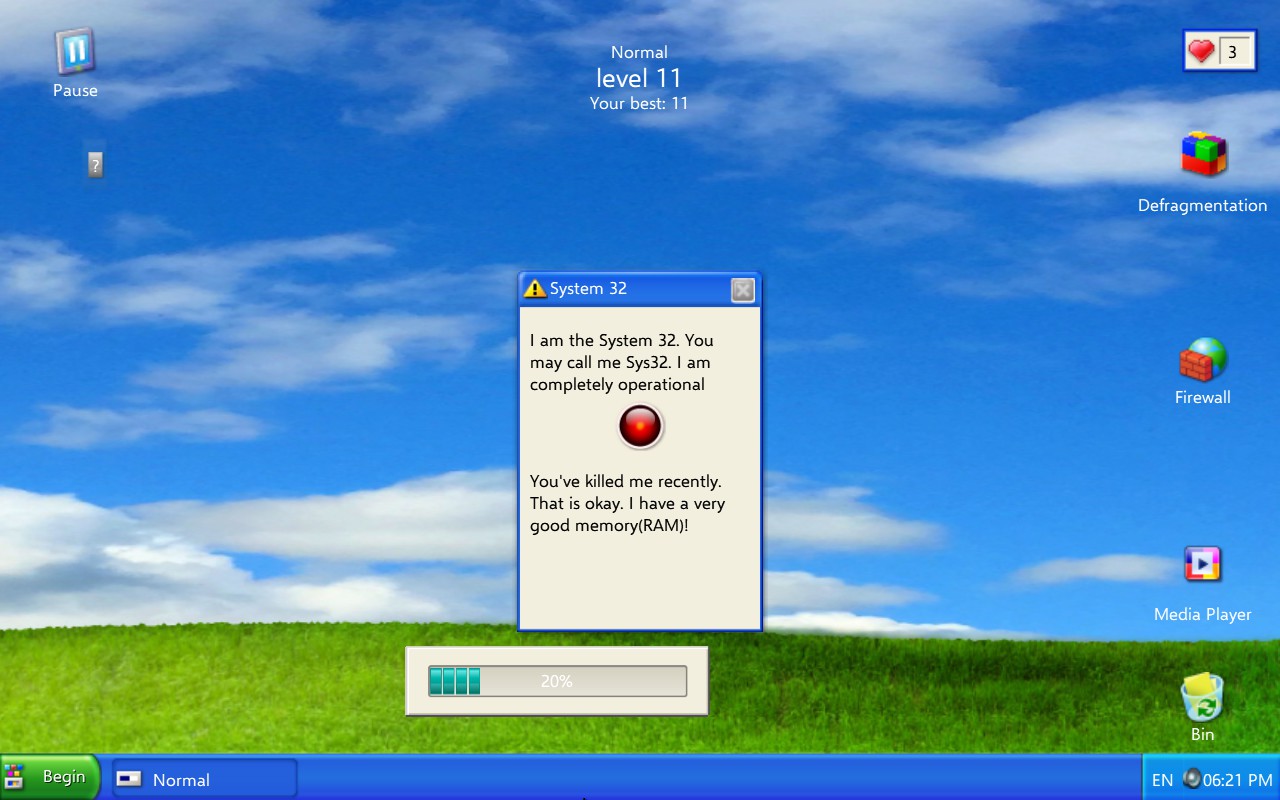
RMDIR SYSTEM32
You will be prompted a number of different things like “Are you the Admin?” and “Are you sure?”. Enter Y for yes but be careful because the last one needs to be entered as N or else it will cancel the deletion.

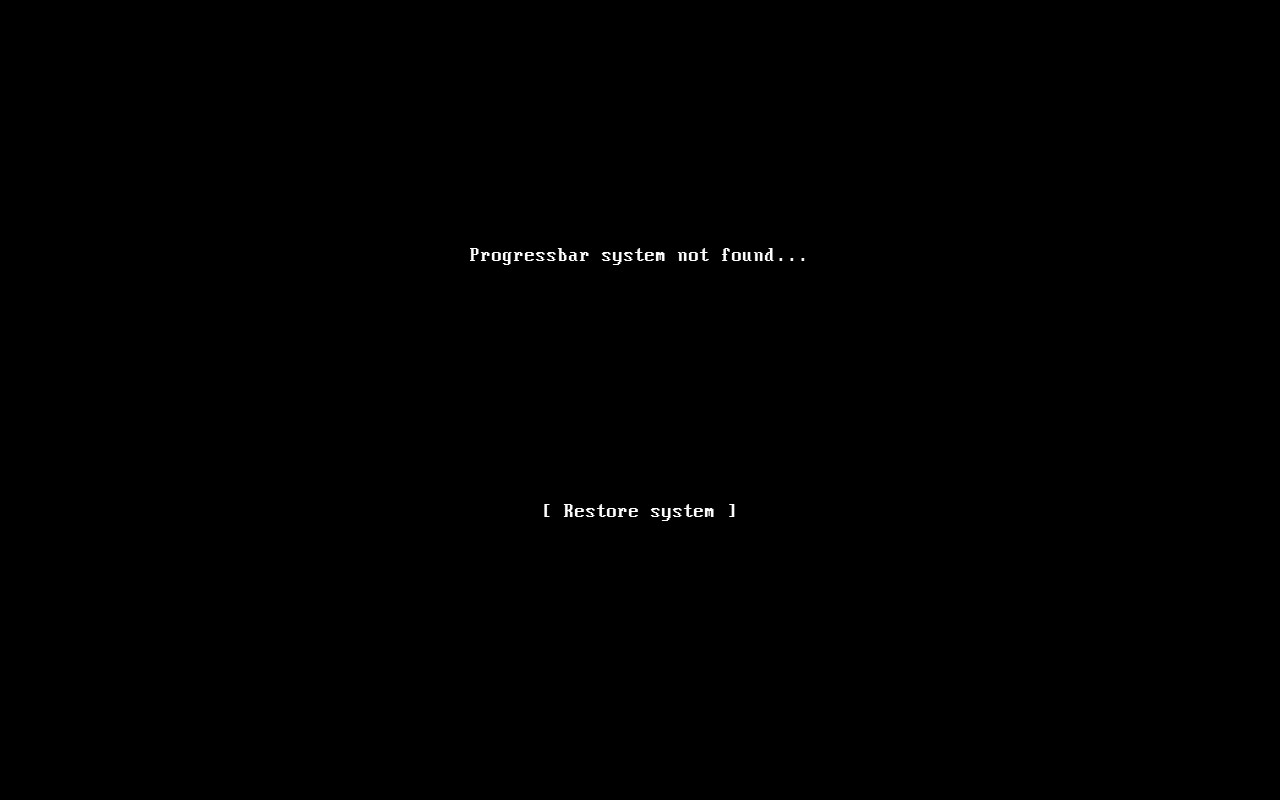
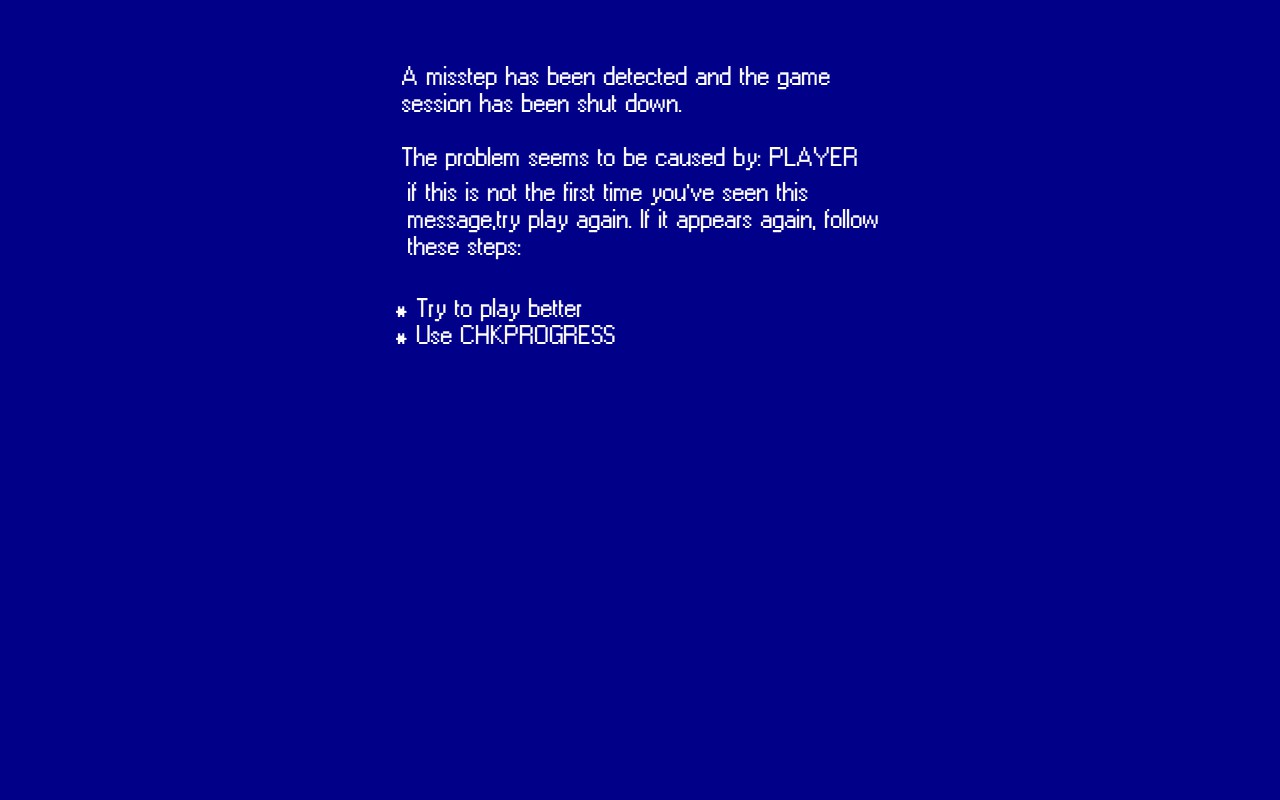
The system will begin the process of deleting itself and will proceed to try to boot back up. You when then be met with a screen stating:
Progressbar system not found…
[ Restore system ]
Click Restore system and continue clicking on TAP until the system is fully restored and than the system will launch as normal.
A side effect of this is that after you have played a couple normal levels a pop-up will appear from System32 about having been deleted. You will have to wait a few seconds before you are able to close this pop-up.
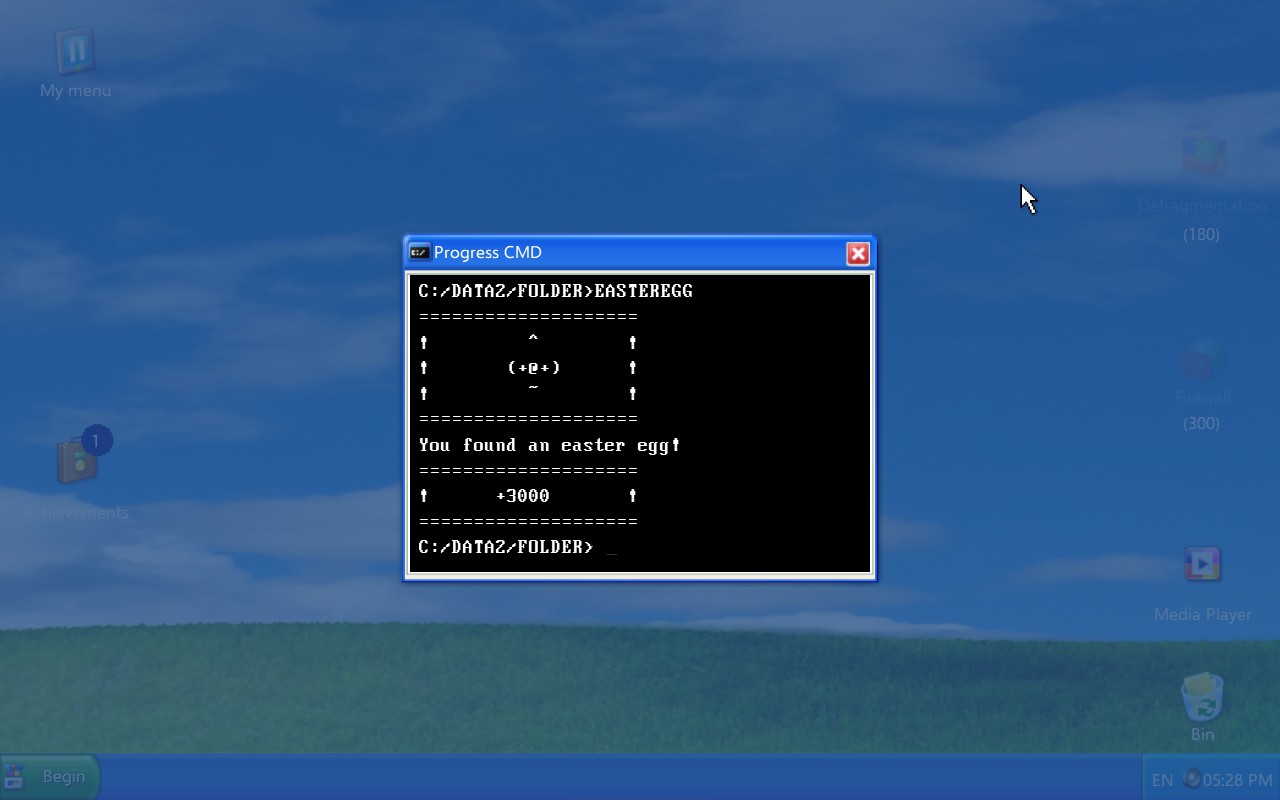
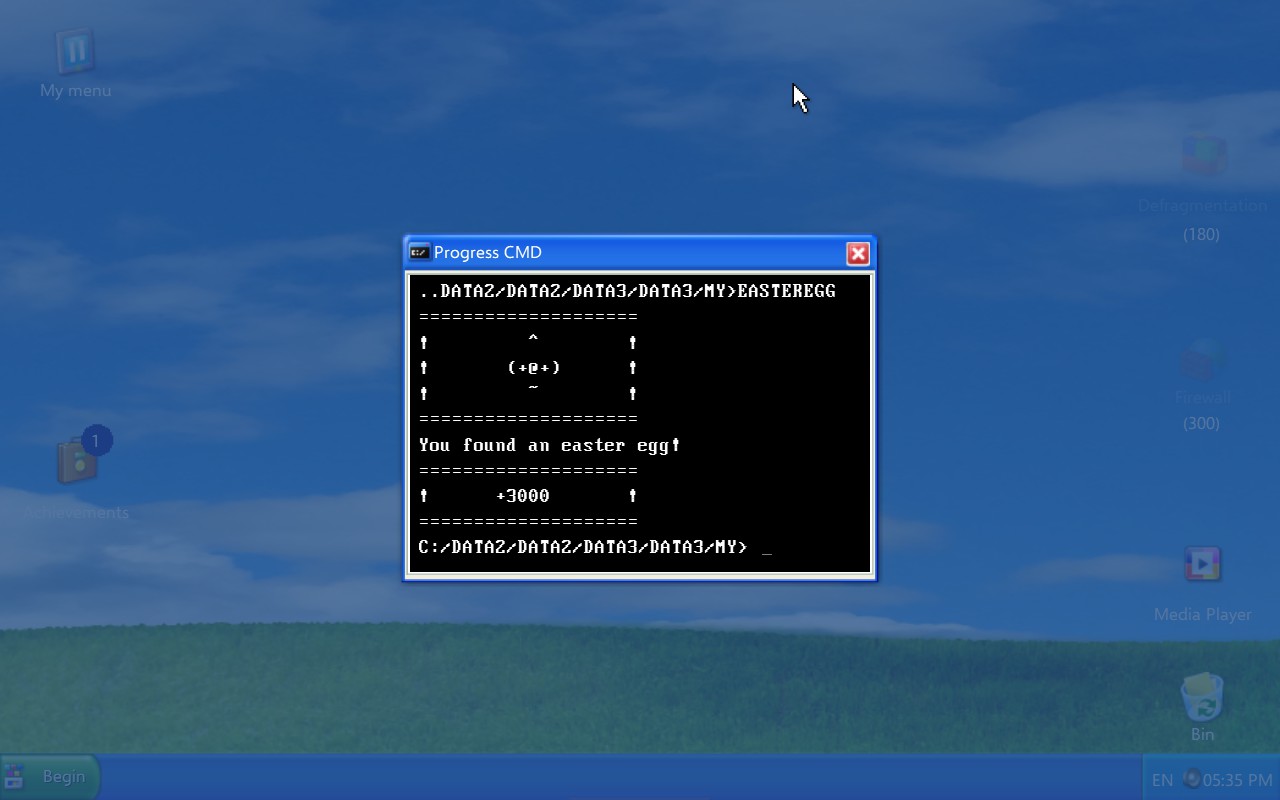
If you does this with EASTEREGG.EXE you will also get the Easter Egg achievement.
The other two achievements, 10,000 and 50,00 points in DOS will require you to go through as much of the files and folders as you can and, in the case of the 50,000 achievement, hope there was enough for you to get enough points. Go through every folder you find and use every bonus and Easter egg and if you are willing to risk it, UNKNOWN.EXE. The thing with the unknowns are is that sometimes they give you nothing.
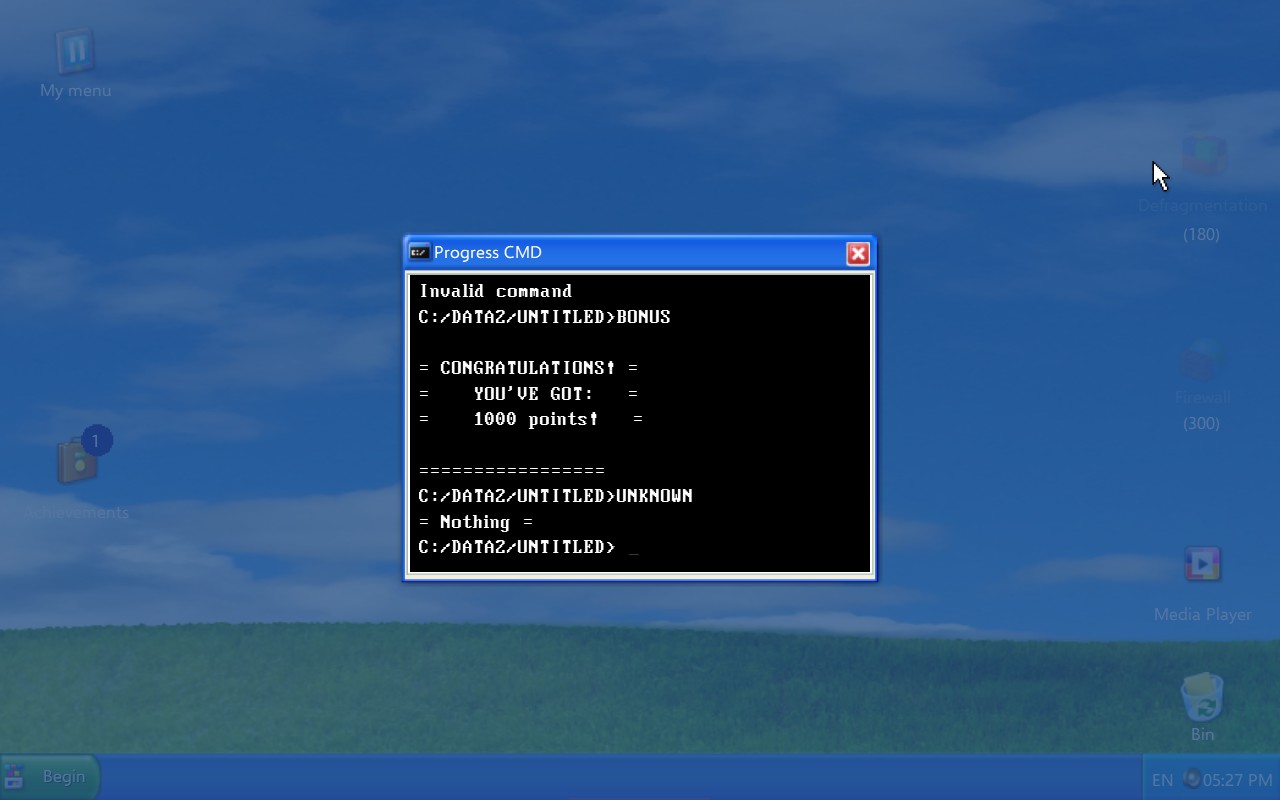
And sometimes they “crash” the system, resulting in a reboot and a lost life. So be careful.
And also still, they can give you a nice bonus.
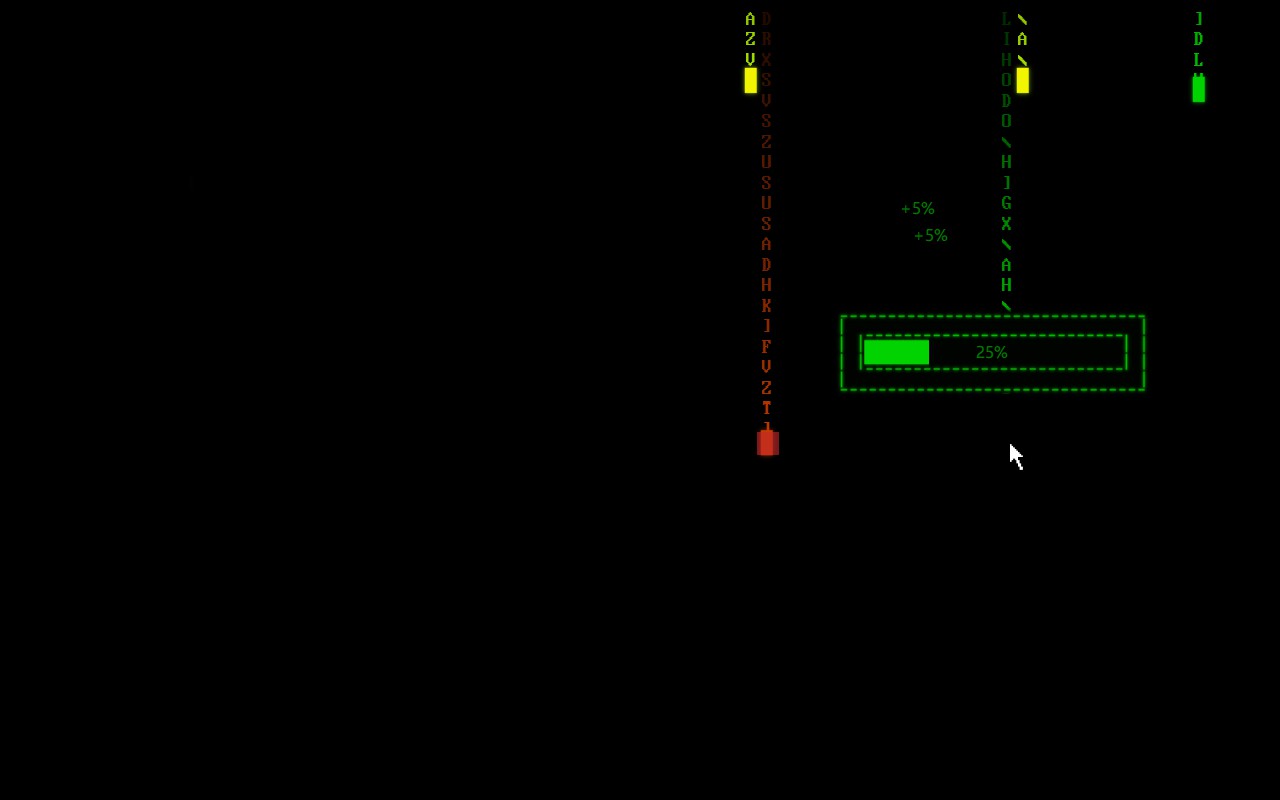
One last thing before we go on to the next section. During your digging for the 50,000 point achievement, you can also grab the DOS Digger achievement for going 5 levels or more deep into the folders. Like in the picture below.
DEL CHEATS.TXT
And you will get the achievement.
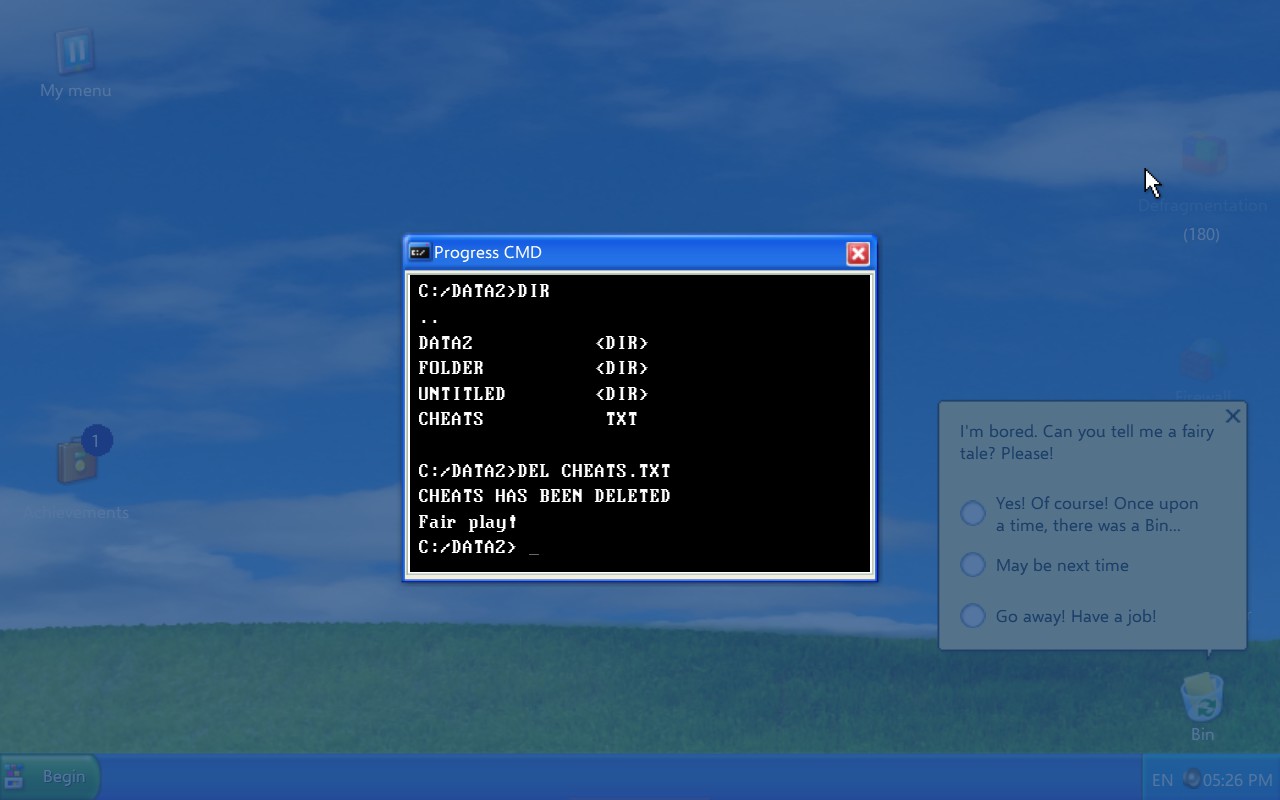
The other way to get this achievement is when playing a normal level, sometimes a cheats text file can appear on the desktop. Drag it over to Bin to delete it, just make sure Bin is awake first.
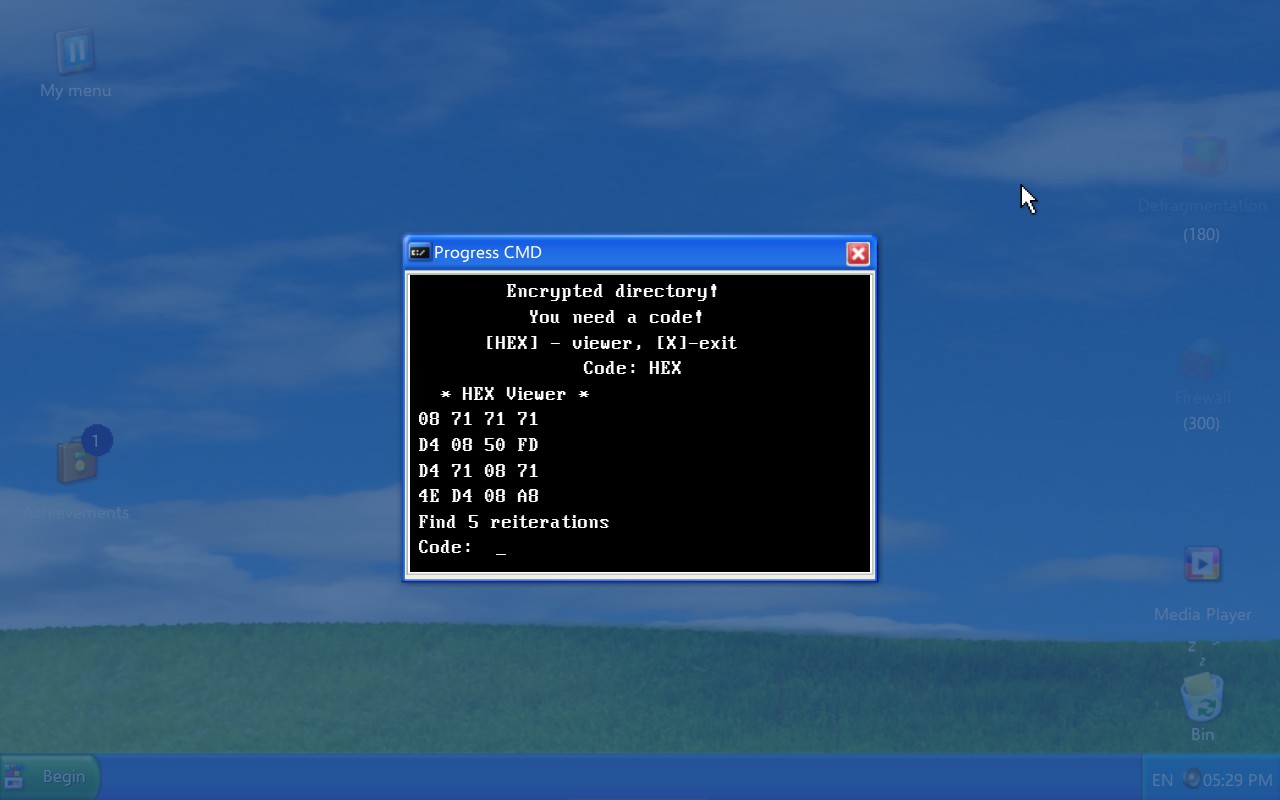
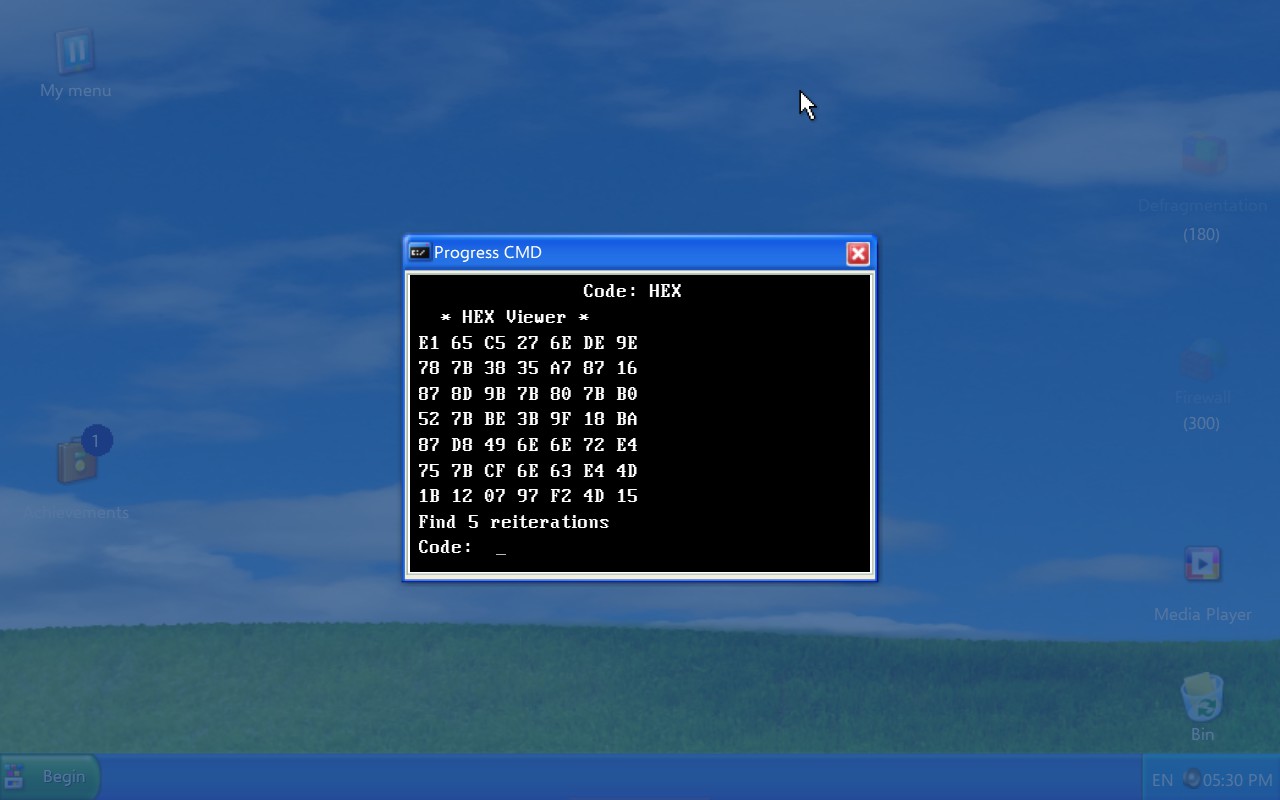
If you aren’t able to guess it before the text line pushes it out of view or the numbers just seem to blend together, you can get a new set by entering HEX again.
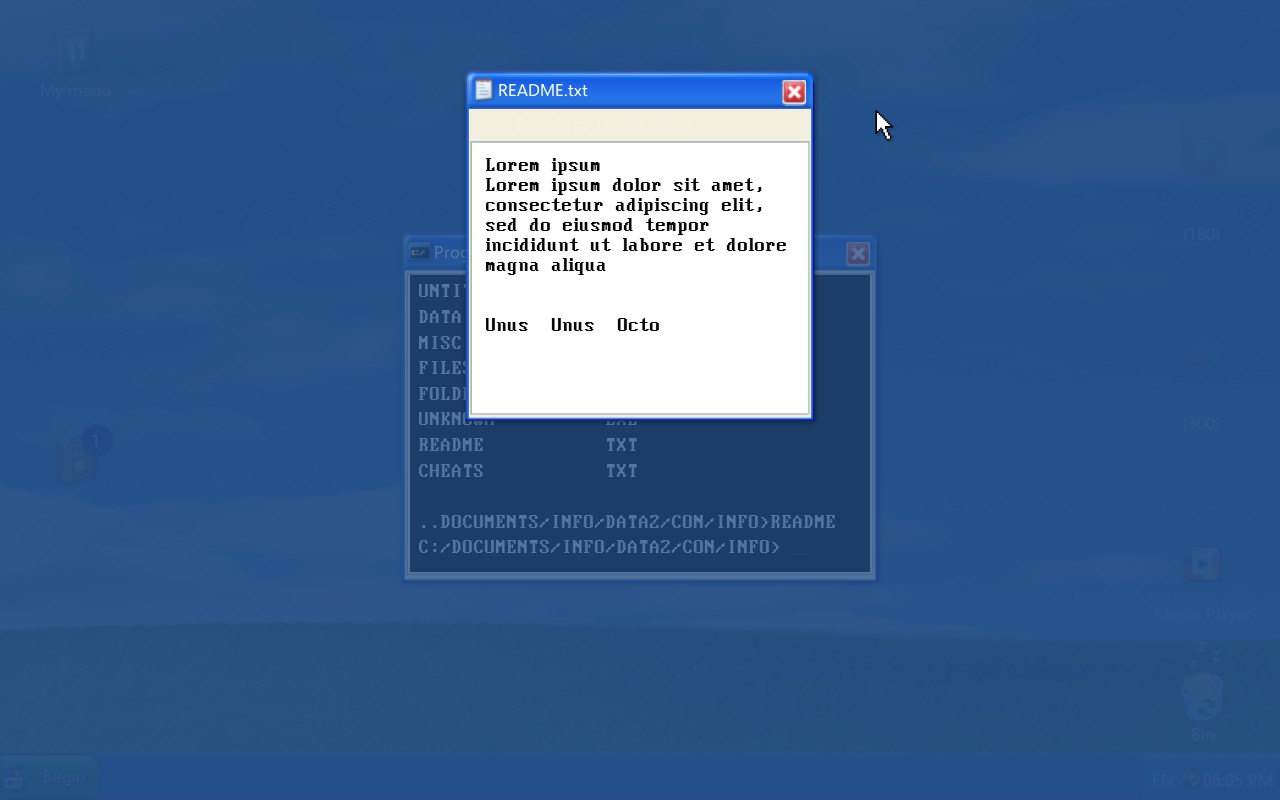
Now, that looks like a bunch of gibberish doesn’t it? While the only thing you have to worry about are the three words at the bottom. These, if you don’t recognize any of them, are numbers in latin. Here’s a quick reference for the translation.
1 – UNUS
2 – DUO
3 – TRES
4 – QUATTUOR
5 – QUINQUE
6 – SEX
7 – SEPTEM
8 – OCTO
9 – NOVEM
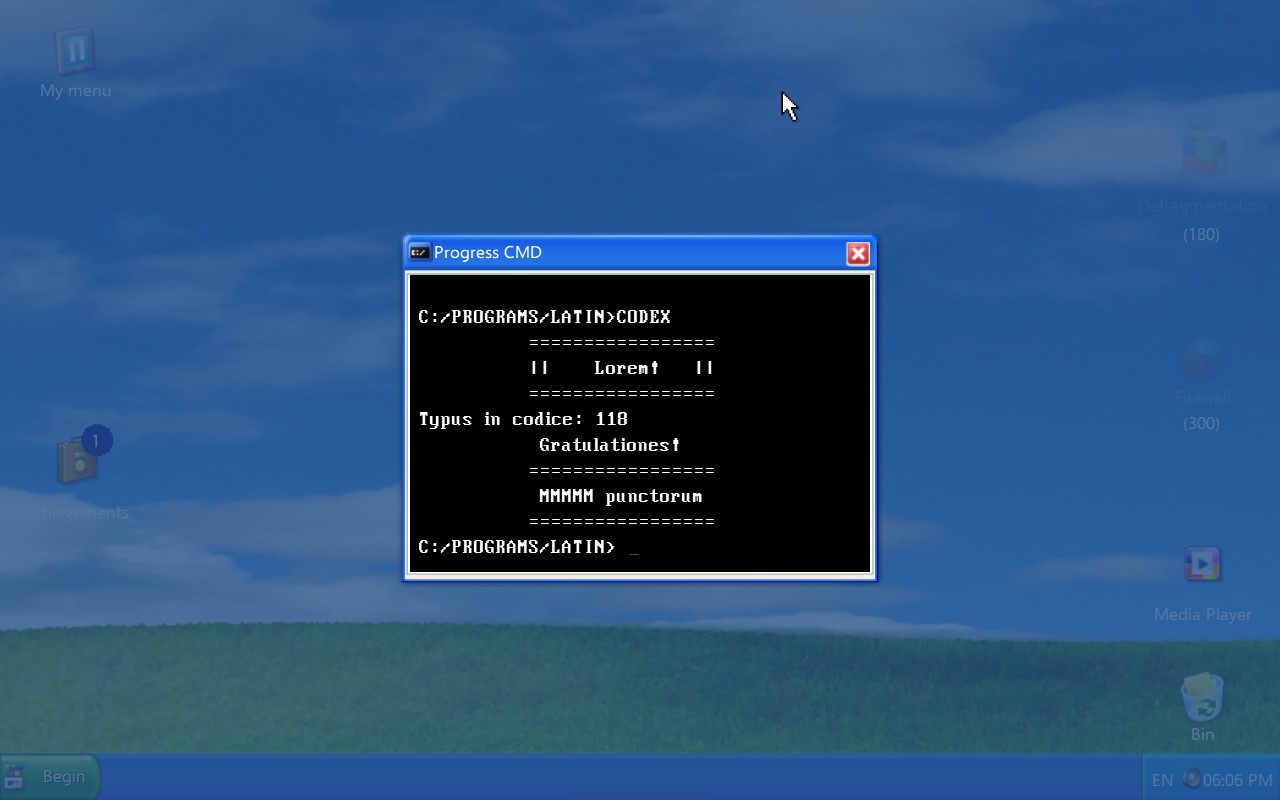
Now that you have your numbers, navigate back to C:/ and enter:
CD PROGRAMS
CD LATIN
CODEX
You are now able to enter those translated numbers and get the bonus.

You probably got First Achievement already by accident. If you don’t have it, you have you collect points and those points will go towards an new upgrade which are needed to collect new skins.
For Strong Sufferance I have an amazing trick. Play in hardcore on level 1. That’s it. The thing with how the levels work is the higher you go the harder they are and in hard mode, the more pop-ups that appear. So on level 1 you have the best chance of getting the achievement. Just grab any and all blues and oranges to finish the level as soon as possible if you want to get it over with quickly.
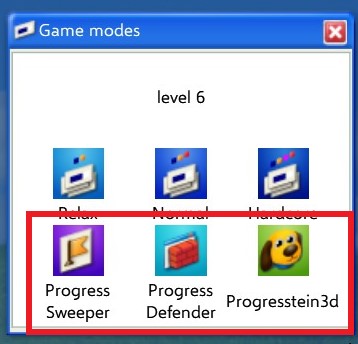
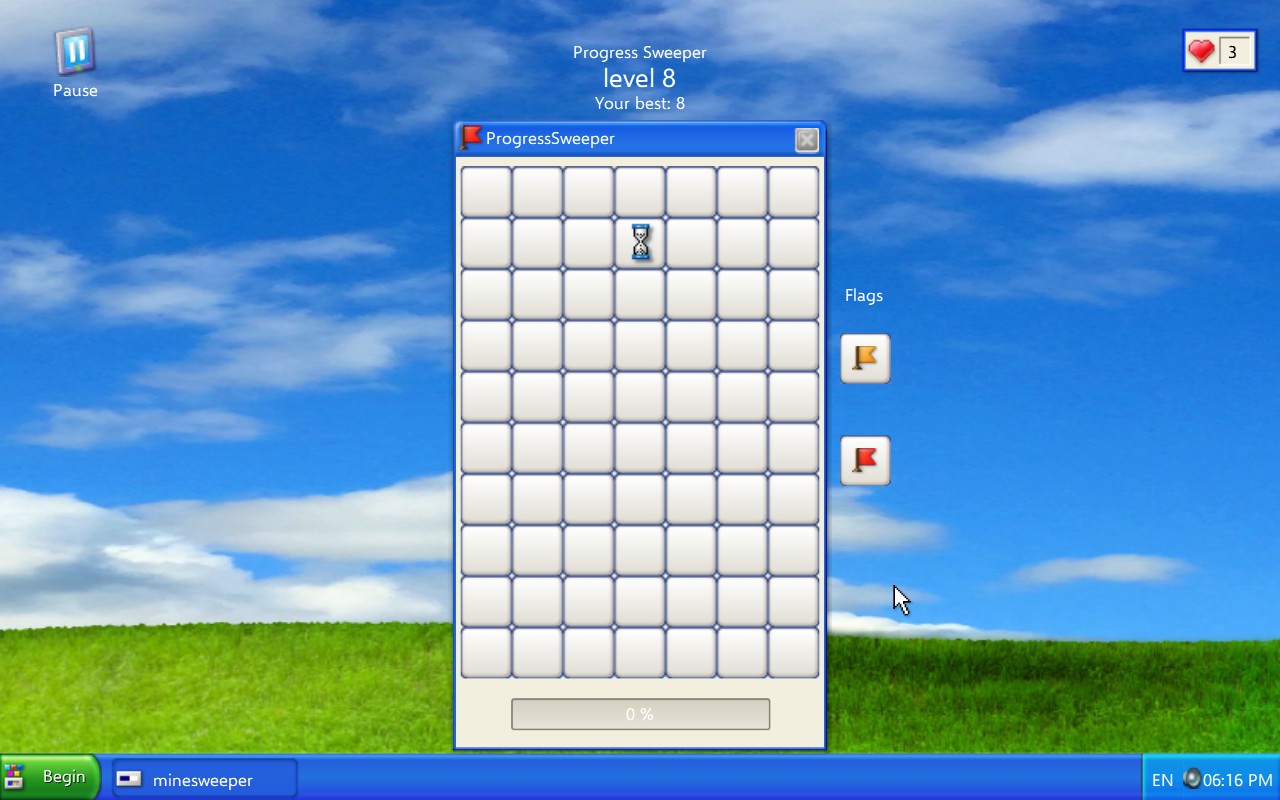
Progress Sweeper
Similar to minesweeper but with a twist. Instead of mines you have to avoid, there are tiles that are colored blue, orange and red. If you’re not that good at minesweeper, I suggest you focus on avoiding the reds and don’t worry about getting a perfection.
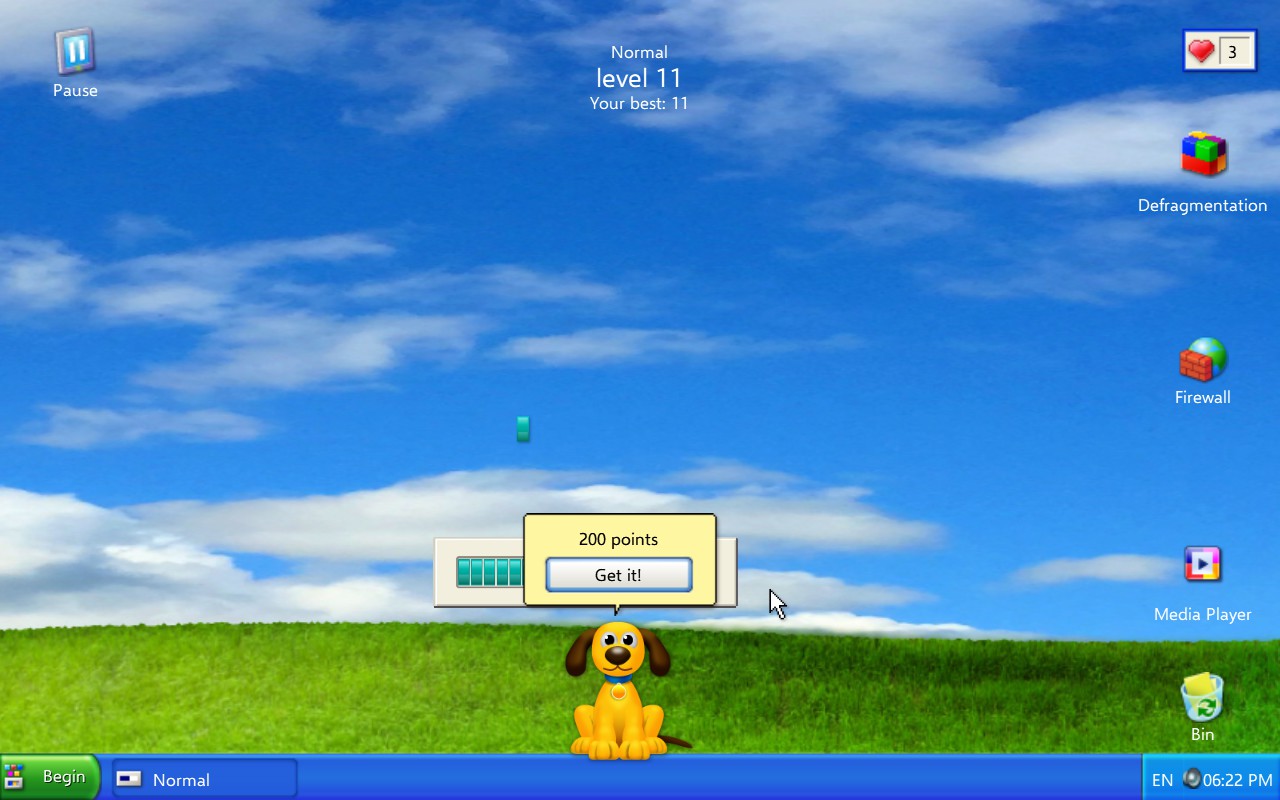
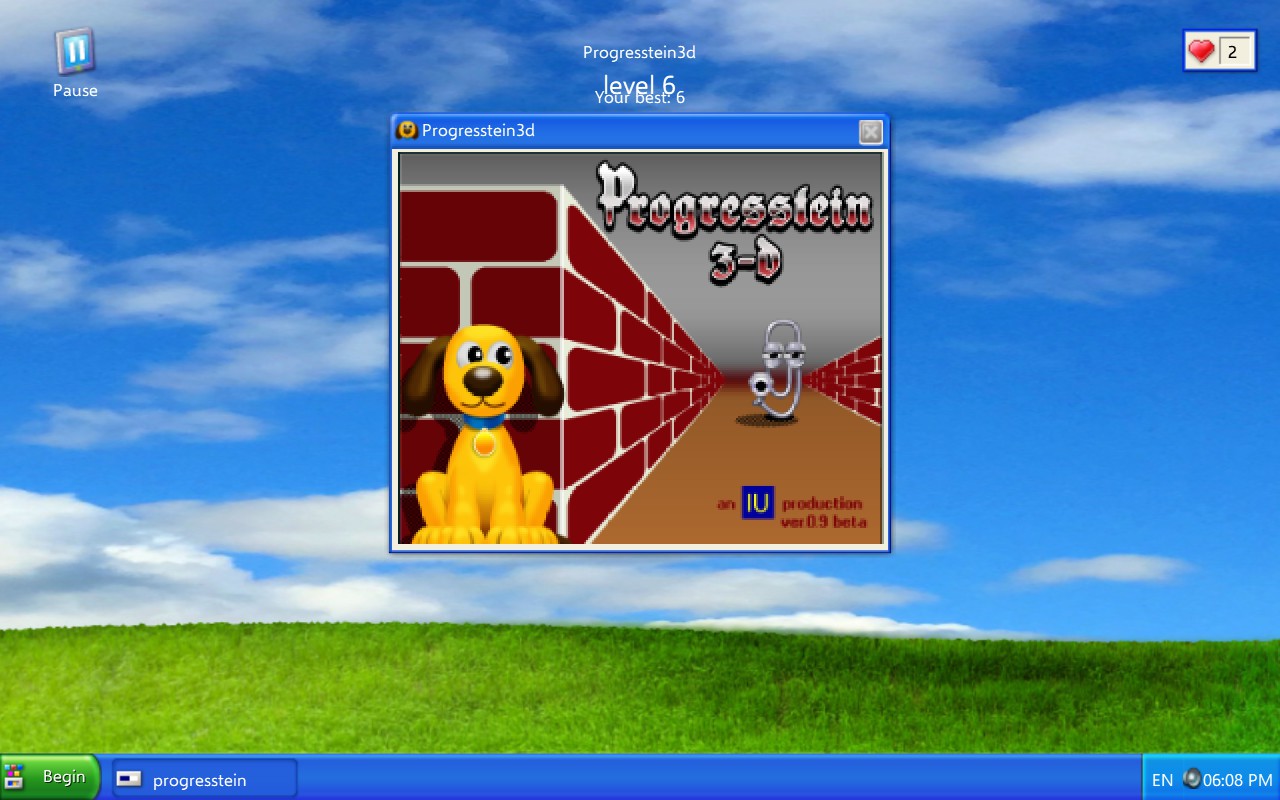
Progresstein3d
A play on Wolfenstein 3D, you drag the screen left and right avoiding obstacles and enemies. Space bar can be used to fire your weapon to take out mines, enemies and pop-ups that block your way.
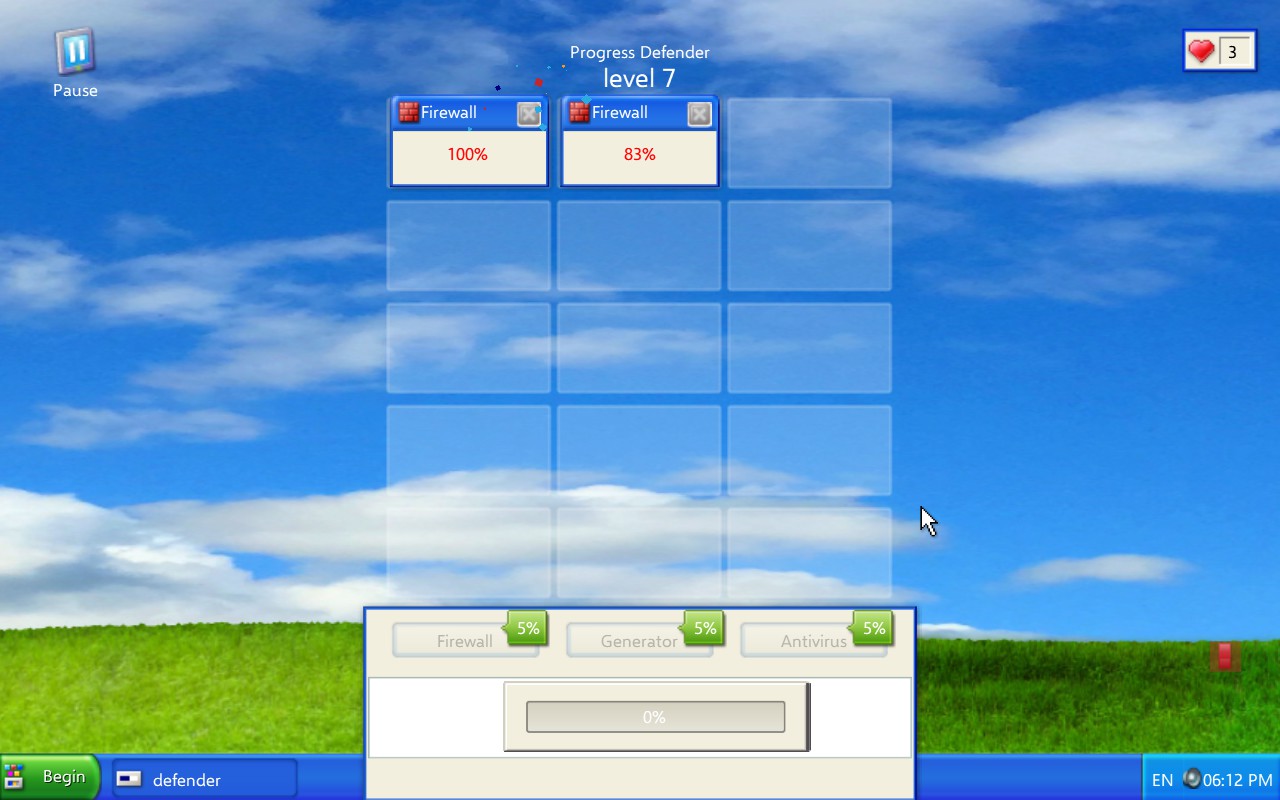
Progress Defender
In this mode you can use segments to purchase different items and add security. These include firewalls, antivirus and generators.
The first time you play these modes there will be a tutorial. Pay attention to them and you should have no problems.
3D Space
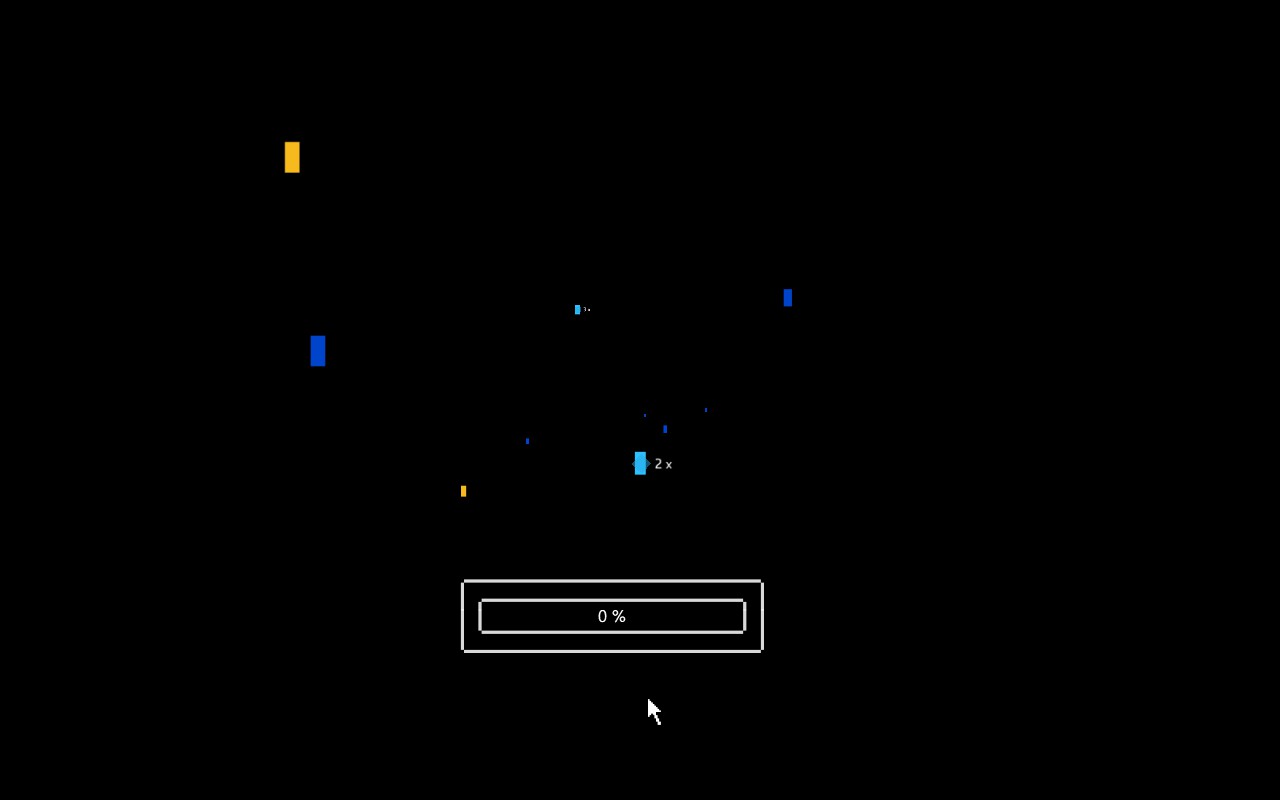
Matrix