here’s a more complete walkthrough that addresses places where you may get stuck. It also lists the locations of all 21 gems.
After the Intro
then come back in to get the Archives Key.
Gem Location: Nursery (Required)
Go west across the Entrance Hall to the 2F West Passage. Go into the Archives and look
through the shelves for the Code Memo. Make sure to read The Flame Egg.
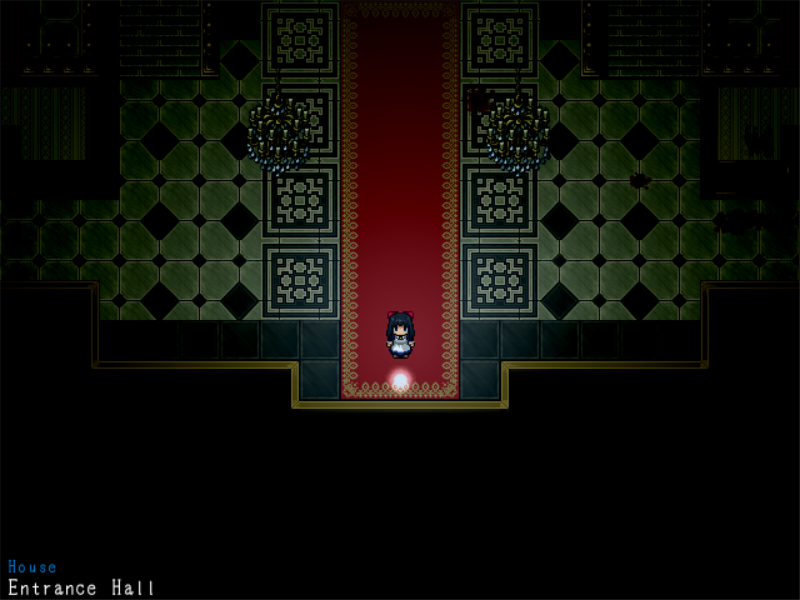
Gem Location: Entrance Hall – at the very bottom.

Use the note’s hints to figure out the code for the safe in the Bedroom [7482], then open it
for the Lamp and Mom’s Perfume.
In the Reception Room (accessed through left door in Entrance Hall), push the table over
to the top-left dresser and stand on it to get the Kukri Knife.
Go to the Bathroom (left of the Reception Room) and get the Cafeteria Key. Cut the spider
web in the Changing Room (left of the Archives) with the Kukri Knife and get the Empty Lighter.
[NOTED: Be careful with the two zombie. When you made it into the kitchen make sure
to save first before continue the game.]
Go to the cafeteria (through center door in the Entrance Hall).
Gem Location: Cafeteria – Open the curtain on left side.
Go to the Kitchen (right side in cafeteria). Get the Oil on the rightmost shelves.
Gem Location: Kitchen – Sink
With the Lamp from the safe, go into the door under the Kitchen rug. Send Snowball into the
hole in Outside Storehouse to get the Lighter Oil. Fill the Empty Lighter with it.
[NOTED: Save first before continue the game.]
Go into the door on the right of the Entrance Hall to reach the basement stairs. Burn the
monster with the Lighter and Oil.
B1F
Taxidermy Room to get the Wood Bucket and the Eyeball Bottle. Then go back to
the Laboratory check on Maria to get the Room Key.
[NOTE: You need to check on Maria after the cutscene in the Laboratory twice for
an item important to getting the true ending. Make sure to find out where to use it before
the ending.]
Proceed to loop around to the Storeroom. Get the Ladder there.
Return to 2F and go all the way right to the Attic. Use the Ladder to get up, then push the
movable pot off the edge to break it open and get the Mini Chainsaw.
Backtrack to the B1F Corridor (through the Storeroom) and use the chainsaw to break the
wooden barricade.
When you find the crying girl in the cell, make sure to (attempt to) show her the Eyeball
Bottle.
Go to the Reception Room on 1F. Check the painting and move it aside. In the Courtyard,
use the Wood Bucket at the water and carry it to put out the fire in the Reception Room.
Drop the Eyeball Bottle down the hole in the fireplace.
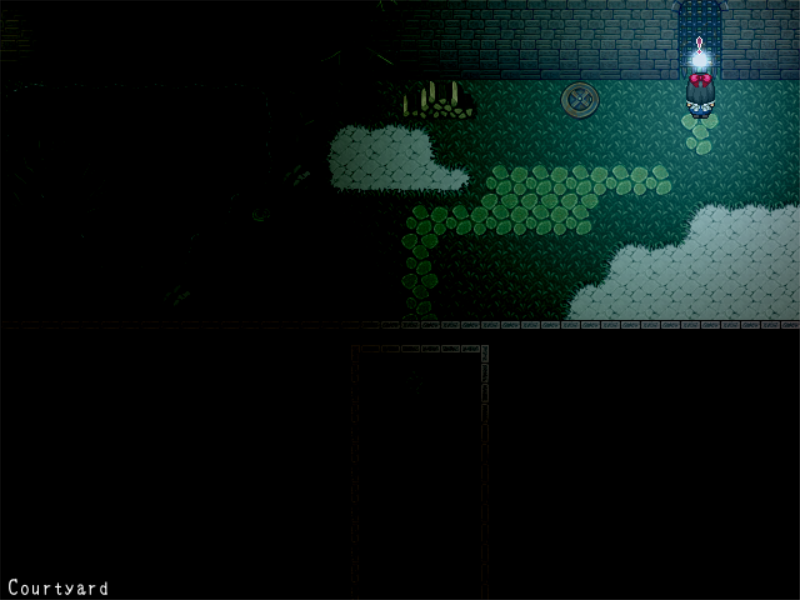
Gem Location: Courtyard

Return to the cell and let the girl come out, then pull the lever inside the cell to open the door.
After finding that the corridor loops, go left and talk to the woman to get her to follow you.
Once she’s gone, the corridor will no longer loop.
B2F
Go to the Toilet (bottom-right room from B2F Passage). Use the Forceps to get the Rusty Key out of the toilet and wash it in the bucket. Use it to open the door in B2F Passage.
On your second visit to the Cafeteria, cut down the hunk of ham with the chainsaw. Use the Raw Ham on the stove to fry it and give it to the boy to get a Napkin.
In the Trick Room, make the two sides match by:
1) Flipping the painting on the right turnways.
2) Taking the spear from the nun on the right and giving it to the armor.
3) Pushing the armor on the right left a space.
4) Taking half the flowers (AKA the Bouquet) from the left vase and putting them in the right.
5) Decapitating the girl in the upper room with the chainsaw, then placing the Doll Head on the
headless doll.
6) Lastly, imitate the peeking girl doll by standing on the right side of the wall and checking it.
In the first diary room, simply push the baby toward the mother.
In the second diary room, pick up the two animals, putting each in the dresser, and push the
mother out the door.
In the third diary room, pick up the Kitchen Knife from the counter, give it to the boy, and wipe the
mother’s face with the Napkin.
In the fourth diary room, decapitate the girl with the chainsaw.
B3F
Go into the room on the right, smash the barrels, and push the shelf left to find a crack in the wall. Chainsaw it to get back Mom’s Perfume. Apply it to get past the rats.
In the Guest Rooms, reopen the fourth door from the left after it closes. Run away from the monster into that room. Sleep on the bed to make it move. Bait the monster into the fifth room and pull the pot back as you retreat.
Lastly, run out and close the door to the fifth room (try to walk through and it’ll do it automatically) to trap the monster.
Try to go through the door in B3F Hall, then take the Creepy Doll. Go back to B3F Passage to find a new path.
Tunnels
When you reach the patrolling doll, go up the ladder when it’s looking away. Pull the plank and move sandbags onto it to weigh it down. Chainsaw the chandelier when the doll is underneath.
Get the Hammer in the area with the mad dog. Go to the Cultivation Room and solve the tile puzzle to open the door. Use the Hammer to smash the cracked pot to get the Earplugs.
Don’t uproot the mandrake in the Cultivation Room, but do take it with you. In the Dead End, place it on the far-right edge of the cliff to kill (?) the dog and not you. Use the Scalpel on the dog to get the Incinerator Key.
Go back to the Incinerator Room, open the door, and throw the Creepy Doll into the fires of Mt. Drevis. Return to the door it was guarding on B3F.
Endgame
Choosing to “Save father” leads to the potential true ending.
If you haven’t read Maria’s backstory in her room, you’re forced onto another bad ending.
If you have, you get the option to help her. Check on her after she’s attacked, get the Bandage from the shelves, and use it on her.
Collecting all 21 gems gets you an extra scene after the true ending, after which the Gallery and If story are unlocked.

