
Are you completely new to KSP? Do you struggle with making a rocket that can even reach orbit? This guide will help you go from knowing nothing to landing your first Kerbals on the Mun!
Creating a Rocket
If you can’t see the Kerbal X in your craft list when you click Load in the Vehicle Assembly Building (VAB) ensure “Allow Stock Craft” is enabled in the save’s Difficulty Settings, which is accessed by pausing the game on the Space Center view, selecting Settings, then Difficulty Options.
Select the Kerbal X in the craft list, and load it into the VAB.
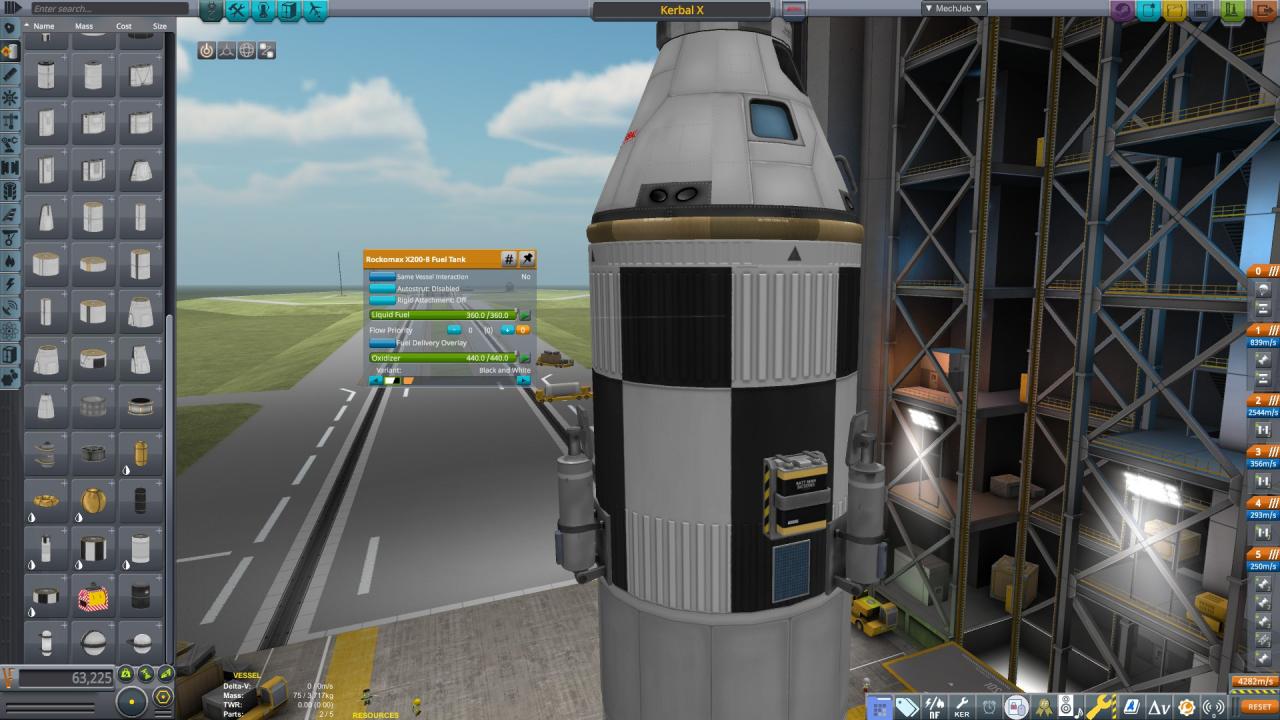
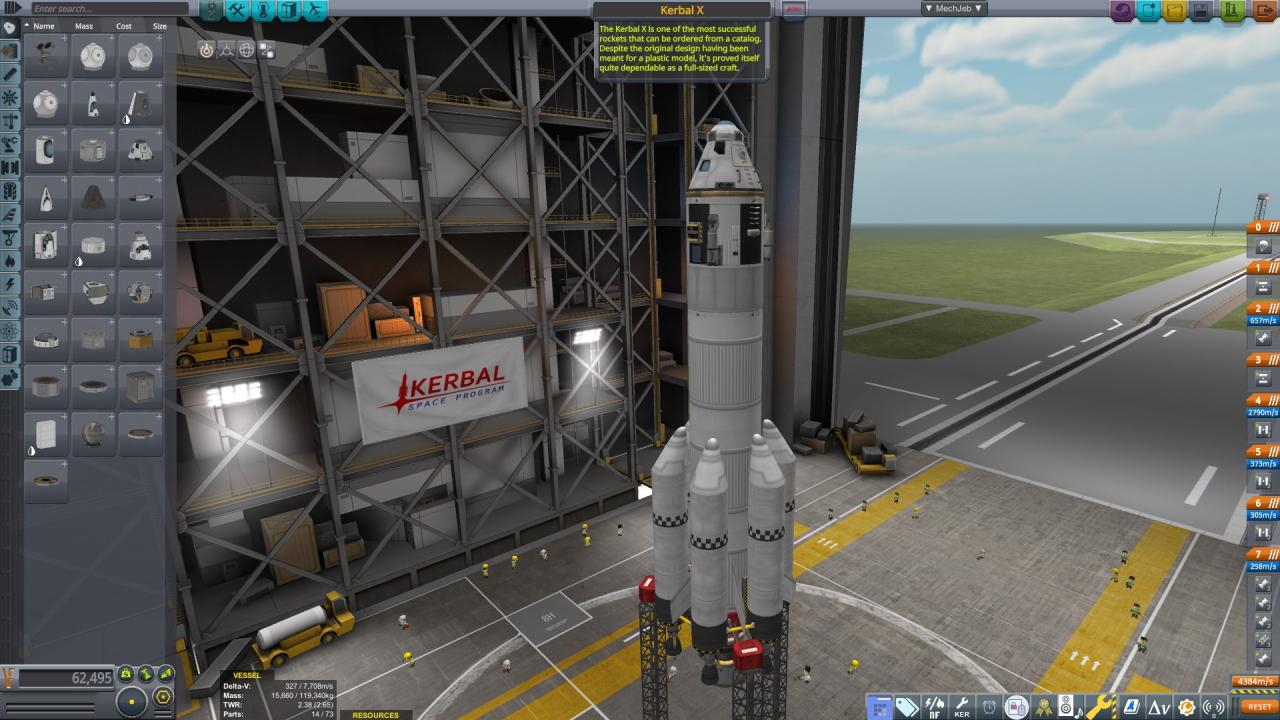 The Kerbal X consists of a lower stage with a Mainsail engine and three sets of two boosters that provide extra thrust and fuel for the main stage. The upper stage consists of a Poodle engine with a Rockomax 16 fuel tank. This tank alone will not be enough to reach the Mun, so add a Rockomax 8 fuel tank right above it by setting the 16 tank off to the side by clicking to detach it, then clicking again off to the side to drop it. Then go to the Fuel Tanks section, find the Rockomax X200-8 fuel tank near the bottom, attach it to the rocket, then add back the rest of the craft.
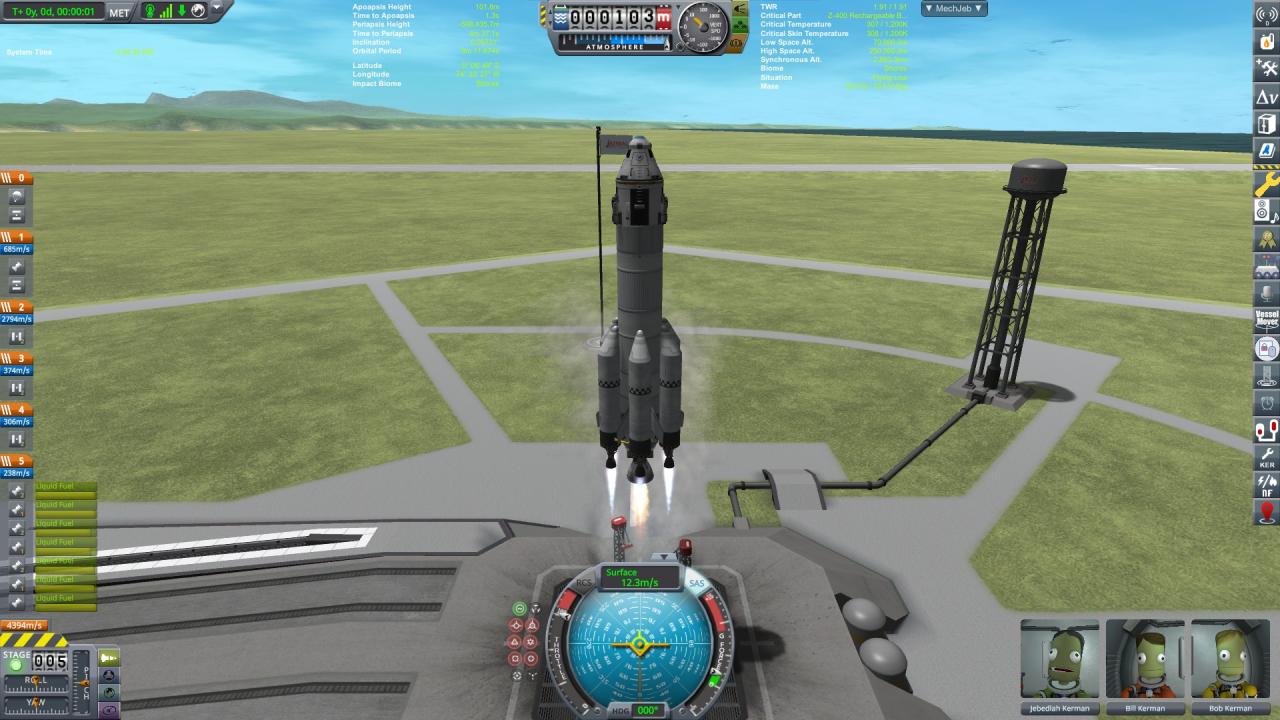
 The rocket is now ready to launch, so click Launch in the top right.
Ascending to Orbit
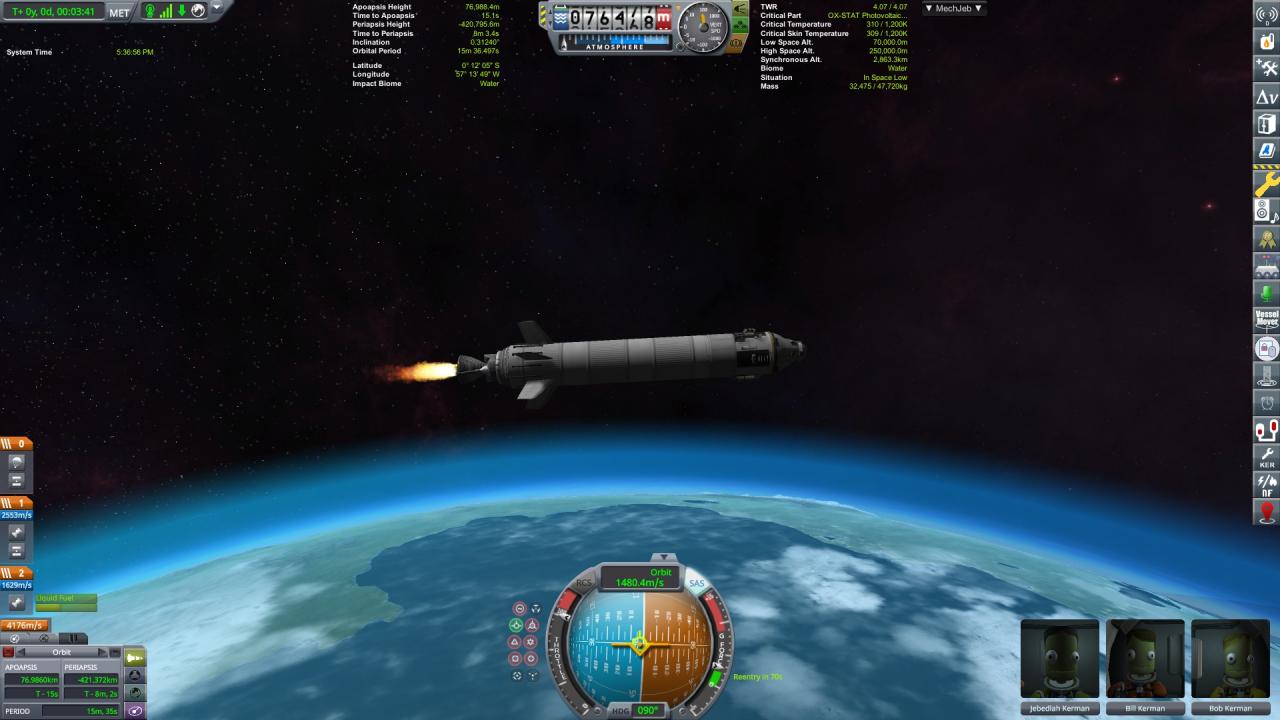
 As the side boosters run out of fuel, press Space to discard them. As you ascend, stay upright for the first kilometer, then slowly pitch over by pressing D. When you reach 10 kilometers of altitude, you should be at almost 45 degrees over on the navball at the bottom of the screen, represented by a horizontal line going around the ball. This should happen around the time the final side boosters run out of fuel.
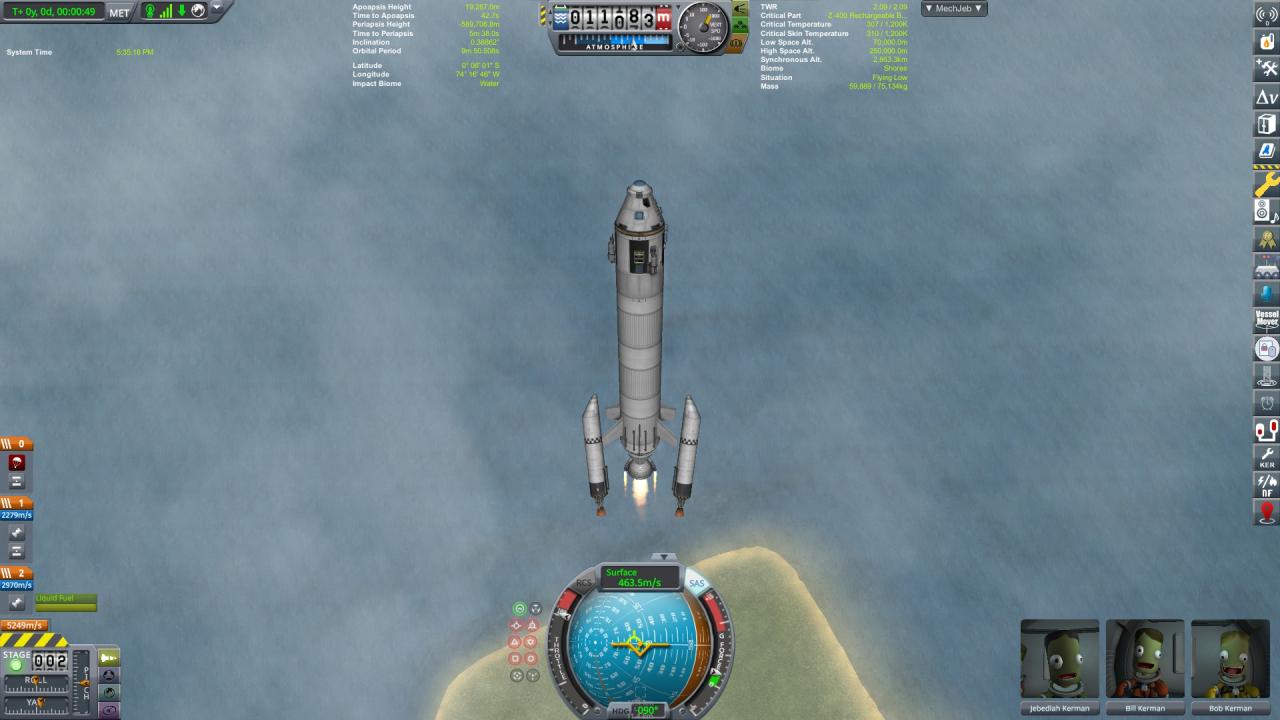 Continue to pitch over until 30 degrees, then hold that position until your apoapsis, which is the highest point of your orbit, is above 70 kilometers, which is where the atmosphere ends. When that happens, press X to stop the engines.
Time warp until your craft is 15 seconds away from apoapsis, and press Z to burn the engines, then cut the engines when your periapsis is 70 kilometers or more. The comma key decreases timewarp, the period key increased timewarp, and the slash key immediately stops all timewarp.
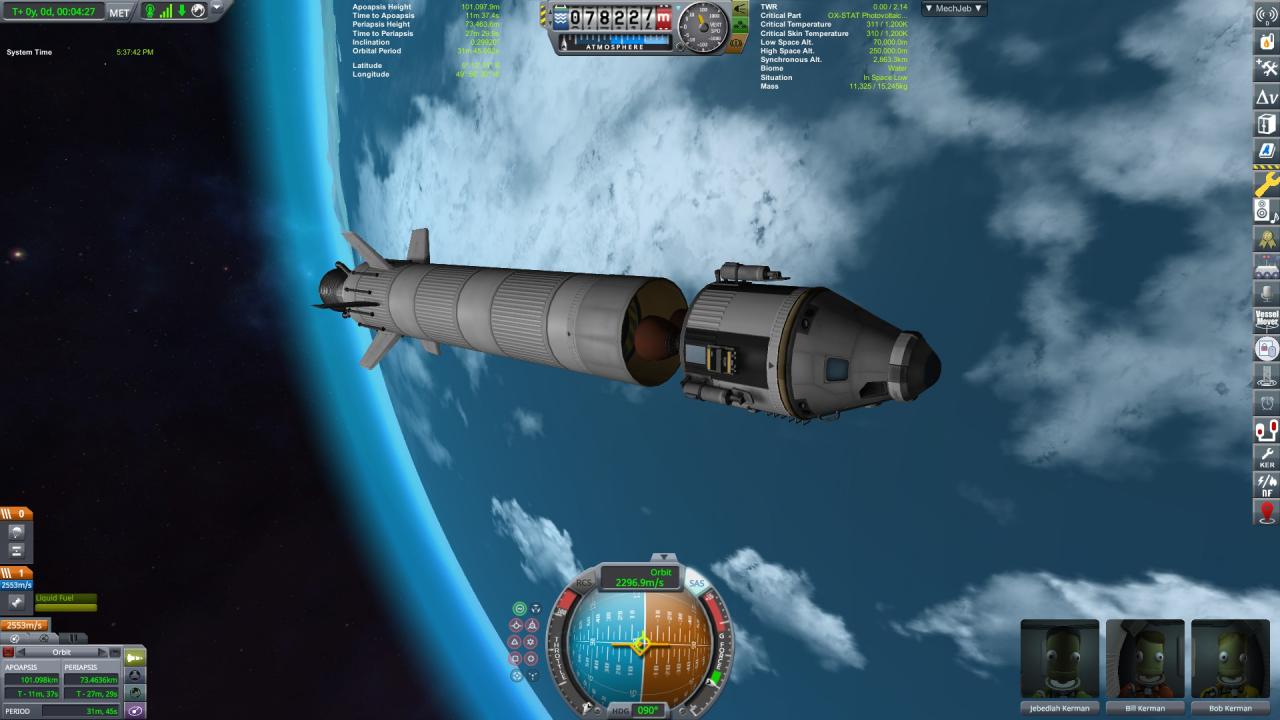
 Your craft should now be in a stable orbit. Press Space to decouple the lower stage, and Space again to ready the upper stage engine. If you didn’t add the extra fuel tank, don’t decouple the lower stage yet.
Going to the Mun
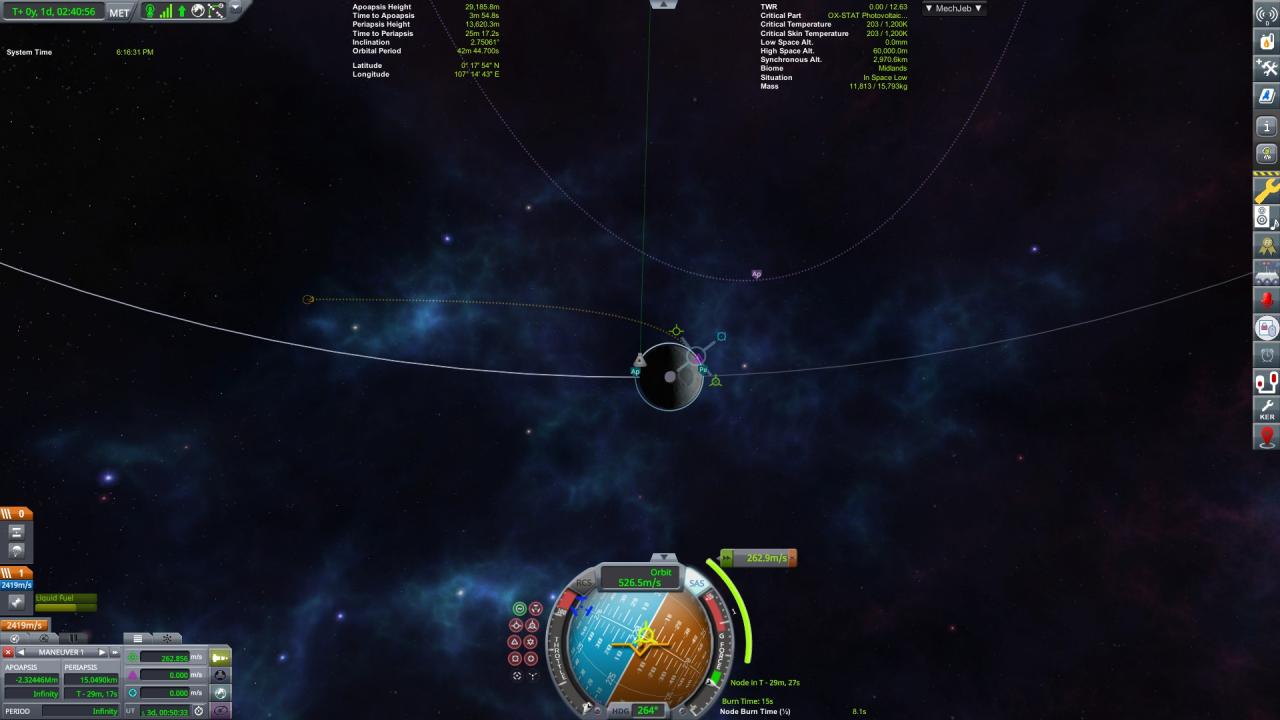
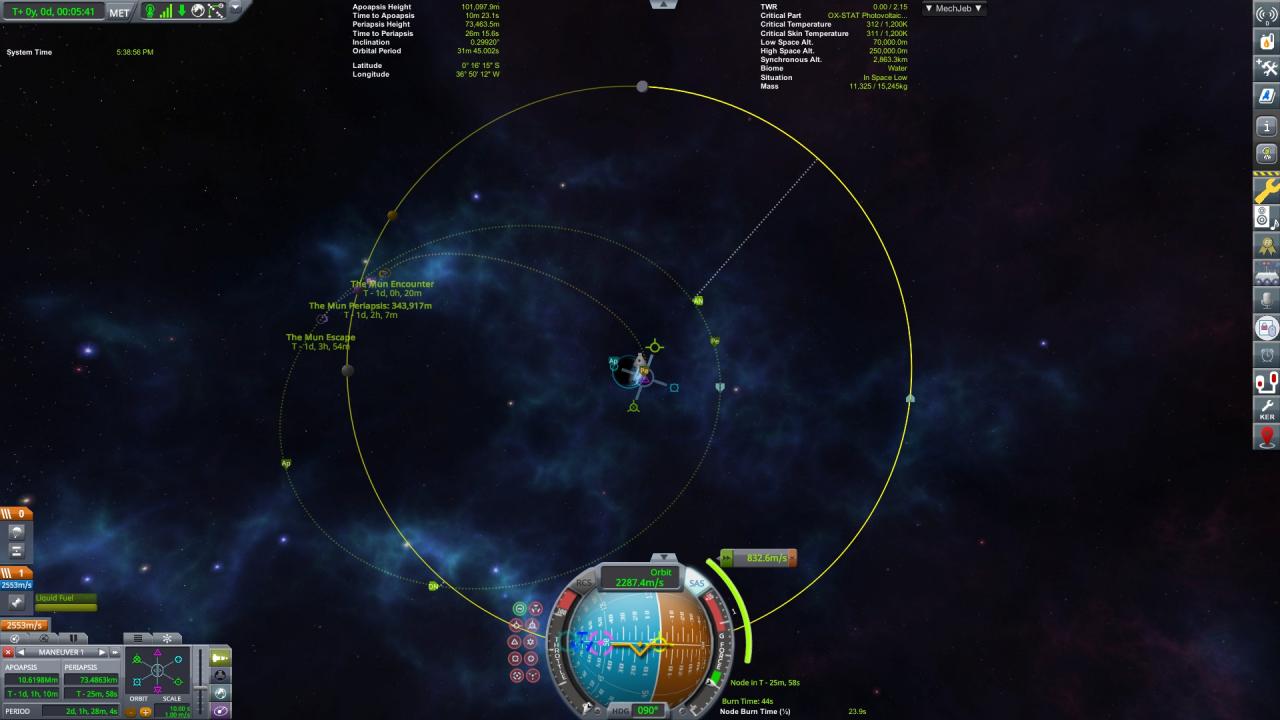 Once the maneuver is set up, click the Maneuver icon on the SAS directions next to the navball. The maneuver button is in the top row, next to normal stability assist. Click the green arrow on the maneuver’s Delta V to warp close to the maneuver. Now would be a good time to quicksave in case things go wrong by pressing F5.
The maneuver will say it will take a certain amount of time to execute, for example 40 seconds. To ensure an accurate maneuver, start burning when the countdown reaches 20 seconds. Mods such as Kerbal Engineer Redux
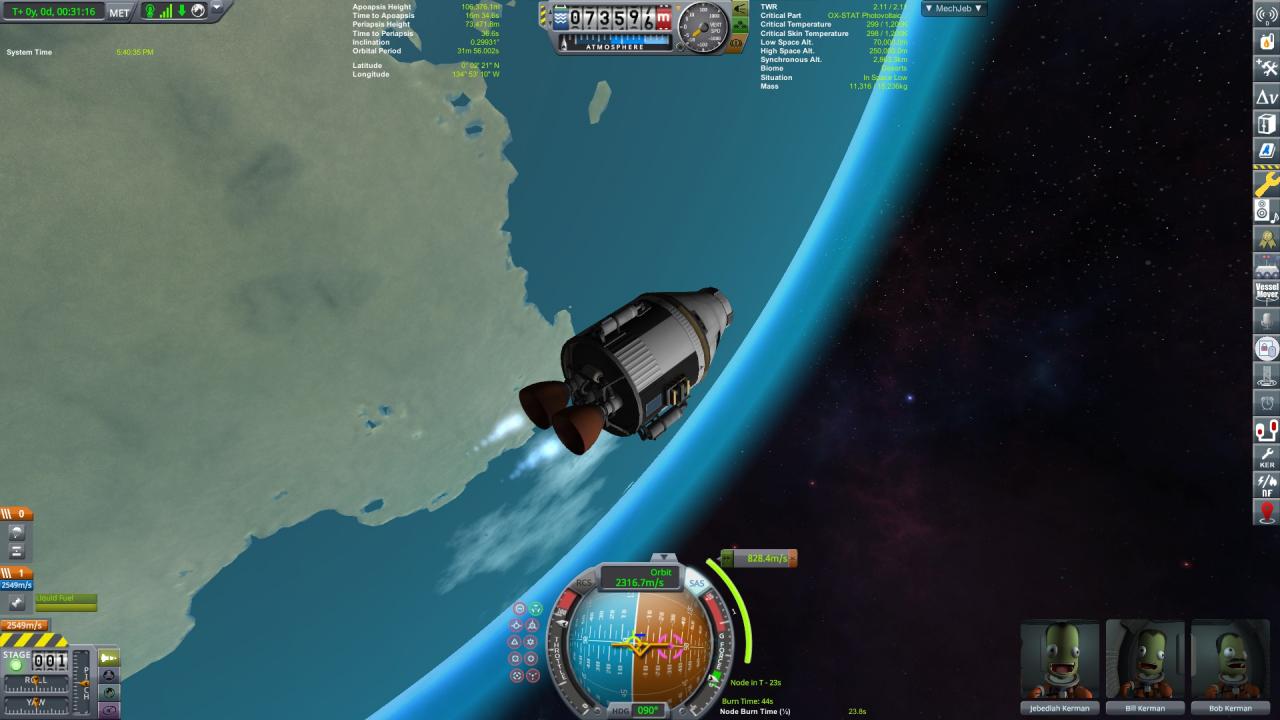 Continue to burn until the Delta V countdown is close to 0 m/s, then cut the engine throttle and click the check mark where the X once was on the dV. You can throttle up and down slowly with Shift and Ctrl for more precise control. On the map, your apoapsis will rise as the engine burns, slowly matching the predicted path of the maneuver node. Your trajectory should now pass by the Mun.
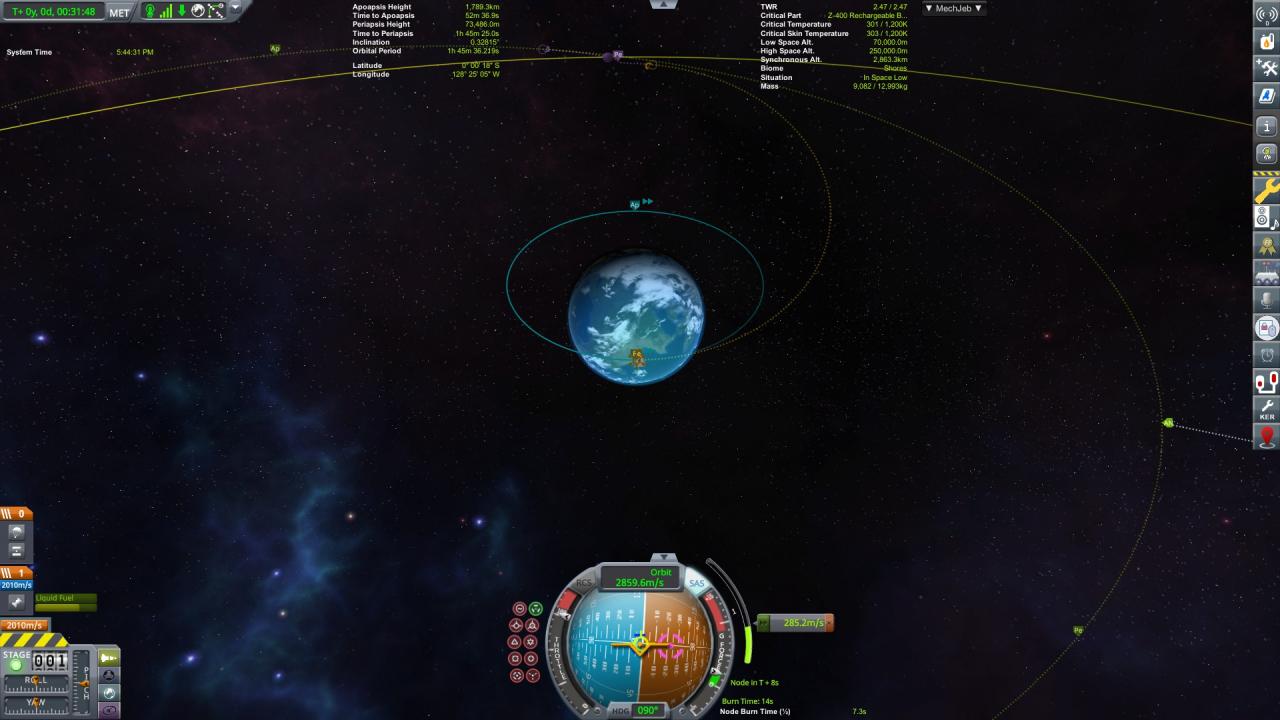
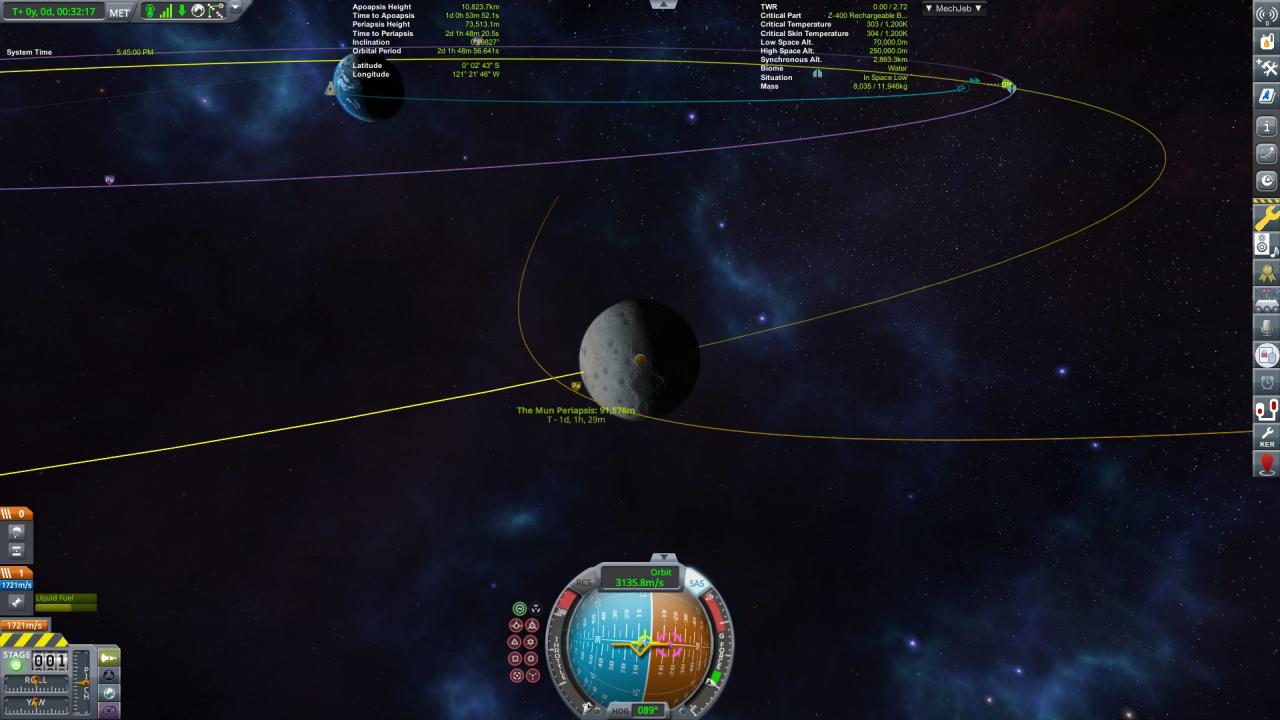 Time warp until you are in the Mun’s Sphere of Influence (SOI). The orange predicted orbit past the Mun should now be blue. Create another maneuver node, this one on your orbit’s periapsis. Scroll on retrograde this time, opposite of prograde until your predicted orbit is a circle around the Mun.
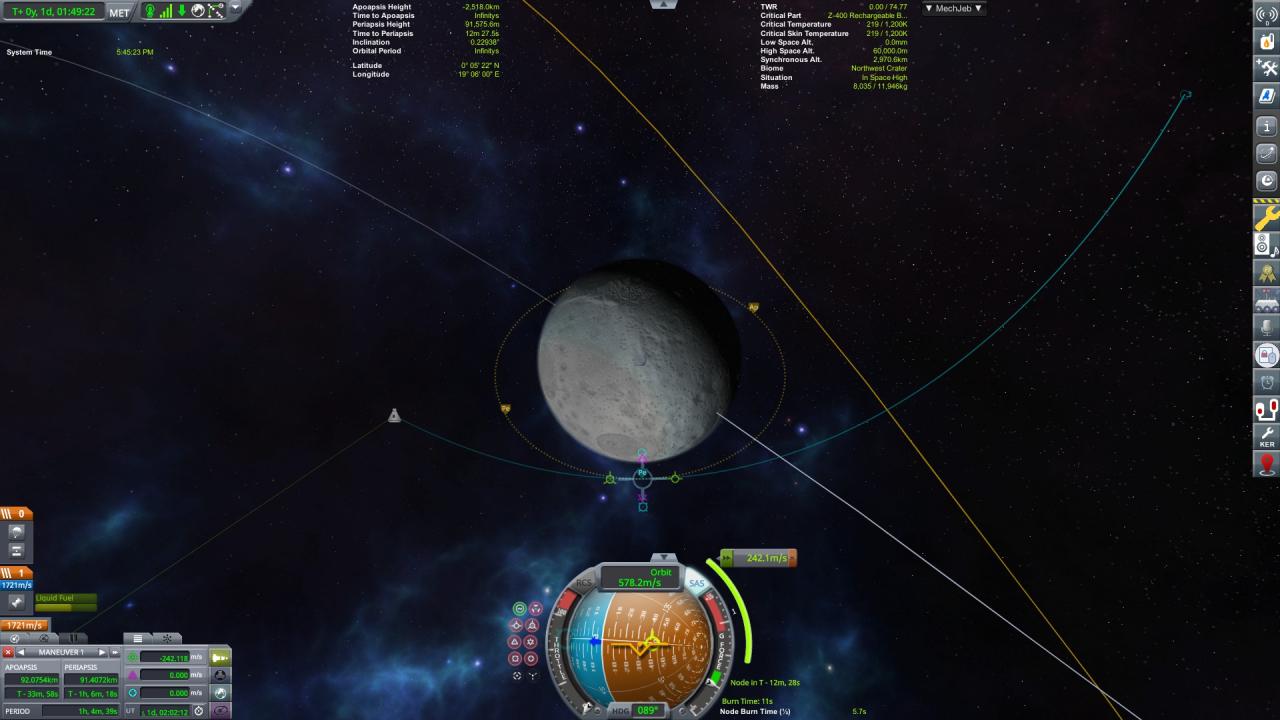 Execute this maneuver the same way as the previous one.
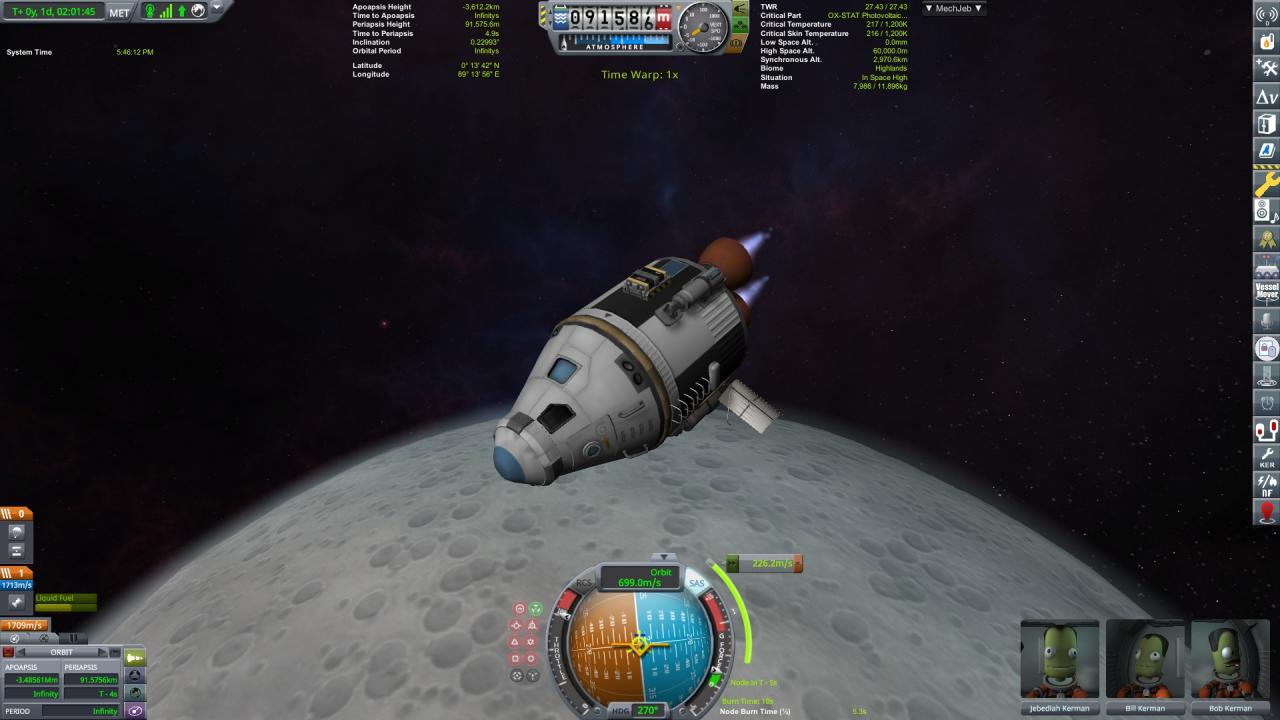 Now that you are in Munar orbit, you will need to land on the Mun. Create a maneuver anywhere on your orbit, and add some retrograde velocity so the predicted trajectory goes into the ground, but not too steeply. Additionally, make sure the predicted landing spot is on the bright side of the Mun, because landing in the dark is much harder. If you are aiming for a precise landing spot, you can add some normal or antinormal velocity (the purple triangles).
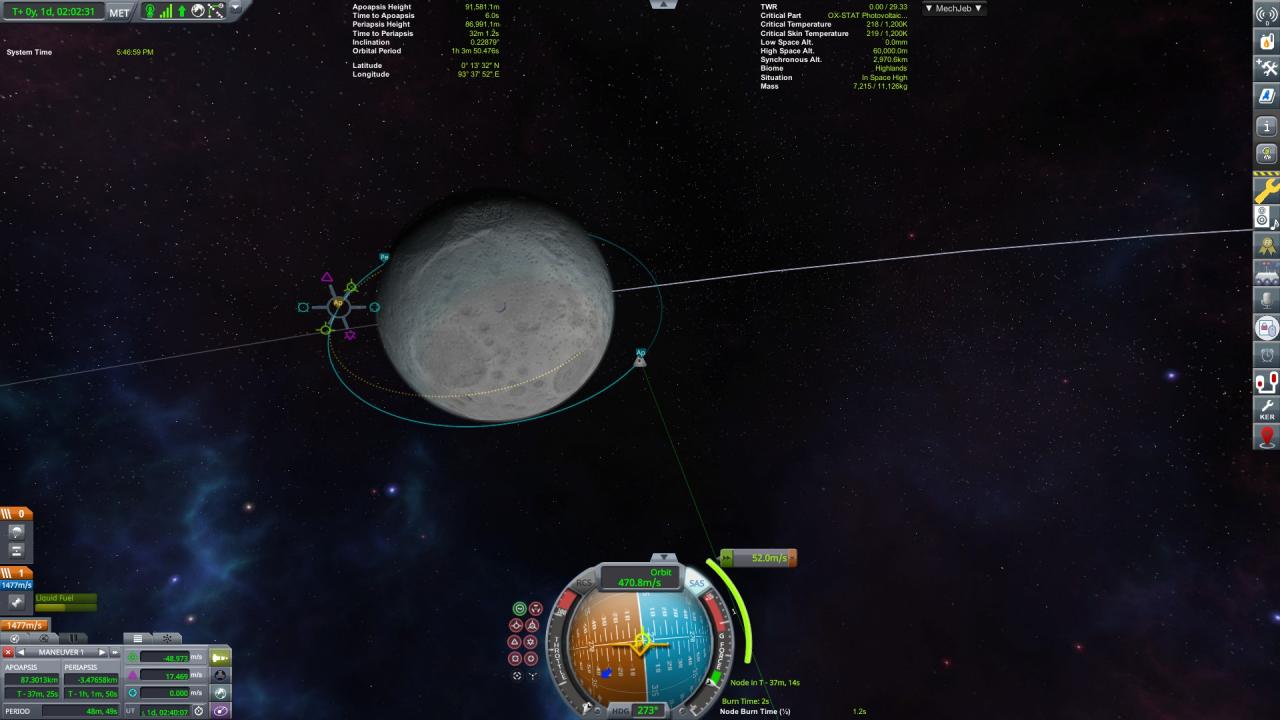
Landing and Returning
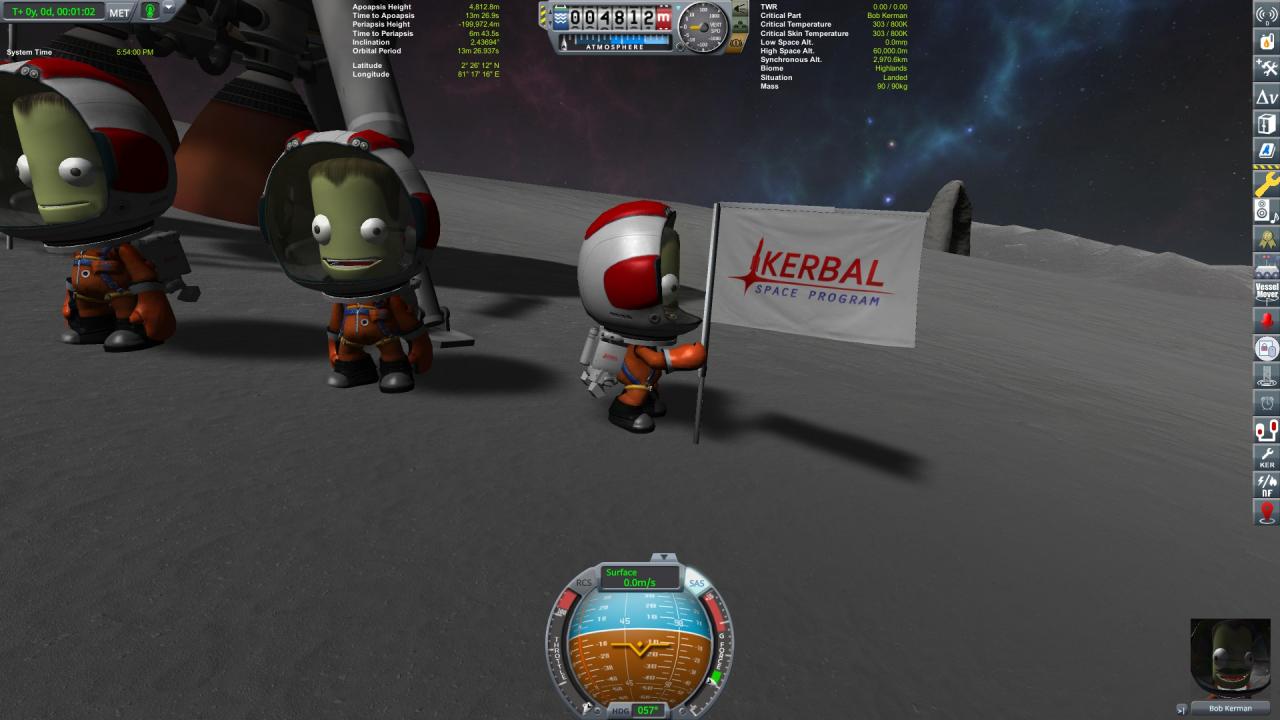
If your craft is in one piece, congratulations! You have landed on the Mun!
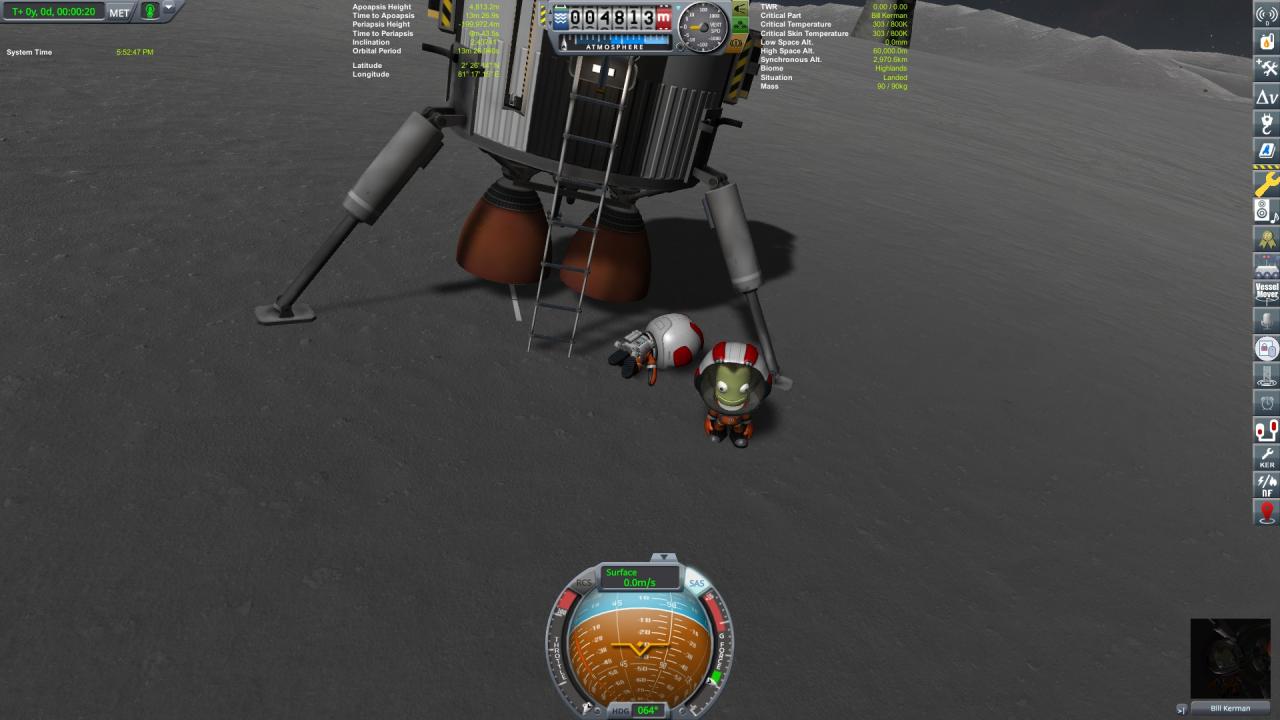
From here, you can explore the Mun’s surface by going on EVA, or extra-vehicular activity. Hover over a kerbal’s portrait in the bottom right and click EVA. Use [] to switch between active craft, including kerbals, if you want to get the rest of your crew out. You can plant a flag by right-clicking on a kerbal while controlling it, and selecting Plant Flag. You can also fly around by pressing R to activate the kerbal’s jetpack. When you’re done, jump or fly up to the command pod’s hatch, grab the ladder with F, and press B to re-enter the craft.
Ascending from the Mun is much easier than ascending from Kerbin. The Mun is much smaller and has no atmosphere in the way. Immediately after taking off, pitch over to 30 degrees and make sure you’re facing east, or 90 degrees longitude on the navball. Keep going until your apoapsis is between 20 and 50km, and cut throttle. Coast until around 10 seconds to apoapsis, and circularize using a maneuver.
If you have at least 300 m/s or more DeltaV left, you can return to Kerbin.
You’ll need to make another maneuver, so open the map. Aim the camera straight down and align Kerbin at the top of your screen. On your orbit, make the maneuver around 45 degrees right of the point closest to Kerbin, and drag prograde until your Kerbin periapsis is between 50 and 25km. Execute the maneuver like the previous ones.
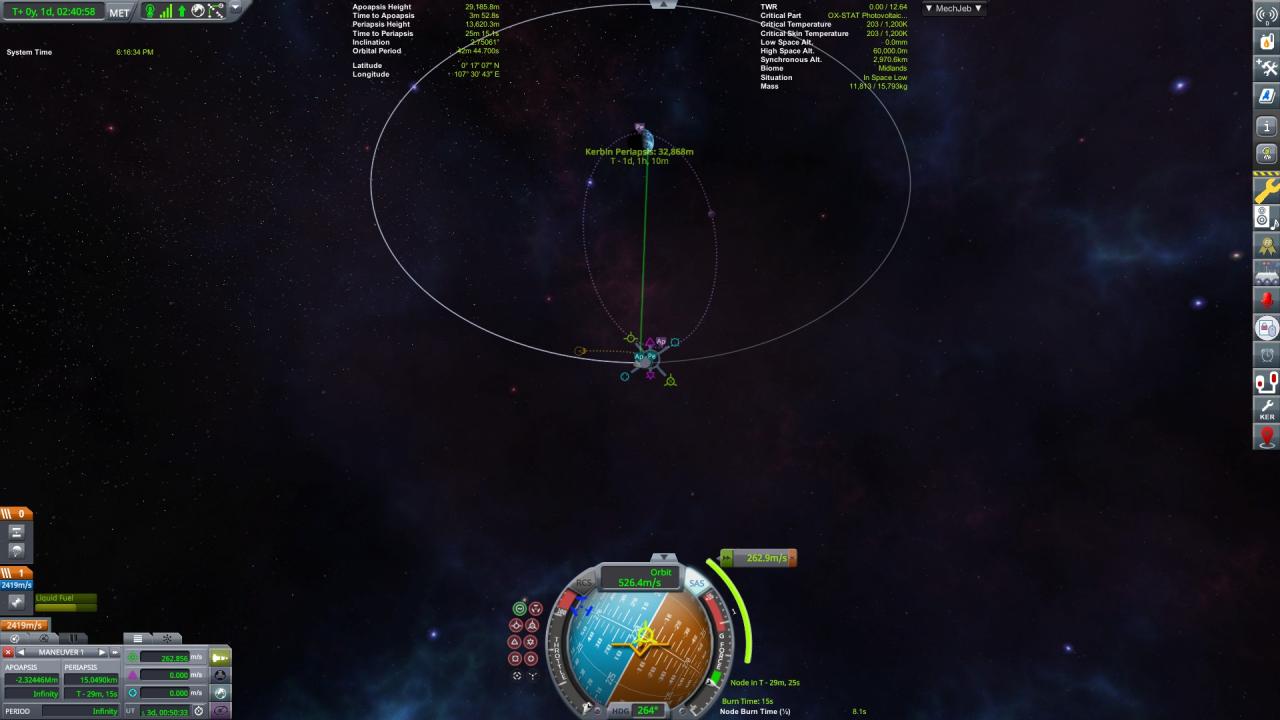
Your craft is now heading towards Kerbin’s atmosphere, which will slow it down enough to land. Time warp until right before you hit the atmosphere, and decouple the last stage, then stage again to ready the parachute. Aim retrograde and wait as your command pod descends to the surface. Once you’re on the surface, hover over the top of the altimeter and click Recover.
Rescue Mission
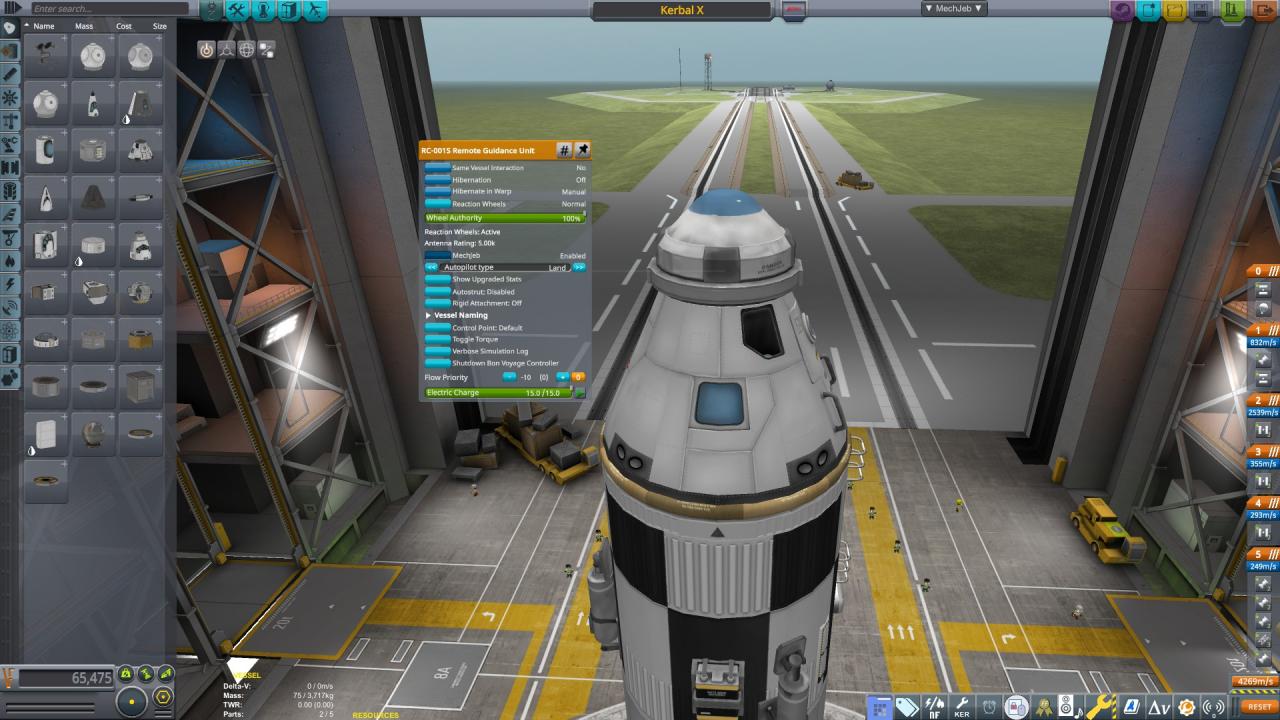 Enter the VAB and load the Kerbal X from before. It’s going to need some slight modifications to be able to bring back all 3 kerbals. Temporarily place the parachute off to the side and grab an RC-001S Remote Guidance Unit from the Pods tab, and place it on top of your rocket. Add back the parachute, and go into the Crew tab. Ensure no kerbals are in the command pod, then launch.
The launch is exactly the same as the previous mission, so go back to that part of the guide for instructions. Once in orbit, transfer to the Mun the same as before, but ensure your Mun periapsis is between 300 and 600km. Execute the maneuver, then circularize at Mun periapsis, same as before.
There should be two craft orbiting the Mun, the current one in a higher orbit and the stranded one in a lower orbit. Set the lower one as a target, similar to targeting the Mun. Add a maneuver anywhere on the upper orbit, and drag retrograde until it intersects the lower orbit. There should be a pair or orange arrows on the lower orbit and the maneuver’s orbit. Drag the center of the node around your orbit until the two arrows are aligned.
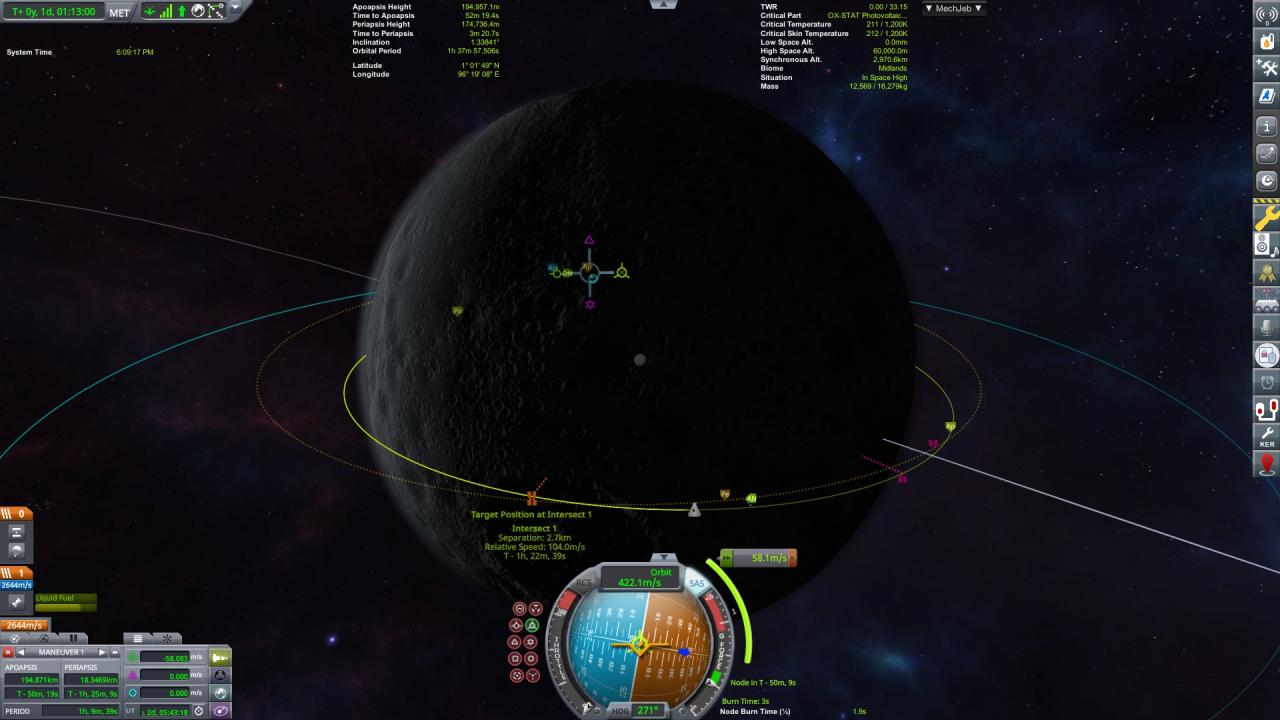
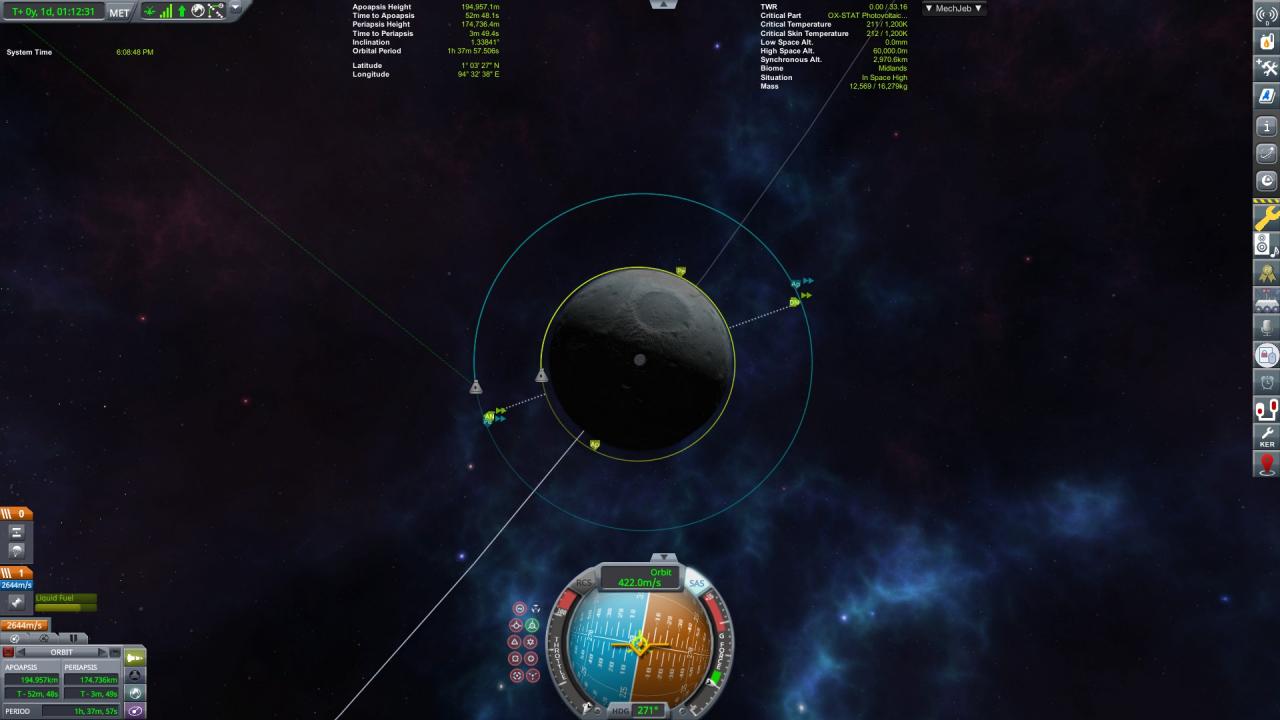
Right click the arrows to show the intersect distance, and drag normal/antinormal until the distance is within 2km. Execute the maneuver and quicksave, then timewarp until shortly before the intercept. Once you reach the closest approach arrow and you can see your craft in the flight view, point retrograde and fire the engines until the speed on the navball is close to 0m/s.
Now, switch to the other vessel and EVA the first kerbal. Use the jetpack to slowly fly over to the rescue spacecraft, and board. W, A, S, and D move horizontally, Shift moves up, and Ctrl moves down with the EVA jetpack. Repeat for the other two kerbals. Your kerbals are now on a vessel that has more fuel, and therefore saved.
Thanks to shulk for his great guide, all credit to his effort. you can also read the original guide from Steam Community. enjoy the game.
Related Posts:
- Kerbal Space Program: All Planets & Moons Guide
- Kerbal Space Program: Asteroids Guide
- Kerbal Space Program: Secret Launch Points
- Kerbal Space Program: How to Add Custom Flags
- Kerbal Space Program: How to Remove the Launcher