In this guide I will be giving you an explanation as to why you are crashing at your menu screen, as well as how you can fix this.
So what do we know?
How did we do it? Well at first we thougtht it may be a hardware issue as the crash seems to be very common upon Nvidia GTX 1050 users and upwards, as well as those using above 4-core processors. Sadly, this is not a theory that we could not prove. It was more something that an assumption.
Next we did some digging inside of the games files and was able to find the crash-logs. I opened this in Visual Studio and was met with this screen!
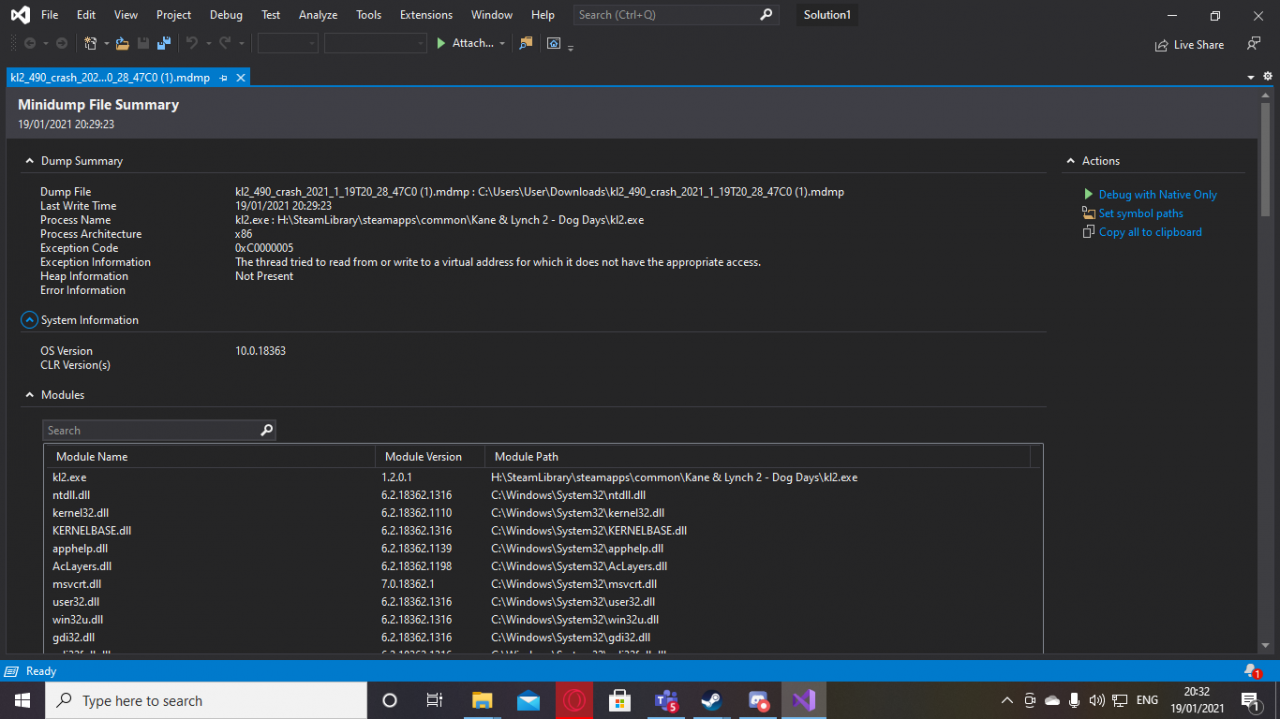
This screen made us believe that the game did not have the correct permissions, but we were only scratching the surface! We put the game into comparability mode with Windows Xp Service Pack 2 but sadly we still did not get past the crash.
We were getting frustrated with this. Whatever we done just didn’t work, so we decided to think simple. Back when he first got the game Lxt0n was able to unplug his Ethernet cable and plug it back in to get past the menu crash. Additionally, starting the game in offline mode also worked perfectly fine but did not give him access to the multiplayer. So we knew that it was an internet issue… But what permission would the game want in relation to an internet connection? That was the question we were asking ourselves until Lxt0n was able to make it onto a menu I’d never seen before!

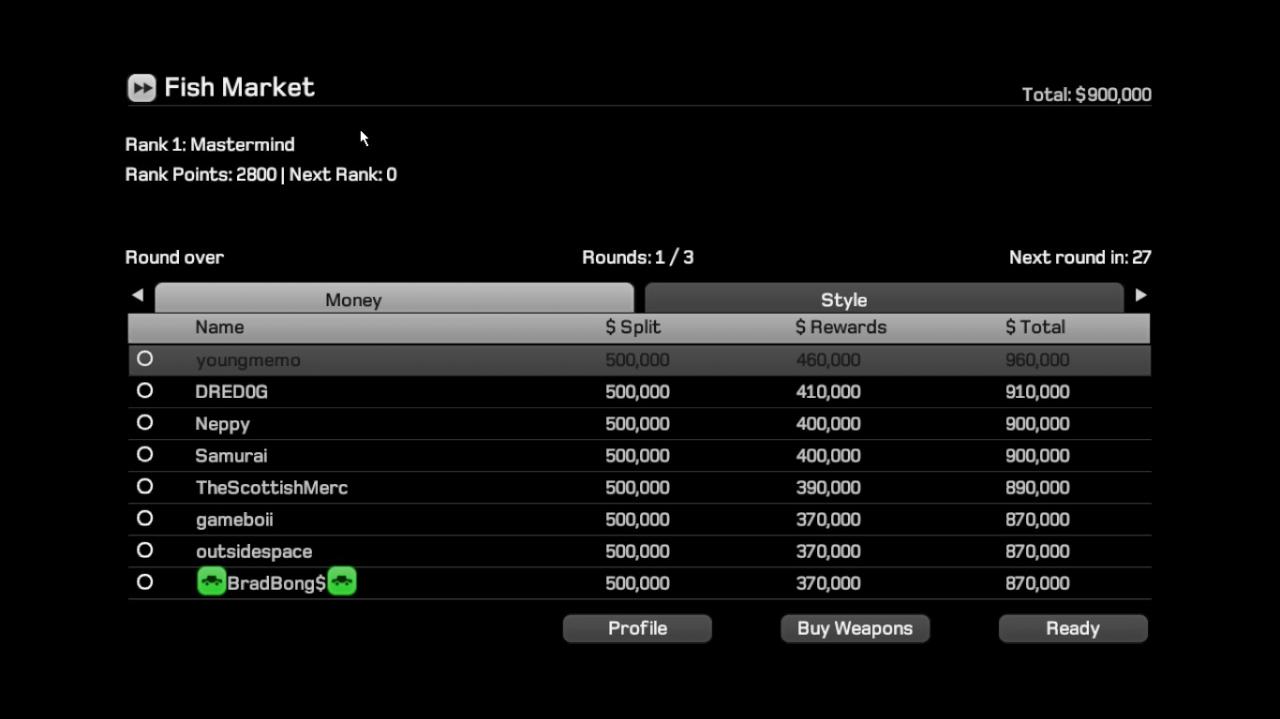
It was the regular menu screen, exactly like this one! But this time it said that it did not have the correct permissions due to a firewall restriction. The case had a lead once more!
Quickly, Lxt0n rushed to his firewall settings and disabled essentially everything temporarily in a hopeful attempt to run the game! The home screen music came on, the buffering could be seen, he got to the home menu and moved his mouse towards the multiplayer button…..Only for it to crash once more. Back to the drawing board it was. The entire situation made little to no sense, why would it work in offline mode, or when the cable came out. Why would the game STILL not work despite having the firewall disabled…Why?
And then it hit me…THE NETWORK PROVIDERS HUB HAS A BUILT IN FIREWALL
Suddenly the answer was clear, it’s not the firewall on the PC it’s the firewall on the Netwrok, that’s why when the ethernet cable is unplugged it’ll work, that is why it works in offline mode!
And with that, we had cracked it…
When Dog Days launches it has 3 values
Null (0), 1 and 2
When the game launches it searches for the permissions required when in online mode (so the firewall stuff mentioned in the last page). If the game finds this then it’ll say ‘Permissions found, value =1’ and it will then move forward with the game as normal.
However, if the permissions are not found and the game is locked out from progressing then it’ll say ‘Permissions not available, value=2’ This value should in theory take you to the screen mentioned in the last page which explains that it cannot move forward due to firewall restrictions. But instead of displaying this screen it instead crashes (most likely a coding problem).
Lastly, if the game has no directory or output to search for these permissions then it’ll simply say ‘Permissions not required/found, value=null’ And from there the game will then continue forward as normal even if you then plug in your Ethernet cable again or re-enable your internet connection.
Why?
Because the game only searches for those permissions at the start of the game and no other point. It wont search for them when your going into a multiplayer game, or when loading up a level in story mode. Why? Well I can’t tell you exactly. But this has been an issue that has plagued the game for many years and I’m glad that it has finally been cracked.
So the problem at hand is your Wireless Hubs firewall restrictions stored within your IP address. How can this be fixed? That’s on the next page! 🙂
Internet Quickie: To do this fix with a wireless connection you will need to open task manager. To do this trick with an Ethernet connection, you just need to be able to reach your Ethernet cable in your PC. This fix will help bypass the firewall detection upon start up as mentioned in the previous page.
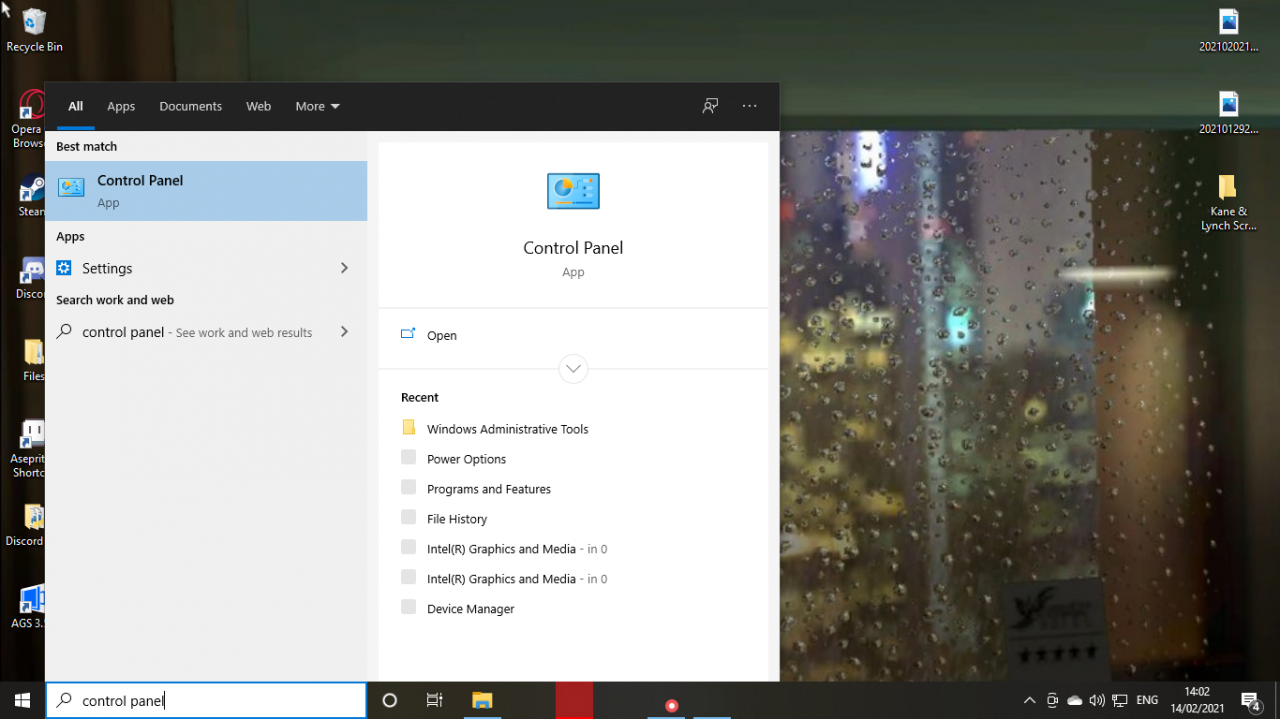
Firstly, go to the windows search bar and search for ‘control panel’
From here scroll down until you find the network sharing centre and click on it
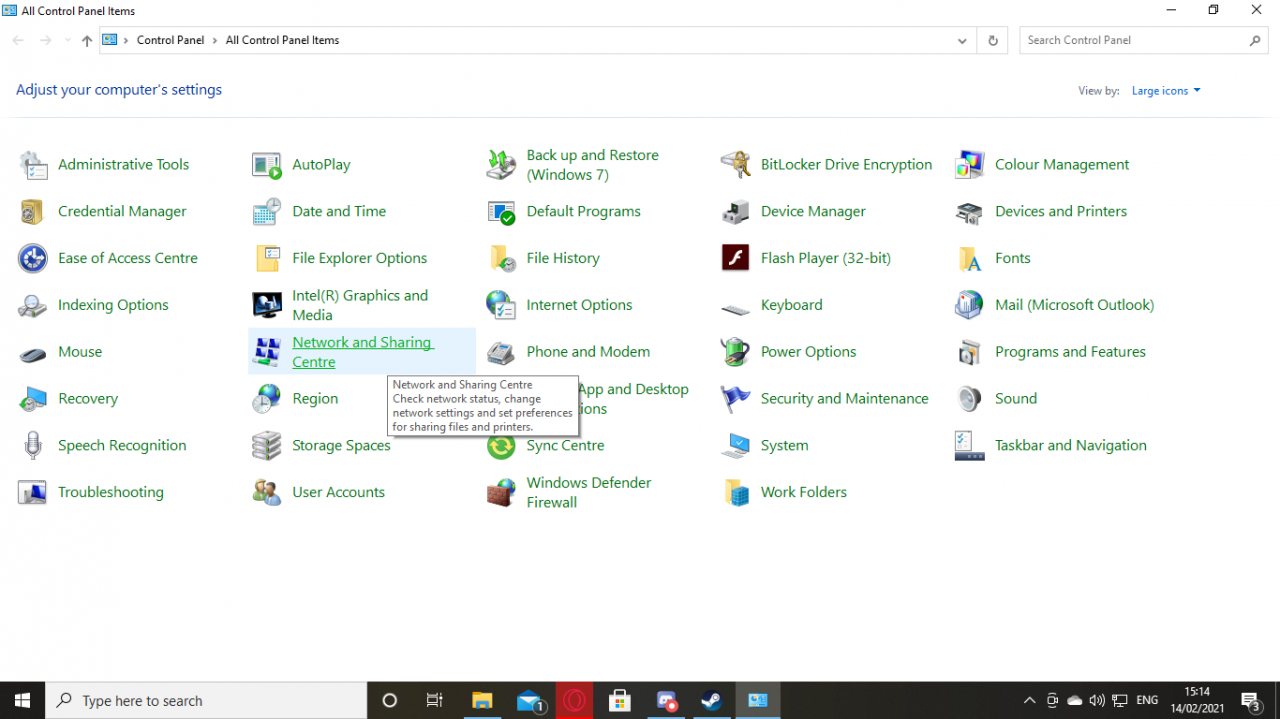
Once clicked on you will be bought to this menu. Click your connection and you should see this menu here.

From here, press disable whilst your game is launching/before it is launching. Once you’ve gotten passed the start menu and into the story mode or online mode menus, re-enable your connection. Hopefully that should work.
However, if you have an Ethernet cable, just unplug it whilst the game is launching and then plug it back in once you have reached the multiplayer or storymode menus.
VPN: Our second fix is a VPN. A VPN will change your IP Address ultimately allowing for the firewall settings and restrictions in the game to be upon launch. This in turn will allow the game to launch perfectly fine. But what VPN should you use? You shouldn’t have to pay £10/$10 every month just to play Kane & Lynch. Well luckily the community have been using this fix and finding the most success with Hotspot Shield! Hotspot Shield can be found on the Windows store for free, or on there website which I wiil leave linked underneath the image below.
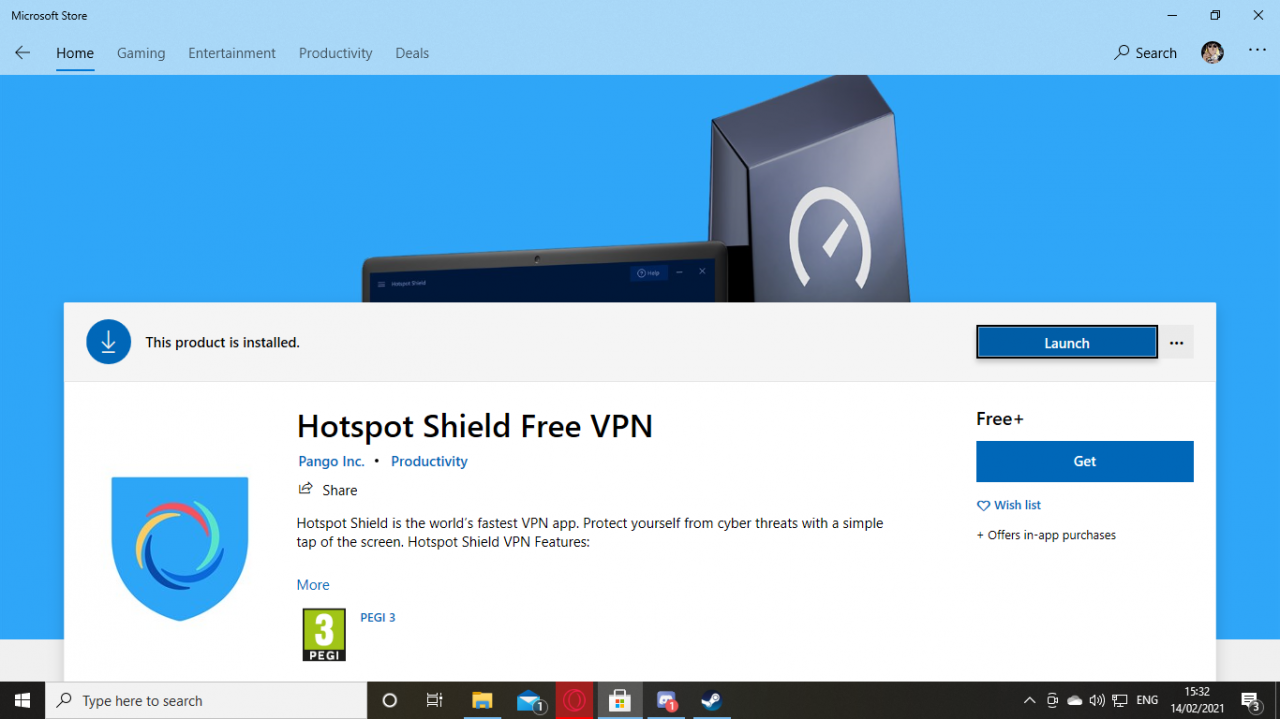
Their Website: https://www.hotspotshield.com
As you can see Hotspot Shield is completely free. It has a 500mb limit per day if you are using the free version. However, once you have made it past the games menu crash and into a multiplayer menu (or story mode) you are free to turn it off and switch back to your regular network.
Other VPNs will work. We’ve found success with Tunnel Bear as well as Proton VPN, but I would highly recommend Hotspot Shield. it is free, reliable and I had personally used them multiple times way before them being mentioned in this guide or even before I joined this community.
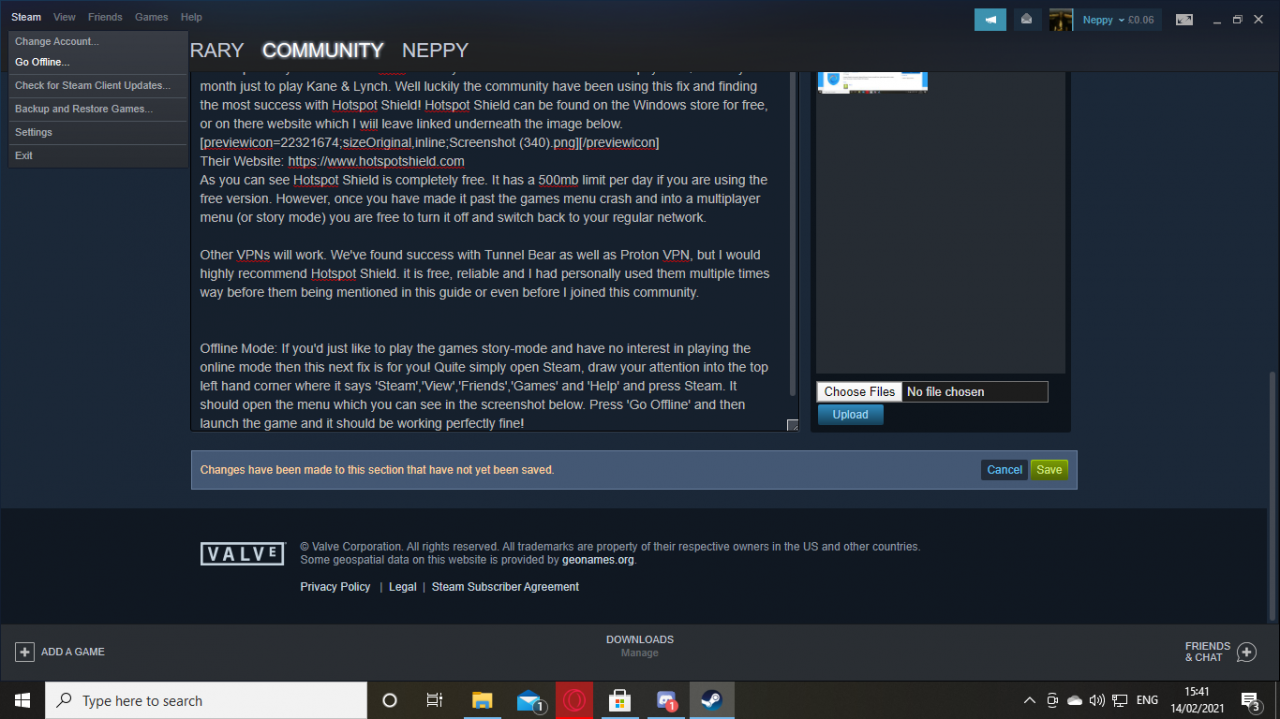
Offline Mode: If you’d just like to play the games story-mode and have no interest in playing the online mode then this next fix is for you! Quite simply open Steam, draw your attention into the top left hand corner where it says ‘Steam’,’View’,’Friends’,’Games’ and ‘Help’ and press Steam. It should open the menu which you can see in the screenshot below. Press ‘Go Offline’ and then launch the game and it should be working perfectly fine!
Hub Settings: Sadly I cannot show you any screenshots for this method as it contains sensitive data such as my IP address and much more. I do not recommend you show anybody else this whilst your doing it, or upload any screenshots of you trying to replicate this method if you choose to. To do this, go into your internet browser and type in ‘what is my IP address’. It should bring up your local IP address which is a set of numbers. Copy and paste these numbers into your search-bar which will take you to a page where you can now access the settings to your WIFI hub. If you have any kind of firewall or anything that restricts access to anything for the devices on your network, remove it. It is stopping the game from launching. Be sure to save these settings, then reset your router. Once it comes back on the settings will take effect and your game should work.
NOTE: THIS REQUIRES YOU TO KNOW YOUR ACCOUNT PASSWORD THAT YOU USE WITH YOUR INTERNET PROVIDER.
Phone Hotwiring: Now this method is easily the strangest and most out there. But it works so, why not? For this method you will need…
An Android Phone
A USB cable to connect your phone to your PC
Data (unlimited data or over 10gb is not required but you will understand why)
Your phones network must be different to your home network (say for example I use virgin media at home and sky on my phone)
What are we going to be doing? Well if you have a different network and a phone with data, you can connect your PC to that phones network (your data) thus allowing you to play on a different network and bypass the menu crash. If you only plan on playing one game or so I wouldn’t worry about your data. I’ve played 45 minute matches of Valorant that have only used 70mb of data. But for a longer session I recommend you have a bit more data that you can use just encase! So how do we do it? Here is how!
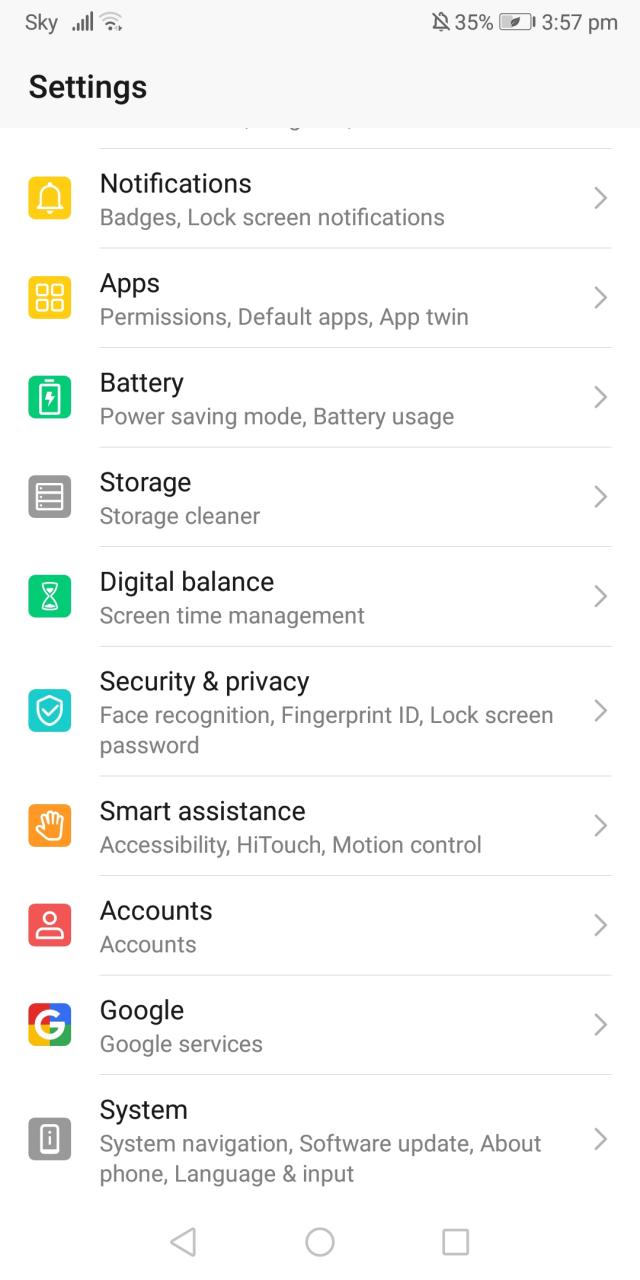
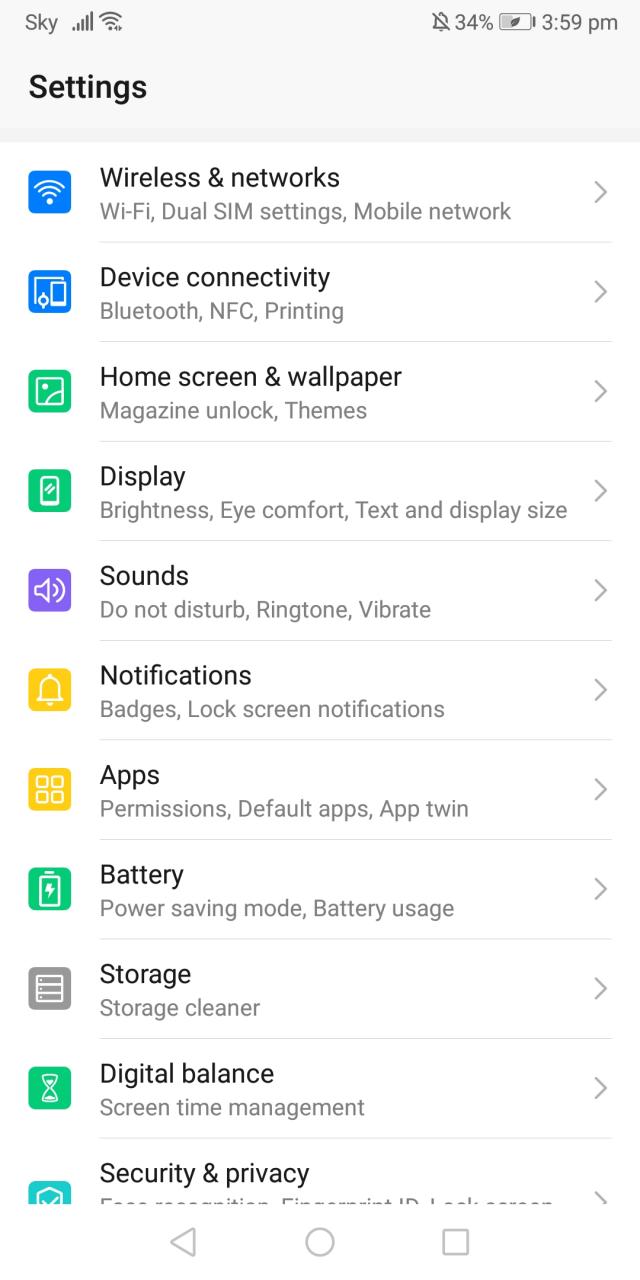
1. Go into your settings. You can do this by swiping down and clicking the cog in the top right hand corner

2. In your settings scroll down till you see, ‘About Phone’. We are going to put your phone into developer mode. If your phone is already in developer mode, or you are able to tether your phone to your PC already, please skip to step 8.
3. Click on it, it should take you to this screen here (or similar)
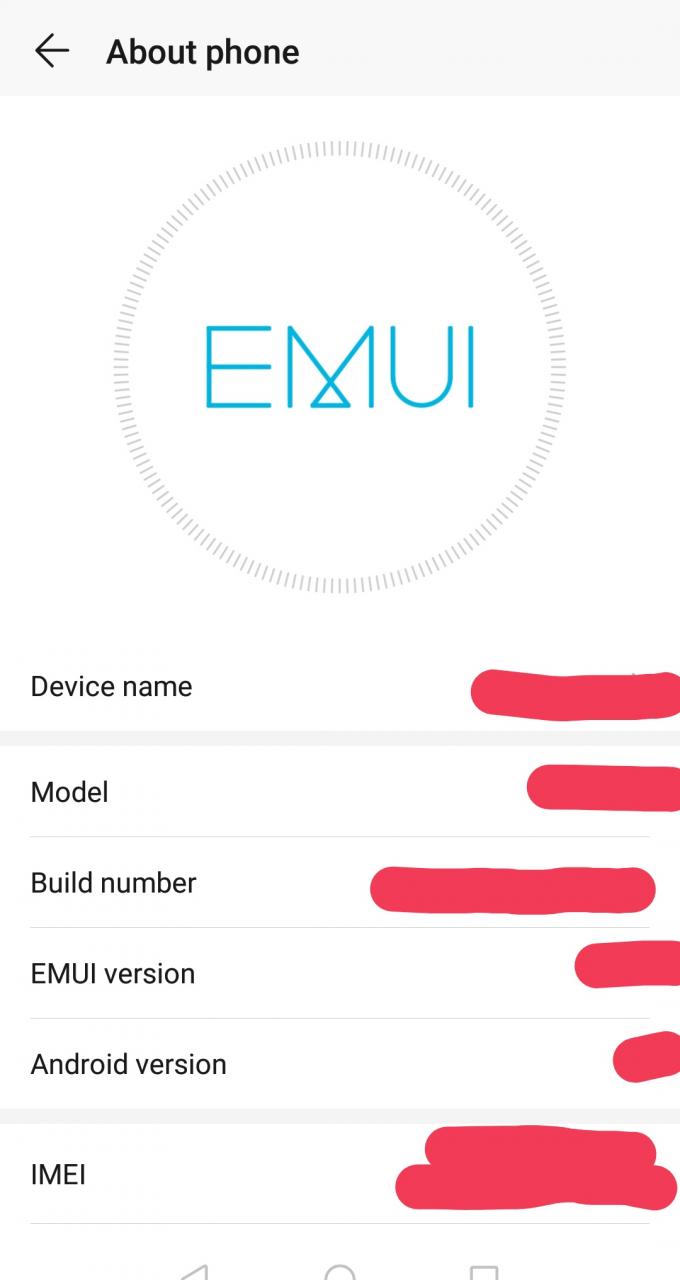
4. Click on your phones build number multiple times and you should be prompted to enter your password.
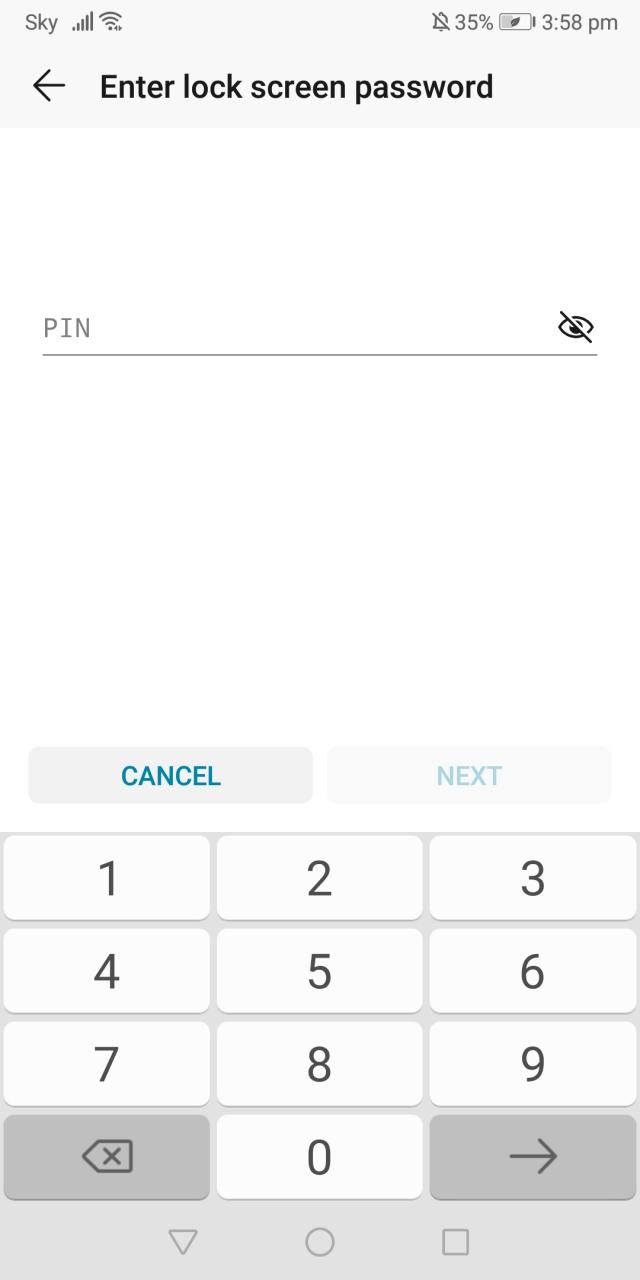
5. Enter it and press next. Then go back to your screen where you clicked about phone. Notice it says ‘Developer options’.
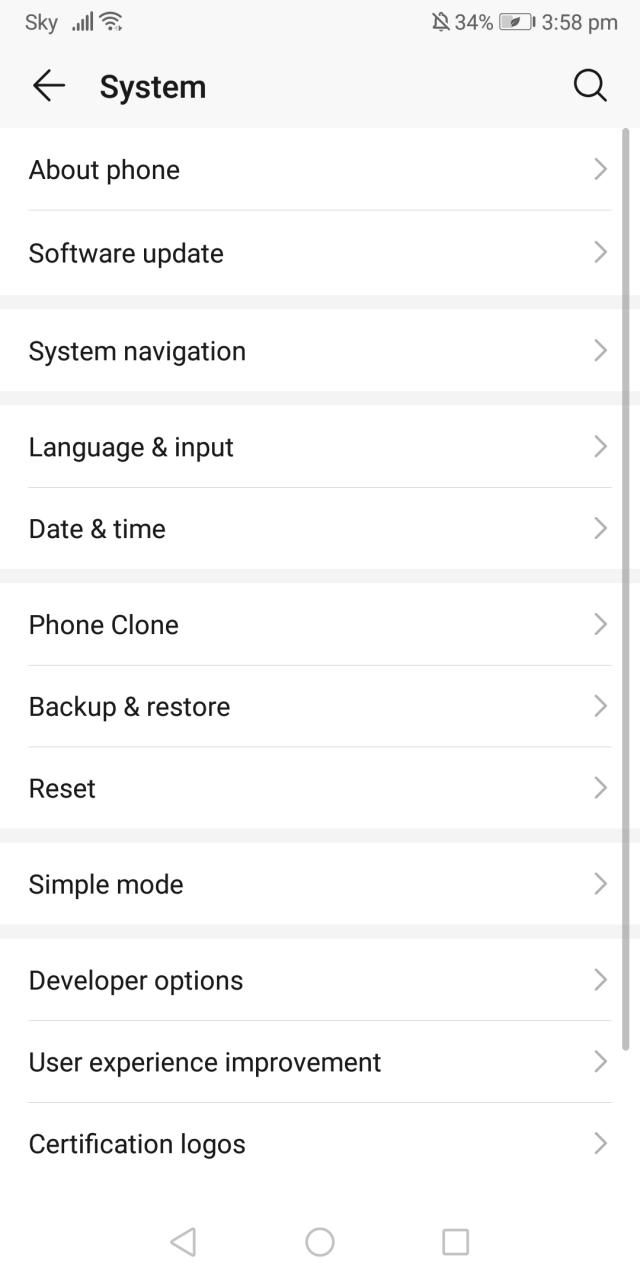
6. Click on it. Be sure to enable USB debugging while your here.
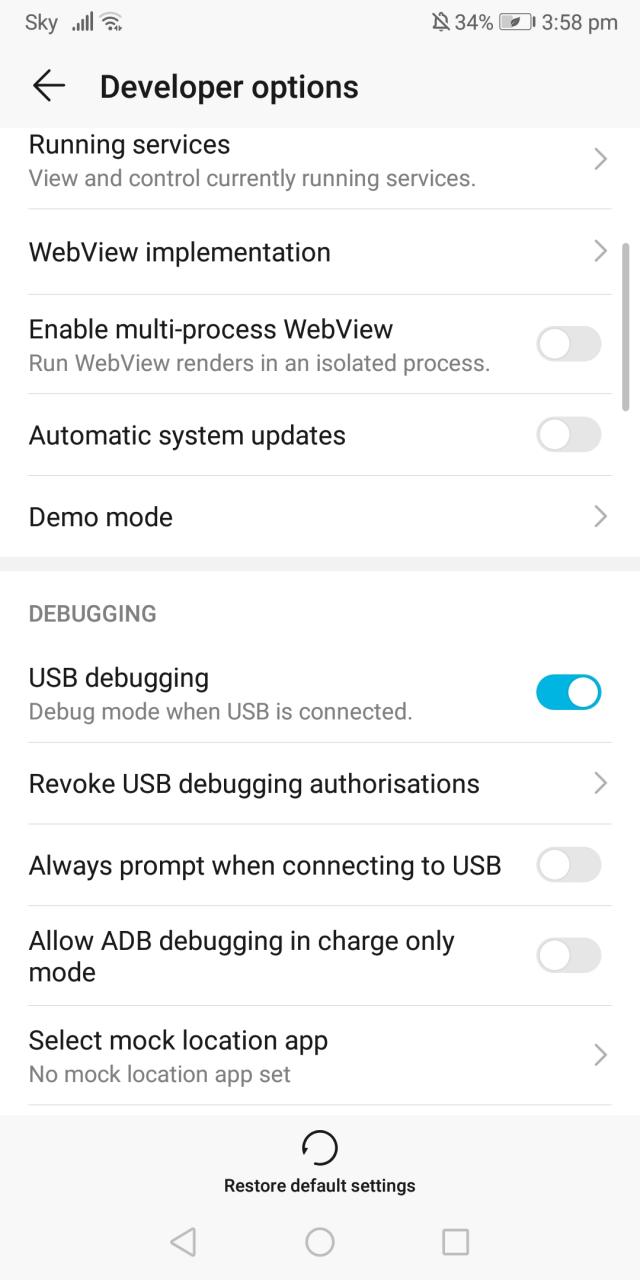
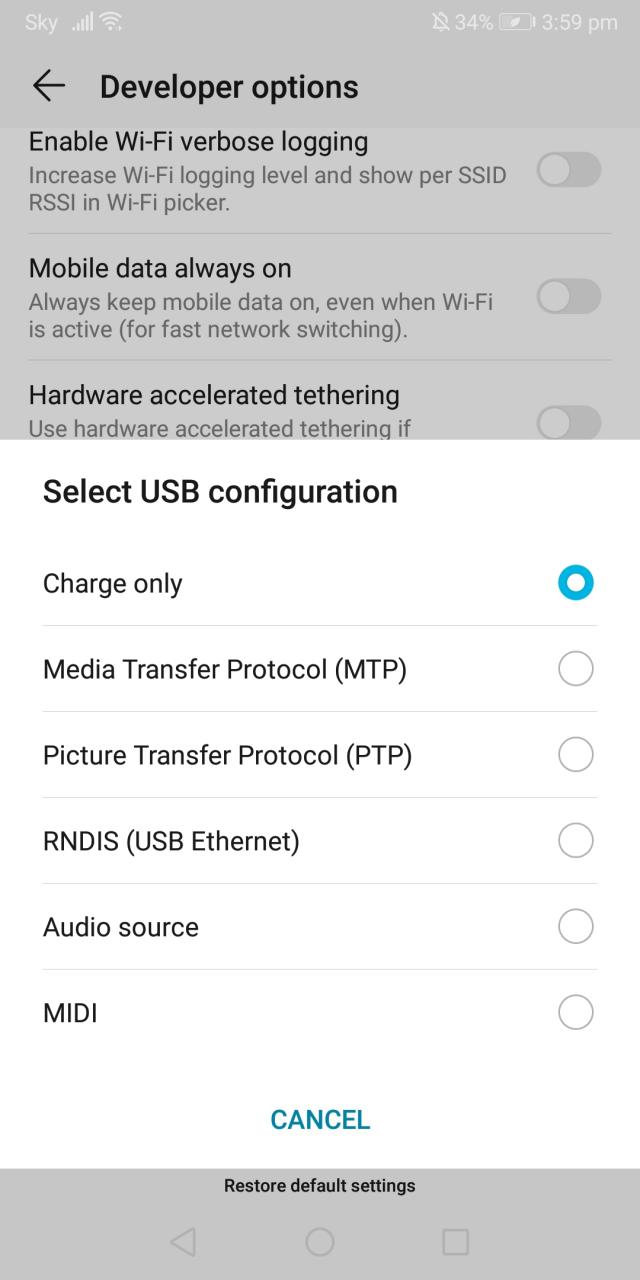
7. Now click USB configuration. Your phone should have the setting ‘RNDIS’. If it does, then good you can proceed forward with the next steps. If not them I’m sorry to tell you this will most likely not work for you.
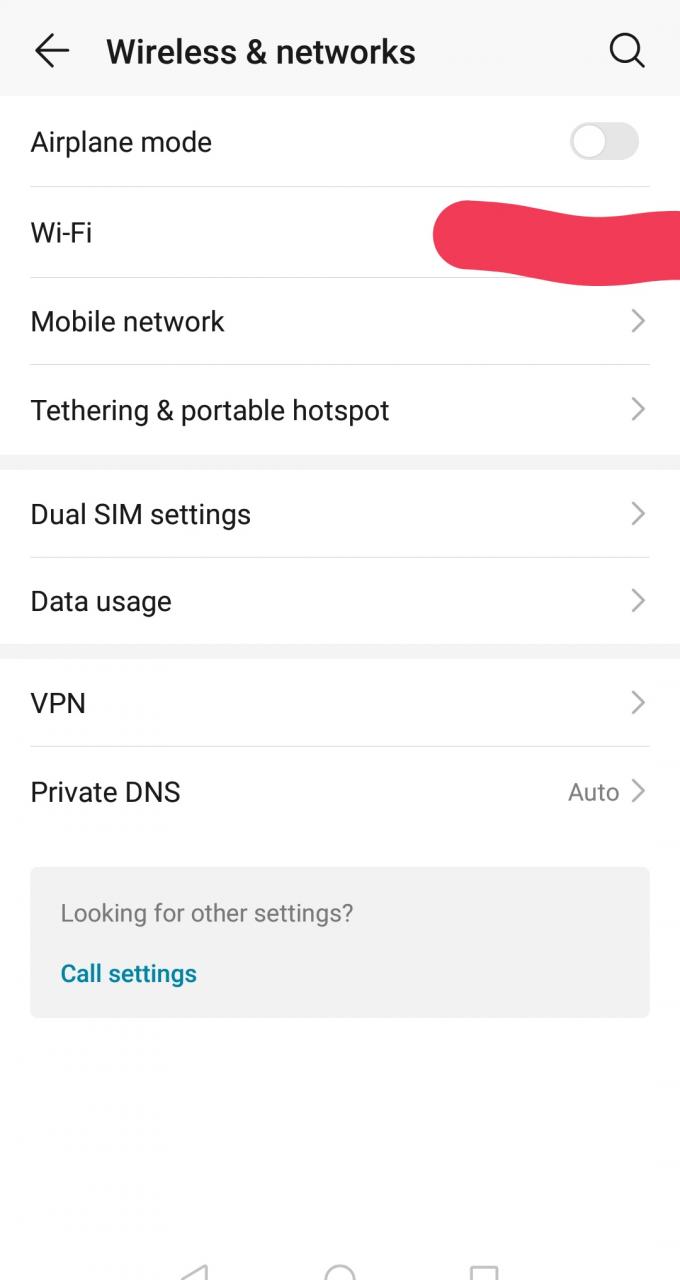
8. Go back to your main settings menu where you can access your WIFI
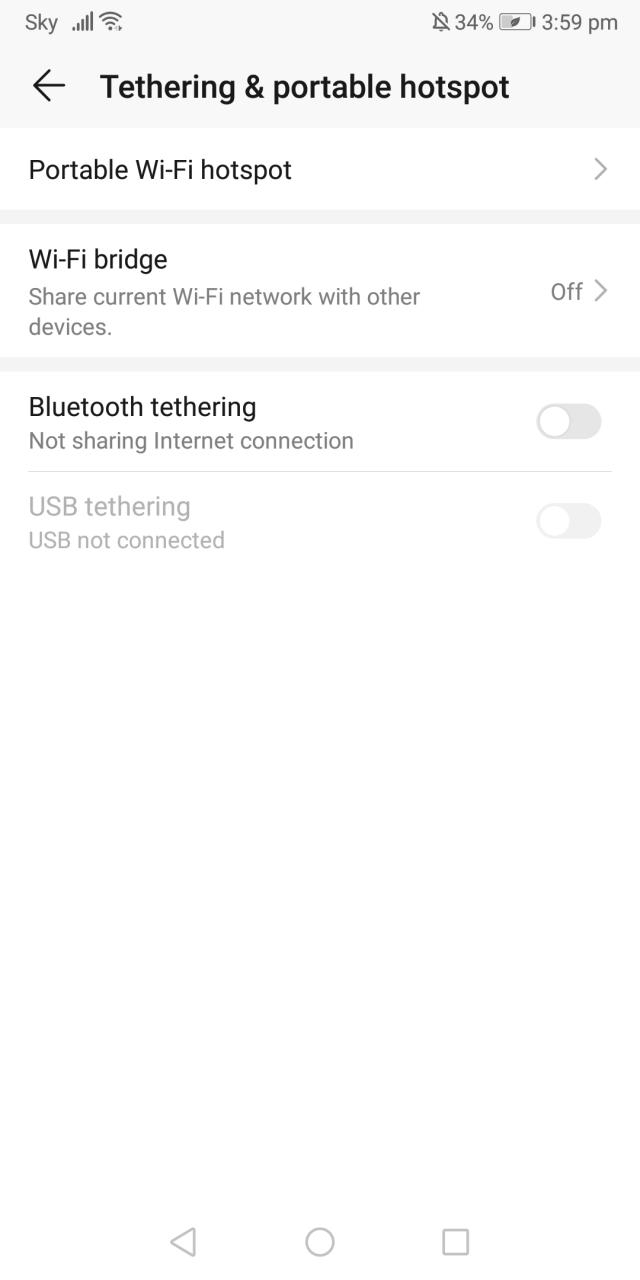
9. You should now be at this menu. Click on ‘Tethering & Portable Hotspot’
10. Plus your phone into your PC and make sure your data is turned on. When asked, make sure you setup your phone to your PC so it says ‘Charge Only’. From here the bottom option should light up white and you can then click on the slider button. This will allow you to use your phone as the main access point for your PC!
11. Enjoy a game of Dog Days! Enjoy it with friends or with us over on our Discord server where we regularly hold events and play games daily! You can find the link on the ‘Where can you find us’ section of this guide! 🙂