If you did a certain bandit camp earlier than this quest, you might be soft-locked on completing it.
Here’s how to fix it.
Introduction
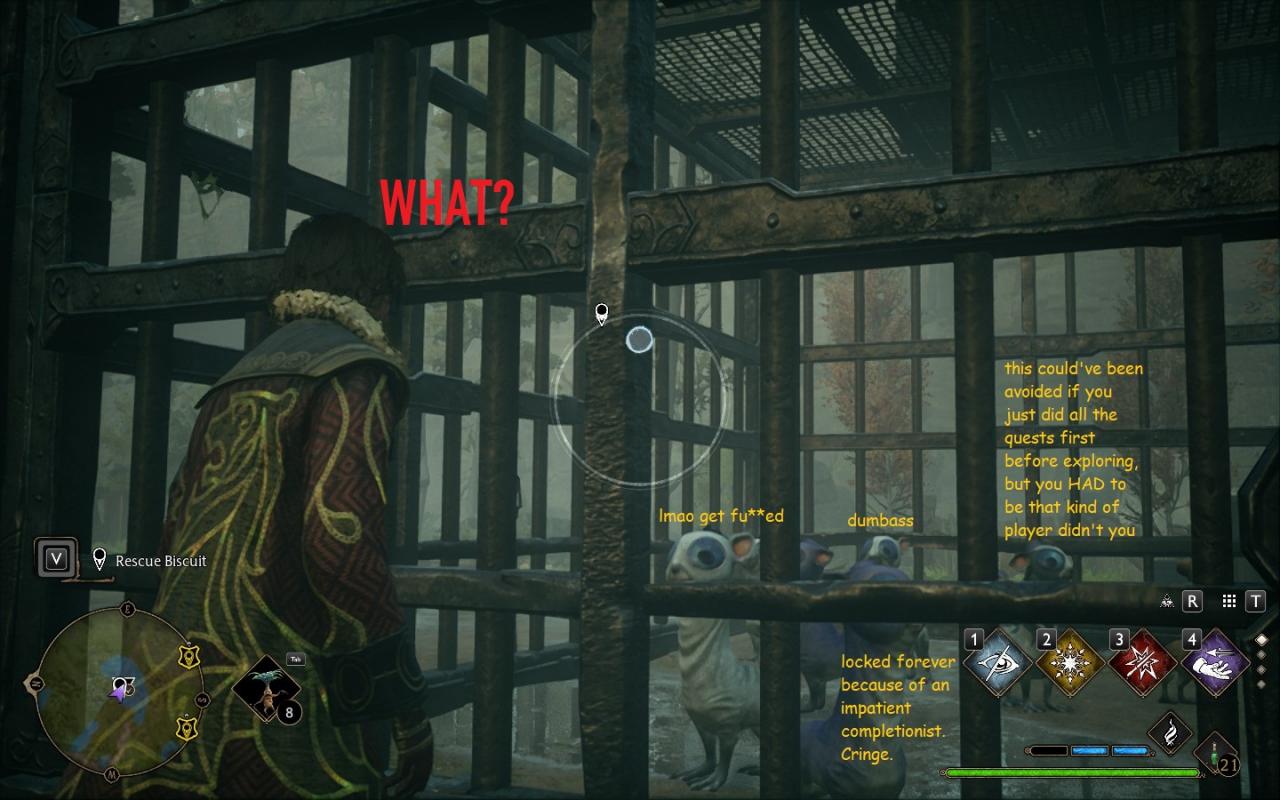
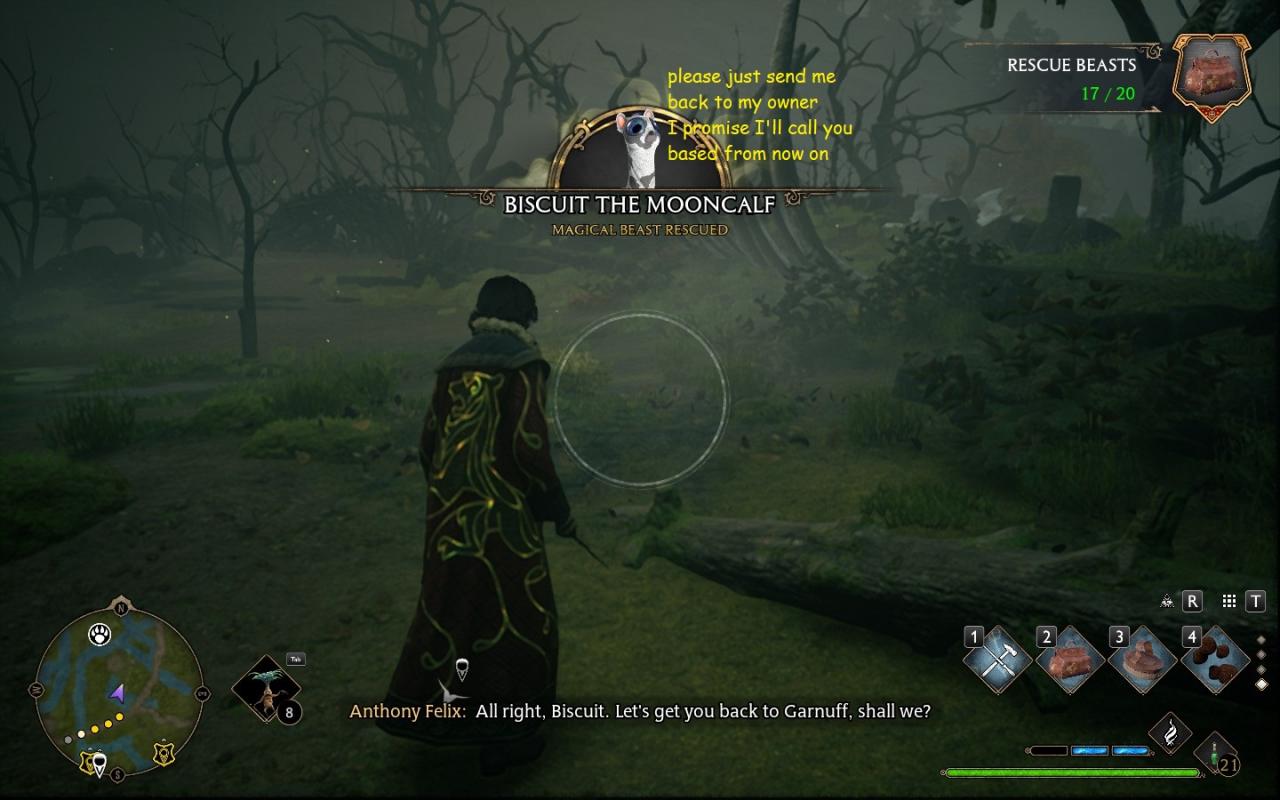
There’s a quest called “Take the Biscuit!”
A goblin called Garnuff will ask you to go into a bandit camp and rescue his mooncalf that got kidnapped.
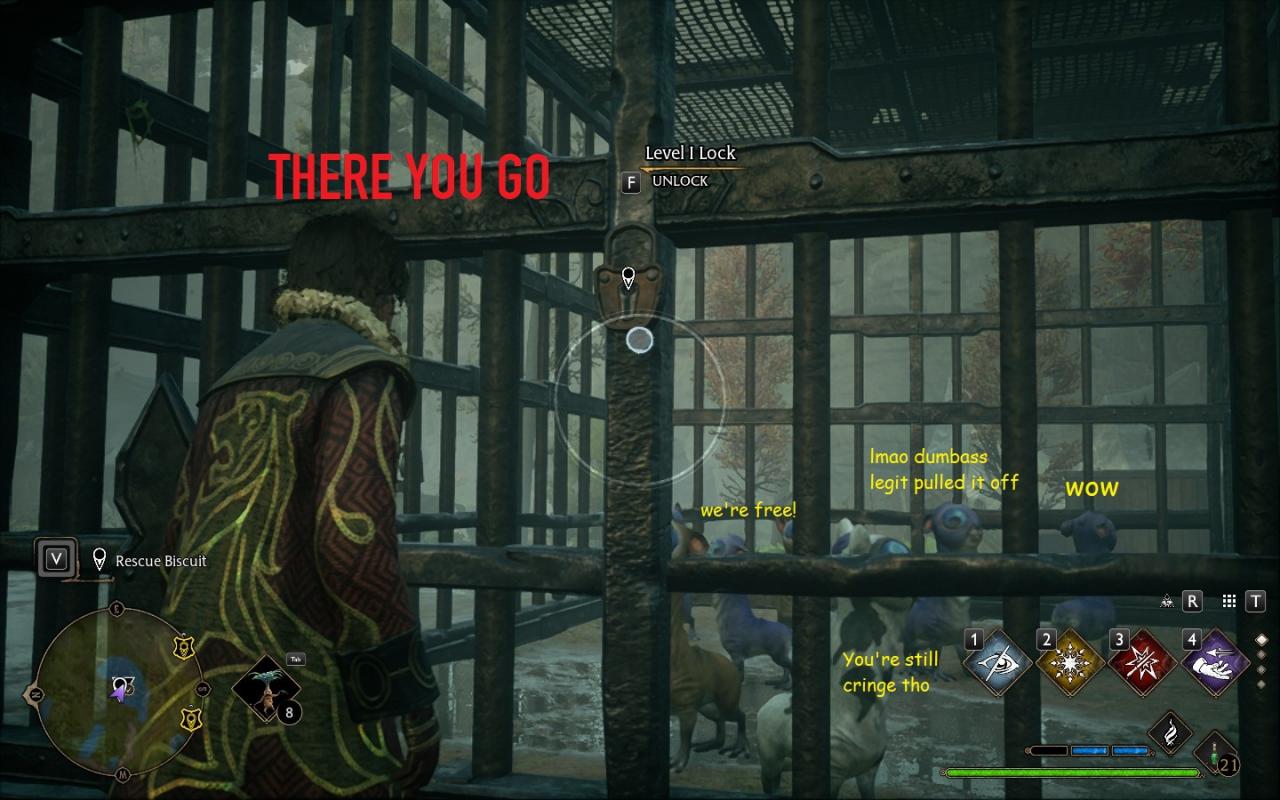
Problem is, if you are an avid open-world explorer like me, you probably cleared that camp before the quest was given to you, and if you happen to do that, there are no mooncalves in the cage by that point. If you open the cage anyway and THEN get the quest….
SURPRISE! There’s no padlock in there, and you can’t free the mooncalves.
The devs are already working on a solution, but there’s a way you can edit your save file to fix this without losing any progress at all.
DISCLAIMER
I DO NOT own any responsibility for broken save files or any damage you could incur to your computer, steam account, etc. for this guide requires final user operation and while it should work perfectly if the instructions are followed carefully, it’s still possible to commit human mistakes.
Make a backup of your save files first, as I’ll instruct in the next step.
Step 1 – Make a MANUAL save and locate it.
Remember you have to HOLD the saving box to overwrite / make a new save.
Now CLOSE the game.
====
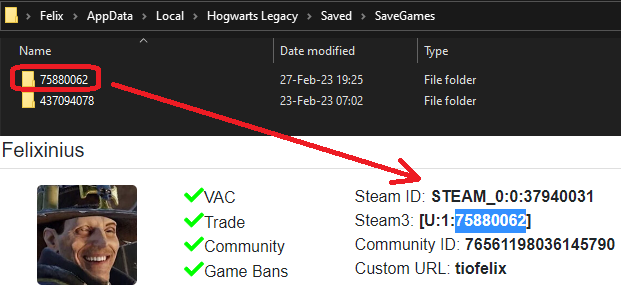
Open any folder on your computer and replace the address bar with this and hit enter:
%LOCALAPPDATA%\Hogwarts Legacy\Saved\SaveGames
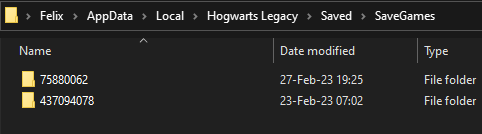 Inside there should be one or more folders with a series of numbers as name, those are Steam IDs of people who played this game on your computer, including you.
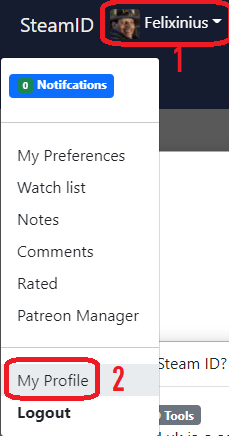
So usually there should be only one. But in case there’s more, and you want to be double sure, this website will tell you your Steam ID by just pasting your Steam URL or login in:
https://steamid.uk/
It’s the one labeled as “Steam3”.

This is our control folder. If something messes up, just overwrite the save file location with your backup, simple as that.
When performing the operations, do it straight in the destination.
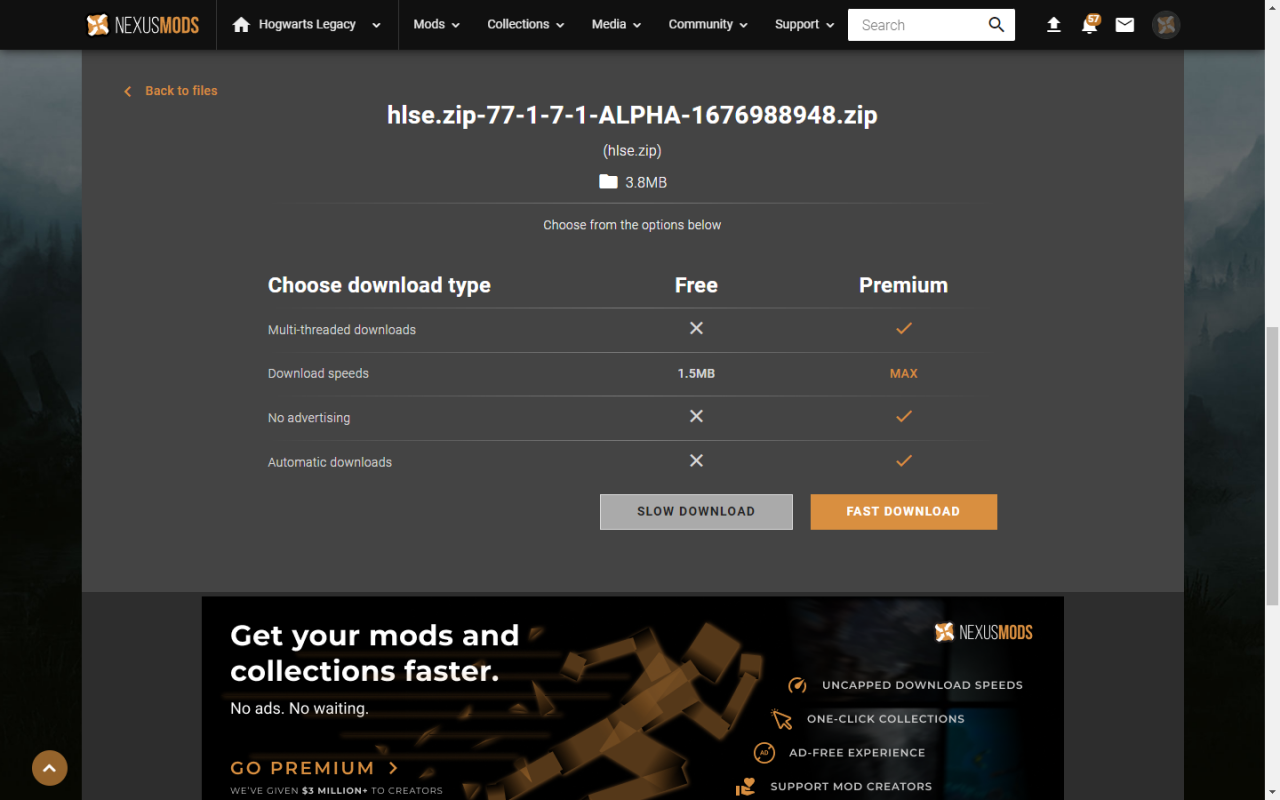
Step 2 – Download the required software
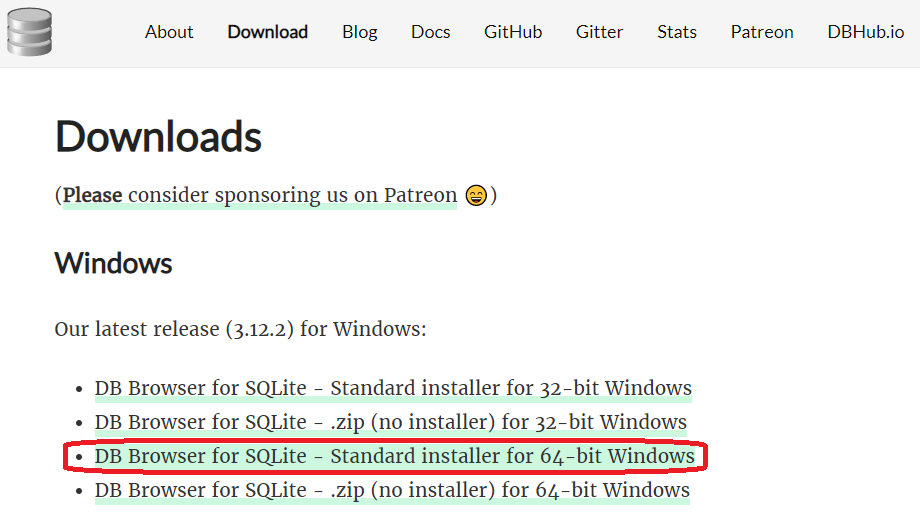
This guy will help us do the proper fixing in the save file.
Download the Standard installer corresponding to your system.
I believe everyone here is using 64-bit windows as I doubt this game would run in a 32-bit system.
https://sqlitebrowser.org/dl/
This is basically a HTML file that you can open in any browser of yours.
You’ll download a zip file. Extract it using your favorite extractor (I recommend 7-zip[www.7-zip.org], but any will do) and then you can open it on your browser.
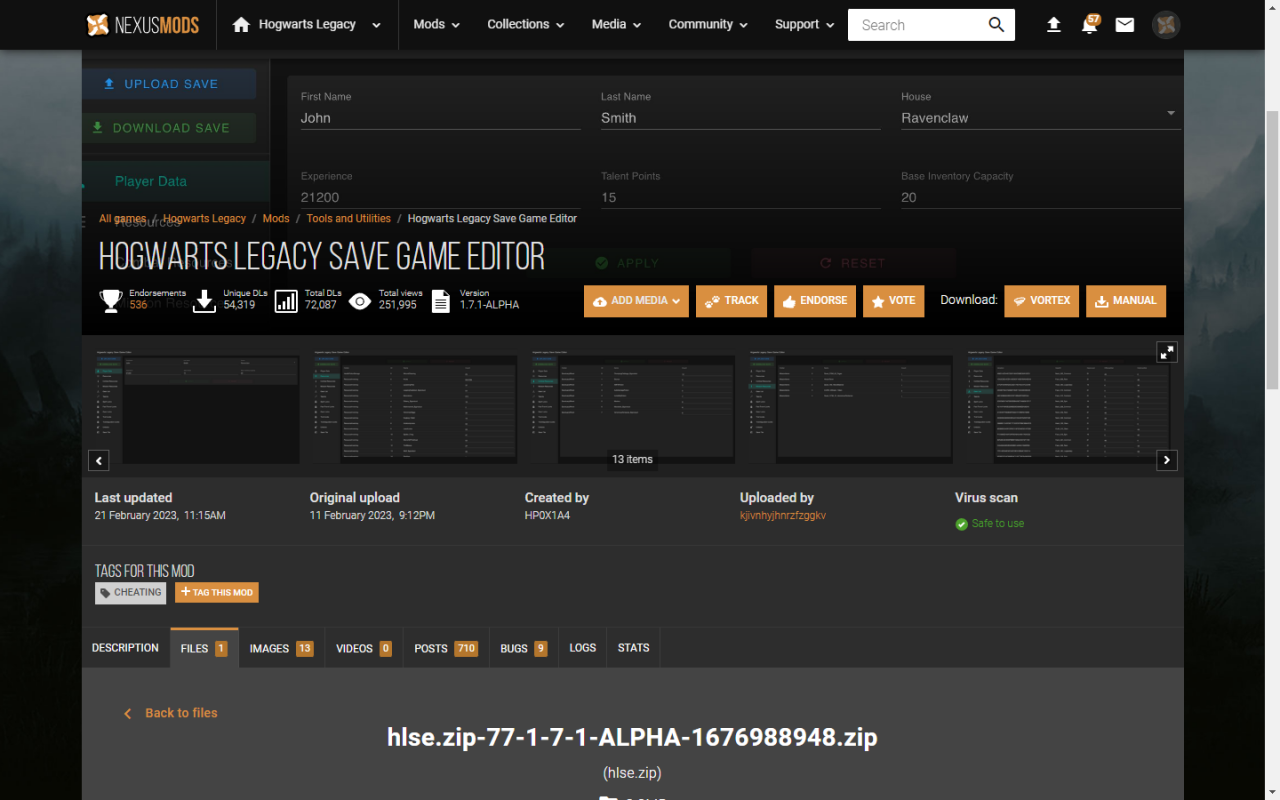
Step 3 – Generate the SQLite databases
What we’re gonna do right now is convert your .sav file into .sqlite databases so we can edit them.
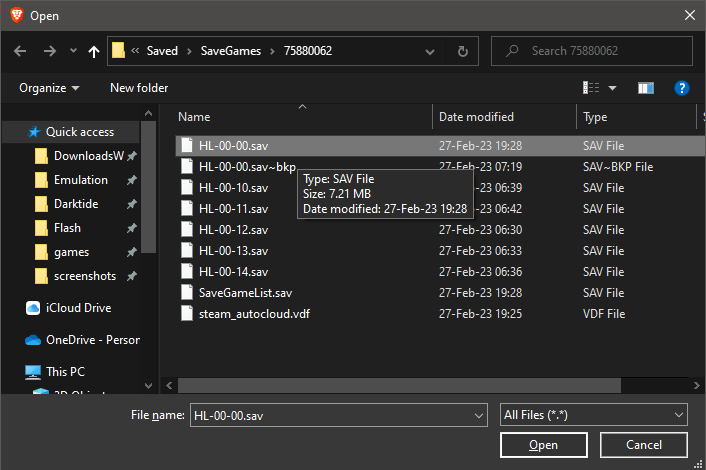
Simply put, it should be the one with the most recent editting date and hour, told by windows.
Unless you made several save files, it should be the HL-00-00.sav, the other ones are usually auto-saves made by the game itself.
You can open it with any browser, here I’m using Brave. But Chrome or Firefox should work as well. I’d not recommend opening it with internet explorer but I can’t also say if it works or not.
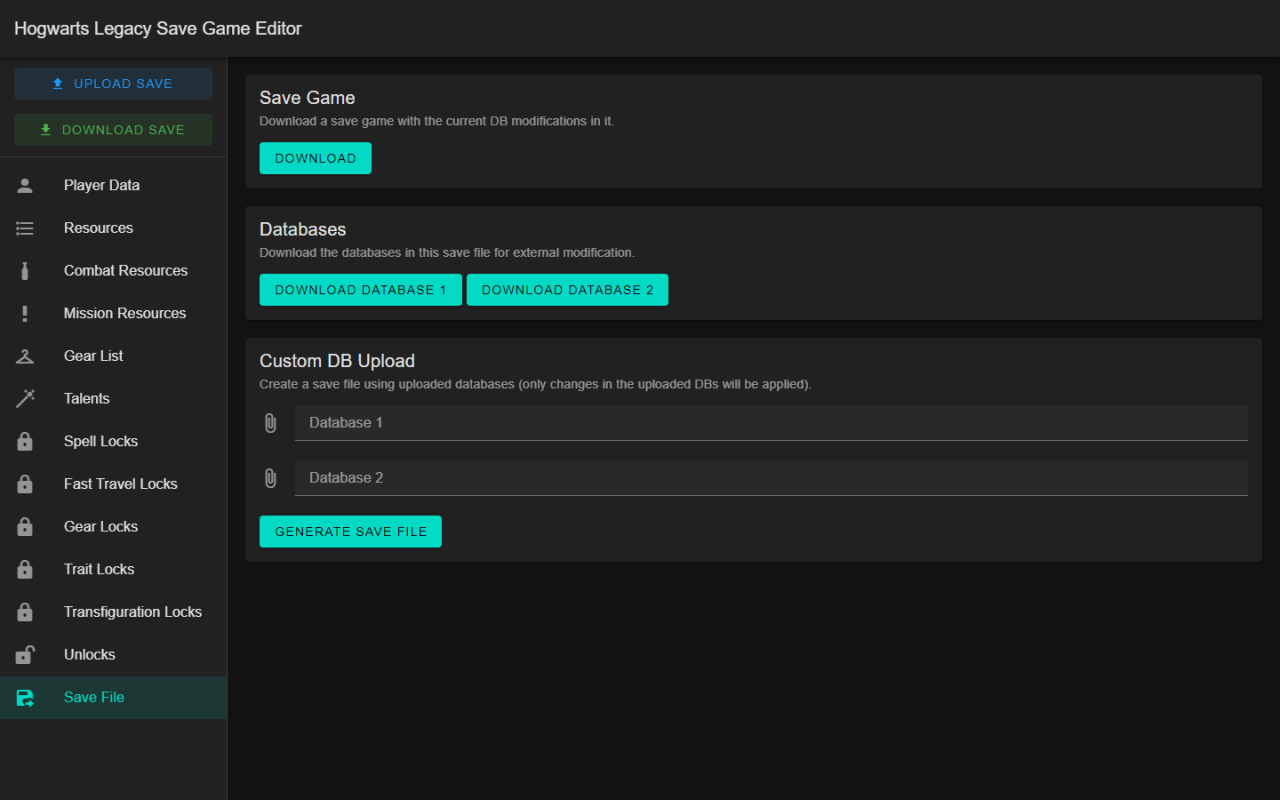
– Now, press Upload Save button, locate your correct save, and open it
– Your details should appear on the left. Now go all the way down into the “Save File” option.
– Press “Download Database 1” and “Download Database 2”.
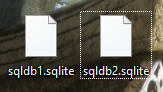
– You should get two files named “sqldb1.sqlite” and “sqldb2.sqlite”. Keep them somewhere where you can remember. After this fix is done, they will be useless, so you can delete them later.
Step 4 – Edit the databases
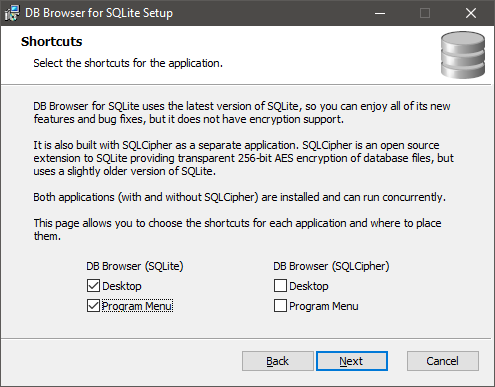
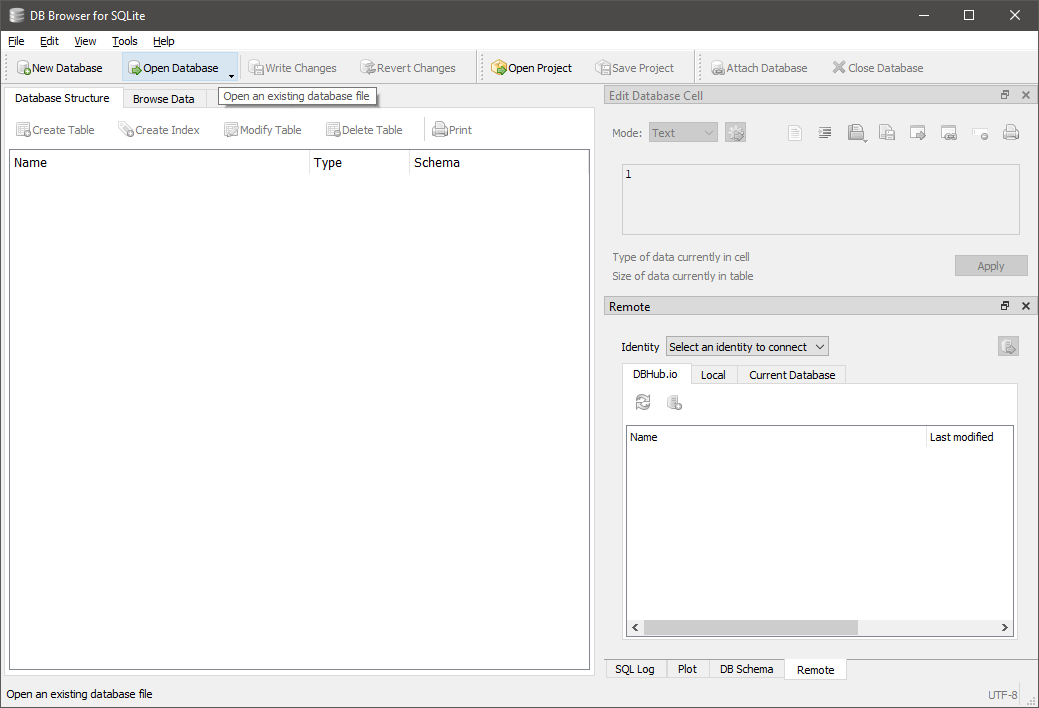 Now open the “DB Browser” from SQLite. There should be a shortcut on your desktop if you did as I explained during the installation.
Click “Open Database” and point the “sqldb1.sqlite” file.
Alternatively, you can also physically drag the “sqldb1.sqlite” file into the DB Browser screen.
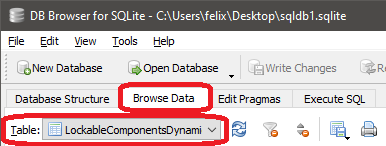
Click in “Browse Data” and then on the select box below, pick the option “LockableComponentsDynamic”
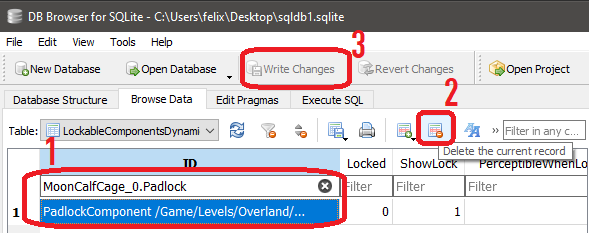
Next, there should be a search box right below that select box. Input this value:
MoonCalfCage_0.Padlock
One result should appear, click on it to select it, then press that button tagged as “2” in the image below to delete the entry.
Lastly, click “Write changes” on the top.
What you’re doing here is deleting the value that confirms the padlock has been opened before. Thus causing the game to spawn the padlock again.
Step 5 – Convert it back into save format
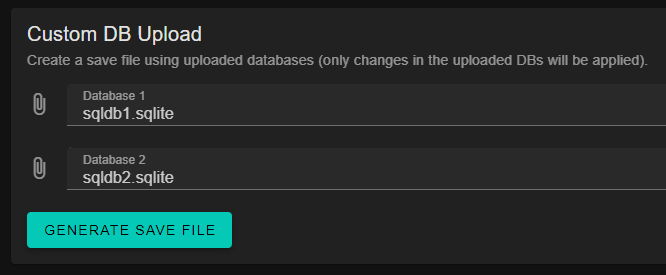
Go back to your trusty save file editor screen. You probably noticed a box called “Custom DB Upload”. We’re gonna use that now.
Just place the sqlite1 and 2 in there as shown in the image. Simple as that. Then press GENERATE SAVE FILE.
You should now get a file called “hlcustomsave.sav“. You need to rename it to the same name used by your file in your save file folder.
In my case, that should be “HL-00-00.sav“. After doing that, just overwrite your bugged savefile with this new one.
Important: If your file APPEARED was “hlcustomsave” WITHOUT THE .SAV EXTENSION, THEN DONT ADD .SAV TO THE “HL-00-00” AS WELL. IF YOU MESS THIS UP IT WON’T WORK.
“OMG IT DIDN’T WORK YOU [EXPELETIVE] CRINGE”
- You didn’t follow the guide properly
- You didn’t pick the correct save file
- You didn’t even do a manual save file to begin with
- You did this with the game open and expect it to work as magic (I know it’s a wizard game but cmon, restart your game)
- Your save file has something peculiar about it and my steps wouldn’t work anyway.
First things first, remember that backup I told you to make it?
Replace it back so you can at least play the game again.
If you play the game meanwhile retrying this guide, remember to REDO the backup (because you might advance into the game and your backup could be obsolete)
Thanks to Felixinius for his excellent guide, all credits belong to his effort. if this guide helps you, please support and rate it via Steam Community. enjoy the game.
Related Posts:
- Hogwarts Legacy: Mouselook Control for Mounts (Editing Files)
- Hogwarts Legacy: How to Unlock the Camera
- Hogwarts Legacy: How to Fix Washed Out Colors And Indoor Fog And Bad Fog Issue
- Hogwarts Legacy: How to Create A Handsome Male Character
- Hogwarts Legacy: All Curses Guide (How to Get)