An in-depth guide to HAYAI to improve your game play and achieve better scores.
Introduction
Survival is the key of getting a high-score in HAYAI, as being able to survive longer will naturally give a better score. As such, this guide will heavily focus on tactics and analyzing the characters and enemies for surviving as long as possible.
This guide merely contains my experience from playing the game, and is by no means the only way to play the game. Feel free to experiment yourself, and comment if you feel like you have some ideas on how to improve the guide.
Basic Tactics
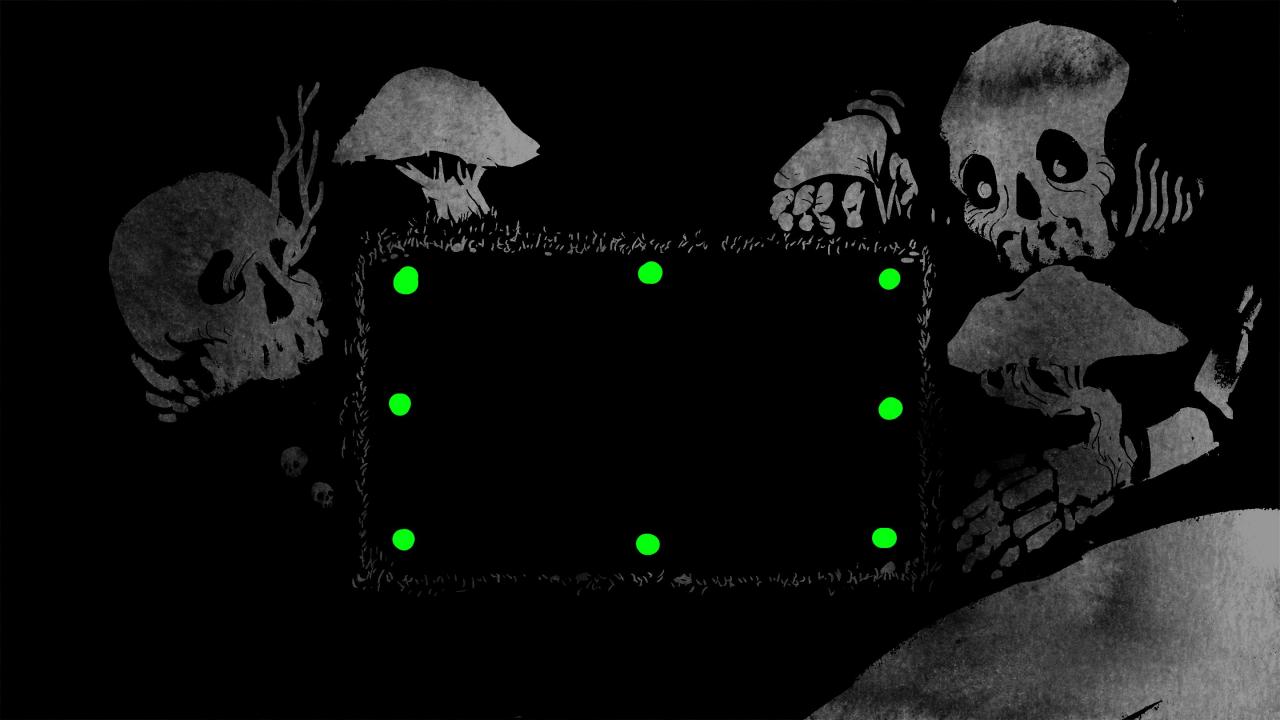
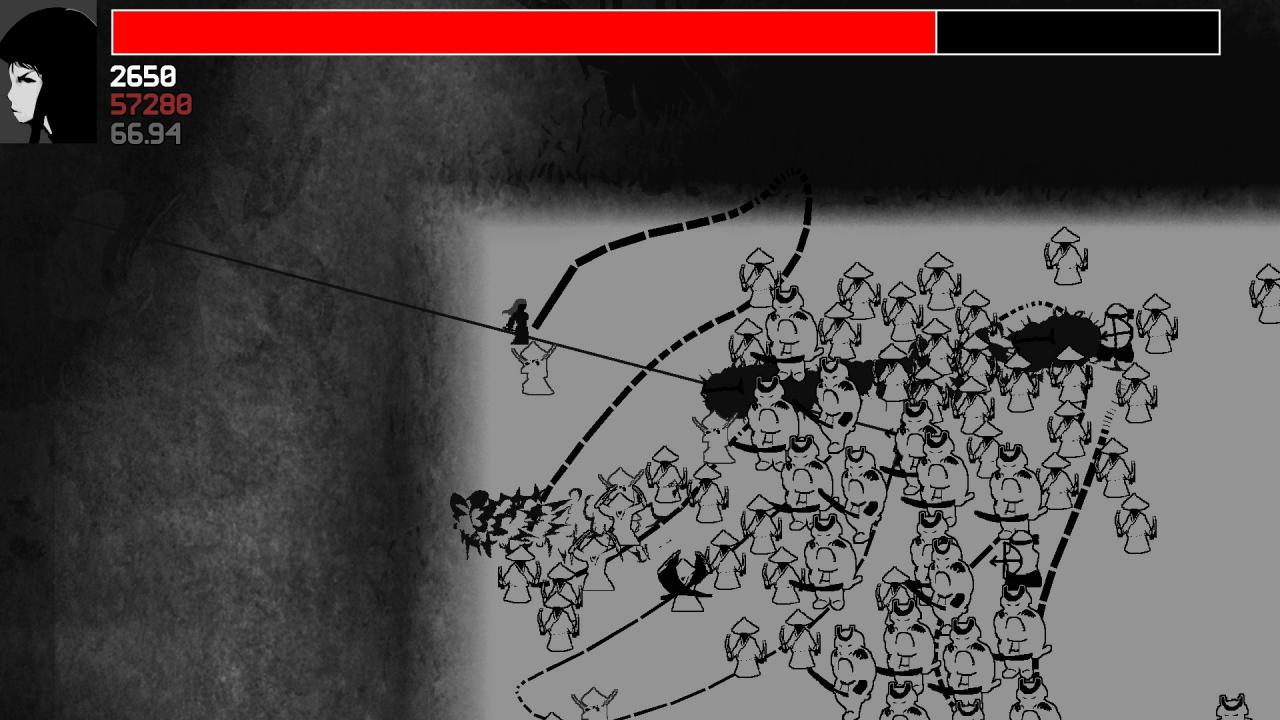
 Safe spaces refer to areas where you have good maneuverability and few incoming dangers. It’s best to train yourself so you can spot these spaces on short notice. In the image above, safe spaces is represented by the green highlight. Prefer moving to a safe space over killing enemies to enable high combo numbers.
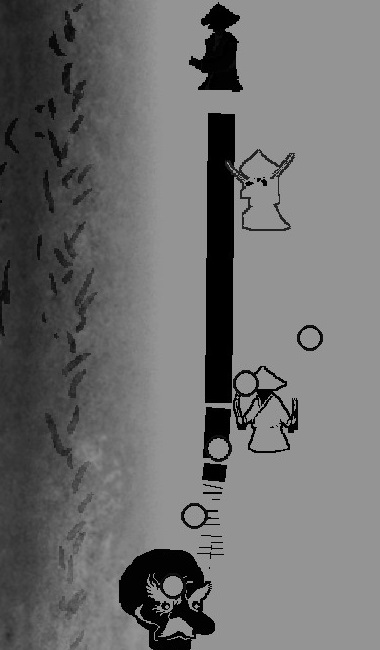
Quick slashes can be used in multiple ways, including:
- Assassination of key threats
- Quick escape tool
- Jumping over bullet walls
- Repositioning into a safe space
- Creating some safe space by slashing through a crowd of enemies
Always try to end your slash on a wide safe space. Your characters are usually the most vulnerable right after a slash while waiting for the bar to refill. As such, try to prioritize killing all enemies in the area that you are ending at, which will give you enough safe space to move about until the bar is filled. This is extremely important when you use a large amount of the bar, as it will take a greater amount of time for the next slash.
If you find yourself in a dire situation and your bar is still refilling, hold on to the mouse button. This will instantly trigger the slowmo of the next slash the instant the bar is filled. NEVER mash the button as you will be put in an extremely vulnerable position after a failed slash.
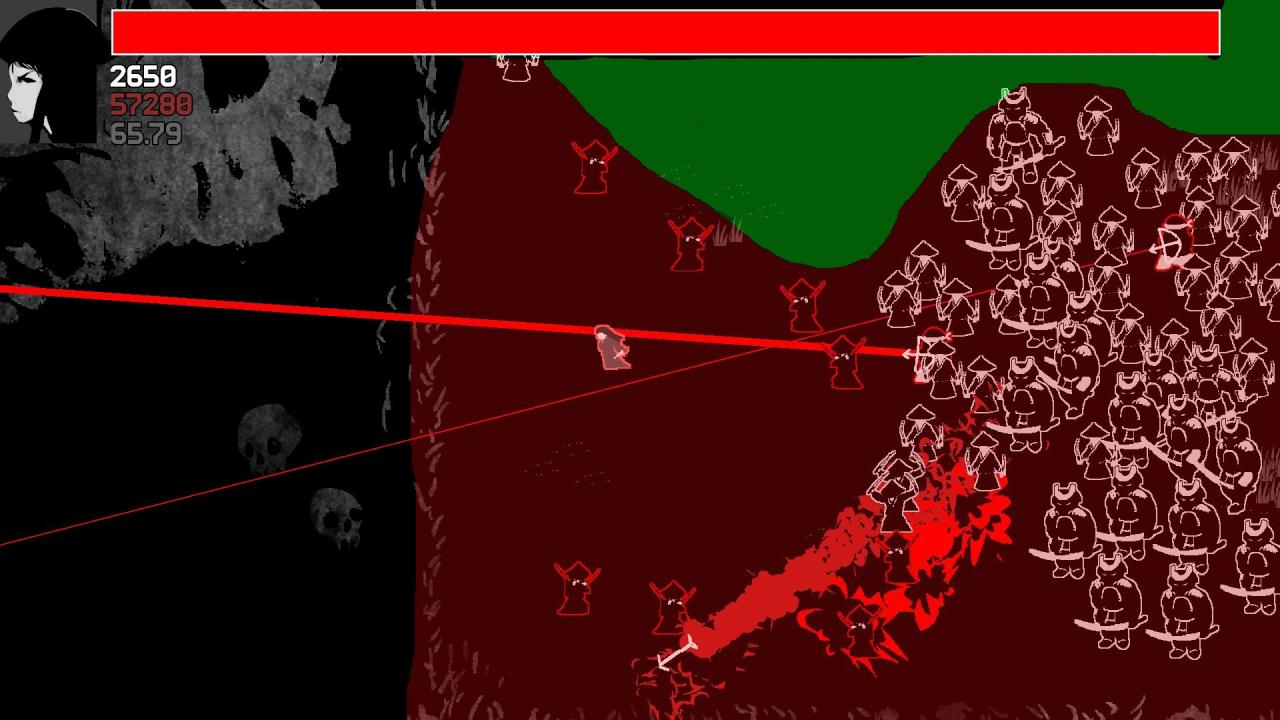
This tactic is what I found to be the easiest way to gather large crowds of enemies for huge combos. Simply walk either clockwise/anticlockwise around the arena hugging near the walls, using quick slashes to reposition to safe spaces or take out dangerous enemies. This will cause most enemies to follow behind you, and once the number is high enough you can cull them.
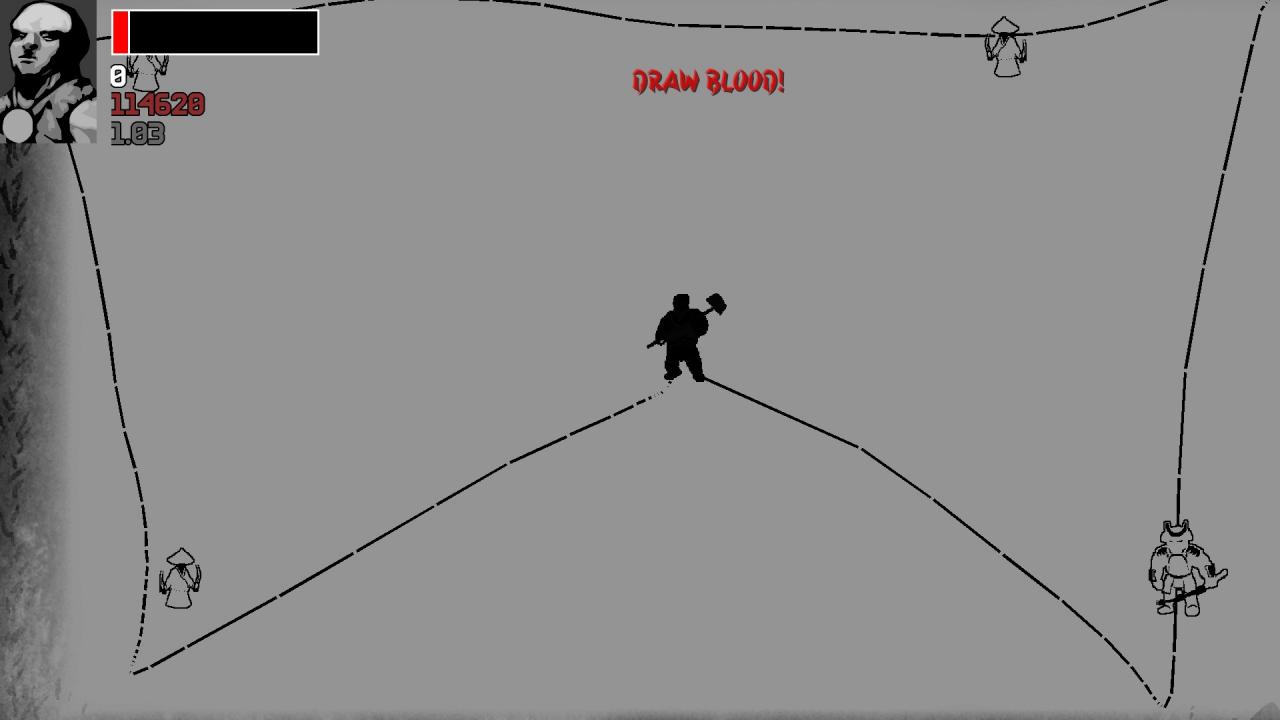
 An advanced tactic based on quick slashes and circling the herd. In this tactic, you will treat each corner and side of the arena as checkpoints. Go around the arena by quick slashing towards each checkpoint in a clockwise/anticlockwise direction. Doing this fast enough will make it such that tengu heads won’t be able to flood the arena with bullet, and most melee enemies won’t be able to catch up with you, and will be targeting the position of the last 2 checkpoints instead. You will only move into the center to take out stray archers and immediately move to the most distant checkpoint from your initial jump. You can skip corners if there are no key threats there to take out.
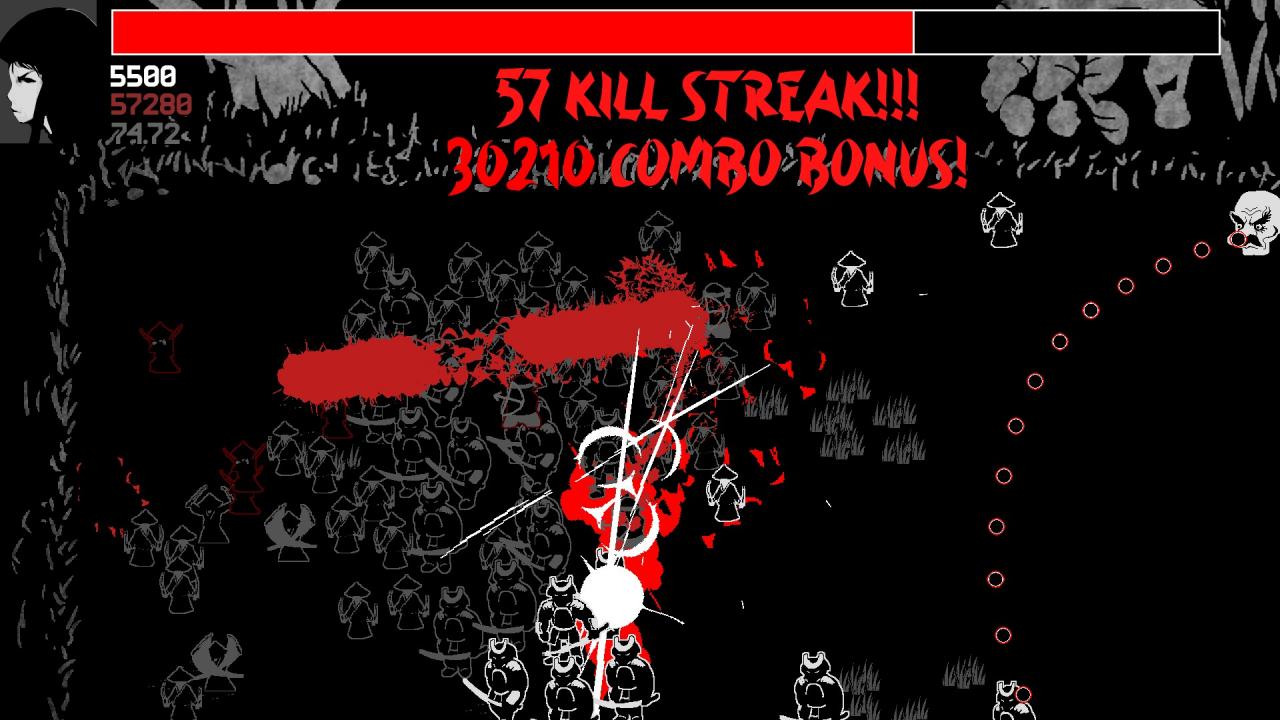
Once you find that the number of enemies is sufficient, or just too much to handle, cull the herd by moving to a corner, and then using a large amount of the bar to kill as many enemies as possible. Take your time as you move your slash in a zigzag movement, so as to not miss any enemy and leave yourself vulnerable. Also remember to position yourself in a safe space at the end of the cull.
Characters
Abilities:
- Much faster movement
Difficulty: ☆
Strategy:
Kazuya has few strengths, but even fewer weaknesses. His fast speed allows him to run out of the range of most enemies, and he does not need to prioritize archers as much as he can easily get out of the way of their attacks with his speed. Even when faced with sudden danger he’s capable of using quick slashes to get into safe spaces. Just be careful after using up the bar to cull with him, as he is still very vulnerable even with his quick speed while his bar is refilling.
Tengu heads are a priority to take out for Kazuya, as their bullets severely limits the safe spaces he can move into. Also, kazuya is so fast he can easily run into the slow moving bullets, so watch out for that as well.
Abilities:
- Two lives
- Destroys all enemies when damaged
- 0.25x multiplier
Difficulty: ☆☆☆
Strategy:
Oda is an oddball whose main goal is surviving as long as possible. His abilities does not grant him any benefits in-game before he dies, and his low multiplier makes it less attractive to do a high combo on him. As such, he lives and dies based on how well you can perform quick slashes and jumping the herd.
Take out tengu heads and archers as top priorities. Always try to be moving via quick slashes near the walls of the arena so melee enemies won’t be able to keep up with you. Culling is less advised for him due to his abilities, but can still be done when given a good safe space in order to reduce the number of enemies. But overall you’ll want to focus on surviving as much as possible and increasing your points via quick slashes instead of culling.
You can choose to suicide when you think there is a huge number of enemies, as the points he gets from killing enemies after being damaged is still increased exponentially, even when reduced by the multiplier. I think you will need at least 60 enemies in the arena before this becomes viable though. Note that his arena wipe will happen when he is hit the second time as well.
Abilities:
- Attacking does not require full bar
- Longer bar
- Slower bar refill
Difficulty: ☆☆
Strategy:
Arguably the easiest and best character to get a high-score with. Tomoe has the largest bar by far, and also have next to no downtime on her slash even without using a quick slash. This makes her the prime character for circling a herd and culling.
Tomoe can in all practicality maintain her bar with even with continuous quick slashes. However, her slow bar refill will cause her to be unable to refill her bar for the next culling if she does so. As such, focus on using quick slashes to take out key targets such as archers and the tengu heads, and repositioning into safe spaces where she can walk to refill her bar. Once enough enemies have gathered, prepare for an amazing haul.
Be wary of having a low bar as her, as it will severely limit what she can do. Try to practice finding and creating safe spaces if this happens often, as this should rarely happen with good bar management and quick slashes.
Abilities:
- Destroys surroundings at end of attack
- Attacks use entire bar
- Slower movement
- (Bigger hitbox)
Difficulty: ☆☆
Strategy:
Masashige has some big strengths to accompany his big weaknesses, and his play style is completely different from the other characters due to his abilities. First off, quick slashes are impossible on him as his attacks always use the entire bar. In addition, his slow movement and big hit-box makes circling the herd next to impossible with him. However, his shock wave at the end of his attacks will create a natural safe space for him. As the shock wave destroys any nearby enemy and bullets, melee enemies as well as the tengu heads’ bullets are not as big a threat to Masashige. But archers are now his worst enemy and top priority to kill as their attacks can easily out-range and out-last the shock wave, killing Masashige as he’s recovering from his attack.
Masashige’s bar is deceptive big, and he can easily wipe out 3/4 of the arena along with his shockwave. A good sideways hourglass like shape from the center of the arena can wipe out the tengu heads as well as the archers who spawns at the left and right sides of the arena, while providing plenty of safe space for Masashige to refill his bar. Always use the bar to the fullest as there is no benefit in leaving unused bar from your attack.
The priorities for Masashige’s attacks are as follow:
- Kill ALL archers currently targeting you on the map (always check the left and right side of the arena where they spawn)
- Kill ALL remaining archers you can see
- Wipe out at least 1 side or corner to use as a safe space
- Wipe out tengu heads
- End as near to the center of the arena as possible
After an attack, his priority is to retreat to a safe space until the bar is refilled. For Masashige specifically, I would suggest not trying to herd enemies to go for a high combo. Instead use the bar whenever it is refilled to wipe out as many enemies as possible.
*With the latest update changing his bar refill from 0.75x to 1x, Masashige has his difficulty tuned down to ☆☆ instead of ☆☆☆☆.
Abilities:
- Almost no delay between attacks
- No slowmo during attacks
- Faster movement
- 2x combo multipler
Difficulty: ☆☆☆☆☆
Strategy:
Hideyoshi is the most demanding of all characters, having a lot of strengths but giving up any form of defense by ditching the slowmo. He is highly rewarded with points for achieving combos, making herding a highly lucrative, if dangerous option for him.
Similar to Oda, he lives and dies by his quick slashes. You’ll be constantly using quick slashes to get in and out of dangerous situations. Unlike Oda however, Hideyoshi also comes with faster movement speed, giving you a good amount of time to plan your next move if given safe space.
Your top priorities as Hideyoshi is to take out the tengu heads, followed by archers who can track your movements. Stick near the walls of the arena and quick slash between the checkspoints while jumping the herd. Be prepared to quick slash to the next checkpoint if you land in a dangerous spot.
Once enough enemies are gathered near the center, you can choose to cull the herd by drawing a quick swirl around the crowd of enemies (if you are in a very safe area and and the time to do this), or quick draw into the enemies (you just need to be in a relatively safe area and have few enemies currently prepared to attack you). Whichever you choose, immediately quick slash to a faraway corner once the attack is done. Never try to cull if you have not recently cleared the corners of tengu heads, as you might be hit by stray bullets, or if enemies are currently targeting you, as they will kill you while you are vulnerable.
Enemies
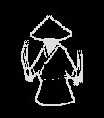
A small fry enemy. Charges for a short while before attacking a short distance towards where he first detected the player, and then follow up with 2 more attacks towards where the player currently is. Most characters can simply walk pass him as he charges his attack. Can become dangerous given speed when pushed by other enemies.
Be wary of:
- Being in a corner when a samurai begins charging his attack, or is currently attacking
- When you see him zooming towards you as he is charging his attack
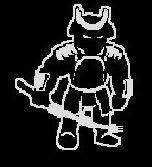
A big melee enemy. Charges for a short while before striking a far distance towards where he first detected the player. Walking pass him is somewhat dangerous as a medium speed or slow character.
Be wary of:
- Backtracking after he starts charging his attack
- Moving directly towards or away from him after he starts charging his attack
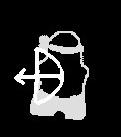
A medium range enemy. Charges for a short while with a line of sight towards the player before releasing 3 fast arrows at the position of the player at the end of the charge. Very dangerous in large numbers for medium speed characters. Near fatal to keep in the arena for Masashige.
Be wary of:
- Being in close proximity of the archer as he charges his attack
- The archer tracking you to the end point of your slash while charging his attack
- As Tomoe or Oda, archers in great numbers will force constant quick slashes if left unchecked
- As Masashige, archers will completely ruin him if left alive
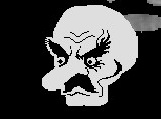
A long range enemy who will continuously shoot out slow moving bullets towards the player position. Terrible for combos as they cannot be herded away from the corner. They are the top priority to kill for the majority of characters. Do not leave them alive in large numbers as they will completely destroy the safe space you have with their bullets.
Be wary of:
- Stray bullets hitting you from the side of the screen
- Allowing them to remain in large numbers (>3) and flood the arena with bullets
- Trying to get past them in a corner while the bar is refilling
Thanks to Darksun for his great guide, all credit to his effort. you can also read the original guide from Steam Community. enjoy the game.