This guide is aimed at S2FM animators who may be confused about using workshop content after most likely migrating (or trying to migrate) from SFM (where using workshop content is quite simple).
What you need
Unfortunately, you will need to download some additional tools for this:
1.) GCFScape – for unpacking workshop files
Before beginning this guide, make sure you:
1.) Have made an addon in the Half-Life Alyx workshop tools
2.) Have downloaded the addon you want to import
How to import models and textures
You can find this in the URL of the workshop page for the addon.

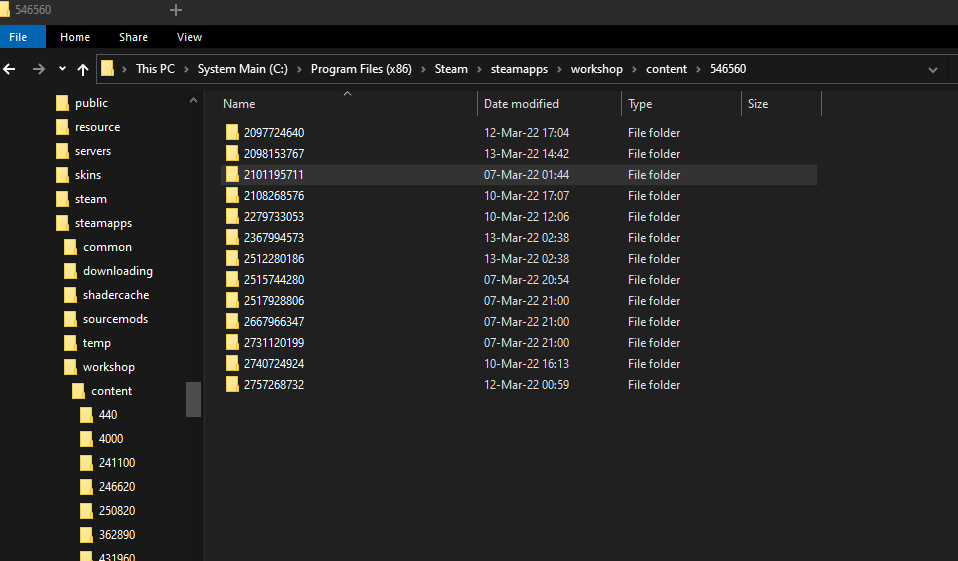
C:\Program Files (x86)\Steam\steamapps\workshop\content\546560
Its folder will be labeled with the ID you copied earlier
C:\Program Files (x86)\Steam\steamapps\common\Half-Life Alyx\game\hlvr_addons\(your S2FM addon name)
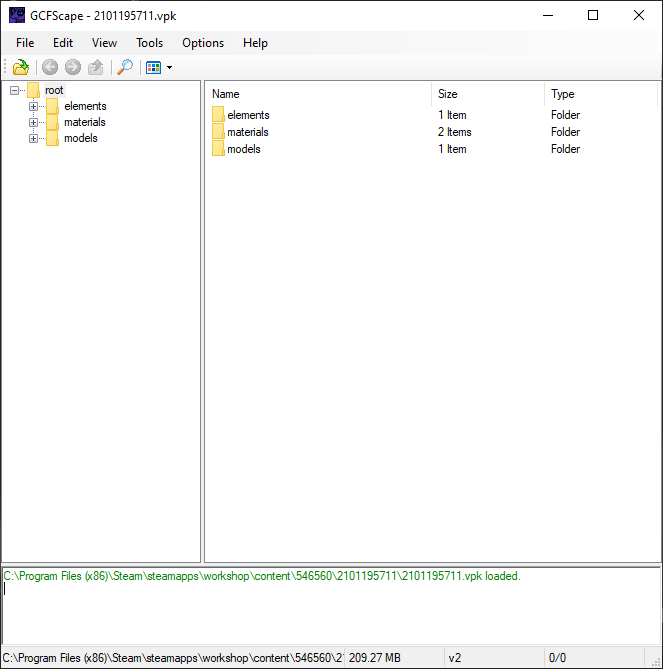
Take all the folders shown in GCFScape and drag them into the directory in step number 5
The models will now be imported in all your S2FM sessions
How to import maps
You can find this in the URL of the workshop page for the map.
C:\Program Files (x86)\Steam\steamapps\workshop\content\546560
Its folder will be labeled with the ID you copied earlier
C:\Program Files (x86)\Steam\steamapps\common\Half-Life Alyx\game\hlvr_addons\(your S2FM addon name)
Take all the folders shown in GCFScape and drag them into the directory in step number 5
All of the folders contained in the .vpk file (opened via GCFScape) and also the .vpk file itself should be in C:\Program Files (x86)\Steam\steamapps\common\Half-Life Alyx\game\hlvr_addons\(your S2FM addon name)
You should do this, because sometimes, for some reason, S2FM breaks with certain maps if you don’t.
Your map should now be imported and openable in S2FM
Thanks to Soldier gaming for his great guide, all credit to his effort. you can also read the original guide from Steam Community. enjoy the game.