This guide is meant to help players with obtaining the “By Will Alone” achievement, which entails beating the game using only the starting short sword. I’ll primarily describe methods for fighting the bosses, as these fights are where most of the run will be spent, but I’ll give some general level tips as well.
Level 1 and Boss 1
The first level is the easiest of the five, both in normal runs and with the short sword. You’ll be able to take out most enemies in three to five hits, which can be done within their attack windows.
If you’re unaware, you must kill a certain amount of enemies before you can open a level’s boss door. Killing an enemy fills the white circle on your HUD, and when that’s full you will be able to progress to the boss. As far as I can tell, most enemies will fill this meter by the same amount when they die; only the small exploding eyes and similarly tiny enemies will add less to it.
The easiest enemies to farm for this in Level 1 are the red eyes, the small medium-sword-wielding guys, and the mages, all of which die in three hits. It’s best to hit the latter two after they’ve done their attack, so they don’t catch you off-guard. The little helmet guys that walk around die in three hits too, but they do contact damage so you’ll have to stay at a safe distance from them.
The fire mages take five hits to die, which can be done within one attack window but only if you’re quick. Try to avoid them, if you can.
You’ll want to make sure that you’re staying good on health and gems. Each boss drops 200 gems, and a full life gem in the village health shop costs 1000 gems, so I would recommend only entering the boss room if you have 800 gems or more.
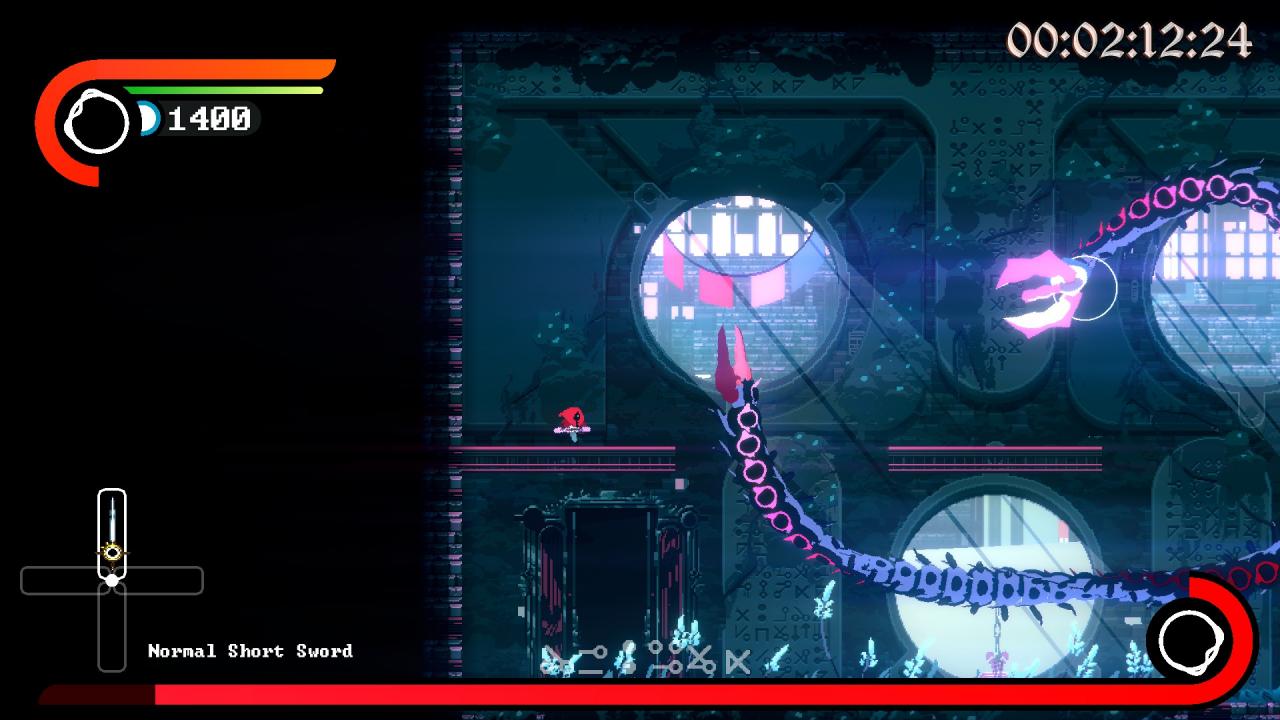
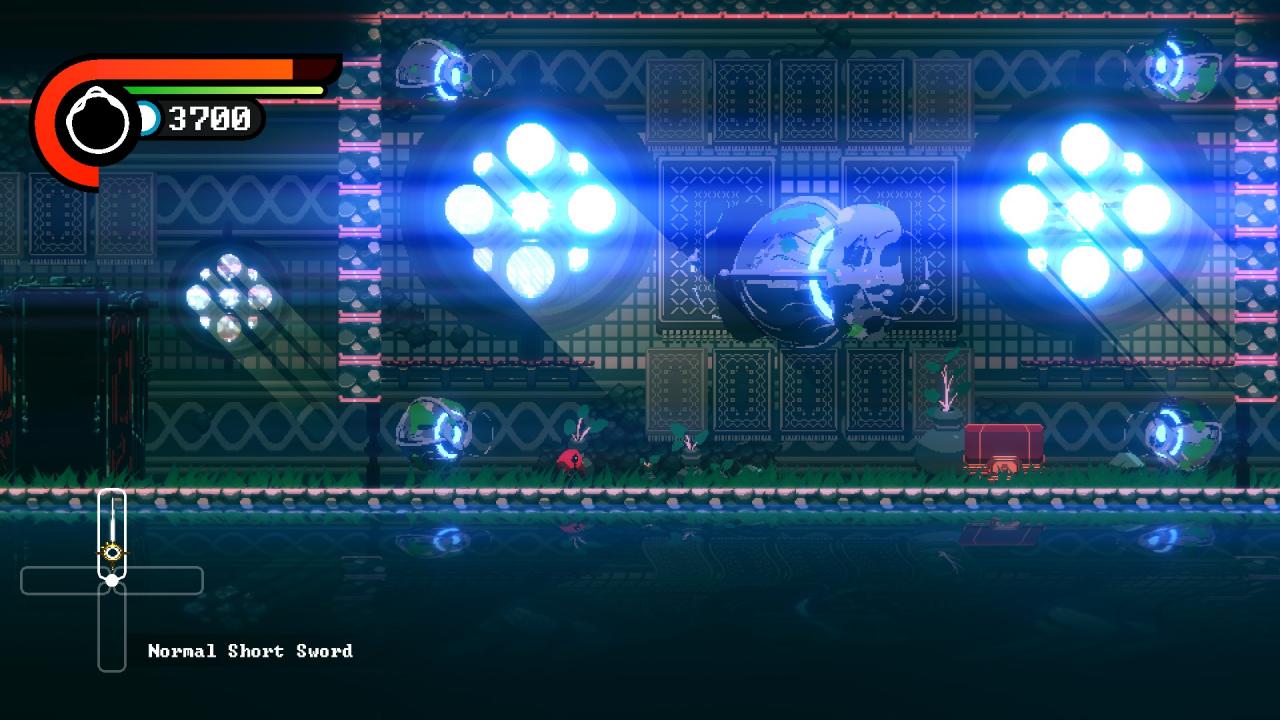
Boss 1
This one is arguably the most annoying to fight with just a short sword. Because of the sword’s knockback you’ll have trouble landing consistent damage on him, and the longer the fight goes on the more susceptible you are to being hit by his orbs. Thankfully, his tail is unaffected by knockback, so you can take off a solid 25-ish% of his health just by targeting that. Once you’ve destroyed his tail, start chasing after his head, and only let up if he’s about to do his orb or grab attack. His laser can be easily avoided by circling his head.
One strategy that works semi-decently is to keep him stuffed in the bottom left or right corner and to attack him from above, so that he gets knocked back into the corner. Eventually he’ll charge off, but this should give you an opportunity to get more hits in than you would otherwise.
To avoid his bite attack, either move out of the way or dash through it. Be wary of attacking him immediately after, though, because even after he’s bounced off a wall his head will still do contact damage for a few seconds.
Dodging his orb attack is harder, as it depends on where he’s positioned when he fires off, but you’ll generally be able to dash through whichever ones are heading towards you. If you’re feeling lucky you can try reflecting them, which can do extra damage if they hit his weak points.
Level 2 and Boss 2
This is where the difficulty starts to pick up. Many of the enemies can still be killed within one attack cycle, but they hit back harder than the previous level’s enemies.
First things first: avoid the fire spiders and the big sword guys. You can kill the spiders in 3 hits, but their window between attacks is very hard to take advantage of (unless they’re horizontal to you) and their flames are painful. The big sword guys cannot be killed within one cycle, and their swings take off big chunks of your health, so they’re not worth the risk either.
You can still reliably farm the red eyes, but you’ll have to manage timing for the other enemies more than before. The easier new enemies, I’d say, are the shirtless orb-firing guys and the exploding eyes / helmet guys. The homing orb mages are trickier, as their windows are pretty short and their orbs will home in on you as you attack them, unless you run the orbs into a wall, but they can be targeted as well.
Boss 2
I’d say that this is the most difficult boss for this run. He is also simultaneously the easiest to kill.
There’s no clear tell for when he’ll swing at you, or if you’re in / out of his range, so you’ll have to make a habit of dashing away immediately after swinging if you choose to fight him head-on. Make sure to run away if he does his combo attack, where he dashes and attack four times. As far as I can tell, you can’t get a hit in on him then without getting hit yourself when he does that.
When fighting him, he’ll often jump towards you to try to hit you from above. If you hit him before he hits you, there seems to be a fairly reliable chance that he’ll hop back to where he was before, especially if you do this when you’re on one of the platforms (Boss 3 will do the same thing). This will eventually lead him to one of his special moves.
One of these moves is a missile attack, where he fires off four homing orbs that undulate. These can be reflected back at him for solid damage, provided he doesn’t dash in front of them after firing, which he will do sometimes. The short sword has the fastest swing rate, and if you swing while backing up it seems that you’ll increase your chances of actually reflecting the projectiles, so generally you can hit the boss with two of his four orbs. Good damage.
The other move he does is a summoning one: he’ll shoot three large exploding eyes out at you, generally two towards the bottom of the arena and one towards the top. These eyes will set off if you get close to them, so it’s best to wait until both them and the boss are about to reach you, and then to jump out of the way, leaving the boss to get hit with explosion damage. Be warned, though, that one eye exploding may knock another one right towards you. You won’t want to be hit by them.
Ultimately, I’d recommend using these two moves to your advantage, rather than fighting the boss head-on. While these moves are dangerous and hard to take advantage of, it’s even harder to fight him normally.
Level 3 and Boss 3
Hopefully you haven’t made a habit of running away from enemies, because this level has two in particular that will mob you until the end of time. One of them, the red eyes, you’re already very familiar with, but the second type are flying dark angels which shoot off holy orbs in hexagonal directions. They’re not too hard to kill, and individually they’re pretty easy to dodge, but when you’re up against five of them and eight red eyes you’ll have many regrets.
Naturally, if you play the level slow and steady (which is a habit you’ll have to build to prepare for Level 5), both of these enemies will be great for farming; your door meter will be full before you know it. In addition to them, there are giants who fire orbs from their backs and can killed safely.
Truly, aside from being mobbed, there is only one major threat in this level, and unfortunately they are the most dangerous yet: the holy homing mages. These guys fire three homing projectiles in quick succession, so quick that you can hardly get to them before they’re firing three more, and these projectiles do not let up easily. Do whatever you can to avoid them, lest you lose a third of your health bar in two seconds. If they’re in the boss door room and you have a full meter, and if you think you’re able to, make a break for the boss door. You’re invincible once you open it, so you’ll be safe from their missiles then.
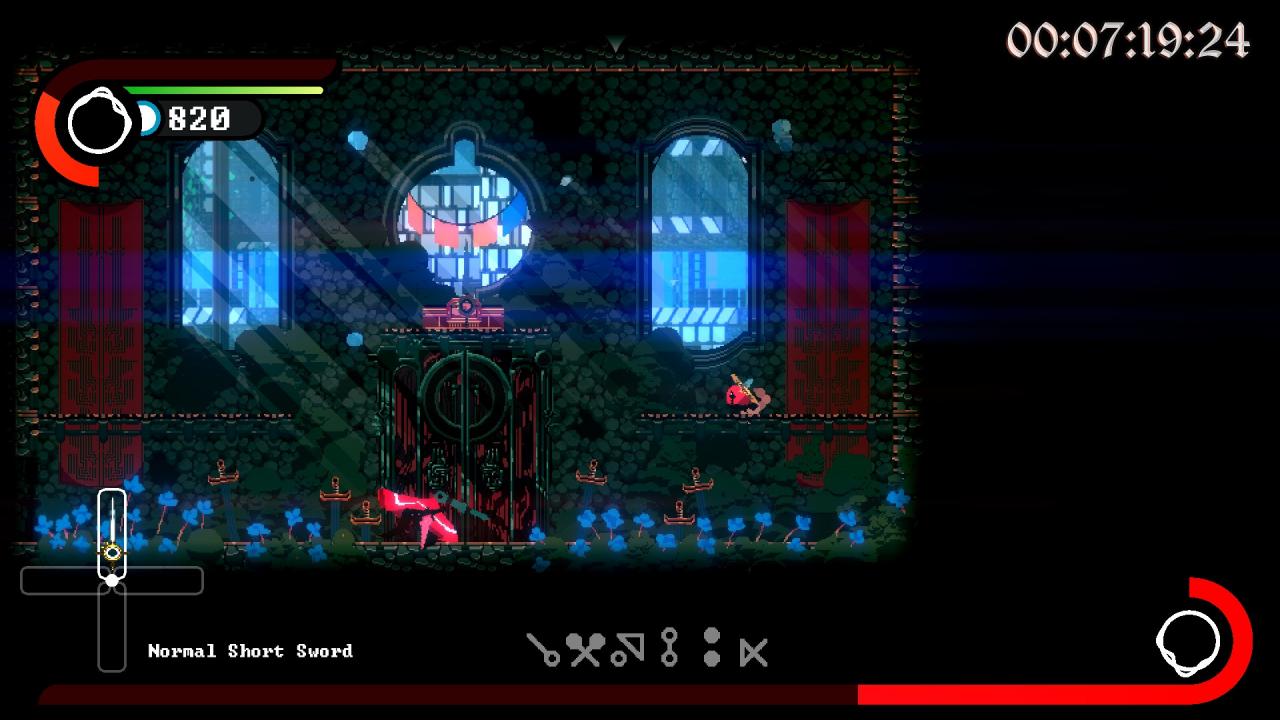
Boss 3
This boss is arguably the deadliest. Some of Boss 4’s attacks may do more damage, but this guy is wholly capable of ending your run within ten seconds.
Where he’s most dangerous is with his sword. All it takes is maybe five or six swings for him to kill you, and he can swing fast. Even if you think you can attack him and dodge before he hits back, I would recommend trying a different strategy, as his health pool is so high that you’ll have to hit perfect dodges for a long time with that method.
After much trial and error, I found that by standing either on the left or right platform (I do the left) and waiting for him to jump over to you, you can get in safe jump attacks. Often he’ll jump once, allowing you to get one hit in on his noggin, then he’ll jump away, jump back, and then he’ll stay under you for a couple seconds, allowing you to get two, three, even four swings at his head before he heads back for one of his special attacks. It’s best to do a single jump as he’s jumping towards you and then to hit the double once you’ve gotten an attack or two in, so as to avoid getting hit yourself. If done right, you won’t take any damage.
He has three special attacks that shake this up, the first being an orb spam that goes for roughly 50 degrees, top to bottom. Standing on the platform it’s 50/50 whether or not an orb will be in your path, but if there is simply dash into it. Take care not to dodge off of the platform, though.
The next attack is a homing firefly, which leaves a trail behind that does contact damage. Thankfully, since you’re on the other side of the arena, you won’t be in range of this. It is only dangerous if he does it while he’s jumping towards his platform, at which point the firefly will have enough range to reach your platform.
The last attack has him conjuring orbs from the floor and the ceiling to converge on you. I generally jump to the middle platform to dash through the orbs coming from the right, and then I dash through the dash ones coming from the left so that I land back on the left platform, but you can adjust this if you prefer to use the right platform.
Doing all this right should cinch you the victory.
Level 4 and Boss 4
While the red eyes (as you know them) are still here, and still easily farmed, most of the enemies in this level require either patience and good timing, or avoidance altogether.
The first ones you’ll probably see are the worms. These can be killed in one hit if you hit them at a precise time, though I still can’t figure out when that time is, and it’s likely that you’ll have to clear them since they chase you harder than any other enemy. I believe you’re supposed to hit them when they’re not charging up for their electric attack, but correct me if I’m wrong.
There are also flame boxes, which give you a roughly five second window to attack them before they shield themselves and start spinning flames. They’ll follow you as well, and they take at least two cycles to kill. It’s best to get them against a wall, where knockback won’t knock them away.
Avoid the blue guys with swords- they will kill you.
The shamans that summon orbs from the ground can be attacked safely, but they take a lot of hits to kill, and generally I don’t believe they’re worth the effort.
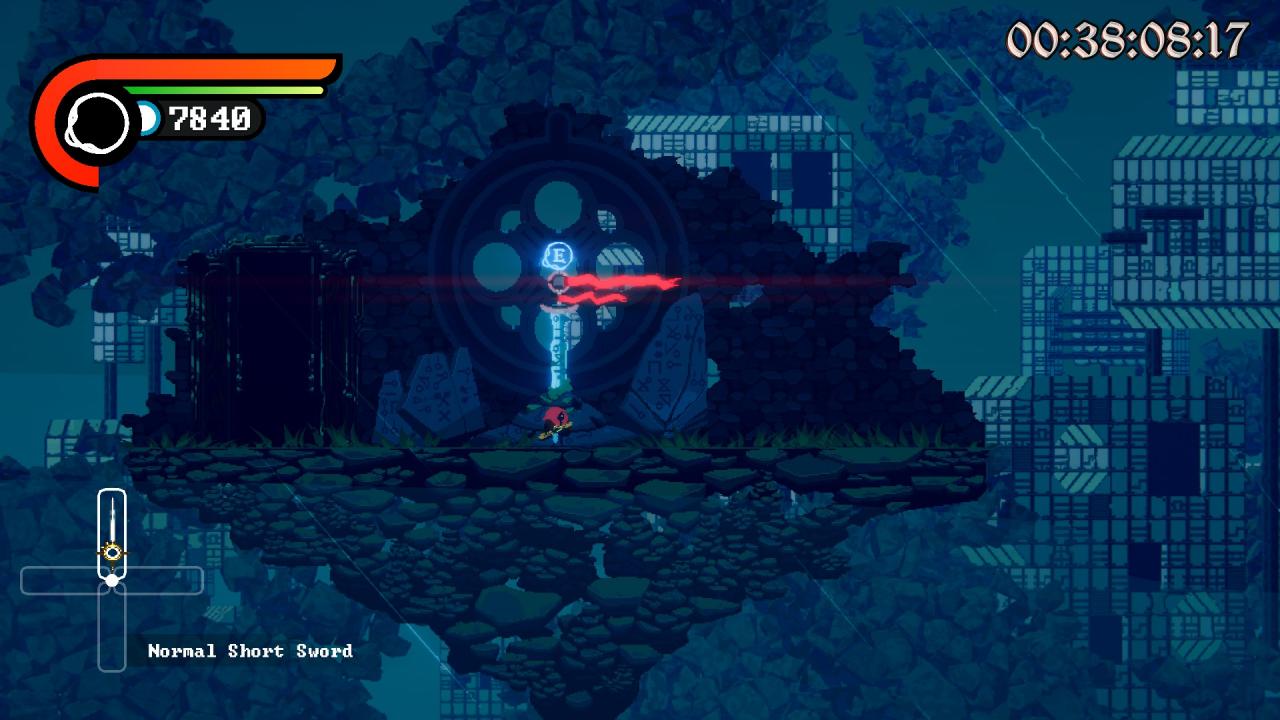
One highly important thing to note about this level is that there isn’t a traditional village after it. Once you beat Boss 4, you’ll talk to an NPC who will only replenish around 70% of your health. If your health is too low after beating the boss, you won’t be put at full health before entering Level 5, which could drastically impact your run. You don’t need to worry about saving gems anymore, but you do need to worry about beating the boss safely.
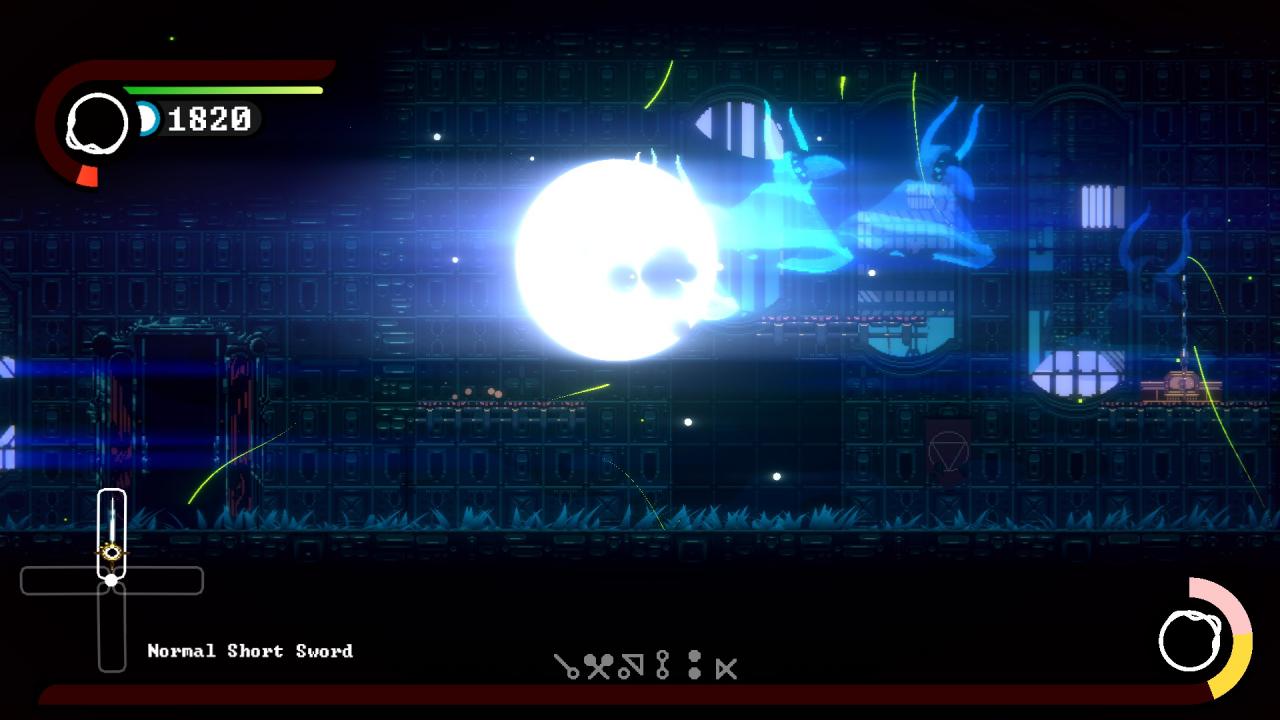
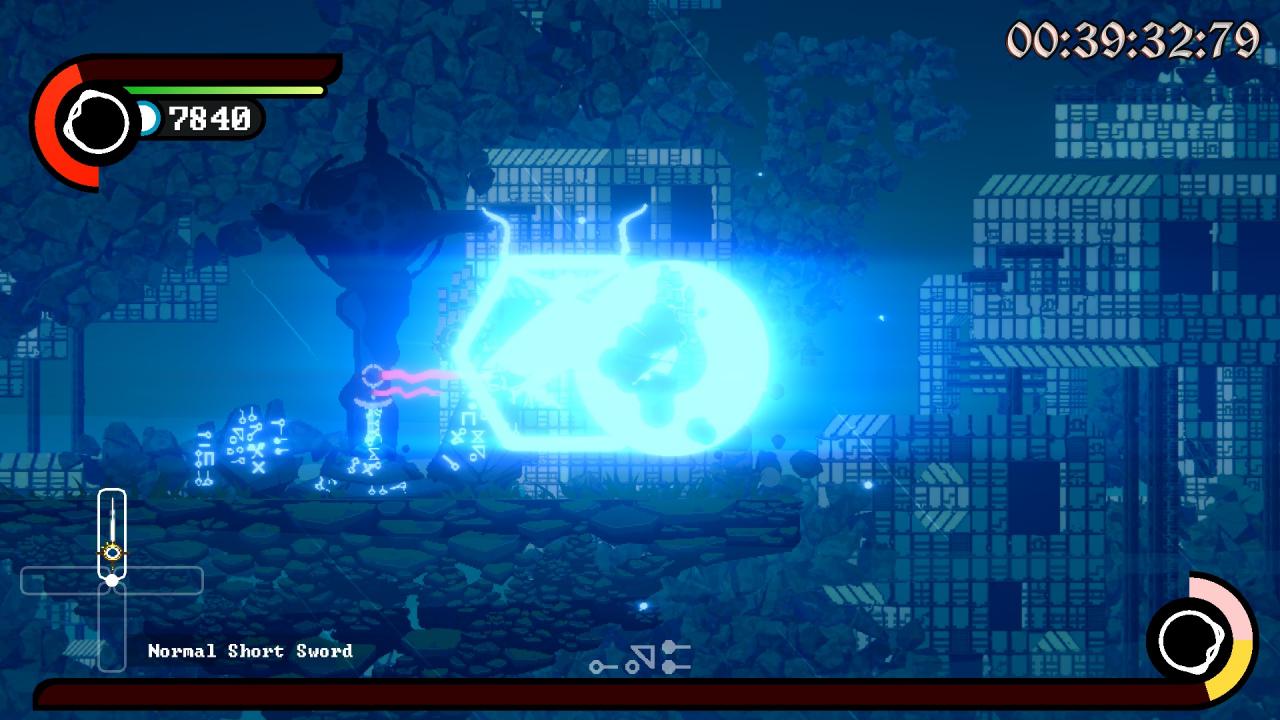
Boss 4
This fella takes the most concentration to beat. He has a highly varied moveset and a forcefield mechanic that you need to time just right to maximize damage dealt, especially if you want to get the fight done any time soon.
Assuming you don’t know the mechanic, he has four eyes in each corner of the arena that blink blue at the start. Hitting all four of these eyes, in any order and at any time, will shut down his forcefield for a little over five seconds. It will only shut down his forcefield, though; you’ll still have to worry about him attacking while you try to get damage in on him.
He has five attacks that he cycles through at random, sometimes doing them twice in a row. I’ll list them out below.
1. Explosion: His main body will charge up for a few seconds and then explode. This one is the easiest to dodge – just move out of the way. If he’s charging before you’re about to hit the last eye, wait til he explodes and then knock his shields down. You’ll have enough time to get five or so hits in before his next attack begins.
2. Exploding Eyes: Starting from I believe the top right, he’ll throw his corner eyes at you and they’ll explode right after reaching where you were when they were thrown. These do immense damage, enough to potentially kill you if you don’t dodge any of them. You’ll have to put good distance between you and whatever eye is heading towards you to survive. The best way to do this is to stay next to the wall opposite to them and to wall-jump away from them. You can also dash across the arena, but be careful not to dash too soon or else you’ll be caught in range of their blast.
3. Projectile Spam: His bottom corner eyes will fly up to the top and start shooting projectiles at you, two rows from each corner, for around five seconds before stopping. If he does this attack before his shields are down, all you have to do is stand in one corner while they’re preparing and then run to the opposite corner once they start shooting; you’ll be safe from harm this way. However, if he does this attack when you’re attacking him, you’ll need a much faster reaction time to get in the corner closest to you. If you’re even a little too late you’ll risk being hit by multiple projectiles.
4. Laser Mesh: He’ll charge up a mesh of lasers that cover the whole of the arena, so your only option is to stand in one of the open spots while this happens. The lasers will close in on you during this, so pick the largest gap you can find, preferably on the ground floor. Don’t touch the lasers until they’re completely gone.
5. Laser Spin: This one requires precise timing to dodge, however there is a cheese strat that you can abuse at the time of writing this. I dodge it by standing towards the right side of the arena, under the edge of the platform, and then dashing into each oncoming laser and backing up until the lasers have dissipated. It’s important to get the rhythm for this perfect, because if you’re off even by a little bit you could get hit. Alternatively, you can jump into his main body and jump over the oncoming lasers to avoid them, however this might be patched out. If you can down the shields right as he’s starting this attack, you can use that strategy to get some very good damage in on him; hitting him while he’s doing this attack includes hitting all four of his eyes, so you’re effectively doing 5x damage.
The most important part of this fight is to be patient. You’ll have to go through many attack cycles and shield-downs before you can finally get him. As a whole I believe the fight takes around five minutes, so it’s important to make sure you’re dodging everything correctly so as to avoid taking damage, especially since the NPC after this fight only recovers a portion of your health.
Level 5 and Final Boss
This is the one you’ve been training for. The longest level by far, with some of the hardest enemies in the game and, because of the level’s length, the highest density of enemies. This one took me 10 minutes to get through, thanks in part to how carefully I progressed it.
The first thing you’ll want to do immediately after spawning is to take a quick peek out of either exit and then run back inside. The red eyes that we know so well have evolved into laser eyes, which will fire a laser at you that sweeps downward (making it harder to dodge if they’re not directly above you), and they tend to hide off-screen. Any time you finish a room in this level be sure to peek out of the exit to make sure they’re not targeting you.
The laser eyes take over five hits to kill, and even after killing them they’ll fire a laser for a short time before disappearing completely, so I wouldn’t recommend targeting them unless they’re in your way. Thanks to the sheer scale of the level, you’ll likely have a hard time finding a health shop if (when) you take damage, and you’ll have to rely on random health drops from enemies to recover most of your HP.
The remaining enemies can be killed safely in one-on-ones, although you’ll still have to be careful. The big sword guys and the bouncing pincer things will usually only leave you enough time to get a hit or two in before you have to retreat, and the triple projectile mages, while easier than the holy mages, do shoot faster projectiles than any other enemy in the game.
There are floating lightning boxes that do chain damage to you and other entities when in range. They only do their attack when they spot you, which they indicate with by a small circle appearing on them, and so you can lead them to other enemies to have them do the dirty work for you. Every time they do a shock attack, they play an electricity sound effect, so be sure to only attack then after you hear that sound. You can safely hide behind walls while fighting them; they don’t like following you in rooms.
Most of the enemies you’ll encounter are small mask orbs which are spawned by lil barrel guys. These are killed within two hits and can be farmed for health, albeit their drops are small, and the barrel guys are killed pretty easily as well.
Note that after entering the boss door you won’t immediately be sent to the fight. Instead, you’ll enter an intermediate space with a giant who restores most of your HP when you talk to him. This means that if you’ve found the door but not the health shop, and your health is low, it’s best to enter the door and take the HP restoration from the giant. It might not put you at full health, but it’s better than dying trying to find a shop.
Final Boss
After a long journey, you’ve reached the final battle. Breath easy, for this one is the second easiest.
Although some of his attacks are hard to dodge, and in spite of him having a shield mechanic that seems to pop up in-between attacks, his low health-pool and constant decision to stay in your range means you can swing on him for basically the entire fight. The one thing you’ll need to seriously worry about is the edge; unlike other arenas, this one is a small floating island which you can easily fall off of if you’re not careful. For the sake of your sanity, mind the edge.
From what I can tell, he has four attacks. One is an exploding hand one similar to Boss 4’s exploding eyes move, where he’ll shoot his hands after you, repeatedly trying to catch you in their explosions. This move is harder to dodge that Boss 4’s, as there’s no wall for you to utilize, but the same principle of leading them to one place and then running away before they explode still applies here.
The next attack is projectile spam, where his hands will line up in hexagon formation and start spamming you with bullets for a pretty long time – seven seconds, maybe? This one is the hardest to dodge, and because of their formation I’m not sure of any good strategy for dodging them besides dashing and praying.
His third attack a bullet hell attack, Touhou style, where bullets will rain from above and you’ll have to run back and forth across the ground trying to dodge them. They’re not too hard to dodge, but it can be disconcerting seeing a shower of projectiles coming from above.
His last attack involves a giant sword, which he drives into the ground to create a delayed earthquake. If you’re on the ground when the shockwave occurs, you will get hit, so once the sword hits the ground be sure to jump and double jump to avoid the quake.
He does these attacks in quick succession, so it’s important to spam as many attacks on him as you can. If done right, you can finish this fight in barely over a minute (though it’s likely that his healthbar will be buffed soon). Once you’ve beaten him, you’ll be transported to the top of the tower, where you can witness the ending sequence in all its glory. The achievement will appear once the credits roll.
Hopefully this guide will have helped you in your journey towards the “By Will Alone” achievement. If you have any suggestions / strategies that you’d like to share, be sure to post them in the comments section.
Thanks to nosebleed for his excellent guide, all credit to his effort. if this guide helps you, please support and rate it via Steam Community. enjoy the game.