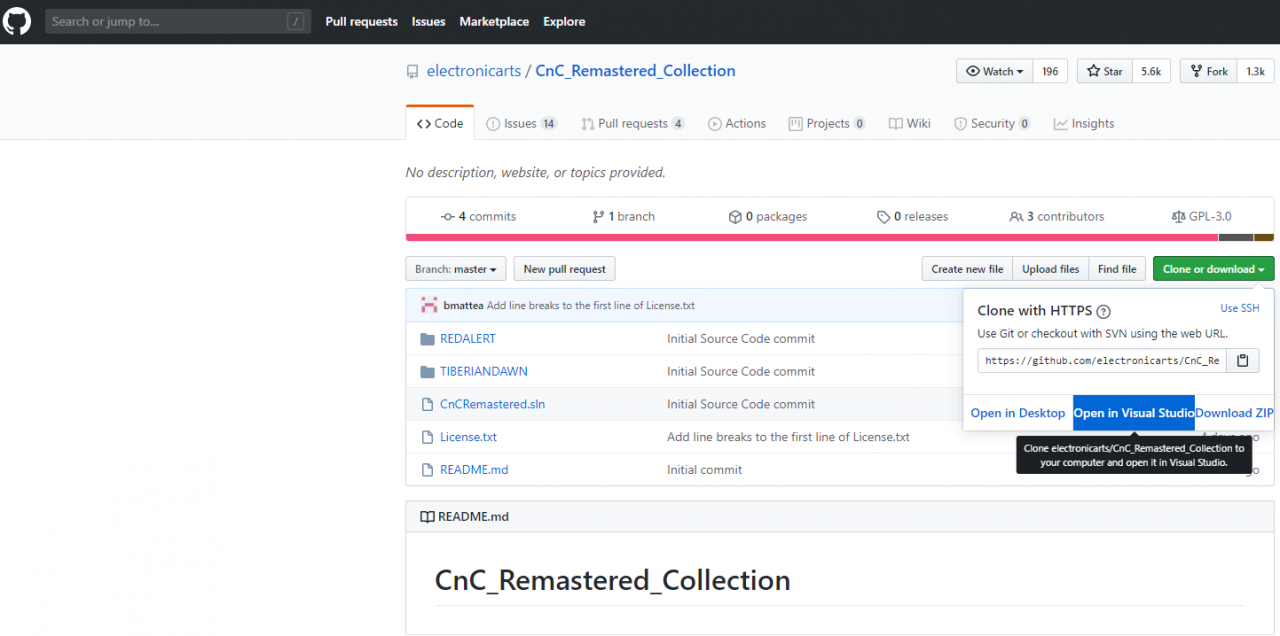
Here’s a quick rundown on how to set up Visual Studio 2019 to modify and build the open source DLL files.
Required Downloads
- The Windows 8.1 SDK from the Earlier releases section of the Windows SDK Archive[developer.microsoft.com]
- Visual Studio 2019 Community from the Visual Studio website[visualstudio.microsoft.com]
Installing Visual Studio and Windows 8.1 SDK
Make sure to select the following components:
- MSVC v141 – VS 2017 C++ x64/x86 build tools (v14.16)
- C++ ATL for v141 build tools (x86 & x64)
- C++ MFC for v141 build tools (x64 & x64)
There are many other options and you can look through them all at your leisure during this step as well.
For the Windows 8.1 SDK, simply run sdksetup.exe and go through the whole setup process. You can untick all options except for the Windows 8.1 SDK itself.
Modifying and Building the DLL
 Now that everything is there, you can safely open the CnCRemastered.sln file located in SOURCECODE within your game installation, or obtain the code from the CnC Remastered Github[github.com].
Once you have the solution loaded, if it asks to retarget the project, simply close that window without doing so. This is now the time to make your changes!
Once it’s finished and you want to build, press CTRL+B or right-click the project you are working on (either TiberianDawn or RedAlert) and click Build. You can find your built files in (Game install)/SOURCECODE/bin/Win32.
Related Posts:
- Command & Conquer™ Remastered Collection: How to Add a New Unit for Tiberian Dawn
- Command & Conquer™ Remastered Collection: Tips and Tricks for New Players
- Command & Conquer™ Remastered Collection: Infantry Sub-Cell Control
- Command & Conquer™ Remastered Collection: Red Alert 1 Allied Campaign Hard Guide
- Command & Conquer™ Remastered Collection: Red Alert 1 Soviet Campaign Hard Guide

