
If you’re struggling to make sense of Chrono Crosses tactical combat system, this guide is for you.
Note: This guide is based on Version, which created by frowningmirror.
Intro
I am writing this guide because so many have told me personally they couldn’t get into this beautiful game because it was too hard to understand. It’s currently a work in progress but I will keep it as simple as possible. My goal is to focus on the things that make this different from other turn based RPGs.

Turn-Order
Enemies are typically programmed to attack after a certain amount of time has taken place. Time is progressed with different attacks, different actions can take up different units of this time. A weak attack or using an Element moves time forward by 1, a strong attack moves time forward by 2, and a fierce attack by 3.
If we knew a Komodo Dragon gets its turn after your group has performed five actions worth of moves, you could therefore do any of these before it gets its “turn”.
Weak (1) + Weak (1) + Weak (1) + Weak (1) + Weak (1)
or
Strong (2) + Fierce (3)
Ect, but you could also do something like this:
Strong (2) + Strong (2) + Fierce (3)
Now the last attack pushes you a little over the five limit, getting in more damage before the pup can attack!
If the Pup survives, it will attack after the fierce just as normal, but making your last attack your biggest one is a good way to eliminate single enemies without taking damage!
—
This Komodo Dragon Pup will attack in five more units of time!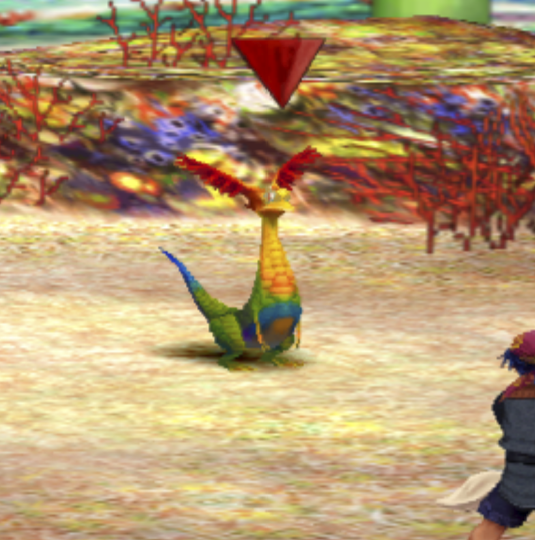 But theres nothing to indicate this…you just have to get used to the enemy rhythm.
Stamina
The Stamina Gauge:

Each character has a stamina recovery stat, and that is the rate characters recover their stamina gauge for each measure of time that passes while they aren’t attacking. Unlike most other stats, their stamina recovery is set from the start of the game unless they wear certain accessories. It never increases after battle. Higher numbers simply represent “quick” characters. Heres a list of which characters recover at what rates:
1.3- Draggy
1.2- Kid, Pierre, Razzly
1.1- Funguy, Glenn, Harle, Irenes, Leena, Luccia, Marcy, Mel, Miki, Mojo, NeoFio, Norris, Orlha, Riddel, Starky, Steena
1.0- Doc, Fargo, Grobyc, Janice, Korcha, Pip, Serge, Skelly, Sprigg, Van
0.9- Greco, Karsh, Leah, Macha, Nikki, Orcha, Poshul, Radius, Sneff, Turnip, Viper
0.8- Guile, Zappa, Zoah
—-
Example: If you have a party of Serge, Kid and Guile, and Serge expends stamina to do a “weak” attack, one unit of time will pass. The other teammates who weren’t involved with the attack will recover stamina based on their stamina rate. Thus, by the end of Serges action, Kid gains 1.2 stamina, and Guile gains 0.8
If Serge had used a “strong” attack, which takes 2 units of time pass, Kid would therefore gain 2.4 stamina, and Guile would gain 1.6! If Serge used a Fierce attack for 3 units of time, Kid would gain 3.6 and Guile would of gained 2.4
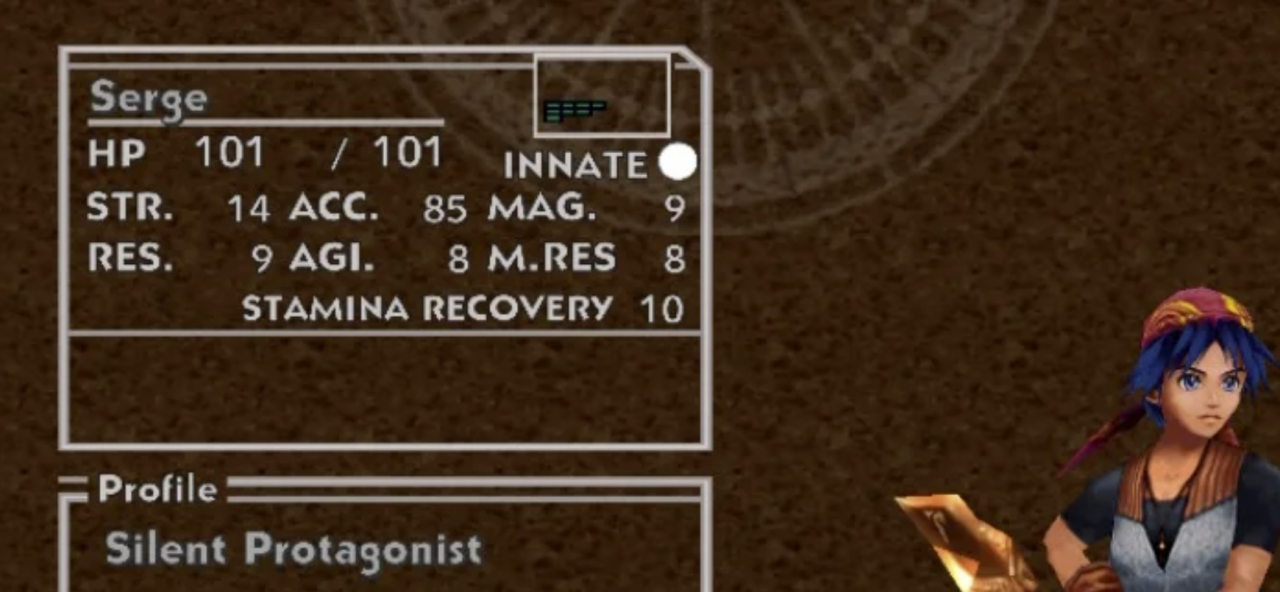 When looking in your status, sometimes the game makes you do math, you can find the stamina you recover by dividing “Stamina Recovery” here by 10 to get a fraction
Stamina Rings and Belts increase stamina. If you know you might get in a long battle I recommend using the character with the highest stamina recovery first, and have them use an Element. They can set the Field Effect to the color of your choice and get quickly back into the fight
Actions
- Attack – Weak | Costs 1.0 Stamina | 1 Unit of Time Passes
- Attack – Strong | Costs 2.0 Stamina | 2 Units of Time Passes
- Attack – Fierce | Costs 3.0 Stamina | 3 Units of Time Passes
- Element – (Any) | Costs 7.0 Stamina | 1 Unit of Time Passes
- Defend | No Cost| Until character is re-selected by player
- Escape | No Cost | Until next enemy attack (Affects everyone once selected)
If you’re out of stamina, you automatically go to the next person with stamina. If you defend with everyone, I believe the game will pass 1 unit of time forcing you to select the next character.
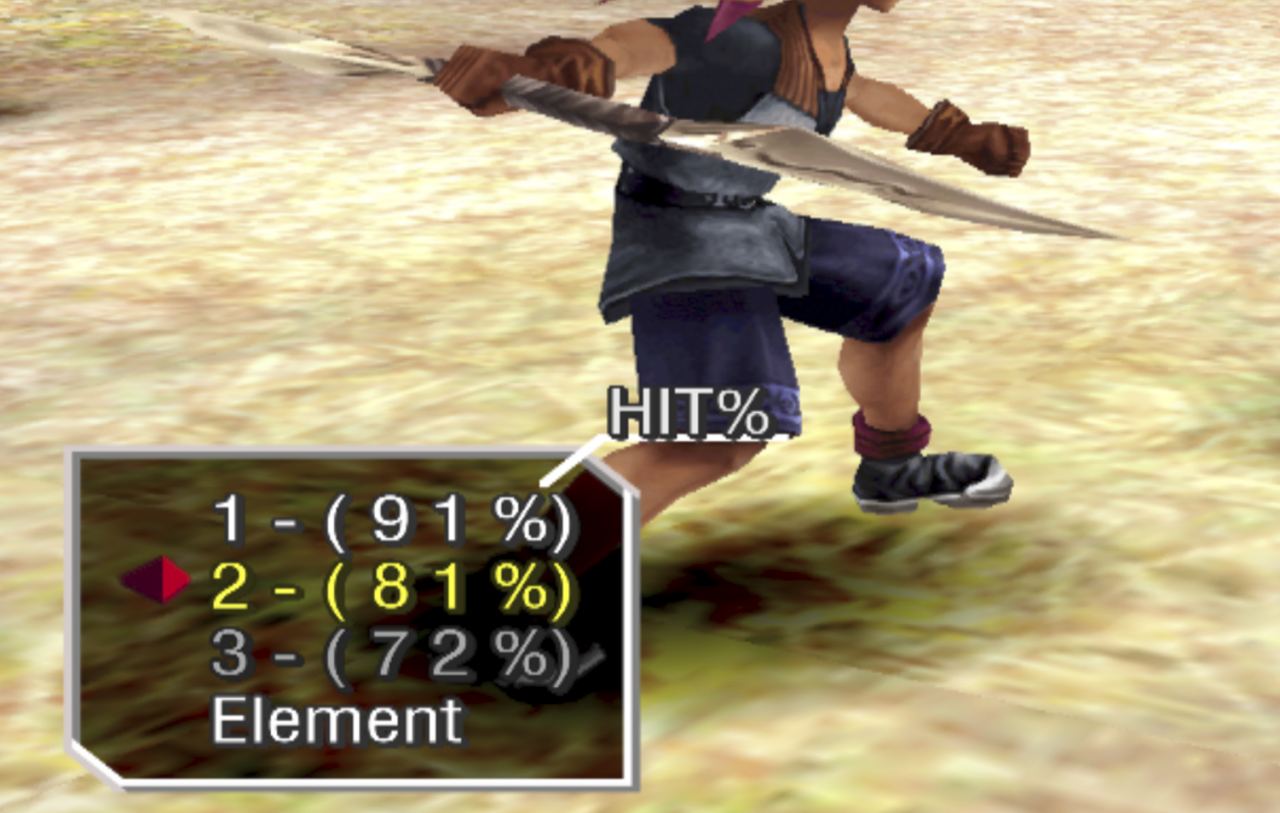
Landing attacks
- A strong attack is generally 2.5x the amount of power as a weak attack. Landing it gives 3x the hit % to your next attack as a weak attack would.
- A fierce attack is typically 4x the power as a weak attack. Landing it gives 7x the hit % as a weak attack would, to your next attack. In addition, if you use a Staff/Rod you’ll hit everyone.
All hit % gains involve a formula that gives diminishing returns the closer you are to 99%
The last thing successfully hitting your opponent does is give you grid levels, which you can think of as the “MP” resource in other games to cast the “Elements” magic system in this game. You don’t gain any levels if you miss, landing a Weak attack gives 1 grid level, Strong gives 2 grid levels, and Fierce gives 3.
—-
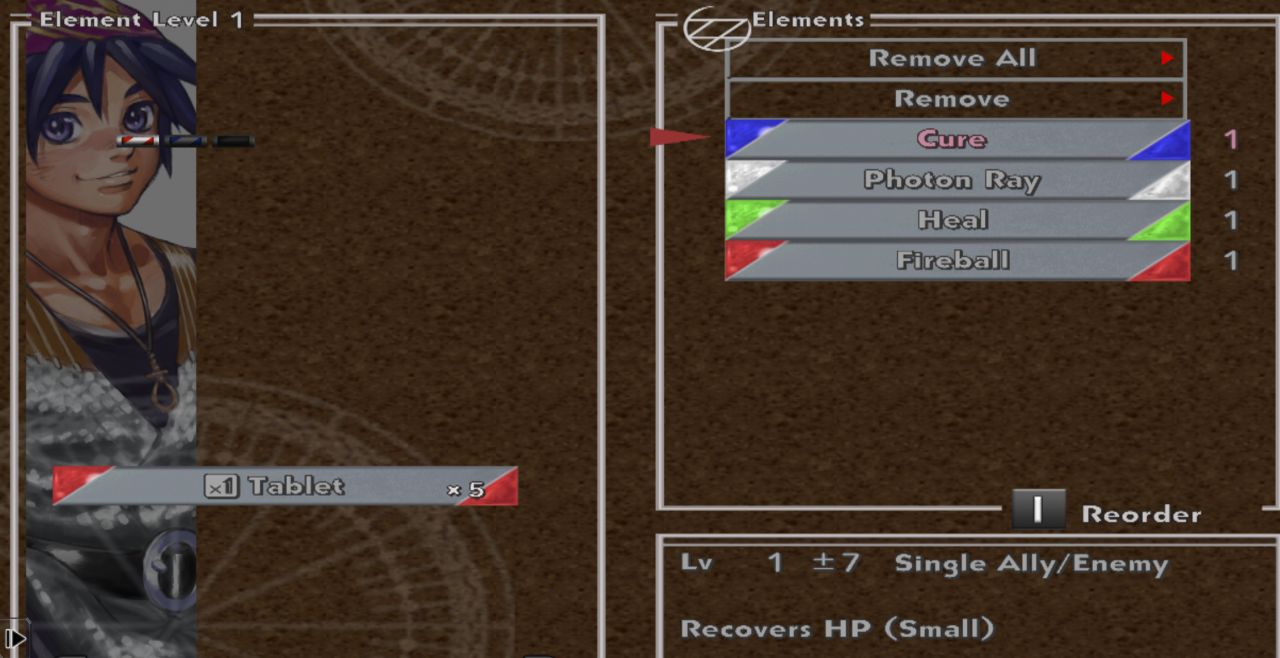
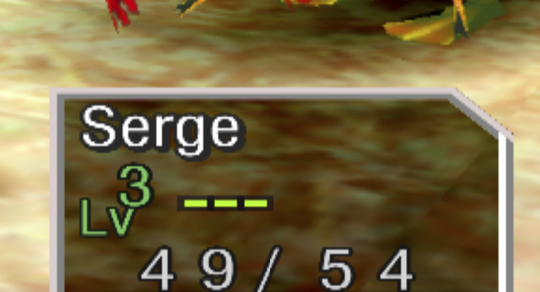 A low level Serge, all 3 element bars/columns he has are lit up, a numerical “Lv” value to the left confirms the maximum level he can cast.
Elements: Grid Levels and Allocating
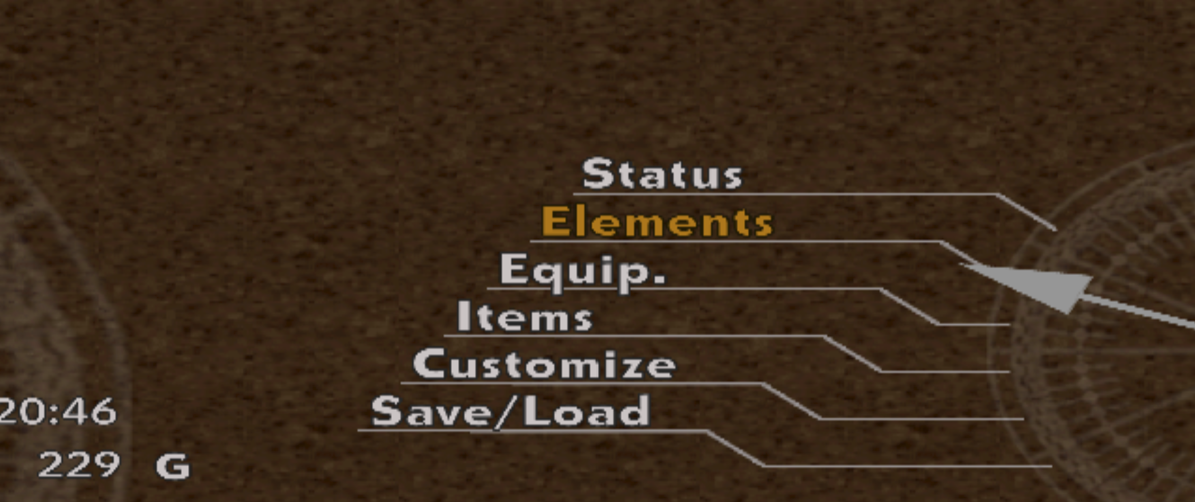 From the menu, go to Elements > Allocate > Select the character you want to change up
The Grid is small at first, it grows in a fixed pattern for each character based on the groups ★ level. (you may of seen it after a battle, more on that later). Each level can contain a column of Element spells. If your grid is “charged” at level 5, and you spend a level 2 grid spell, you’ll go down to grid level 3.
Your maximum grid level goes up to the highest Element grid level you’ve allocated. If you don’t have an element slotted in at grid level 8, even though you have an empty element slot there, you won’t hold 8 levels. Just check your grid after a boss fight and you won’t have problems here.
You may note that putting an element in a grid may produce plus or minus followed by a number after it, like “Fireball +1” or “Ultra Nova -1”. Each Element has a base level. Putting it in higher or lower level columns will increase or decrease the power and effect of that Element by 25% (that’s also why the game prevents things like -4 elements…because that would be 0 )
As a rule of thumb: A higher base means a better element. That Fireball +6 just isn’t that threatening compared to that inferno -1. In the case of the base level being the same, things that single target tend to do slightly more base damage on that single target, but most people value something that can hit more enemies at once, which will total more damage with multiple enemies hopefully wipe them out altogether.
Elements: Color & Field system basics
The Elemental magic:
Blue (Water, Ice, Evasion, Flu) <-> Red (Fire, Magma, Physical Attack, Burns)
Green (Wind, Plants, Evasion, Poison) <-> Yellow (Earth, Lightning, Physical Defense, Sprains)
White (Light, Meteors, Magic Defense, Sleep) <-> Black (Gravity, Cats, Magic Attack, Death)
Your “Innate Color” is both the color you defend with, and the default color of all your weak/strong/fierce attacks. So if you see an enemy with a Blue color, you either want to have a red character, like Kid or Zappa – run up and smack it physically, or have any of your party members use a red Element.
But this is probably stuff you already know about!
Let’s start learning about the Field Effect system. Whenever you start a fight, 3 colors will appear representative of the location you’re fighting in. Like a kaleidoscope, every time an element is used, the color of that element will appear in the inner ring, pushing the outer color out.

This game revolves around a point system based on the colors of the attacker and defender and the Field Effect. Each point is worth 12.5% extra damage on your attack, the attack can be penalized should you end up with points in the negative.
For the basic weak/strong/fierce attacks it works like this:
- Start with 1 point
- +1 for each time the attacker’s color appears in the F.E. unless the target is also that color
- -1 for each time the attacker’s opposite color appears in the F.E.
- -1 if the attacker is the same color as the target
For the Tech and Elements, the point system is slightly altered:
- Start with 0 points
- +1 for each time the Element’s color appears in the F.E. unless the target is also that color
- -1 for each time the Element’s opposite color appears in the F.E.
- +1 if the attacker and Element are the same color
- -1 if the attacker and Element are opposite colors
- -1 if the target and Element are the same color
This result is multiplied by a further 1.5 if the attack is the opposite color of the defender.
To summarize, you want to hit the enemy with the color they’re weak against, while also filling up the field with elements you like to use, while trying to avoid letting the enemy turn the field to their color.
—–
Side notes:
Innate Color locks some Elements from use. Some Elements are can’t be allocated unless the user is the same specific Innate Color as that Element. This makes Pip who changes Innate Colors a really powerful character if you build him right.
Summon Elements, represented by having a ★ in their name, are not only Innate Color locked, but require you to flood the Field Effect with their color to be used. They also consume a ★ from your ★ Level as well, but unless you are incredibly negligent user of summons, you will never run out of stars in this game, because simply going to an Inn or bed recovers ★ level to full.
Thanks to frowningmirror for his great guide, all credit to his effort. you can also read the original guide from Steam Community. enjoy the game.
Related Posts:
- CHRONO CROSS THE RADICAL DREAMERS EDITION: How to Clone Level 5 and 6 Attack Elements with Cuscus
- CHRONO CROSS THE RADICAL DREAMERS EDITION: Party Recruitment Guide
- CHRONO CROSS THE RADICAL DREAMERS EDITION: Grand Champion Achievement Guide (How to Beat Grand Slam)