A quick guide on how to disable the forced anti-aliasing in Dead by Daylight. Working as of Patch 4.3.2.
Intro
I will show you how you can disable AA in the game through this detailed and easy to understand guide. You won’t need any external software to follow this guide, and it should work with any graphics card (NVIDIA, AMD, Intel, etc.)
Accessing %localappdata%
- Pressing the Windows and R keys at the same time (Win+R)
- Opening up the Start Menu and searching for Run
- Openig up the Task Manager, clicking on Files at the top right, and then on Run new task
You should now see this window:
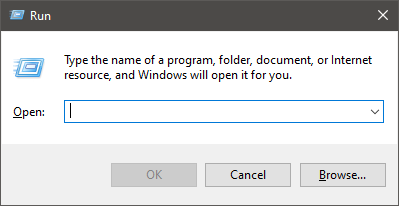
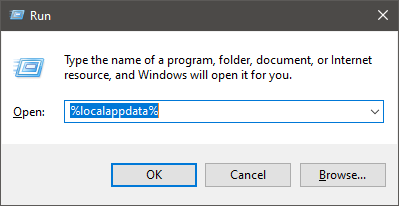
Now we need to type, or copy and paste, %localappdata% into the text box and click Ok, or press the Enter key
Editing the Engine.ini File
(Note that USER is your username, so in my case, it shows up as senpi):
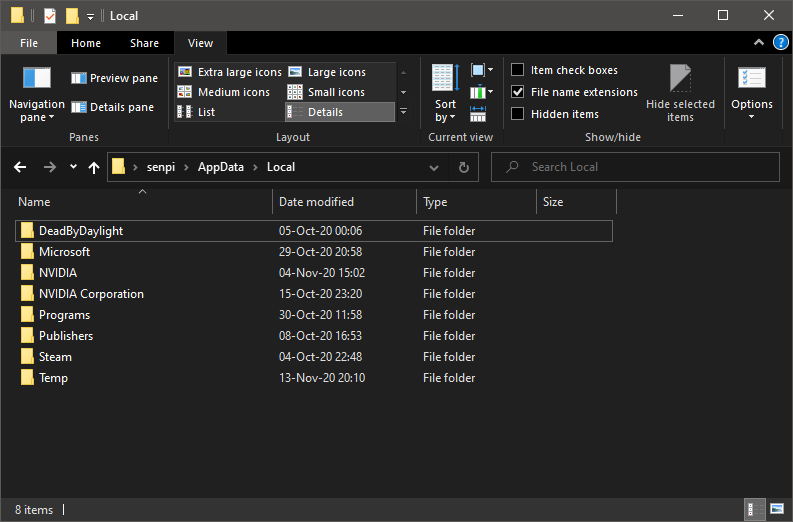
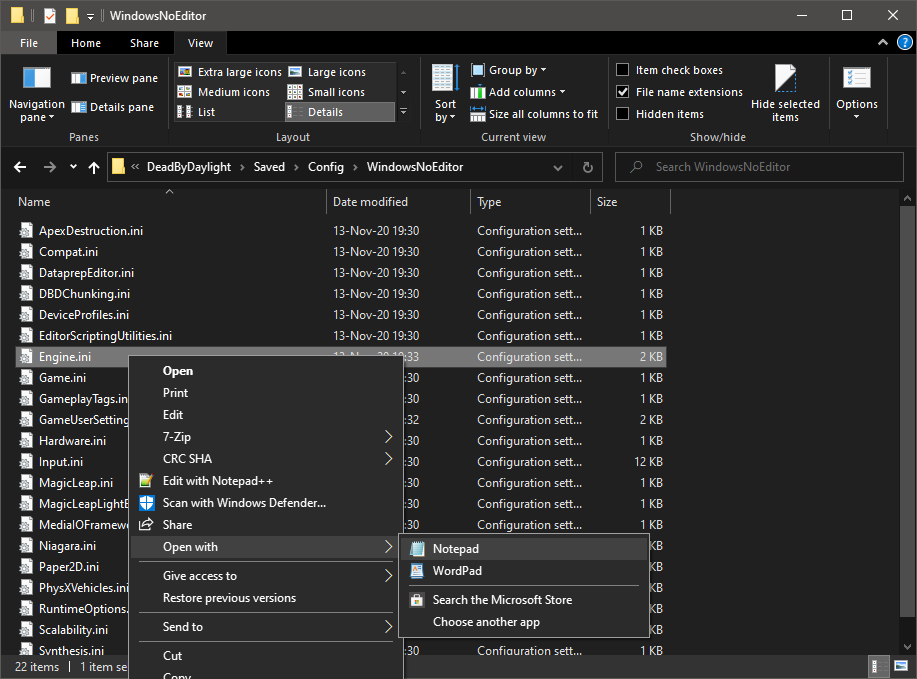
Now locate the DeadByDaylight folder, and navigate to Saved\Config\WindowsNoEditor:
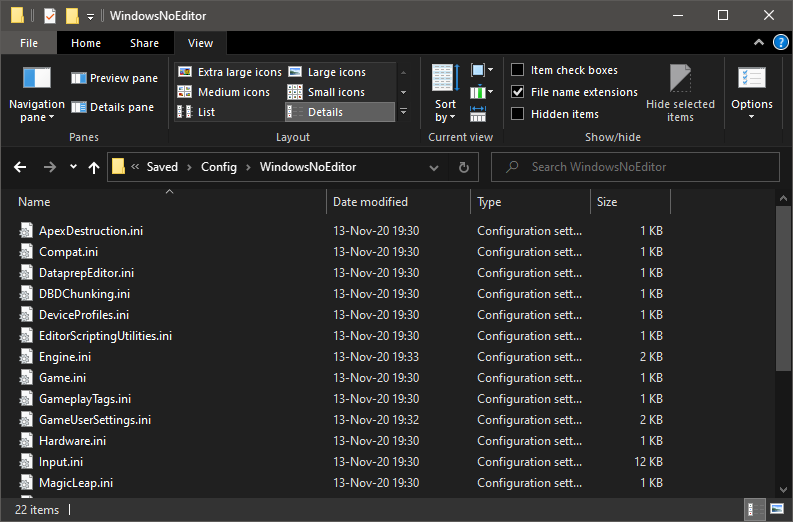
Right-click the Engine.ini file, go to Open with and choose your preferred text editor (I’m using Notepad here since everyone should have it, but any text editor should work. Personally I recommend Notepad++):
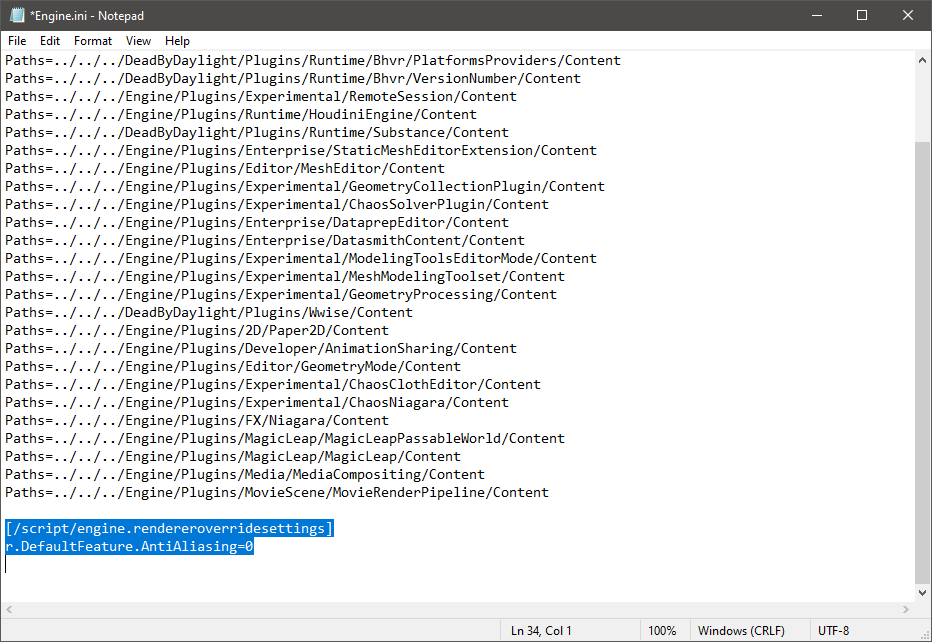
Scroll down to the last line of the file, add a break line (typically you just need to press Enter or Shift+Enter), and add the following lines:
Finalizing the Process
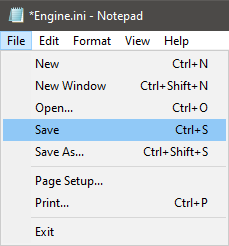
- Pressing Ctrl+S
- Going to the File menu and clicking on Save:
Now we can just open up the game and enjoy the sharper edges that no AA provides, and maybe even a performance boost.
[OPTIONAL] Make the File Read-only
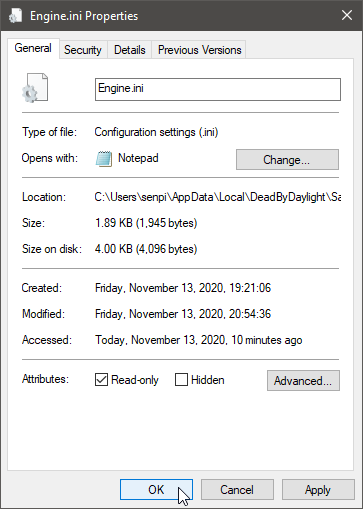
- Right click Engine.ini and select Properties
- Go to the General tab, and at the bottom of the window you should see a checkbox named
Read-only, mark it and click Ok to apply the changes and close the window
Comparison Images
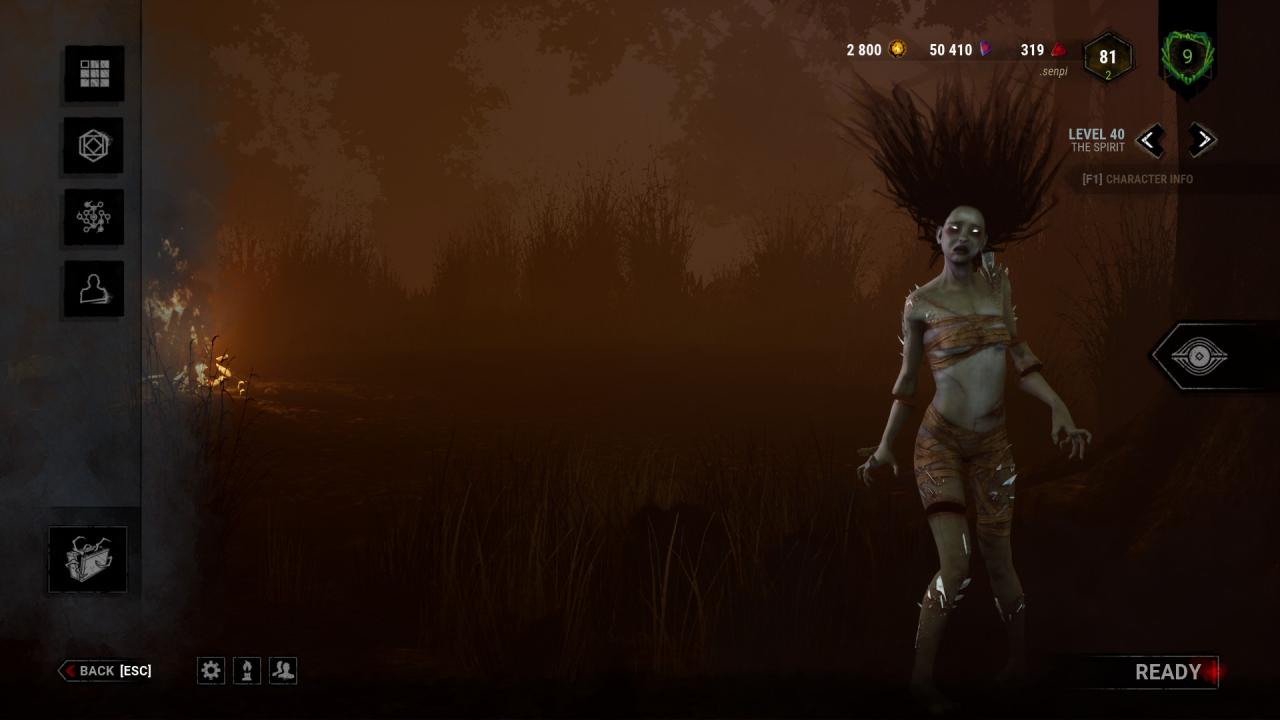
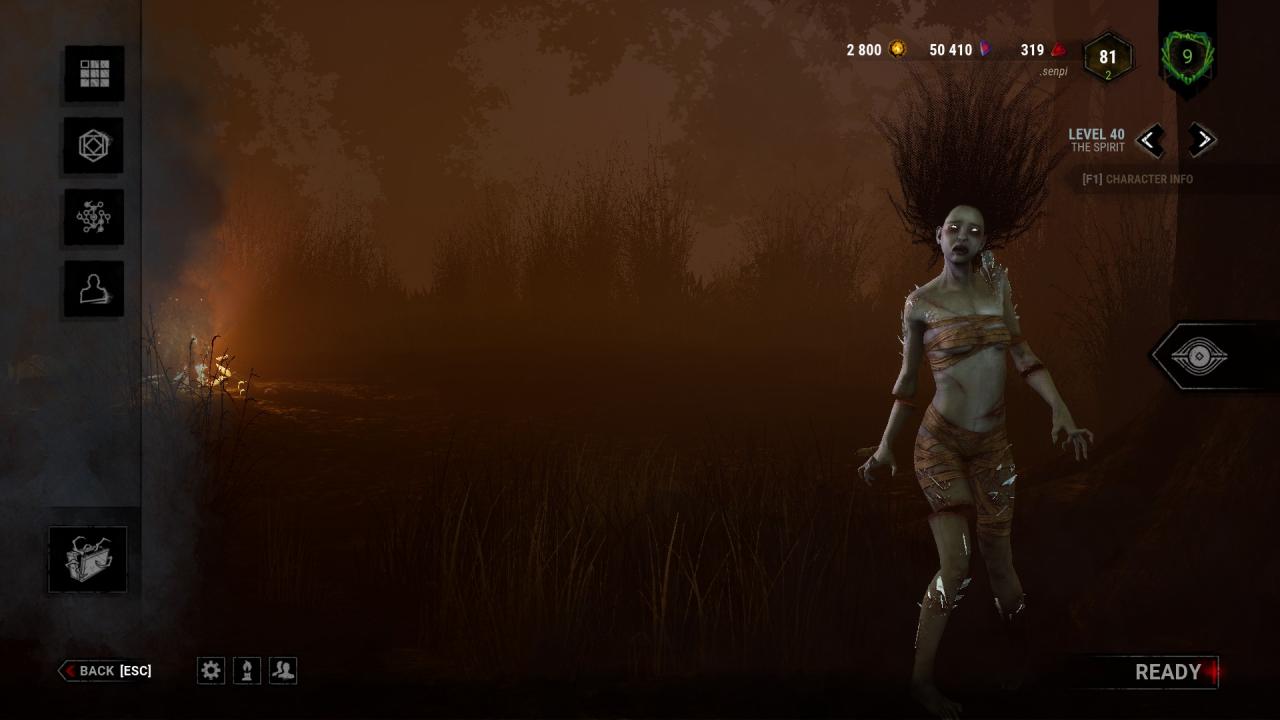
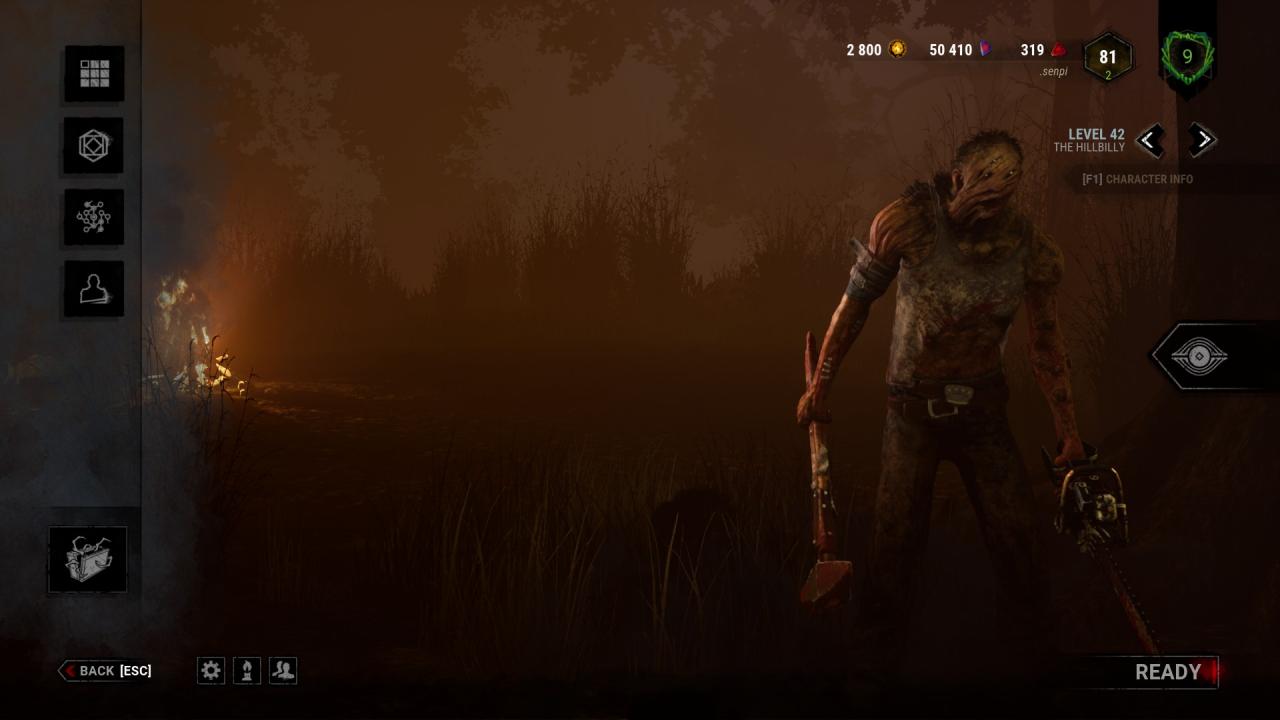
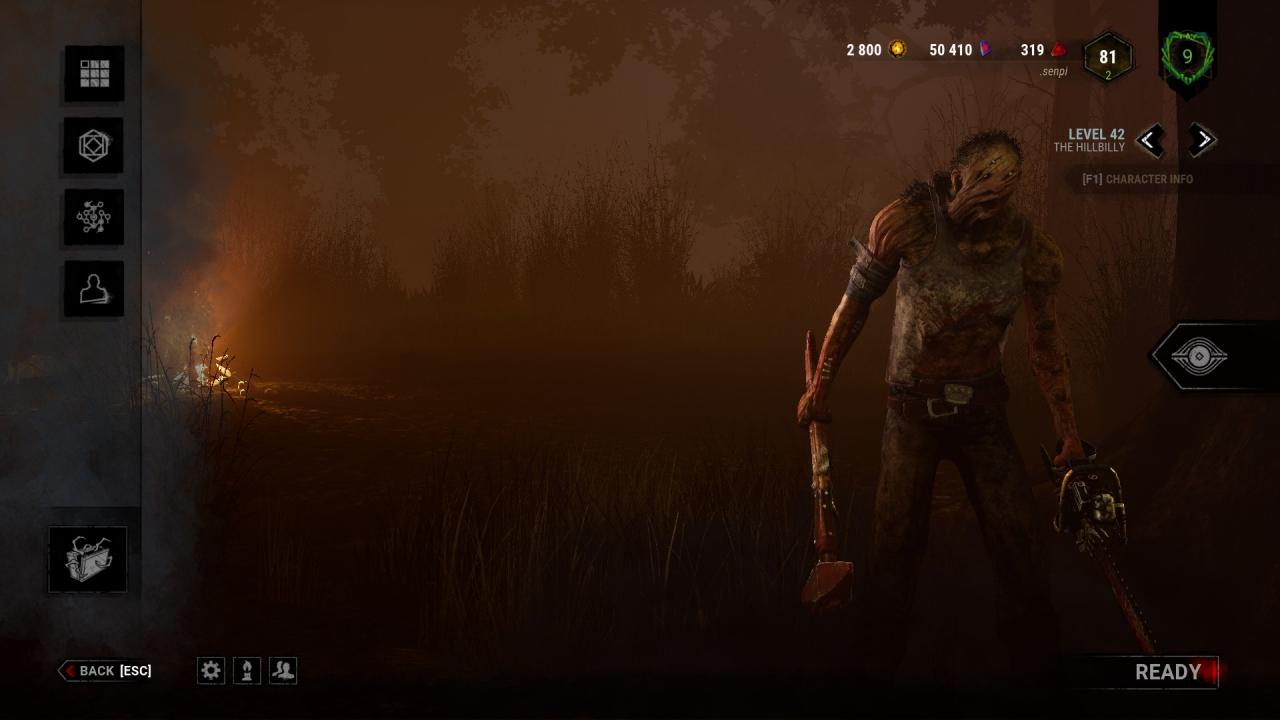
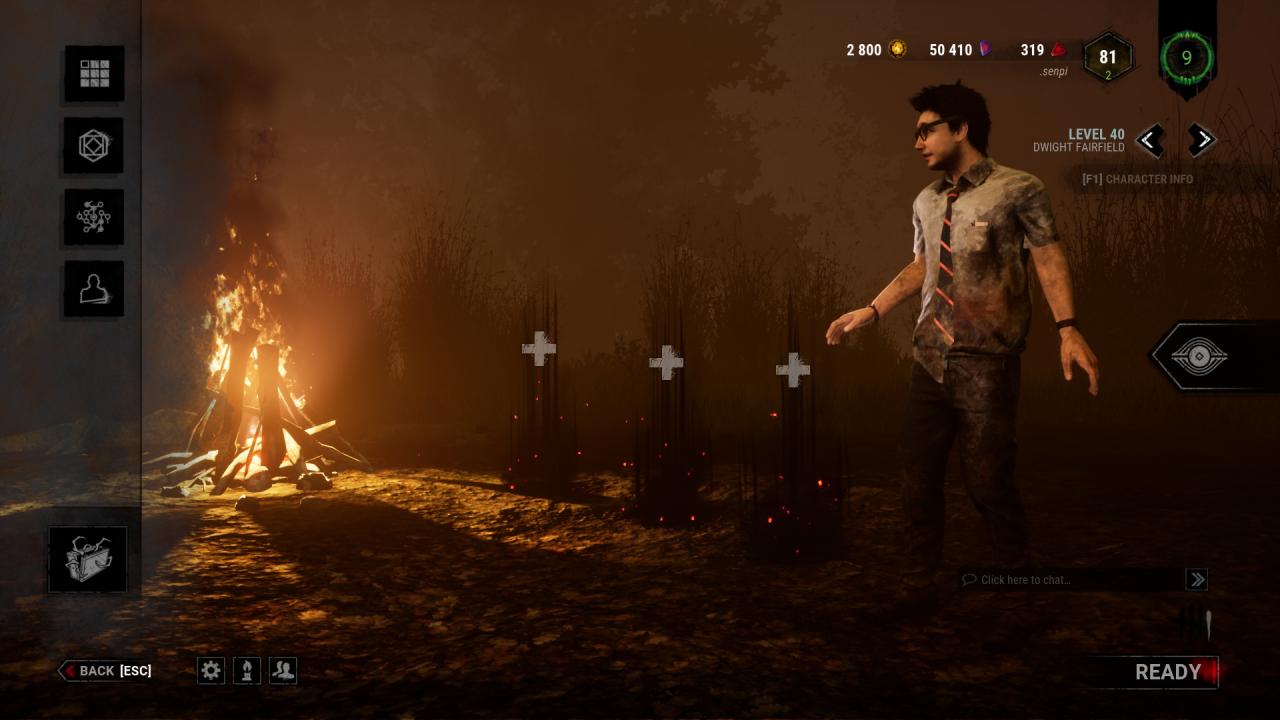
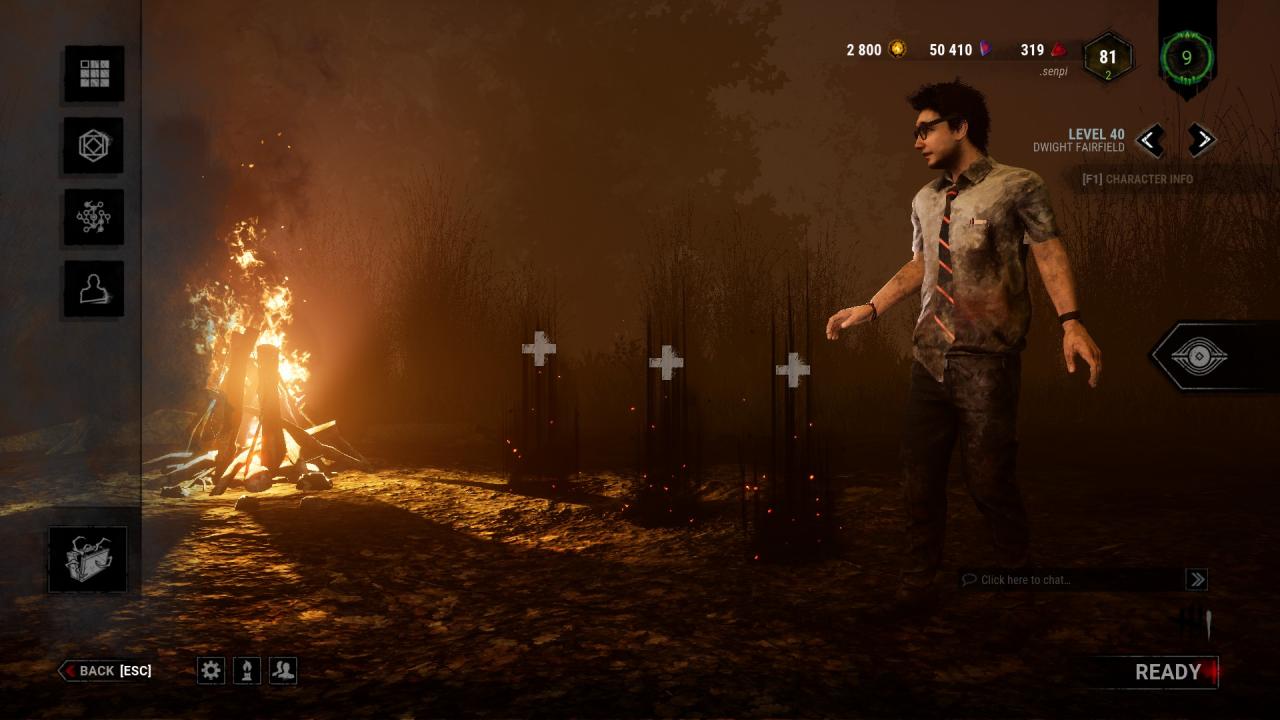
Related Posts:
- Dead by Daylight: How to Disable VSync
- Dead by Daylight: How to Fix FPS Issues (Update 4.20)
- Dead by Daylight: How to Skip the Intro Automatically
- Dead by Daylight: Promo Codes (June 2025)
- Dead by Daylight: Chinese New Year Event Codes 2021

