A complete guide for To The Core.
Intro
THIS IS STILL WIP, I’ll finish it soon(TM)

Welcome to my guide on To The Core. I enjoyed playing through the game and wanted to share what I knew since… there’s no other guides (At time of creation).
The main objective of To The Core is oddly enough…
You will do this by using your ship to mine through planets, gathering resources which you use to improve your ship. Basic incremental game stuff.
When loading the game for the first time you’ll get an intro to setup the game before being sent to the planetary map, from there the tutorial will begin just follow through it to get the basics of how to play (or read the next chapter).
The Very Basics
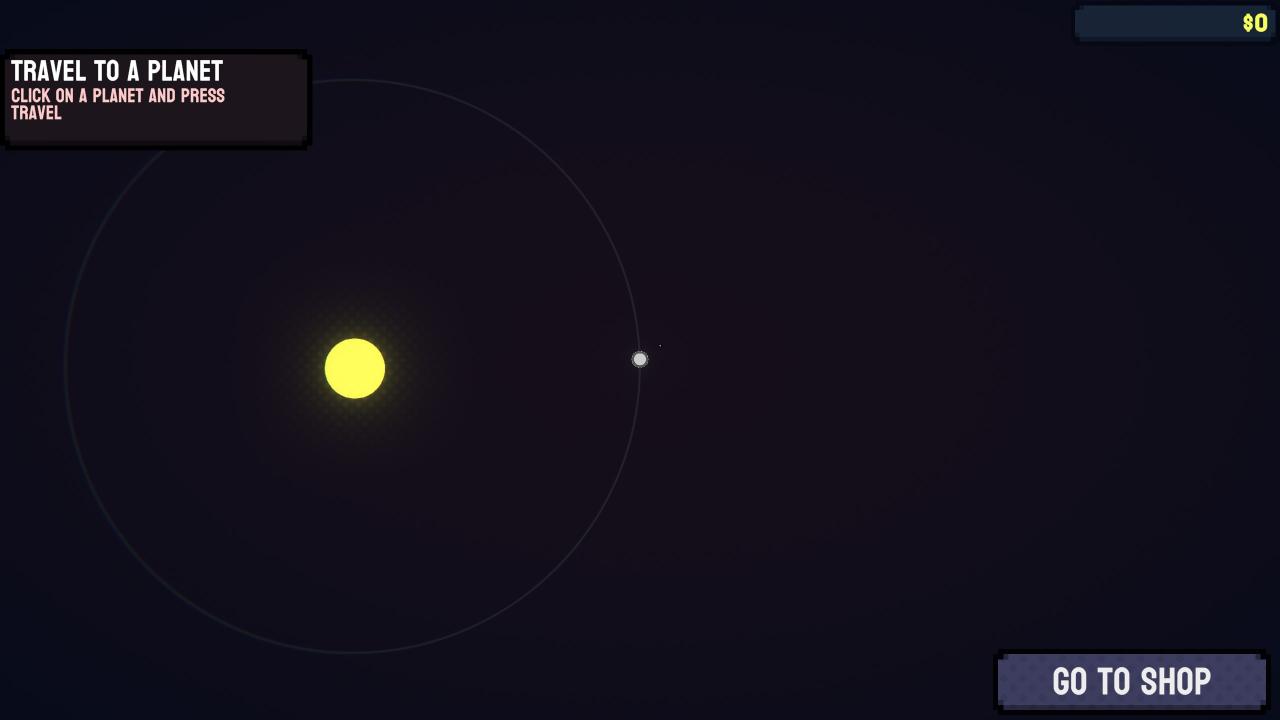
Going to Home for the first time you will have 60 “fuel” to mine with. Fuel in this game is more akin to your health, while you will constantly drain it just by existing (with the rate dependant on the planet) you will also take damage from hitting rocks – the harder the rock the more fuel you lose, think thorns/damage reflection.
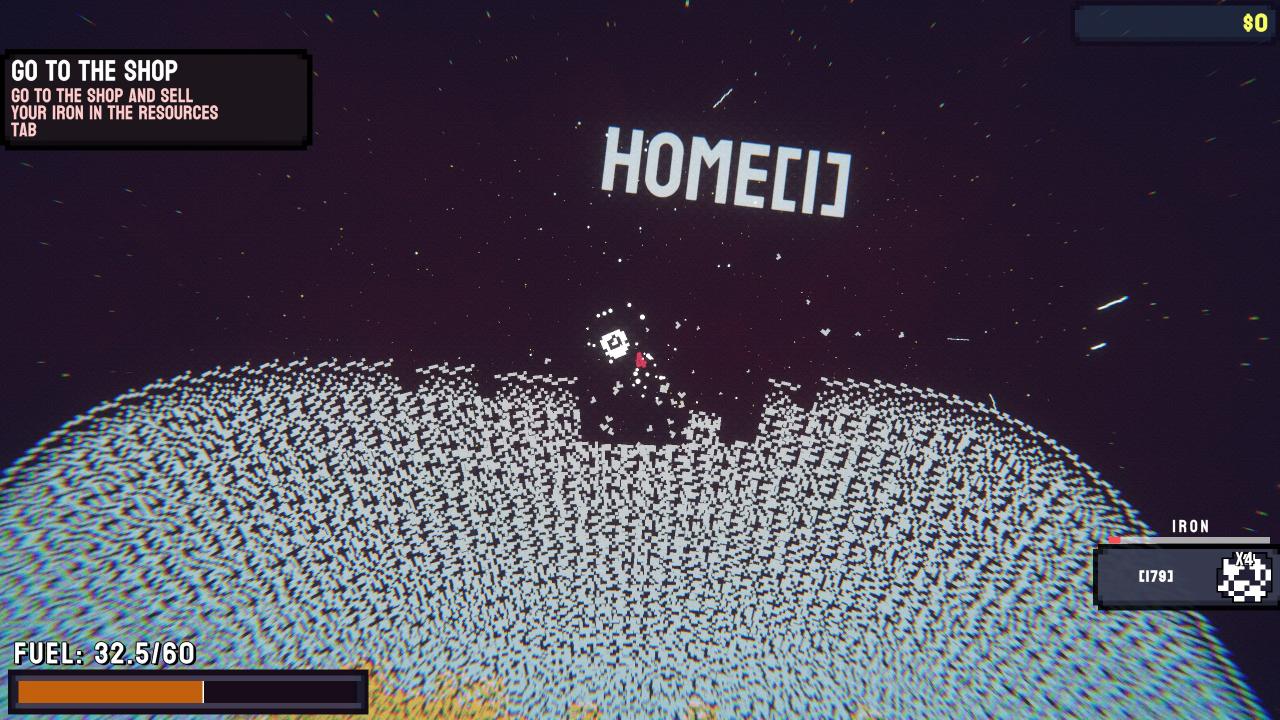
At the beginning you will have little control over you ship. Use the mouse to aim where you want to point, only the tip of the drill will break blocks, use A and D to move left and right and let gravity pull you down when you hit a rock you will be bounced back a fair bit which can be used to move back up. Gather as much iron as you can (you won’t have the fuel to get anything deeper yet) and then either when you die or from the pause menu go to the shop.
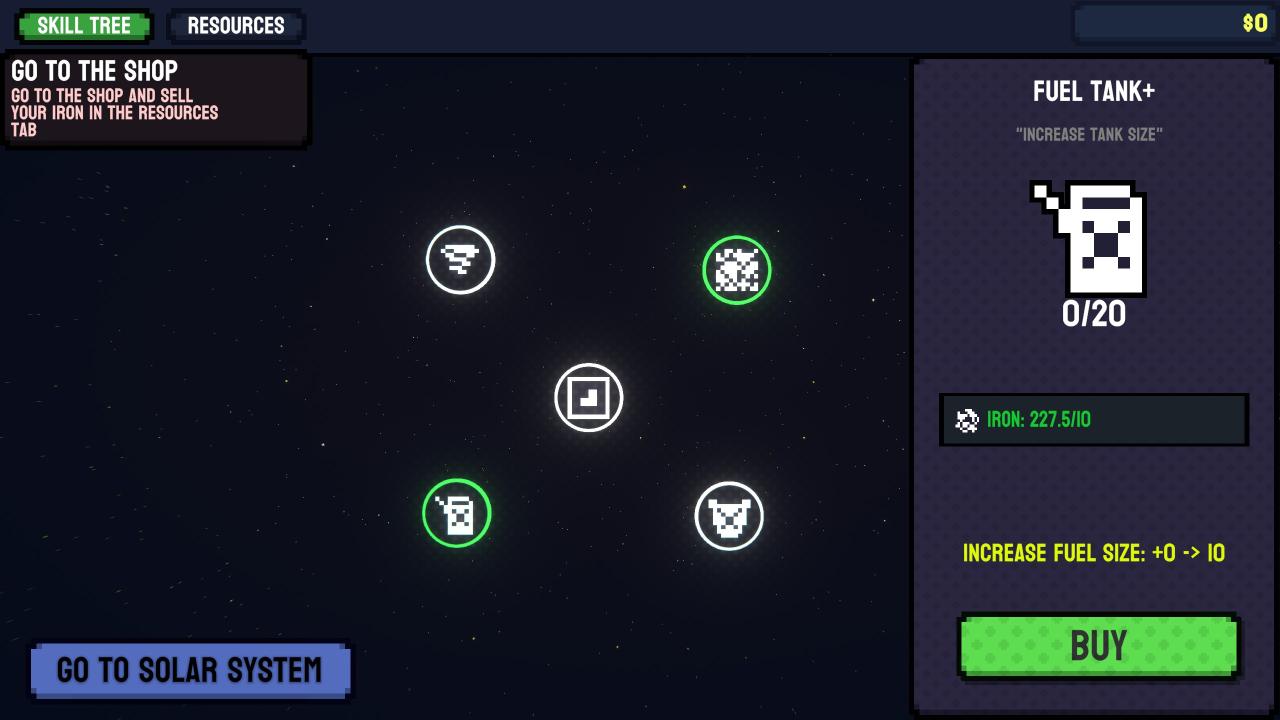
The first time you visit the shop there will be 5 upgrades visible; Drill Damage, Vision Upgrade, Silicon Plating, Ore Extraction & Fuel Tank+. The last 2 of which should be available to purchase at least a couple of tiers in. Upgrades will cost different materials as well as simple money meaning you will have to selectively collect the right materials for upgrades you want to buy.A quick rundown of what these upgrades offer is;
Drill Damage: Increases the damage done to rocks breaking them faster
Silicon Plating: Reduces the damage done to your ship when hitting rocks
Ore Extraction: Improves the amount of materials dropped by rocks
Fuel Tank+: Increases the amount of fuel you have.
Vision Upgrade: Allows you to view more planets on the planetary map, this upgrade (and it’s later versions) should be the goal as unlocking this allows you to access new materials for other upgrades.From the store menu you will also be able to access the resources menu at the top of the screen.
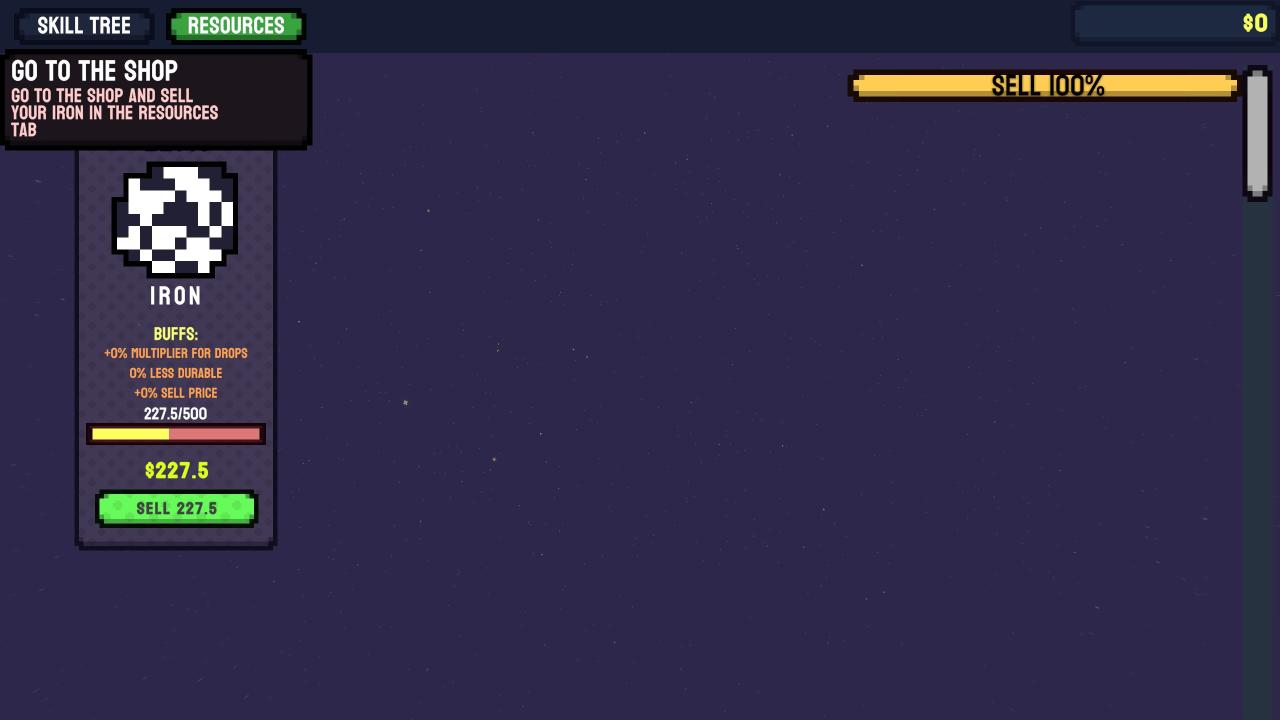
This section allows you to view all your gathered materials and allows you to sell them for money (NOTE: There is a slider in the top right of the resources menu that allows you to select the percentage to sell at a time). There is also a section of buffs and a progress bar, every material in the game will “level-up” as you gather more of it when a material reaches it’s next rank it will gain buffs that make it easier to collect later on.After selling your iron and buying the Drill Damage upgrade you will have completed the tutorial and have seen the basic loop of the game. You should now be ready to progress on your own!
The Core
As the main objective it should be obvious where you need to go. At the centre of every planet is a white core, these cores have a decent amount of health (relative to the planet) and can easily destroy your ship in a single hit if you don’t have enough shielding, fuel, and regen. When you damage a core it will shrink down (if it isn’t instantly destroyed) based on how much damage you do, however the actual cores hitbox does NOT change.
Once you do get strong enough to break a core you will be presented with this message:
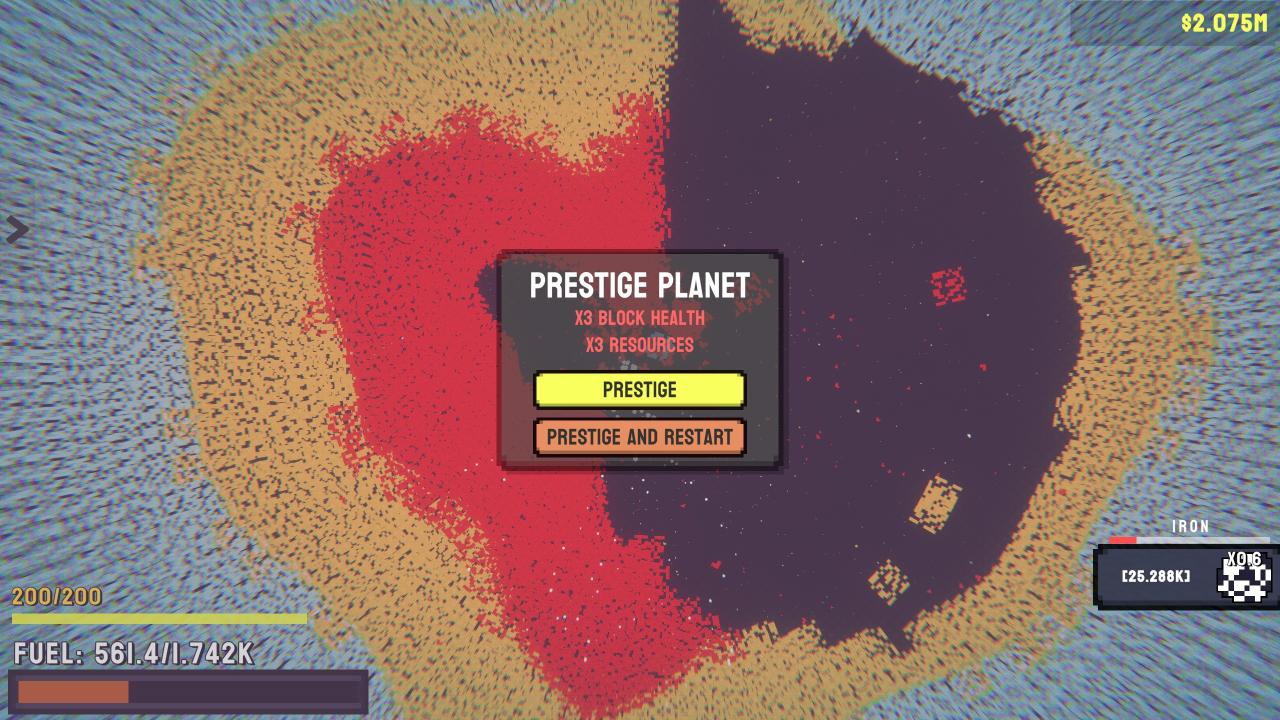
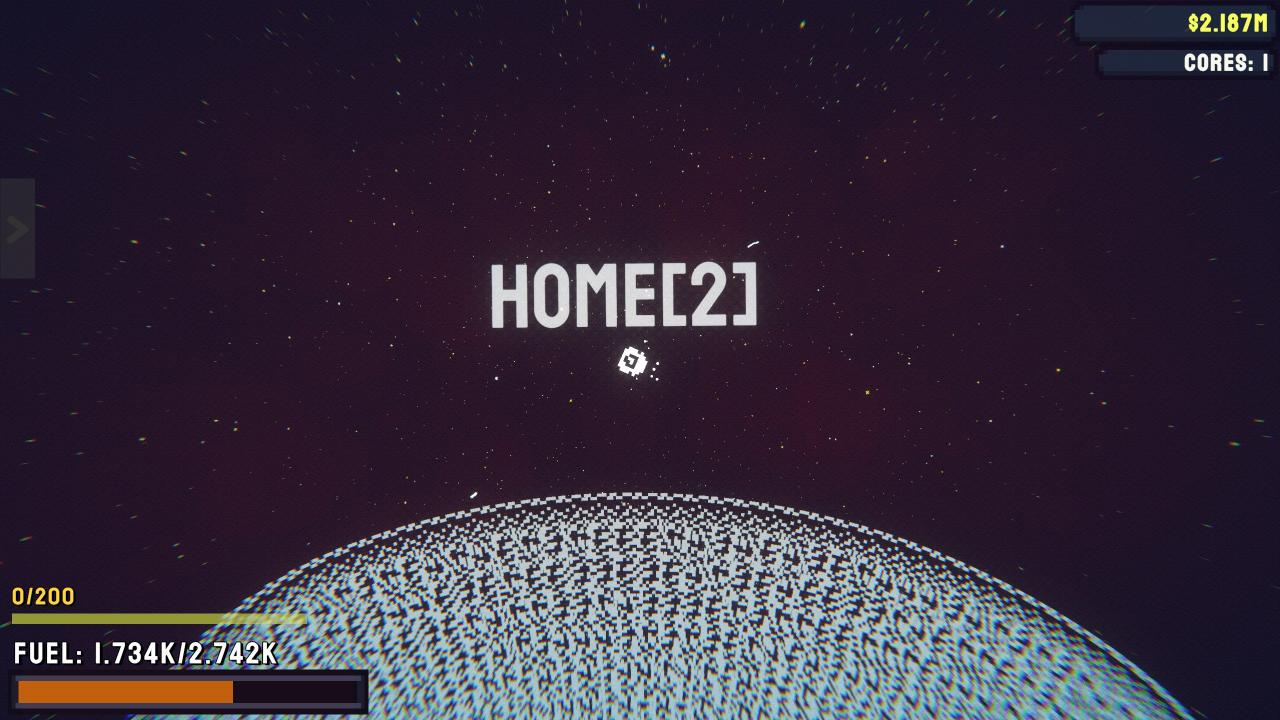
If you select to prestige a planet you will continue on your current run at the same level you were, if you opt to restart you will get a fresh planet on the next level of prestige as seen from the number next to the planet name when you spawn.
If you find that a planets new prestige is too difficult for your ship at the time you can change to any unlocked level of prestige for a planet on the planetary map. You can also see the exact multiplier for a level from here too.
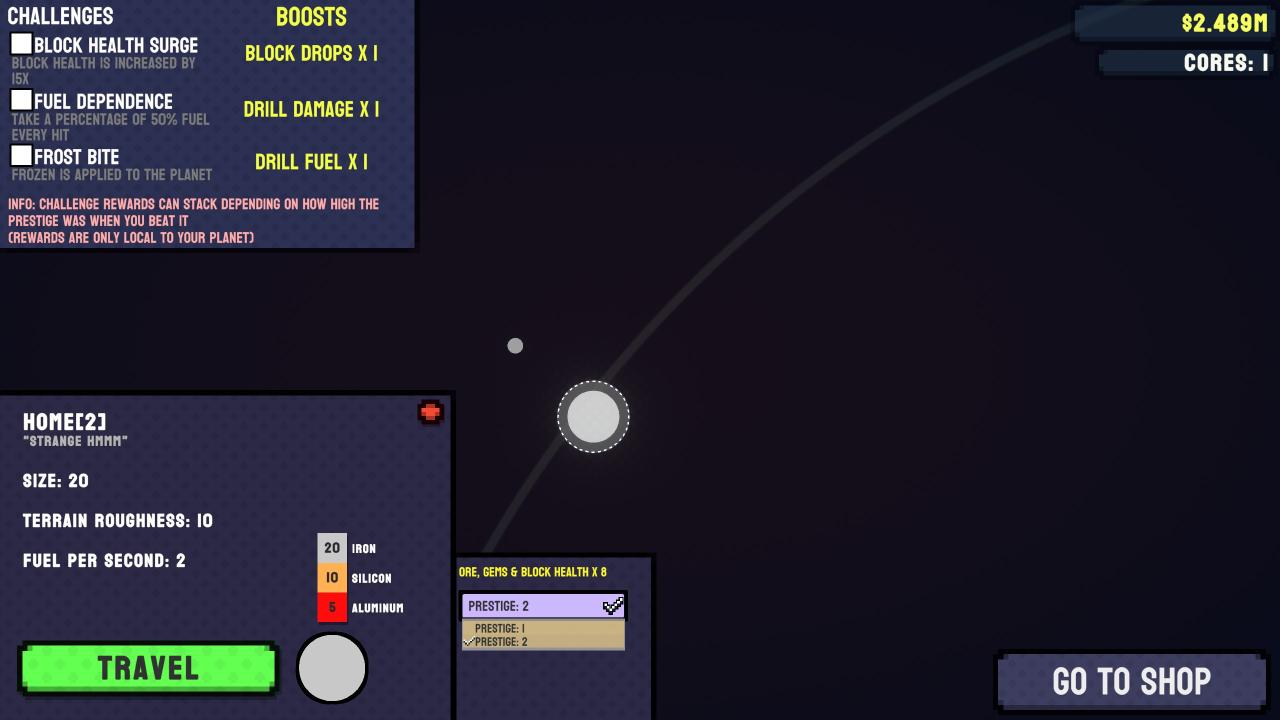
You can also select to perform challenges on completed planets. Beating the planet (destroy the core) with a challenge enabled will give you a buff to a stat while playing on the planet in future. The buffs given are permanent regardless of prestige played on however the challenges can only be completed once per prestige and will define the buff given; if you completed a challenge on prestige 3 you could not go back and complete it on prestige 2 for another buff you would simply keep the larger one.
Upgrades: Better Movement
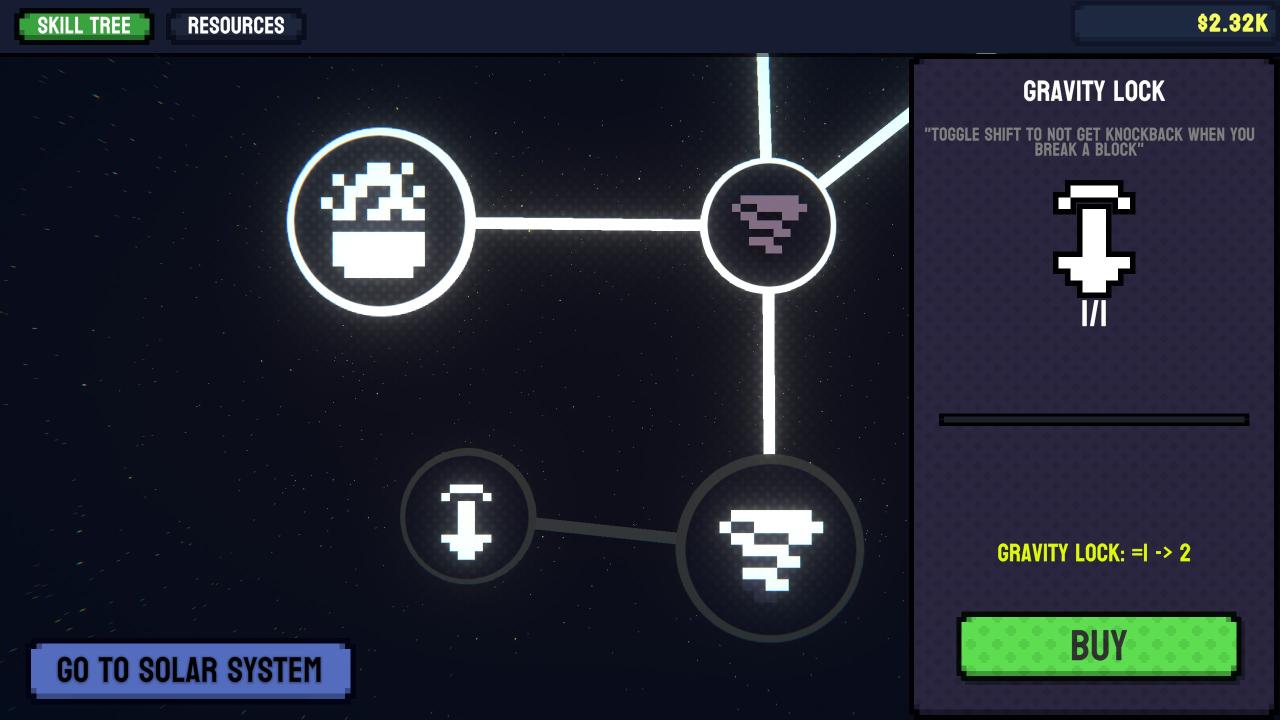
The Gravity Lock Upgrade gives you the ability to press shift to counteract a lot of the rebound of mining rocks and allows you to quickly smash through weak rocks far easier. You can tell when this mode is on as your ship will become a darker shade. The upgrade is fairly cheap and should be bought as early as possible.
Upgrades: Milestones
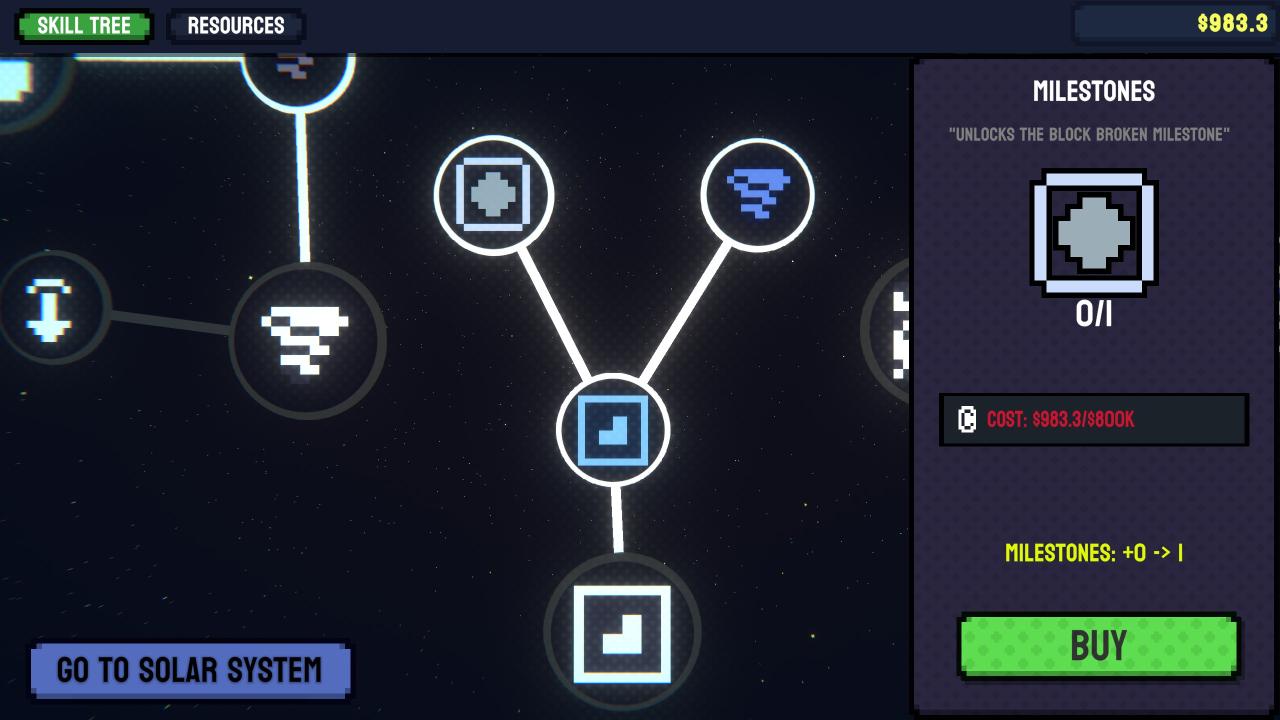 Once you have purchased the upgrade you will get a new menu for milestones unlocked (unless you happen to have destroyed a core before) this menu contains a few things.
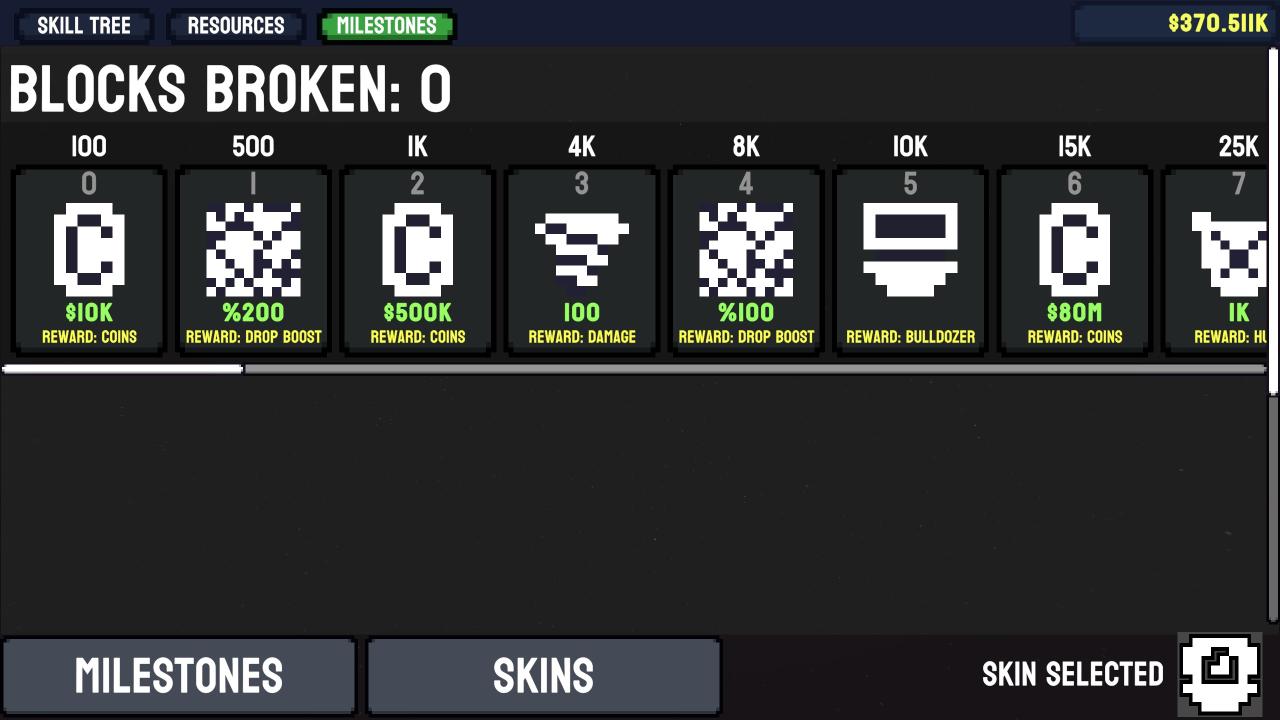
The first and foremost is the blocks broken milestones itself. This tracks how many blocks you have broken in total AFTER purchasing the Milestones upgrade. For each target you reach you receive a reward these include materials, stat boosts and skins. Once you destroy a core you will get a second milestone that tracks how many cores you broken and gives similar rewards.
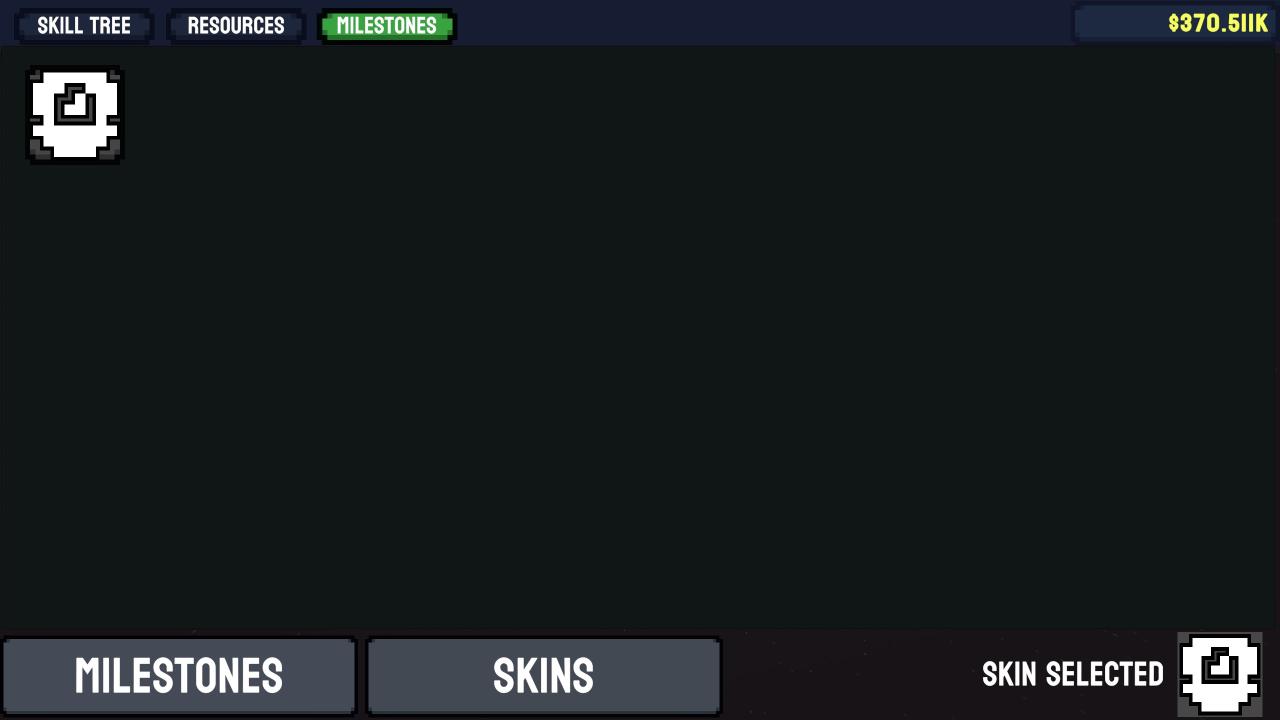
There is also the skins sub-menu where as you complete milestones you can customise your ship with various skins.

…And just because Jimmy needs 30 million blocks broken doesn’t mean it isn’t the best one.
Upgrade: Crafting
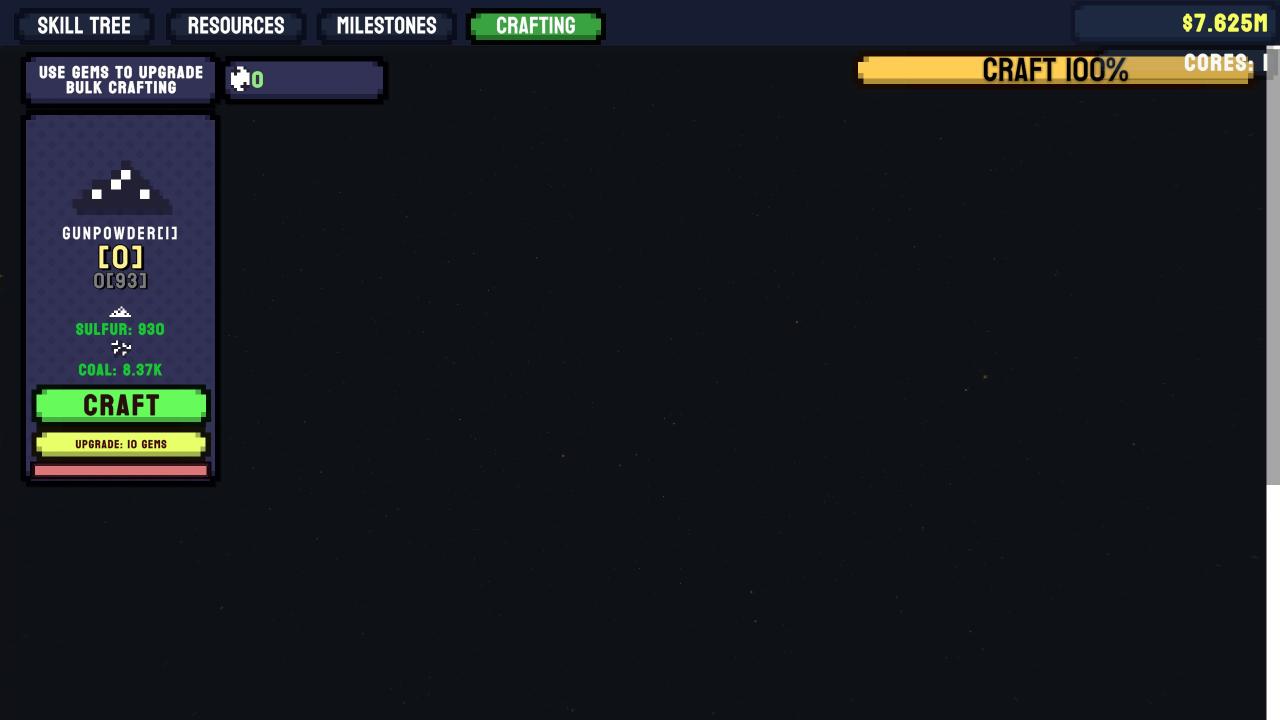
From this menu you are able to craft various products, unlocked via upgrades, which are then used to purchase certain other upgrades. Much like the resources menu there is a slider in the top right that allows you to select how much to craft as a percentage.
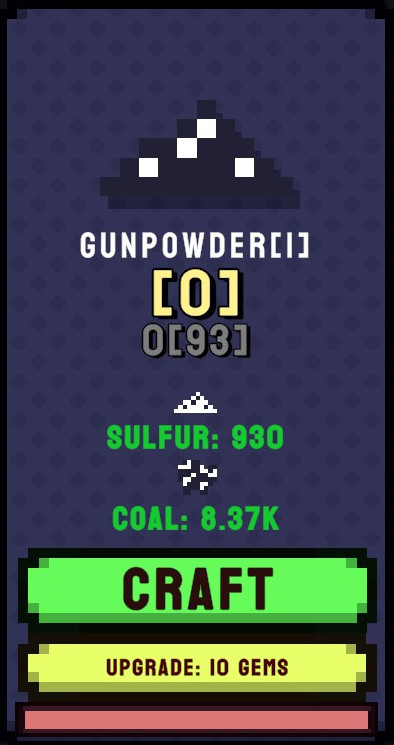
For each product you are given the name followed by the number per craft (1 by default), then the big yellow number is the amount of the item you have available to use then below that you have the amount of the item that are being crafted and the amount you can craft in brackets followed by the items required to craft it. At the very bottom of each item is a progress bar for how long until a craft is completed, while this time cannot be improved you can instead spend gems to improve the amount per craft.
Upgrade: Equipment
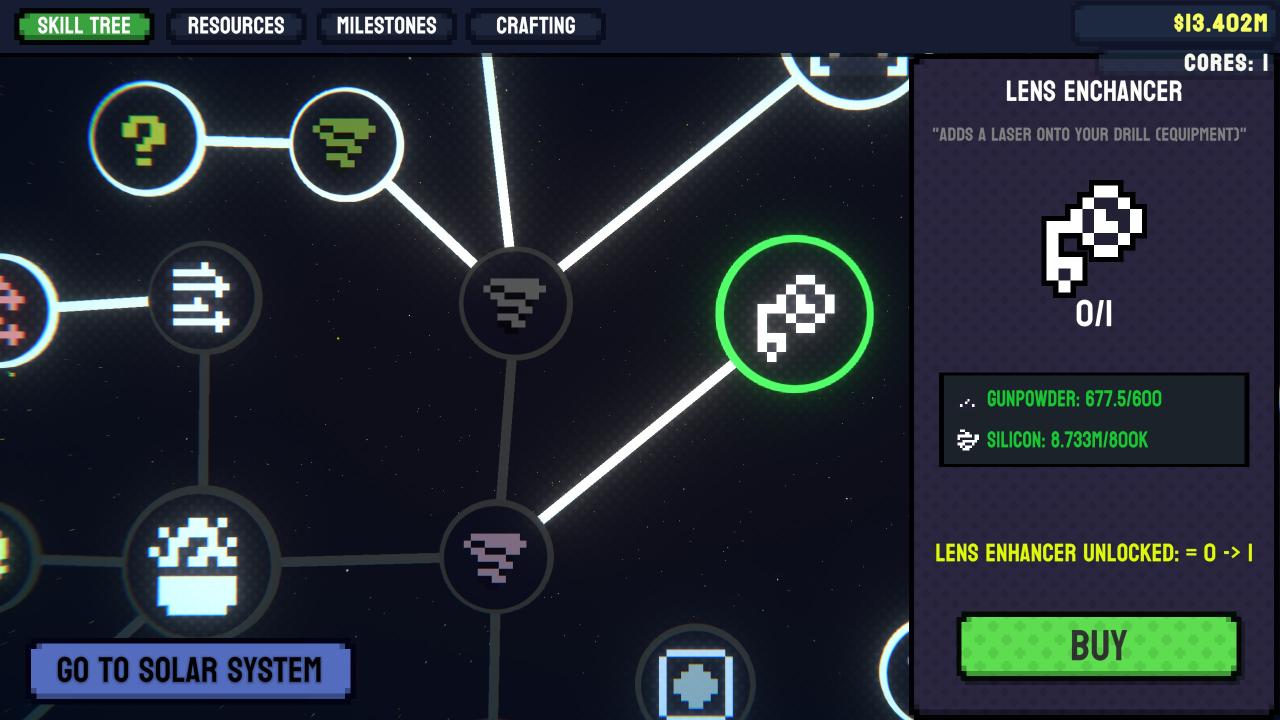
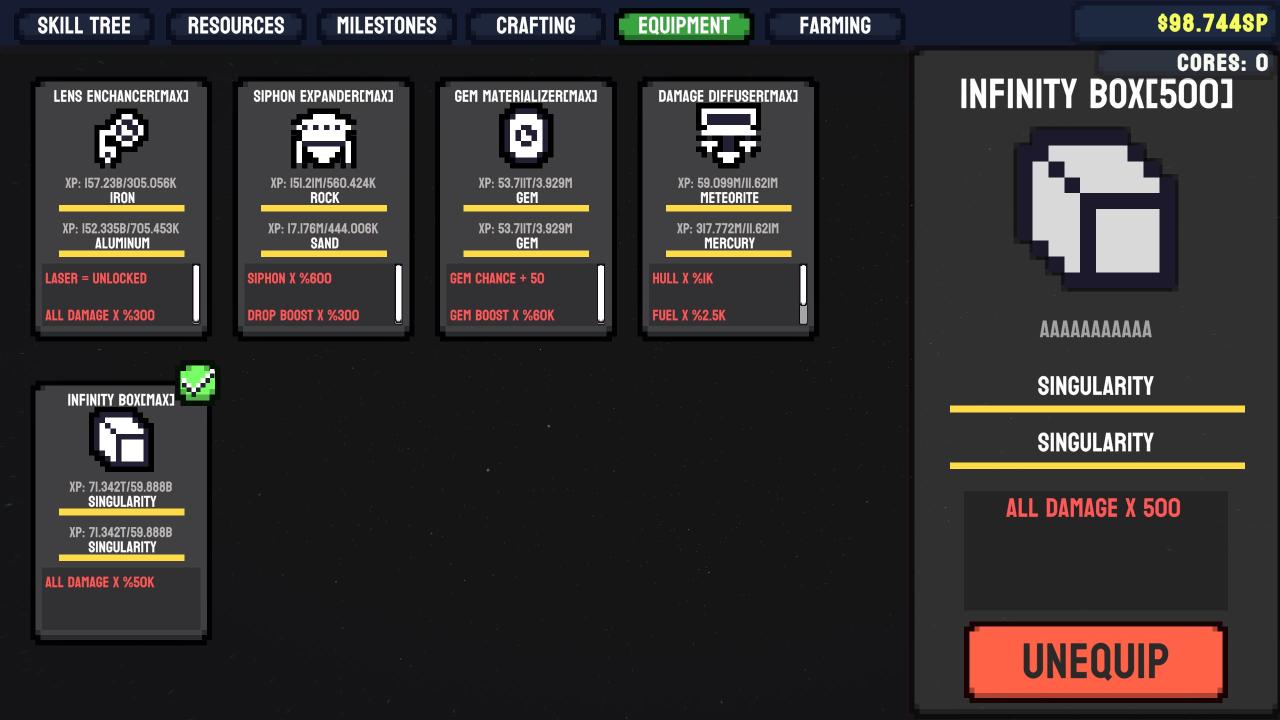
Equipment works as a form of “ally” system, you may equip 1 item of equipment at a time which will then give you various buffs, for example the Lens Enhancer gives you a laser that can be fired with LMB to destroy blocks at range at the cost of fuel while other equipment, like the Siphon Expander, simply gives you buffs to stats.
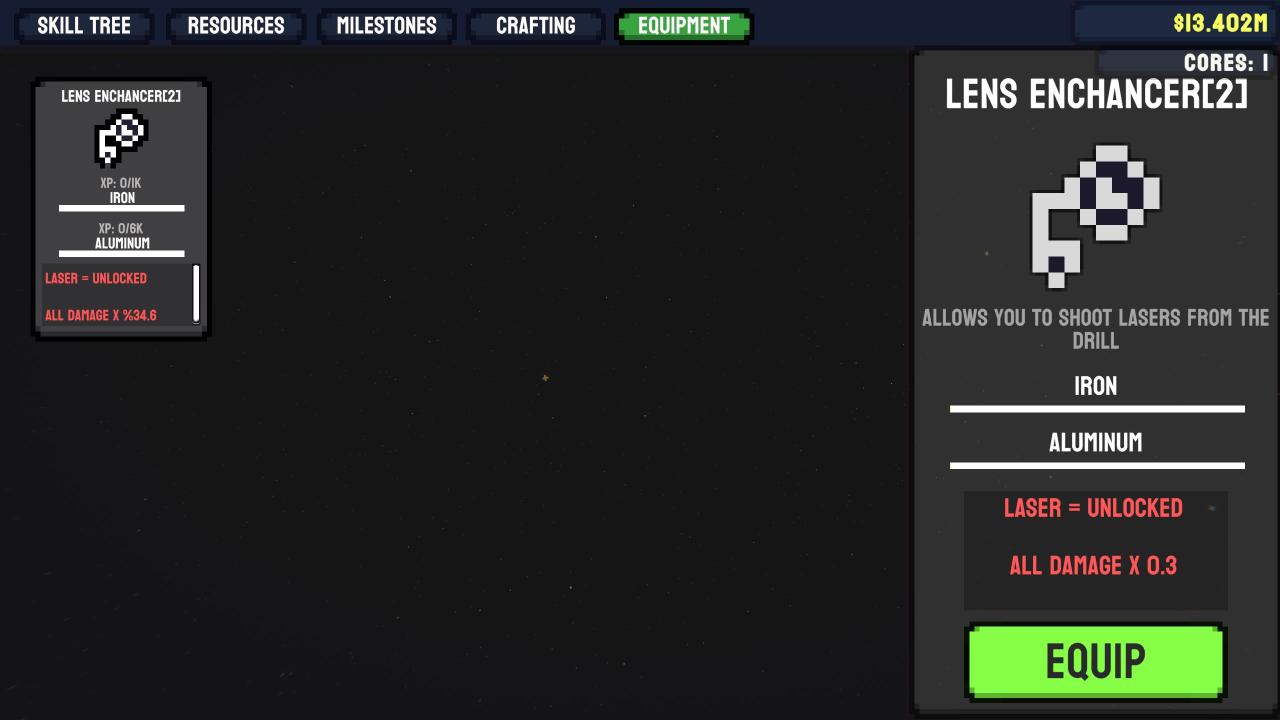
While all equipment will start with okay stats they will also upgrade, each item has 2 materials that when collected will give it relevant XP when it reaches the required amount on both it will level up and any bonuses will be boosted. An items current level can be seen next to it’s name in brackets. Items do have a level cap though it varies item to item, however it will simply say MAX next to it’s name rather than a number.
Upgrade: Farms
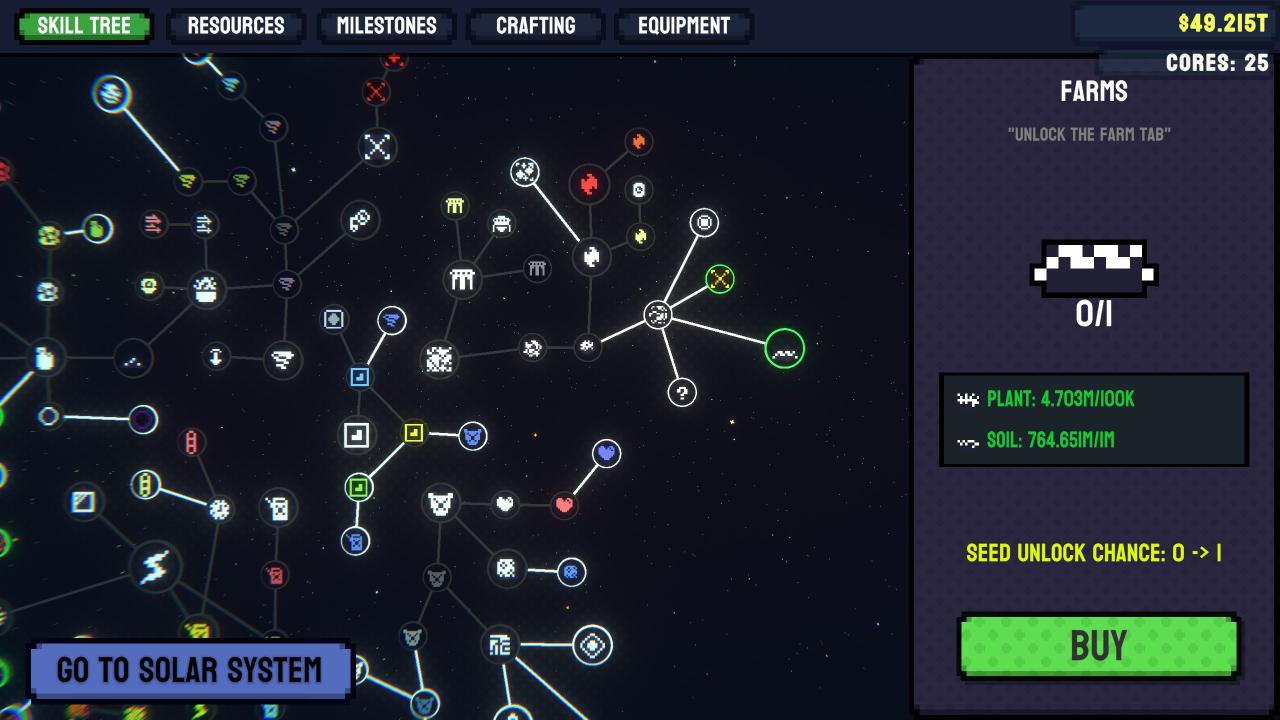
The Farming menu is a very useful and powerful feature allowing you to grow materials, while directly after purchase the menu will be empty you must first simply collect seeds. To gather seeds choose a material you require and gather it as normal this should get you some seeds of that type, if not there is also an upgrade following the Farms upgrade that increases the odds of getting some.
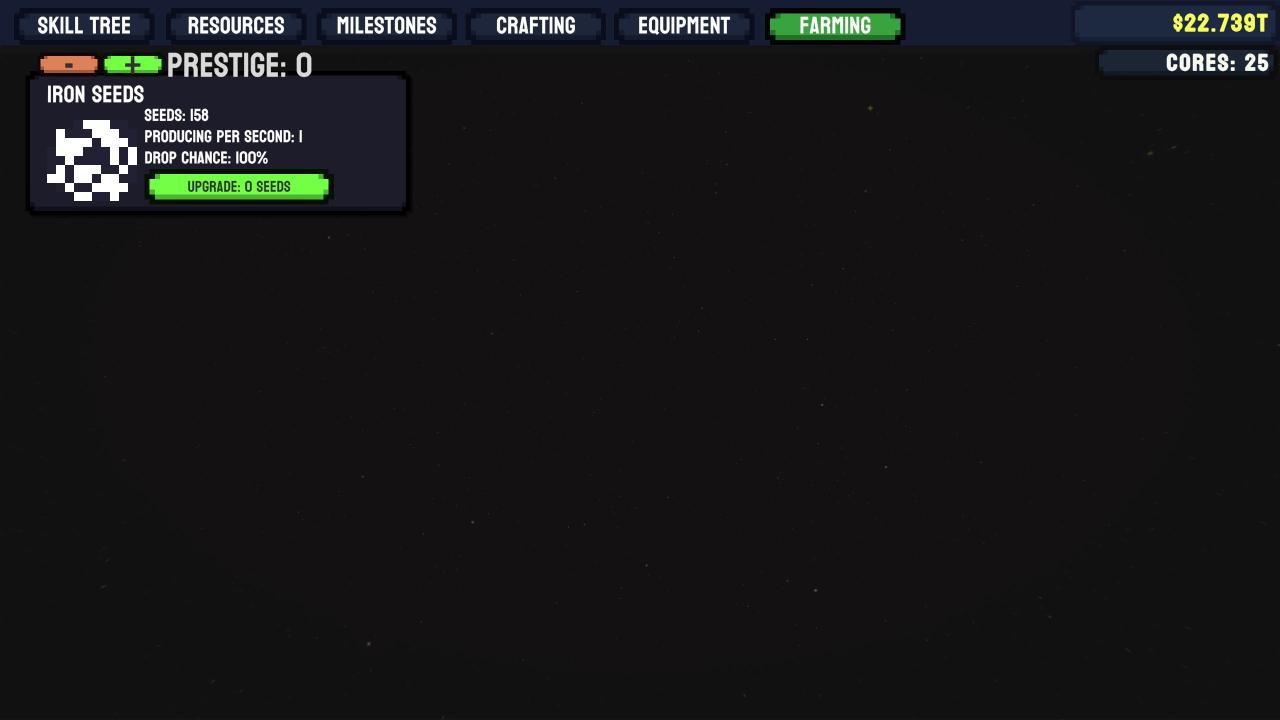
Once you have some seeds for a material you will see it displayed as above. All unlocked materials will produce 1 of their material per second, you can upgrade the crop using more seeds however you will notice this will not increase the materials per second, this is where the cores come in. Cores can be used to prestige crops, 1 level of prestige will update the materials per second to be relative to the level of the seed each subsequent prestige will multiply this amount. You may add and remove prestige points to crops as you wish and need.
Upgrade: The Infinity Box
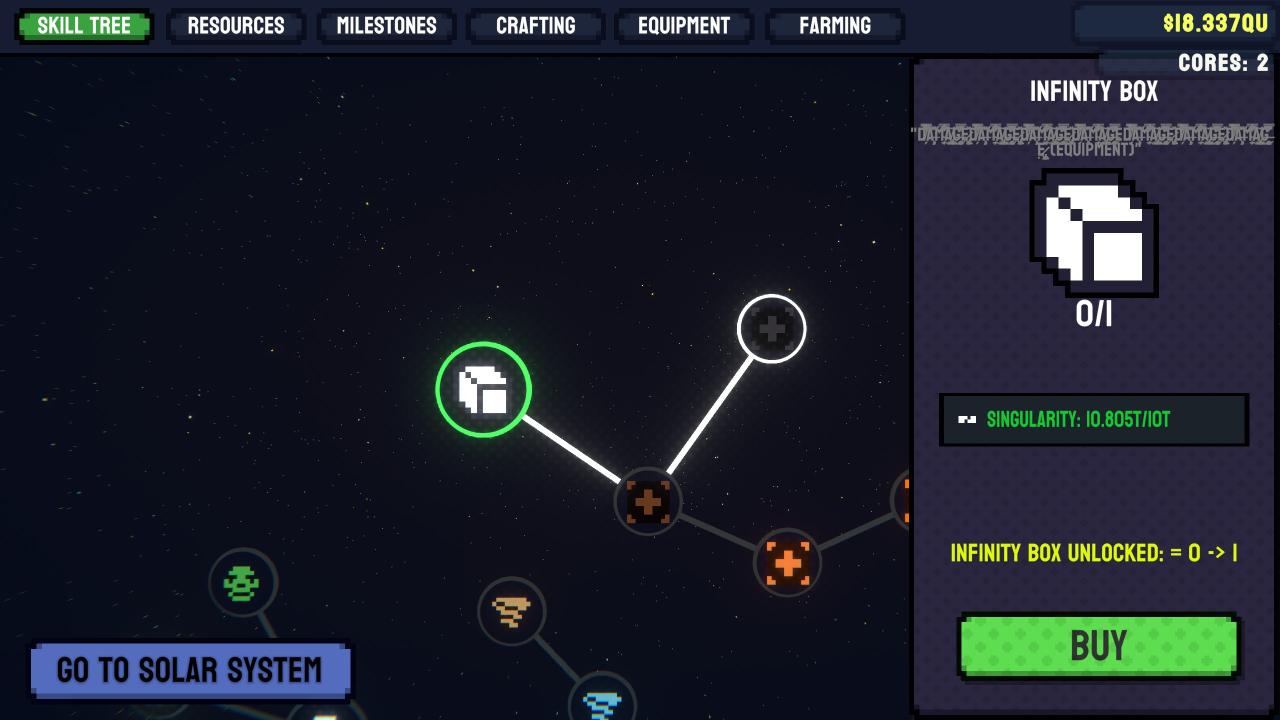
The Infinity Box is the 5th and final piece of equipment, initially it will give you a 3x buff to ALL damage and is levelled up solely on Singularity from the Blackhole.
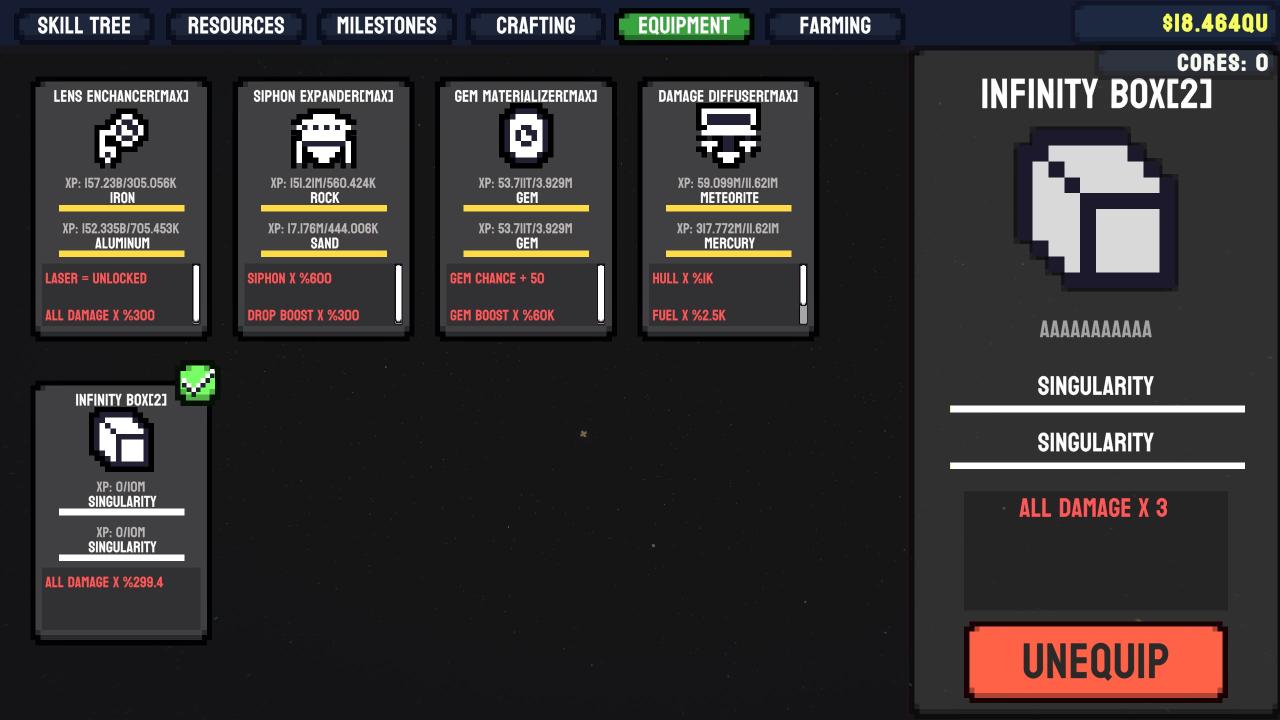
While the buff is initially powerful but not massive at the max level of 500 the buff becomes a rather whopping 500x damage!
Planets
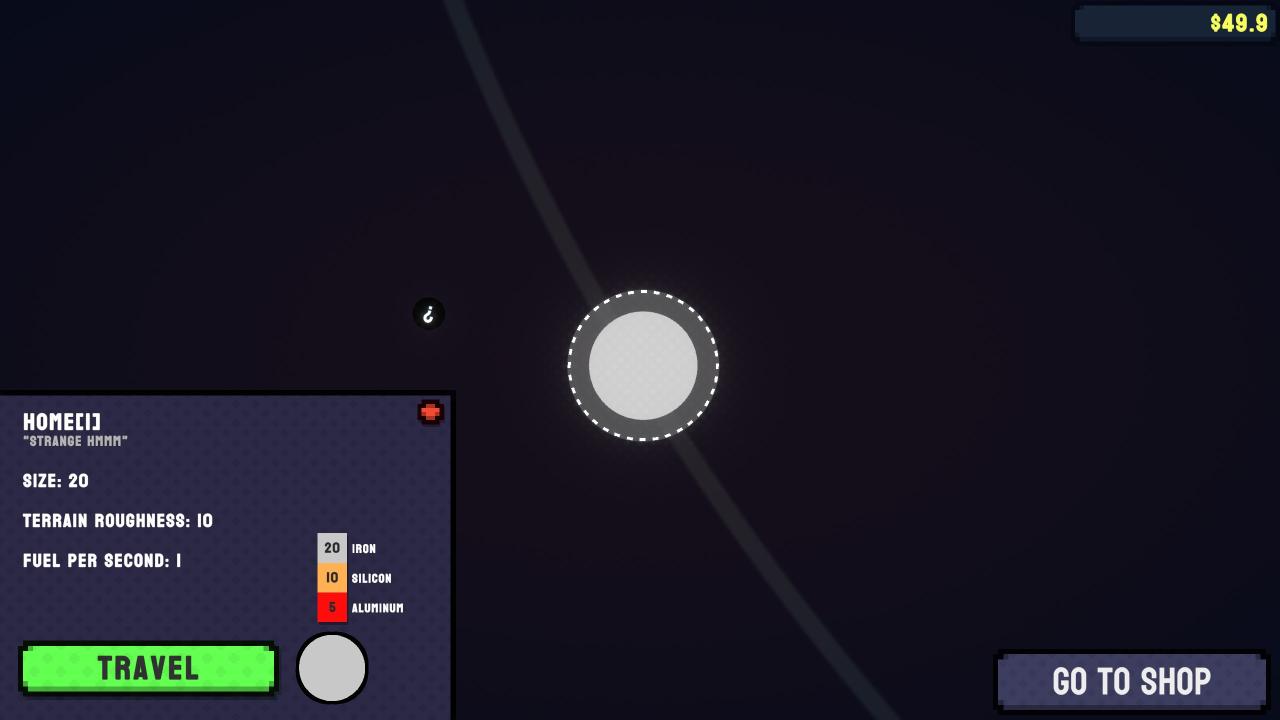 Size is fairly self explanatory, it is the size of the planet. Smaller planets will have less rocks to mine while larger ones have more. Simple.
Roughness defines the general shape of the planet, a planet with high roughness will have a far stranger and less spherical shape.
Composition is what materials you will find on the planet, the order the appear in (top being surface) and the ratio of those materials. Home has a composition of 20 iron, 10 silicon and 5 aluminium meaning it has a layer of silicon half the height (from the core) of the iron layer.
Planet: The Sun
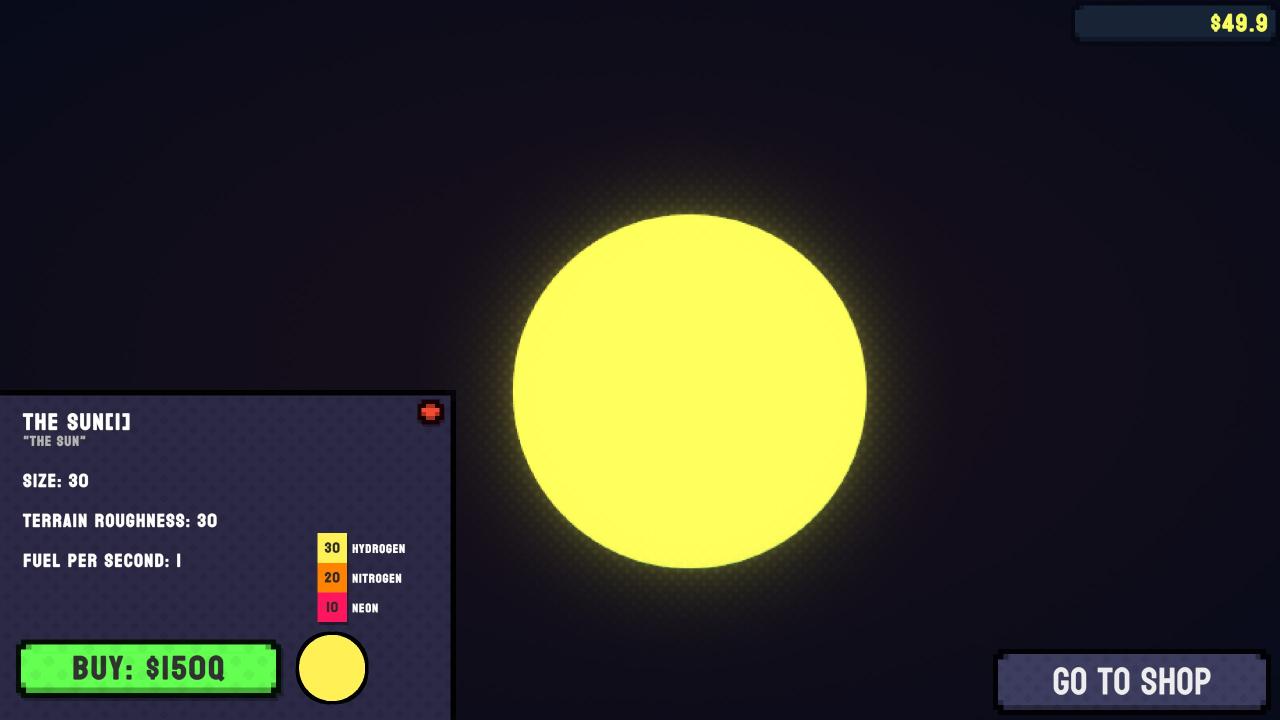
Notes: While you can theoretically get to The Sun at the beginning of the game the cost would make it very time consuming. The fuel per second also changes depending on what level of vision you have unlocked. It should also be noted the surface moves and is not like the other planets, the terrain roughness is not very accurate for this.
Planet: Supernova
Notes: To unlock the Supernova you must first beat The Sun, you can then select it from a new drop down on The Sun. The Supernova is a spiralling cloud of rocks making it actually quite difficult to reach the core and antimatter layers.
Planet: Home
Notes: Is unlocked when starting. Feels a little wrong to be destroying a planet literally called Home…
Planet: Home’s Moon
Planets: Glacies
Notes: Causes frostbite, a meter will show at the top of the screen while playing on the planet indicating how much frostbite you have. This is the same frostbite as the one used in one of Home’s challenges.
Planet: Endura
Planet: Vita
Notes: Enemies periodically spawn around this planet, destroy them to gain Organic Matter.
Planet: Diamond Glaciers
Planet: Mortem
Notes: While the fuel per second is low the radiation effect will considerably raise the actual amount. The core of the planet is solidly encased in rocks making accessing it a little more difficult than most. The planet also has a trippy visual effect.
Planet: Letum
Notes: Meteors will spawn on this planet which can be mined for the Meteor material.
Planet: Cupid
Notes: The gems that can be harvested from this planet can also drop seeds allowing you to farm them.
Planet: Blackhole
Notes: Much like the Supernova the Blackhole is unlocked by first beating the Supernova and is then added to The Sun’s extra menu. The Blackhole spins very fast and the Singularity rocks are very tough making it by far the hardest planet to beat however this is not without good reason…
Thanks to NialMontana for his great guide, all credit to his effort. you can also read the original guide from Steam Community. enjoy the game.

