A step-by-step guide since there’s currently no English translation available. I’ll explain mechanics, dialogue choices and what to do in each mission.
Getting Started
Upon first booting up the game, you’ll be met by the Main Menu screen in Chinese, as seen below:
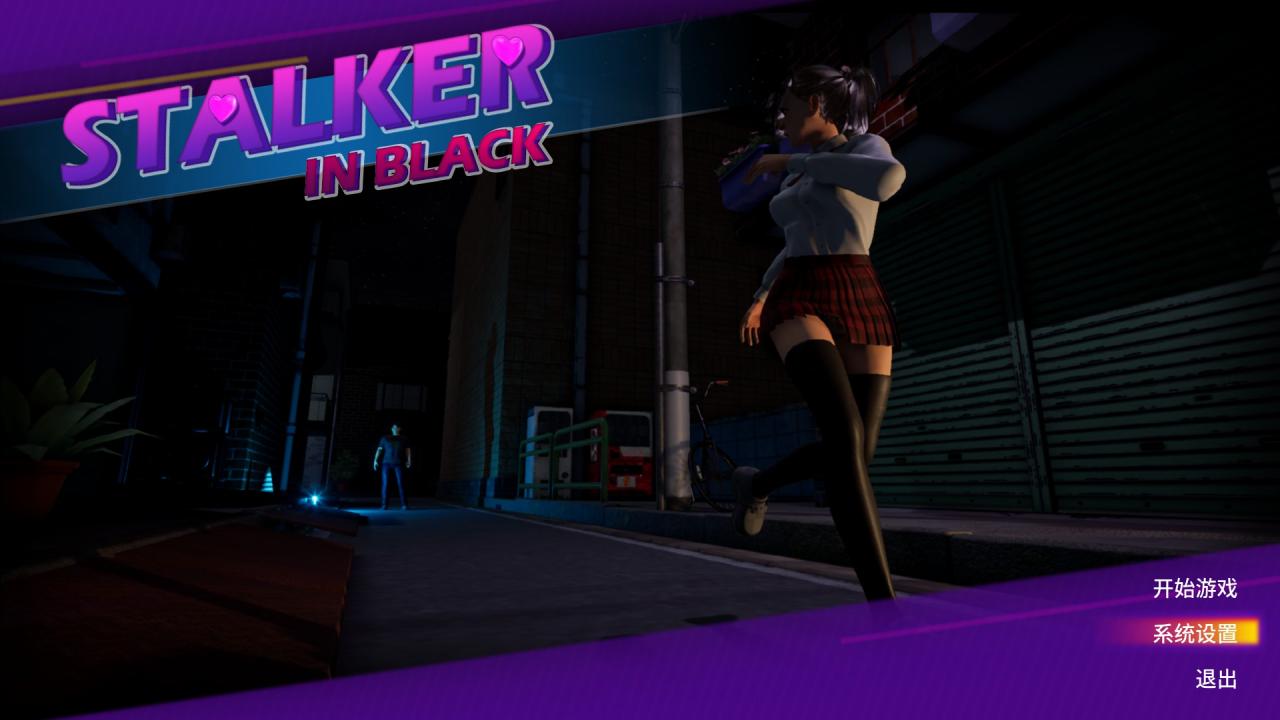
Start by clicking on the second option (the one highlighted yellow in my screenshot) to open the options menu, which is in English for some reason:
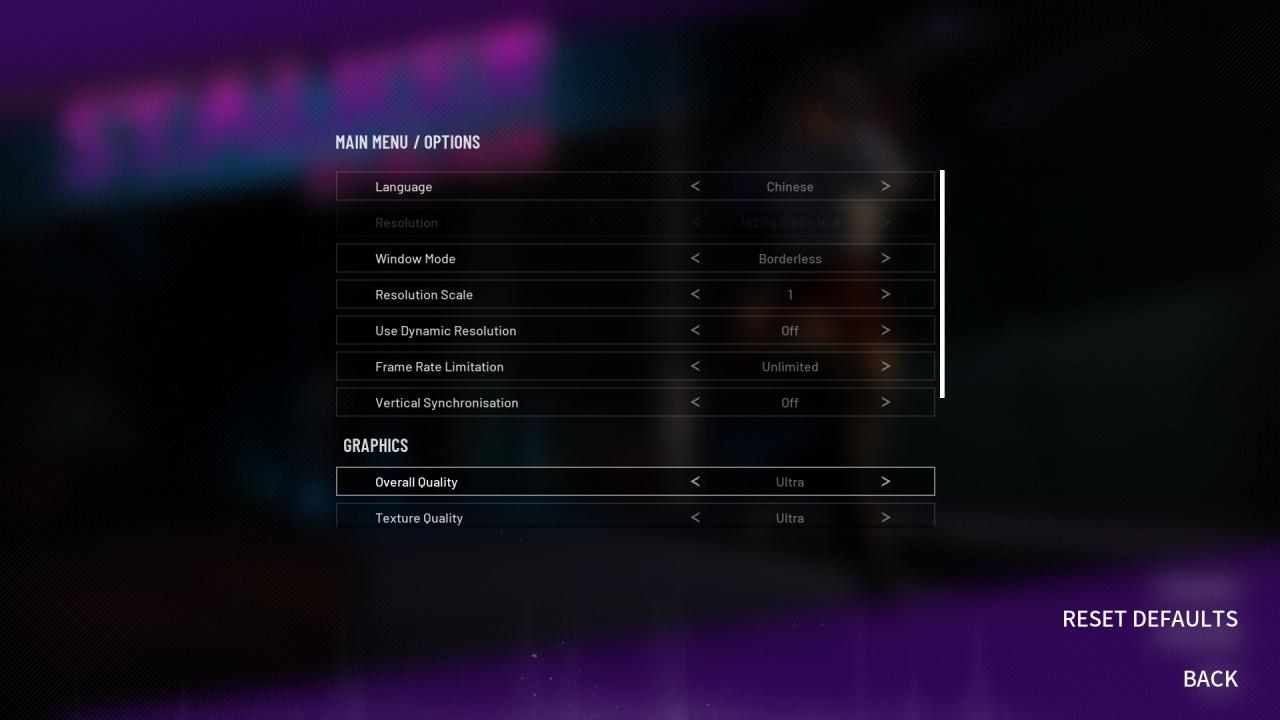
At the top, change the language from Chines to Japanese. This option can be a little jank, but you can just try again, if it doesn’t work right away. Once you’ve succeeded, the Main Menu will look like this:
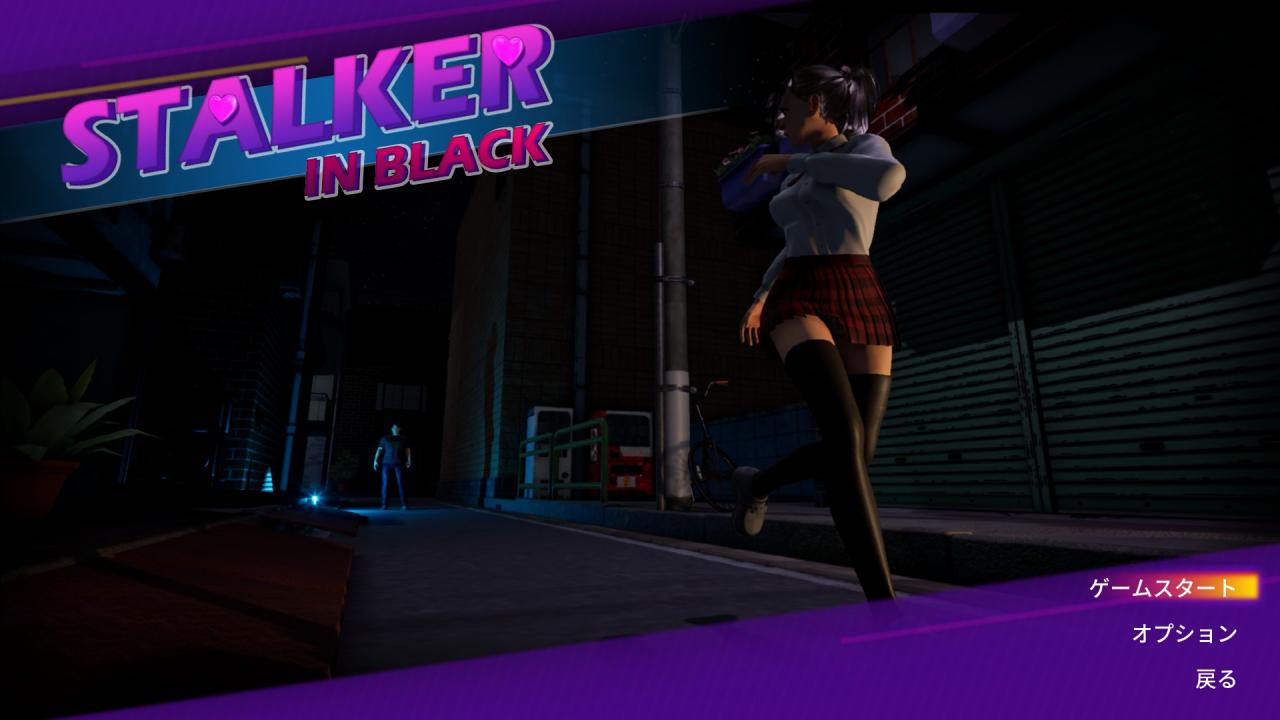
Now I know what you’re thinking:”If I don’t understand either language, what fluffing difference does it make if I switch the game to Japanese?” You’re setting it to Japanese purely to make the guide clearer. See, I can manage a little Japanese, but absolutely no Chinese. As such, I play in Japanese and the best way to tell if you’re following the guide correctly is if your screen looks like mine. If you’re playing in Chinese, you literally won’t be able to compare your game with my screenshots.
Once your game is set to Japanese, select the top option to start the game. This will take you to the stage select menu:

You’ll see four stages and there are 4 more, if you click on the arrow on the right. In each stage, you can acquire a special item. The headwear can be used in third person levels and the sextoys are for the sex levels. For now, click the yellow button under the blue level all the way on the left.
You’ll see some text in Japanese and then enter a sex mode scene where you basically just hold the Left Mouse Button and move the mouse around to fill up the bar. Think of this as a tutorial for the later sex levels, which will have more mechanics, but we’ll get there in time. Once the meter is full and the scene ends, you’ll start the actual first level.
Level 1 – Who Is She?
Once you gain control of your generic looking bald protagonist, you can really only go left and will immediately spot the tutorial area with some boxes on your left:
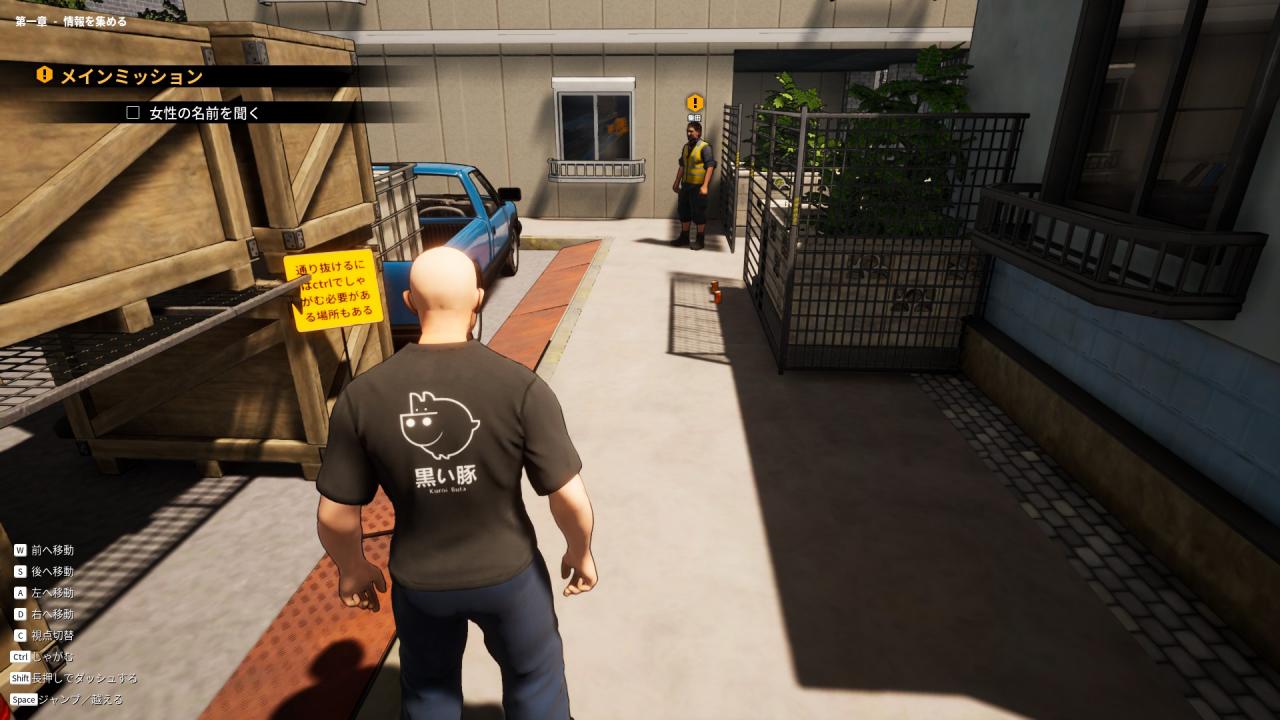
That yellow tutorial message will tell you to press Ctrl to toggle crouch mode and sneak under those boxes. There’s really no point, because then it just tells you to use space to climb over some other boxes and leave the tutorial area. The controls in the bottom left are probably what you expect:
W/A/S/D – Move around.
Ctrl – Toggle crouch.
Shift – Hold to sprint.
Space – Jump/climb over obstacles.
In the top left, next to the yellow “!” sign in the HUD, it says “Main Mission” and this tells you what you’re supposed to do next, provided you can read it. The game will also give you yellow “!” signs in the level to show you where to go. These are visible through walls and at any distance, so just head towards those.
As you walk the 5 or so steps towards the main mission man with the safety vest, you’ll encounter some cans on the floor:
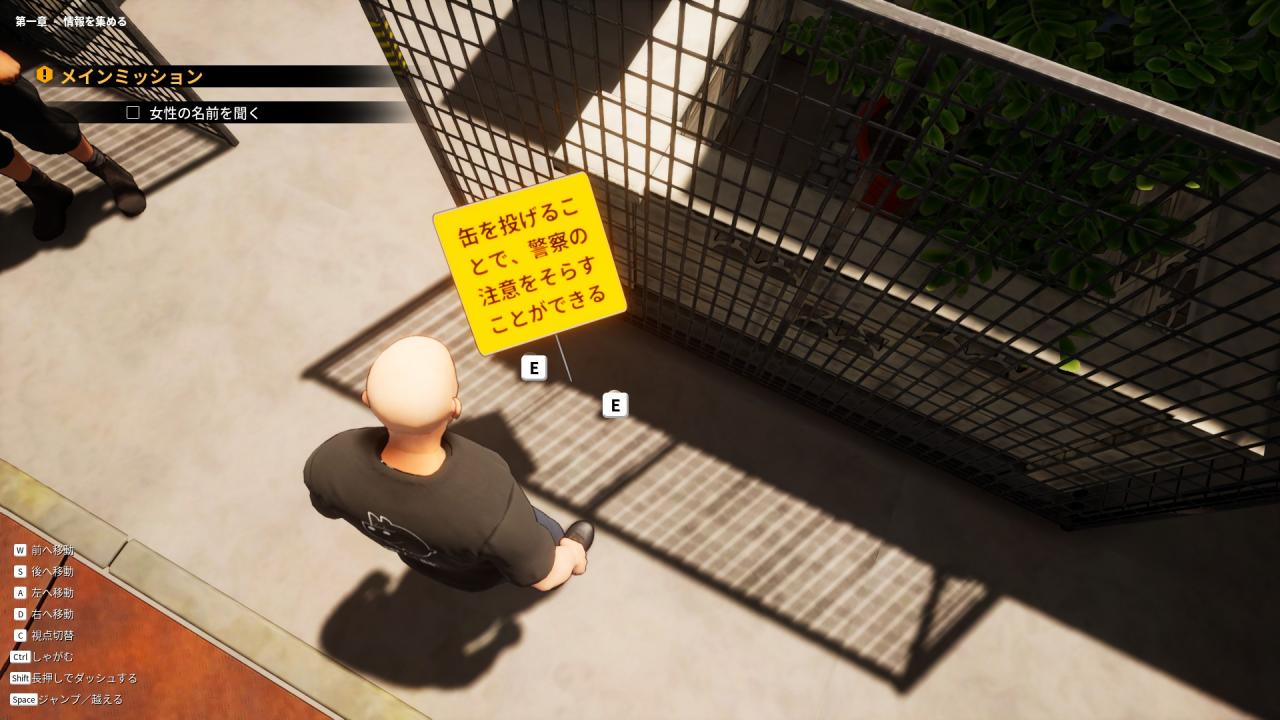
If you pick up a can with the “E” key, you can use it to distract people. Hold the right mouse key with a can in hand to see a preview of where it’ll land and the range within which people will be drawn to the noise.
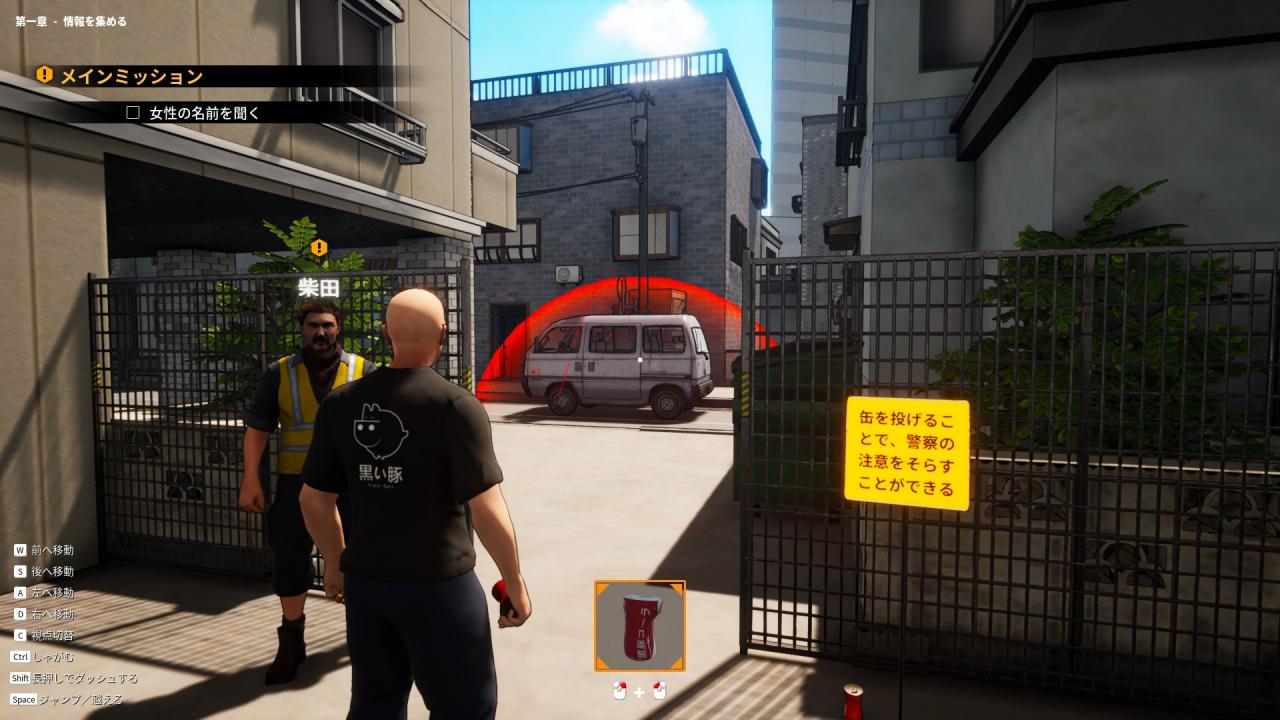
This mechanic is used for getting past cops; especially in night time levels. Don’t worry about it for now and talk to safety vest man. Btw, this symbol with a LMB icon means talking to the NPC:
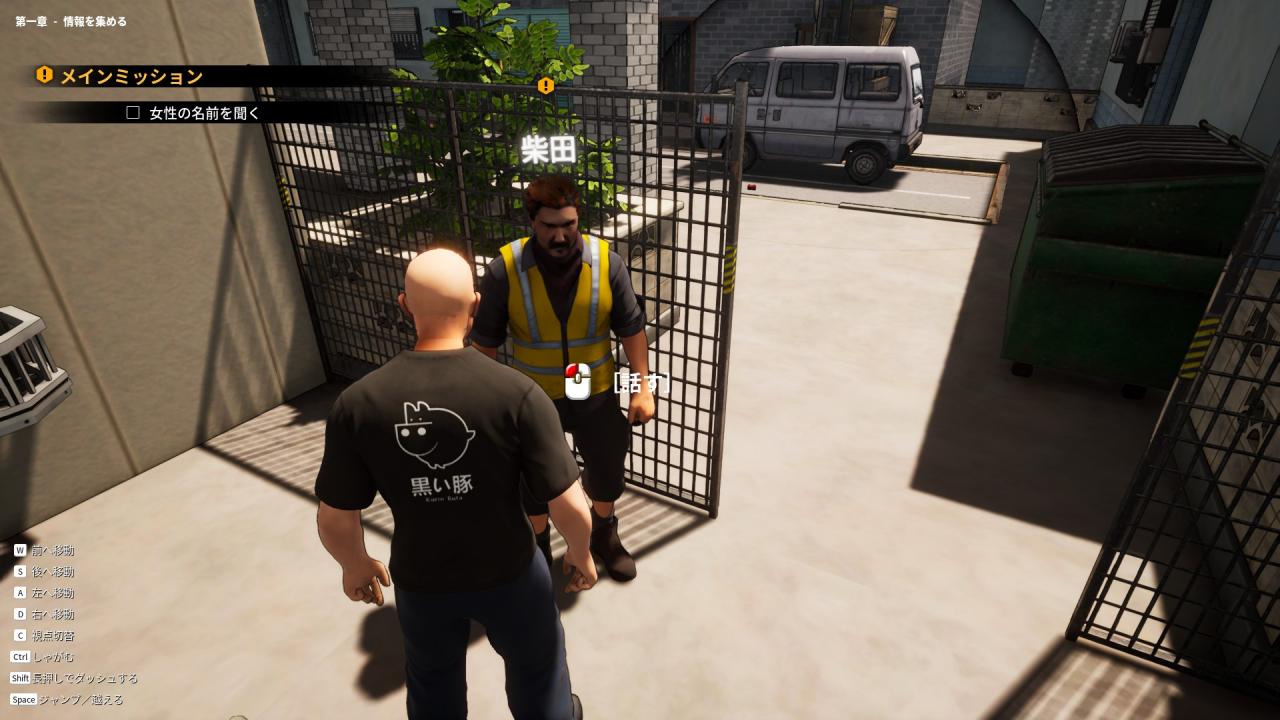
This will introduce you to the game’s dialogue system. Some levels require that you say the right things to the right characters in order to progress. Each option has a number attached to it as seen during this first interaction:
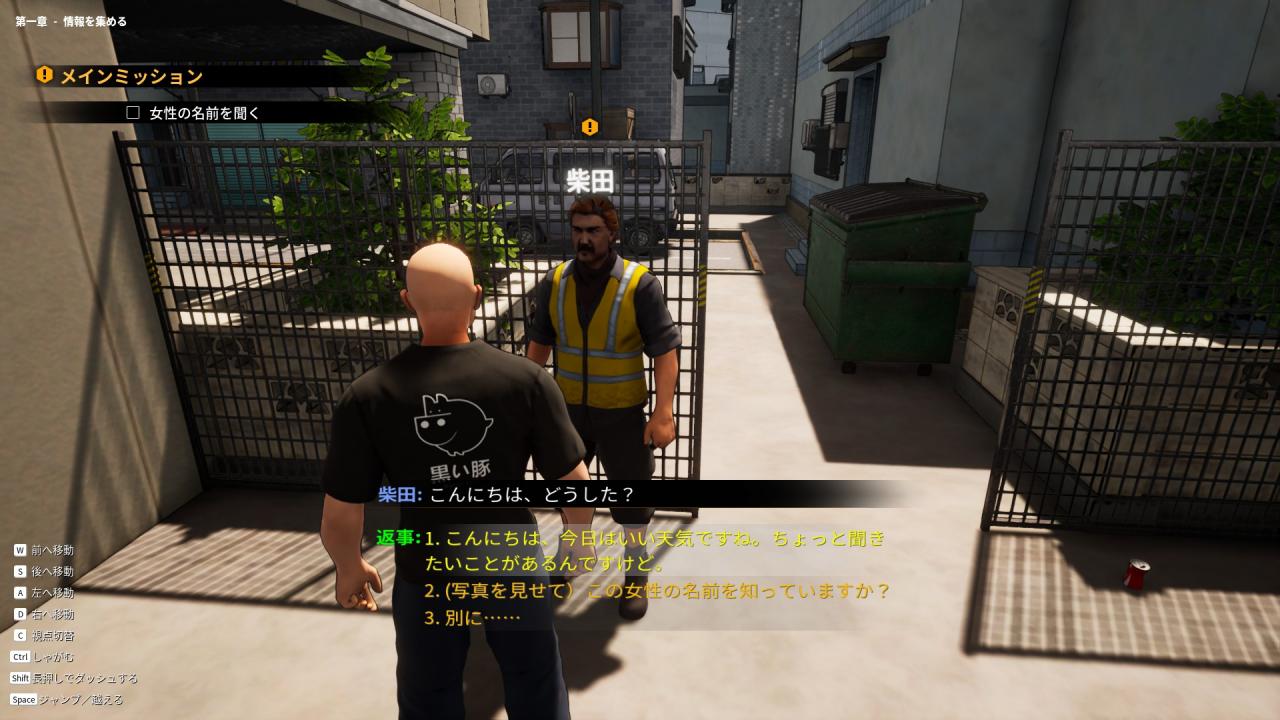
Since I’m writing this guide under the assumption that none of the texts mean anything to you, I will simply refer to the options by their number. In order to complete this conversation, just pick option #1 all 4 times. Safety vest man will tell you to head to the convenience store, if you wanna know more about the girl you’re looking for.

Walk past him through the metal gate and turn left. It’s really just a straight walk to the convenience store, but it should be much clearer now what I mean by just following the yellow “!” sign to progress.
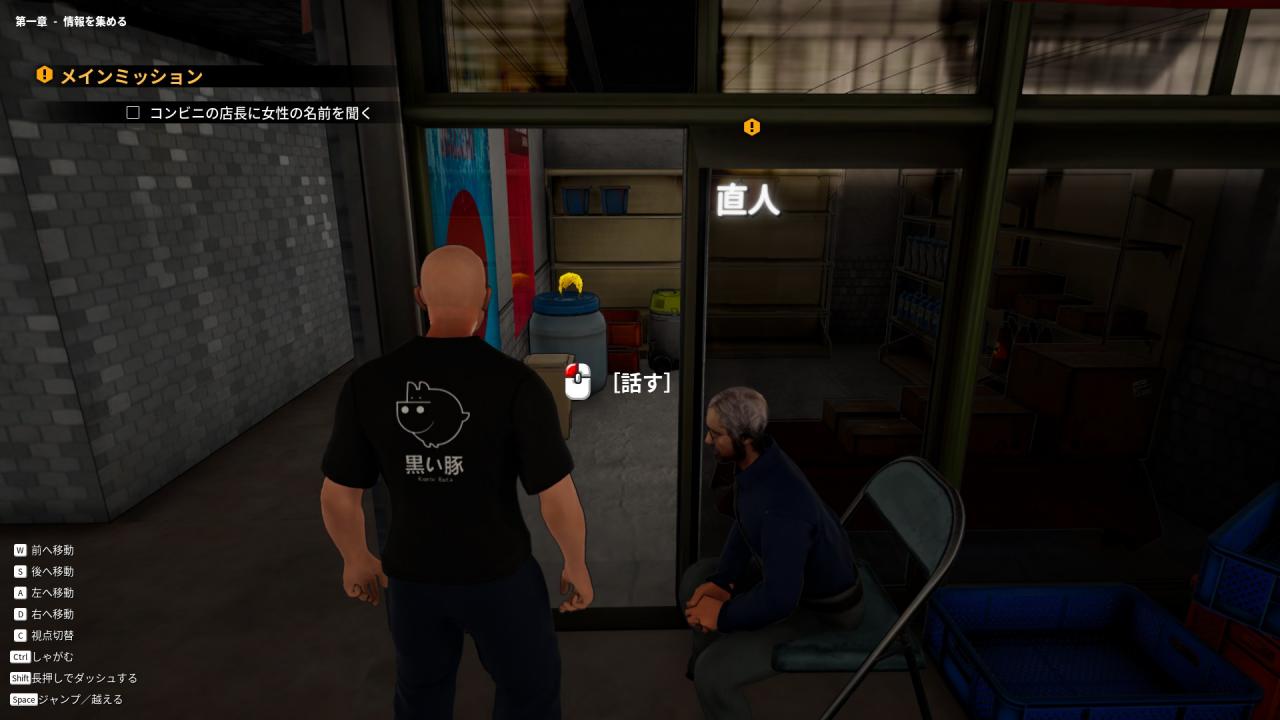
When you arrive at the convenience store, start by going inside to pick up the wig with the “E” key. This is the special item for this level. Then talk to the man sitting outside on his folding chair. His correct dialogue options are: 2/2/1/1.
He will then direct you to a nearby graffiti artist.
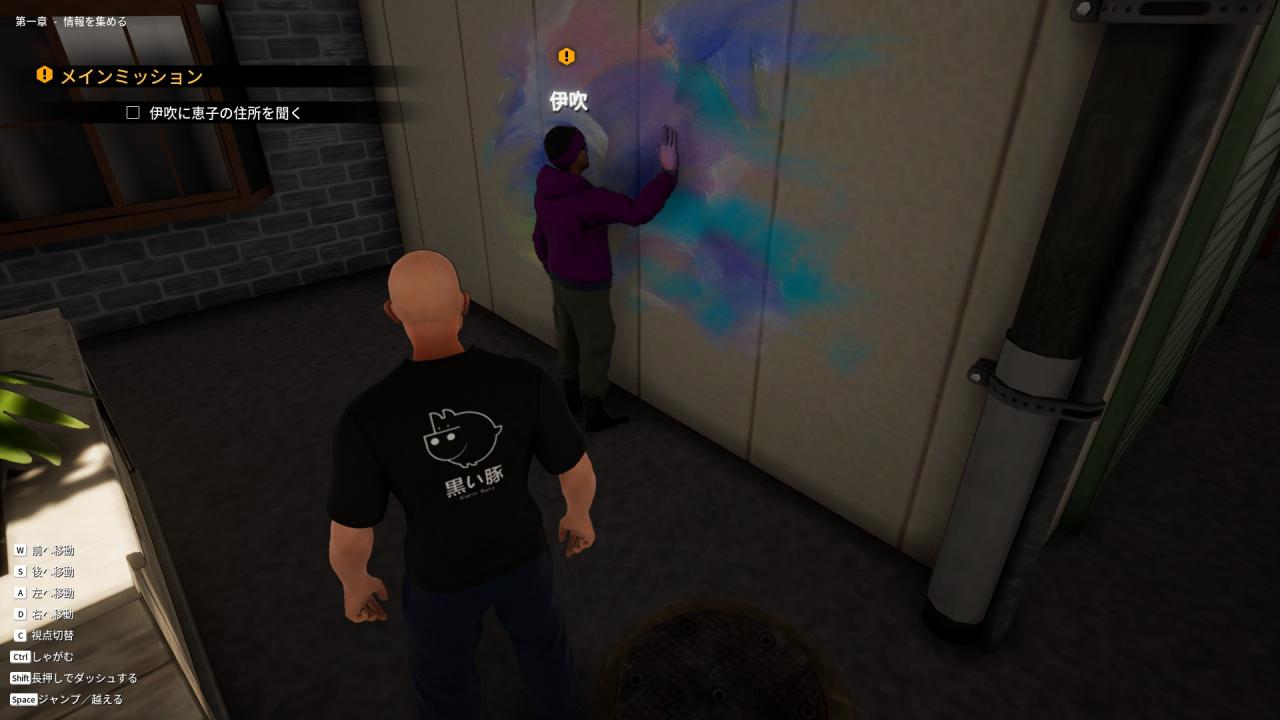
The easiest way to reach him is to climb over the wall directly left of the convenience store when facing the entrance. The graffiti artist’s correct dialogue options are: 3/1/1/1. He will then tell you where the girl lives.
Follow the “!” sign all the way to a corner of the map. Here you’ll find the girl’s house and her mother waiting outside.
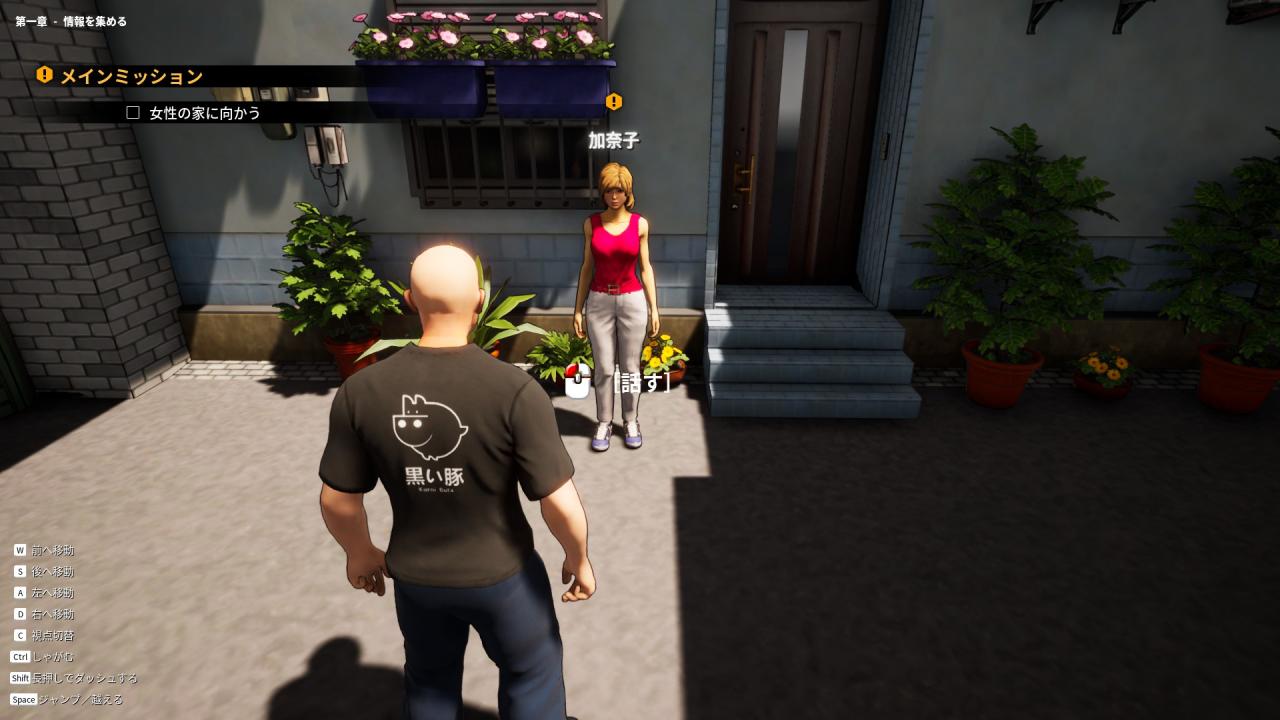
Talk to the mother and select options: 1/1/2/1. She’ll then tell you her daughter isn’t currently home, but should return soon. The next “!” sign is behind a nearby building and you literally just walk over to it. The screen will turn black with text telling you that you waited an hour and then the girl will have returned home along with some guy.
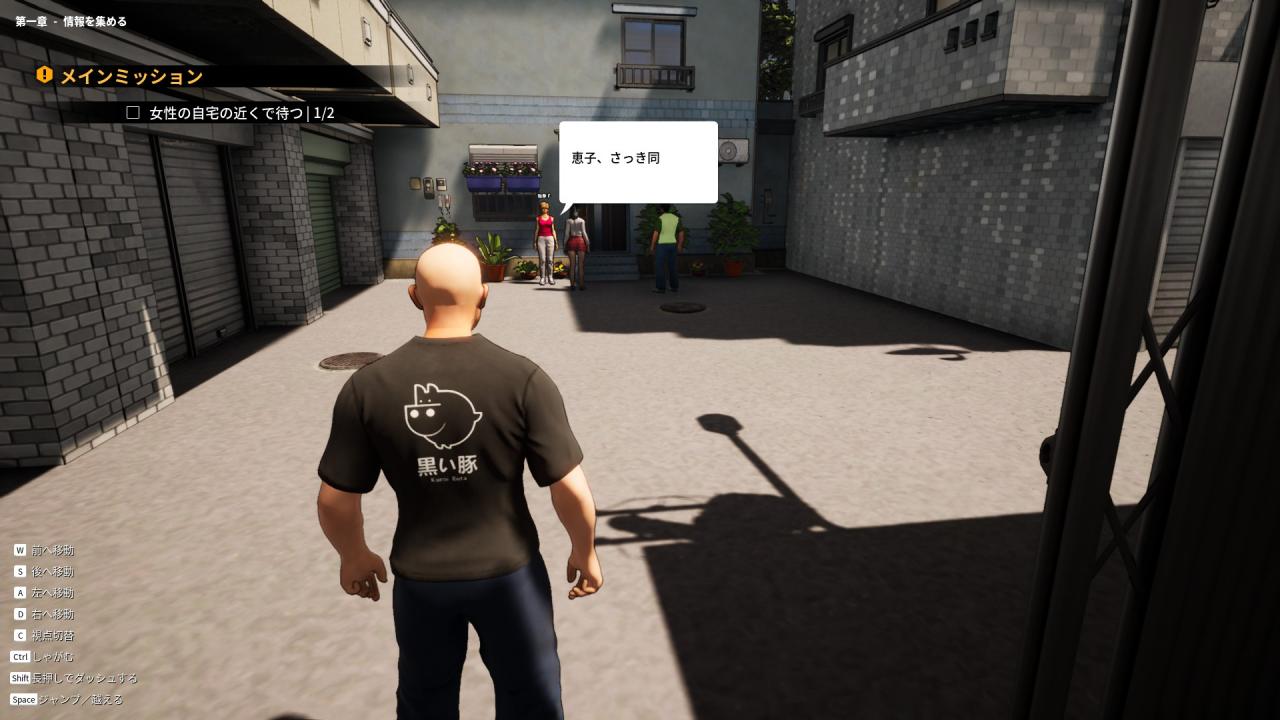
At this point, you don’t actually have to do anything. Just wait for their conversation to end. Basically, it sets up the next stage. Congratulations, you’ve finished Mission 1!
Level 2 – Following Her
When starting any other third person level after the first, the game will give you the option to put on some manner of headgear. [NOTE: ignore the police helmet in my screenshot. I couldn’t figure out how to delete my save and you shouldn’t have that yet.] As far as I can tell, it doesn’t seem to matter if you wear the wig or not for this level, so do whatever you want.
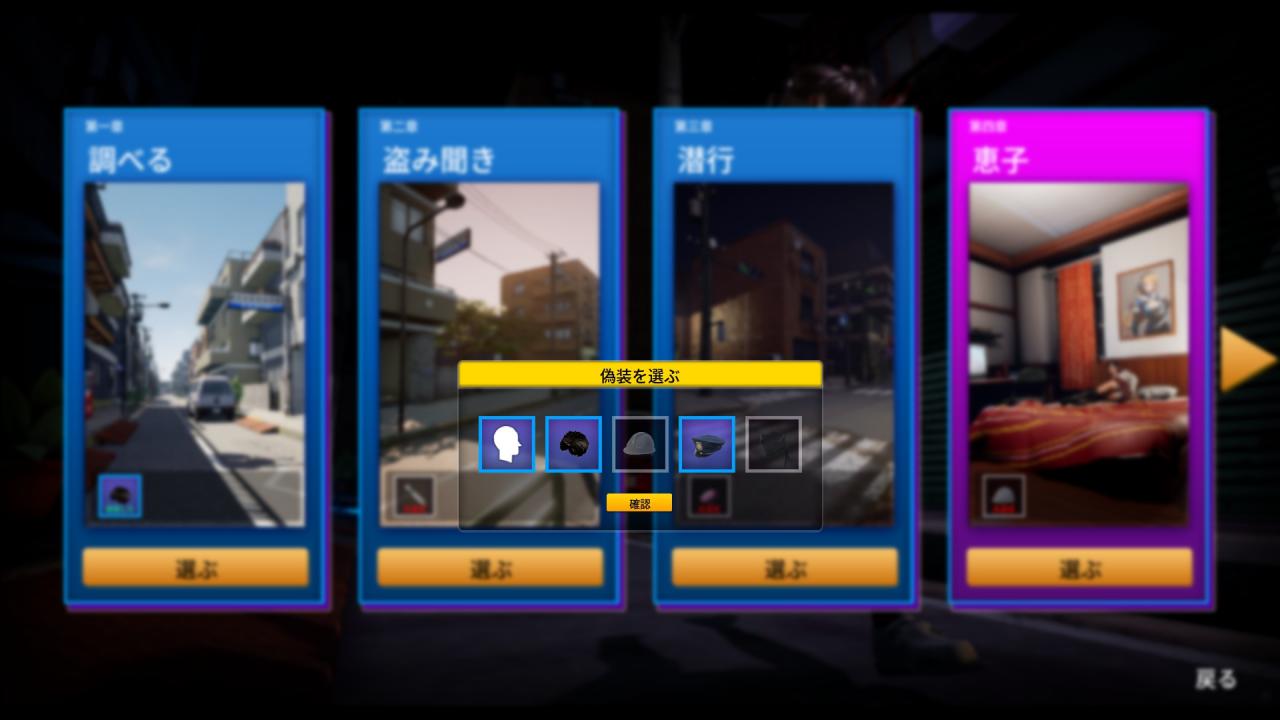
Once you’ve selected your headwear or lack thereof, you’ll start the second level in the place you ended the first: behind the building close to the girl’s house. Walk around the corner to find the girl and the guy she arrived with.
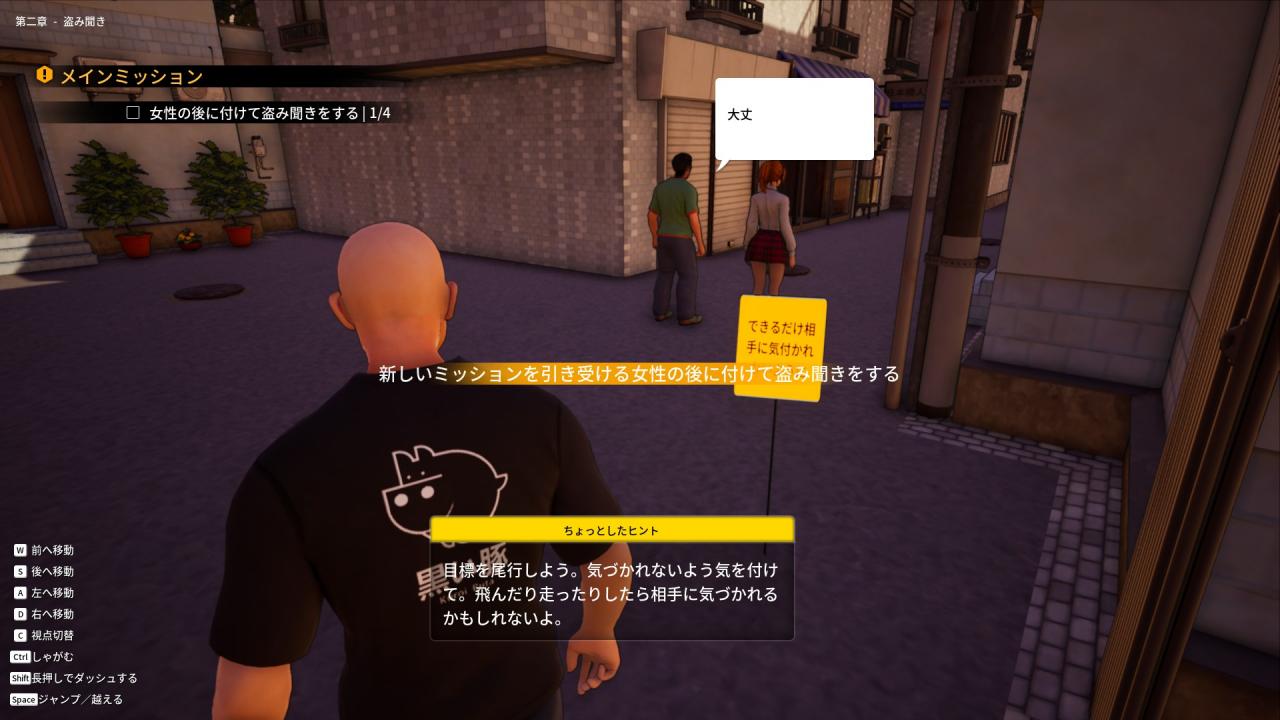
After a short conversation, they’ll start walking together. They’re headed to the bus stop at the other end of town.
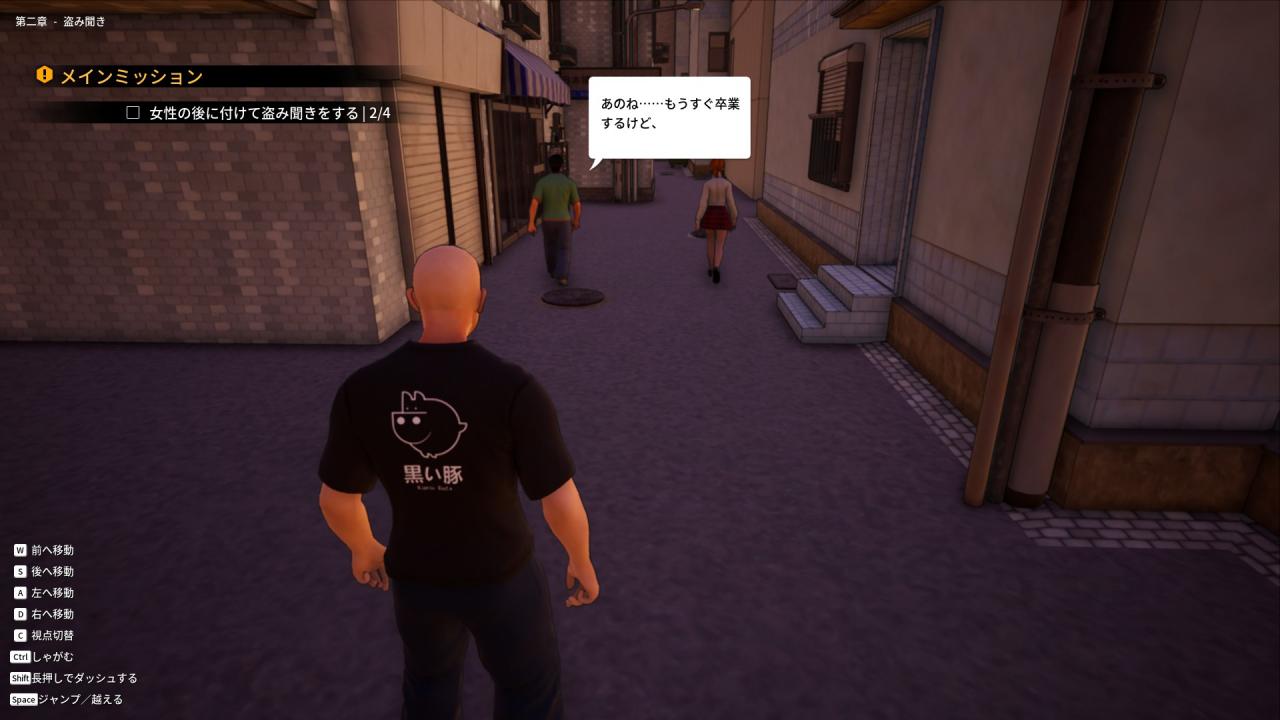
If you follow them, you can attempt to read their conversation on the way there. Basically, you find out he’s going with her and that they’re a couple. However, the game doesn’t really care whether or not you follow them. You can run to the bus stop via another route or just not move at all and the game will progress. Your character will even have his thought bubbles reacting to the conversation pop up at the appropriate times, even if you’ve caught none of the conversation. It really doesn’t matter what you do, so long as you don’t get too close or in front of them. It won’t lead to a game over, but they’ll stop and stare at you. It just makes the level take longer.
Once they’re at the bus stop and have concluded their conversation, you’ll be directed to go talk to someone standing close to where you started the game in level 1. He’s on the other side of the tutorial boxes.
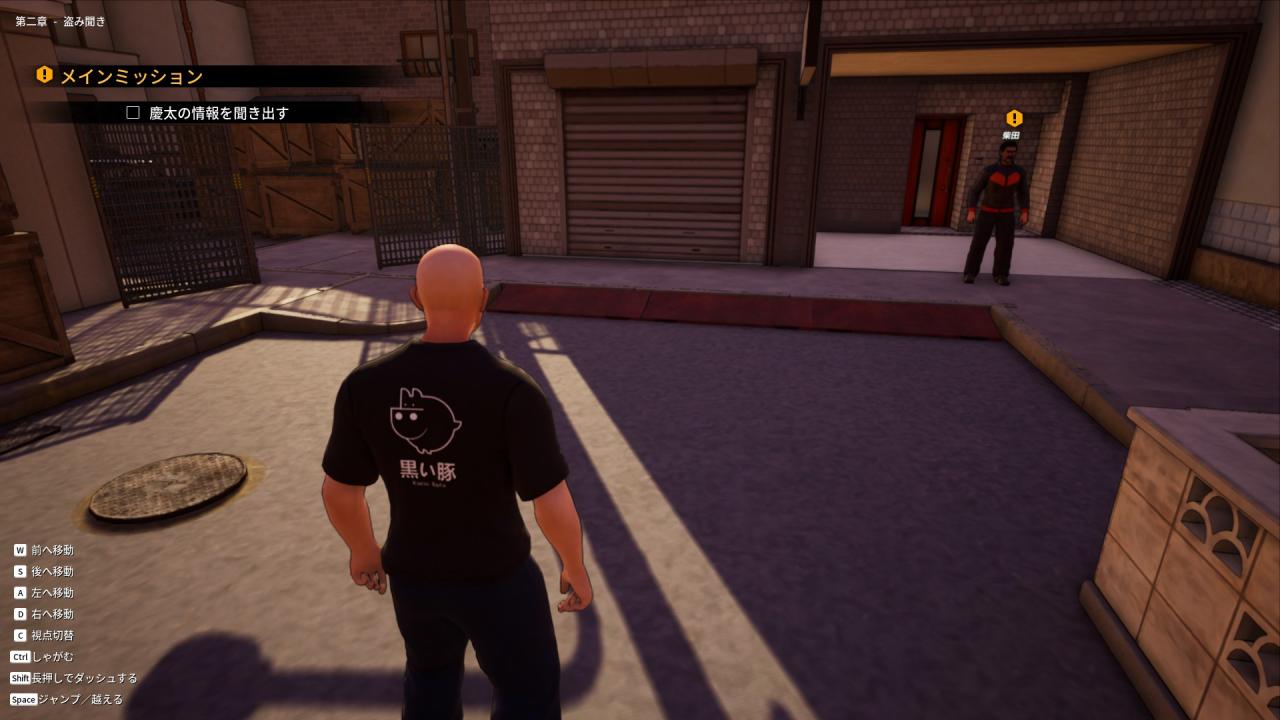
His conversation doesn’t actually give you any choices, so just press 1 all 7 times to get your next “!” sign. It’s at the bus stop. Or back at the bus stop, if you actually followed them there. If you didn’t follow them, or just have a terrible sense of direction, the easiest way to find the bus stop is to start heading towards the convenience store again along the same route as the beginning of the first level. At the crossing before the store, head right instead.
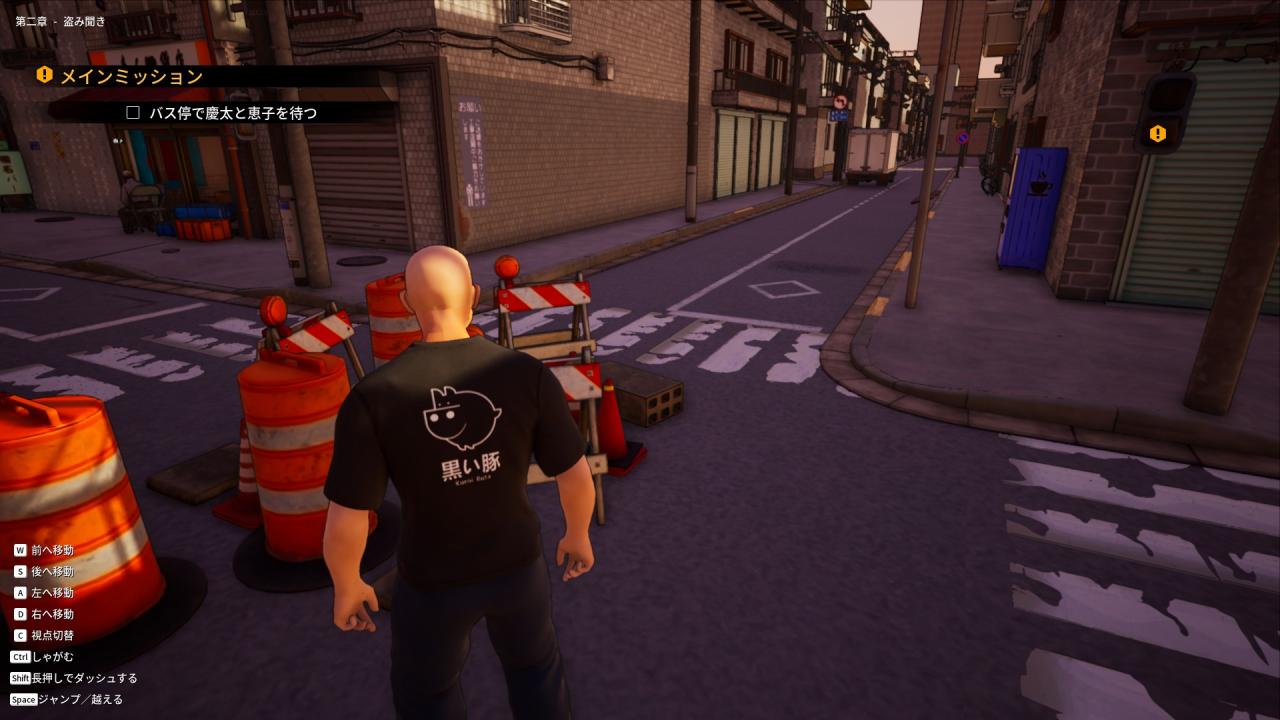
Just walk up to the bus stop to finish the level.
NOTE: I do not know where the hidden item in this level is yet. Once I get all the headwear, I’ll experiment in each level and hope to find them. If you have found it, please let me know 🙂
Level 3 – Capturing Her
This level starts at night, with the girl and her boyfriend having returned by bus.
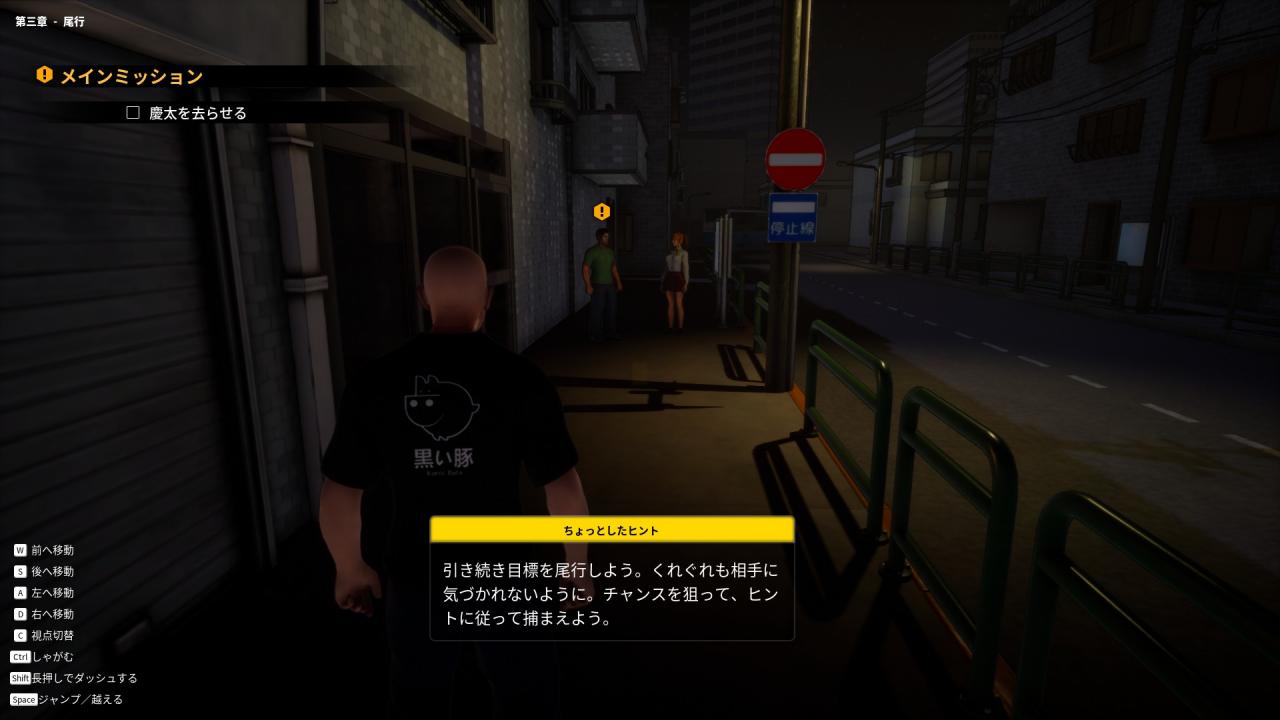
Walk over to them and talk to the boyfriend. Dialogue: 1/1/1. You’ll have to wait for him to automatically continue the conversation, so don’t just spam 1. Now you’ll have to go hide around the corner while they split up.
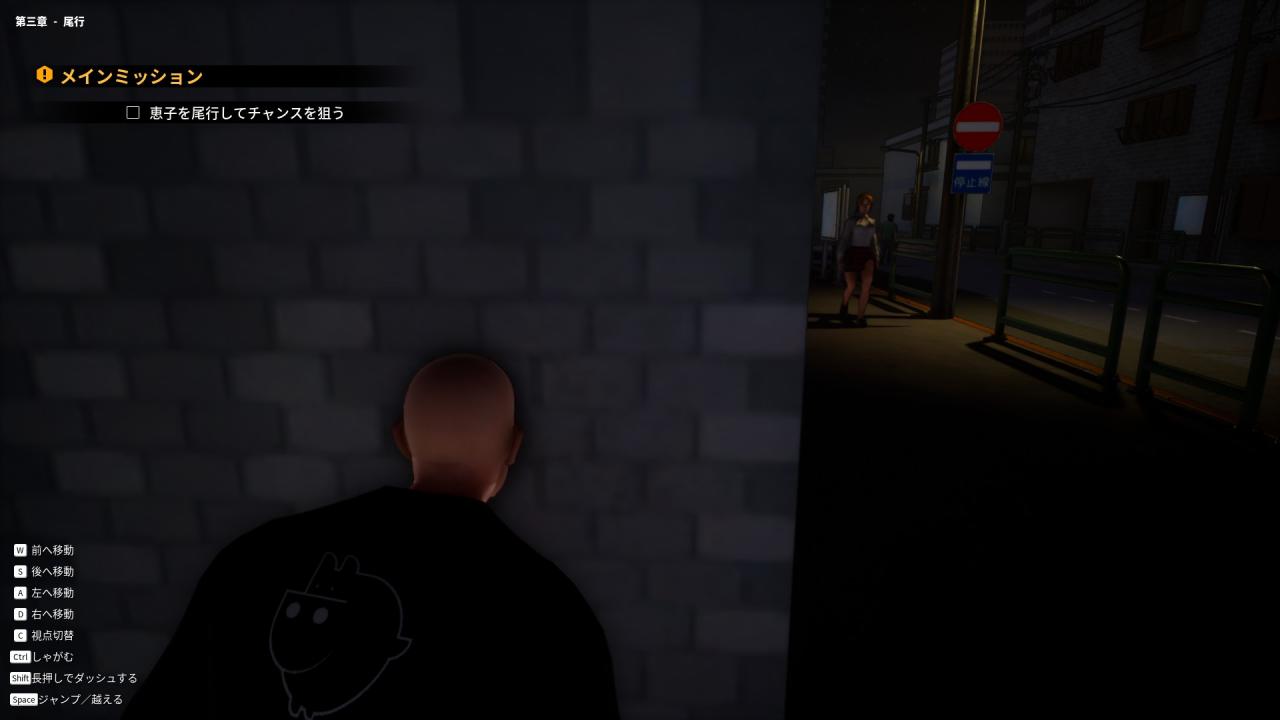
At this point, the girl will walk towards you (stay crouched, so she doesn’t notice you, because getting spotted will cause a game over in this level), turn and cross the street.
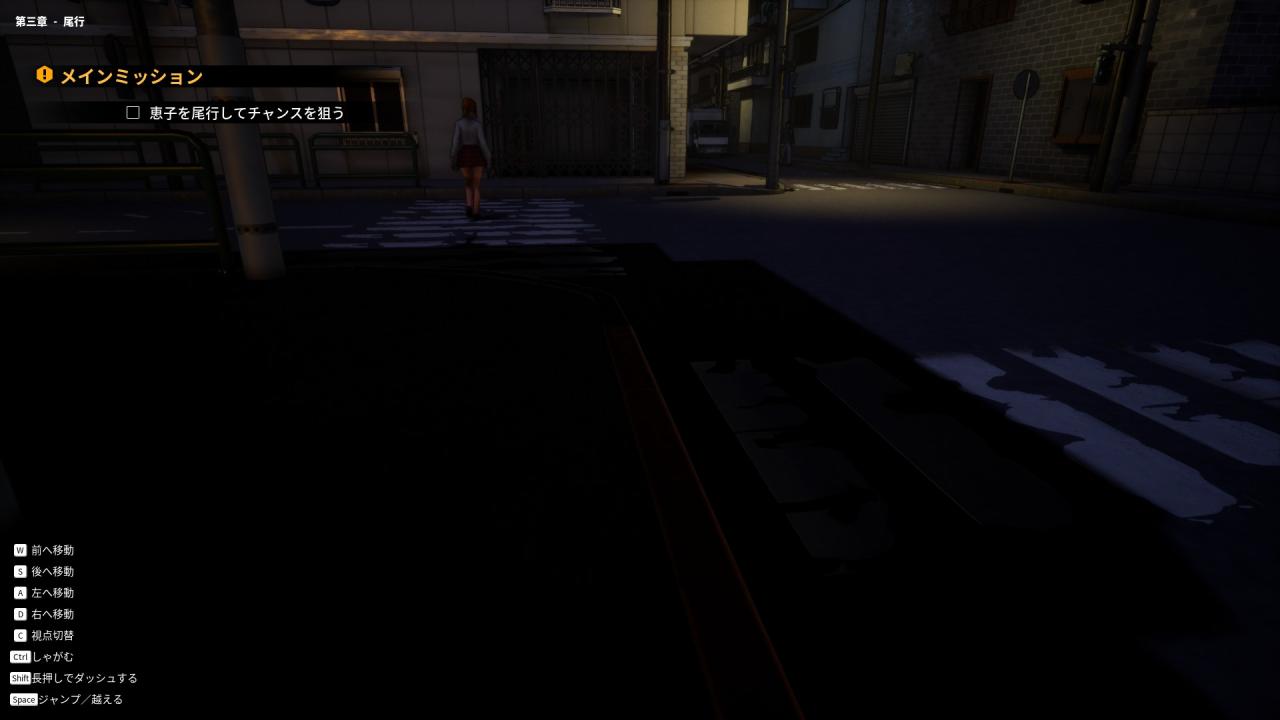
She’s going to walk home along the same path she took to the bus stop in level 2. There will be several cops along the route and you can’t capture her until she’s past the last cop. The game expects you to avoid them all with stealth. Balls to that, we’re doing gamer strats. Start walking over to the truck in that previous screenshot and stop at the street light with a can.
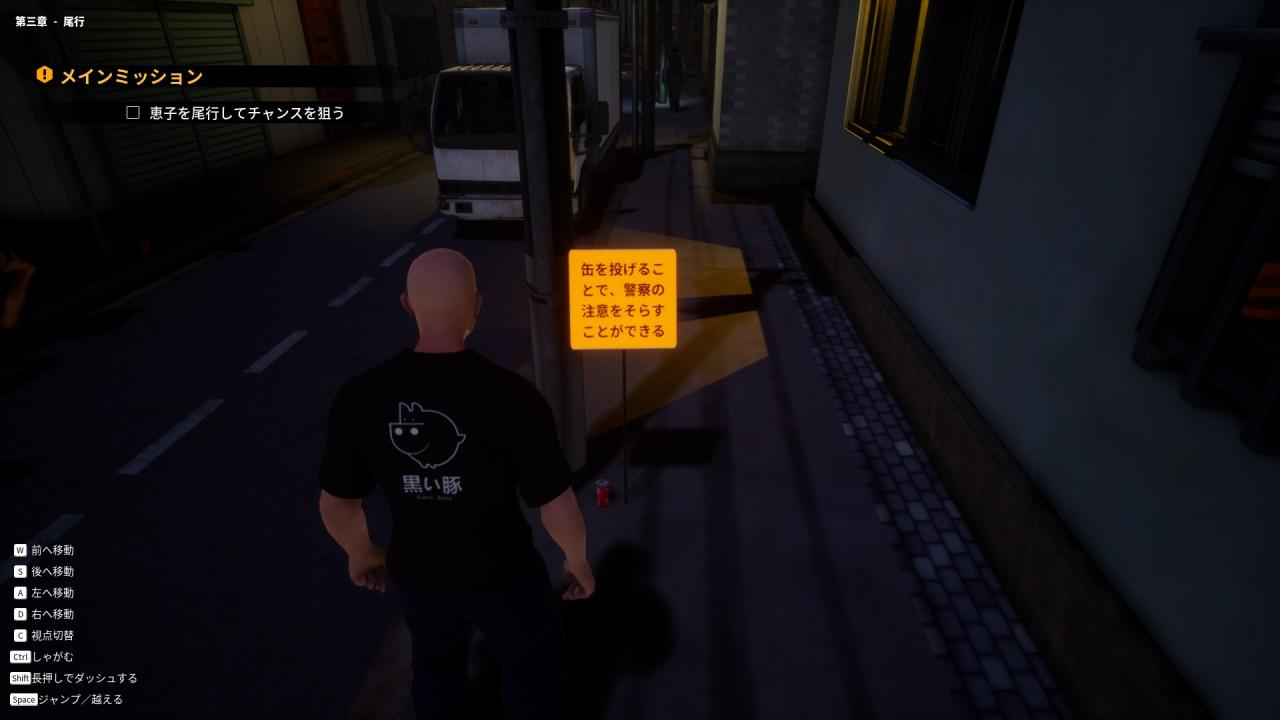
Pick up the can and back up a little, as the girl will cross the street towards the truck here and then go into the alley that the cop is guarding. Throw the can to the other side of the street, so it alerts the cop, and then follow her into the alley. Remember this wall?
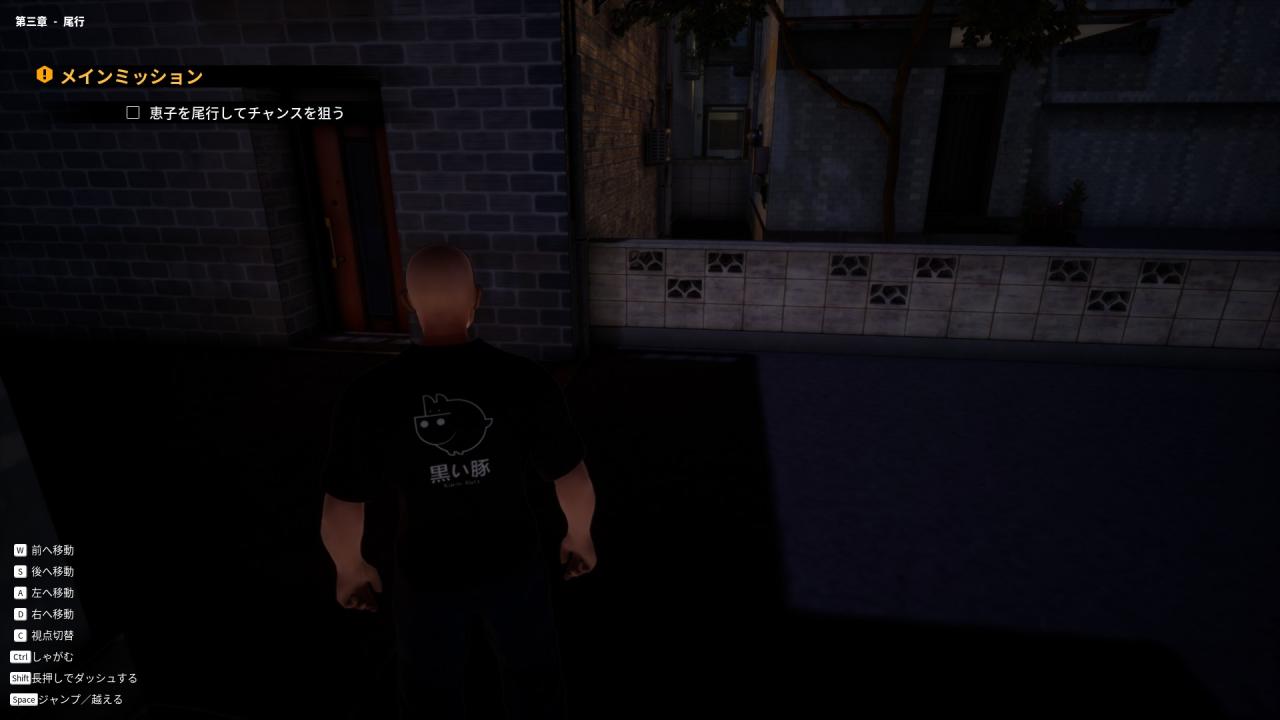
That’s right. It’s the wall next to the convenience store you climbed over to get to this alley during level 1. Head that way and climb over the wall, putting you next to the convenience store, and look to the right.
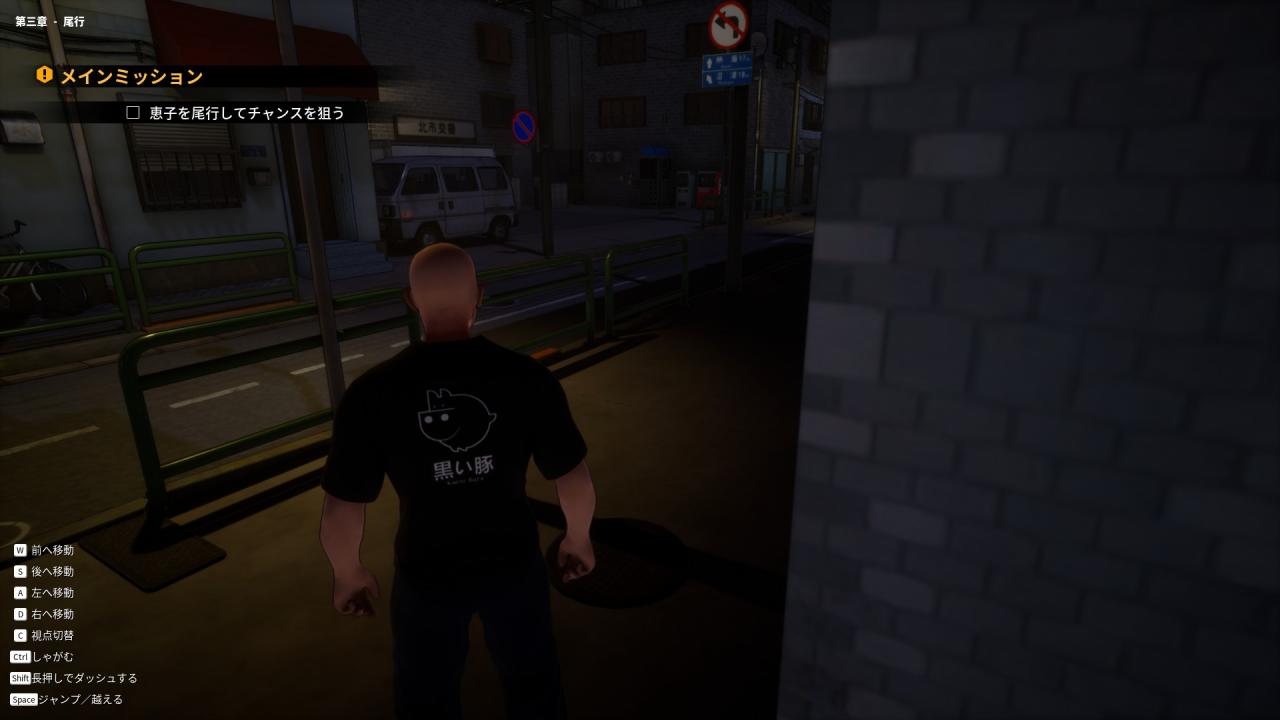
With the convenience store behind you, you’ll notice a building with some parking spaces that you may have spotted earlier. Head over to the little parking lot.
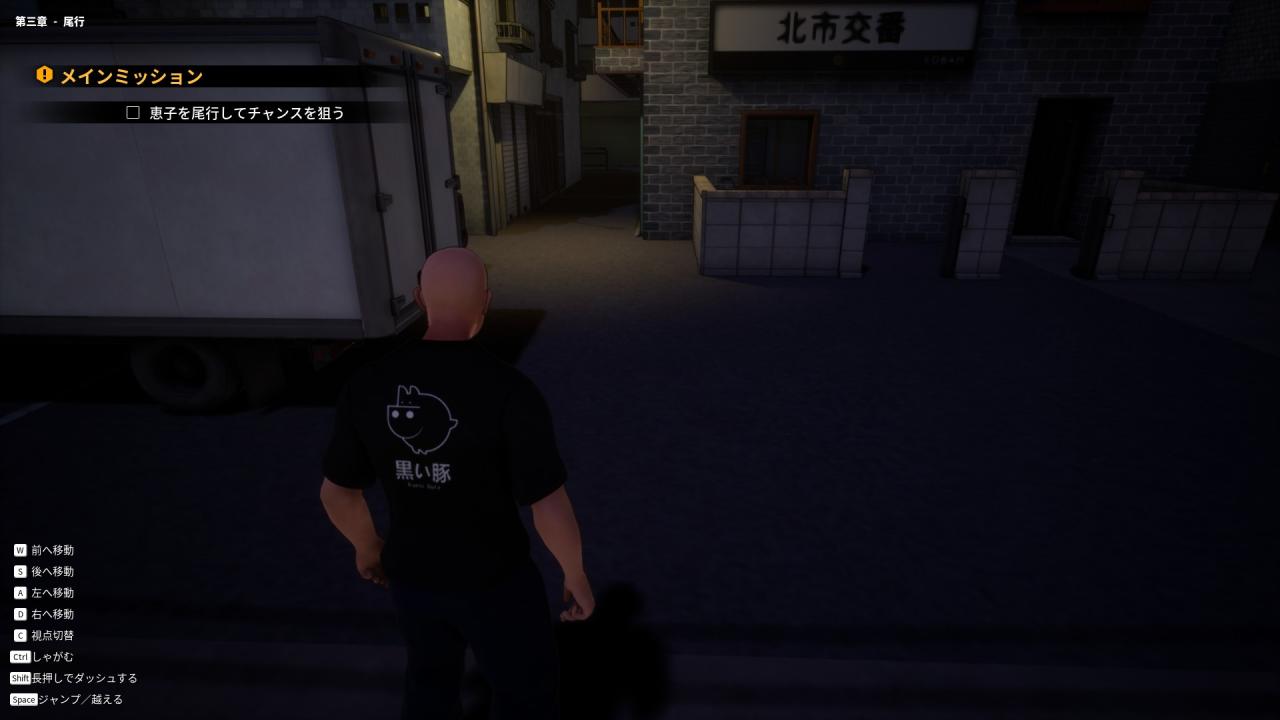
Run past the car and truck in the parking lot and into the alley between those two buildings. On the other end of the alley, turn right again.
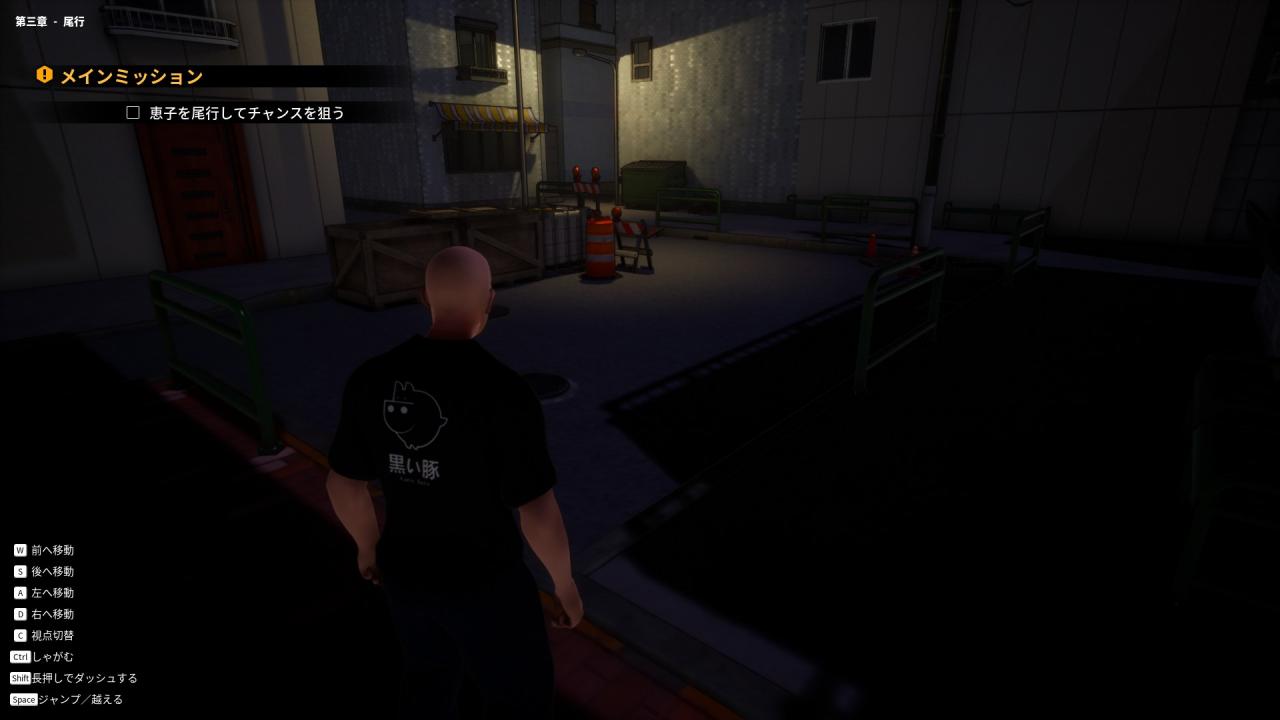
See that trash container and brightly lit alley? Head there. We’re almost done.
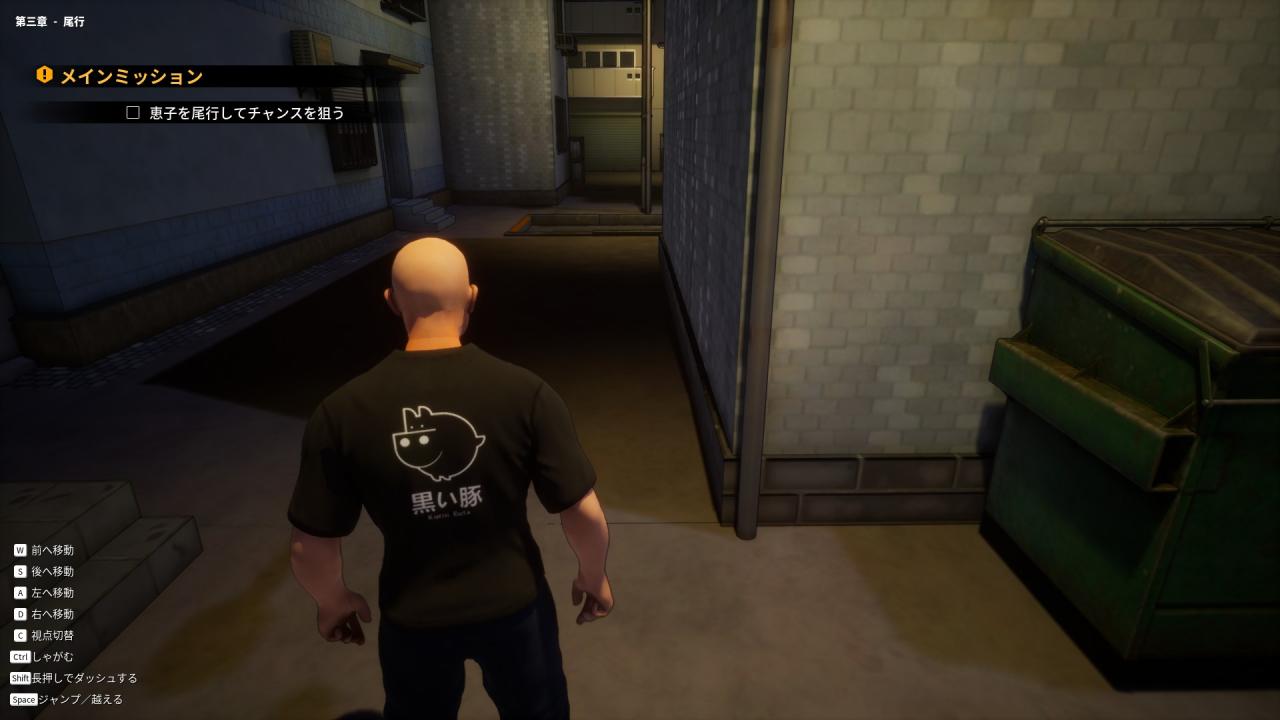
Now wait in this alley for the girl to come by. Why here? Because this is right after she has passed the last cop, so you can start capturing her here and are no longer in danger.
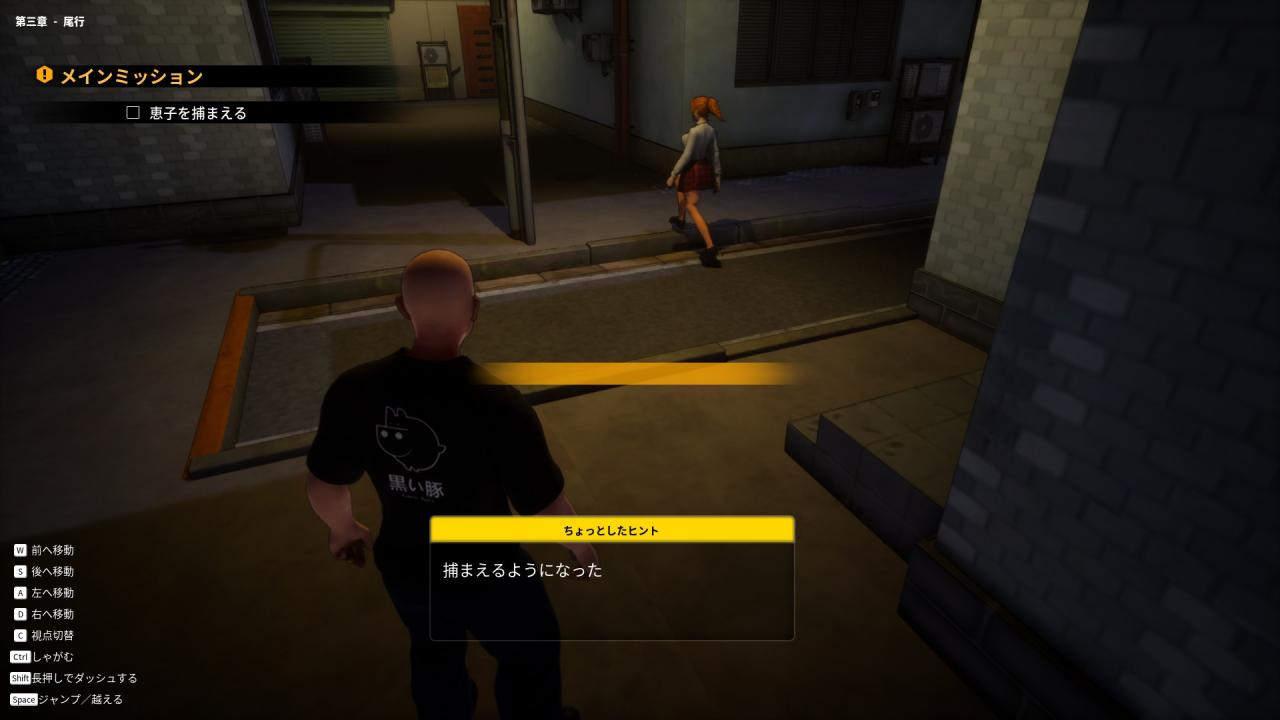
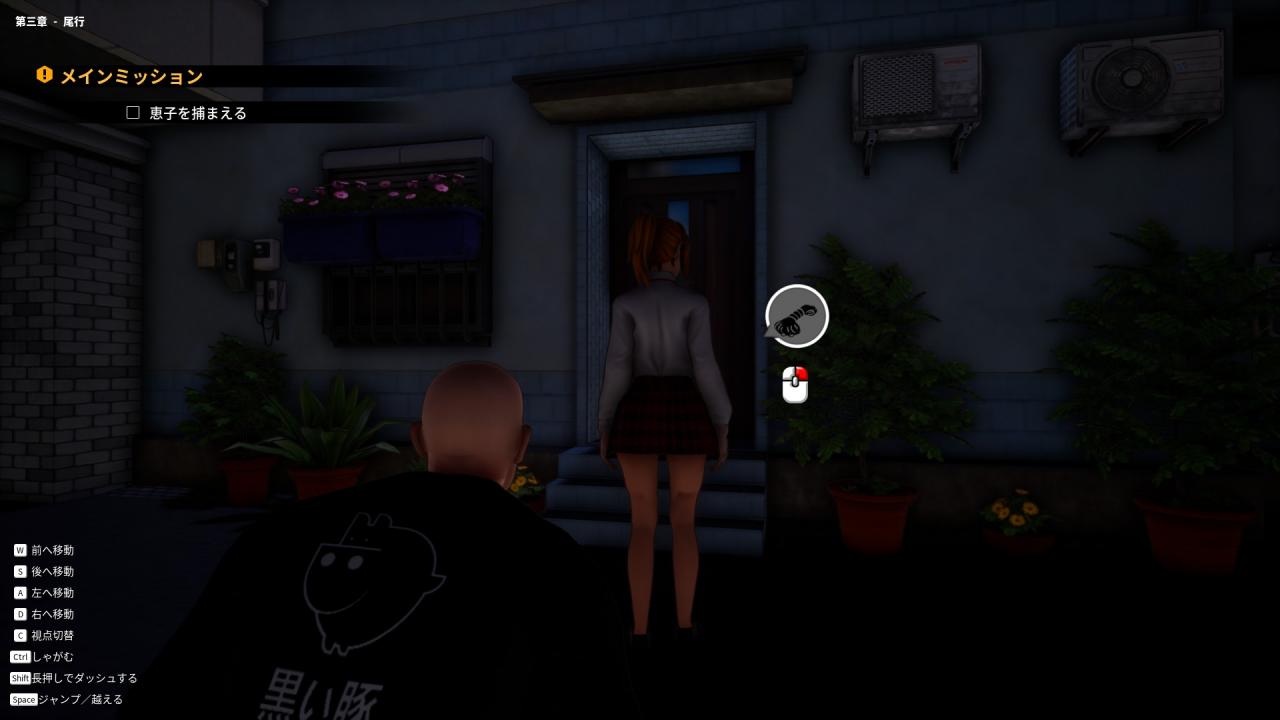
Once she walks past, start following her. Crouched, though. Don’t just walk up to her. Once you’re close behind her and have your mouse on her (cursor’s invisible, but you’ll notice), the capture meter will start to fill up. If you’re struggling with this as she’s moving, just follow her to the house, because she’ll stop in front of the door for a short while.
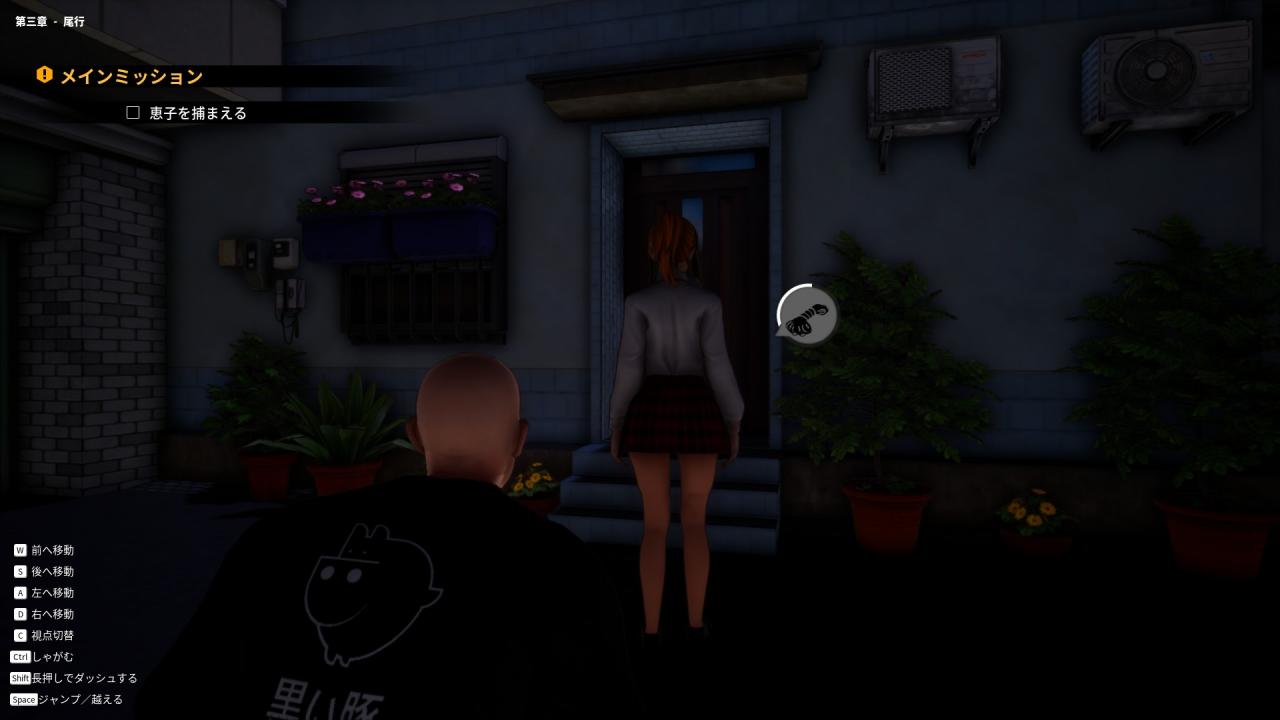
Once the meter fills up entirely, right click to beat the level.
Level 4 – First Sex Level
Level 4 is the first sex level. These consist of 3 sections. The first two can be skipped, but you should complete them to get the headwear unlocks from these levels.
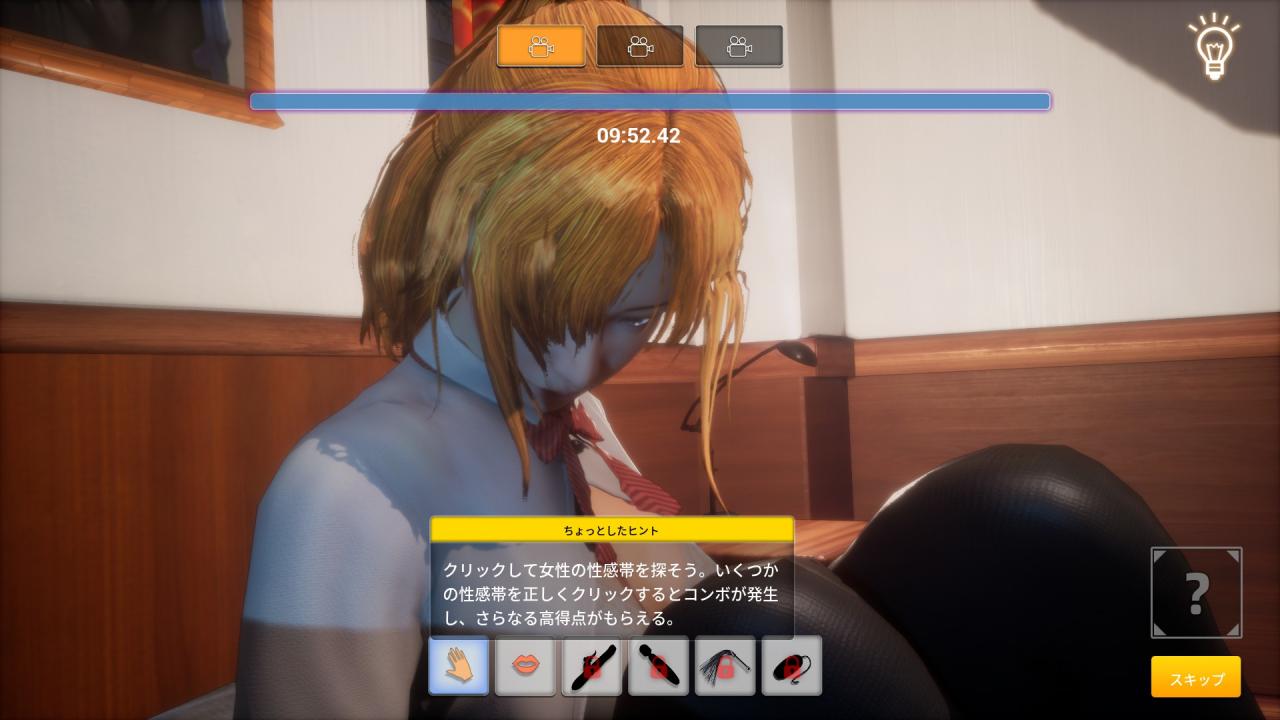
You can use one of three cameras and can touch several different areas of her body. I’m just gonna recommend sticking to using the Hand tool, because I don’t know if the combo I use works with the lips or any toys.
For part 1, I recommend switching to camera 3. From here, you can click on all the parts necessary for the combo, although some are kind of annoying. In the bottom right, above the yellow Skip button, you’ll see what you clicked on last.
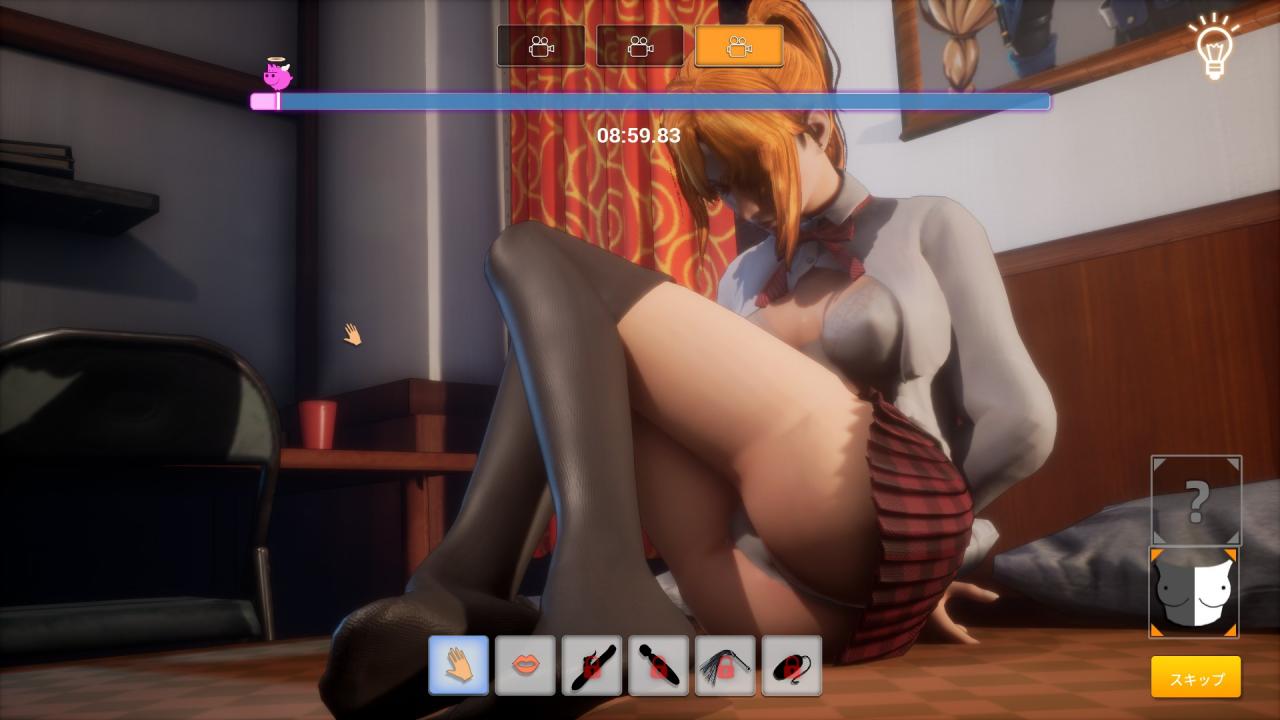
The “?” box means that you can continue a combo by clicking on the correct next body part. The combo can go up to x5 and that is really the only way to succeed at these levels. For part 1, the x5 combo I’ve found is:
Right boob
♥♥♥♥♥
Right face
Left boob
Left ass
Unfortunately, the images in the game are flipped for the most part (not the ass, for some reason), but here is an image of the full combo, so you can copy it:
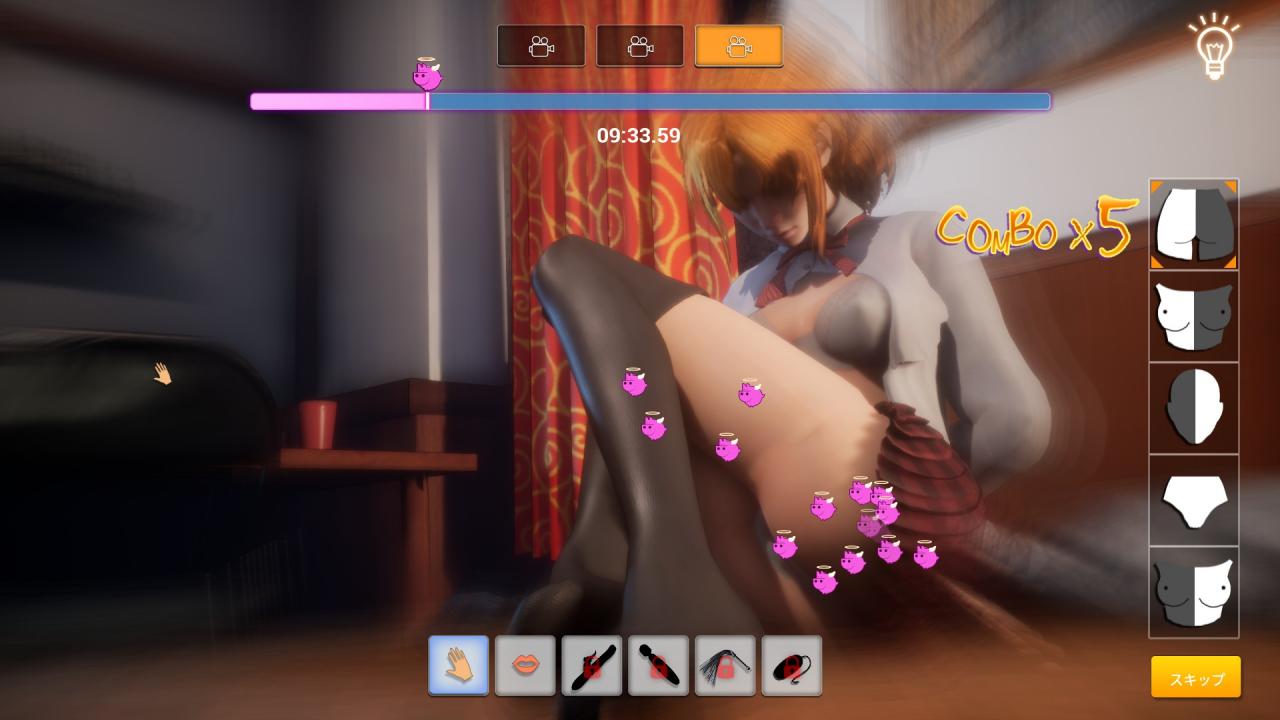
After filling the bar, you’ll move onto part 2 where her underwear/bra are removed and the pose changes. I recommend camera 2 here. The x5 combo here is:
Right face
Left face
Right butt
Left boob
♥♥♥♥♥
Part 3 is like the tutorial before the first mission. Hold LMB and move the mouse around until the bar fills up.
Level 5 – Searching Mother
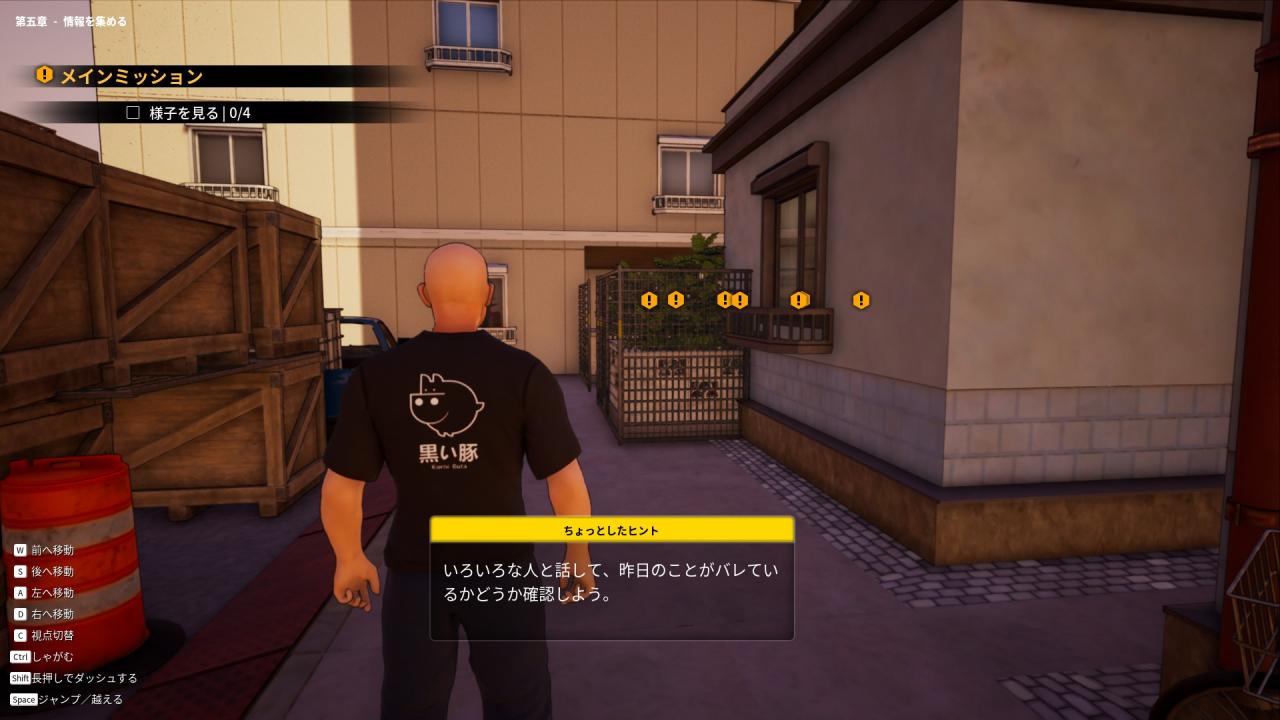
You need to talk to 4 tagged NPCs who will tell you they know nothing. It doesn’t matter which or in what order, with one exception. The one behind the convenience store, easiest to find by going right at the crossing and into the alley with the truck.
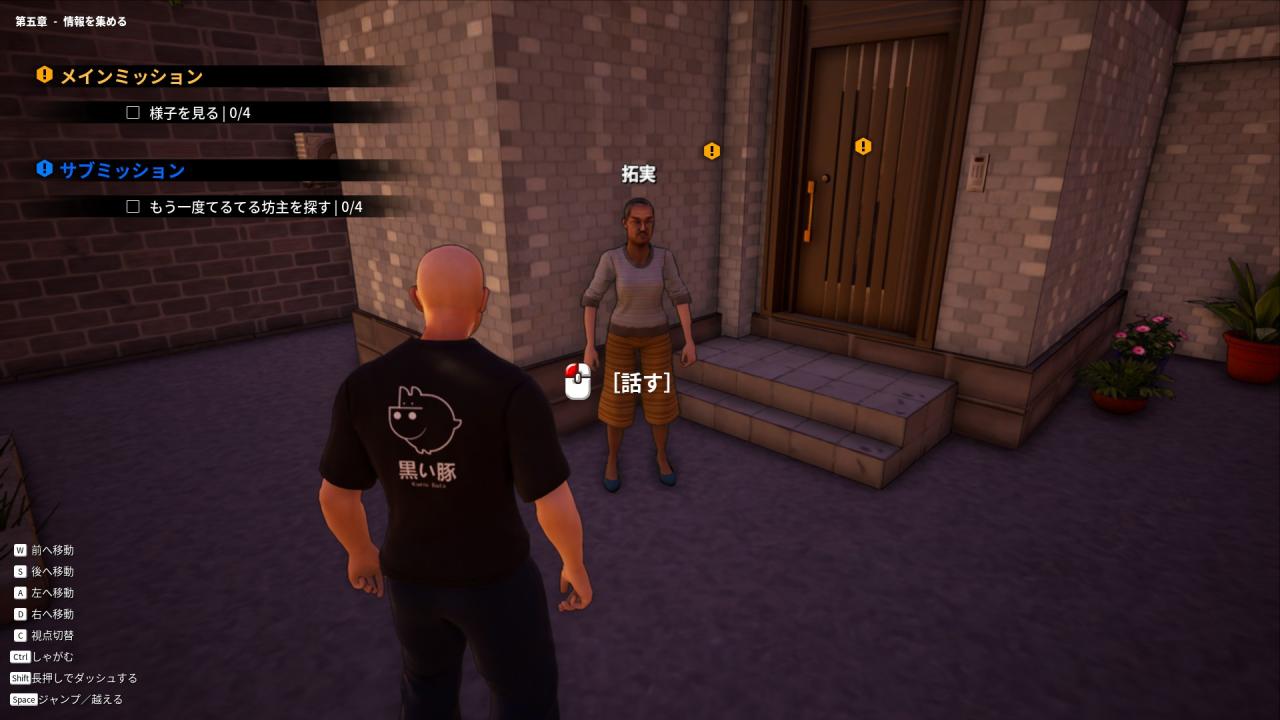
Talking to this character will give you a Sub-Mission. They want you to find 4 small items for them that got scattered nearby. They don’t have a “!” sign and are small, so make sure to look down to make the “E” prompt appear. The first one is right on the other side of his little wall.
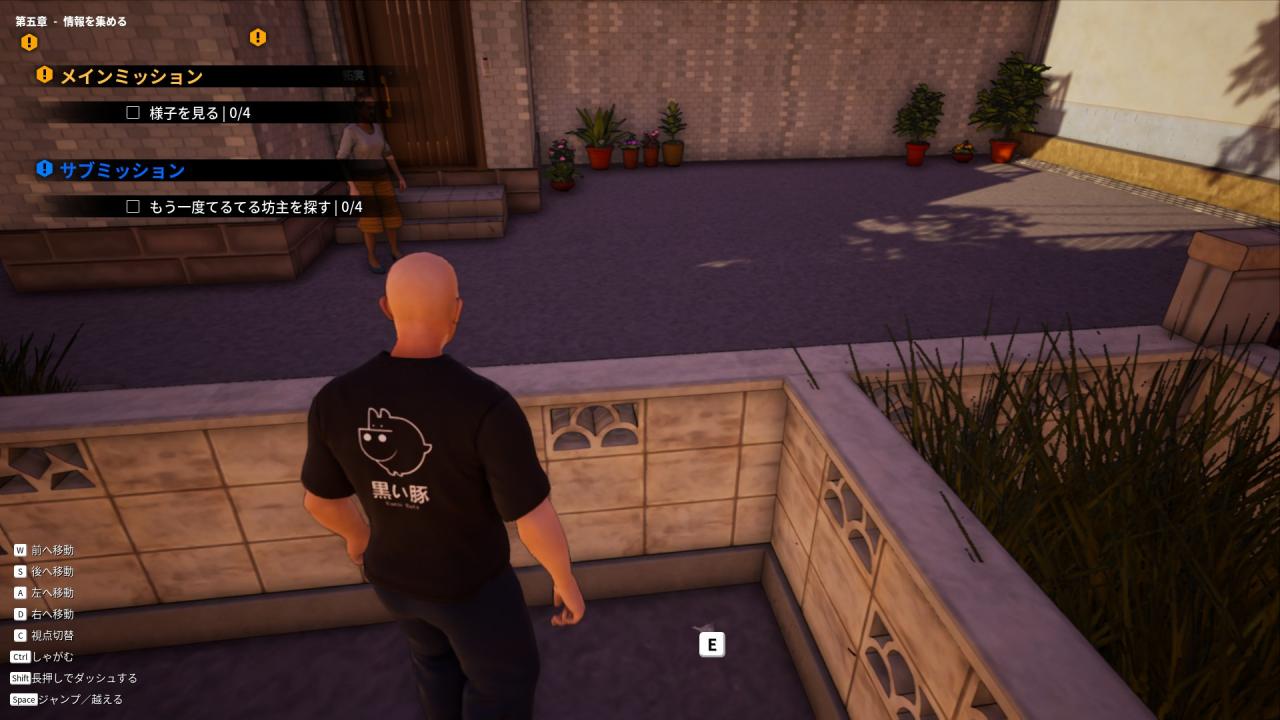
Follow that wall back towards the truck and you’ll find the second one near the end of that wall.
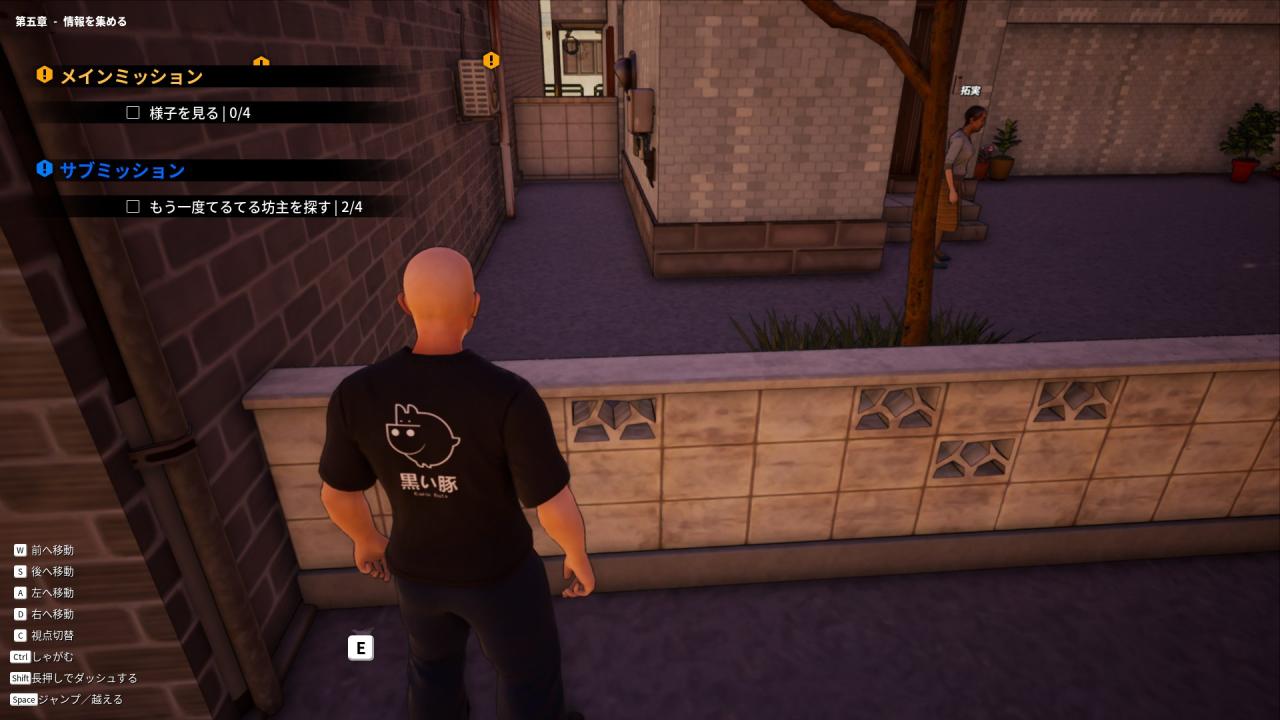
Then walk in a straight line away from their house, towards the garbage containers in the dead end.
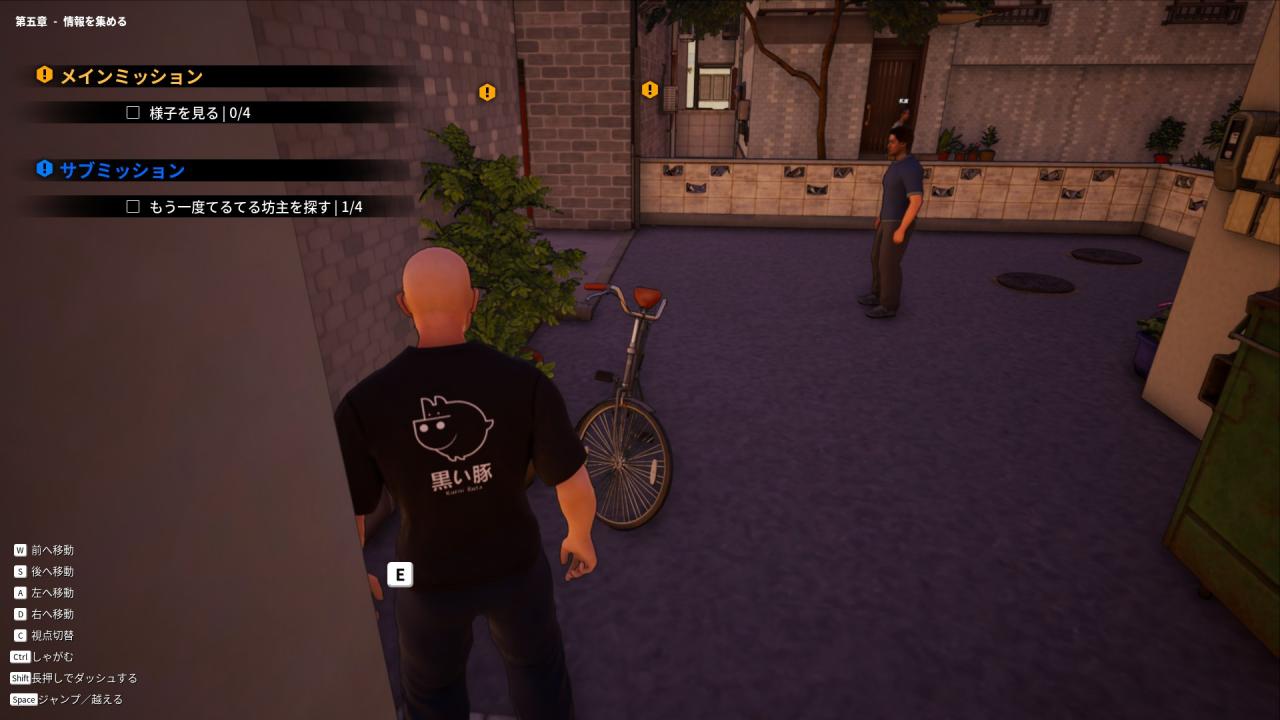
The last one is in the corner next to the graffiti artist, who is conveniently also one of the NPCs you can talk to for the main mission.
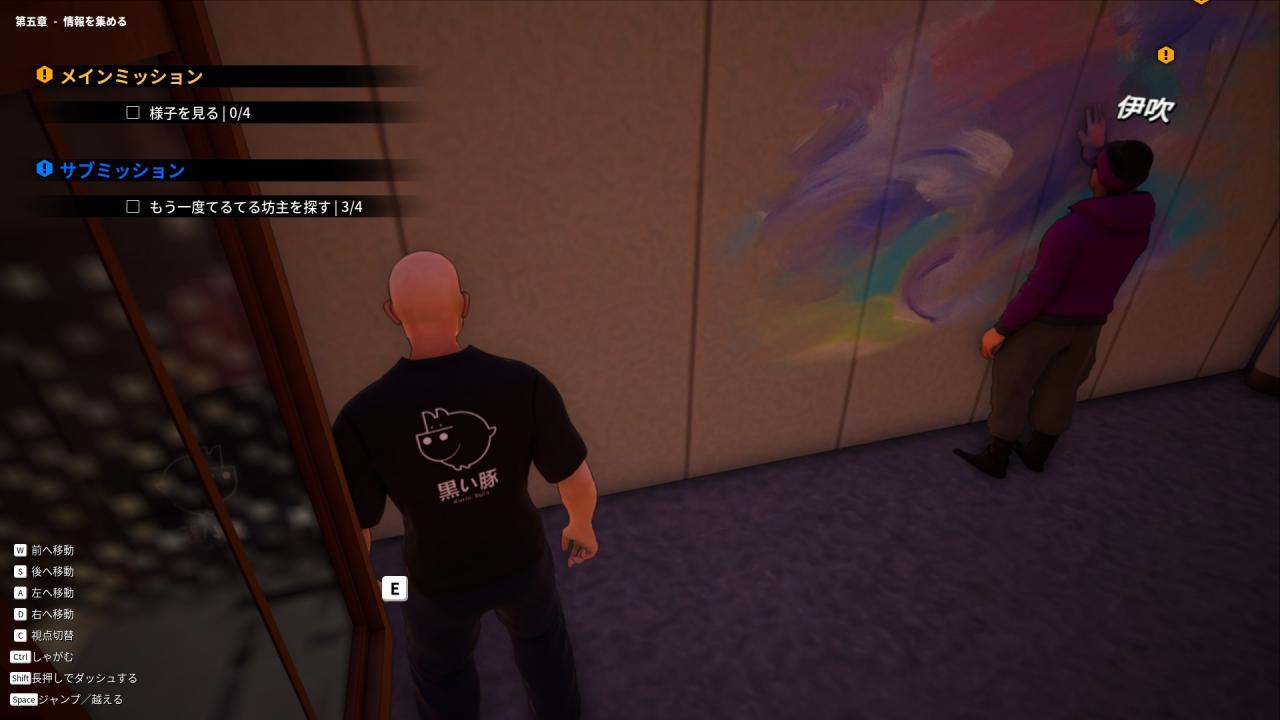
When you return to the Sub-Mission NPC, it will mark the Sub-Mission as completed. However, you lose one of the 4 items. I’m not really sure how to continue this quest from this point or if there even is a way to continue it.
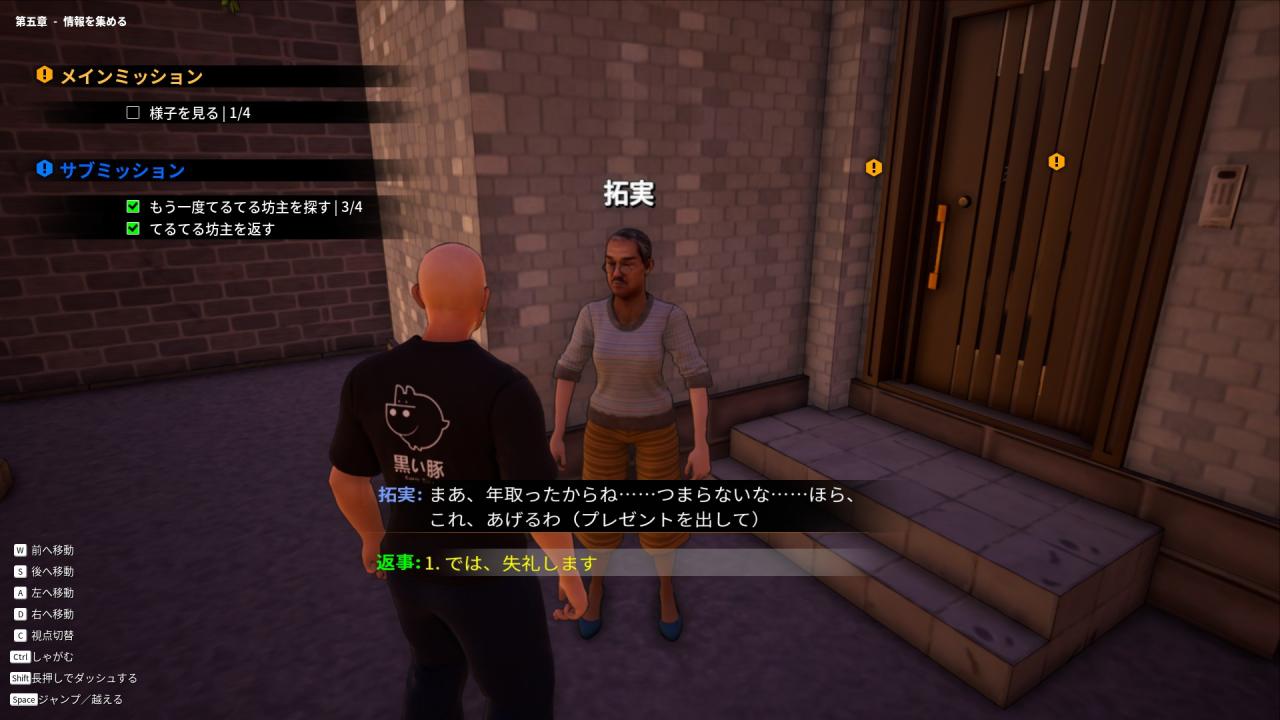
Anyway, talk to the 4 tagged NPCs in this alley (they’re the closest and easiest) and the mother will spawn. walk towards her and the player character will stop, followed by some thought bubbles popping up.
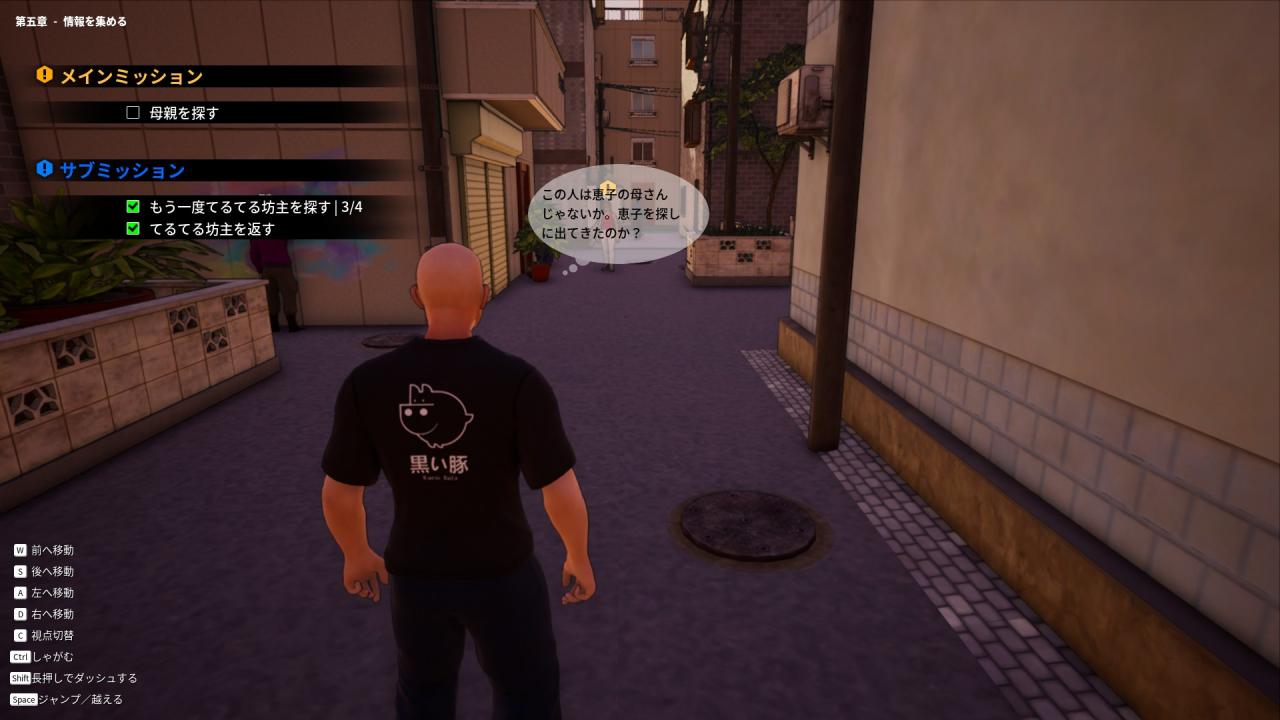
Now you have to follow the mother around while making sure she doesn’t get too far away. It doesn’t matter if she sees you, but you can get arrested by the patrolling cops. She’ll talk to all the NPCs who were tagged and they’ll all basically tell her they don’t know anything.
After talking to everyone in the alleyway, she’ll finally talk to the convenience store clerk and the road worked, as seen here:
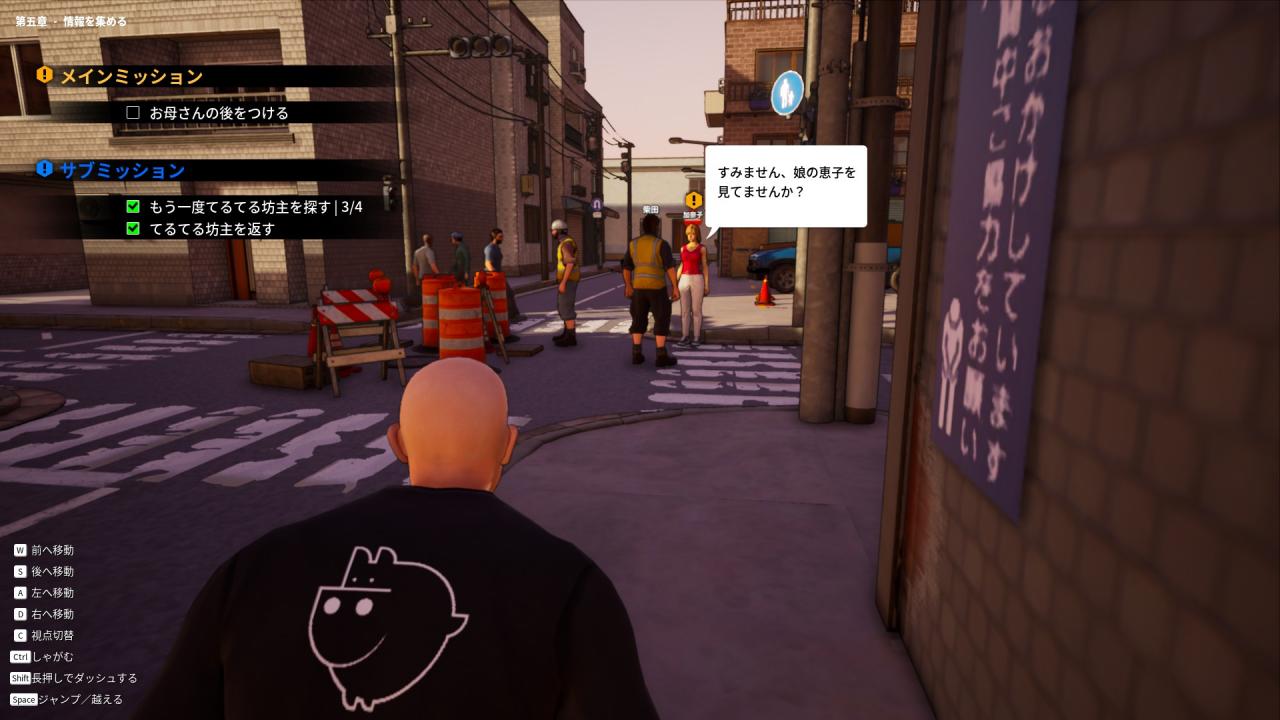
Do you see the blue car in the back of that picture? I recommend you move to behind that car while the mother is still talking to the convenience store clerk. After she finishes talking to the road worker, she’ll walk in that direction and you have to talk to her. Pick the only option available and she’ll start following you, because you told her you’ve seen her daughter.
Thanks to Swimming Rock for his great guide, all credit to his effort. you can also read the original guide from Steam Community. enjoy the game.

