Confused by the new armor types and materials? This guide explains should explain everything you’ll need to know about them.
Introduction
TL;DR
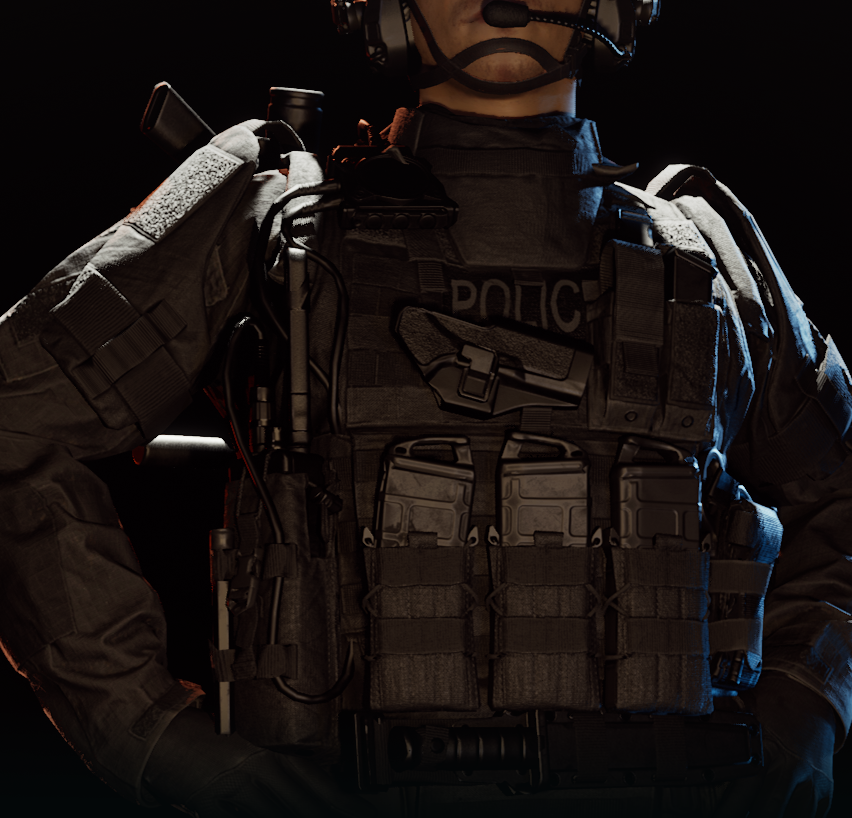
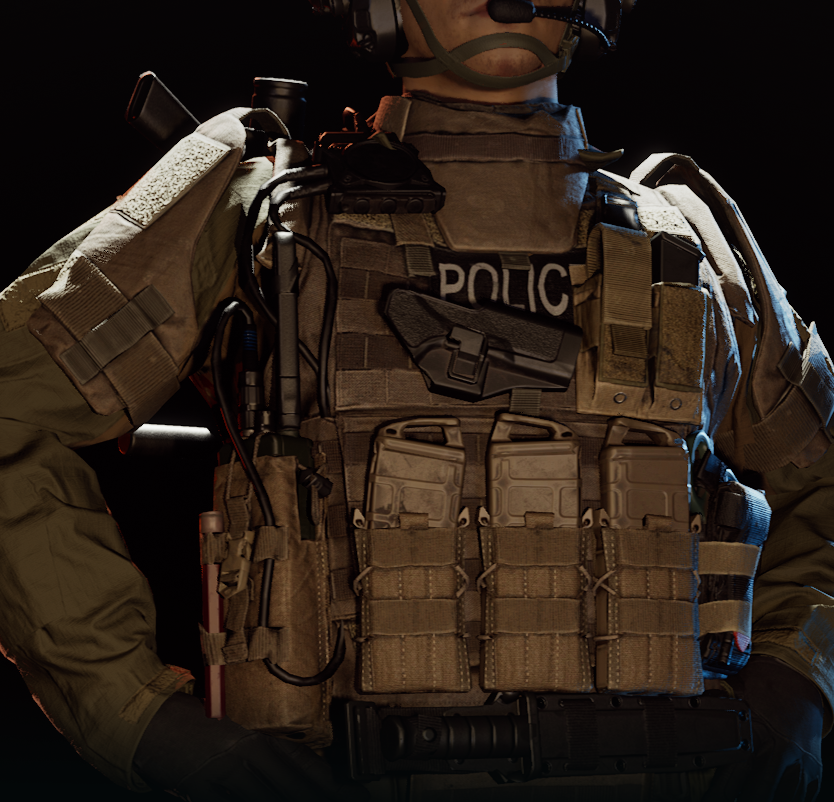
Light armor is the middle ground between the Anti-Stab Vest and Heavy Armor. It protects most of your torso, has a standard speed and a decent amount of munitions slots.
Heavy armor is the slowest armor as it’s the heaviest, it has the least munitions slots and the most protection.
Kevlar protects you just about against low caliber guns such as pistols and is the lightest.
Steel has a base damage reduction, they are the heaviest plates and don’t break (Also makes the suppression effect worse when you are getting shot at).
Ceramic absorbs all damage but breaks after only a few hits, it’s heavier than kevlar and lighter than steel.
Types of Body Armor
Anti-Stab Vest is the lightest armor in the game and allows you to move the fastest. It has the most munitions slots out of all armors at 15 and has no armor plates inside of it.
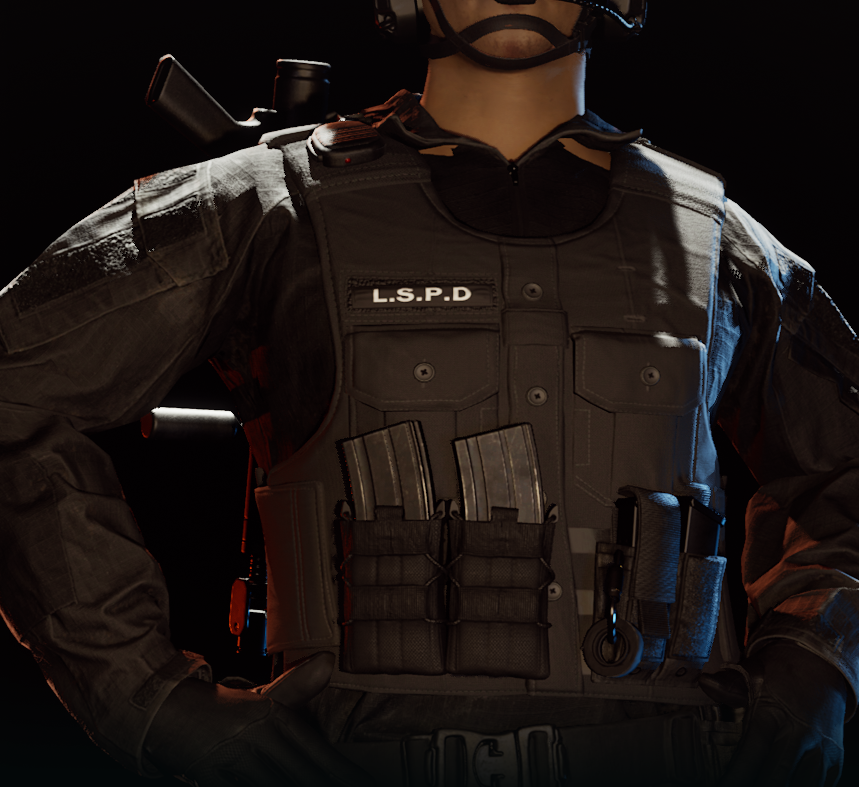
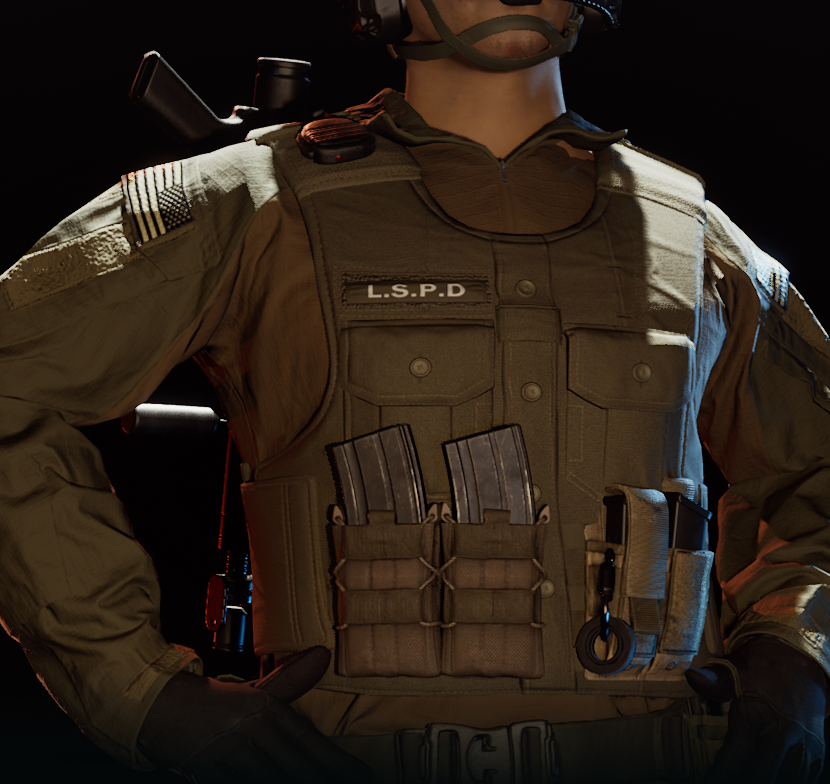
Light Armor isn’t much heavier than the Anti-Stab Vest so movement is slightly slower. It has 13 munitions Slot and can protect your front or can protect both your front and back.
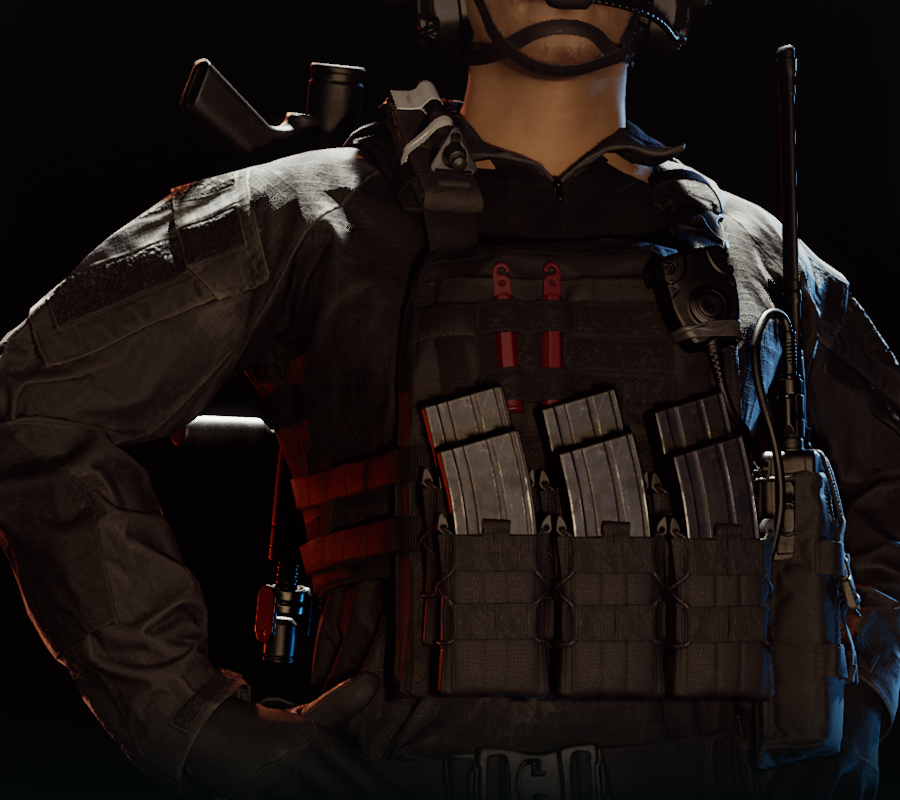
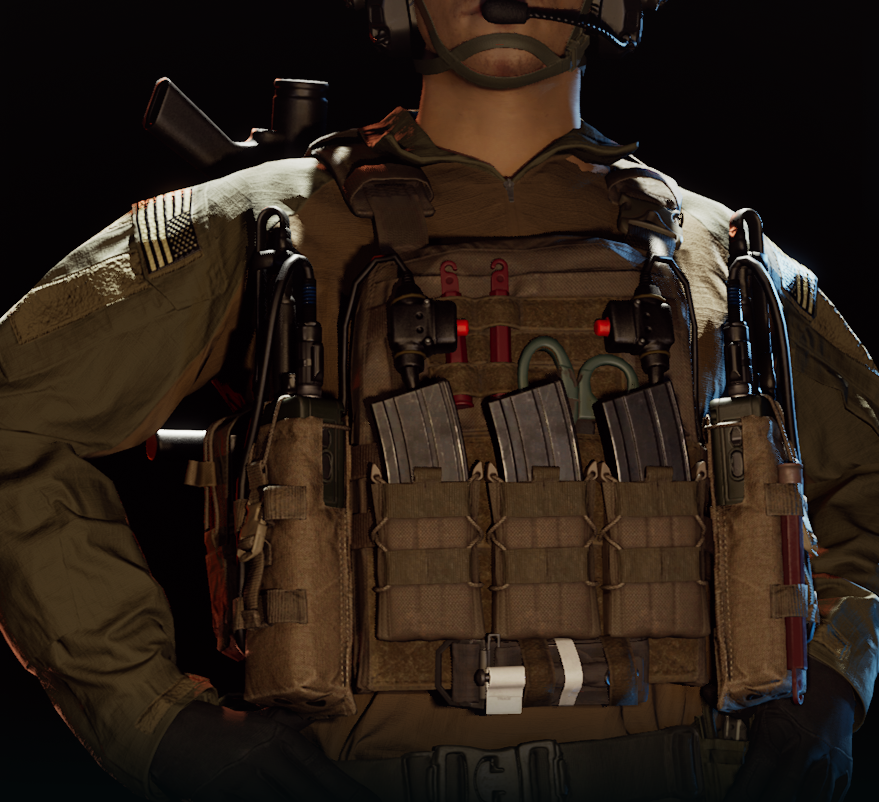
Heavy Armor slows you down a lot but also provides you with the most protection. It has the least munitions slots out of all armors at 11 and can protect your front, front and back or front, back and sides to cover your whole torso.
Types of Armor Materials
Kevlar is the lighest armor material, it barely protects you from low caliber bullets such as pistol rounds, it can break if it’s hit a few times and is overall weak.

Ceramic absorbs all damage but breaks after only a few hits so it’s only effective on smaller maps or maps with less suspects. Movement while wearing ceramic is fairly quick since it’s lighter than steel and heavier than kevlar.

Steel is the heaviest armor material, it can never break making it the most effective choice for maps with a high amount of suspects. There are a few downsides to wearing steel such as movement speed being lowered heavily and the suppression effect being worse when you are getting shot at (blurry effect).

Thanks to ryv for his great guide, all credit to his effort. you can also read the original guide from Steam Community. enjoy the game.
Related Posts:
- Ready or Not: How to Download & Install Custom Content
- Ready or Not: Entry Team Operations Guide
- Ready or Not: How to Get a Machine Gun
- Ready Or Not: How to Create Your Own Dedicated Server
- Ready or Not: How to Clear Rooms (Standard Operating Procedures)

