Here is a handy guide to installing Quakespasm after the recent remastering by Nightdive. Also includes getting music installed as well.
Basic Notes.
You can skip Step 3 if you wish to not have music while playing.
Step 1: Downloading Quakespasm
http://quakespasm.sourceforge.net/
Downloads are located underneath “Manifestation.” Then simply download the relevant OS for you. This guide is assuming you are running Windows and thus will use this through the tutorial.
Step 2: Installation

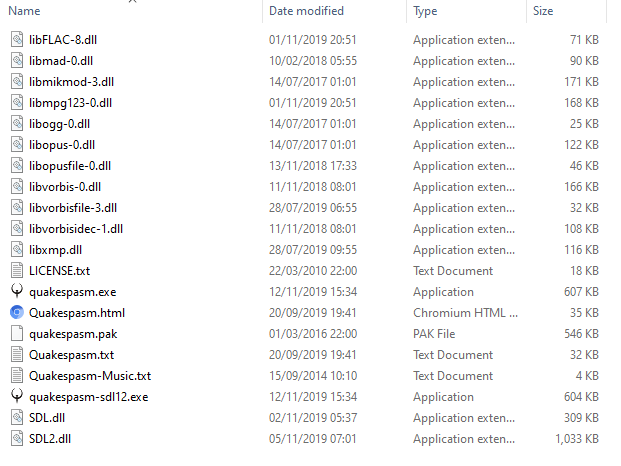
Your contents should be similar to this. Let us take notice of the ‘quakespasm.exe’ file. Rename it to ‘glquake’ and then save, DO NOT CHANGE THE FILE EXTENSION.
Next you want to select all of the contents within the folder, right click on them and press ‘Copy’. Alternatively you could press ‘Ctrl+C’.
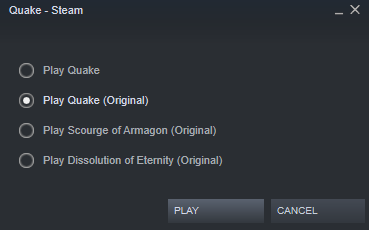
Next navigate to your ‘Base Folder’ and paste in the contents, YOU WILL GET A PROMPT TO REPLACE FILES. CLICK YES TO THIS. After that is done, try and open ‘Quake Original’ on Steam.

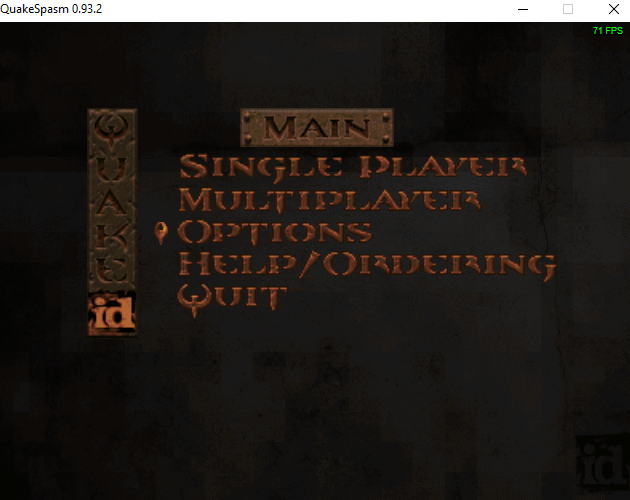
Upon opening, you should be greeted by this:

Voilà, Quakespasm is installed and ready to go.
Step 3: Getting Music to play
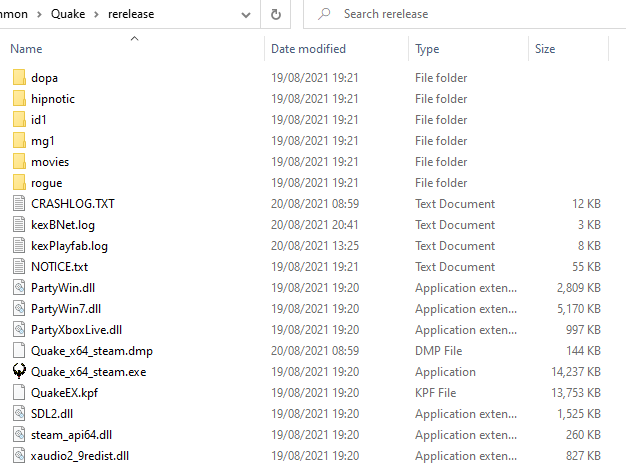
Navigate into the folder titled ‘rerelease’ within your base folder. Inside should be a folder called id1. Enter into that.

Inside that ‘id1’ folder should be a folder called ‘music’. Copy that folder then return to your base folder. Once there, open the ‘id1’ folder here and paste in the ‘music’ folder. Your Quakespasm installation should now have music.
Thanks to Tyler McViagra for his great guide, all credit to his effort. you can also read the original guide from Steam Community. enjoy the game.
Related Posts:
- Quake: How to Install “X-Men: The Ravages of Apocalypse” Mod
- Quake Remaster: How to Install Mods
- Quake: How to Fix Crashing in New Remastered Version
- Quake Remastered: The Hot And Winding Road Achievement Guide
- Quake Remastered: How to Take Clean Screenshots

