A quick and simple guide to putting together a bit of rubble and debris for all of your world building needs!
Don’t expect a lot from this, I’m not great at explaining things.
This guide is purely based off of my own boredom and excess time where I felt it would be best to try and be creative with PPG. Its purpose is to give a quick and easy little tutorial to throwing a decent bit of scenery down for whatever scenarios you might want to put your people into. Obviously this is subject to the preferences of the user, but hopefully this will give you a kick start if you’re blanking out on ideas.
The first step to creating anything in PPG is getting what you want to use into the field.
Of course this is obvious but you might not know exactly what you want and each scene might need different pieces. I digress.
We’ll start with the basics; for this scene we’re going to do a rubble base with stone, wood, and other materials as filler.
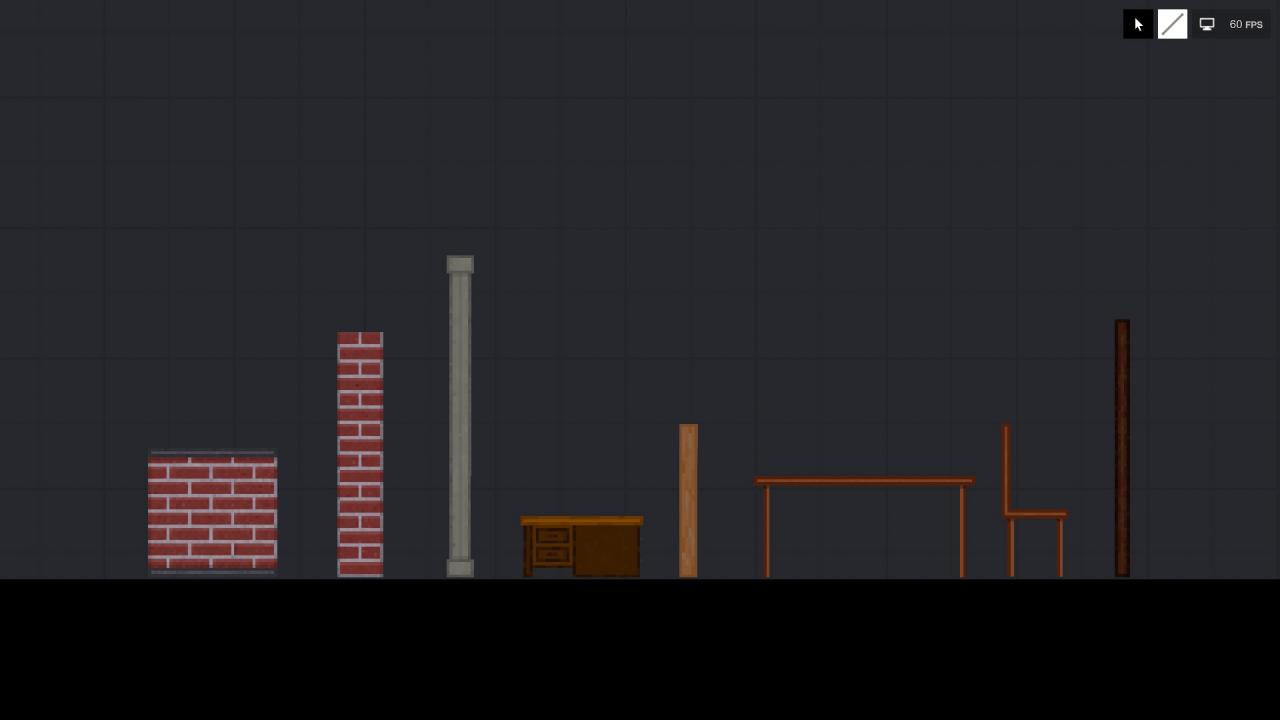
My preference of materials here include items from the wondeful PPD (Per Pixel Destruction) and MDO (More Destructable Objects) mods that I find very useful. Of course this means that we’ll be breaking things, so you’ll need a weapon.
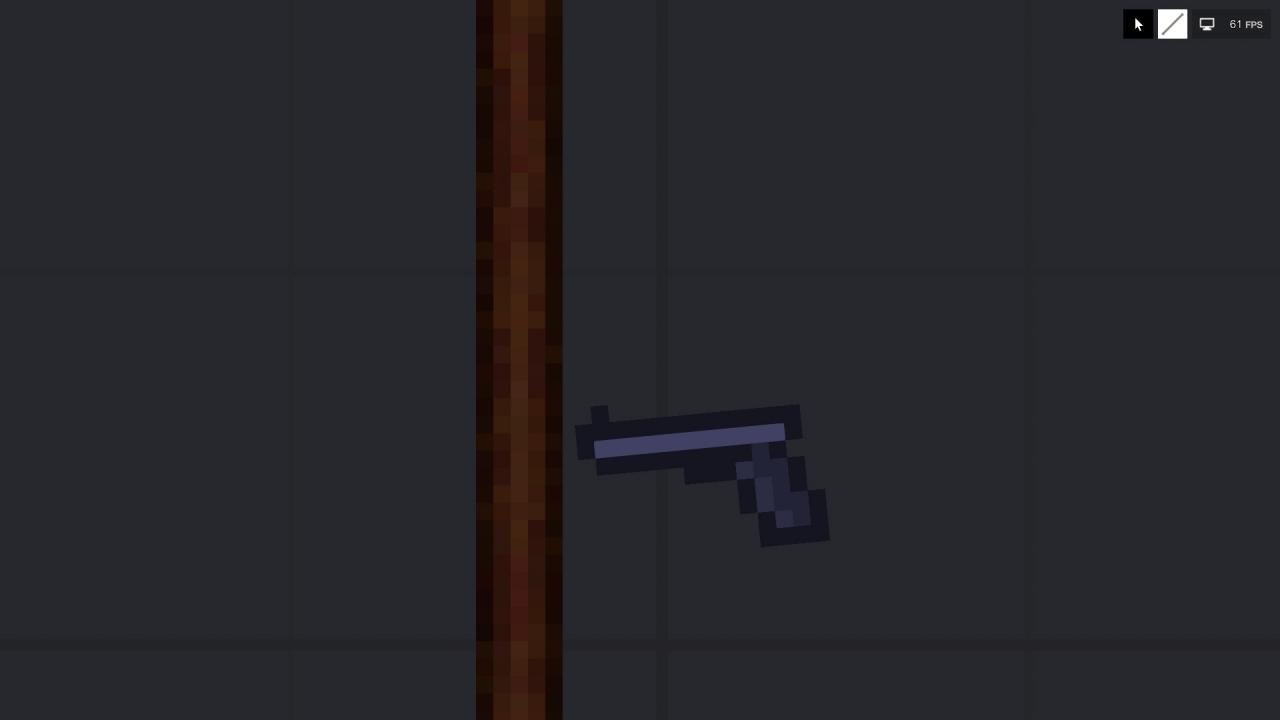
You’ll find that MDO and PPD will give you the ability to break things down into unique shapes and pieces which can add a unique touch to the world as you build. Go ahead and start breaking things down and don’t hesitate to get a little picky with how things are shaped.
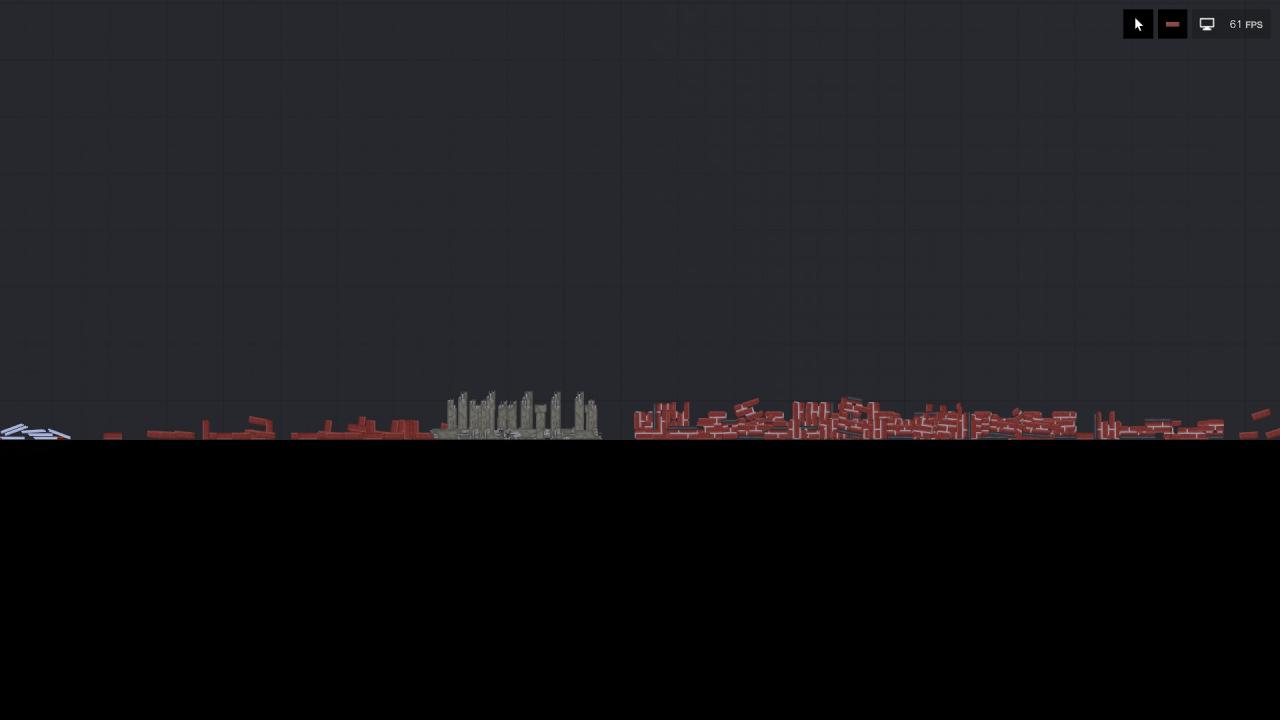
When you’ve got everything broken down into little bits, you should end up with some piles of material that look a bit like this:
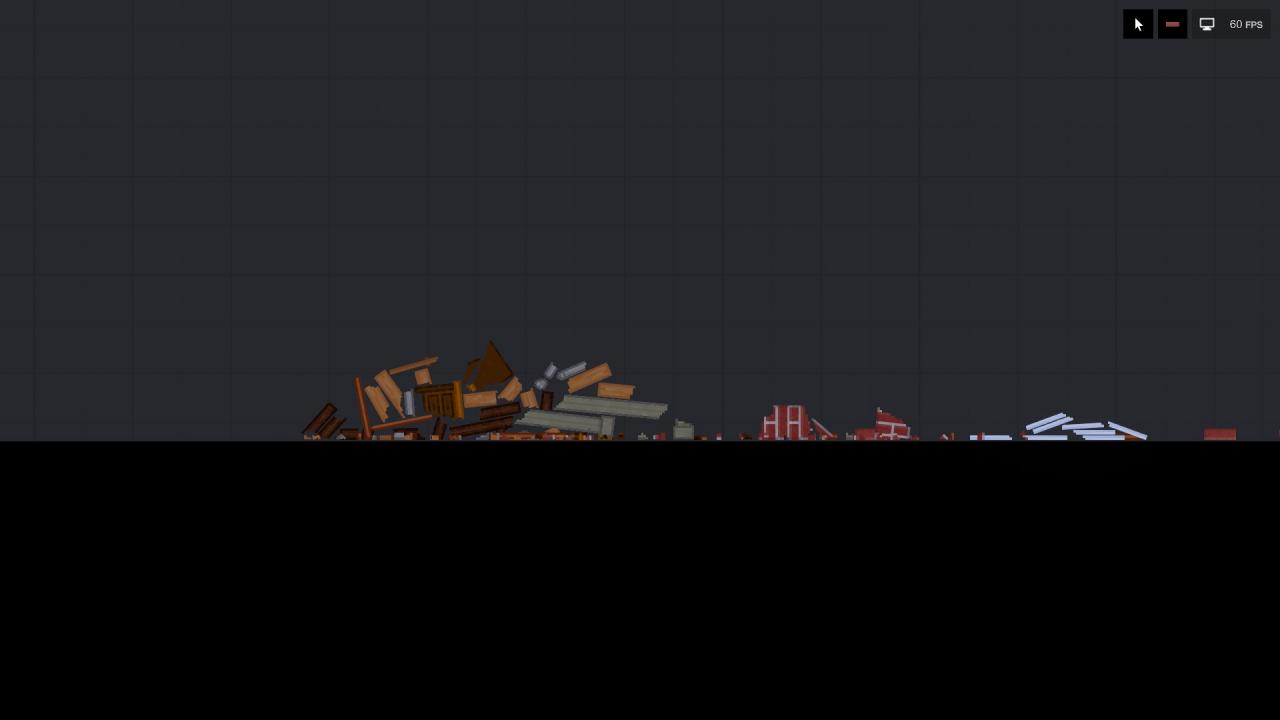
On to the next section!
Now that everything is broken down and you’ve got your materials ready, its time to put down the base layer of your scene. You’ll want to freeze all your materials now for ease of construction.
For the guide, I’ve used bricks as my starter and simply spread everything out on the ground and frozen them in place.
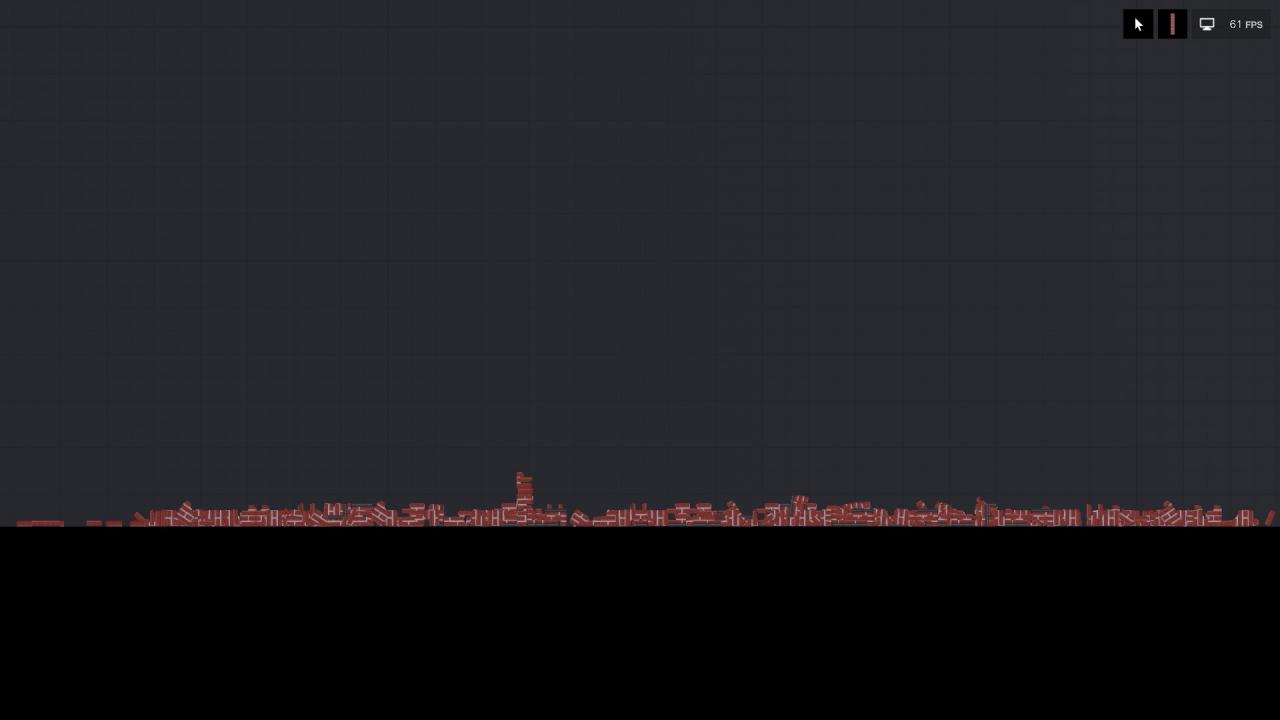
It doesn’t look very nice right now but we’re going to fix that. With your game paused, go into the base layer and add some texture and variety to the positioning of all the little parts and pieces. A bit of rotation can do wonders with small objects which gives the ground an uneven appearance. Rubble won’t just fall in a perfect flat line after all! I’ve taken the liberty of constructing a few small pillars with brick pieces to work in some obstacles, but obviously this is not needed.
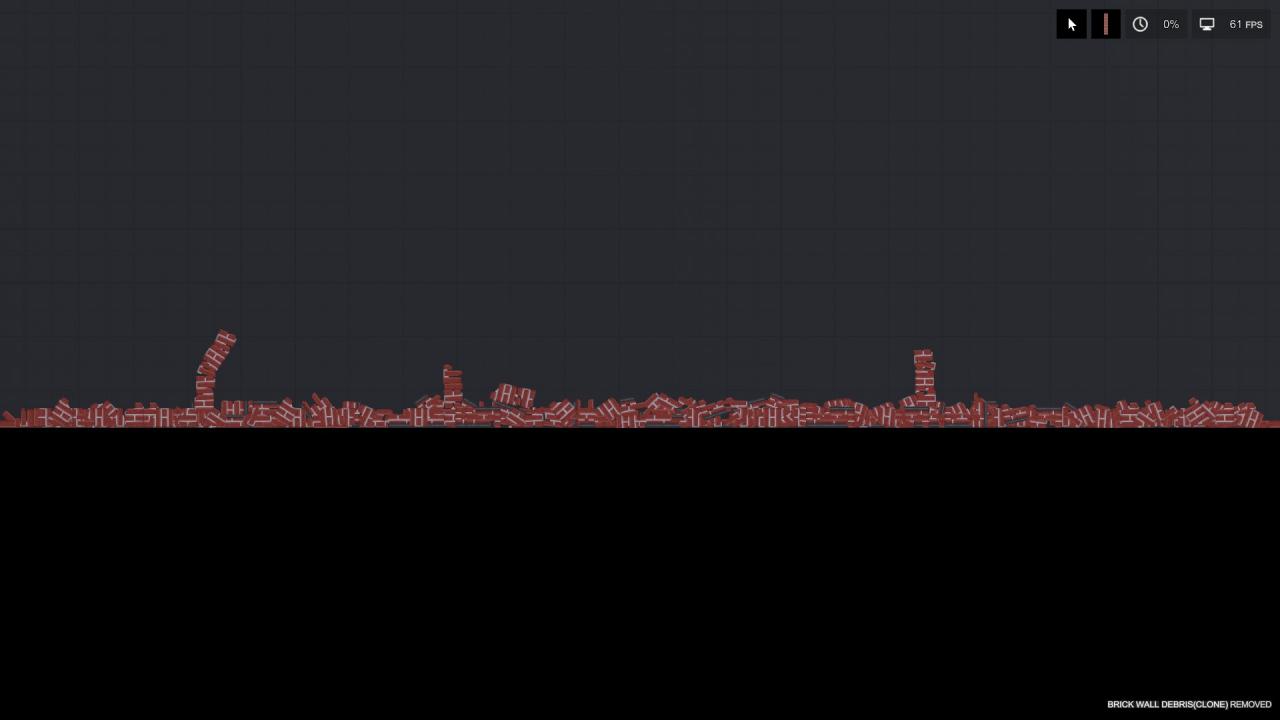
Alright, we’ve got that all sorted out now. It’s time to move to the next material and start populating the scene with more than just bricks. I used a few pallets to fill some empty spaces and provide a bit of a support for the collapsing brick wall on the left. Bit by bit you will find that spacing out the small items works best in sections rather than trying to go for everything at once. Avoid clustering the same sort of material together and don’t be afraid to put some things below the top level, a bit of wood among bricks can stand out quite well.
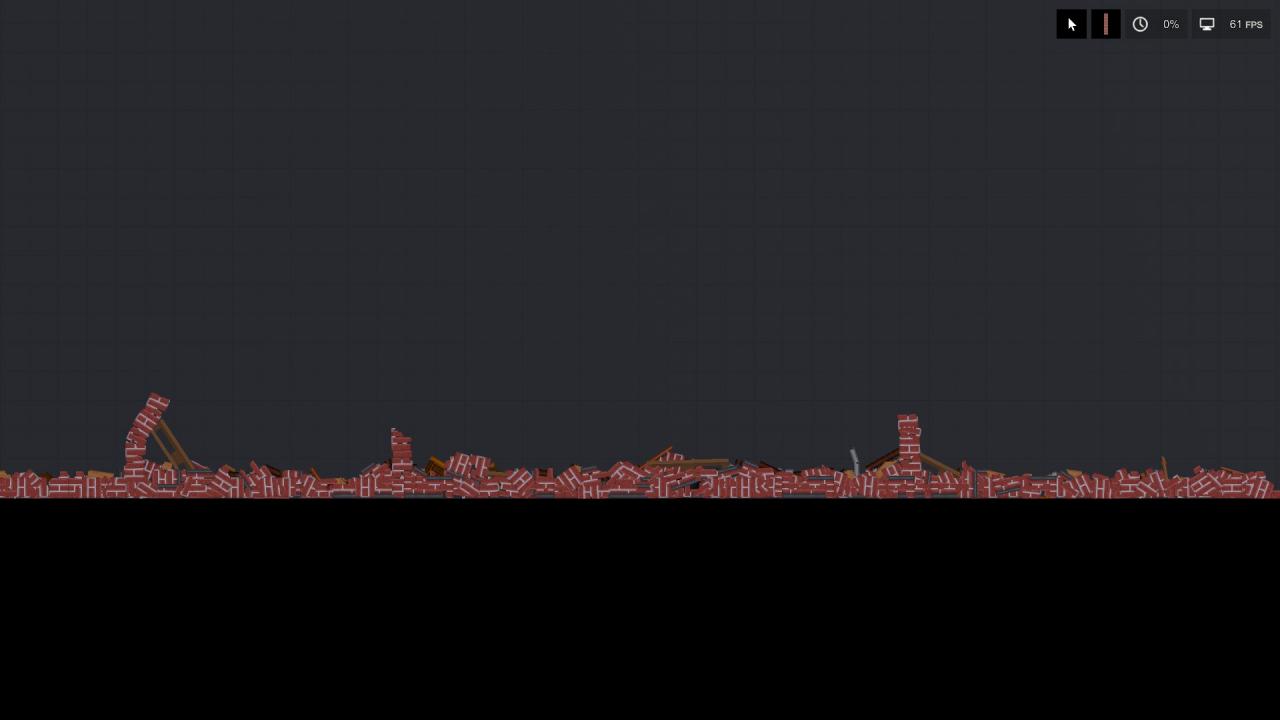
With the wood in place, we can move on to the stone pillars. I don’t think much explaining is needed here since the last section covered the basic ideas of spreading things out.
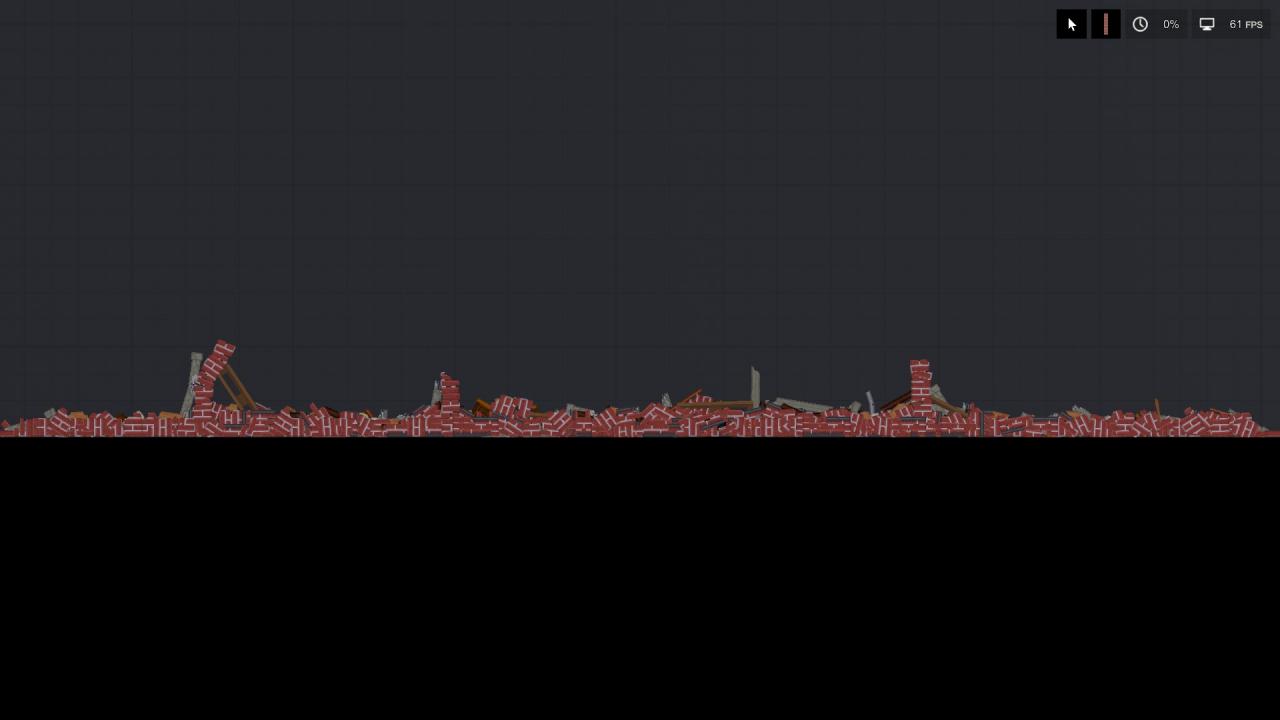
Here’s the finished product;
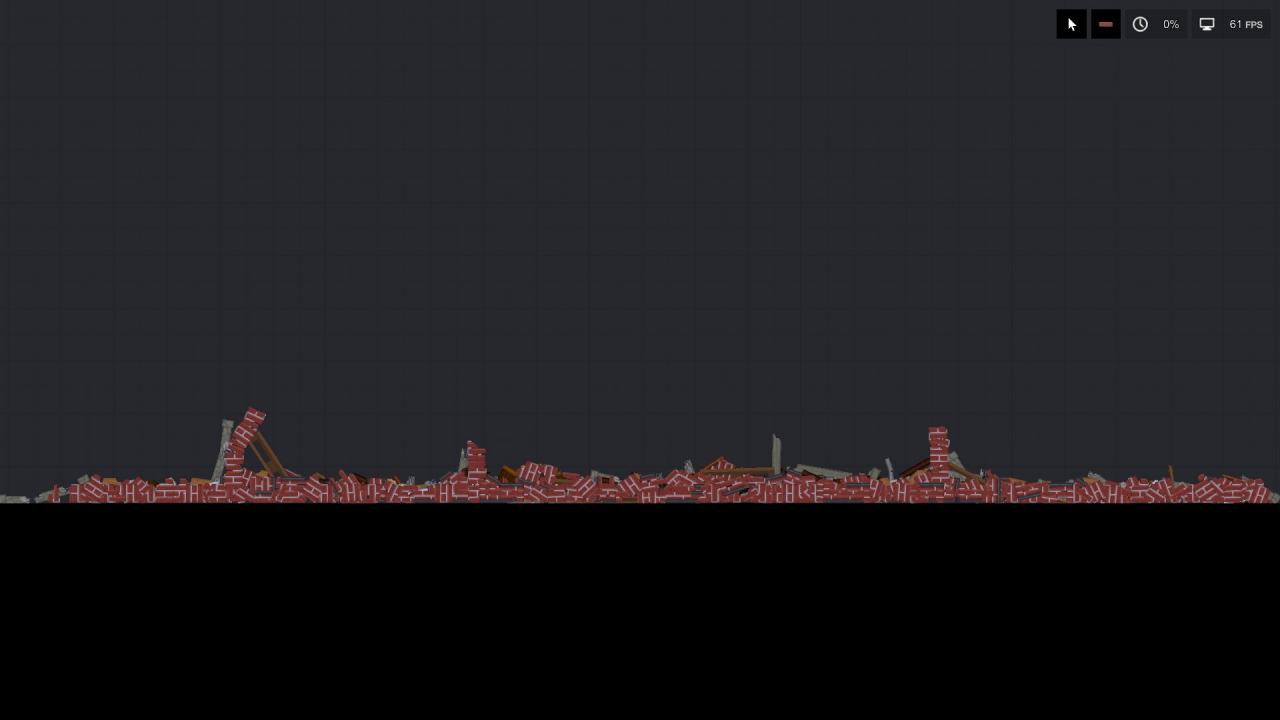
Its important to remember that you’ll have to build a new scene each time you start a game since PPG won’t let you save the broken bits and pieces, but hopefully this guide gives you an easy formula to make something up without wasting too much time.
Related Posts:
- People Playground: Secret Achievement Guide
- People Playground: How To Get The “Faraday Malfunction” Secret Achievement

