SE.Live is a plugin that adds Streamelements features directly into OBS Studio, including your live chat, activity feed, media requests, etc.
In this guide I will show you how to install it on the Steam version of OBS Studio.
Installing SE.Live / Downloading the plugin file
You can download SE.Live here.[streamelements.com]
The plugin is only available for Windows.
The installation process is similar to OBS Studio, just make sure you remember which folder you’ve installed the program.
You can download the plugin file here[drive.google.com] if you don’t want to go through the whole process of installing SE.Live.
Don’t worry, the file does not contain any viruses or any other harmful things. You can check it through VirusTotal[virustotal.com] if you don’t trust it.
If you have downloaded the file directly from the link above, skip to section: “Putting the file into the Steam version”
Extracting the plugin file (if you have SE.Live installed)
Open the installation folder in File Explorer.
It can be found here if you haven’t changed the default setting:
C:\Program Files (x86)\obs-studio
The plugin folder can be found here:
\obs-studio\obs-plugins\64bit
Inside the folder, find and copy paste obs-streamelements.dll somewhere accessible like your desktop or a new folder.
Putting the file into the Steam version
You can easily access the installation folder through the Steam client.
Right-click OBS Studio in your library > Properties… > Local files > Browse…
Or…
Open OBS Studio in your library > click on the cog icon > Properties… > Local files > Browse…
Like SE.Live OBS, the plugin folder can be found here:
\obs-studio\obs-plugins\64bit
Simply put the obs-streamelements.dll file in there.
Using the plugin on the Steam version
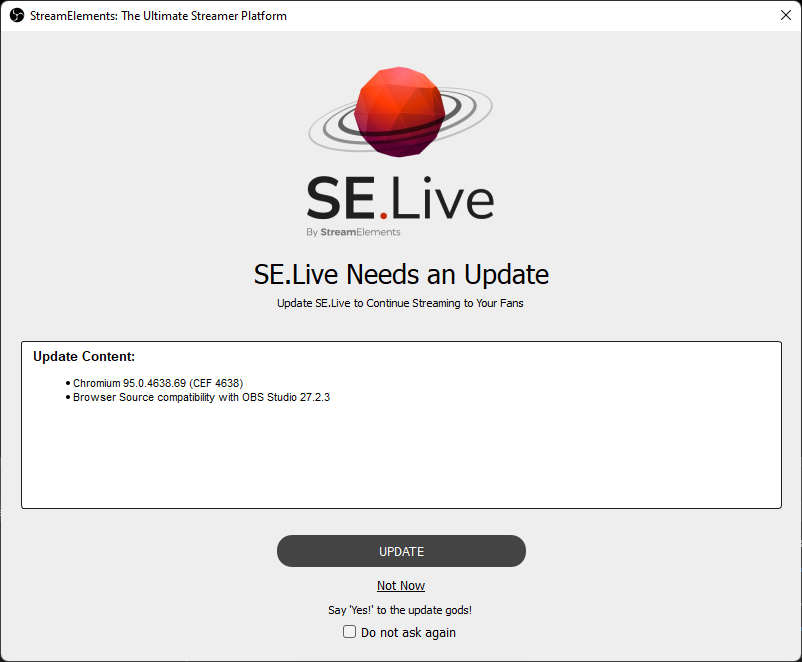
If done correctly, you will see an update prompt from SE.Live:

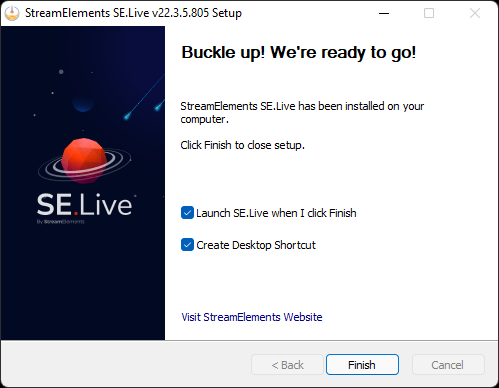
Updating will download & open the SE.Live setup, close OBS and install the necessary files to get the plugin working.

After the installation you can uncheck Launch SE.Live when I finish and Create Desktop Shortcut as they will open OBS Studio regularly without Steam features enabled.
Now you can log into Streamelements with your streaming account and enjoy SE.Live OBS through Steam!
Make sure to uninstall the other SE.Live you’ve downloaded if you don’t want two separate versions of OBS Studio.
Uninstalling SE.Live on Steam
Then, verify integrity through the Steam client.
Right-click OBS Studio in your library > Properties… > Local files > Verify integrity of software files…
Or…
Open OBS Studio in your library > click on the cog icon > Properties… > Local files > Verify integrity of software files…
After that Steam should download and install all the files for OBS Studio.
Thanks to NiceStickman for his great guide, all credit to his effort. you can also read the original guide from Steam Community. enjoy the game.
Related Posts:
- OBS Studio: Bitrate Guide (How to Choose)
- OBS Studio: Best Settings for Streamers on Twitch and YouTube

