A guide to change the game’s FPS cap from 60 to whatever you want.
Do note that this may or may not cause problems as there is most likely a good reason the developers decided to lock the framerate.
Thankfully, it seems that Unreal Engine 4 games keep their config files in the Local AppData folder, which is pretty easy to get to.
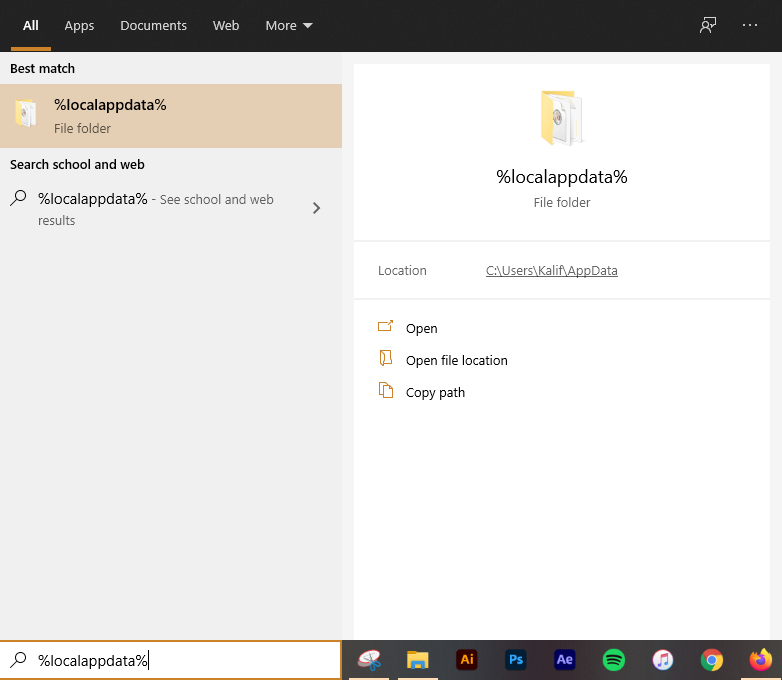
Type %localappdata% into your Windows searchbar. You can either press enter after typing it or you can click the highlighted result as seen above to get there.
After that, scroll through the folder until you see the “NoStraightRoads” folder.
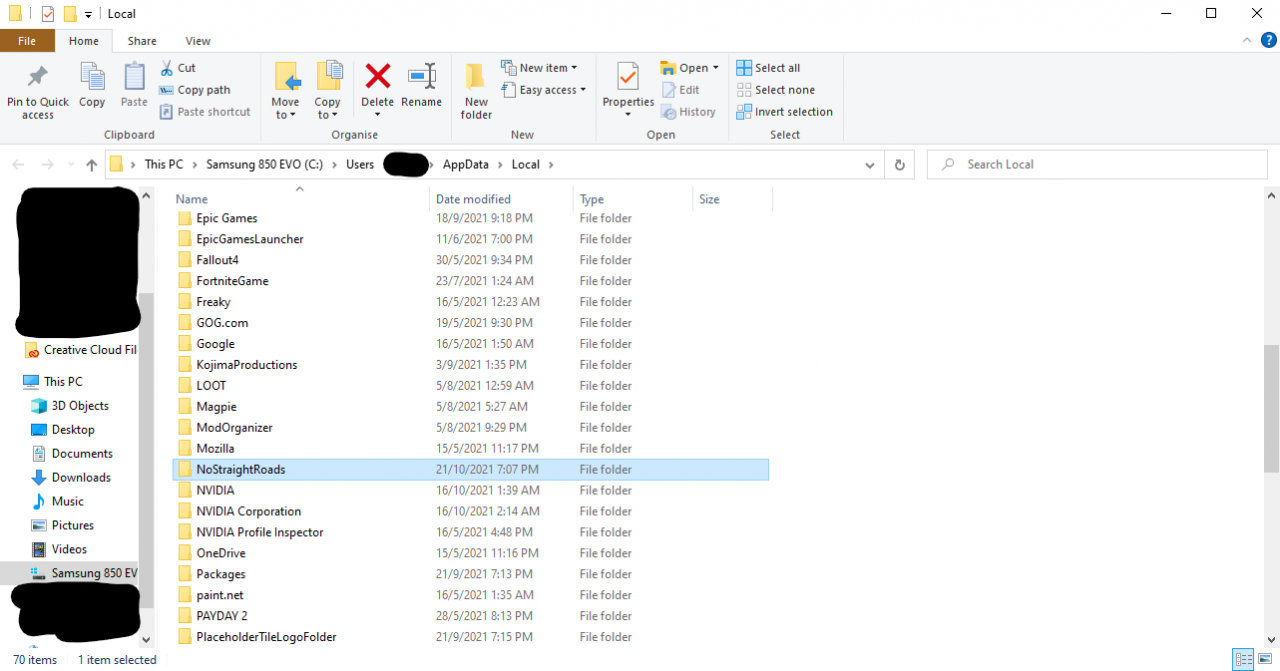
Click it, go to Saved > Config > WindowsNoEditor
This where the file we need to edit is located at.
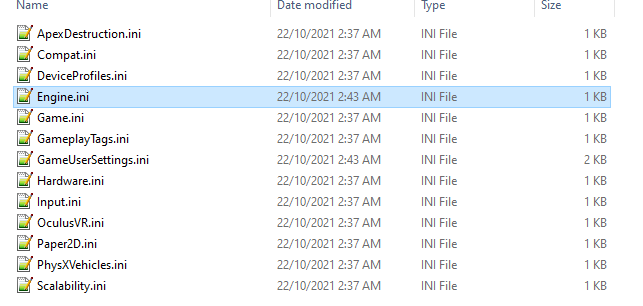
Here, we need to edit only one configuration file to unlock the framerate, which is the “Engine.ini” file. All the other files are not necessary to this guide, so make sure to leave them alone.
To edit it, we’ll need to use either Windows’s built-in Notepad or Notepad++ . I use the latter, but it’s completely fine it you use the former, as we just need to add some lines of text.
Open it, and it should look like this:
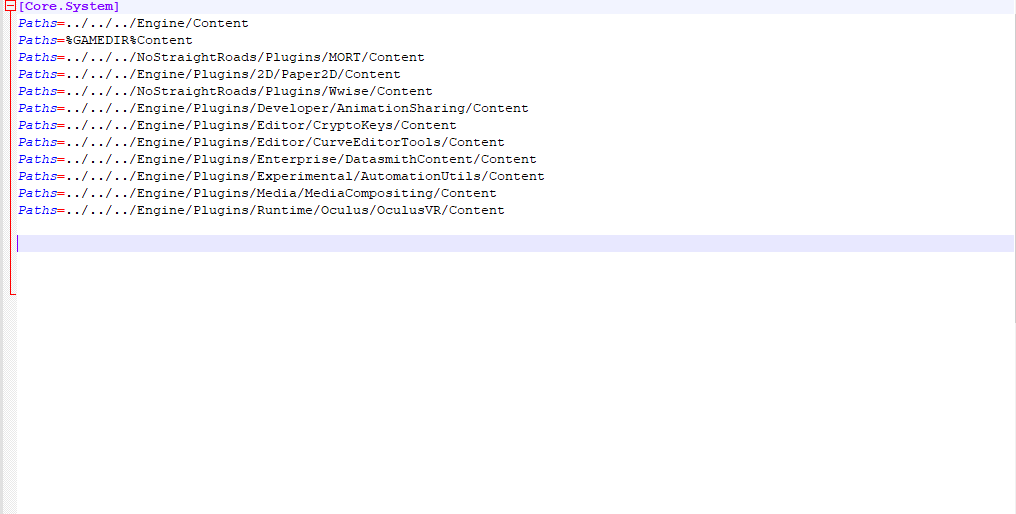
Copy these lines…
[SystemSettings]
[/script/engine.engine]
bSmoothFrameRate=0
[/script/engine.renderersettings]
t.MaxFPS=0
…and paste them like so:
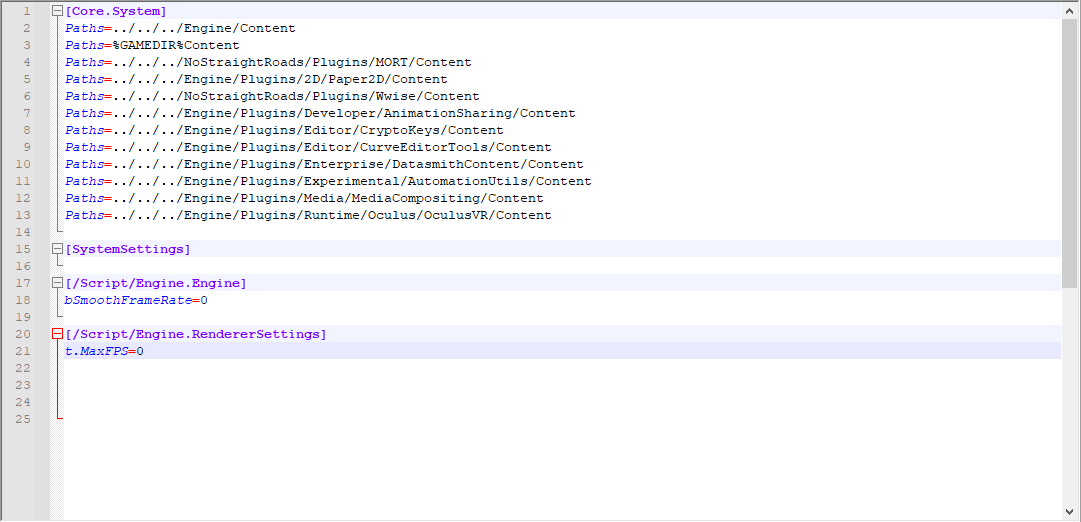
Take note that for the “t.MaxFPS” command, you can put any number beside 0 to lock the FPS to whatever you put in there, inputting it at 0 in this case completely disables any framerate cap in place. In my case, I put it to 0 and let the in-game V-Sync lock it for me.
(Make sure the text in the rectangular brackets are capitalized like they are in the screenshot above, not sure why Steam doesn’t show them like that.)
Save the file.
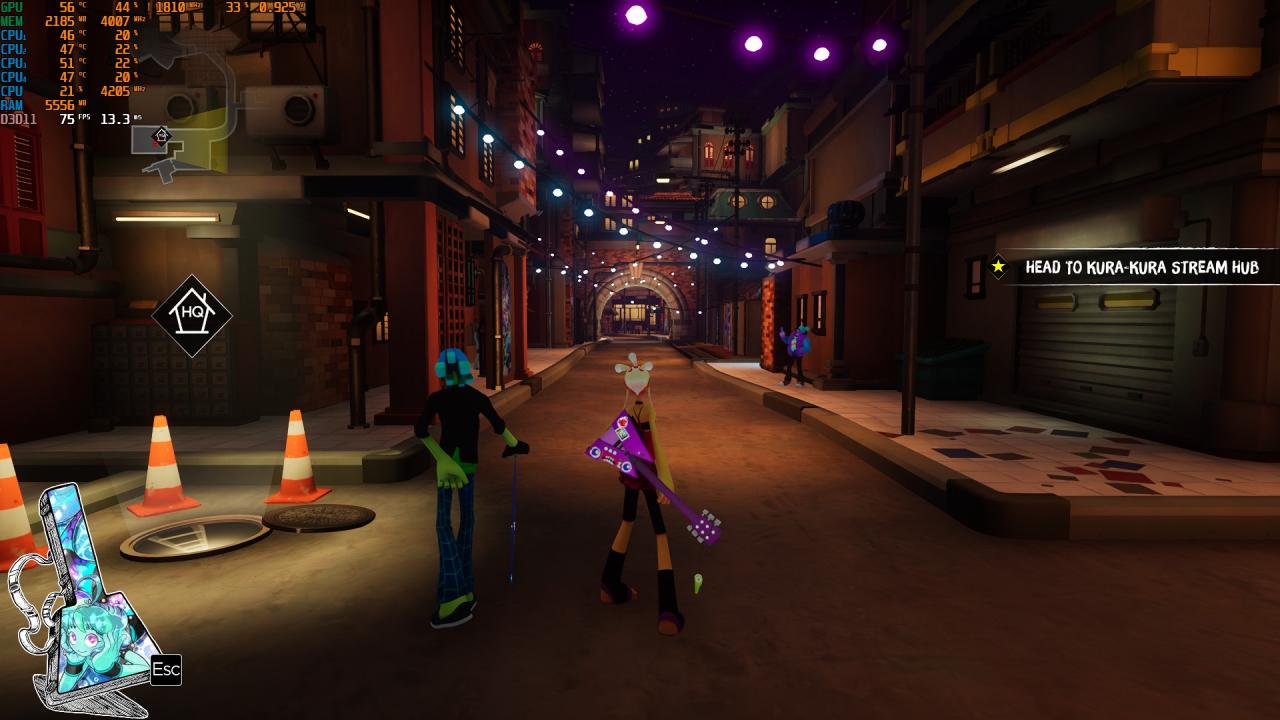
Thanks to boondock199 for his great guide, all credit to his effort. you can also read the original guide from Steam Community. enjoy the game.

