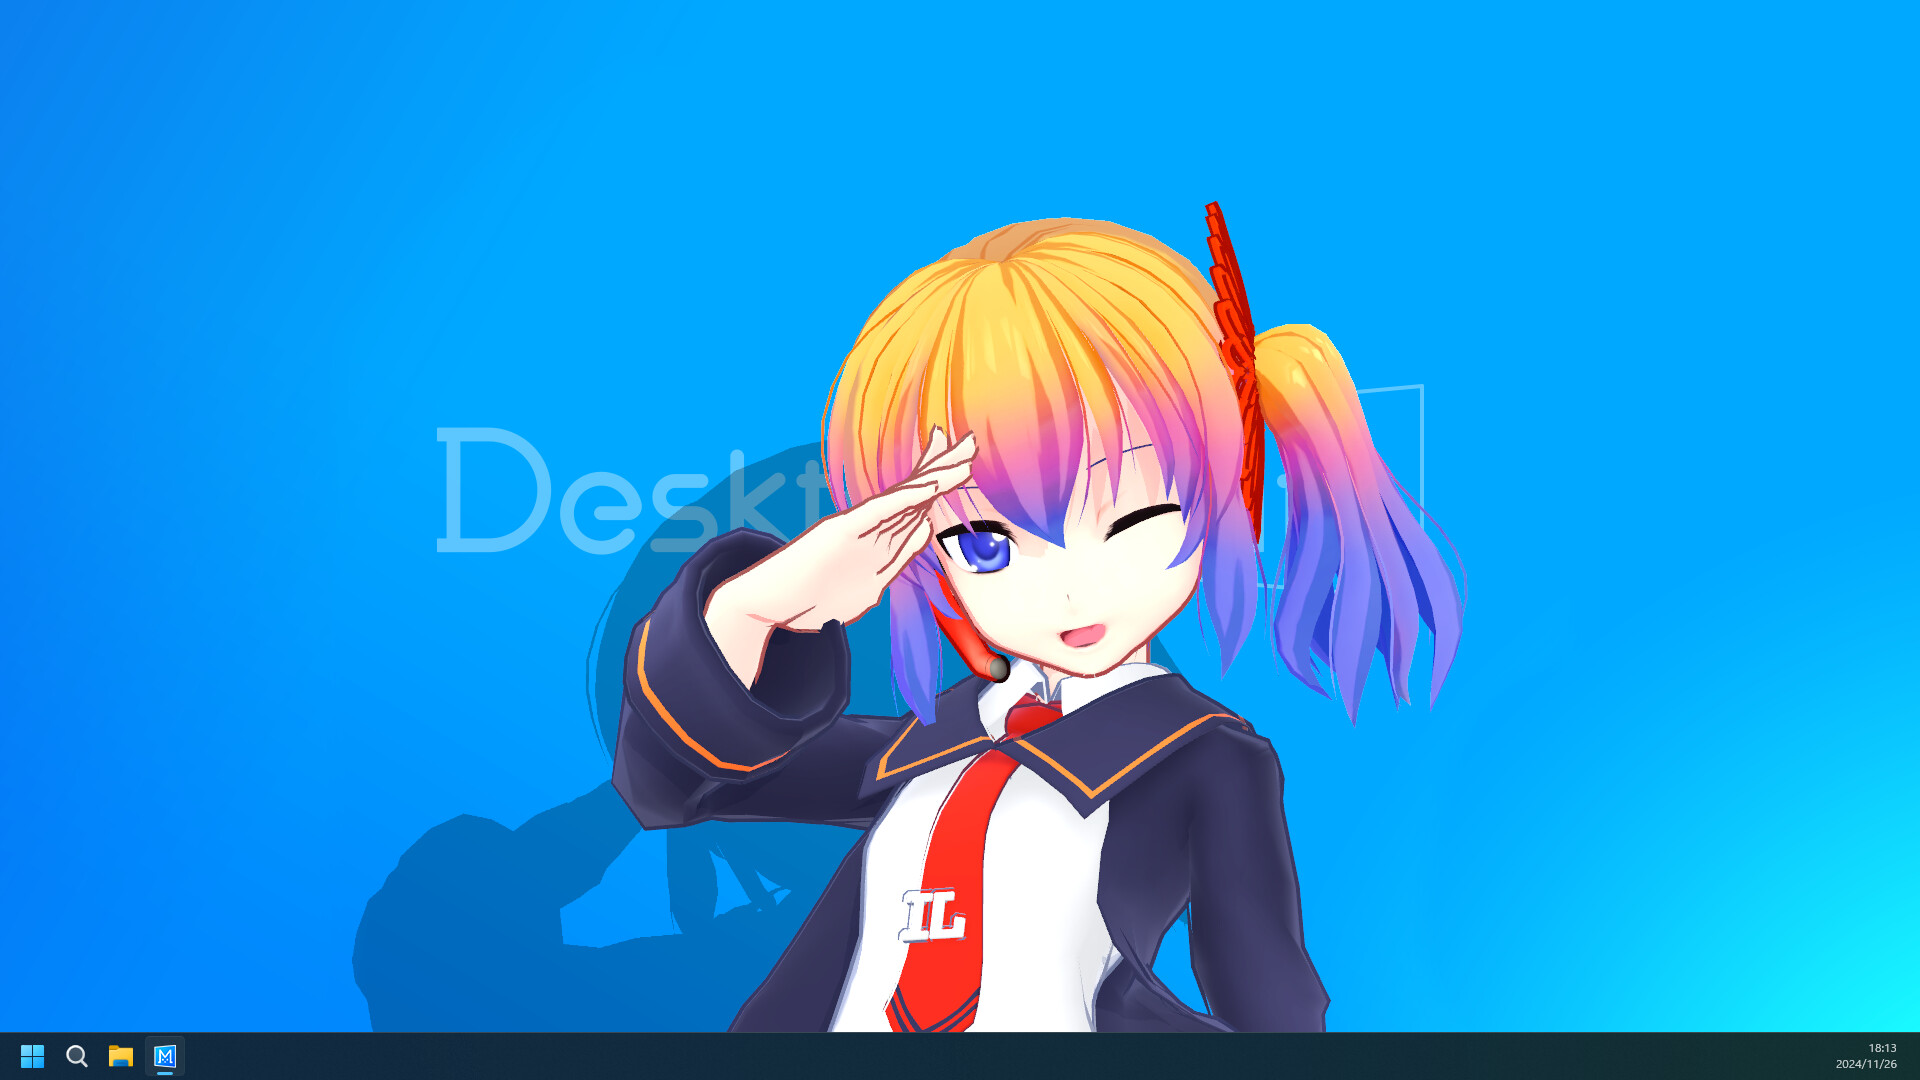
This guide will teach you how to add Desktop Mate to your Windows startup, so it automatically launches when your computer starts.
Step-by-step Tutorial:
This guide is a simple yet effective way to ensure that Desktop Mate starts automatically with your Windows operating system, making it a convenient addition to your daily computing experience.
- Open the File Explorer:
- Press the Windows key + E to open the File Explorer.
- In the address bar, type
shell:startupand press Enter. This will open the Startup folder.
- Copy the Desktop Mate Shortcut:
- Go to your Steam library.
- Right-click on Desktop Mate.
- Select “Manage” and then “Browse Local Files.”
- Find the shortcut named ‘Desktop Mate’ and copy it.
- Paste the Shortcut into the Startup Folder:
- Go back to the Startup folder you opened in step 1.
- Paste the copied shortcut into this folder.
- Enjoy:
- Now, every time you start your computer, Desktop Mate will automatically launch.
Related Posts:
- Desktop Mate: How to Set a Custom Avatar without a Workshop
- Desktop Mate: How to Convert VRM Models from 0.0 to 1.0
- Desktop Mate: Custom Avatar Loader Mod

