Levels 01 – 20
These are all rather easy so I’ll just add the screenshots, plus some comments if there’s something worth noting.
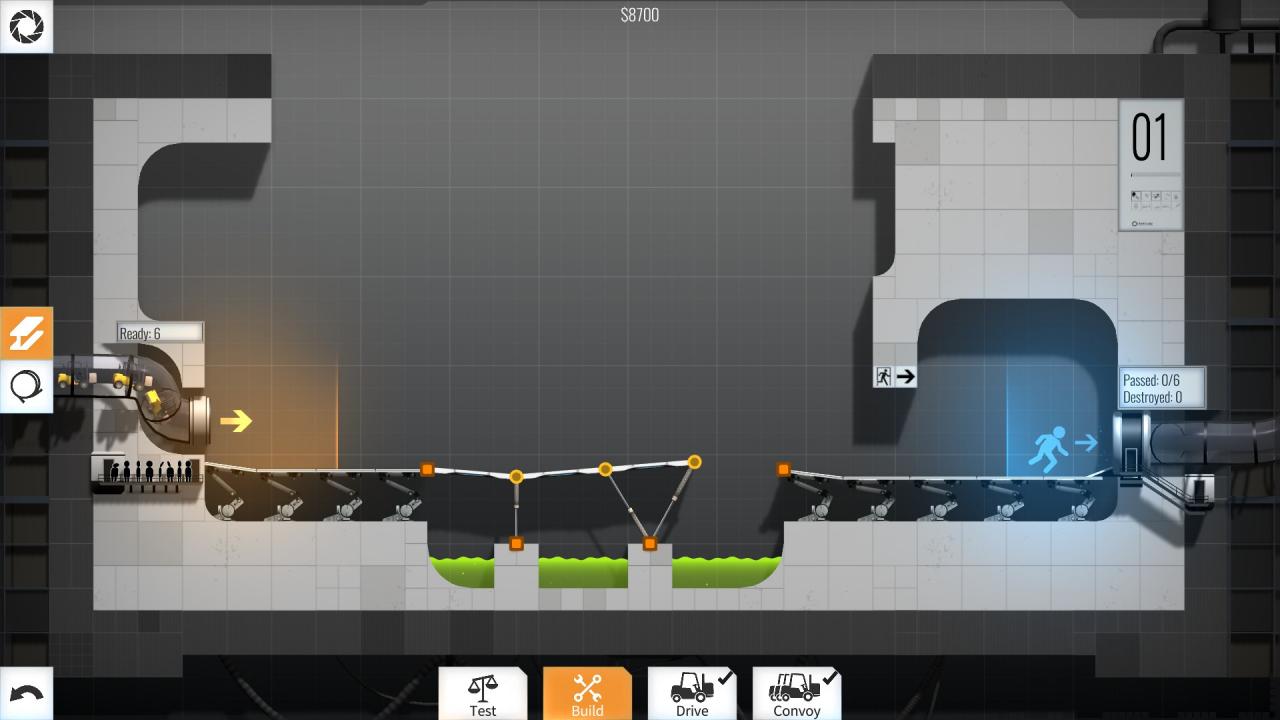
Level 1 – $8700
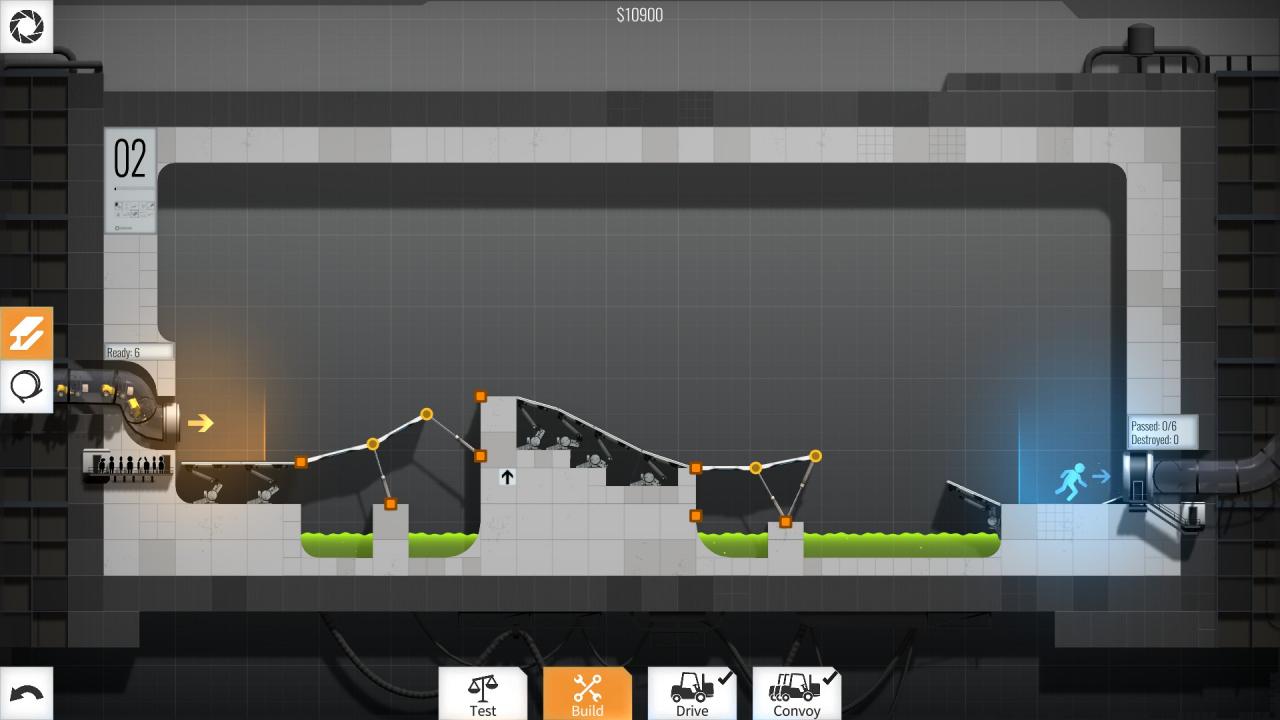
Level 2 – $10900
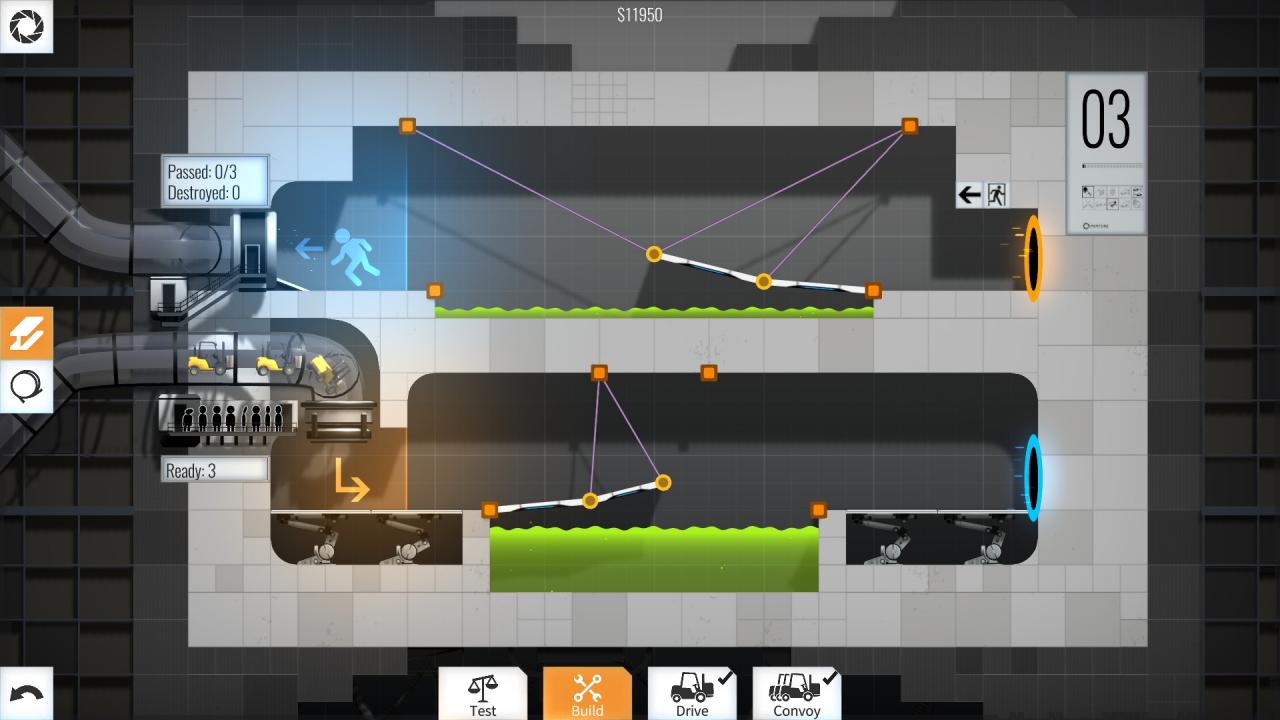
Level 3 – $11950
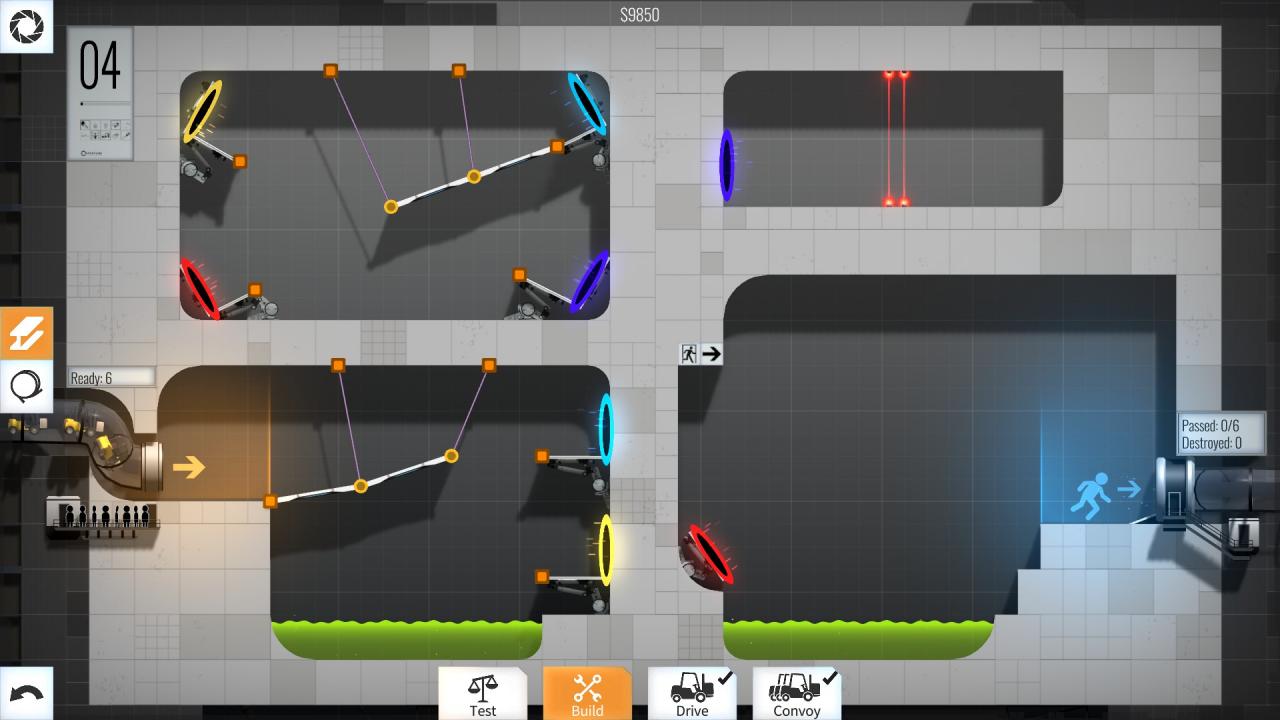
Level 4 – $9850
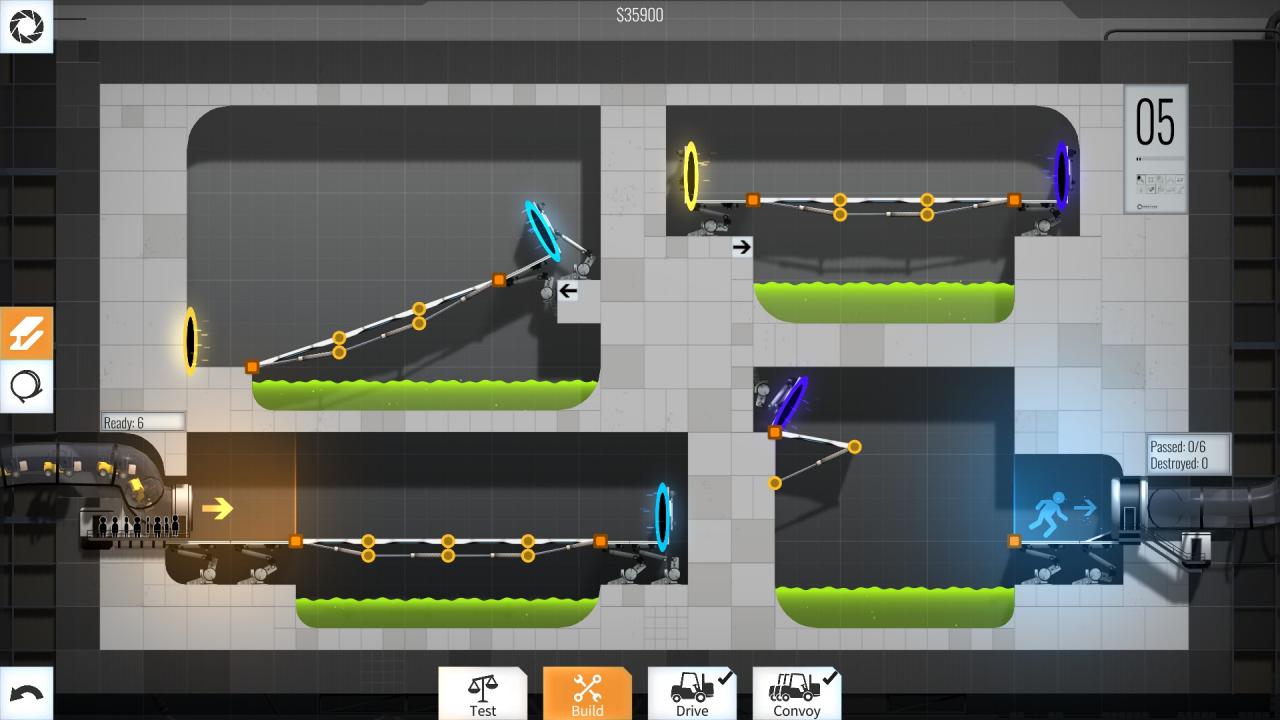
Level 5 – $35900
Typical under support structures you can do in the Bridge Constructor series, although here it doesn’t work quite the same as in other entries in the franchise, but they still work well enough… however they are VERY unstable and wobbly. I tried not to use them too frequently because it feels cheap, and also, they’re unreliable at best.
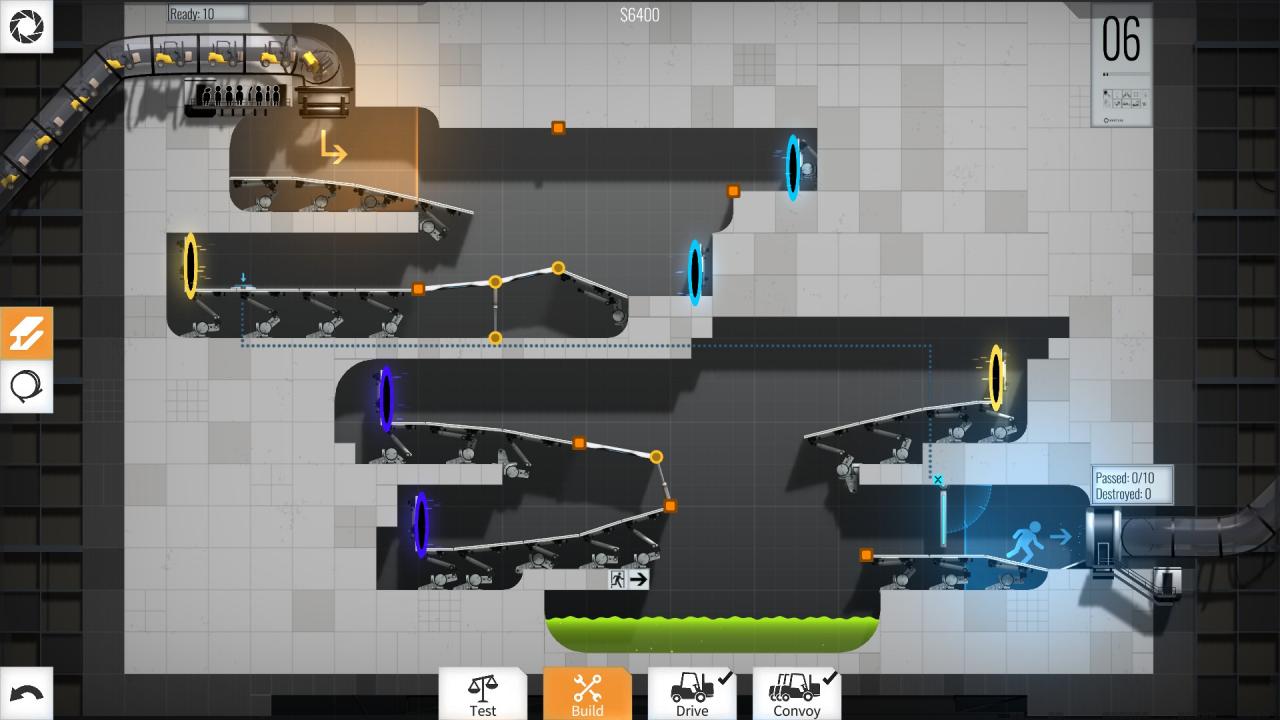
Level 6 – $6400
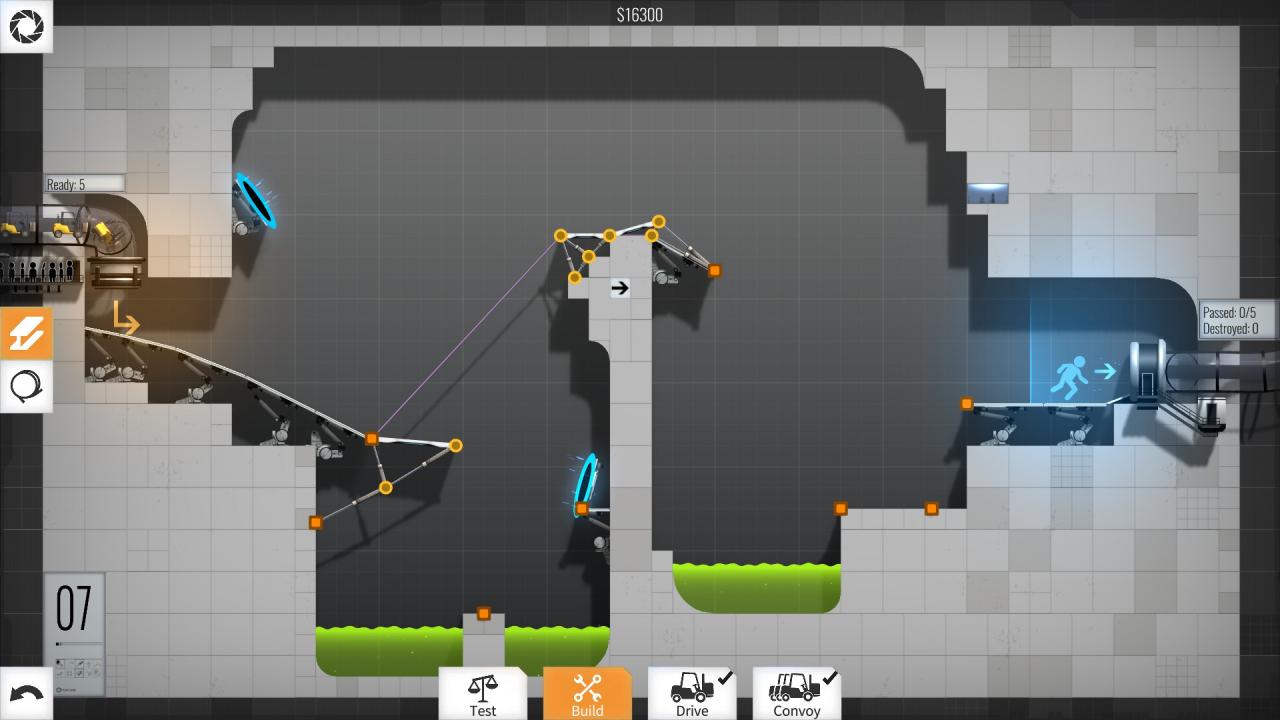
Level 7 – $16300
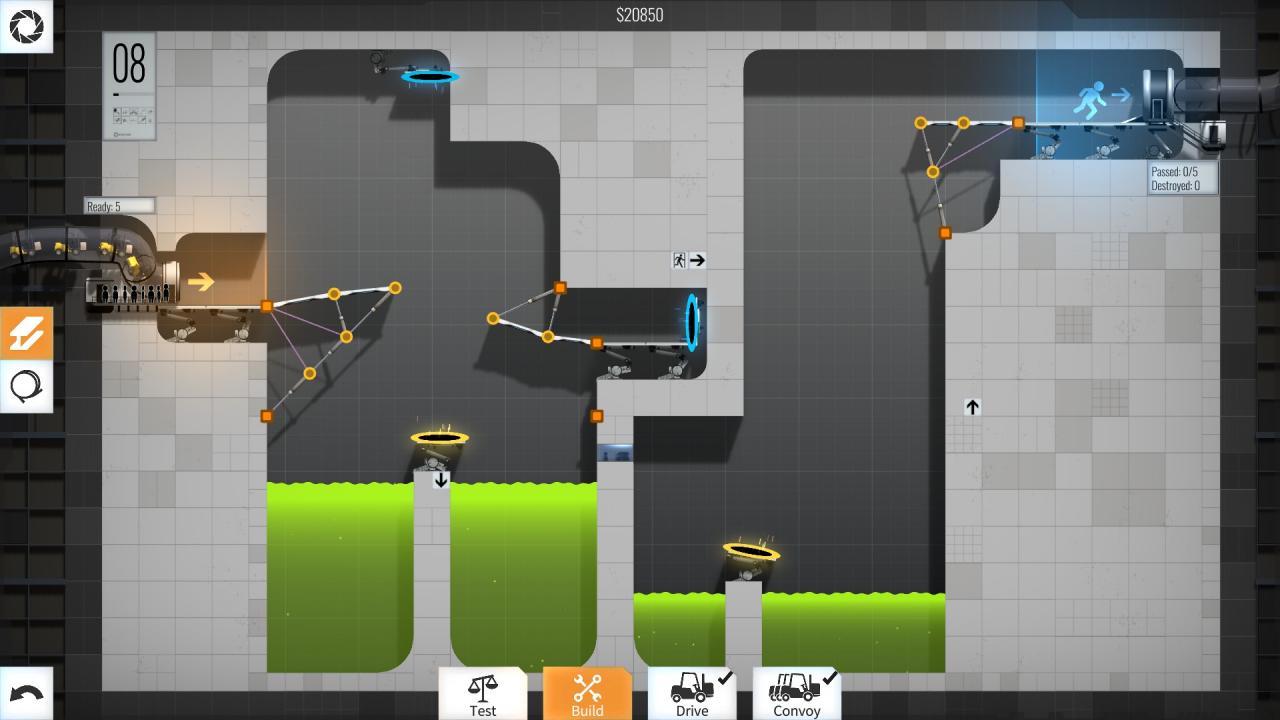
Level 8 – $20850
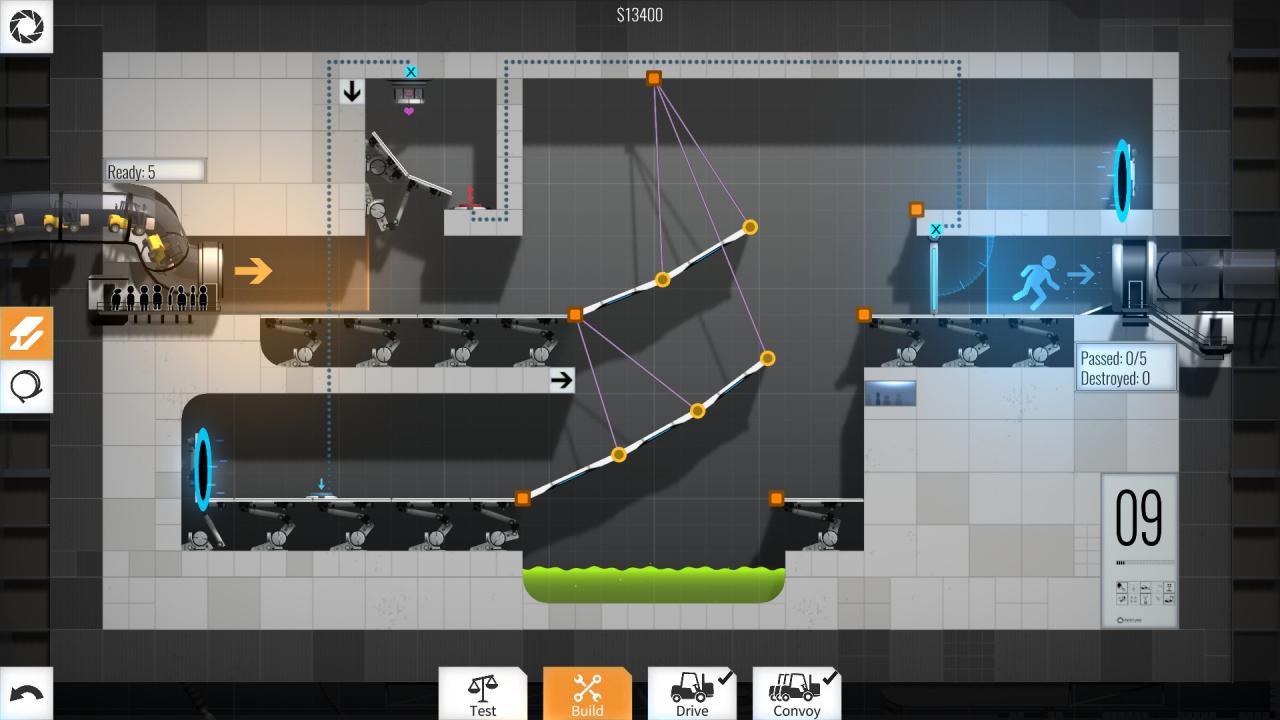
Level 9 – $13400
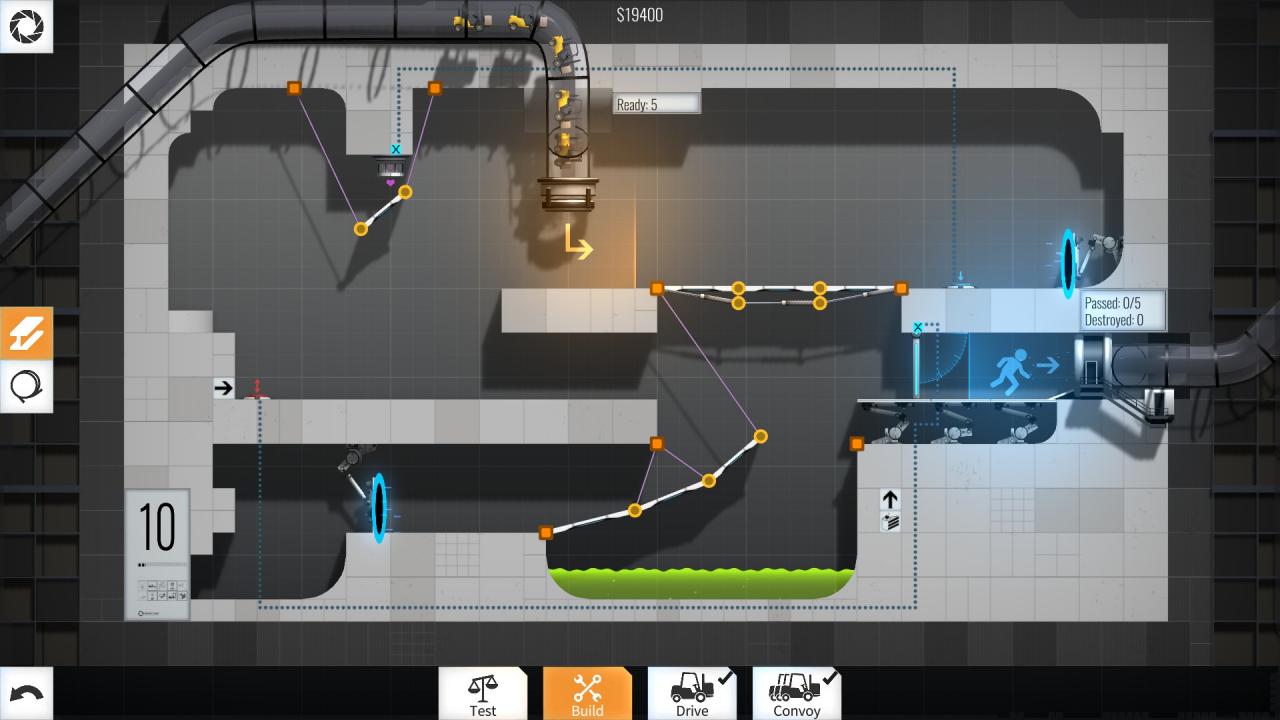
Level 10 – $19400
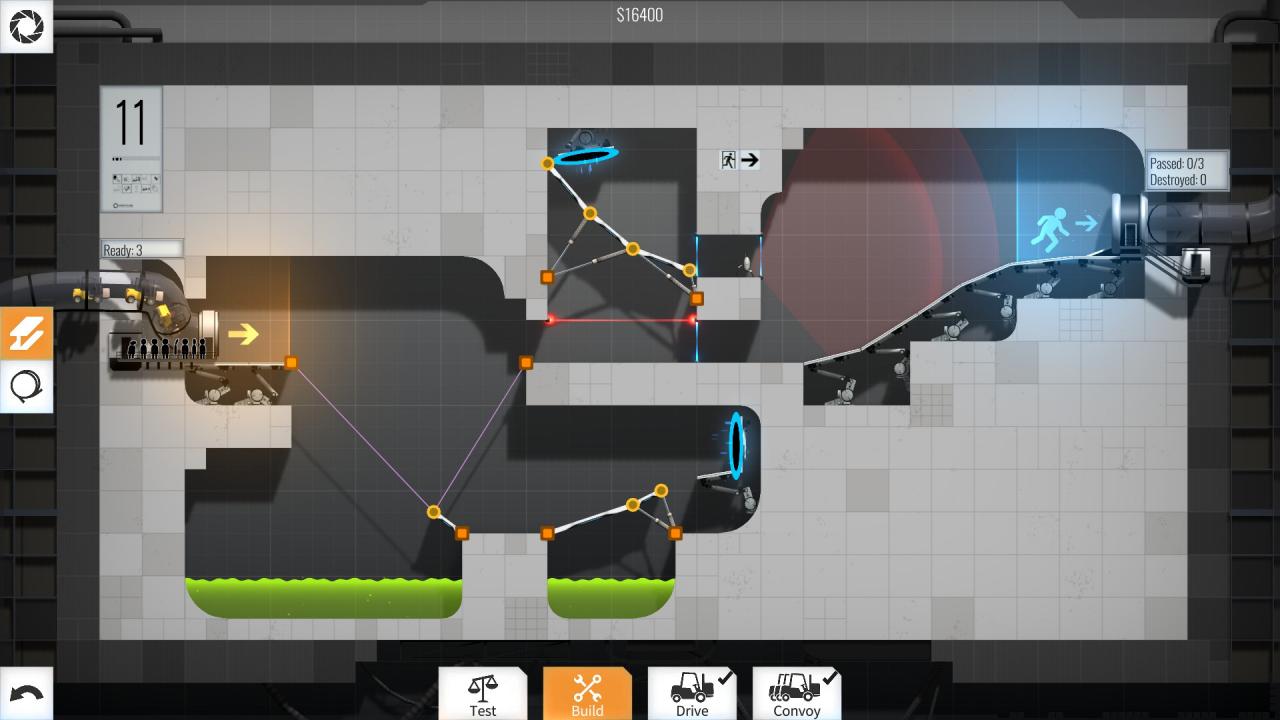
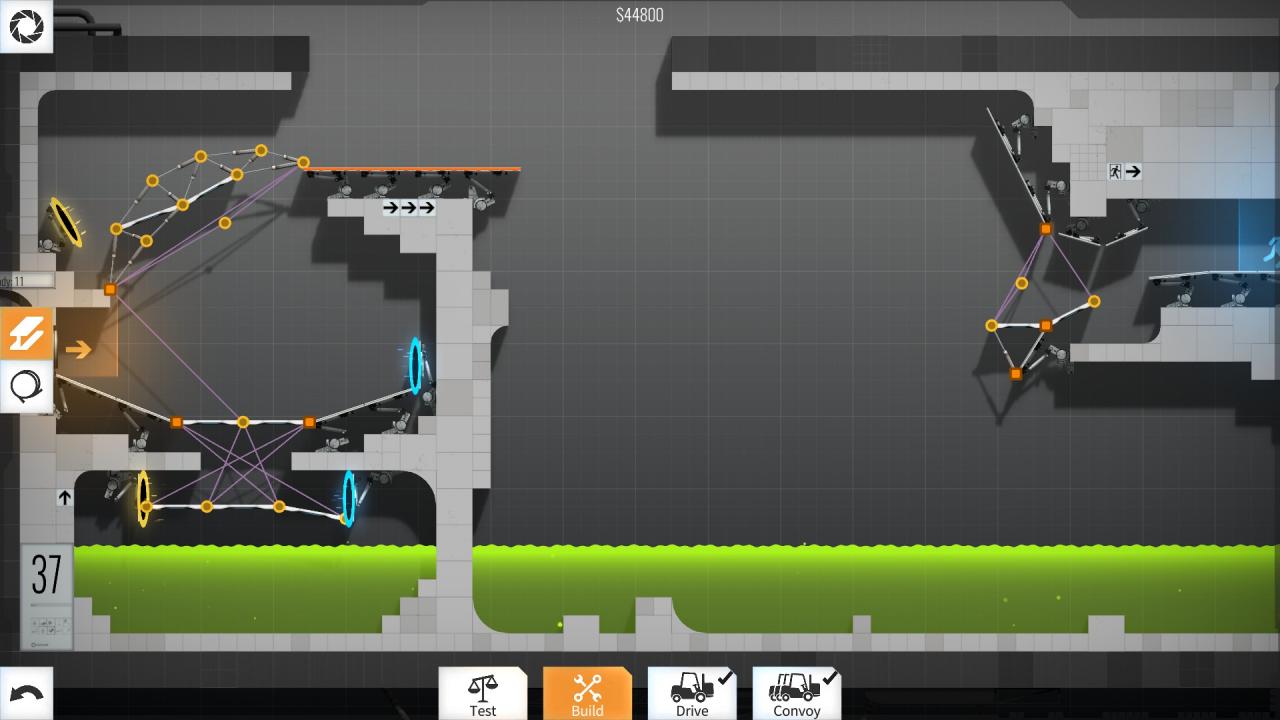
Level 11 – $16400
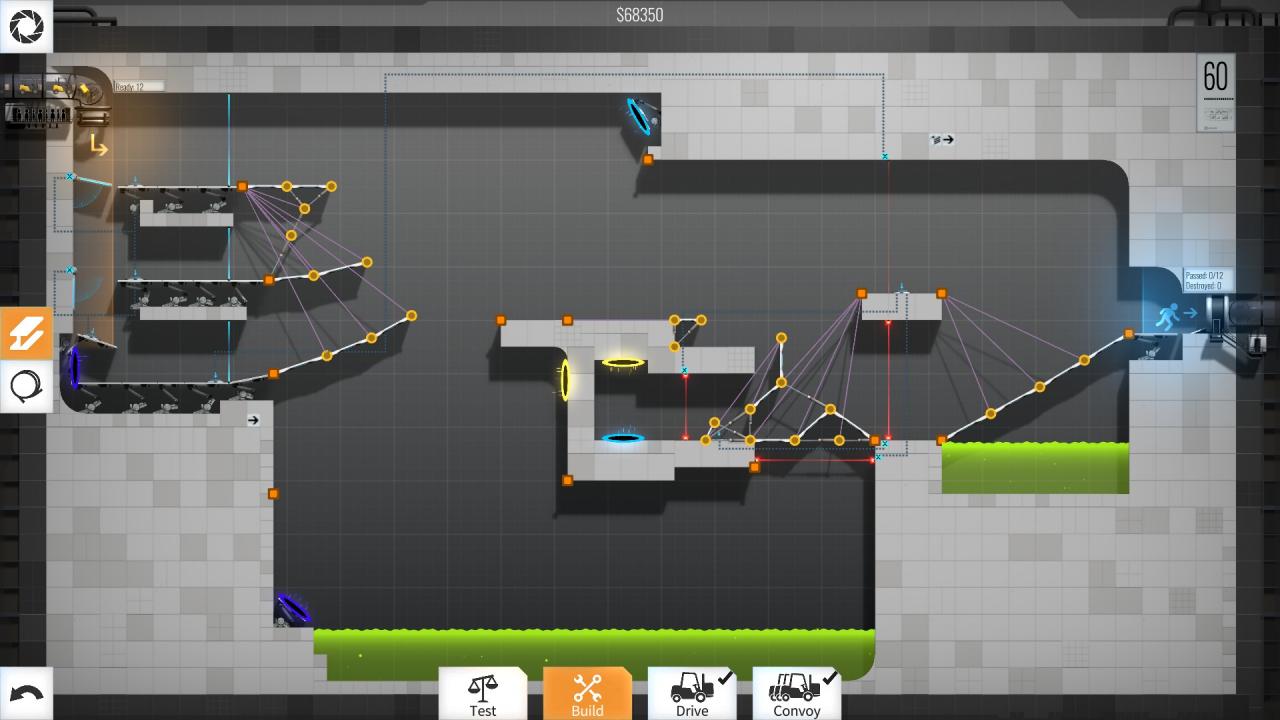
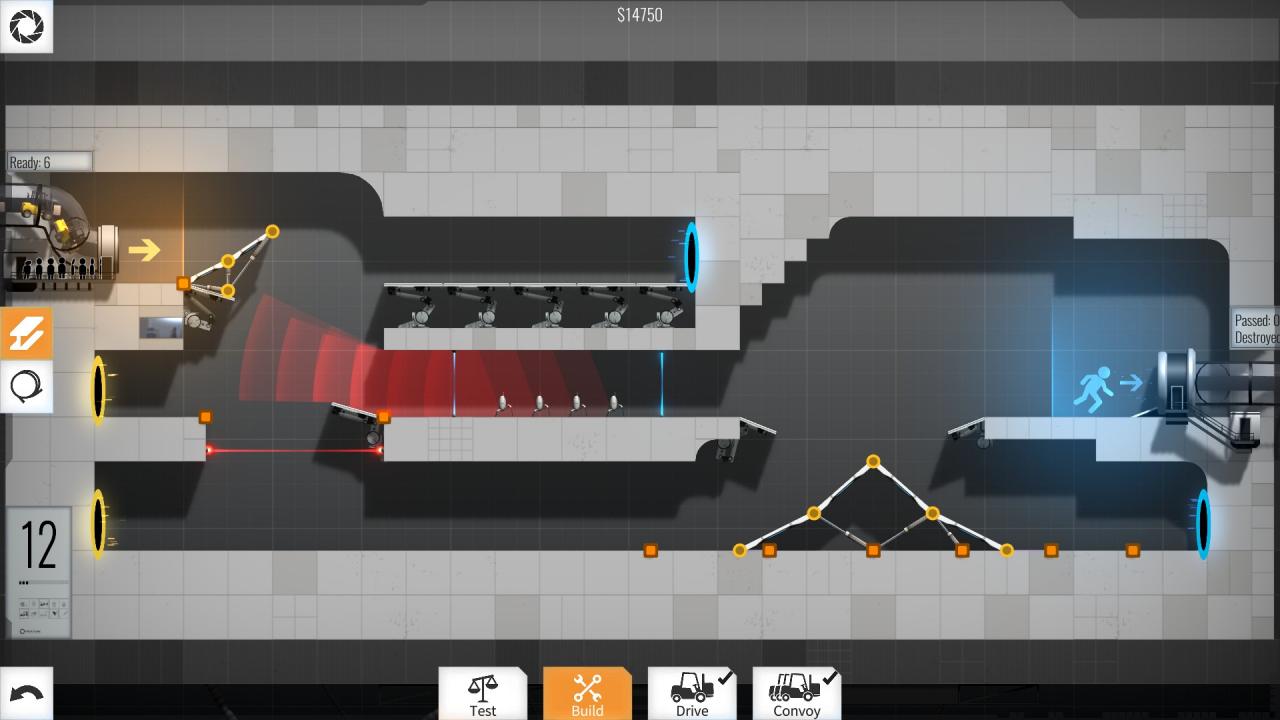
Level 12 – $14750
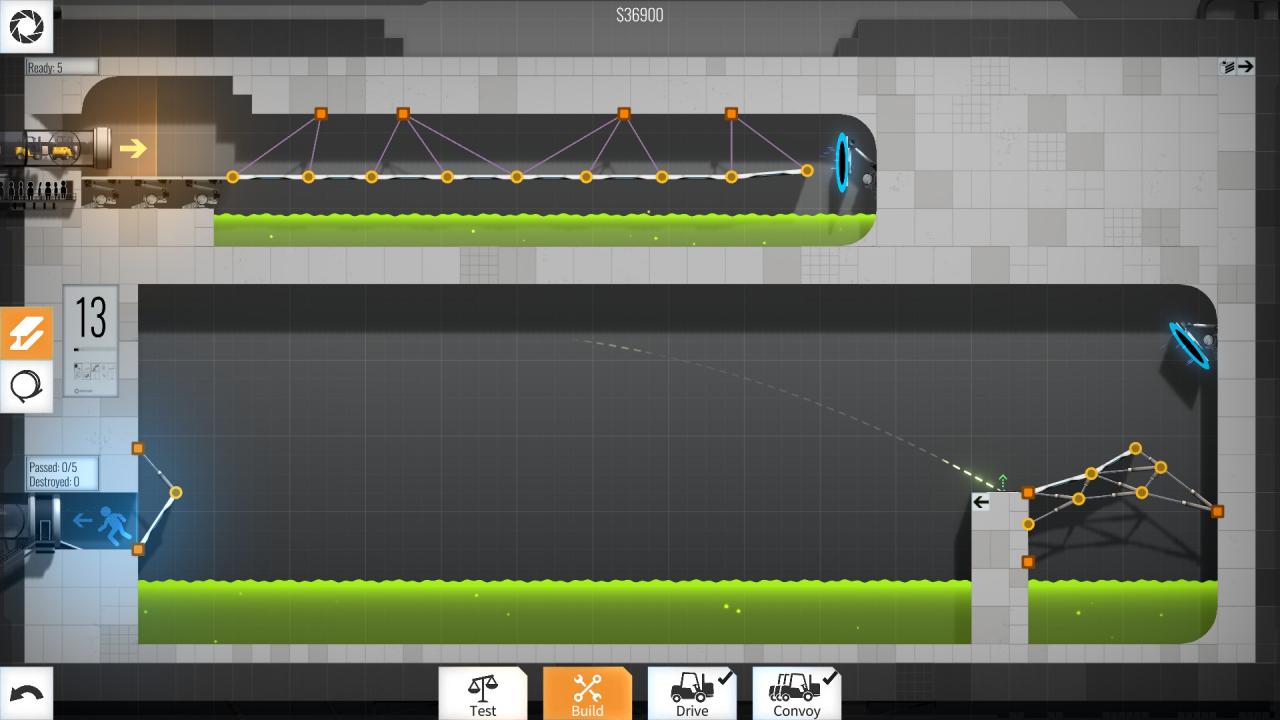
Level 13 – $36900
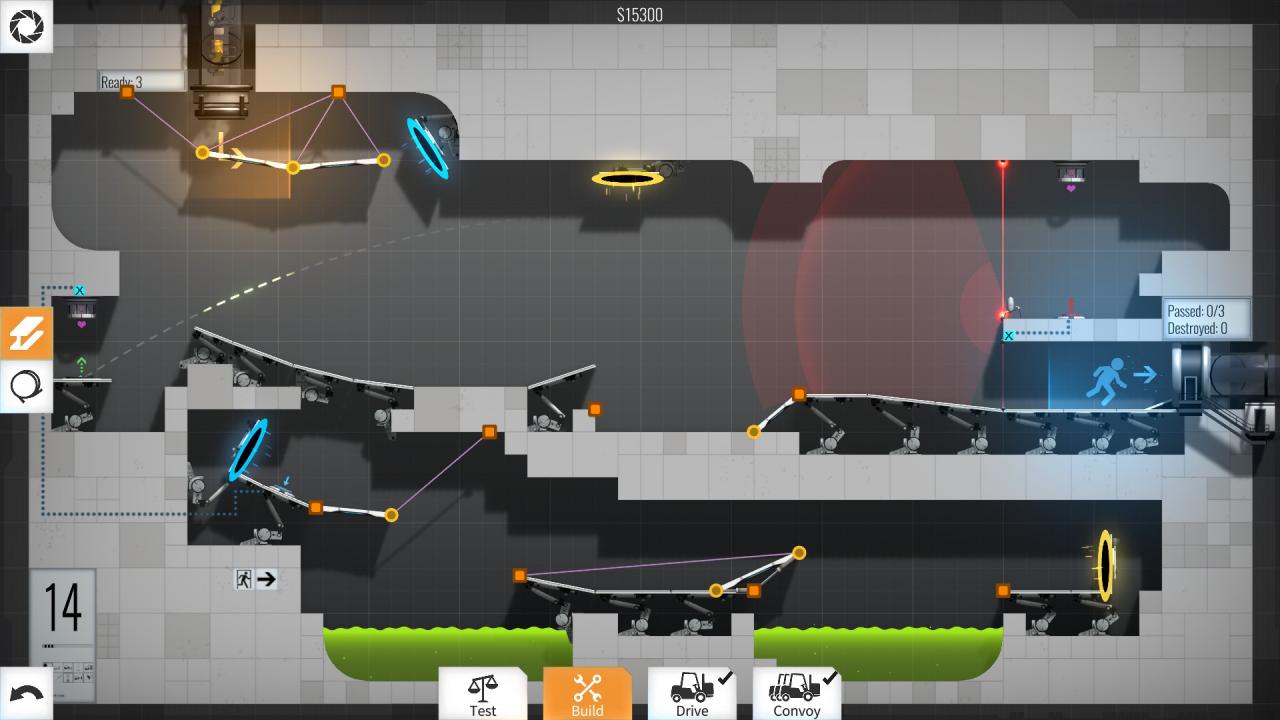
Level 14 – $15300
Inner ramp instead of using a bridge, I’ll use this “trick” quite a bit, saves a lot of money.
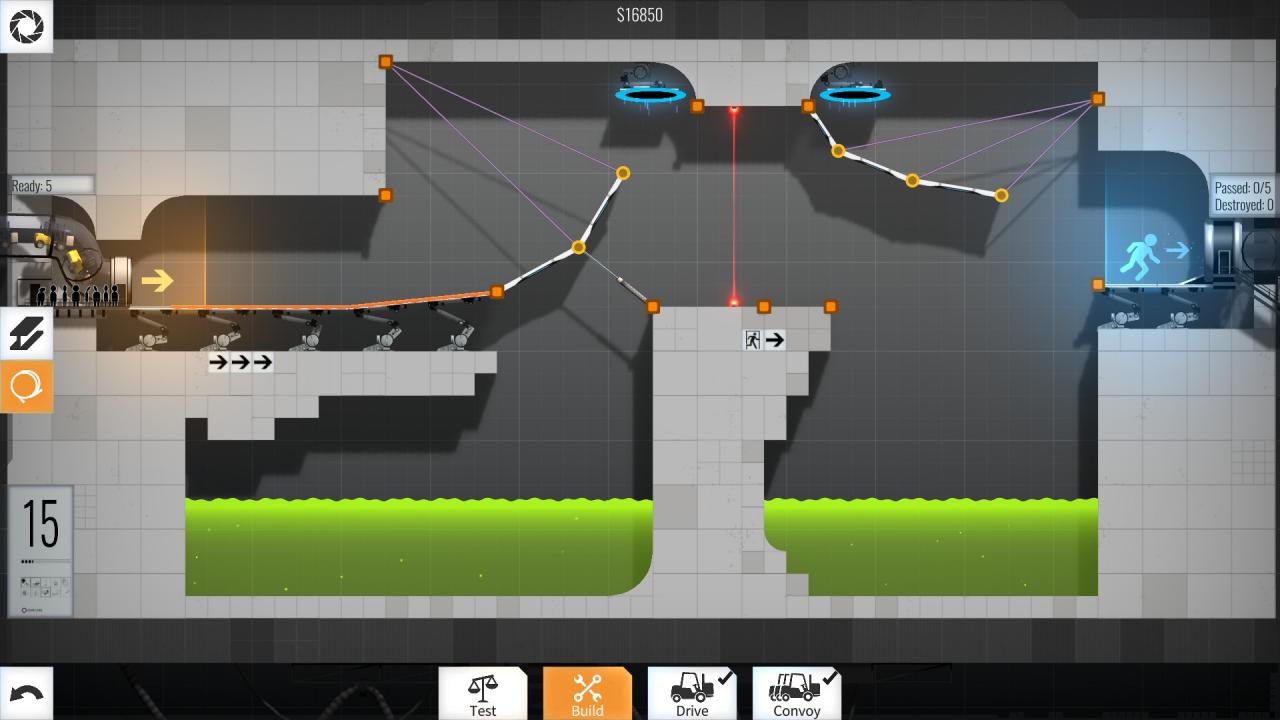
Level 15 – $25350
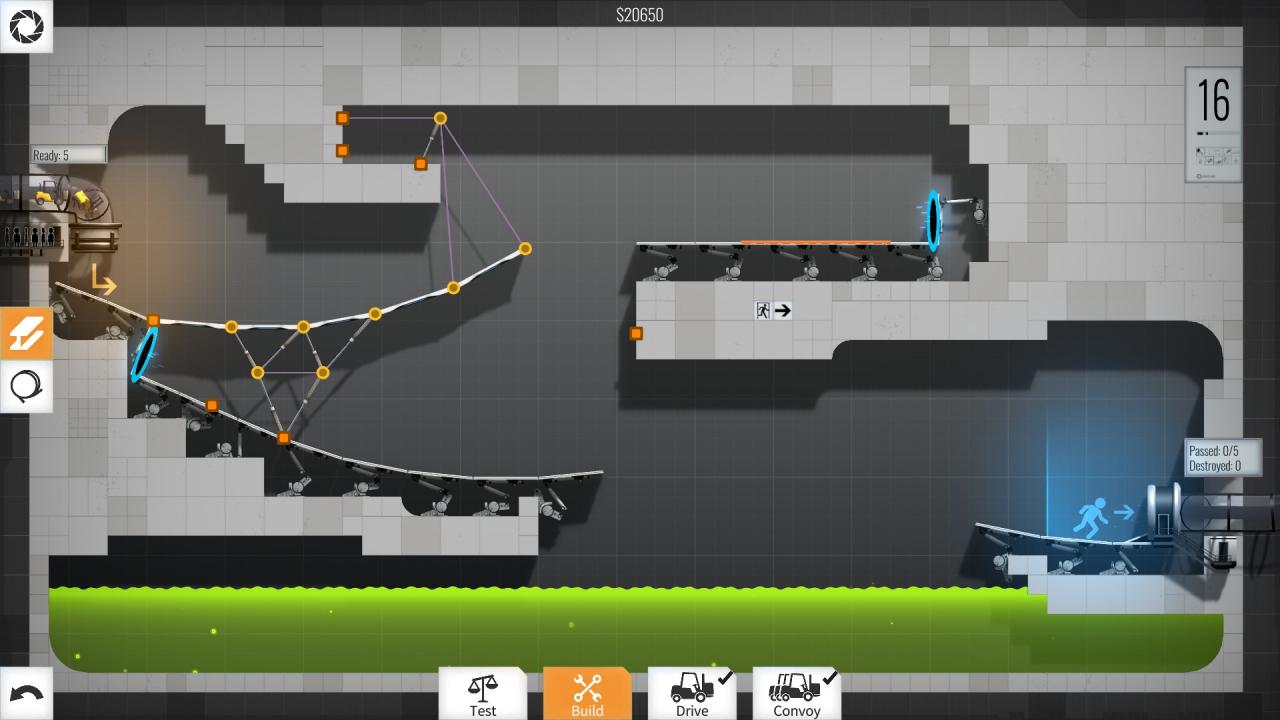
Level 16 – $20650
Level 17 – $10850

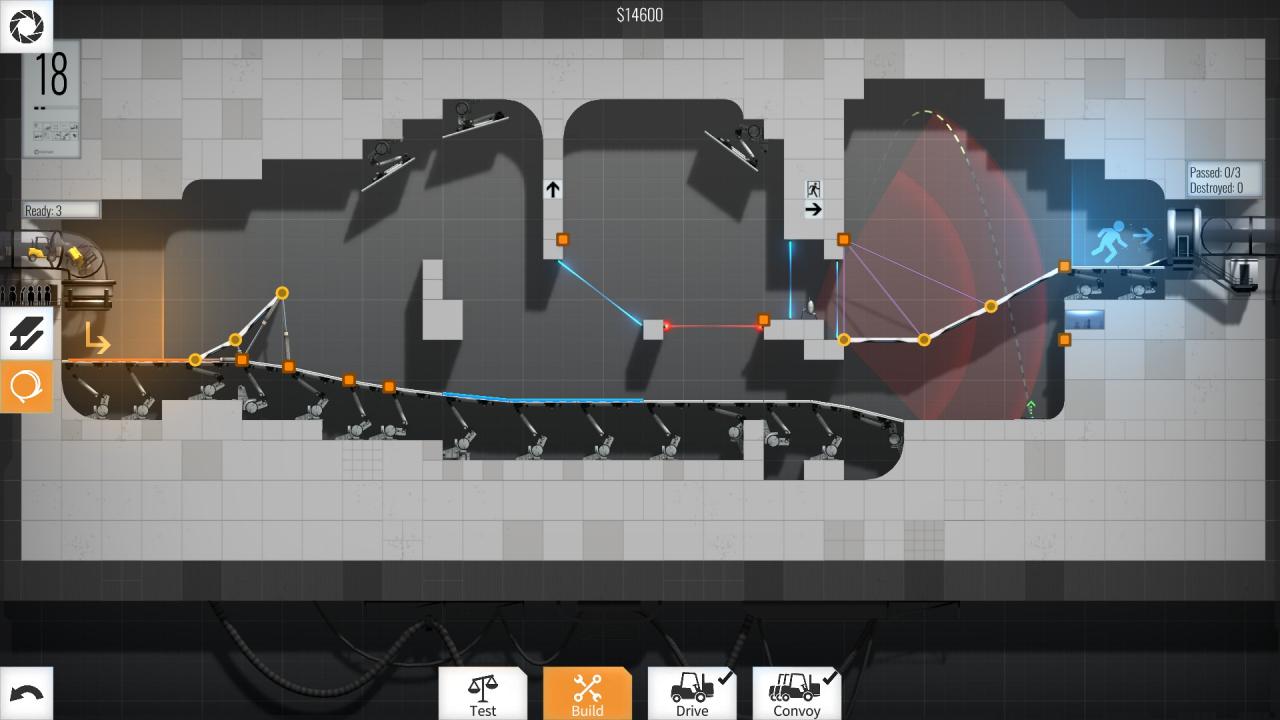
Level 18 – $14700
This is the first hard level to optimize… getting the precise bounces for a convoy is quite tough.
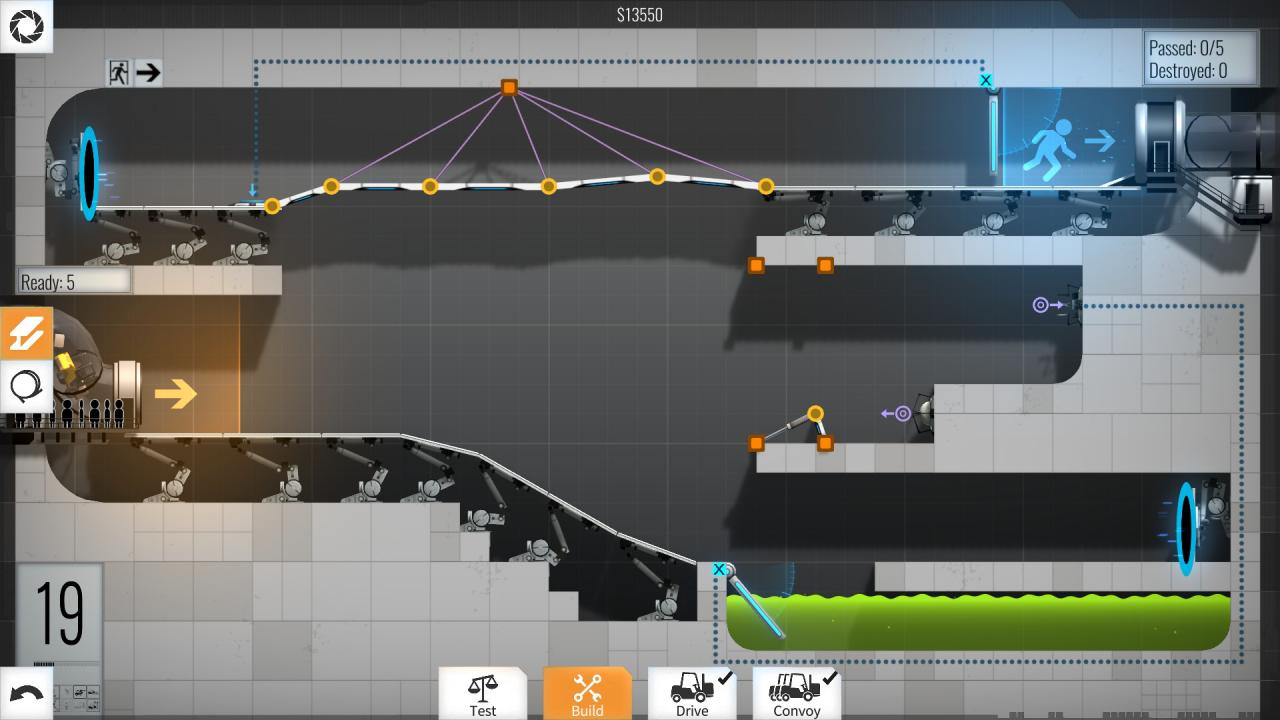
Level 19 – $19250
Notice the angle of the road piece for the pellet bounce, sometimes using weird angles saves money. Same goes for the upper side bridge, that small angle variance makes the difference between it breaking and not.
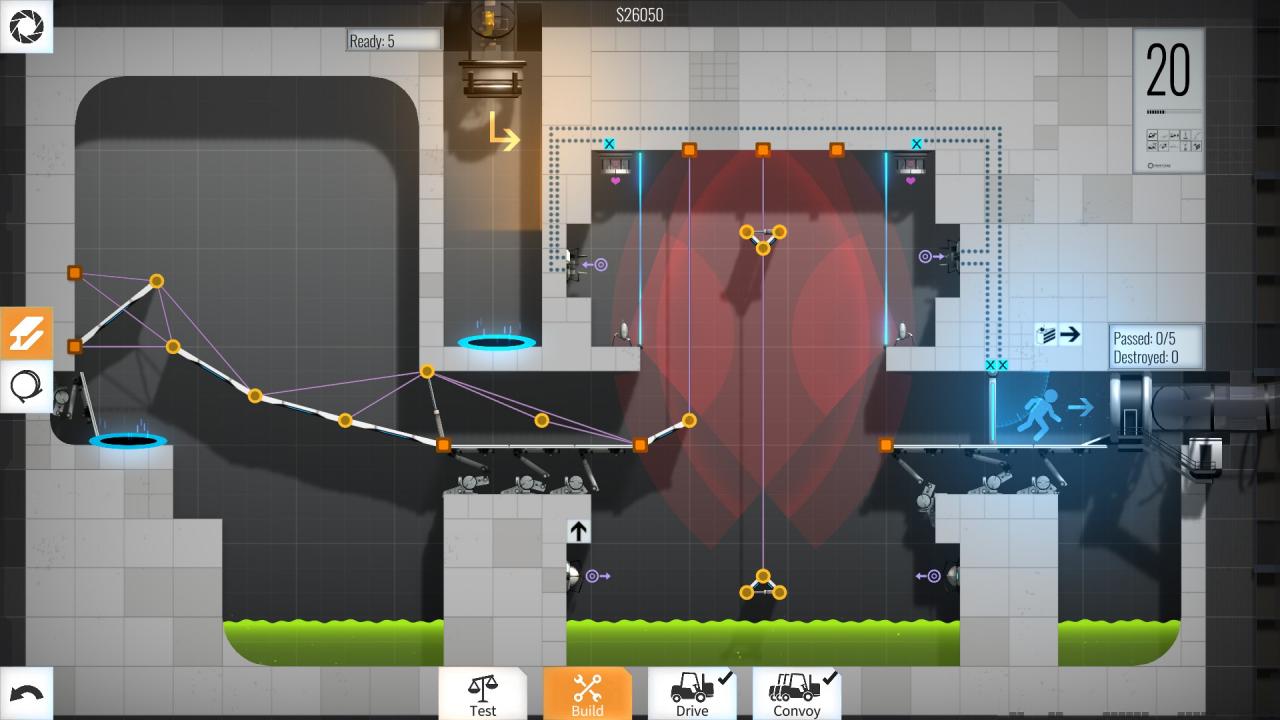
Level 20 – $27050
Here no need to get fancy with angles, but you can get fancy with ropes =)
Also, this is the first instance of the “triple rope” trick, which I use quite a bit as well… for some strange reason it works…
Levels 21 – 30
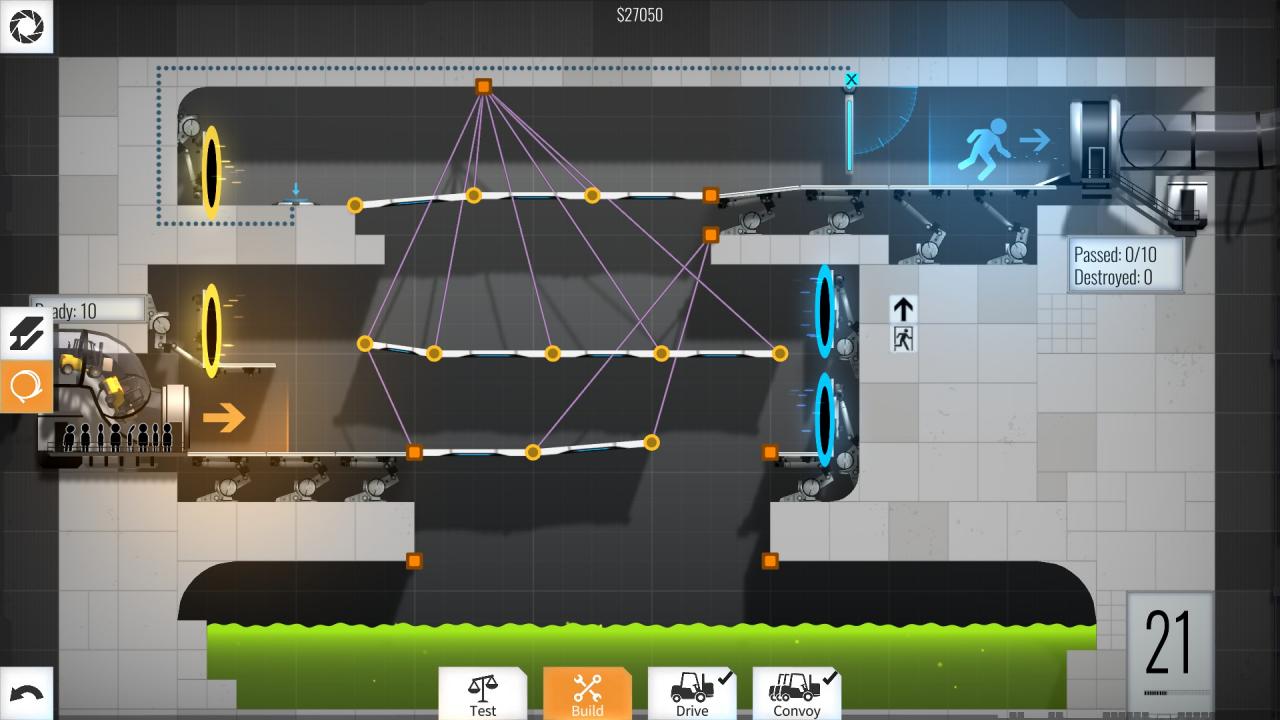
Level 21 – $26050
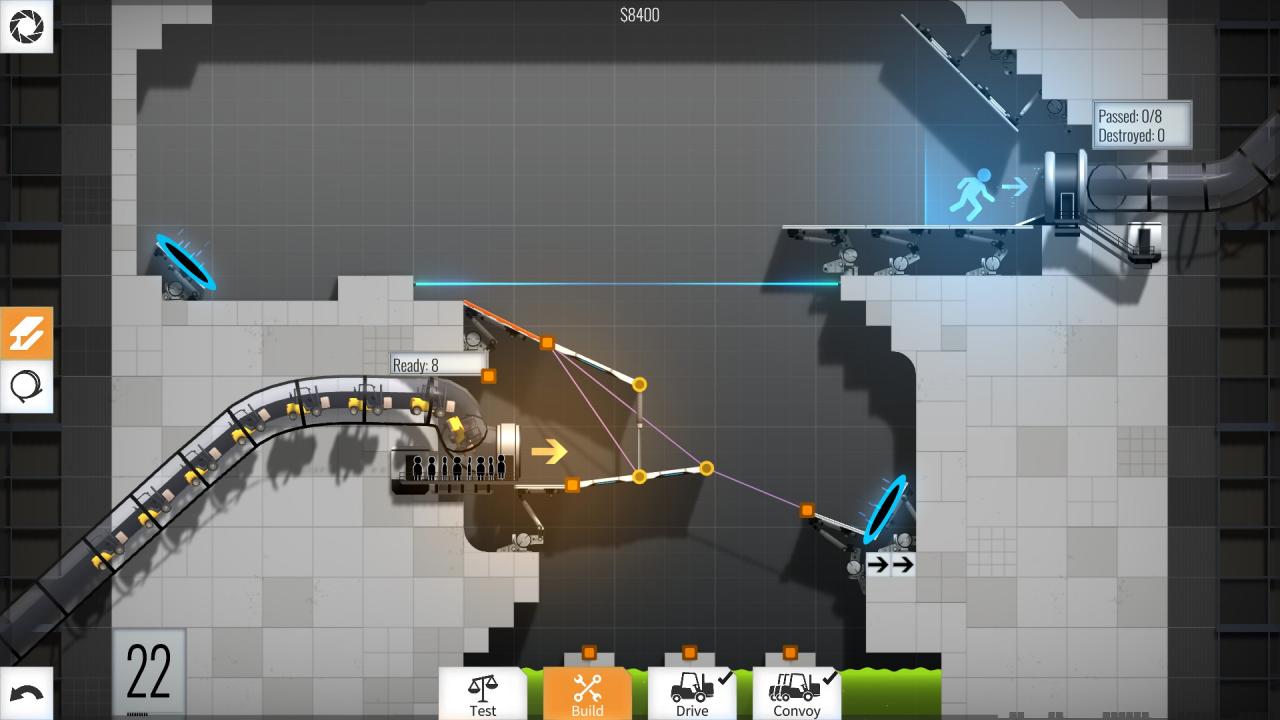
Level 22 – $8400
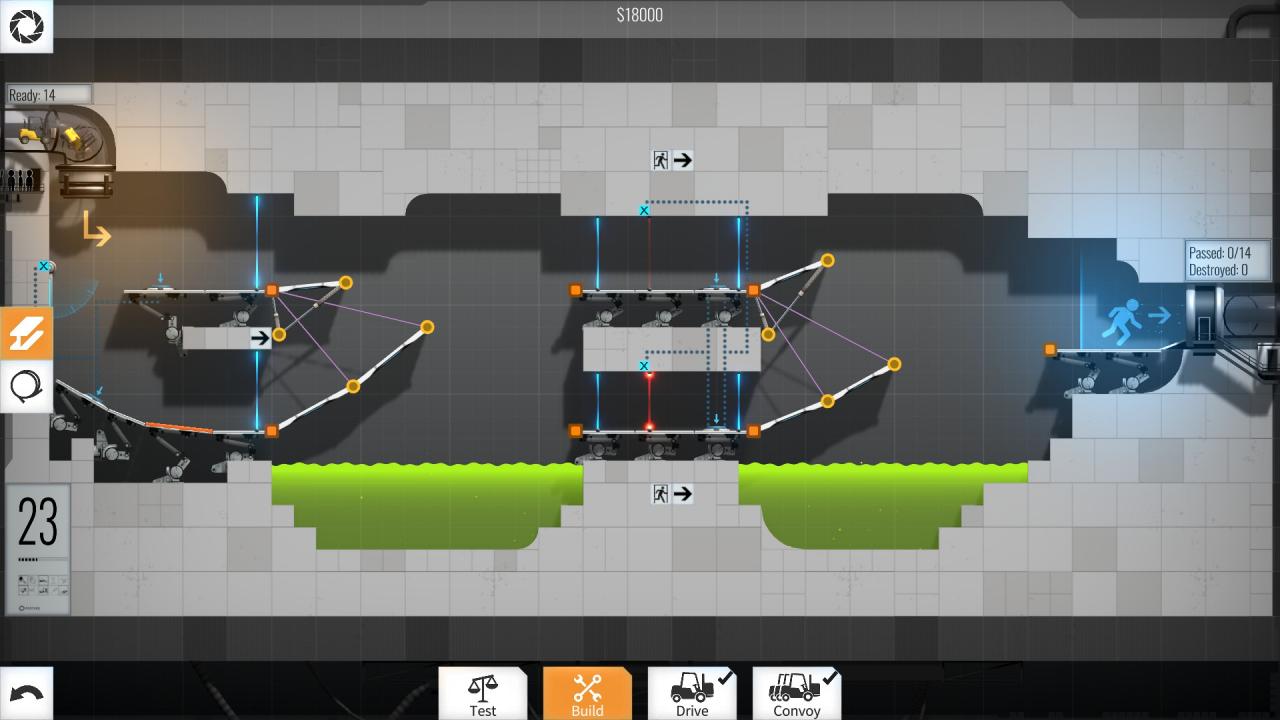
Level 23 – $18000
Here it’s worth noting that the two upper ramps are not touching the walls, they’re a tiny bit separated from them which will make them fall down just a little bit and bump against the walls and get the angle I need them to have… for some strange reason, building them touching the walls didn’t work…
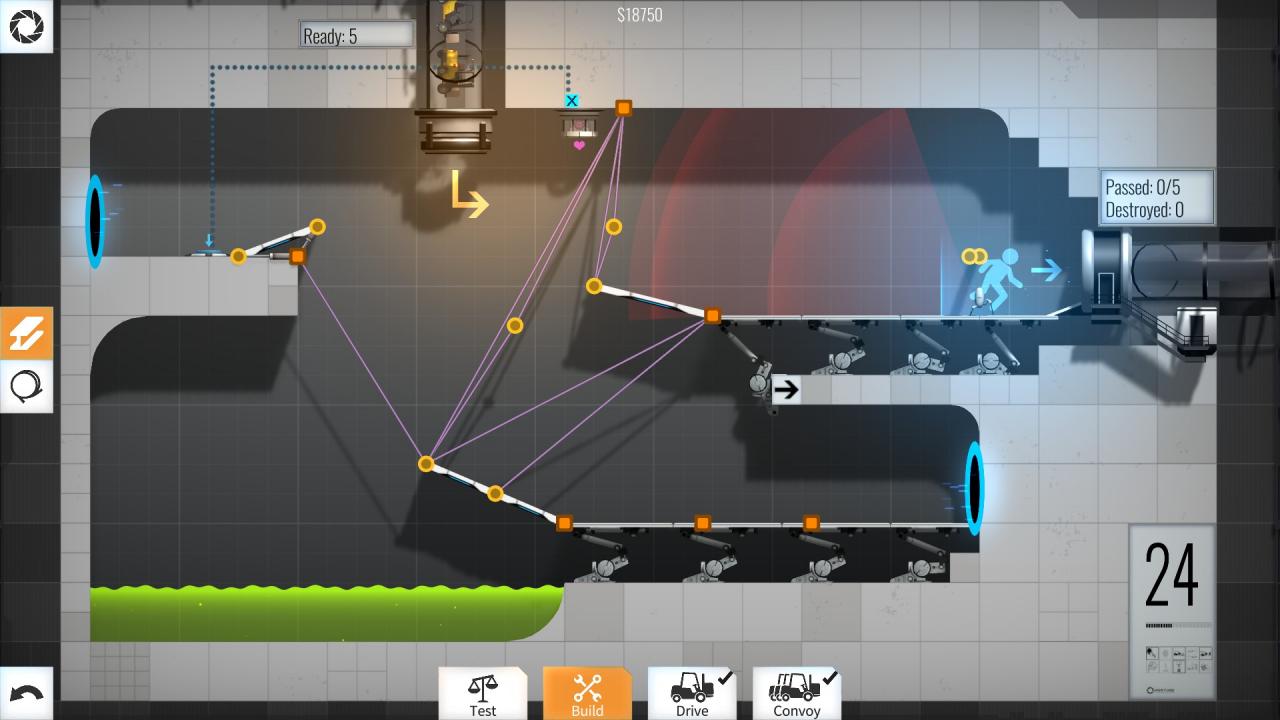
Level 24 – $18750
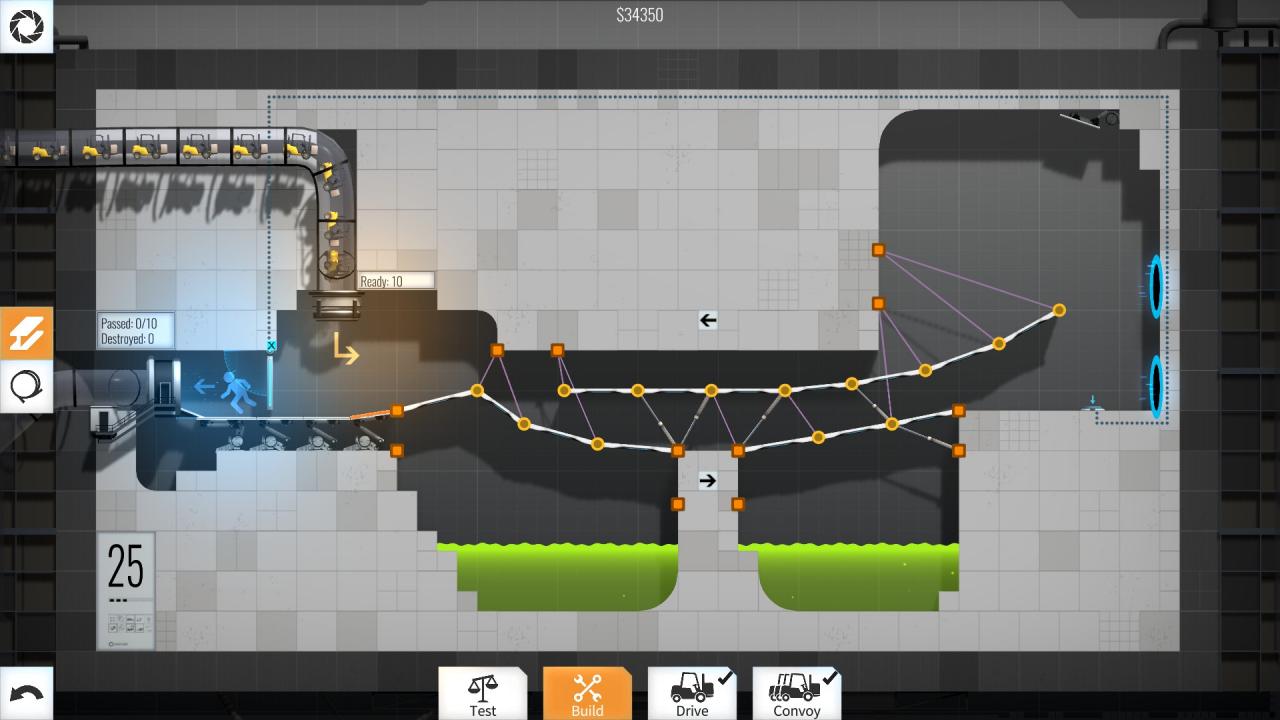
Level 25 – $34350
————————————————————————————————————
————————————————————————————————————
————————————————————————————————————
————————————————————————————————————
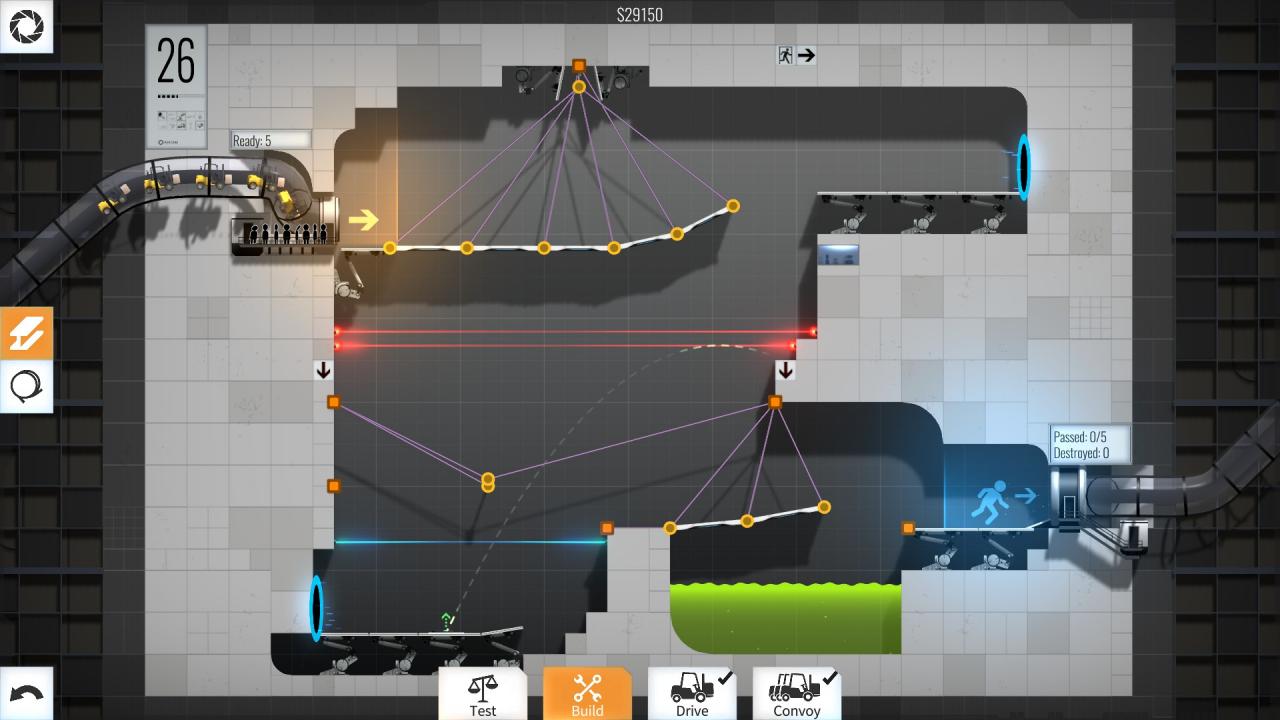
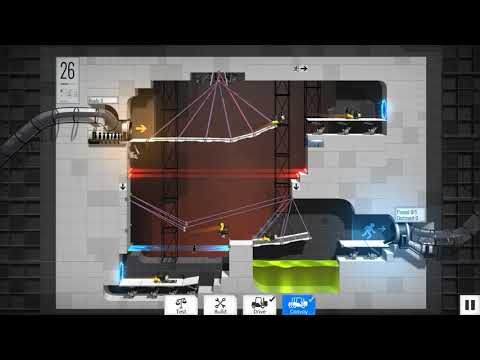
Level 26 – $29150
Right, so as you’ll notice in the video, I used a small vertical road to flat-out stop the cars’ trajectory in the air… the road doesn’t even move… that’s because of the angle and that’s why I was babbling on about angles in the tips section =P
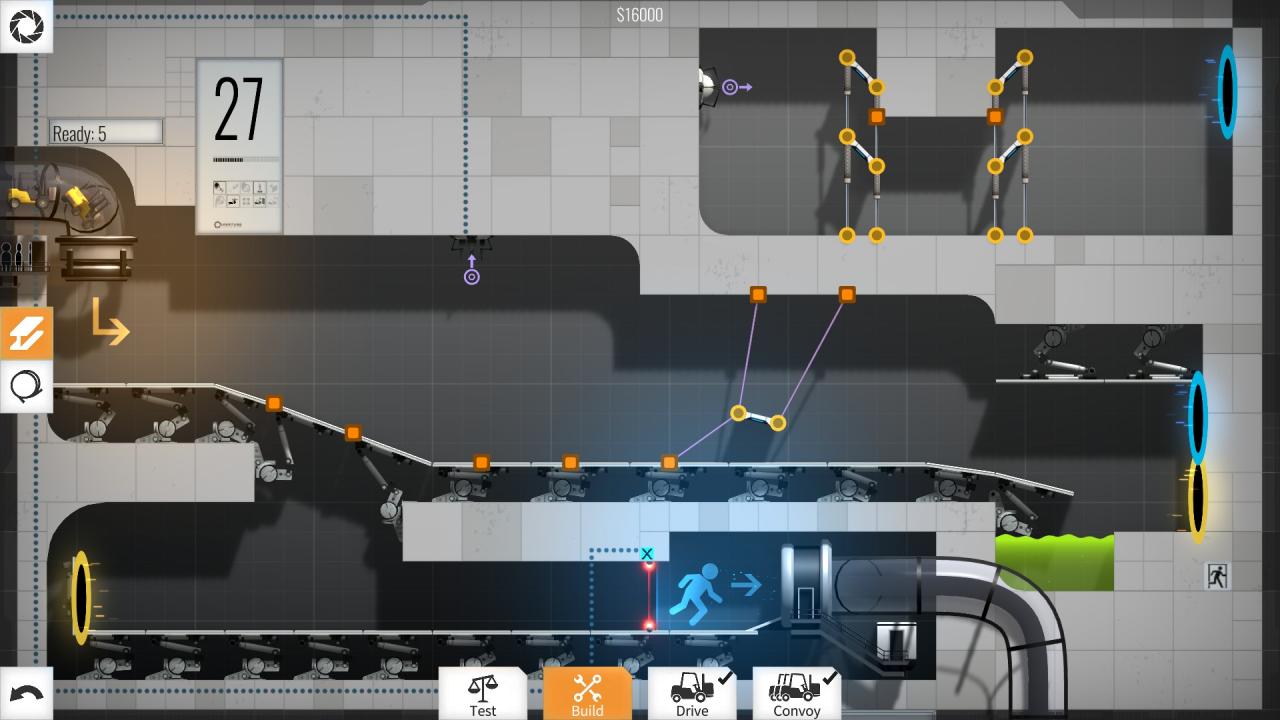
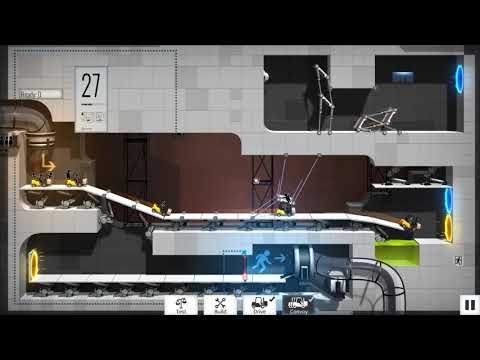
Level 27 – $16000
The reason why I used two collapsing towers to redirect the pellets is simple: I tried doing a non-collapsing one and it kept changing the damn angle of the pellet… u_u
And since they technically don’t break, I said “ah screw it”… don’t love this solution, but there you go.
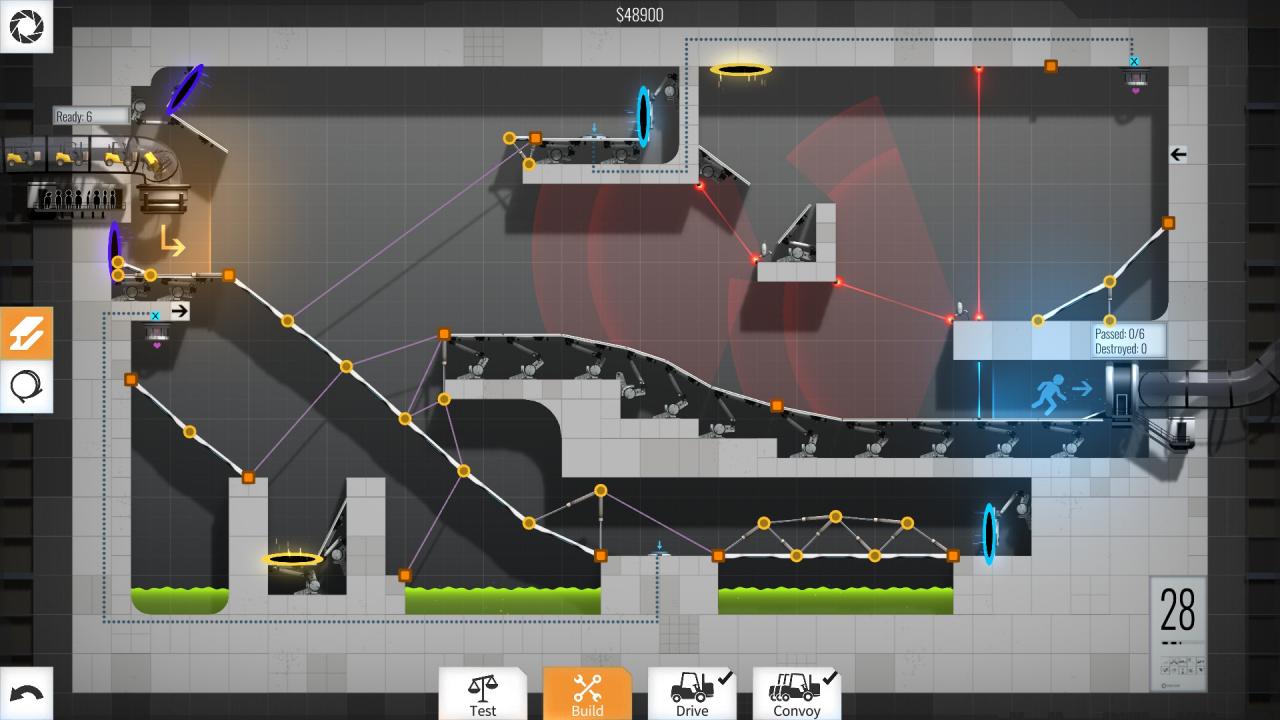
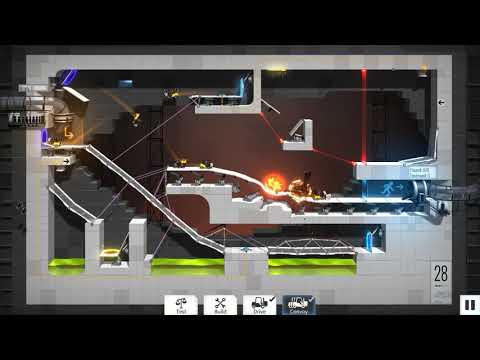
Level 28 – $48900
This was one of the hardest to optimize… in the end the trick was in ramp before the deep blue portal, so that they’d fly out of it and reach the other side. The cheap bridges are what made this a pain since they keep making each car’s momentum different, so hard to deal with… but that’s what it is…
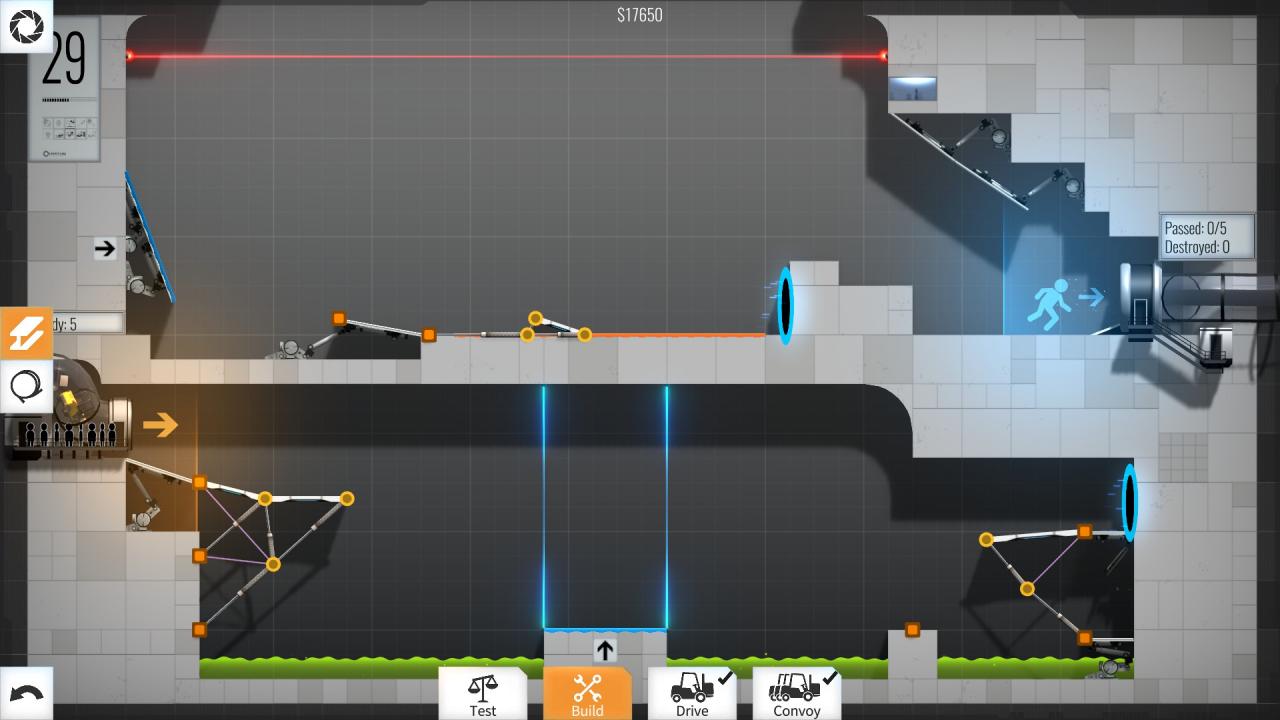
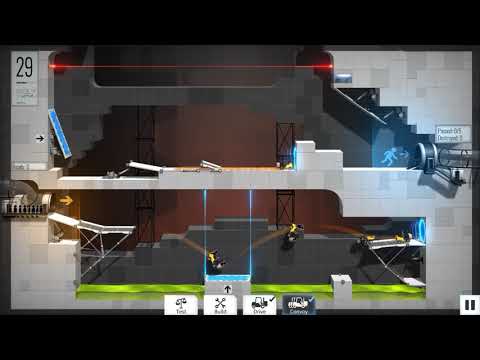
Level 29 – $17650
The whole trick to this one is ignoring the preset ramp and use your own to better control the angle of the bounce.
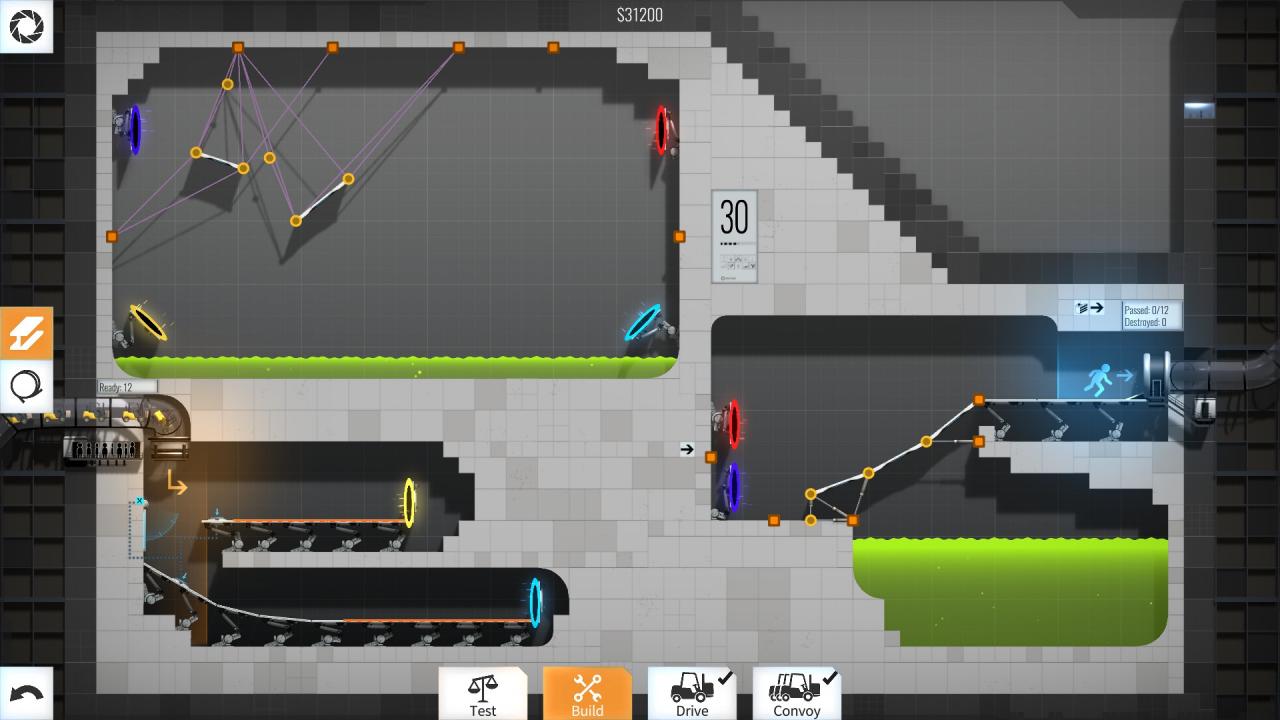
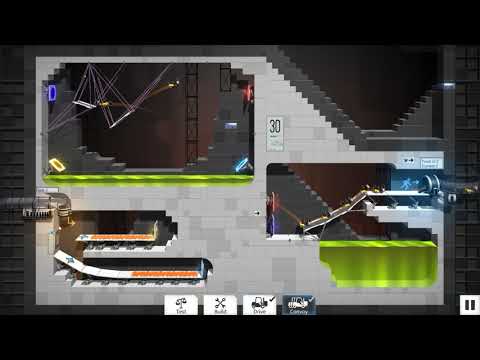
Level 30 – $31200
Not much to say really, just that a little road to alter trajectories goes a long way =P
Levels 31 – 40
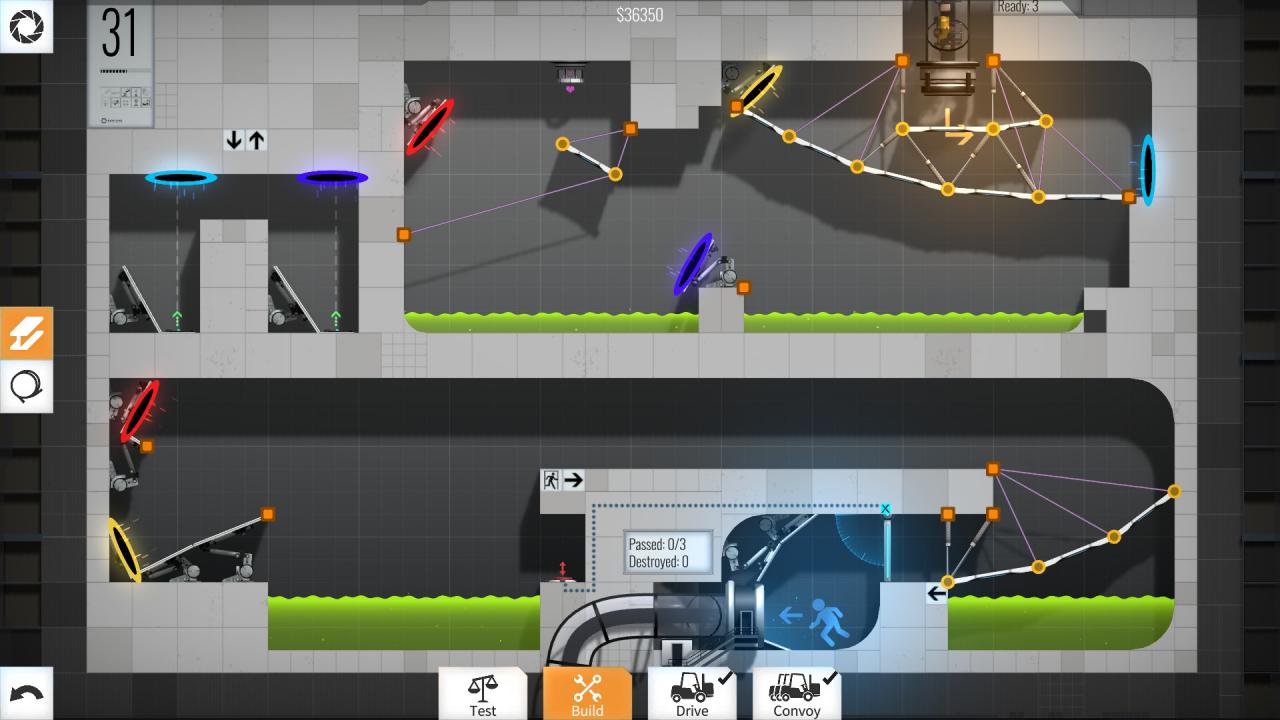
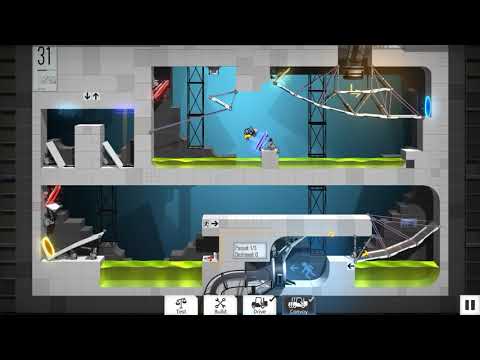
Level 31 – $36350
Oh this was also one of the hardest to optimize, because controlling the launch angle is a major pain in the butt. As you can see in the video, it kinda doesn’t work, but it does… so I just stopped cause this one was driving me crazy. I’m sure it can be further optimized, but I’m good with this… u_u
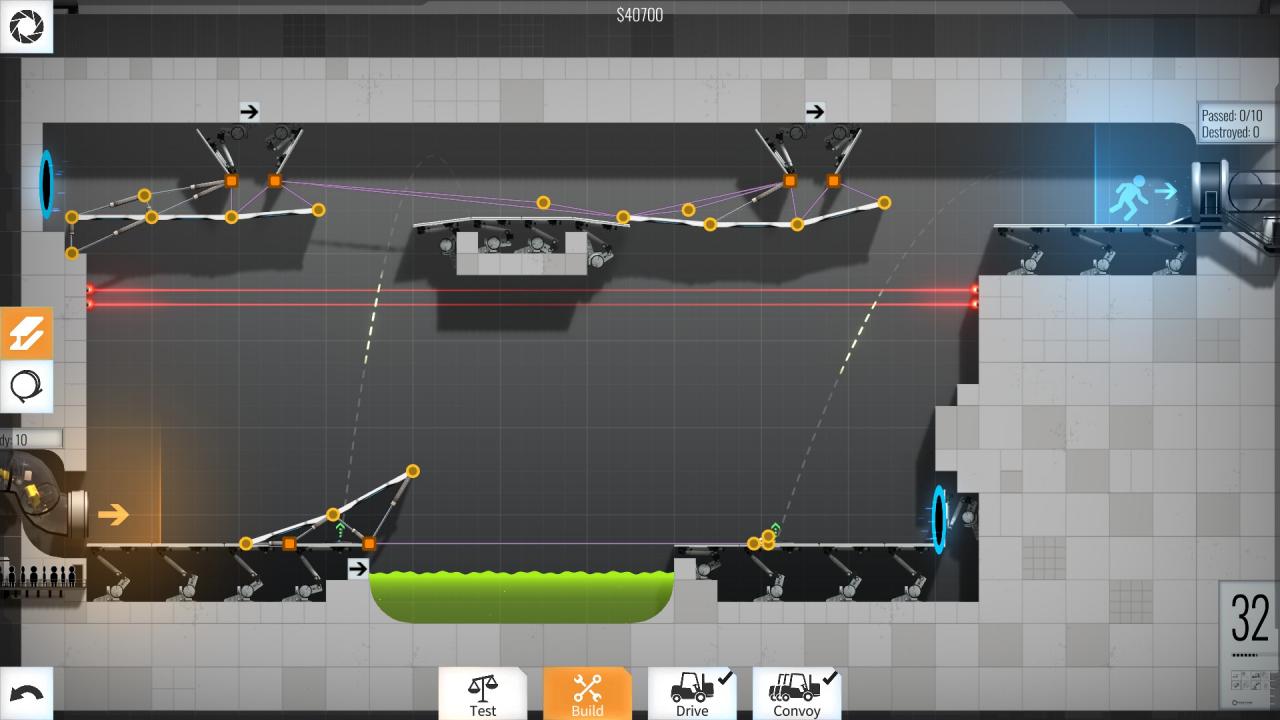
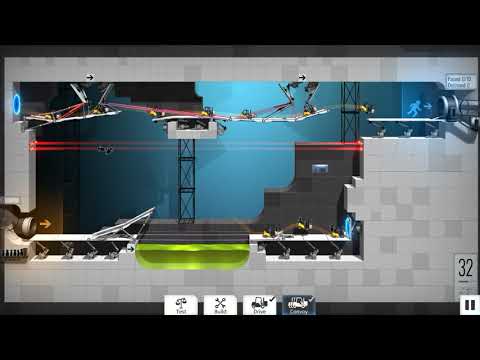
Level 32 – $53200
A small ramp attached to a rope to avoid the second launcher.
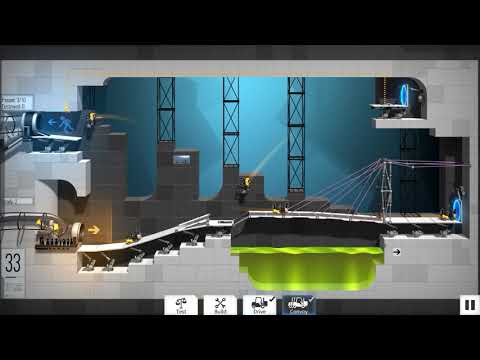
Level 33 – $27200
This is neither elegant or particularly cheap, if I’m being honest, but I kept it to showcase an alternate way of supporting bridges… plus I like how it almost doesn’t work… xD

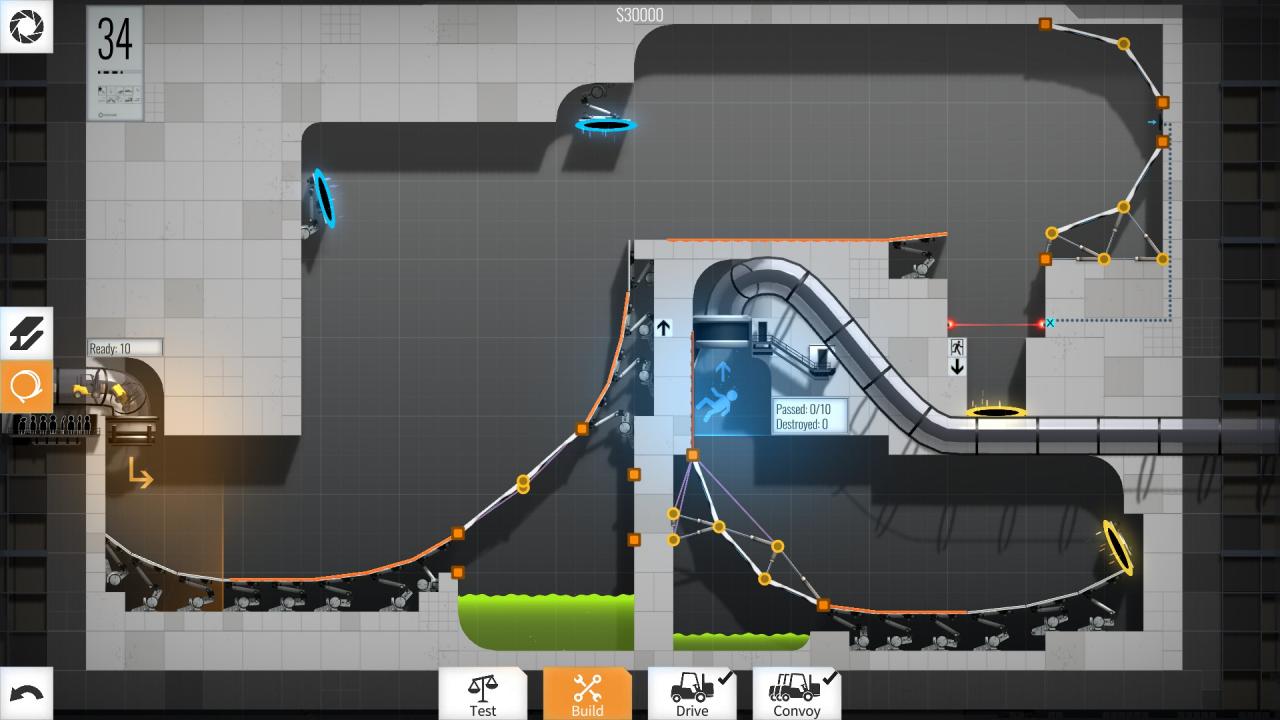
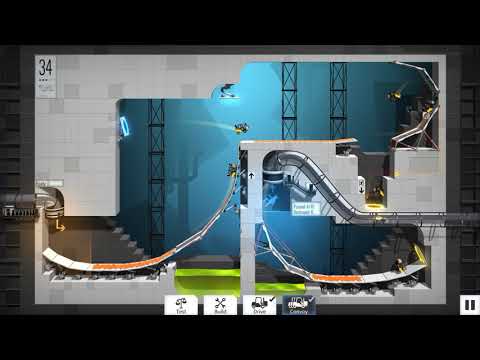
Level 34 – $30000
This one is also not very elegant, but eh, whatever, it works =P
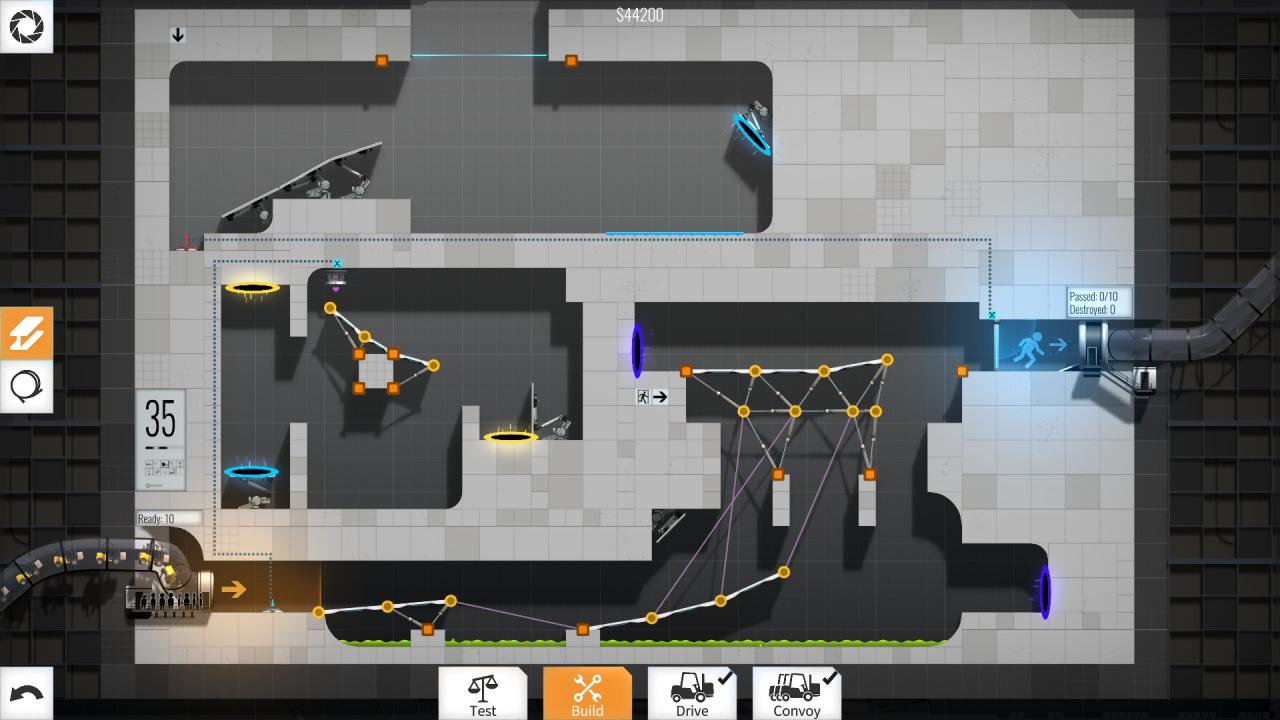
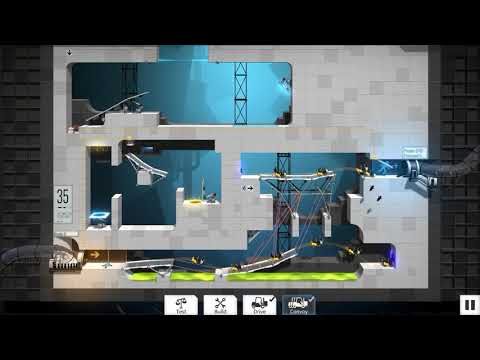
Level 35 – $44200
The only real difficulty here is sending the cube through the portal at the exact right angle so it bounces as it should.
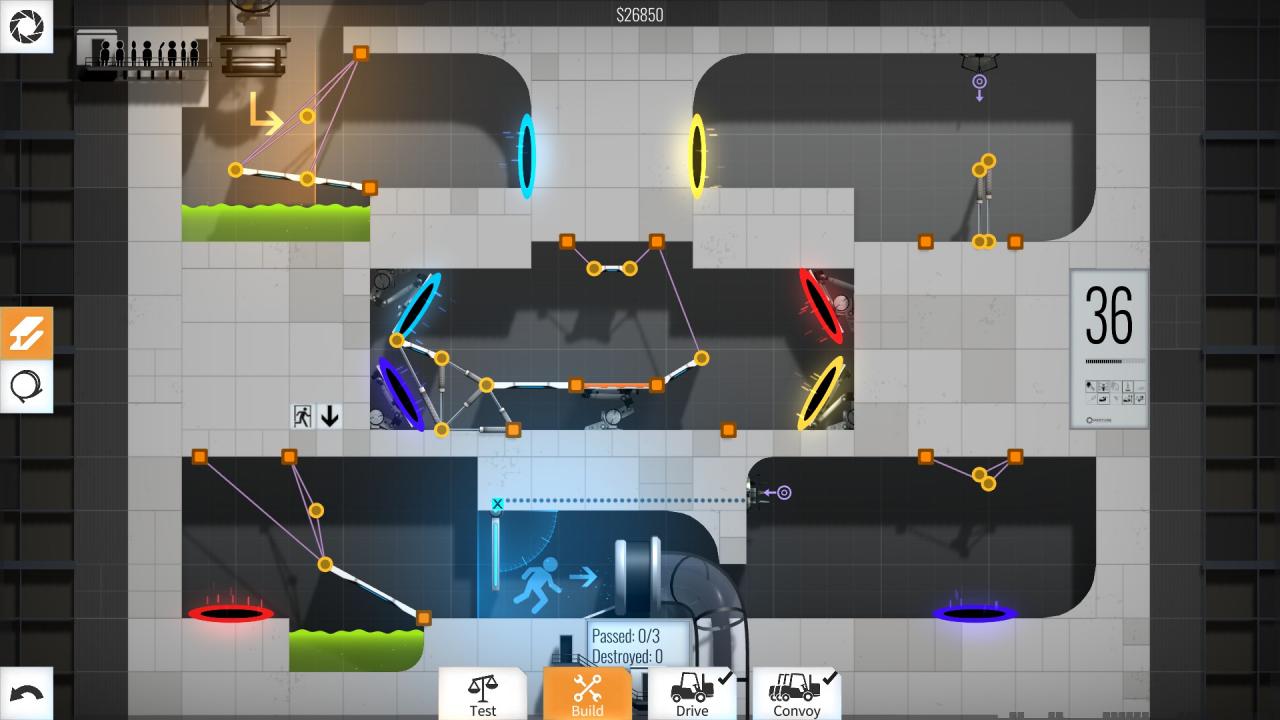
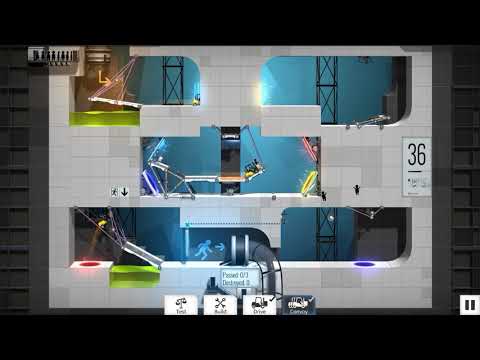
Level 36 – $26850
Another small collapsing tower to redirect the pellet because, eh why not =P
Level 37 – $52750
This was also very hard to optimize. Pretty hard to save money on this one…

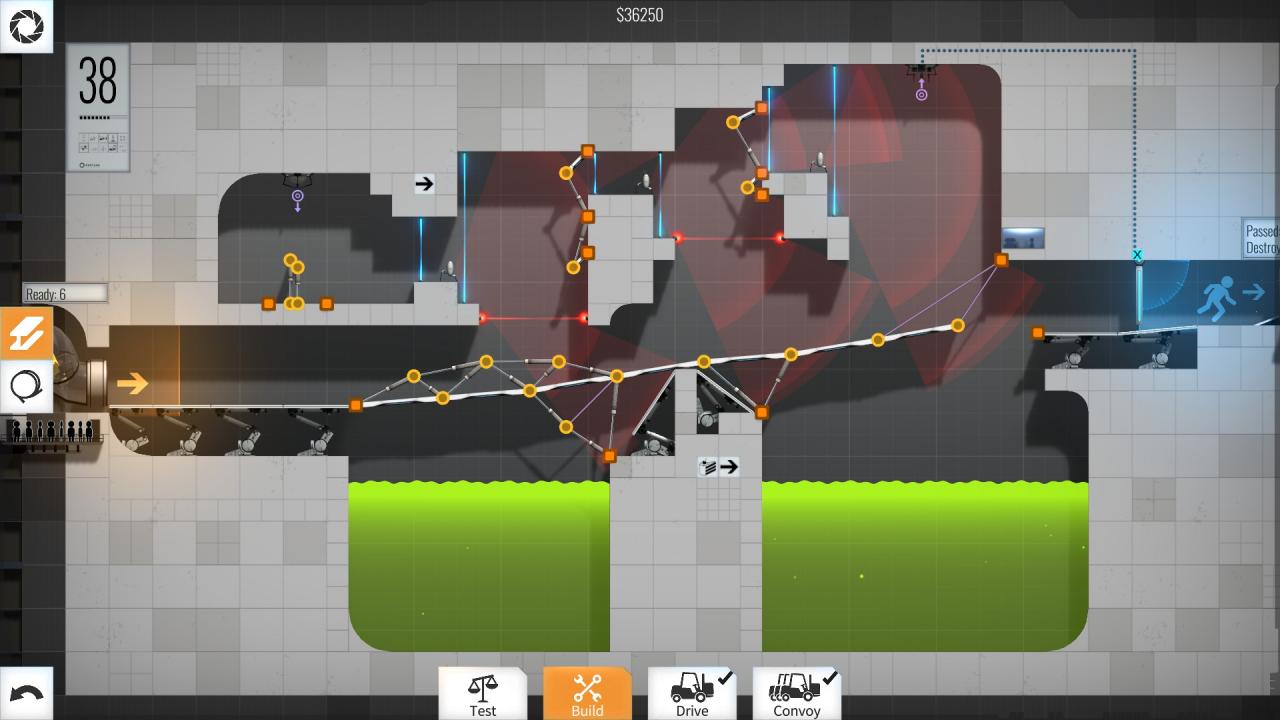
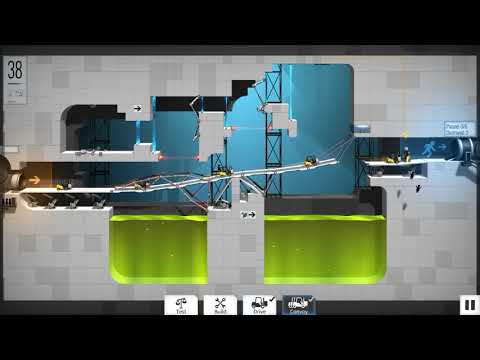
Level 38 – $36250
yet another collapsing tower to redirect the pellet, BUT the trick in this one is basically not using a 45 degree angle on the road before the last turret, as you’ll see in the video, by using a sharper angle you can take out the turret and hit the receptor without needing any extra structures… it really saves a lot of money.
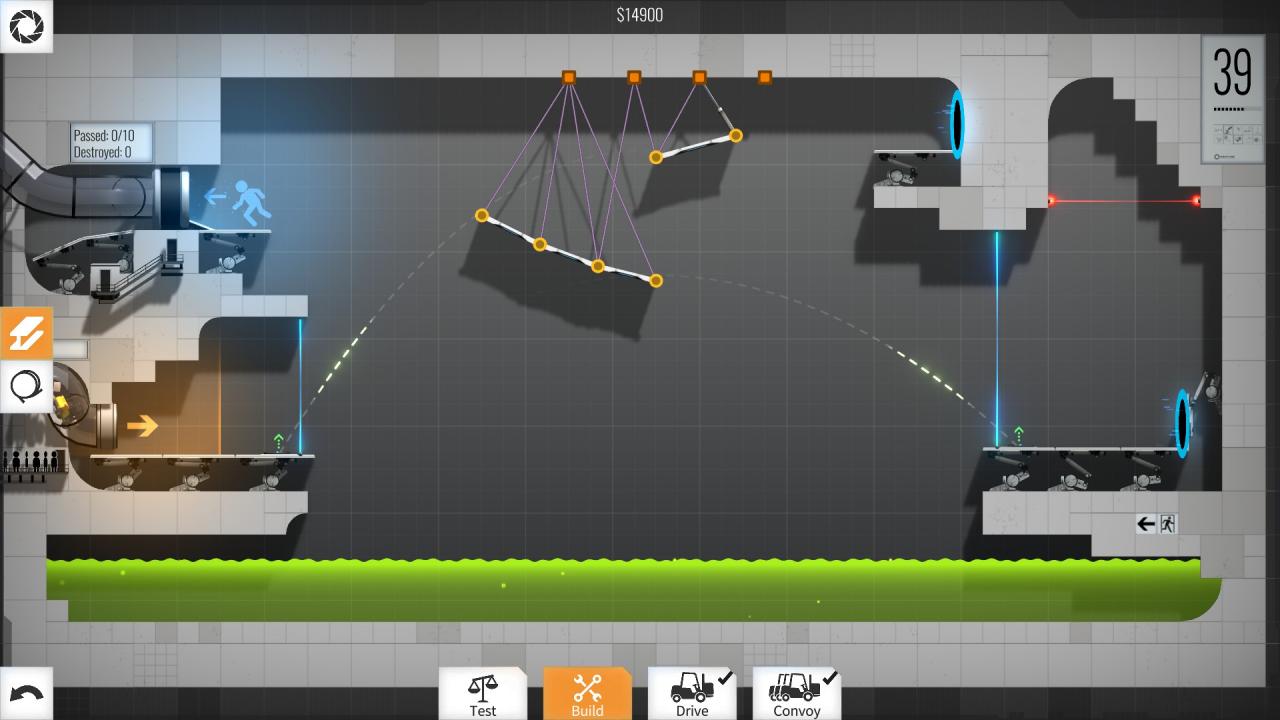
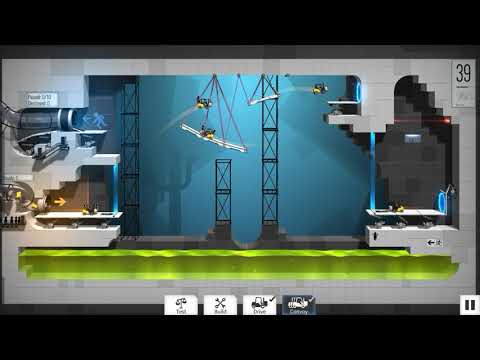
Level 39 – $14900
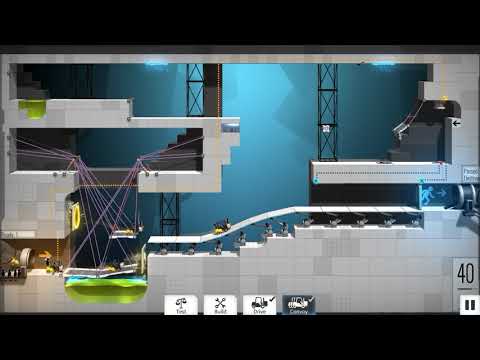
Level 40 – $27050
This level is all about that cube. Not gonna lie, I kinda got this by accident… I mean, I was trying to do that, but it worked on the first couple of tries and I left it like that. Probably not the most elegant way to push the cube, but again, eh… it works. It’s also a great example of using motion and gravity to solve a problem.

Levels 41 – 50
Level 41 – $41500


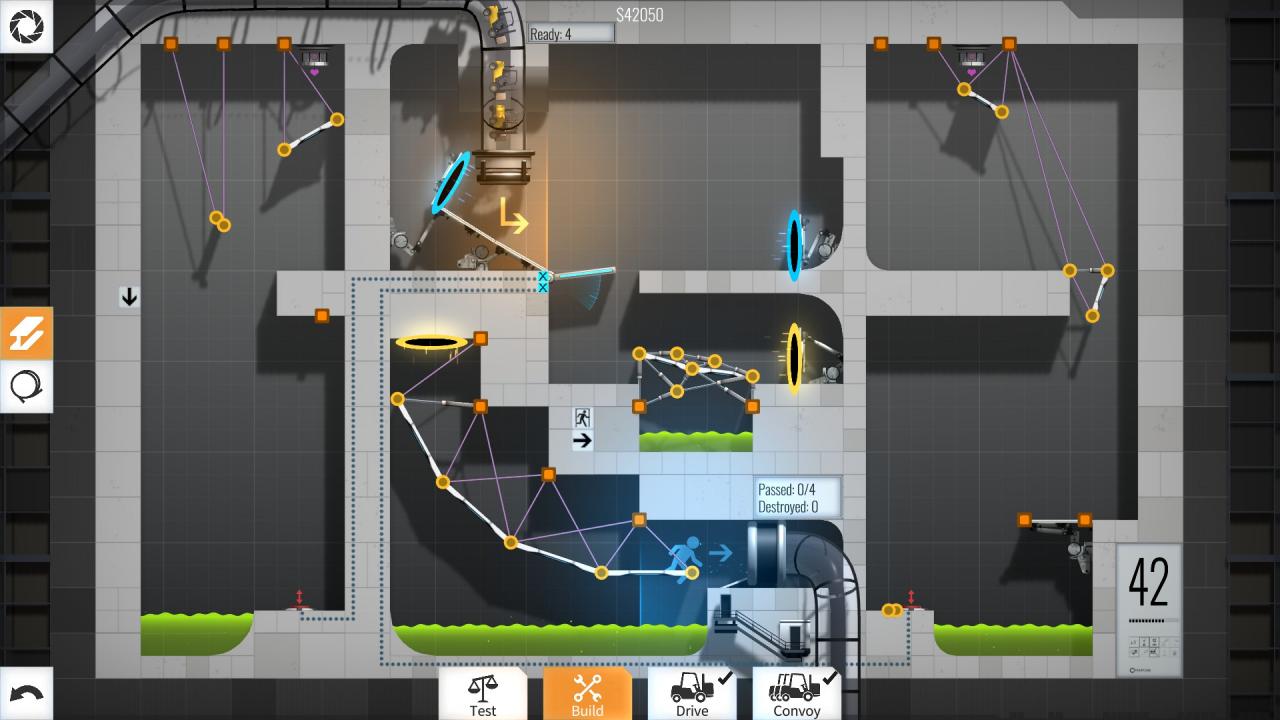
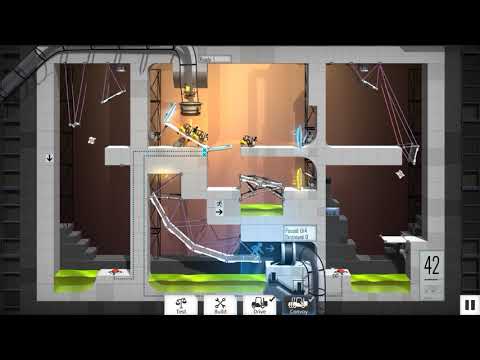
Level 42 – $42050
The only thing worth noting here is I used a small piece of road to stop the right-side cube from going too far and missing the button… the rest is pretty much self-explanatory.
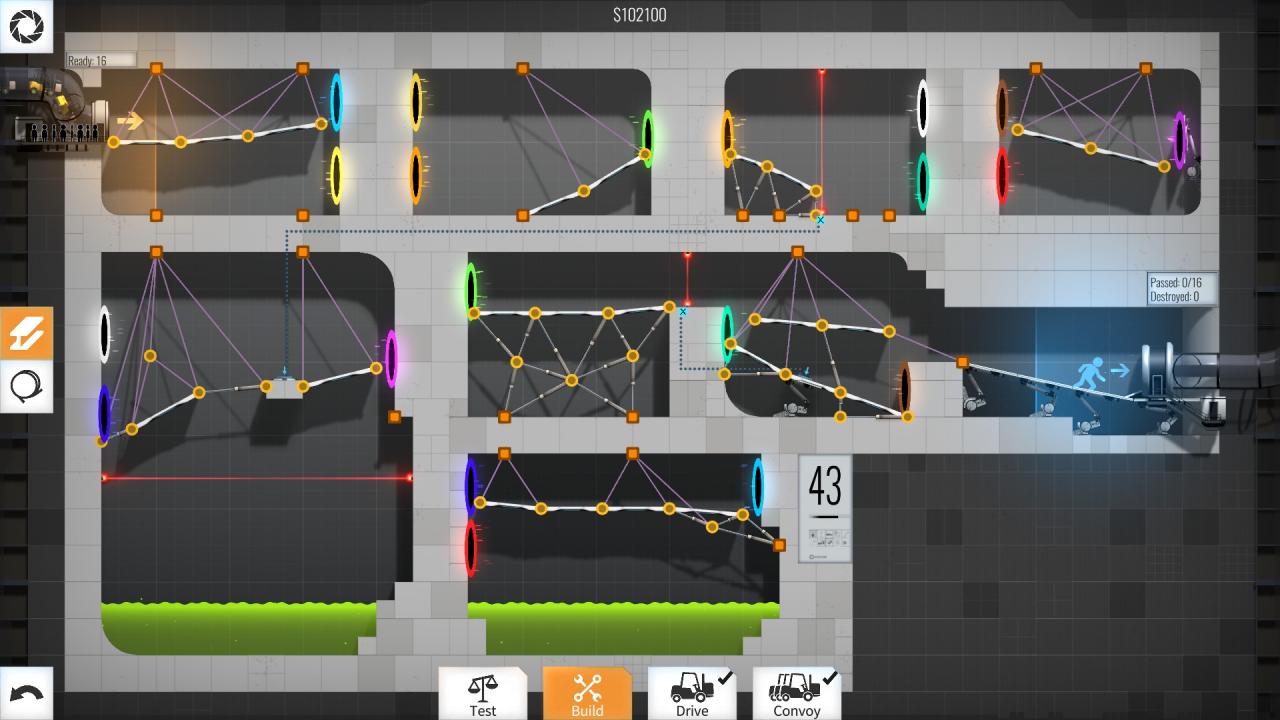
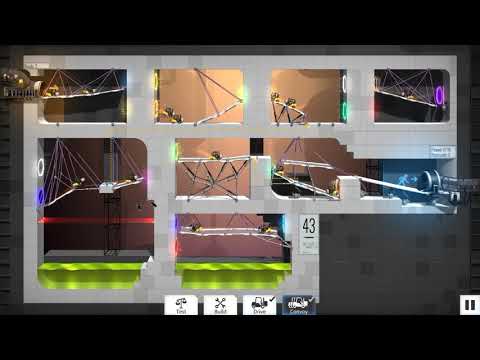
Level 43 – $102100
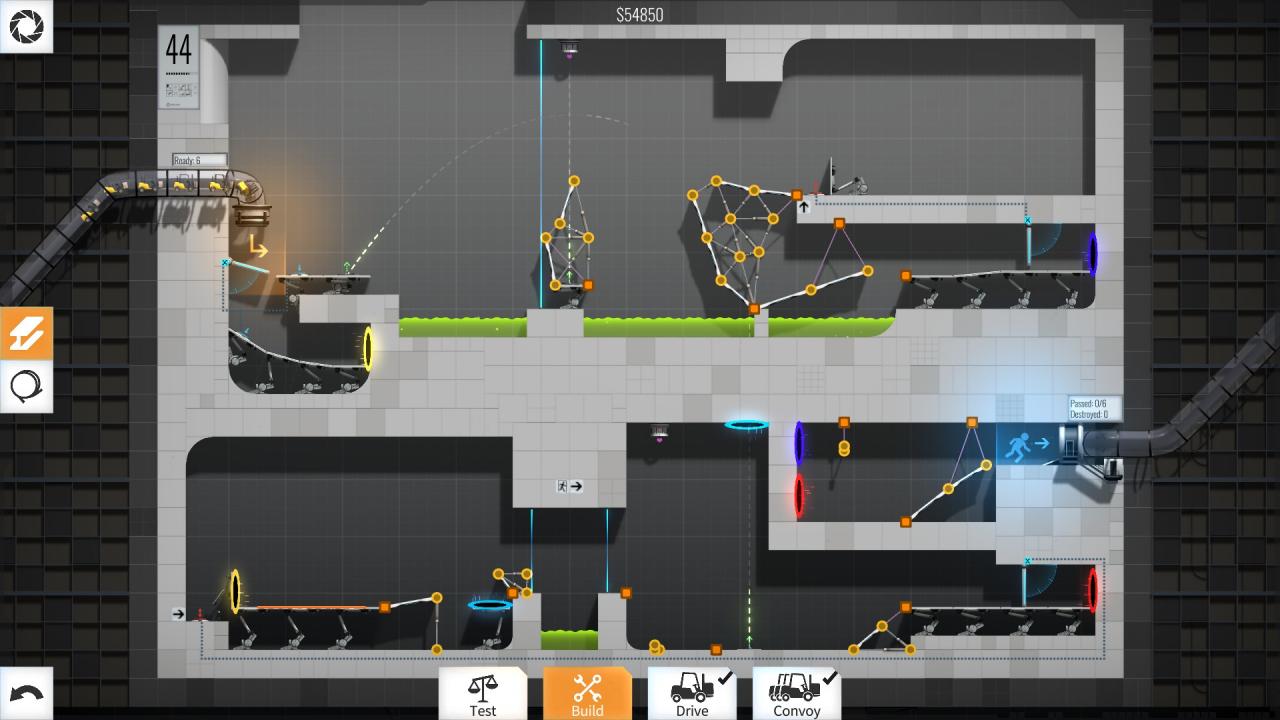
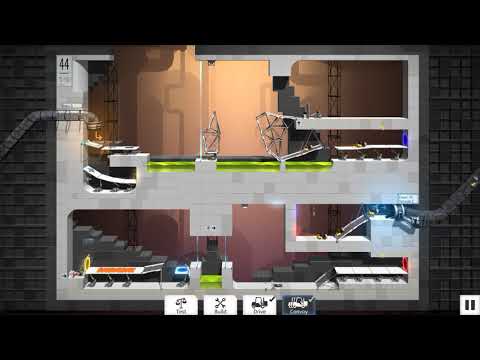
Level 44 – $54850
Ahhh so this is an interesting one, I used a lot of tricks on this level… I spent AGES trying to launch the upper cube straight onto the button by modifying its trajectory, but got bored with that, plus I managed to launch it well enough for the first car to push it into place…
Also, you’ll notice I use road angles to stop momentum twice in this level, a loose ramp to push the lower cube and unfortunately, the road I used to modify its trajectory gets pushed into the blue laser beam… still doesn’t break… it disintegrates… it wouldn’t break =P
Might revisit this one later to try and accomplish a better solution… or maybe not, who knows.
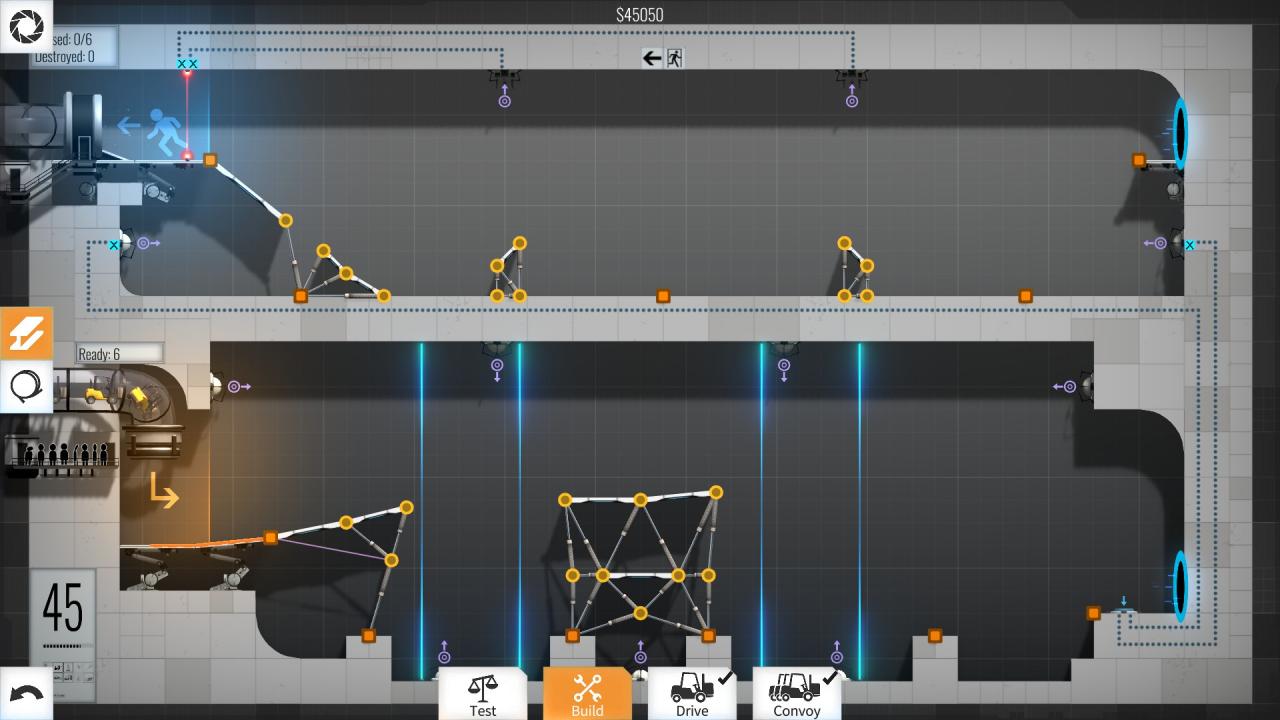
Level 45 – $45050
On this one I wanted the cars to stumble on the second jump on purpose, so the 1st wouldn’t get blown up by the pellet (which happens if you don’t stop its speed somehow). Other than that, nothing worth noting.
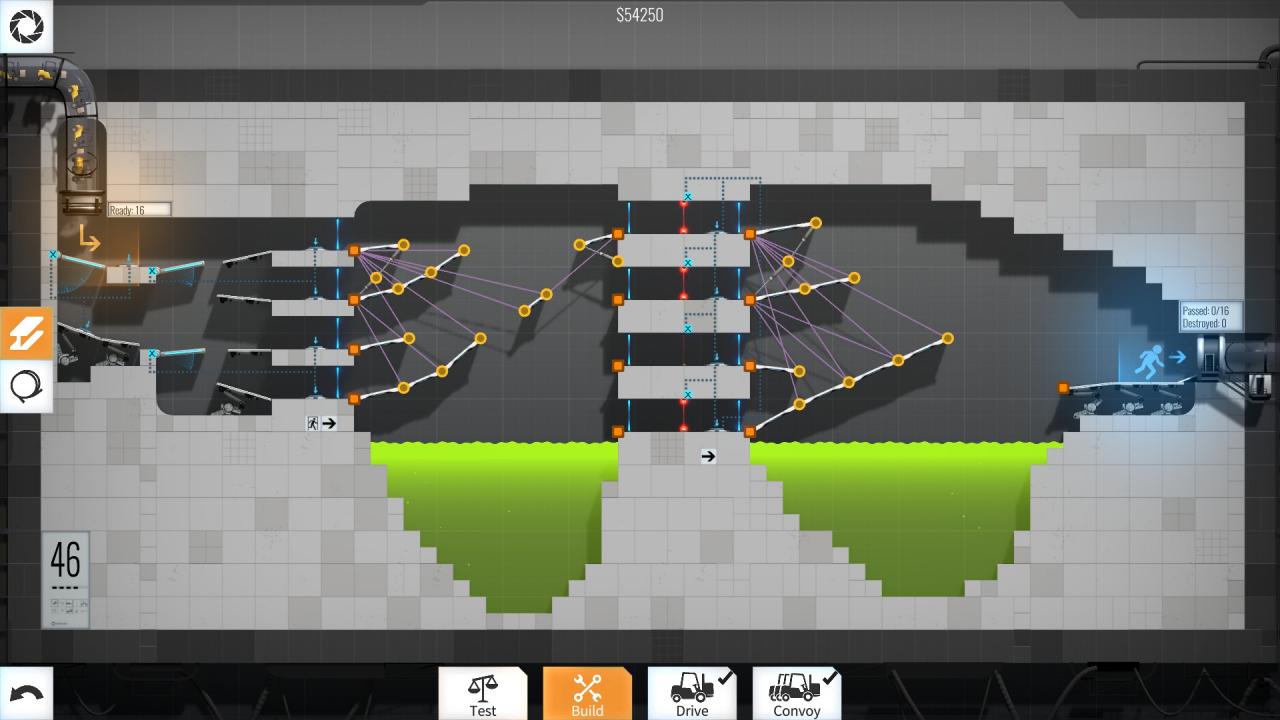
Level 46 – $54250
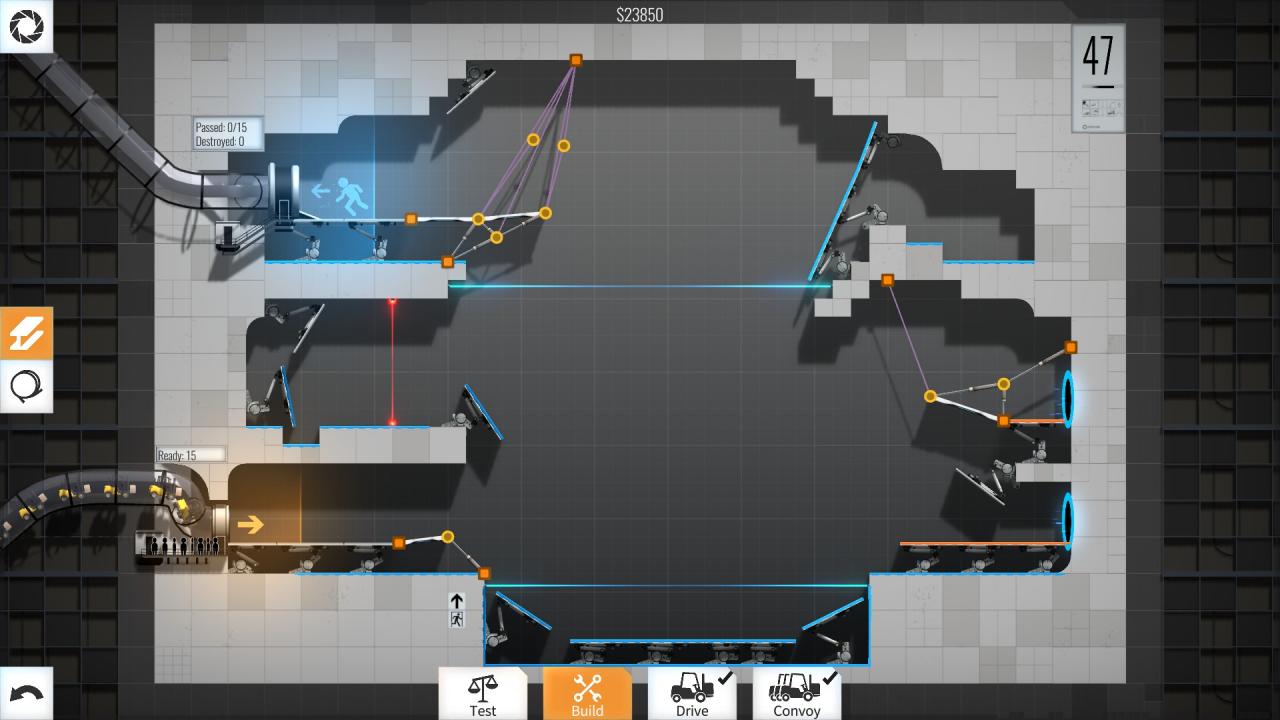
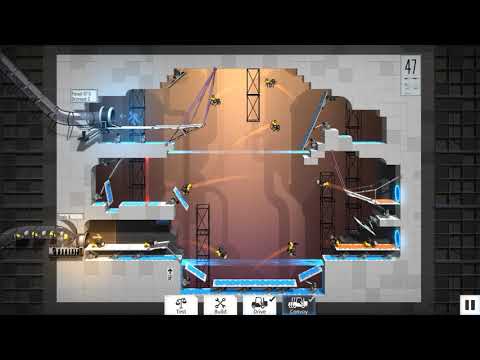
Level 47 – $23850
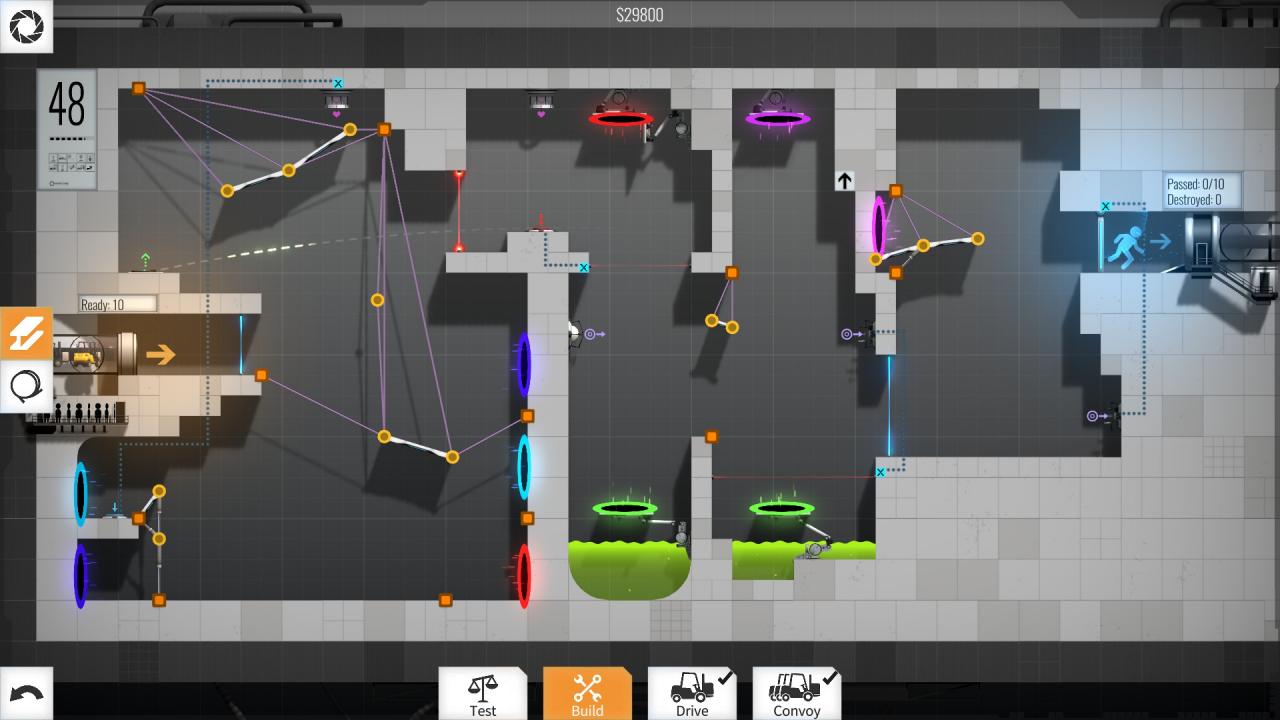
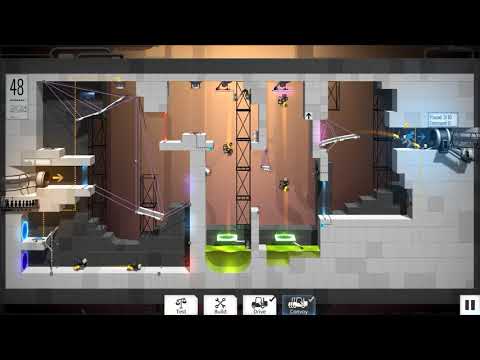
Level 48 – $29800
On this one I completely bypassed the deep blue portal by putting a speedbump after the button, it looks clumsy, but it allows to buy time for the one cube to hit the other cube. Also, I also used gravity and motion to save on the road that redirects the pellet… it fill fall into the right position just in time… pretty neat =)
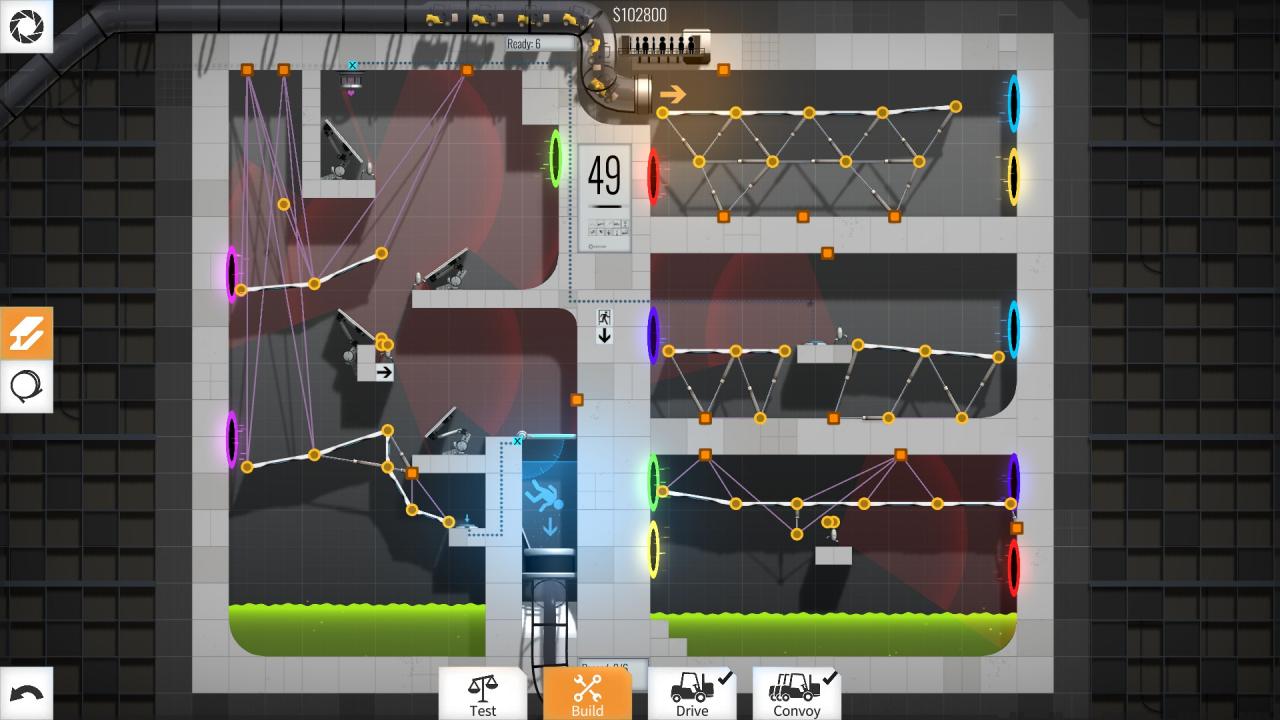
Level 49 – $102800
On this one I’m using a loose piece of road to destroy the robot and by pass yellow and red portals. I also used another loose mini ramp because sometimes the cube gets stuck there… it’s not really about destroying the robot, but it was in the way, so yeah… it ded.
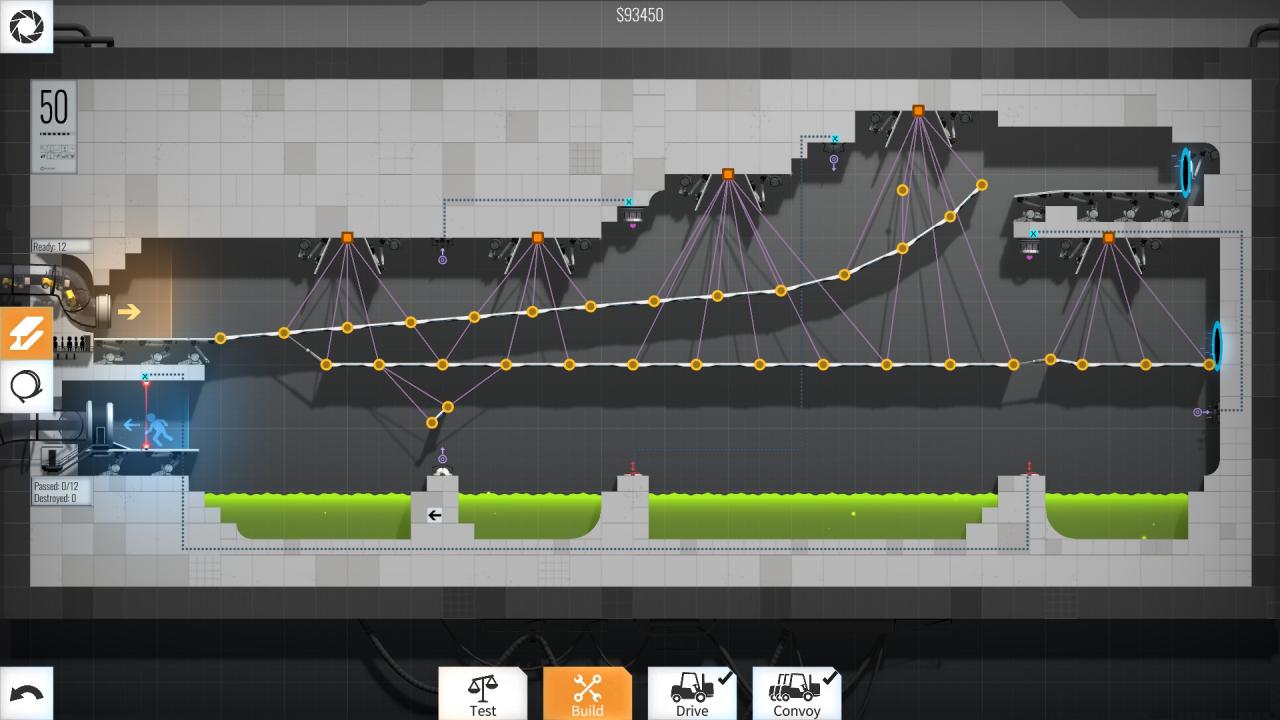
Level 50 – $93450
Well this is pretty straight forward, just redirect the 1st pellet into the 2nd receptor and make things easier for yourself.
Levels 51 – 60
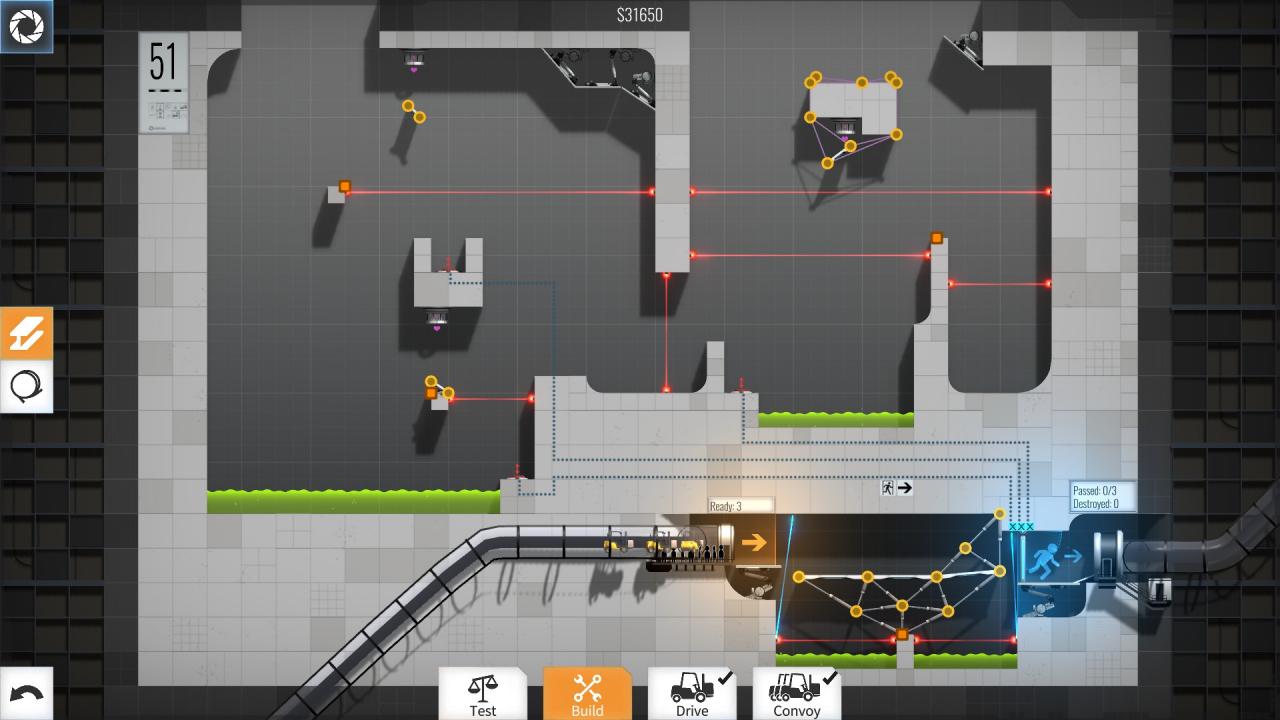
Level 51 – $31650
Okay so here I used gravity to push the upper left-side cube, unfortunately it gets destroyed but eh… and for the right-side cube, well I did something else, I’ll let you figure out how I did it (hint, use ropes) 😉

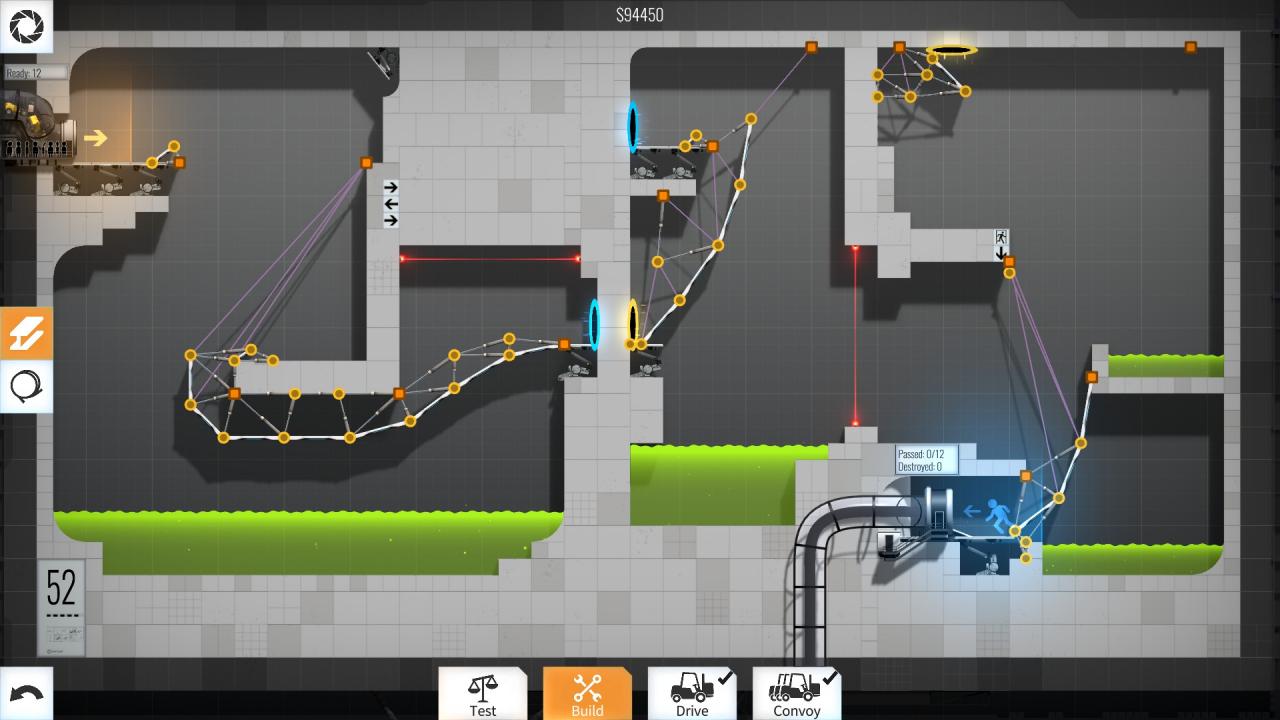
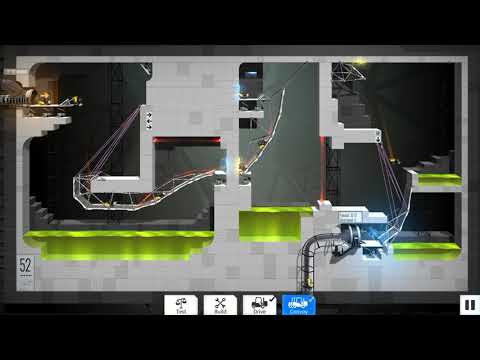
Level 52 – $94450
Two speed bumps to slow the convoy down and save on reinforcements and extra roads. Oh also, there’s something weird with the floor near the exit, so I had to do some extra reinforcements there, under the very last road piece.
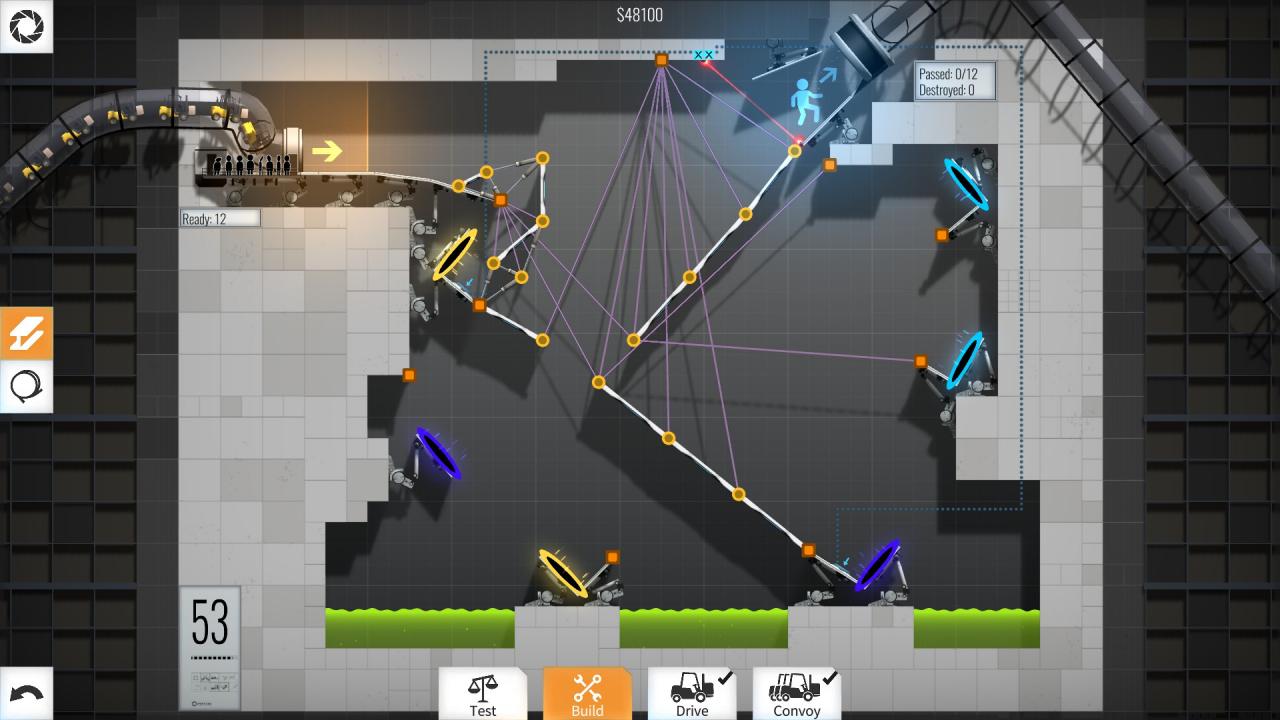
Level 53 – $48100
One speed bump to neatly slow the cars down and drop them down on top of the button, thus bypassing the yellow and light blue portals.

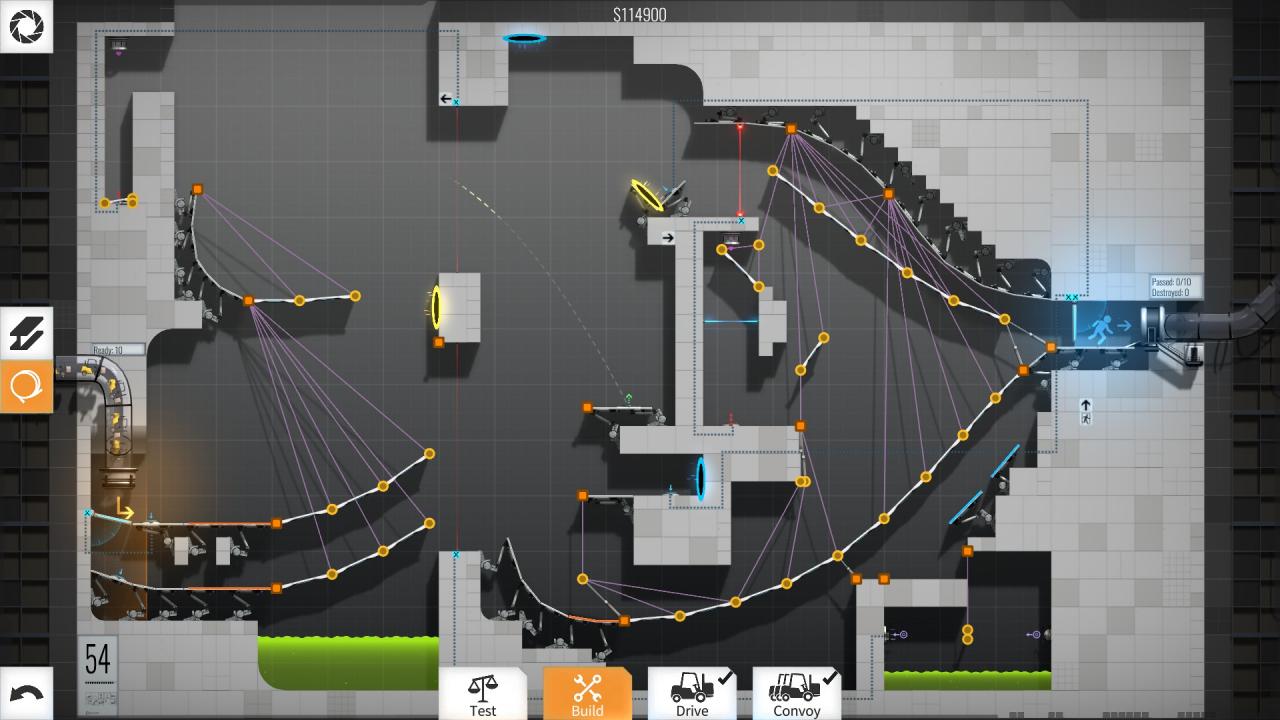
Level 54 – $121550
Right, so a small ramp to hold the upper cube from touching the button, and a small road piece hanging from a rope to redirect the pellet. So, techinically, in this map you can by pass the lower lane and the blue portal by sending the upper cuber into the blue portal button, but to be honest, that takes waaaaay more money, so just do it straight forward.

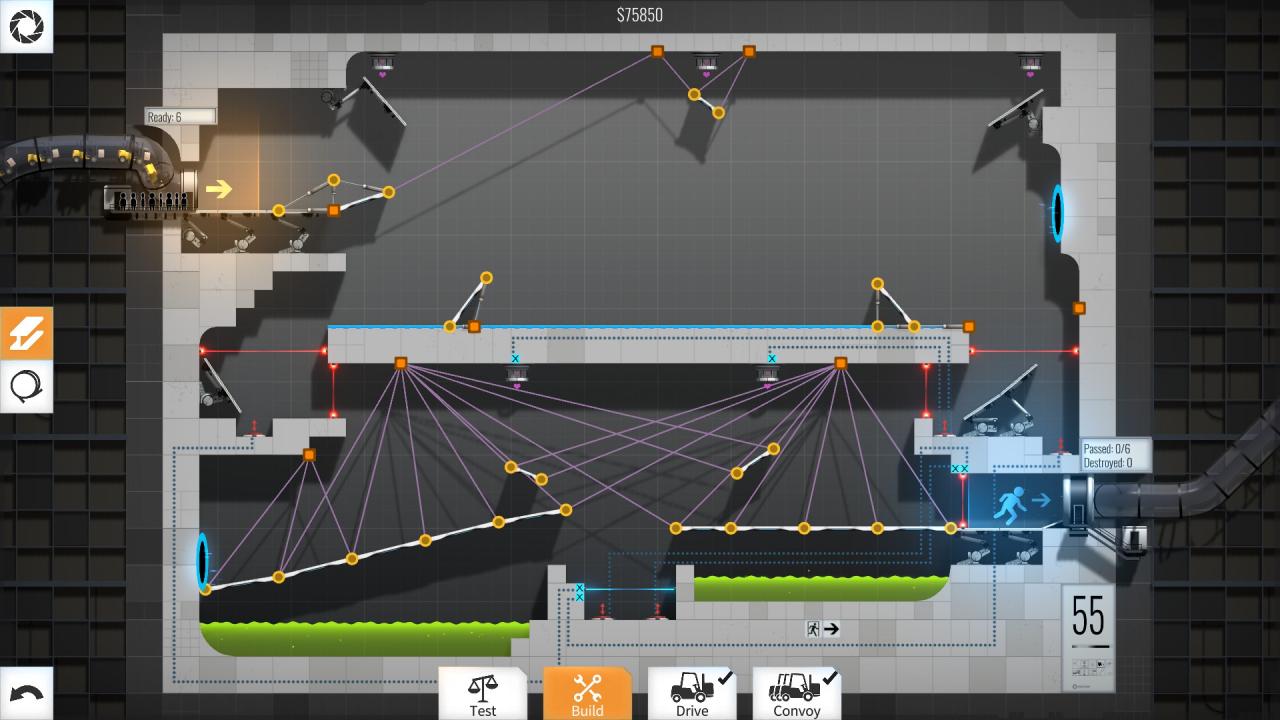
Level 55 – $75850
The whole trick on this one is controlling the bounces so the cars reach the portal, other than that it’s easy enough.

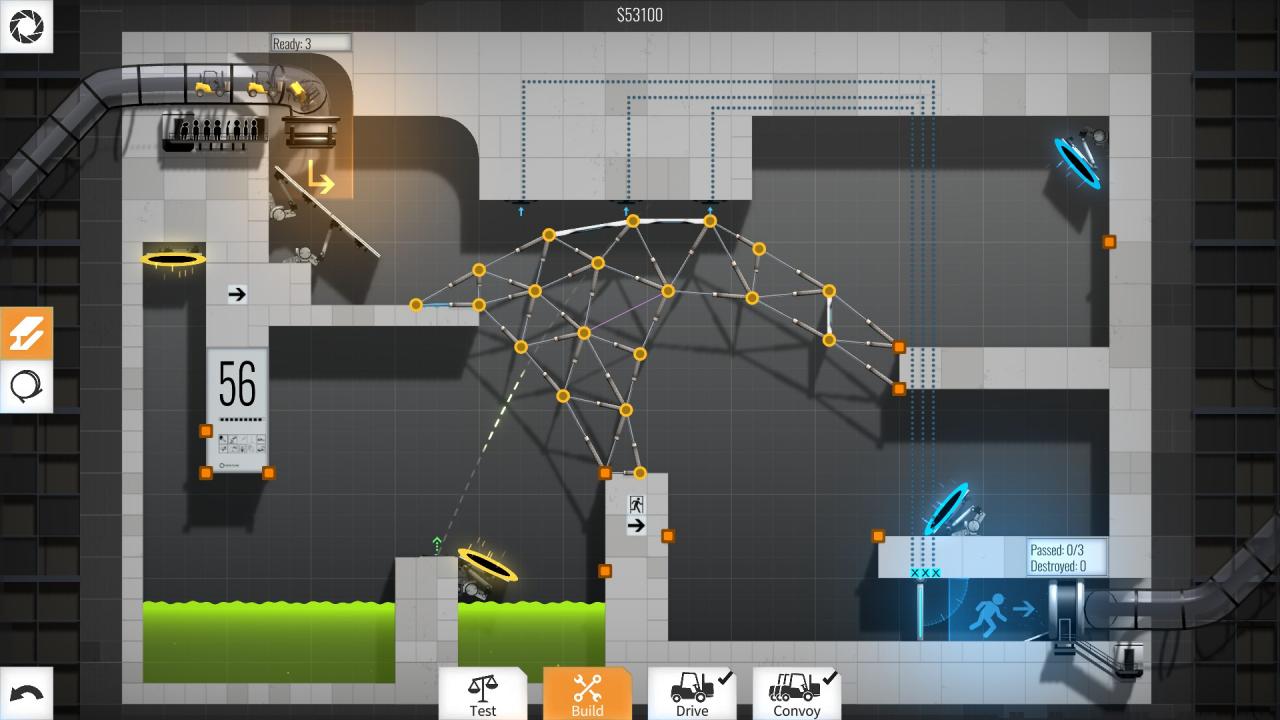
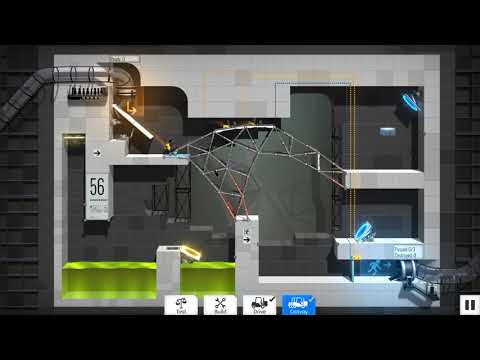
Level 56 – $53100
Ahhh this level… Right so as you can see I’m bypassing the portals by just having the cars touch the buttons and dropping down to the exit… I’d like to think I’m clever for figuring that one out, but when I look at the yellow portals, it kinda looks like the devs wanted everyone to figure it out… =P
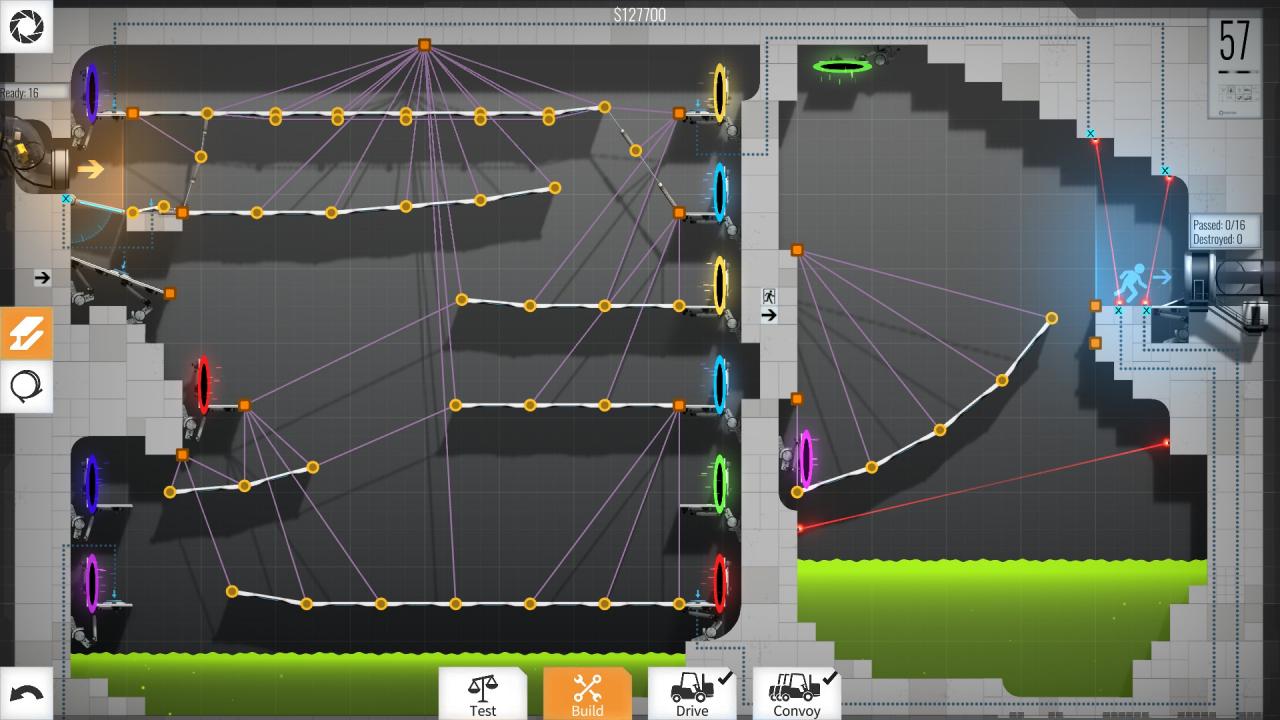
Level 57 – $127700
On this one I’m bypassing the lower lane entirely with a small ramp and just using one exit portal. Now, you could choose to use the green exit and do a couple of “smart” pathing to reduce the whole thing a bit, however the green portal would necessitate a lot of support beams, whereas the pink exit allows for rope support, hence why I chose that one… but it might be worth trying maybe…
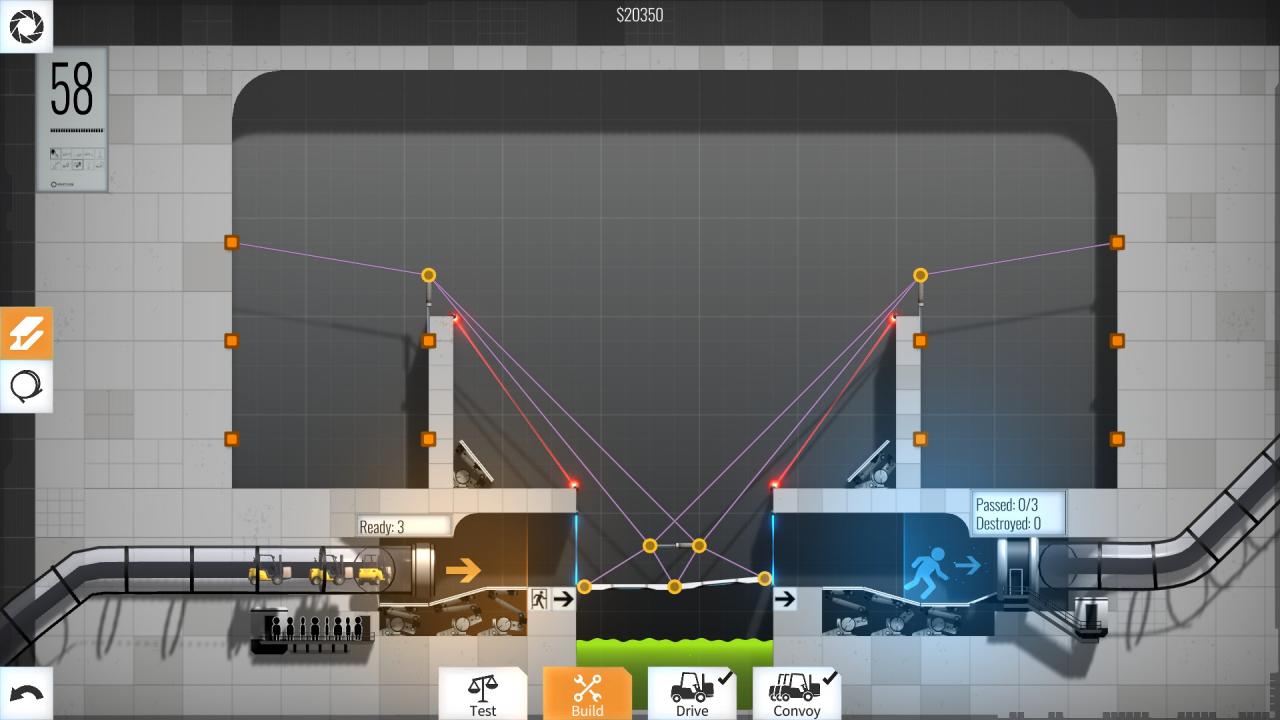
Level 58 – $20350
This was waaay too easy for a supposedly “impossible” level. Hard to believe it’s one of the lasts levels, but oh well.
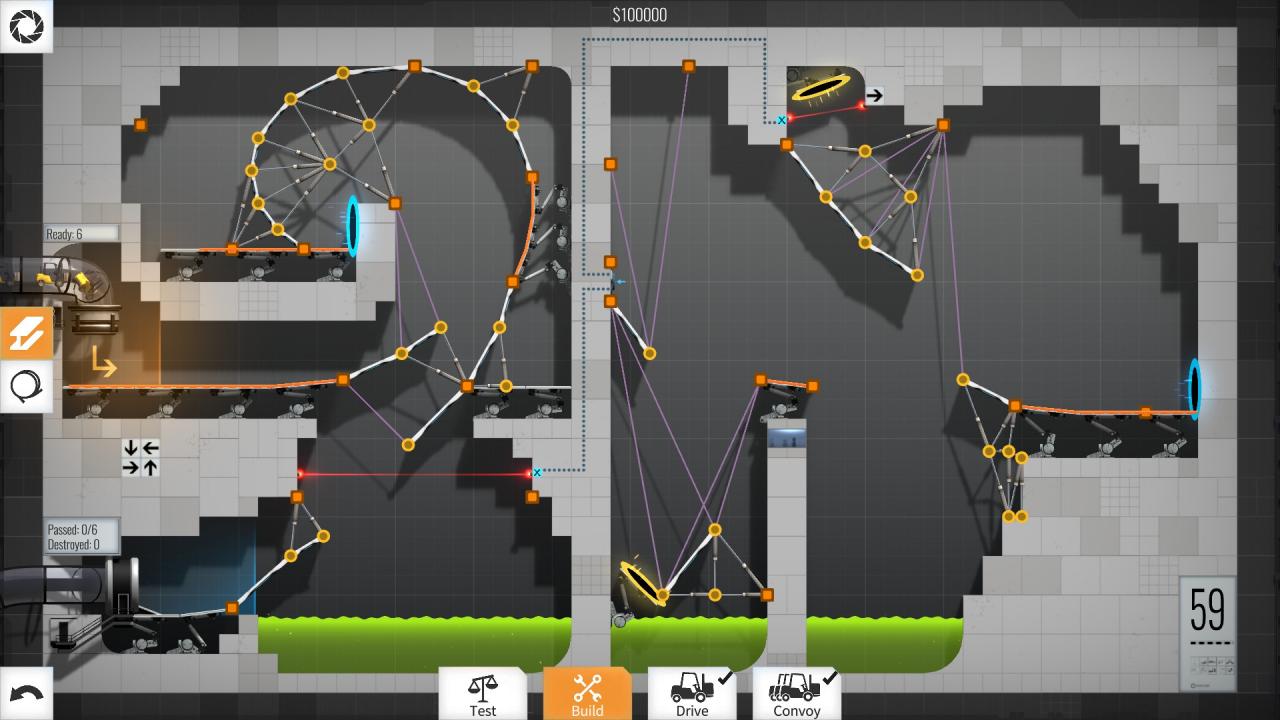
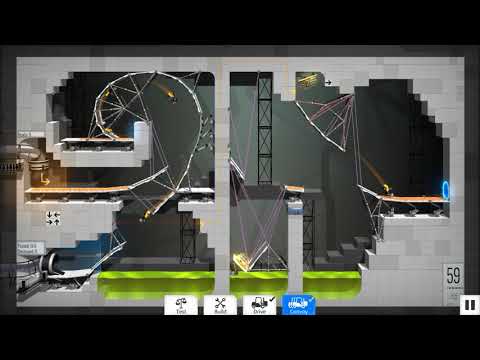
Level 59 – $100000
Ugh this took very long to optimize, so I just stopped when I reached a 100k, seemed like a nice round number… =P
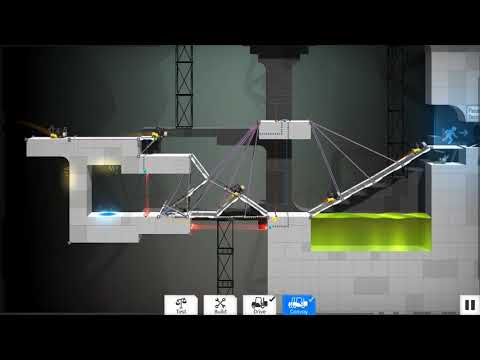
Level 60 – $69750
Sooo the whole trick with this one is in the structure I did to push the button and bypass all the portals… it’s the only time I zoomed on the video so you can see how it works, cause it’s pretty neat… the first car will crash into it, and it won’t break, but it will neatly fold to allow the next cars to jump over… pretty cool =P