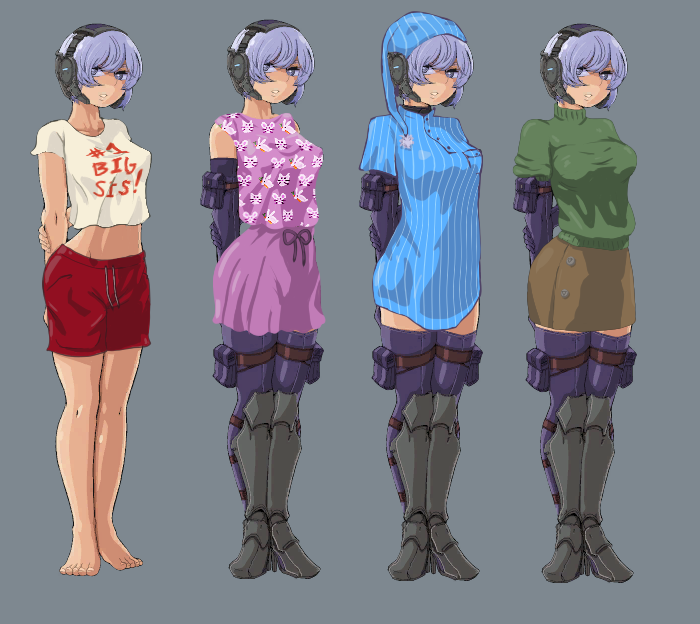
Learn how to mod or download my own mod called Comfy Martyr.
Introduction and disclaimer
Before attempting to follow this guide you will need to be familiar with your computer’s file structure. Links are broken so that this guide is not removed. Be cautious of what you download and where from. As of this moment the links in my guide are the same I use for this process and have caused me no issue.
Tools you will need:
Unreal engine 4.24 (epic games store)
Fmodel – https://fmodel.app
Repak – https://github.com/trumank/repak/releases/tag/v0.2.2
(For repak I recommend the .msi installer for the easiest install)
LAST: PLEASE GOOGLE ANYTHING THAT YOU ARE NOT SURE OF HOW TO DO AND MODIFY YOUR GAME AND COMPUTER FILES AT YOUR OWN DIGRESSION.
Comfy Martyr
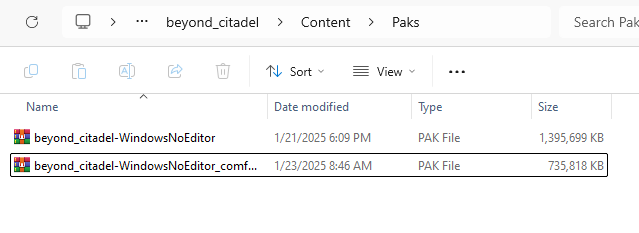
Place this pak alongside the base game pak file in this folder:
…Steam\steamapps\common\Beyond Citadel\beyond_citadel\Content\Paks
Modding – Step 1 Extraction
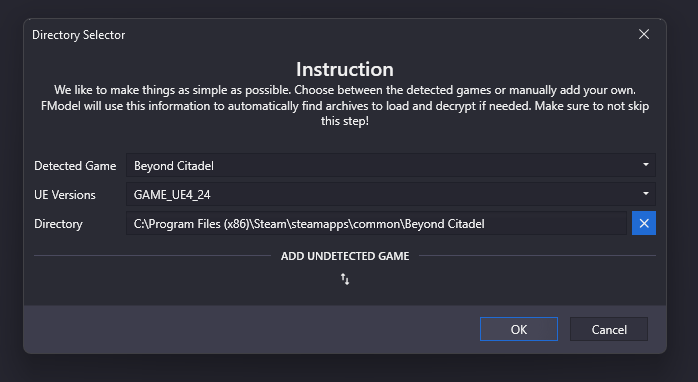
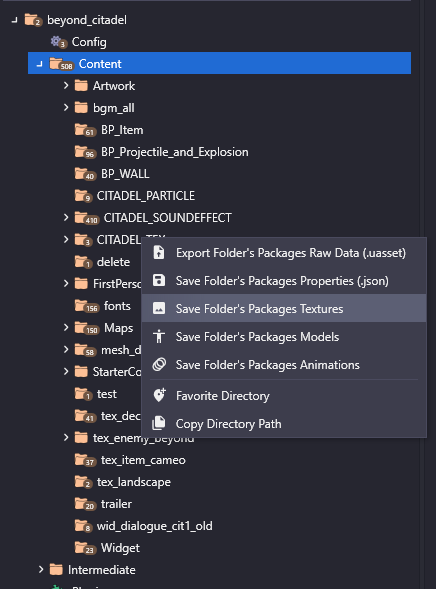
At this point feel free to explore the files, CITADEL_TEXs is where most of what we want is sitting and what I will mod in this guide. In the settings tab we can assign an export and output location, remember these locations!
Since we are going to edit the CITADEL_TEXs folder we will right click it and select the “Save Folder’s Packages Textures” option.
Find your extracted files and pay close attention to the folders that were created, we want these to all remain intact! You can move the content starting from the “Content” folder level but going below this might confuse you later.
Now simply modify the files that you would like to alter. Once you have made your alterations, it’s time for step 2.
Modding – Step 2 Unreal
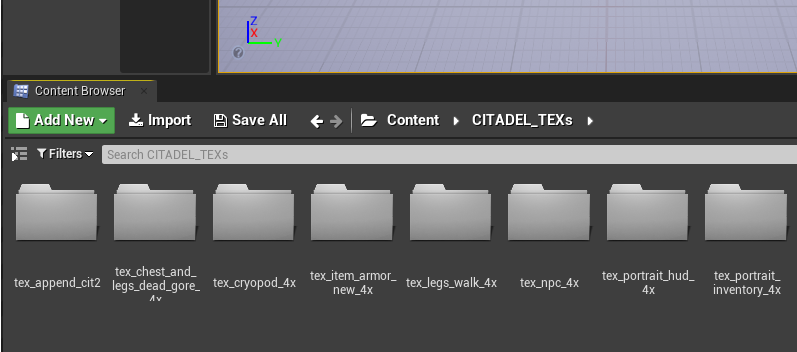
In the bottom section of your unreal project you will see a section where files can be placed. This is the equivalent of the “Content” folder in your exported files. Therefore we want to recreate or import our files in their respective folders starting from inside our exported “Content” folder. I drag and drop the CITADEL_TEXs folder into the bottom section of unreal. If it has a pop up mentioning it converted a file then click ‘revert’ as to prevent unreal from messing up it’s format. This is what my project looks like now:
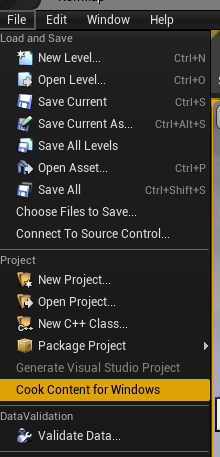
Now, go to the file tab in the top left corner and select “Cook Content for Windows”.
This will take a bit but once it is done navigate to your documents folder where there should be an Unreal Projects folder. Find your beyond_citadel project and then follow the path below to where your altered assets are not cooked into .uassets
…Documents\Unreal Projects\beyond_citadel\Saved\Cooked\WindowsNoEditor\beyond_citadel\Content\CITADEL_TEXs
Now… assuming you are familiar with the folder structure we’ve been trying to be mindful of, recreate the folder structure but with these cooked assets in place of the ones you initially exported. A step above your Content folder will need to be the “beyond_citadel” folder and above that will be the name of your mod and soon pak file, I named mine “beyond_citadel-WindowsNoEditor_comfymartyrmod”. Since my work is within CITADEL_TEXs, my final file structure looks like this:
beyond_citadel-WindowsNoEditor_comfymartyrmod\beyond_citadel\Content\CITADEL_TEXs
Now for step 3
Modding – Step 3 Repak
Open your command terminal. Type “repak” and it should give you a list of commands available assuming repak installed correctly. Navigate to where our final mod folder is in the terminal and tell repak to pack your file. For me I enter: repak pack beyond_citadel-WindowsNoEditor_comfymartyrmod
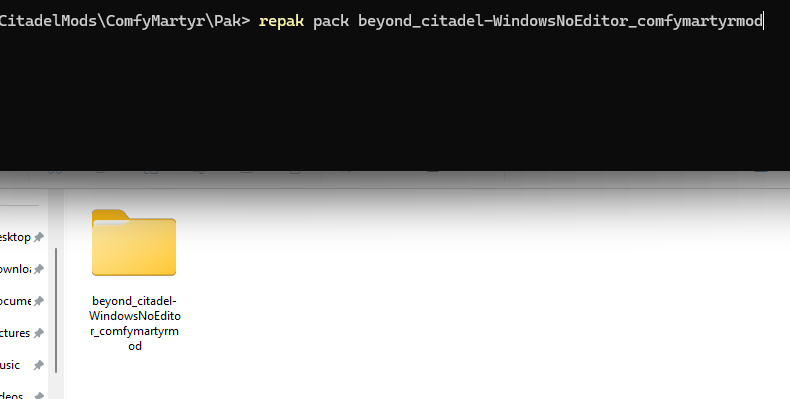
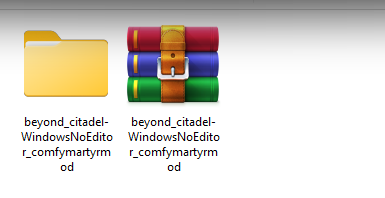
Voila, you now have a .pak mod file that you can place alongside Beyond Citadel’s pak file and your mod should load. Congratulations! I hope it all worked flawlessly for you. Good luck!
Thanks to NobleBunghole for their excellent guide; all credit belongs to their effort. If this guide helps you, please support and rate it here. Enjoy the game.
Related Posts:
- Beyond Citadel: Beyond Bottomless Mod [NSFW 18+]
- Beyond Citadel: How to Fix Mouse Input Issue
- Beyond Citadel: How to Enable the Cheat Menu
- Beyond Citadel: Settings and Gameplay Options
- Beyond Citadel: All Weapons List


