A complete guide to hidden crate locations in missions. Light spoilers
Chapter 2: Infiltrate Grid 086
The first one is just after entering the building.
after going through the hole in the floor look right behind you.
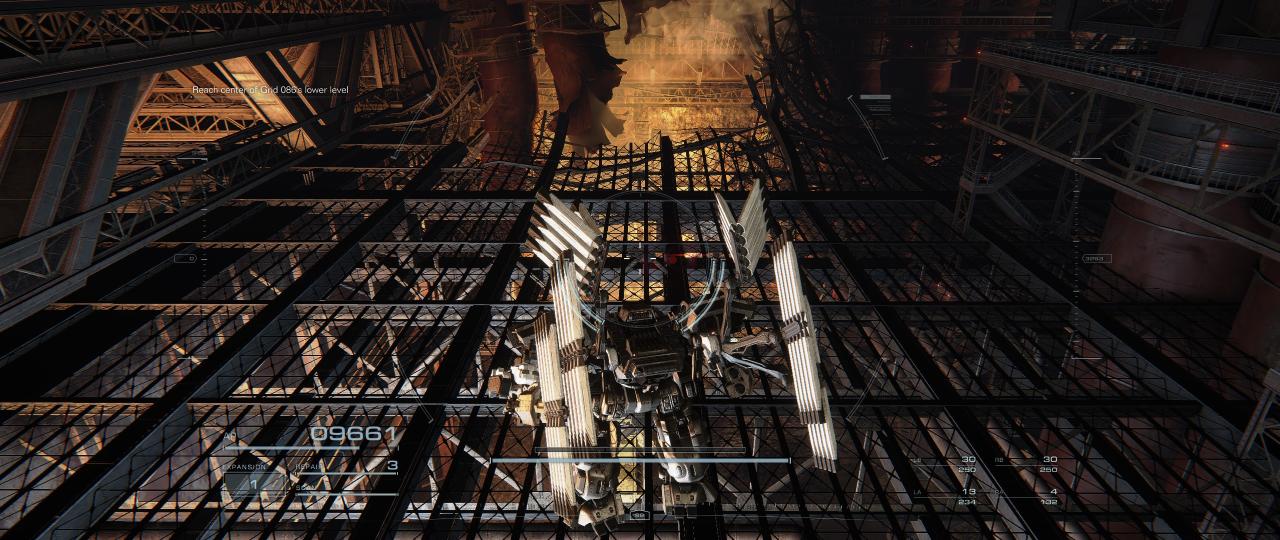
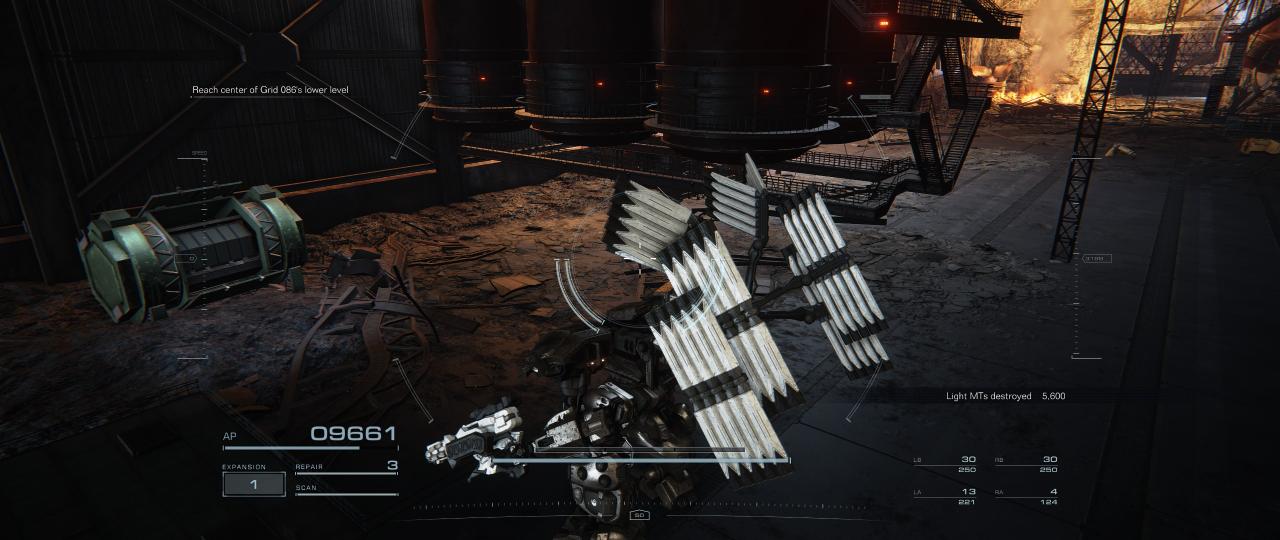
The next two are near this molten liquid
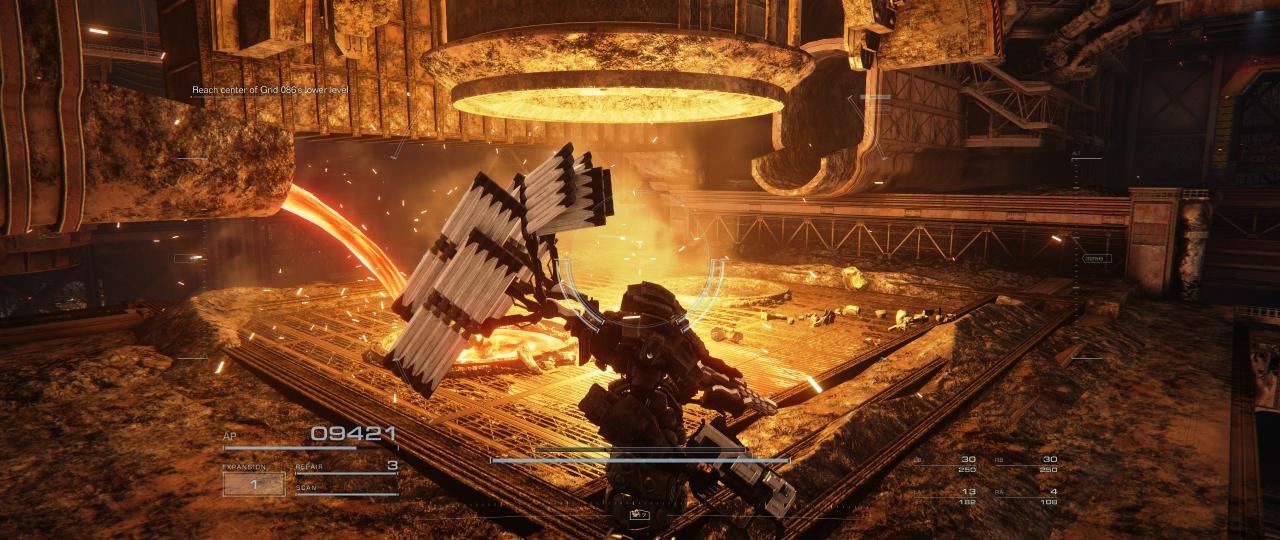
First just go through it and its right at the bottom of the room.
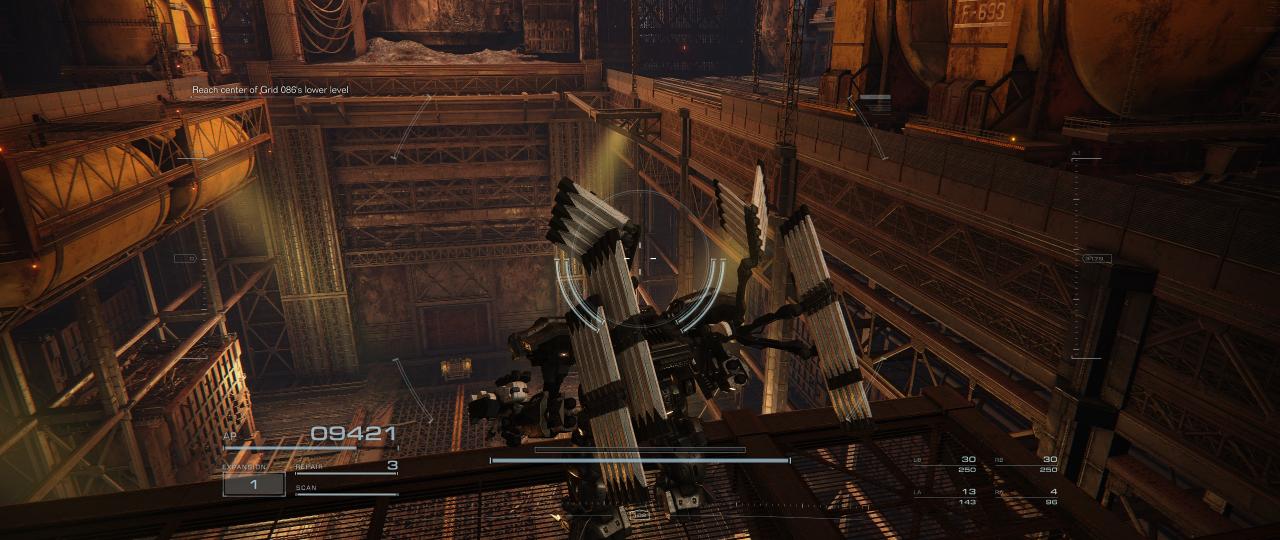
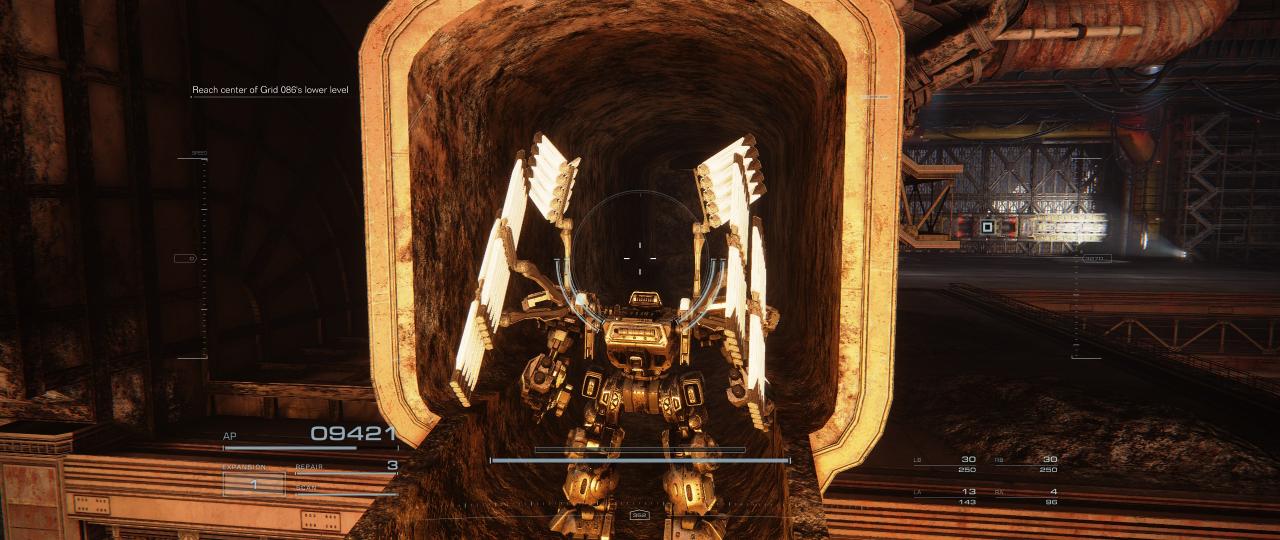
The next one is pretty hidden. You have to go into the pipe across from the one spewing the molten steel. It will then be just straight ahead guarded by an AC.
Chapter 3: Tunnel Sabotage
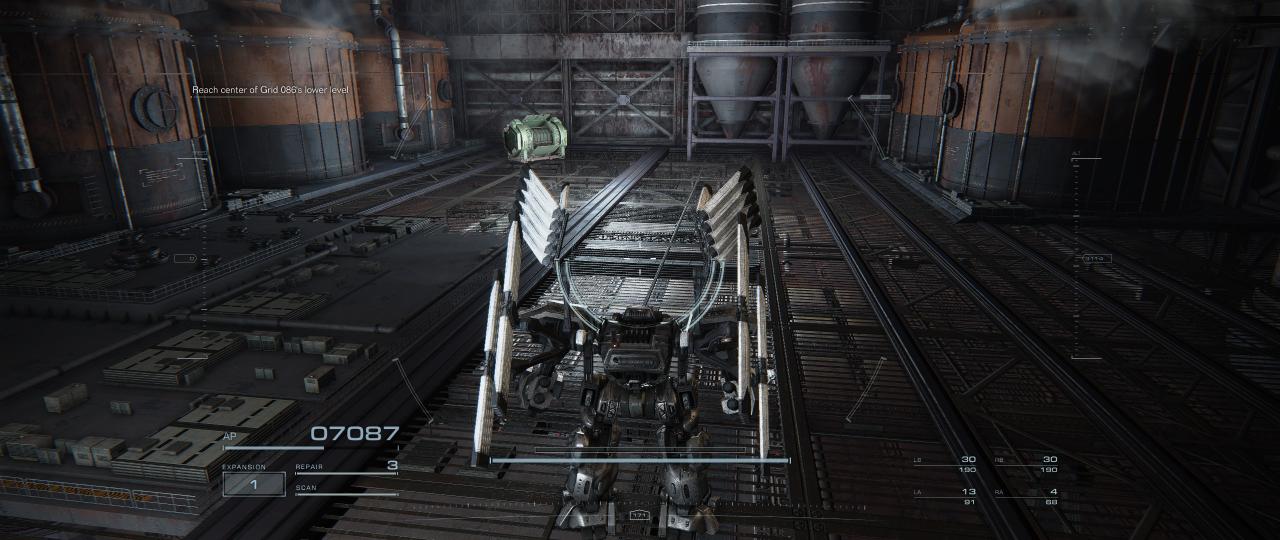
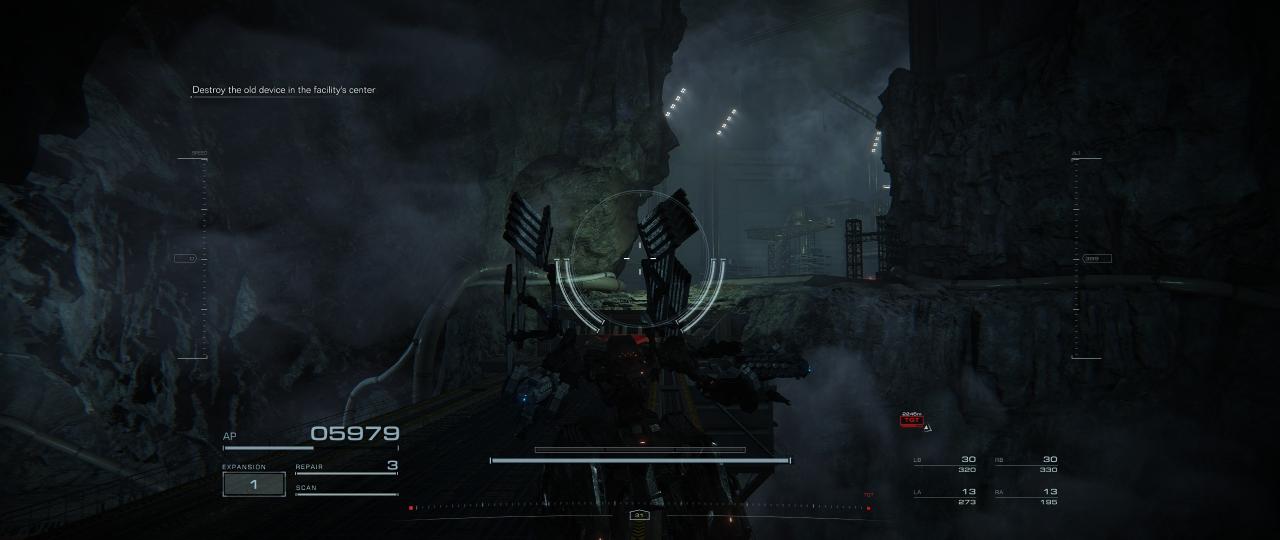
After the first section jump up the walkway shown in the image. It should be the highest one in the area.
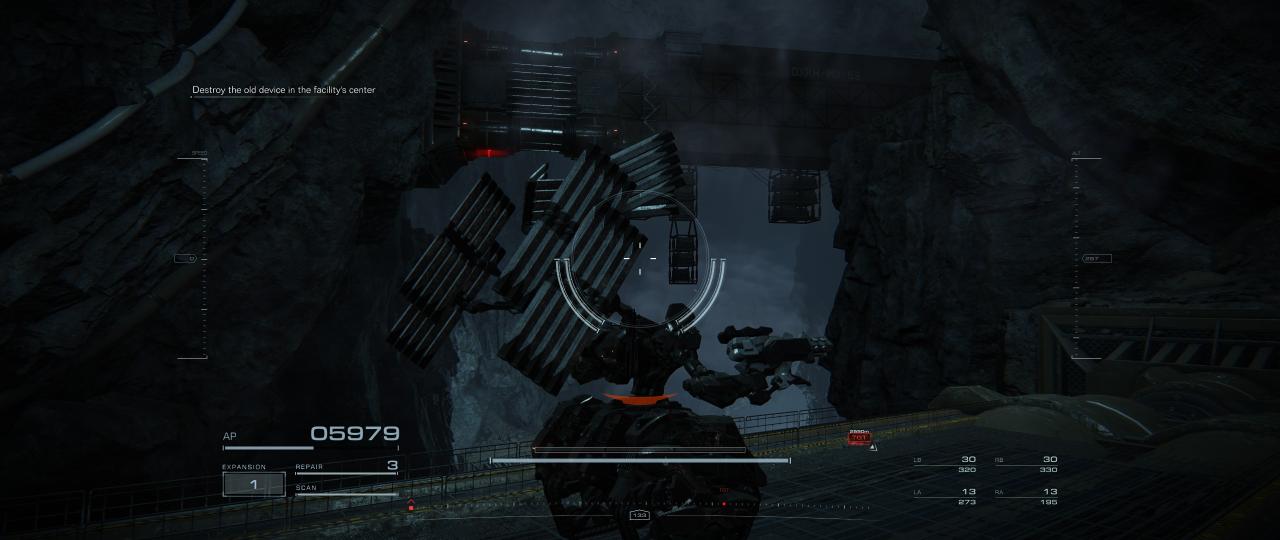
To the left will be a big room with a sniper and a group of MT’s. The crate is past the sniper on the big generator.
Chapter 3: Survey the Uninhabited Floating City
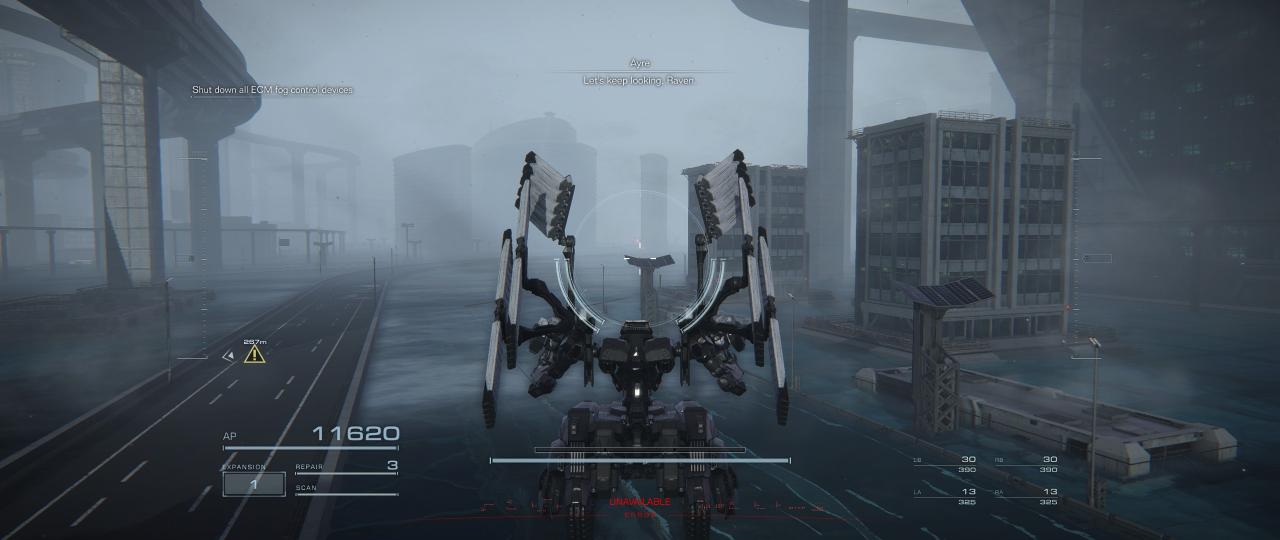
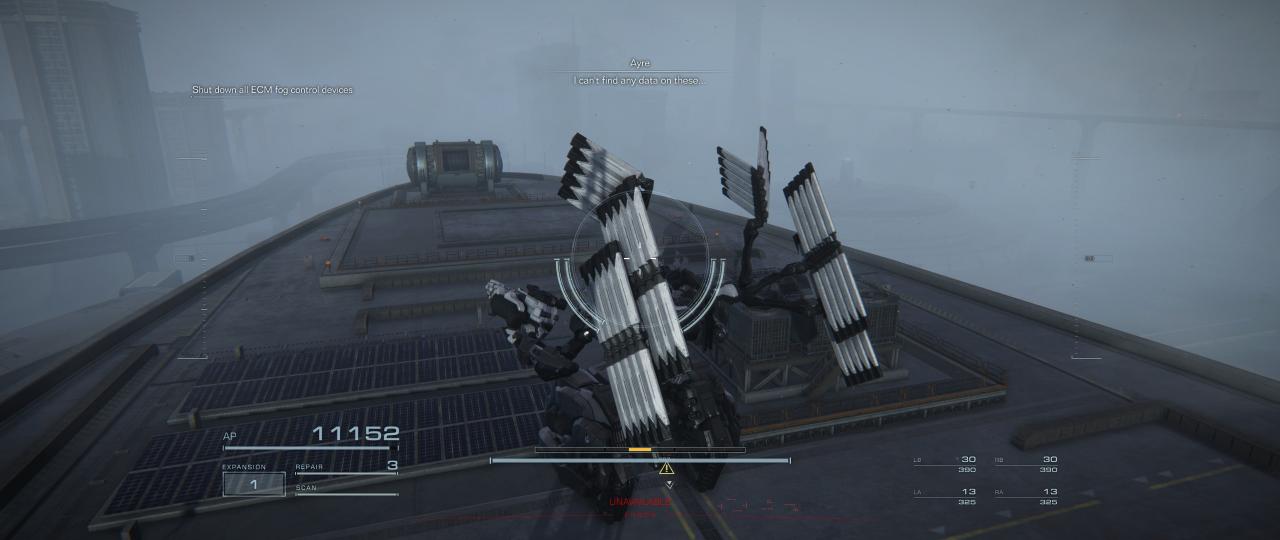
Proceed through the mission until the defenses start to activate. The crate is on the building where the first drone activates.
Chapter 3: Eliminate “Honest” Brute
The first one is where the first group of enemies with laser detectors are. go to the platform off to the left and its near the edge.
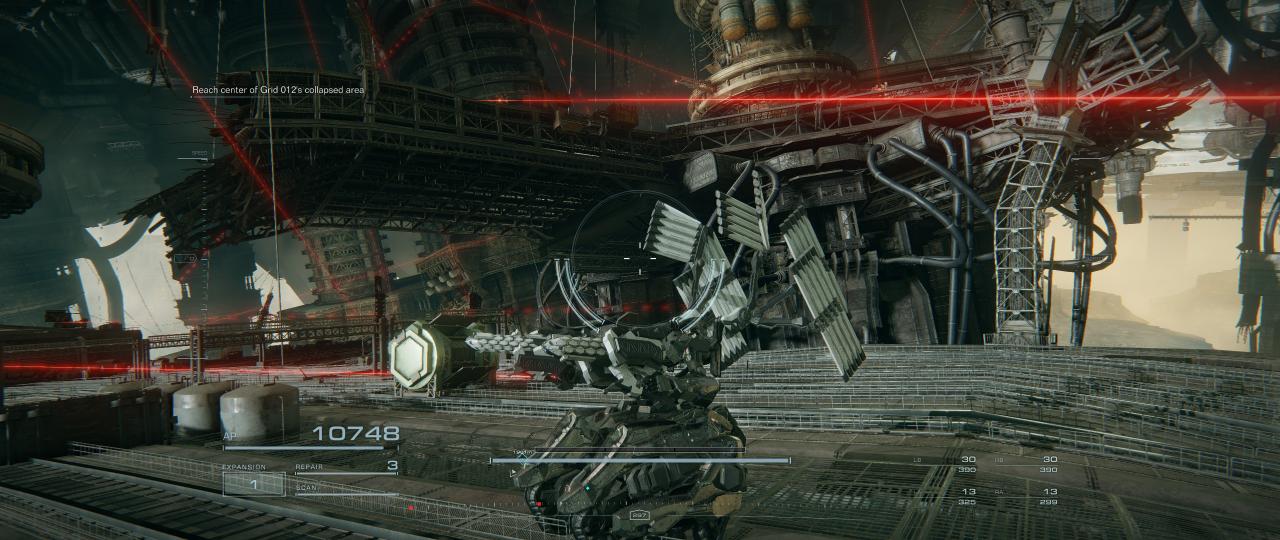
The second one is on the large platform with a tetrapod fight. Go off to the right and the crate is on the end of the big excavator.
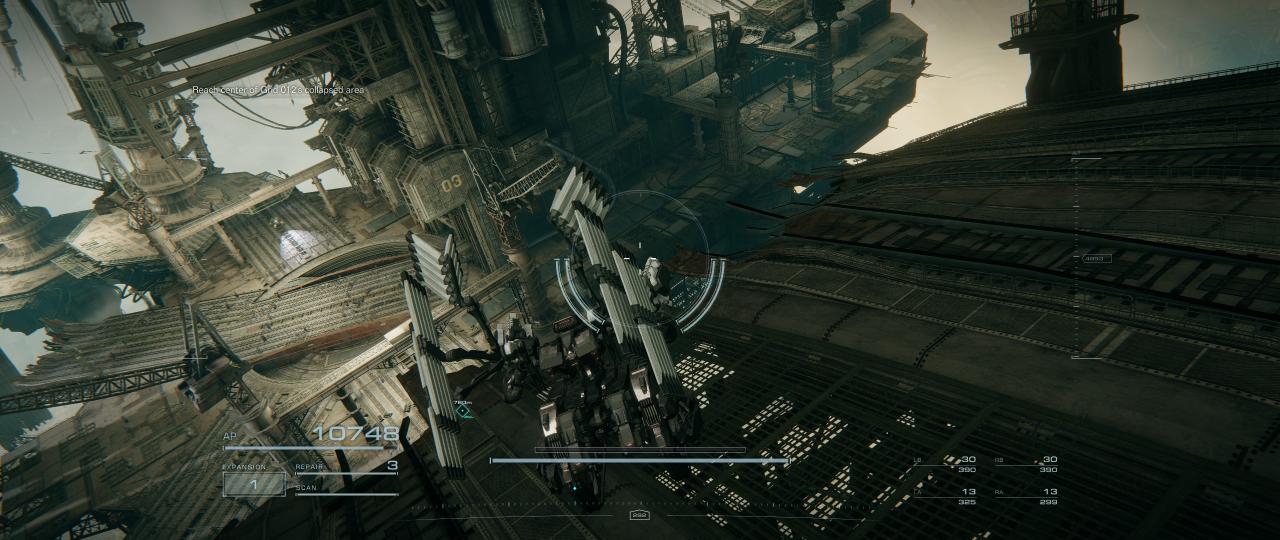
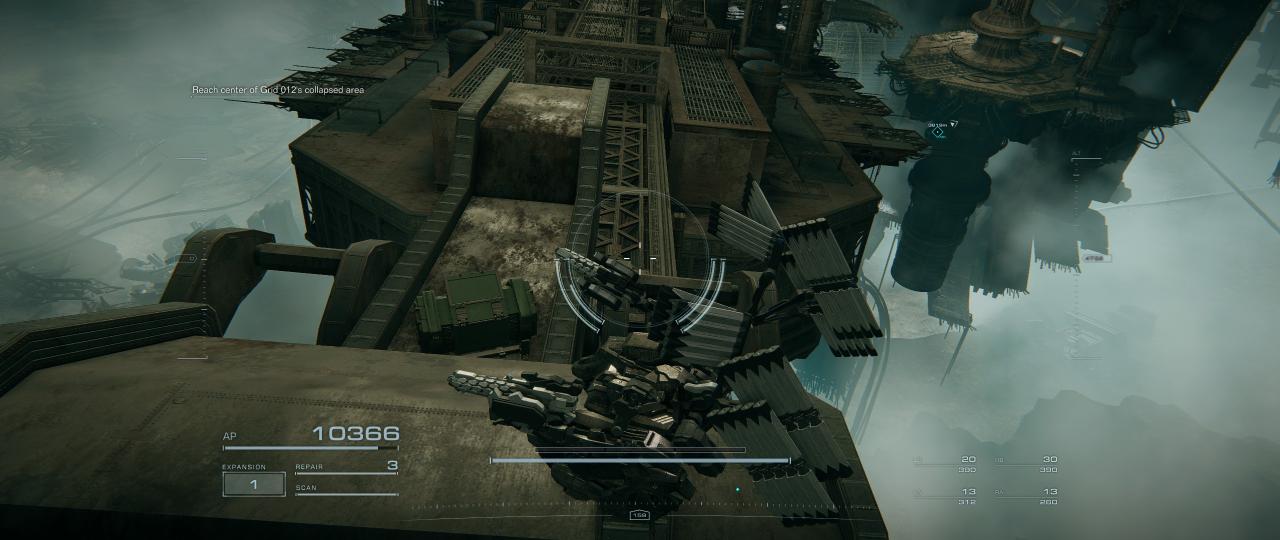
The third one is just after you enter the building. drop to the first platform and it is in plain sight.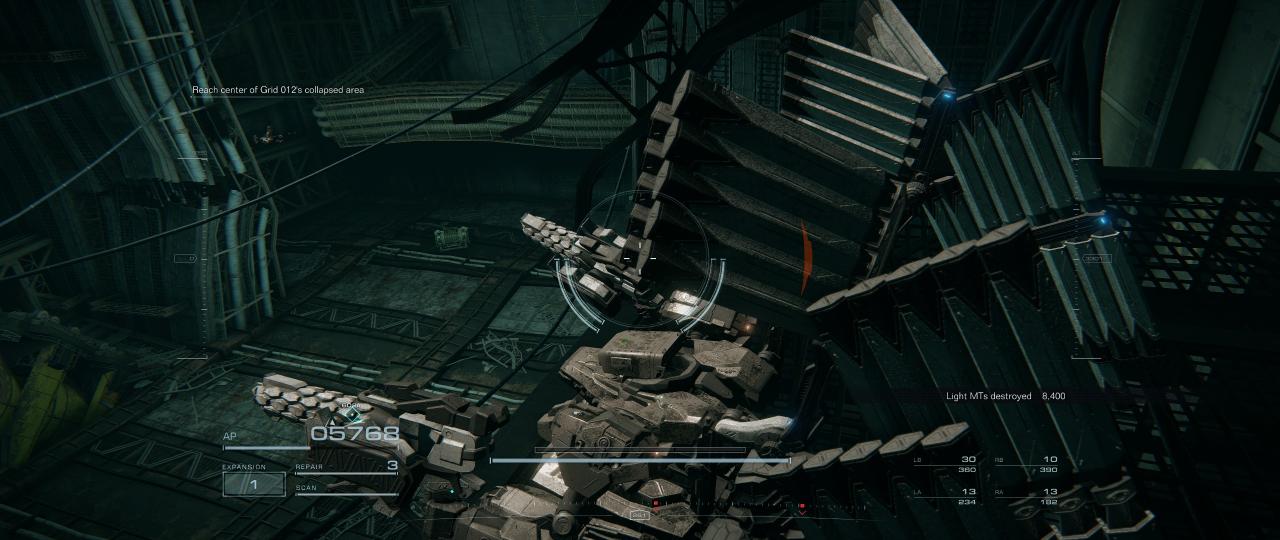
Chapter 4: Underground Exploration – Depth 1
The crate is in the back of the room where you open the partition.Its on the critical mission path.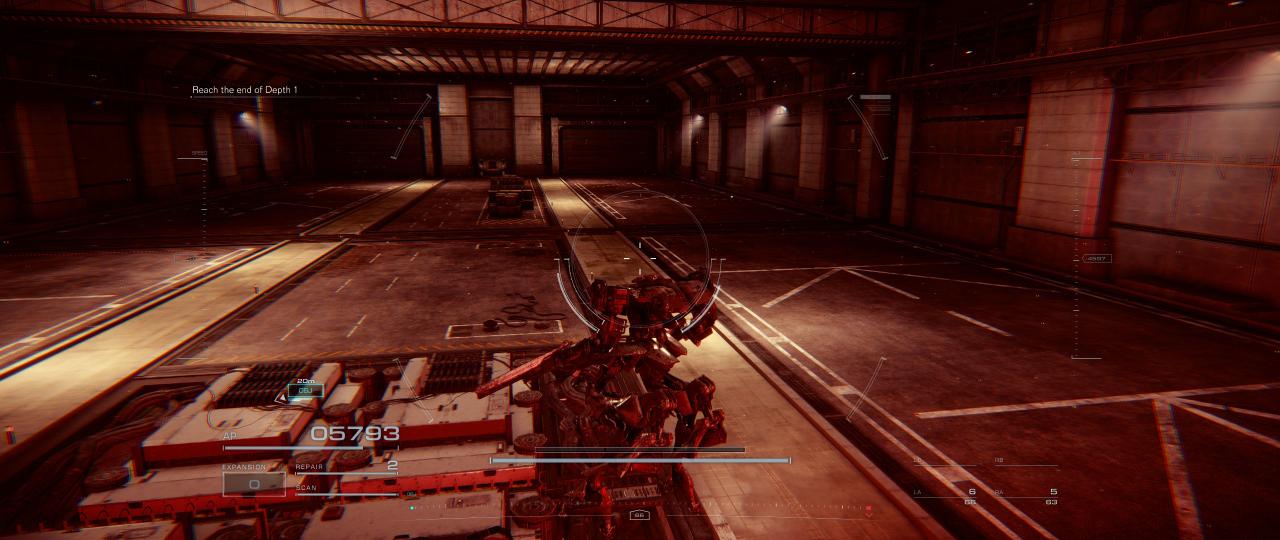
Chapter 4: Underground Exploration – Depth 2
Follow the mission path until the big retreats past a locked door. in the room to right with two enemies in it there is a crate.
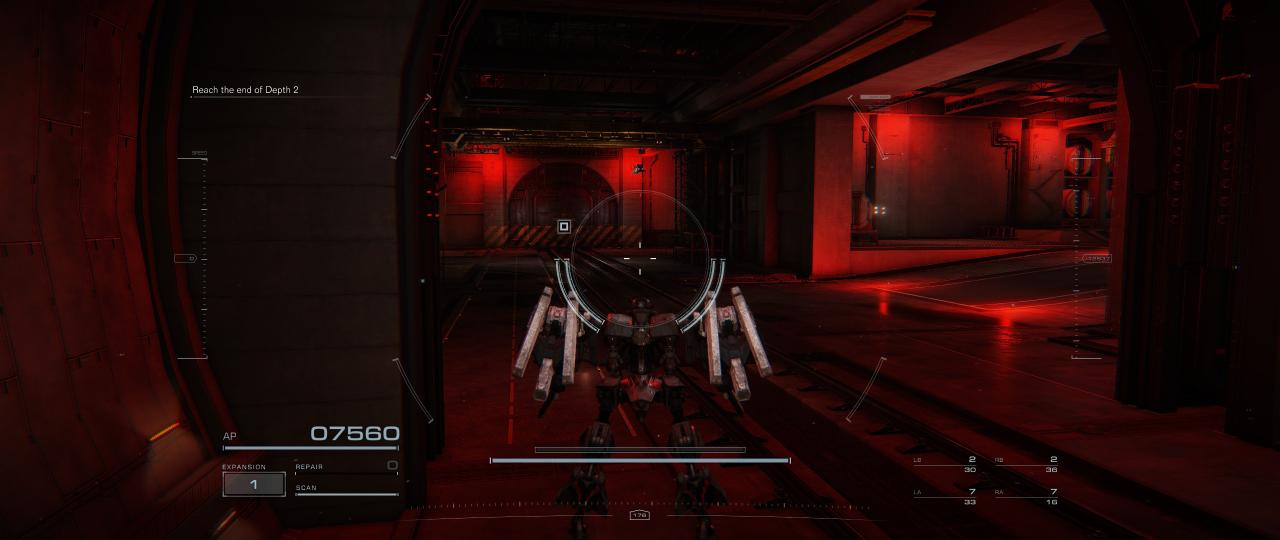
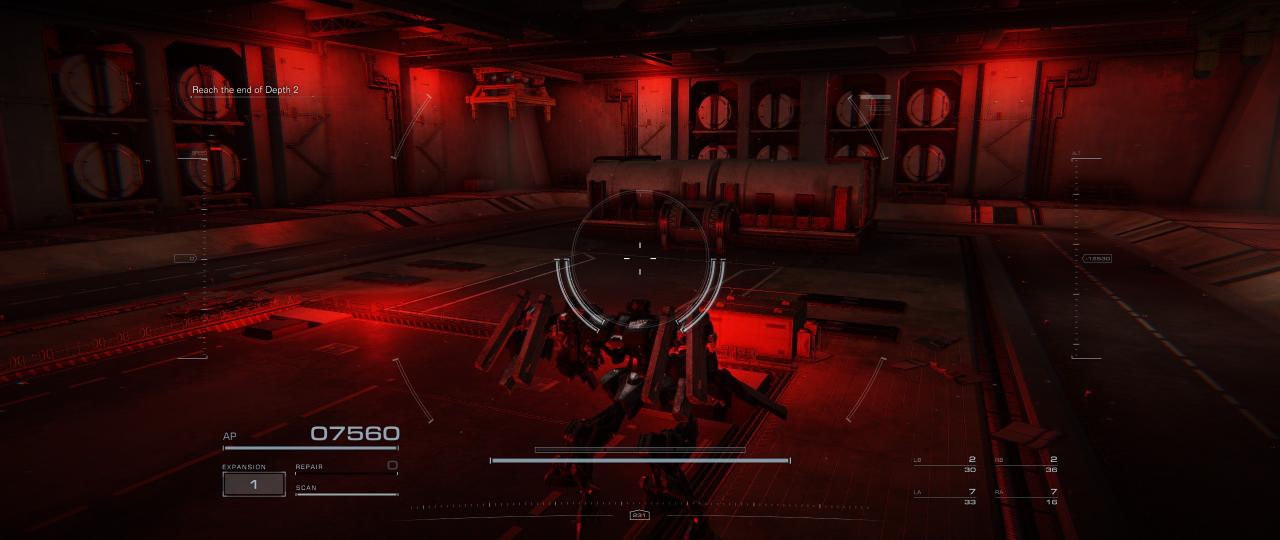
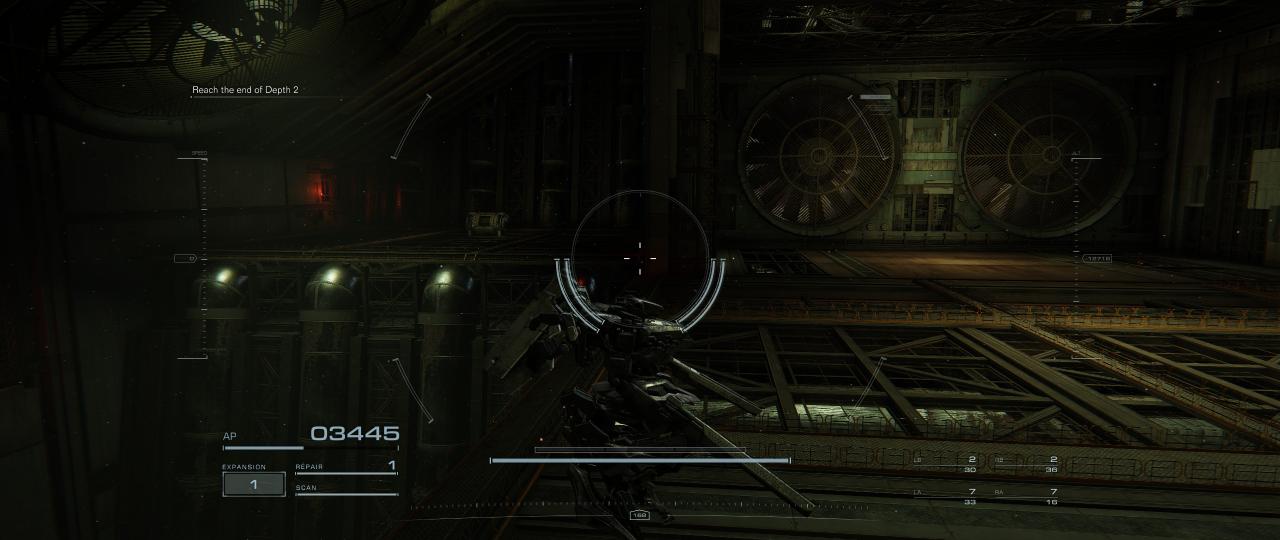
The other one found while going through the side path. on the top floor of the ventilation shaft there is platform with a crate on it.
Chapter 4: Underground Exploration – Depth 3
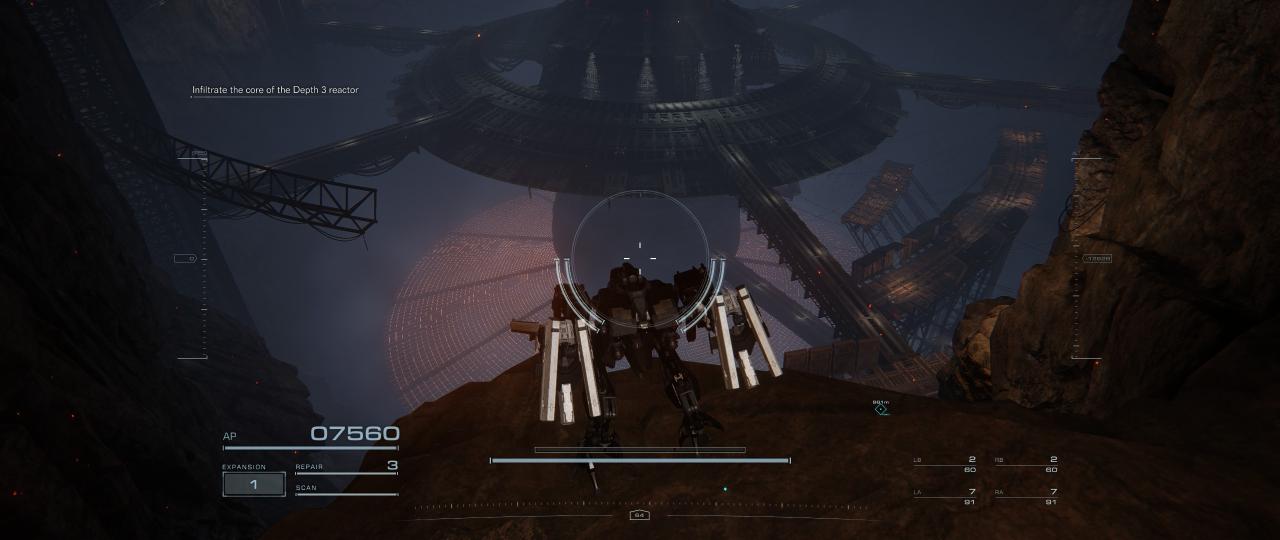 One part is on the central platform and to the left. Go to about the third walkway and the crate will be at the end of it. There is an enemy with a blue light and a battle log on the walkway.
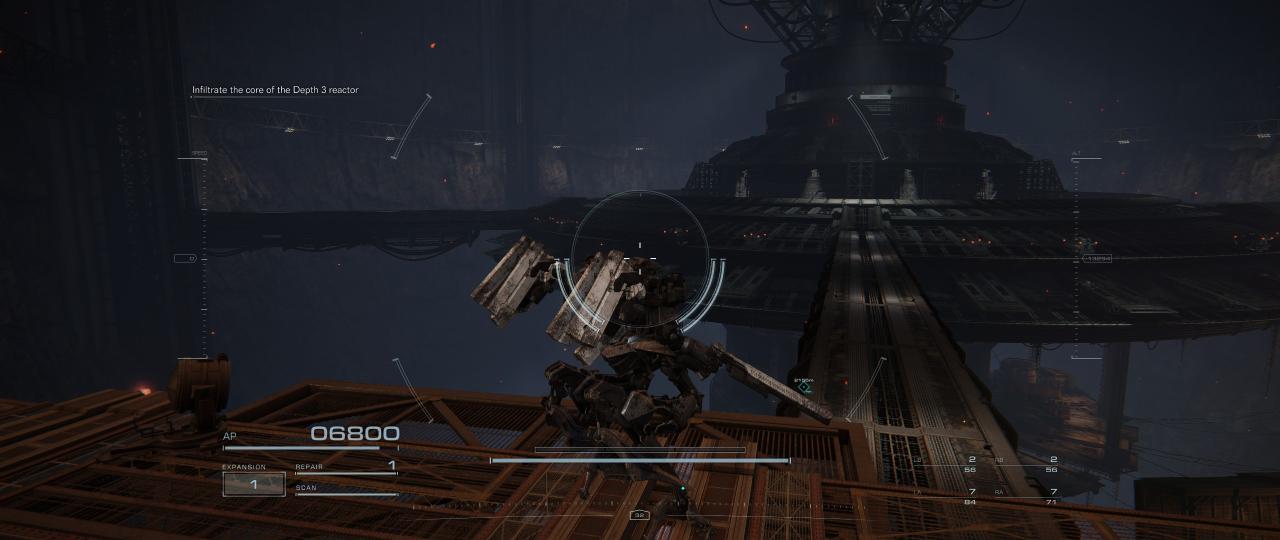
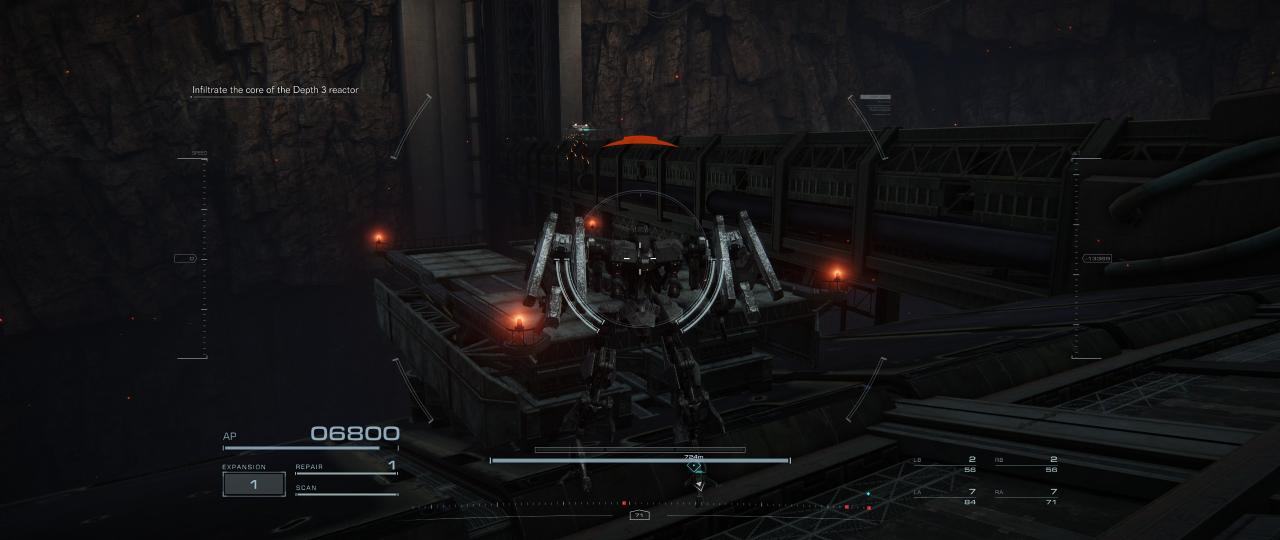
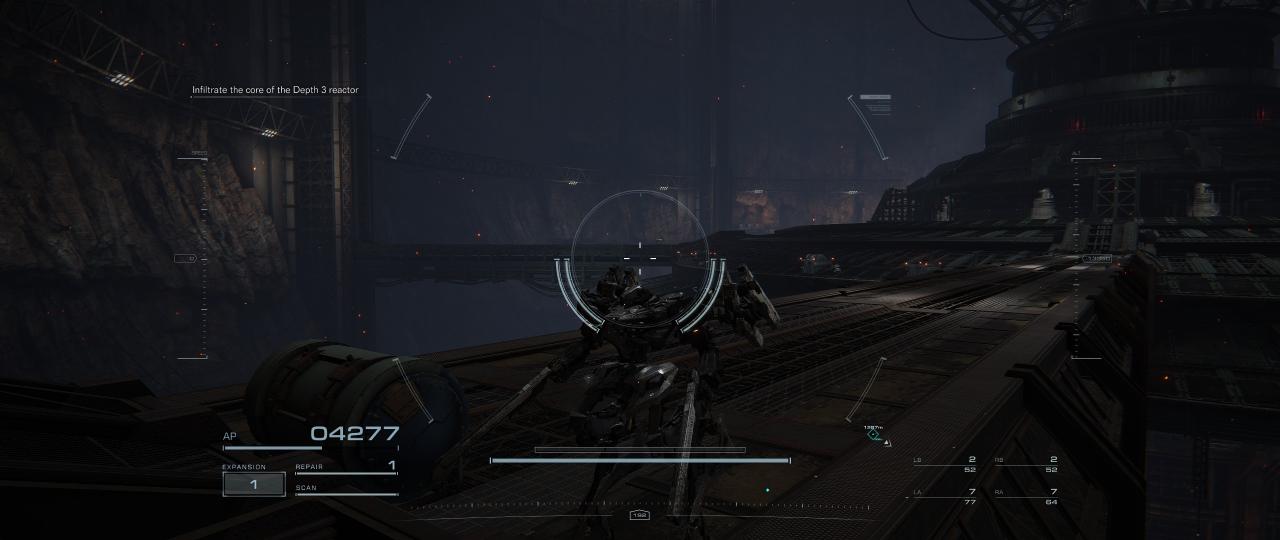
The other part is to the right along the platforms close to the wall. Go to the first one then jump to the platform to the left of it at the same elevation touching the wall. The crate is past some containers, in full view of the laser cannons.

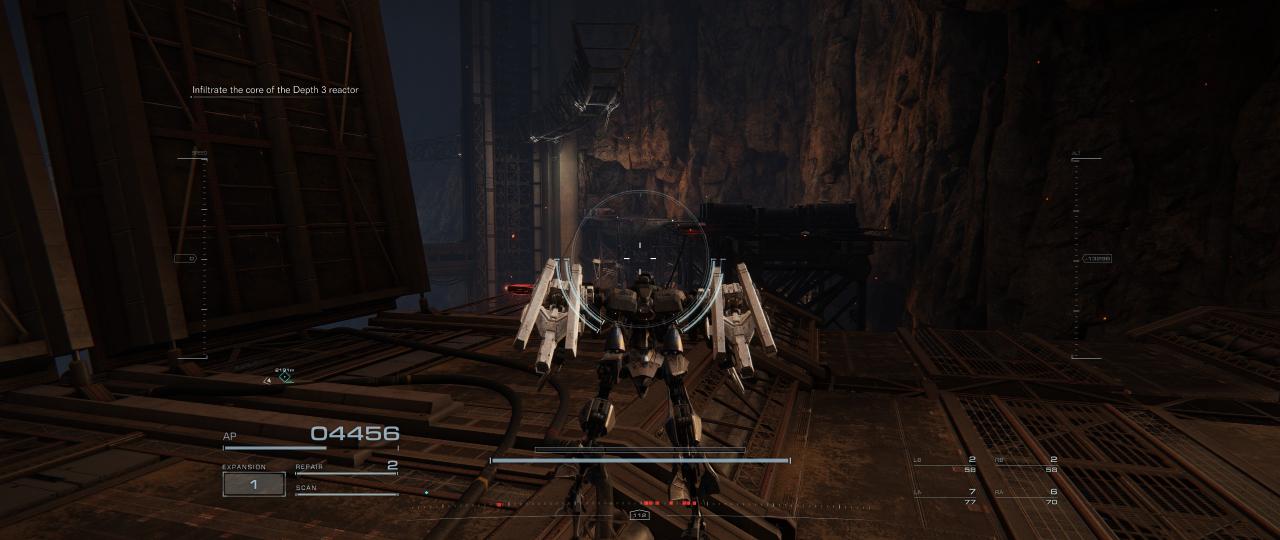
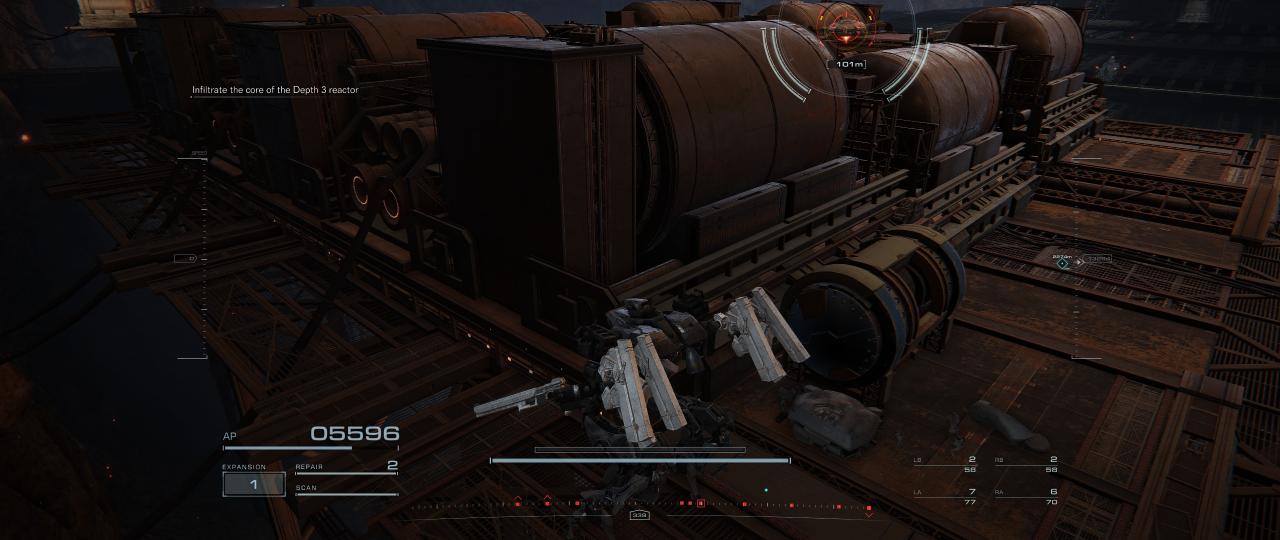
Chapter 4: Unknown Territory Survey
Across a chasm then below a small cliff. This crate is on the critical mission path and probably only missed if your speeding past the area.
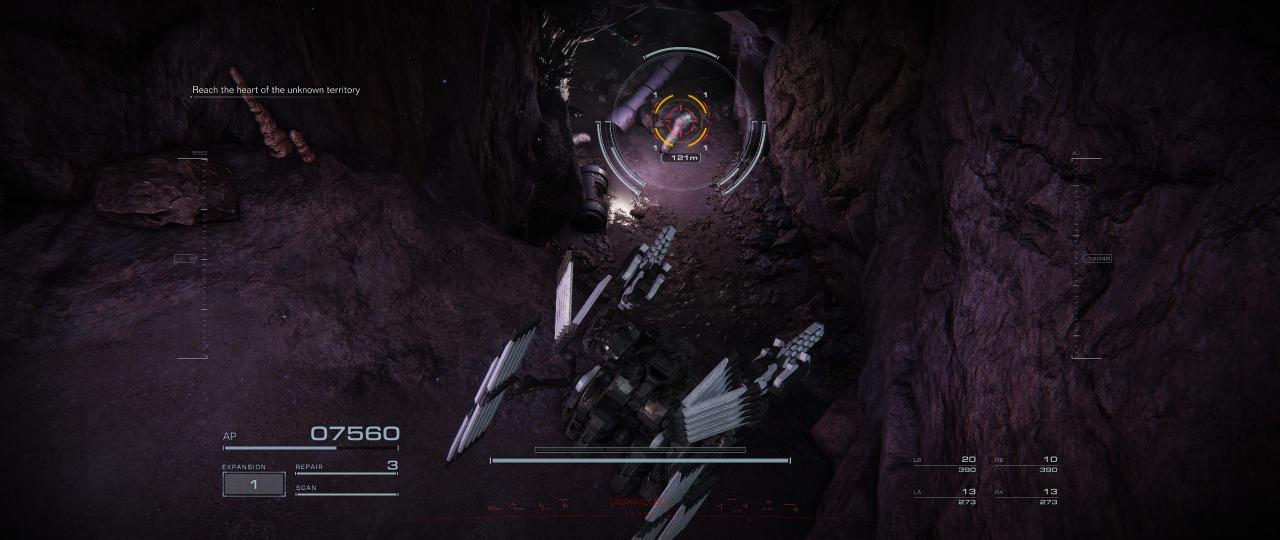
Chapter 4: Reach the Coral Convergence
In the first part of the mission, instead of engaging the AC group, go to the right to a raised section. The crate is on a building there.
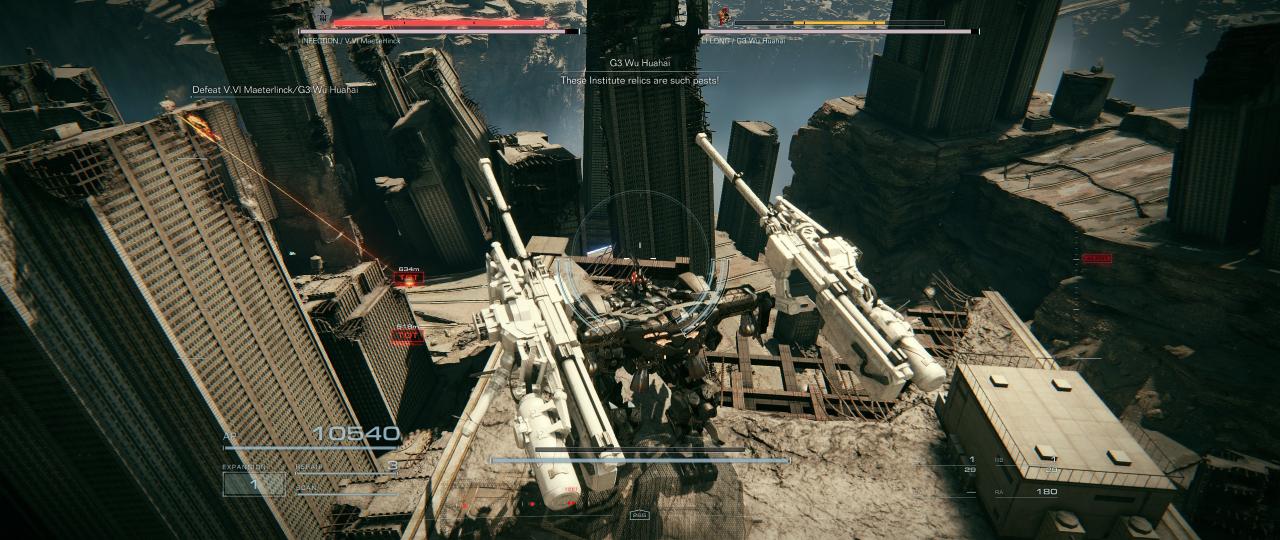
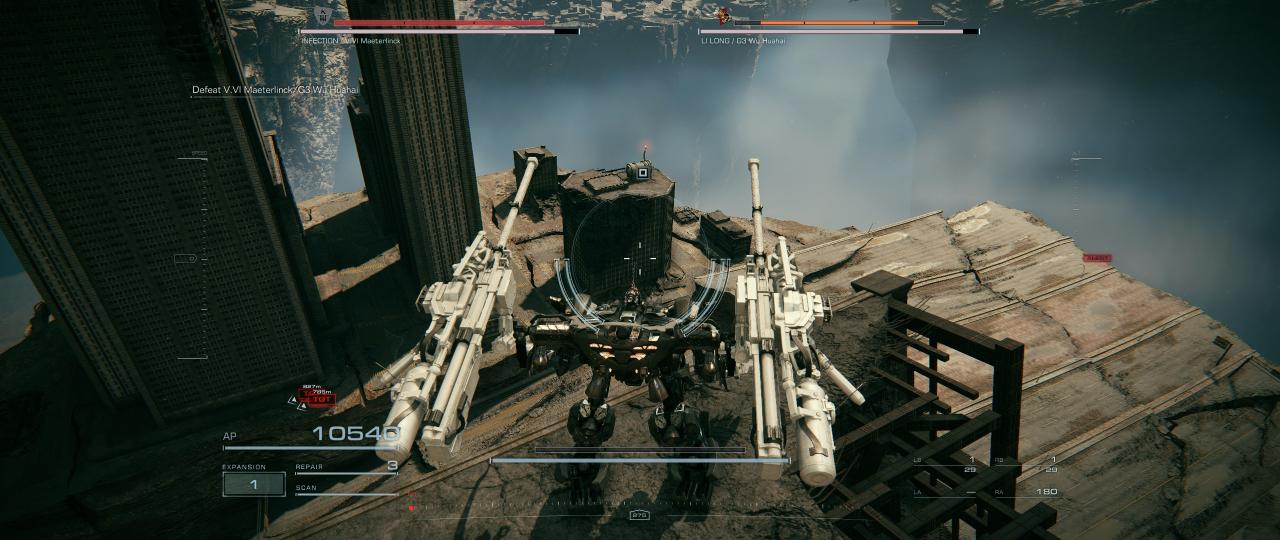
The second is at the other side of the big lake full of wheel enemies. At the base of a building right before the exit surrounded by three inactive wheels. You don’t have to fight the wheels.
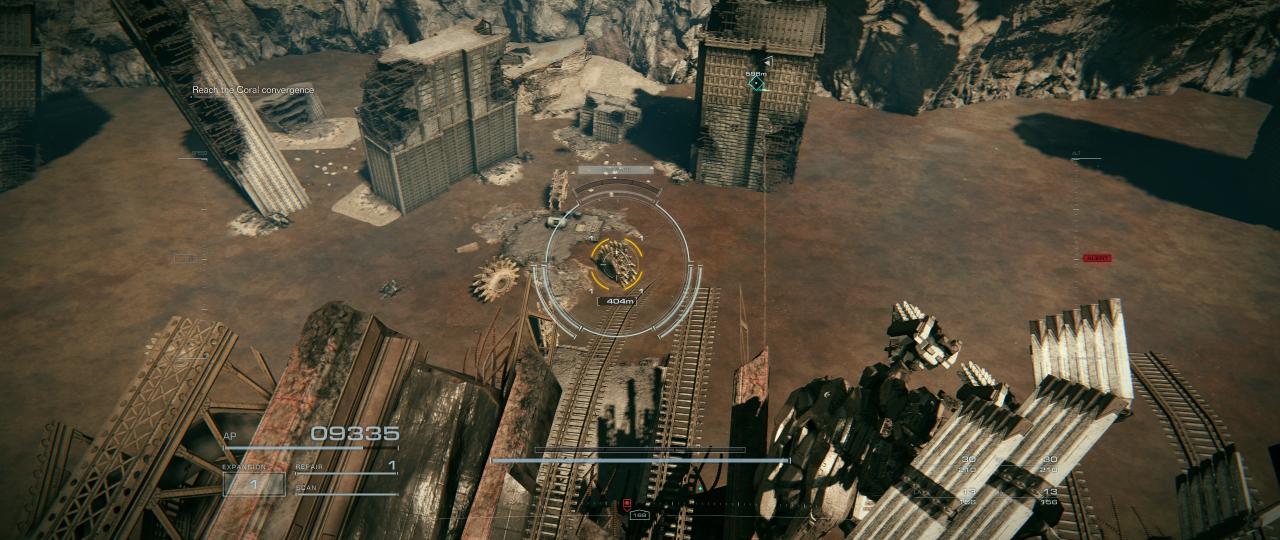
(New game++ only) Chapter 5: Regain Control of the Xylem
There’s only one crate in this mission and right by the start. The part is the ML-Redshift, a melee weapon
Here is they starting location. The crate is right next to where the target is.
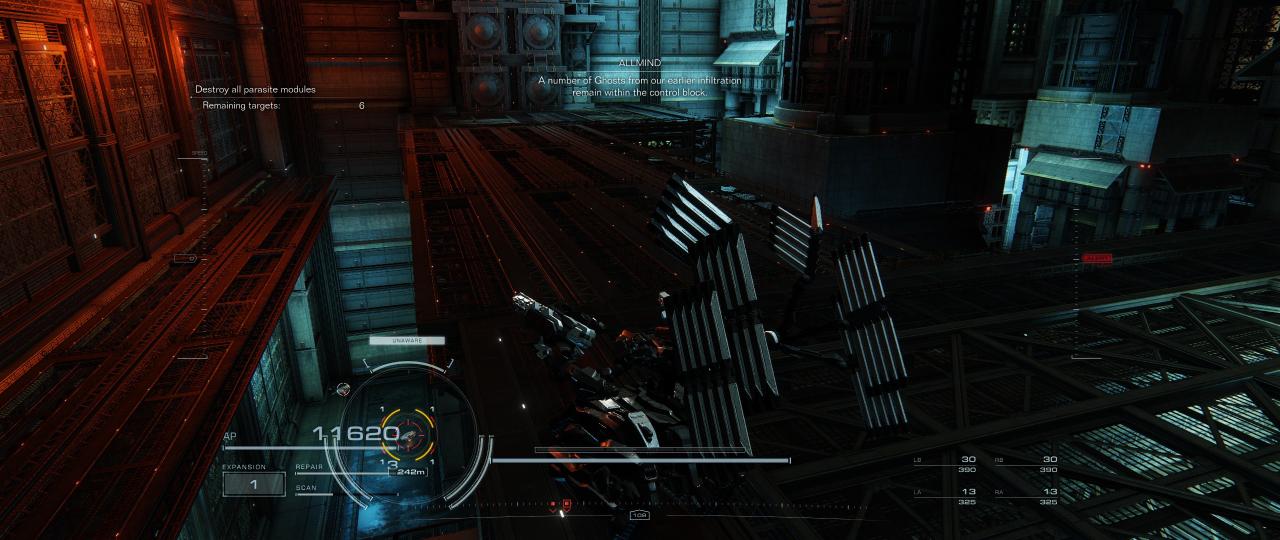
And that’s the crate. Easy
Thanks to Xerkan for his excellent guide; all credit belongs to his effort. If this guide helps you, please support and rate it via Steam Community. Enjoy the game.

